 Snappyit Team
Resizing is only one step in a product photo export. If you resize before choosing the crop, repeatedly save the same JPEG, or enlarge a small marketplace download, the final dimensions may be correct while the image still looks soft. A controlled export starts from the best available master and produces disposable derivatives.
Use this order every time
- Keep the untouched source and create a working master.
- Correct exposure, color, dust, and product edges.
- Straighten and choose the intended composition.
- Choose crop or padding for the destination canvas.
- Downsample once from the approved master.
- Choose the destination format and compression.
- Open the downloaded file and run final QA.
The sequence matters because each later step discards options. A square crop removes pixels. Downsampling removes detail. JPEG compression removes image information. Keep those losses out of the master.
Protect one high-resolution master
The master should contain the full product, the cleanest color and edge work, and enough resolution for the largest destination. Keep it separate from the marketplace files. Never overwrite it with a small JPEG downloaded from an existing listing.
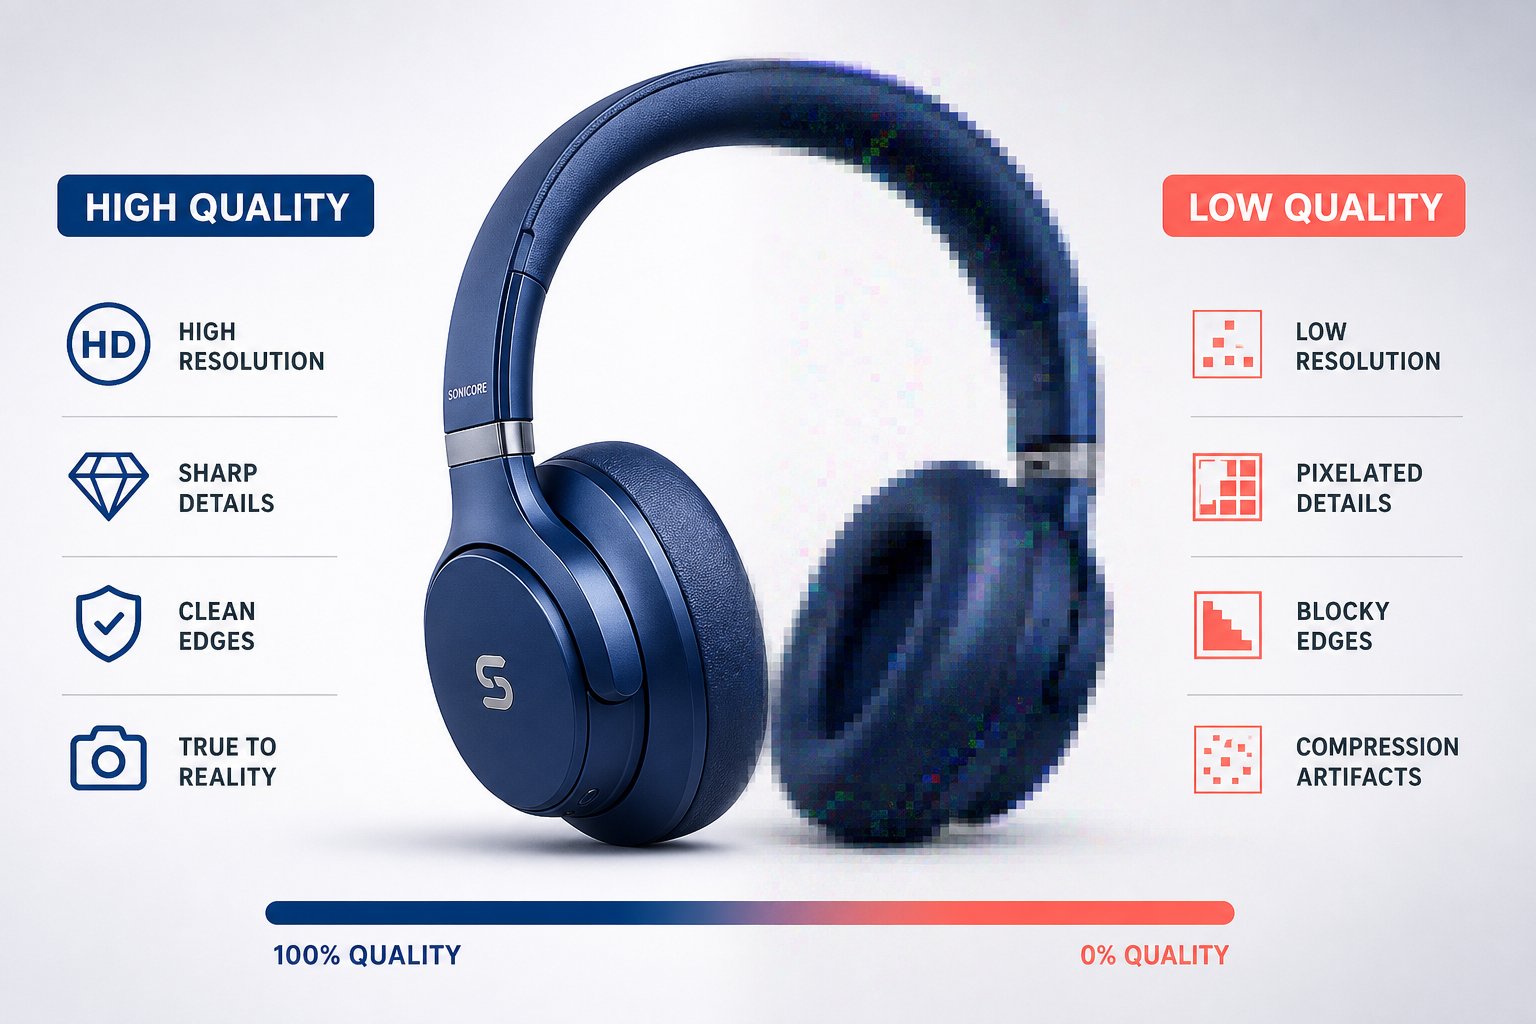
If the source is already below a platform's recommended size, changing the pixel number does not recreate product detail. Use the original camera file, reshoot, or apply a dedicated upscaling workflow and inspect the result closely. A soft 1600-pixel file is still soft.
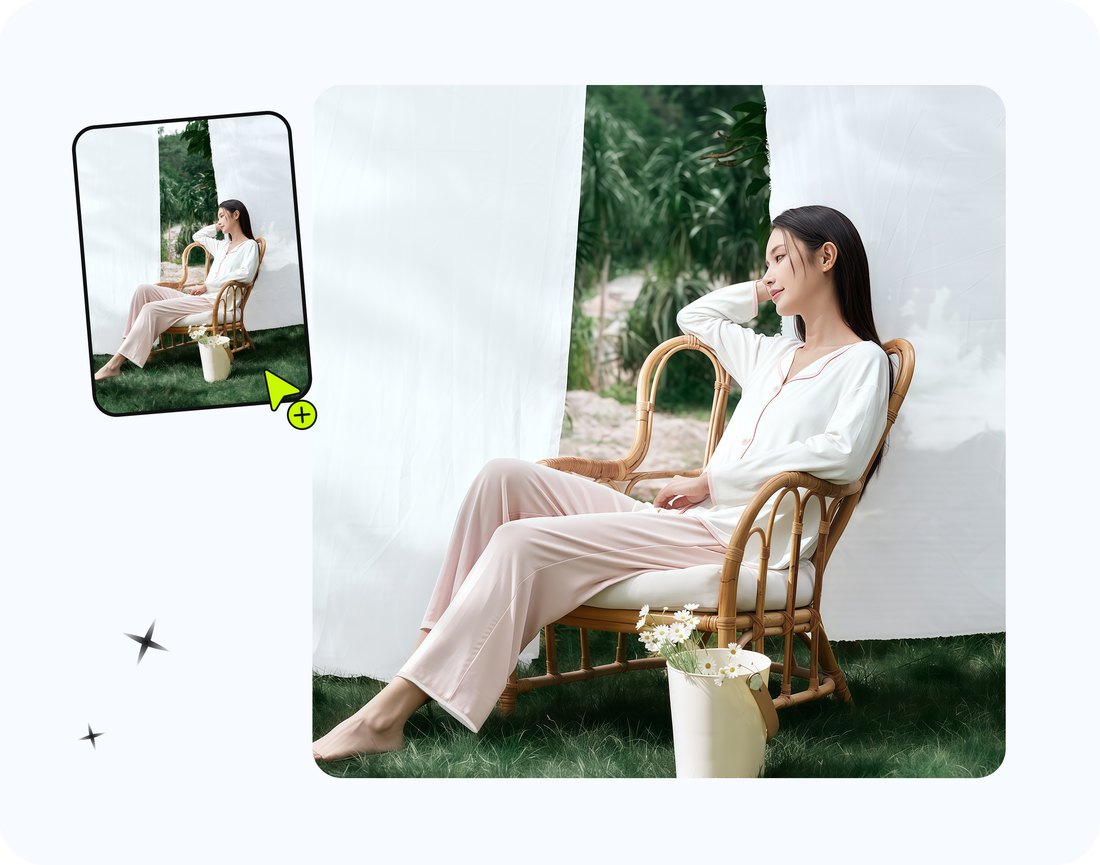
Crop and straighten before resizing
Correct the horizon, product rotation, and empty distractions while the image still has all of its source pixels. Decide where the product should sit in the frame and protect important parts such as sleeves, handles, labels, and the full silhouette.
Use a consistent safe area for a category rather than eyeballing every SKU. The same product scale and top/bottom margins make collection grids look deliberate and reduce accidental crops when a marketplace creates thumbnails.
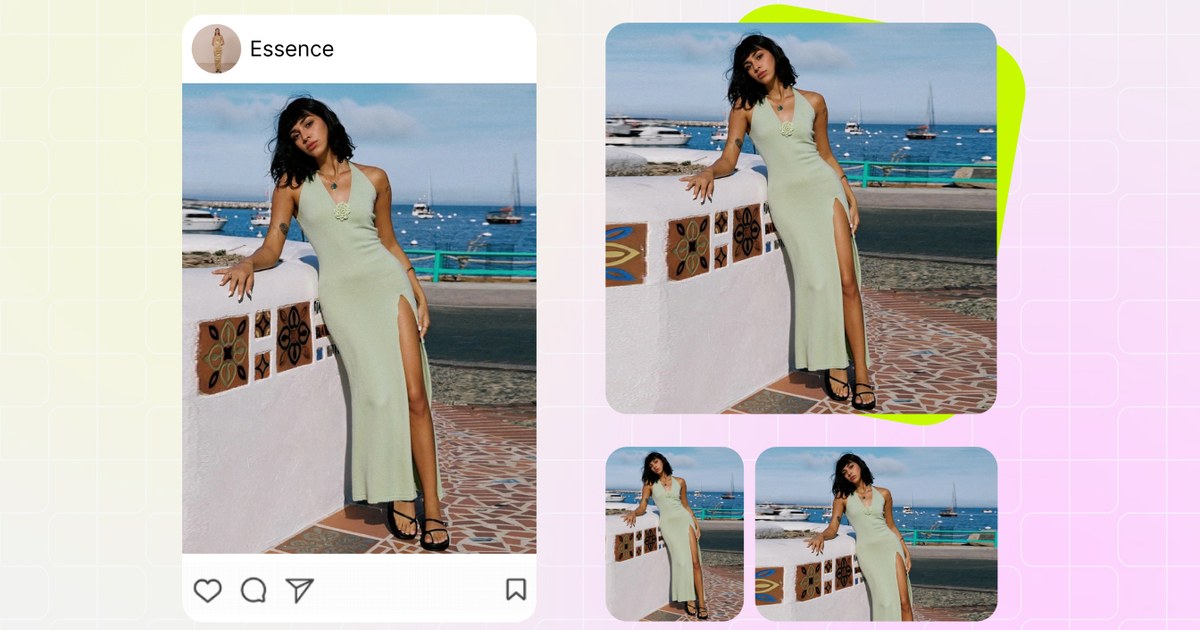
Choose pad or crop based on the product
| Method | Use it when | Main risk |
|---|---|---|
| Pad | The full silhouette must remain visible or the source ratio differs from the target | The product may look too small if padding is excessive |
| Crop | The product is centered with enough safe area and the target should fill the frame | Sleeves, handles, or tall packaging can be cut off |
| Recompose | The source cannot fit the target cleanly with either automatic option | Requires a manual placement decision |
Padding is not the same as stretching. Stretching changes the product proportions and should not be used to force a ratio. Preview the final thumbnail because a technically safe pad can still make the item too small to read.
Downsample once from the master
Create every destination file directly from the approved master. Do not make the Etsy file from an eBay export and then make a social file from the Etsy export. Chained resizes and repeated JPEG saves accumulate softness and block artifacts.
When reducing a large source, keep the aspect ratio locked unless you are intentionally moving to a new canvas. Inspect detailed areas after export: fine type, stitching, jewelry prongs, textured fabric, and diagonal edges show resampling problems first.
Choose format before compression
Use JPEG for ordinary photographic marketplace derivatives when transparency is not needed. Use PNG for a transparent cutout or a lossless working asset. WebP is efficient for web delivery where the destination accepts it, but marketplace support and processing rules differ, so verify before making it your universal archive format.
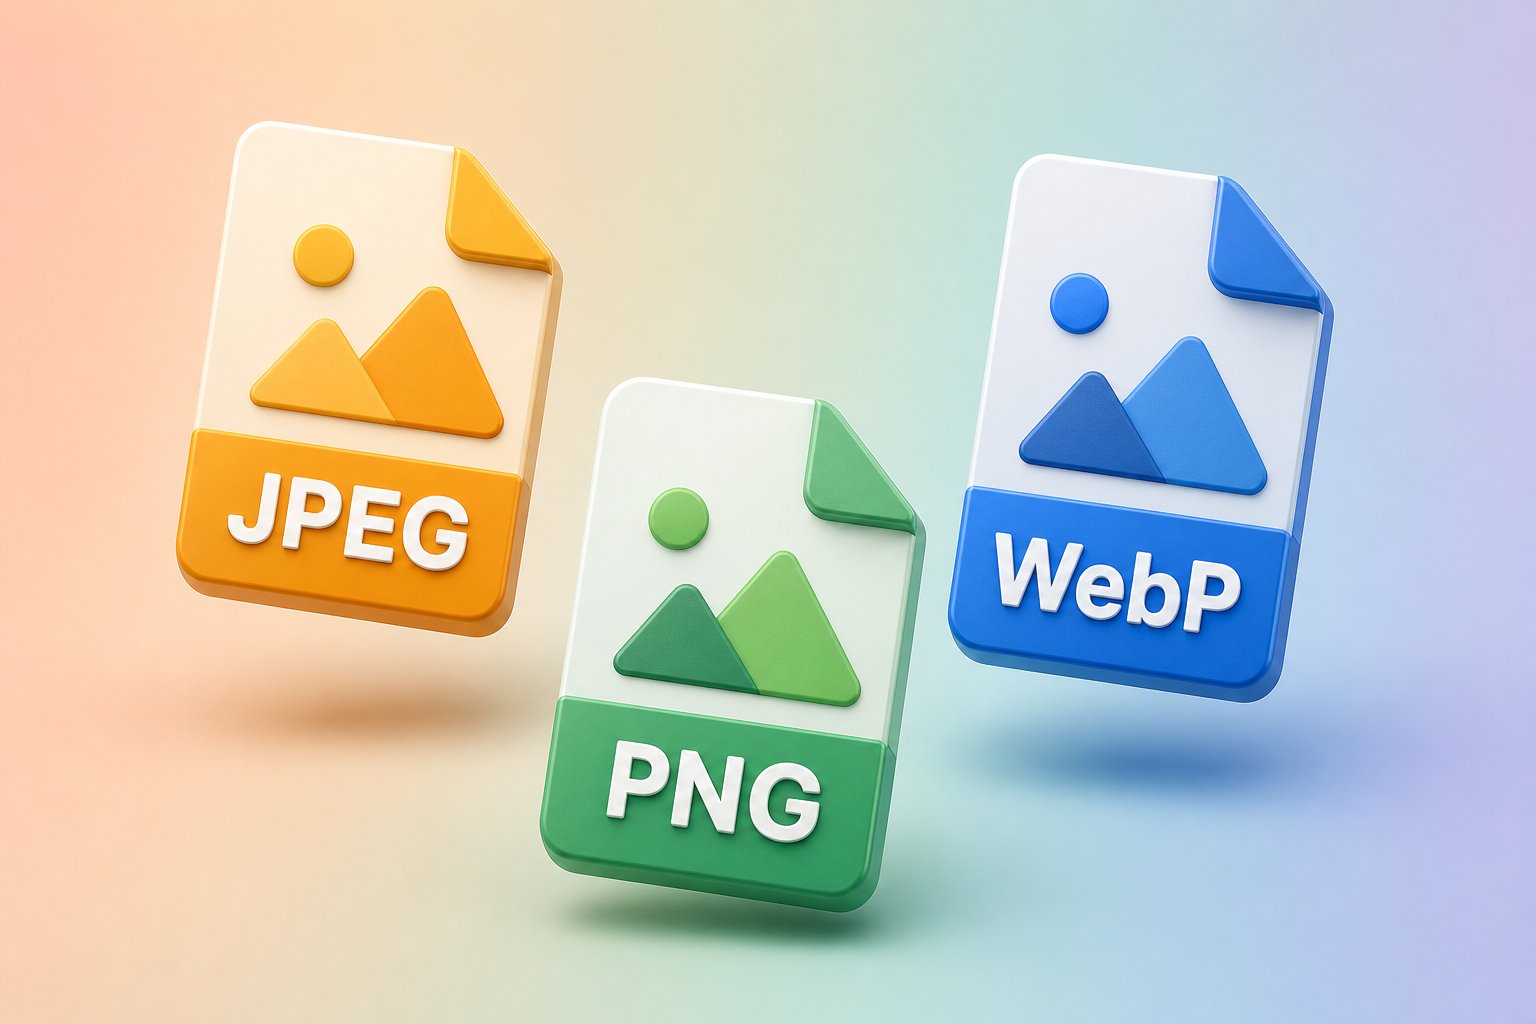
Compression should happen after the dimensions are final. Export a fresh file at a sensible quality setting, inspect it at 100%, and compare it with the master. Watch smooth gradients, fine fabric, and text edges for banding or ringing. If the file is too heavy, reduce quality in a new export rather than repeatedly resaving the compressed file.
Use current platform guidance, not a copied master table
Marketplace requirements change, so keep the full specification in one maintained reference. Snappyit's marketplace image-size guide links to the official sources and is the better place for a complete table.
As a current spot check, eBay recommends about 1600 × 1600 pixels, accepts uploads up to 12 MB, and requires at least 500 × 500 pixels. Etsy recommends listing images at least 2000 pixels wide. Shopify accepts product images up to 5000 × 5000 pixels or 25 megapixels and under 20 MB, with 2048 × 2048 usually displaying well for square product images.
Those figures are examples, not a reason to export one file for every channel. Keep the master large and let each named derivative match its destination.

Create channel derivatives in one browser session
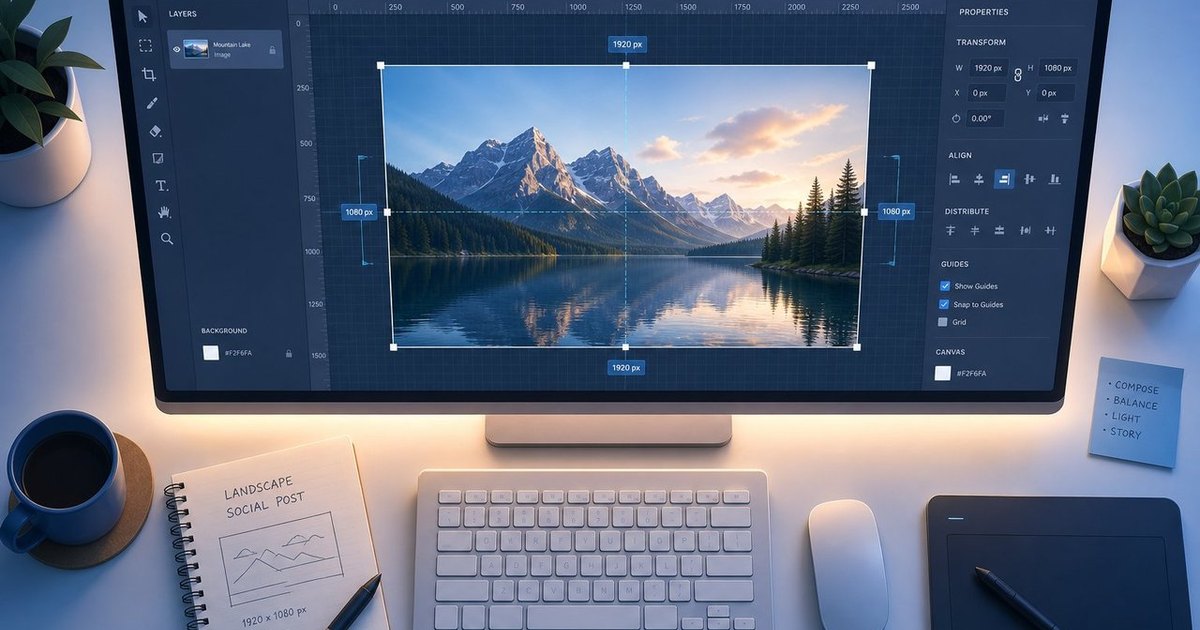
Snappyit's free Bulk Image Resizer currently runs on the browser canvas without uploading the source files. It includes marketplace and social presets, pad and crop modes, JPG/PNG/WebP output, and a ZIP download for multiple sizes. Batch limits are ten source photos on desktop and six on mobile.
Use it after the master passes visual QA. Select only the channels you need, preview crop versus pad, then download all derivatives together. The tool is free, has no login requirement, and does not add a watermark.
Name files so the destination is obvious
A practical pattern is sku-angle-channel-width.ext. Examples include TSHIRT-BLK-M-front-amazon-2000.jpg and TSHIRT-BLK-M-front-shopify-2048.webp. The name records what the file is without pretending that the filename changes platform compliance.
Store files in separate folders for master, approved, and export. Keep a small export log when a team is involved: date, source revision, destination preset, format, and operator. If a marketplace changes a requirement, you can regenerate from the same approved master.
Run final QA on the downloaded files
- Open each derivative instead of trusting the export dialog.
- Confirm pixel dimensions, aspect ratio, format, and file weight.
- Check the product is not stretched or clipped.
- Inspect detail at 100% for softness and compression artifacts.
- Check transparency on both a light and dark canvas when applicable.
- Compare a batch at thumbnail size for scale and color consistency.
- Upload one test SKU and inspect the platform's processed result before exporting the whole catalog.
Create marketplace photo exports free →
Product photo export FAQ
Should I crop or resize a product photo first?
Choose and apply the composition first, including any crop or padding, then resize the finished canvas. Resizing first can leave too few pixels for a later crop.
Does increasing pixel dimensions make a blurry photo sharp?
No. A larger pixel count does not recreate missing product detail. Start from the original high-resolution source, reshoot, or use a dedicated upscaling workflow and inspect the result.
Which format should I use for product photos?
Use JPEG for ordinary photographic derivatives without transparency, PNG for transparent or lossless assets, and WebP where the destination supports it and smaller web delivery files are useful.
Does Snappyit's Image Resizer upload my product photos?
No. The current Image Resizer processes files on the browser canvas and does not upload them. It also works without login and adds no watermark.
How should I name marketplace image exports?
Use a stable pattern such as sku-angle-channel-width.ext so the product, view, destination, size, and format are clear without opening the file.