![]()
You drop a product shot into a resizer, type in the dimensions a marketplace asked for, hit export — and the result looks worse than what you started with. The edges went mushy, the texture turned grainy, or the whole thing came out subtly stretched. So you decide the tool is junk and try another one, which does the same thing.
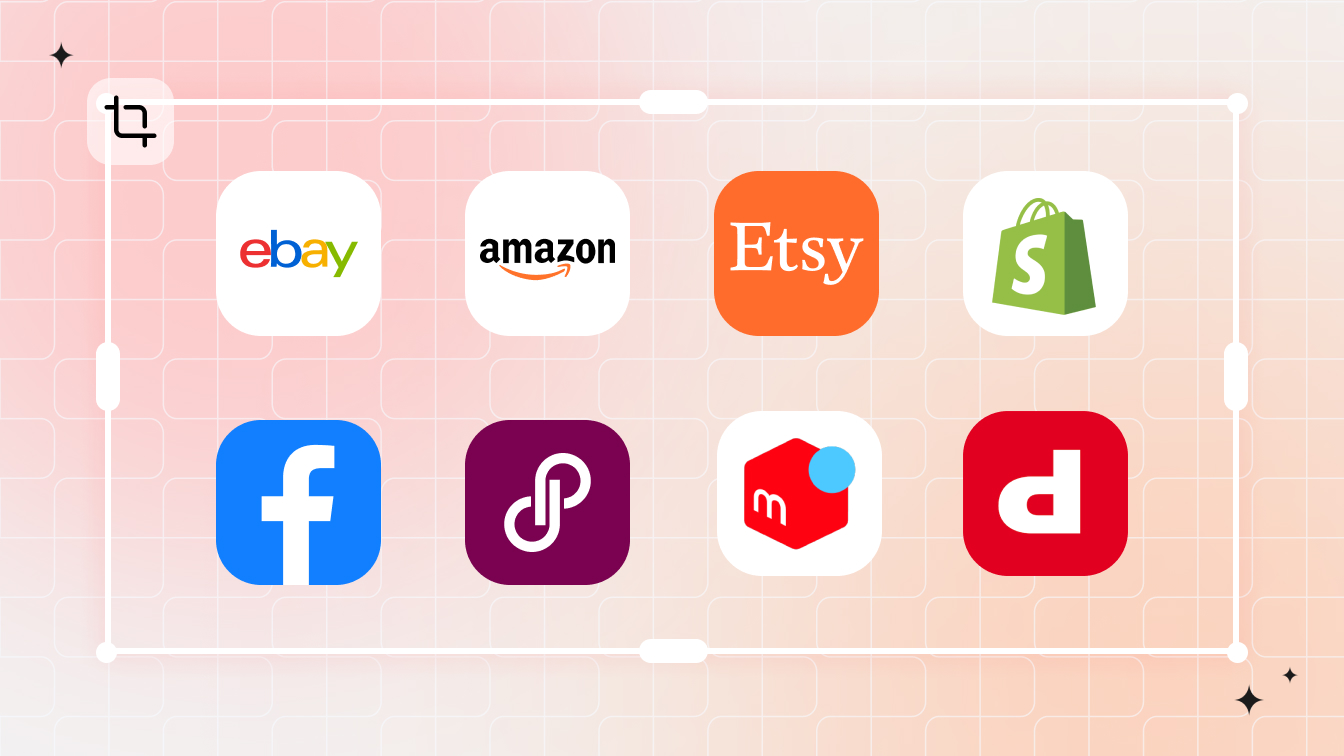
The tool is rarely the problem. Resizing has a right way and several wrong ways, and most degraded listing photos trace back to the same small set of mistakes. This guide walks through the five that wreck product images most often, then lays out the correct method so your Amazon, Etsy, Shopify, and Poshmark photos come out sharp.
What a Resizer Actually Does to Your Pixels
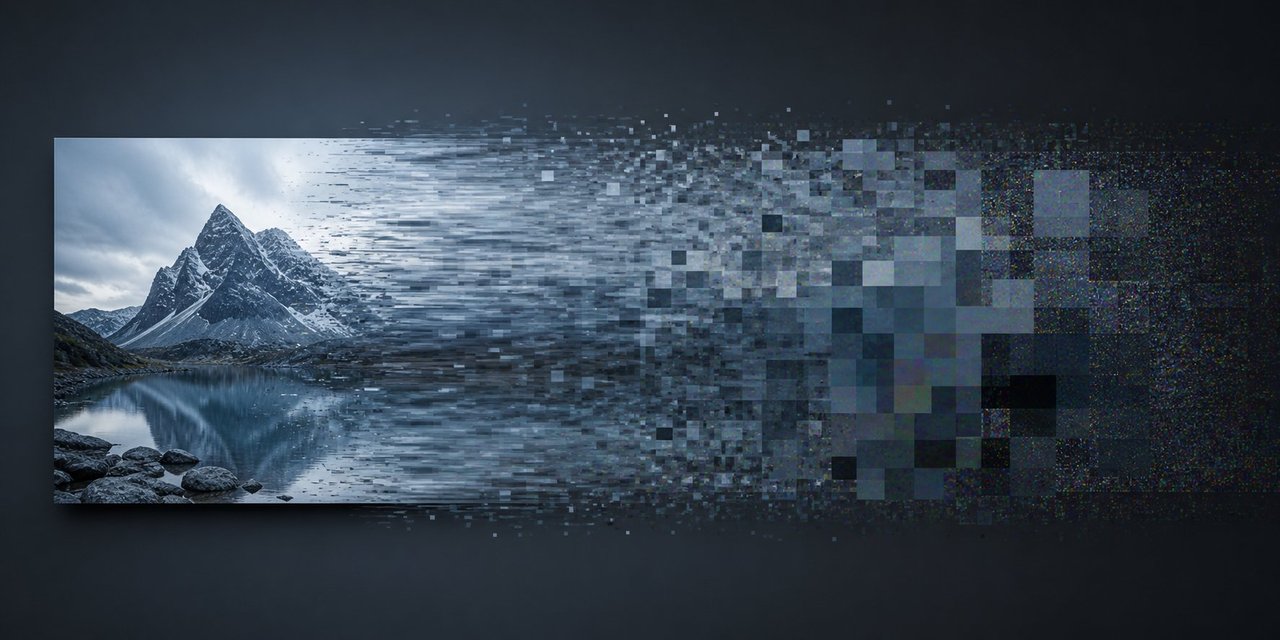
A digital photo is a grid of colored squares. When you shrink a 4000-pixel-wide image to 1200 pixels wide, the tool cannot simply throw away three out of every four dots — it has to recalculate what color each new pixel should be by reading the originals around it. That recalculation is called interpolation, and it is the hidden variable behind why two tools hand back different quality from the same file.
Two things decide whether interpolation helps or hurts. The first is direction: scaling down lets the software choose which real data to keep, while scaling up forces it to manufacture data that was never captured. The second is the method — a cheap nearest-neighbor pass leaves staircase edges, while a smarter algorithm blends neighbors for a cleaner result. Every mistake below is really a way of fighting how interpolation works.
Mistake 1: Confusing Resize, Compress, and Crop
These three get treated as one button, and that confusion is the fastest route to a damaged photo. They solve completely different problems:
| Operation | What it changes | Reach for it when |
|---|---|---|
| Resize | Pixel dimensions (e.g. 3000x3000 to 1500x1500). File weight drops as a side effect. | A platform demands specific pixel dimensions, or the image is far larger than its display size. |
| Compress | File weight only. Dimensions stay put; data the eye barely registers is discarded. | The upload is over a megabyte cap but already the right dimensions. |
| Crop | Removes part of the frame. Remaining pixels keep their original sharpness. | You need a different shape, or you want to tighten the composition on the product. |
Here is where it bites: a marketplace rejects your upload for being "too big," and that word is ambiguous — too many pixels, or too many megabytes? Resize when the real issue was file weight and you have thrown away resolution for nothing. Read the actual error: it almost always names either a dimension limit or a size cap, and that tells you which operation to run.
Mistake 2: Re-Saving JPEGs Until They Crumble
JPEG is the default format for product photos, and it is also the least forgiving to handle carelessly. JPEG compression is lossy — it permanently discards information to keep files small. Do that once at a sensible quality and nobody notices. The trouble starts when you open that JPEG, resize it, and save it again, because the compression runs a fresh pass and discards more on top of what is already gone.
This compounding damage is called generation loss, and it behaves like photocopying a photocopy: every round looks a little rougher than the last. Resize a JPEG that has already been exported three or four times and you concentrate all that built-up noise into fewer pixels — which is exactly why a thumbnail cropped from a much-edited file comes out crunchy, with blocky edges and color banding around logos or text.
The fix is a habit, not a setting: keep one untouched master per product and always resize from it in a single export, rather than re-processing a file you already shrank once. If all you have is an existing JPEG, set the output quality to match the original and save just once, so you add as little new damage as possible.
Mistake 3: Enlarging a Small Source So Software Invents Pixels
Scaling down discards real pixels; scaling up does the opposite — it forces the software to invent pixels that were never there. A 500x500 photo holds 250,000 real data points. Stretch it to 2000x2000 and the tool has to fill four million slots, which means roughly 3.75 million of them are educated guesses. No interpolation method can add detail that was never captured — it only smooths over the absence, trading blur for blockiness.
Traditional resizers tend to fall apart past a 20–30% size increase. Double the dimensions and you are firmly in soft, artifacted territory — the pixel count is right but the image quietly tells everyone it was upscaled. If your source genuinely is too small, the better path is to reshoot at full resolution or dig up a larger original. For the full set of workarounds, see how to enlarge a small image without losing quality, and when you do need to scale up, reach for an AI product photo upscaler that predicts plausible detail instead of blindly averaging neighbors. Just remember it is still generating texture, not recovering it — fine for a backdrop, riskier for a product where accuracy sells.
Mistake 4: Stretching to Fit Instead of Cropping or Padding
Your photo has a natural shape — a fixed relationship between width and height. Ask for target dimensions that do not match it and you force a decision; the worst answer is to stretch. Unlock the aspect ratio and drag a 4:5 photo into a 1:1 square and everything squashes horizontally: the garment gets wider and shorter, models look stout, and straight edges bow.
Shoppers read distortion instantly, even if they cannot name it, and a warped product looks like a careless seller. There are only two clean ways to change shape. Crop trims the frame down to the target ratio while the remaining pixels keep their full sharpness — ideal when the subject does not fill the frame or you want a tighter composition. Pad keeps the product at true proportions and fills the leftover space with background, usually white for marketplace listings. Stretching belongs only to throwaway cases like blurred background fills — never to a photo of a real product.
Mistake 5: Letting the File Format Work Against You
A file extension is not just a label; it is a set of rules for how pixels get stored and rebuilt, and each behaves differently the moment you resize.
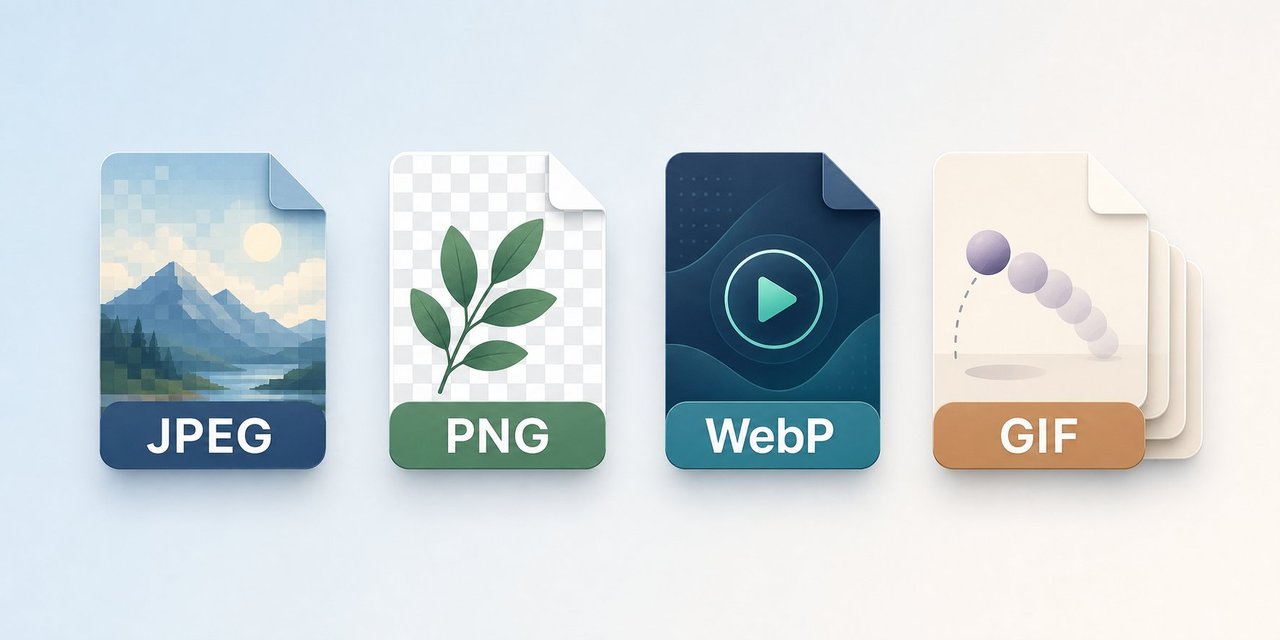
- JPEG is lossy, so every resave chips away at quality (see Mistake 2). Great as a final export, dangerous as a working file you keep editing.
- PNG is lossless — resize and save it a hundred times and no data erodes. That makes it an excellent master for logos, graphics, and anything with crisp edges, at the cost of much larger files for photos.
- WebP aims for the middle: smaller than both at comparable quality, with a lossless mode that behaves like PNG and a lossy mode that behaves like JPEG. A solid web-delivery format.
- GIF is a stack of frames, not a single image, so resizing it means reprocessing every frame and the file can even grow afterward. For a static graphic, convert to PNG or WebP first.
The practical move is to choose deliberately: keep a lossless master in PNG or WebP while you edit, and export to JPEG only at the very last step — so the format helps your resize instead of quietly sabotaging it.
The Right Way: Work Down, Lock Ratio, Pad to Fit
Strip away the mistakes and the correct method is short enough to memorize. Three rules cover almost everything.
One: always work down from the largest source you have. Capture or generate your master at the highest dimension any destination needs, then scale every smaller version from that one file. Downsizing keeps real detail; upsizing fabricates it — so this one habit heads off both the blur of Mistake 3 and most of the generation loss of Mistake 2.
Two: lock the aspect ratio. Leave the ratio locked so both dimensions shrink by the same factor and nothing distorts. Only unlock it on purpose, and even then prefer crop or pad over a free stretch.
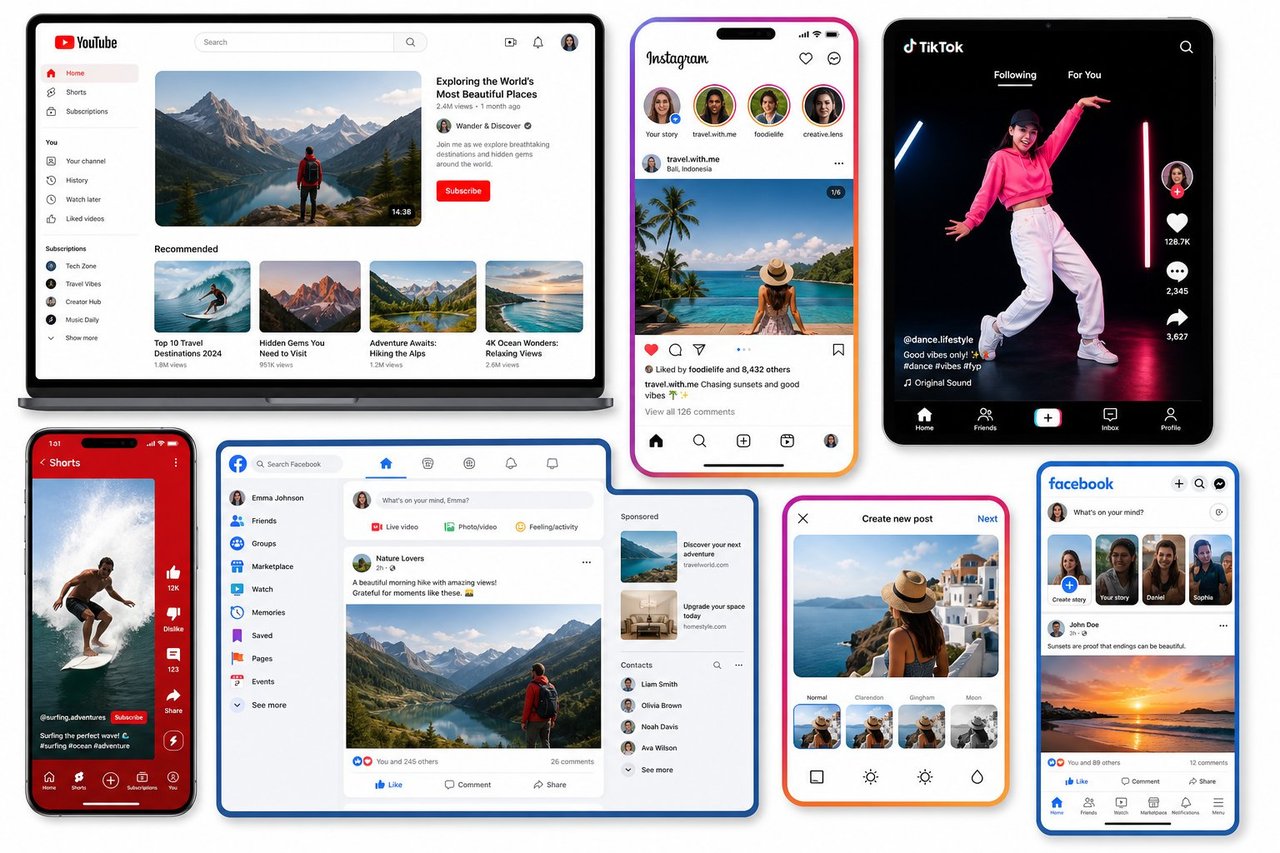
Three: pad — do not stretch — to hit platform squares. Marketplaces lean heavily on square and portrait specs (most want a 2000-pixel square to unlock zoom), and a portrait product photo will not fill one without help. Padding reaches the exact size with clean background space and zero warping. You do not need to memorize every number; bookmark the right image size for each marketplace and resize toward those targets.
For the full step-by-step on quality settings and interpolation choices, this companion piece on how to resize without losing quality goes deeper. And if you would rather not run it by hand, Snappyit's Bulk Image Resizer bakes these rules in — pick a marketplace preset, choose pad or crop, and it scales the whole batch down from your source for free.
Where to Resize: Browser Batch Tools vs Desktop Software
The right method matters more than the software, but the tool you pick should match how you actually work.
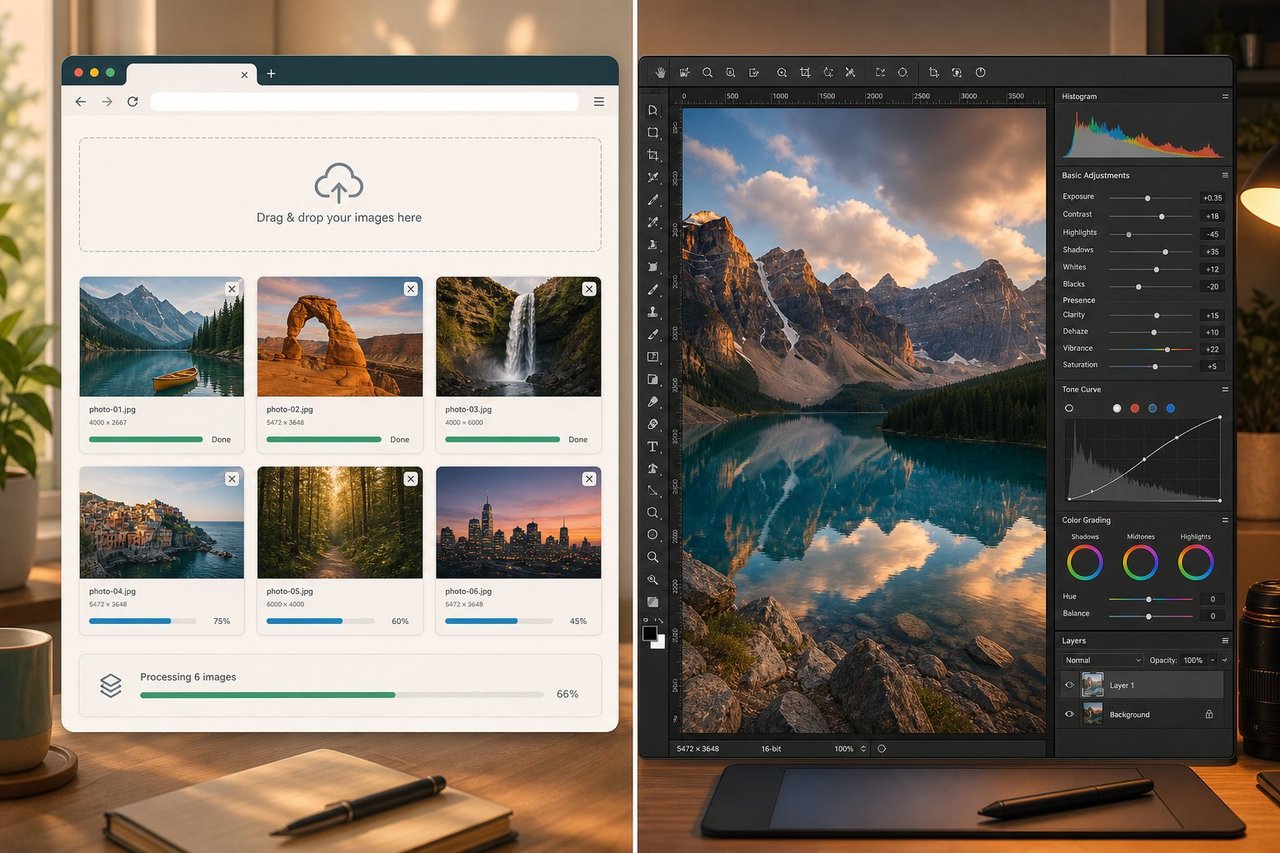
Browser-based tools run with zero install: open a tab, drop your images, pick a size, download. For JPEGs and PNGs headed to listings, that is usually faster end to end, and the good ones carry platform presets plus padding so the three rules above happen automatically across dozens of files at once. Desktop apps like Photoshop or Affinity earn their place for 50 MB RAW files, precise print DPI, or offline work. One reminder while DPI is on the table: it only matters for printing — on screen, pixel dimensions are all that count. Most sellers settle on a browser batch tool for daily listing work and keep a desktop app for the occasional specialized job. If you ship the same product to four marketplaces every week, a preset-driven batch resizer is what actually saves the hours.
Frequently Asked Questions
What is the difference between resizing and compressing a product photo?
Resizing changes the pixel dimensions of the image — a 3000x3000 photo becomes 1500x1500. Compressing leaves the dimensions alone and shrinks the file weight by discarding data the eye barely notices — the same 3000x3000 photo drops from 9 MB to 2 MB. When a marketplace rejects an upload for being too big, read the error: if it names a pixel limit you need to resize, and if it names a megabyte limit you need to compress. Reaching for the wrong one is how a clean photo ends up degraded for no reason.
Why does my product photo look blurry after I resize it?
Almost always one of three causes. You enlarged a small source, so the tool had to invent pixels that were never captured. You re-saved a JPEG that had already been exported several times, compounding compression damage with every pass. Or the resizer used a low-quality interpolation method that smears edges. The fix is the same in all three cases: start from the largest, least-processed file you have and scale down to the target size in a single export.
Can I make a small product photo bigger without losing quality?
Not with a plain resizer. Stretching a 600x600 photo up to 2000x2000 forces the software to guess roughly 90 percent of the pixels, which reads as soft or blocky. A trained AI upscaler does better because it predicts plausible detail instead of blindly averaging neighbors, but it is still generating texture rather than recovering it. The honest order of preference: reshoot at full resolution, hunt down a larger original, or run an AI upscaler — and only accept the limitation when none of those is possible.
Should I resize a product photo to a square by stretching or padding?
Pad, almost never stretch. Stretching a 4:5 photo into a 1:1 square squashes the garment horizontally, and warped products look amateur enough to cost you the sale. Padding keeps the product at its true proportions and fills the leftover space with background — usually white for marketplace listings — so a 1600x2000 shot becomes a clean 2000x2000 square with no distortion. Crop instead of pad only when you deliberately want a tighter composition and can afford to lose the edges.
What is the safest way to resize one product photo for several marketplaces?
Keep one high-resolution master per product and generate every marketplace version downward from it, never from a version you already shrank. Lock the aspect ratio so nothing distorts, pad to each platform's square or portrait spec instead of stretching, and export to JPEG only at the final step. A batch resizer with built-in presets — like Snappyit's Bulk Image Resizer — does this across an entire catalog at once, so Amazon, Etsy, Shopify, and Poshmark sizes all come off the same clean source in one pass.
Is the Snappyit Bulk Image Resizer free, and do I need an account?
Yes — it is 100% free with no login or signup required. Open it in your browser, drop in a single image or a whole batch, pick a marketplace preset, and download the resized files. There is no account to create, no watermark, and no credit card, so you can prep a full catalog for Amazon, Etsy, Shopify and more without signing up for anything.
Resize it right the first time
Work down from the largest source, keep the ratio locked, and pad to fit instead of stretching — that is the whole game. Snappyit's Bulk Image Resizer applies all three across a full catalog with marketplace presets and a pad-or-crop choice. It is 100% free and runs entirely in your browser with no login or signup required — just drop your images in and download the resized files.
Try Snappyit Bulk Image Resizer — 100% free, no login →