 Snappyit Team
At a glance
Use this AI breast expansion before and after review as a quality gate, not a beauty score.
A realistic breast enlargement photo editor should produce a before-and-after pair that passes seven checks: straps stay anchored, fabric behaves like fabric, light still comes from one direction, foreground objects keep the right overlap, background lines stay straight, body proportions remain coherent, and everything outside the intended area stays stable.
| Sign | Pass | Reject or regenerate |
|---|---|---|
| 1. Straps and seams | Connected, symmetrical where appropriate | Floating, doubled or melting into skin |
| 2. Fabric folds | Curve around volume and retain pattern | Rubber stretching or invented design |
| 3. Light and shadow | Matches direction, softness and color | New dark patch or plastic highlight |
| 4. Hair and occlusion | Correct front-to-back layer order | Clipping, halos or objects passing through cloth |
| 5. Background | Straight lines and texture unchanged | Bowed tiles, doors or furniture |
| 6. Body proportion | Balanced with shoulders, waist and pose | Torso twist, uneven anatomy or oversized change |
| 7. Global stability | Face, identity, camera and scene unchanged | Unrequested edits elsewhere in the frame |
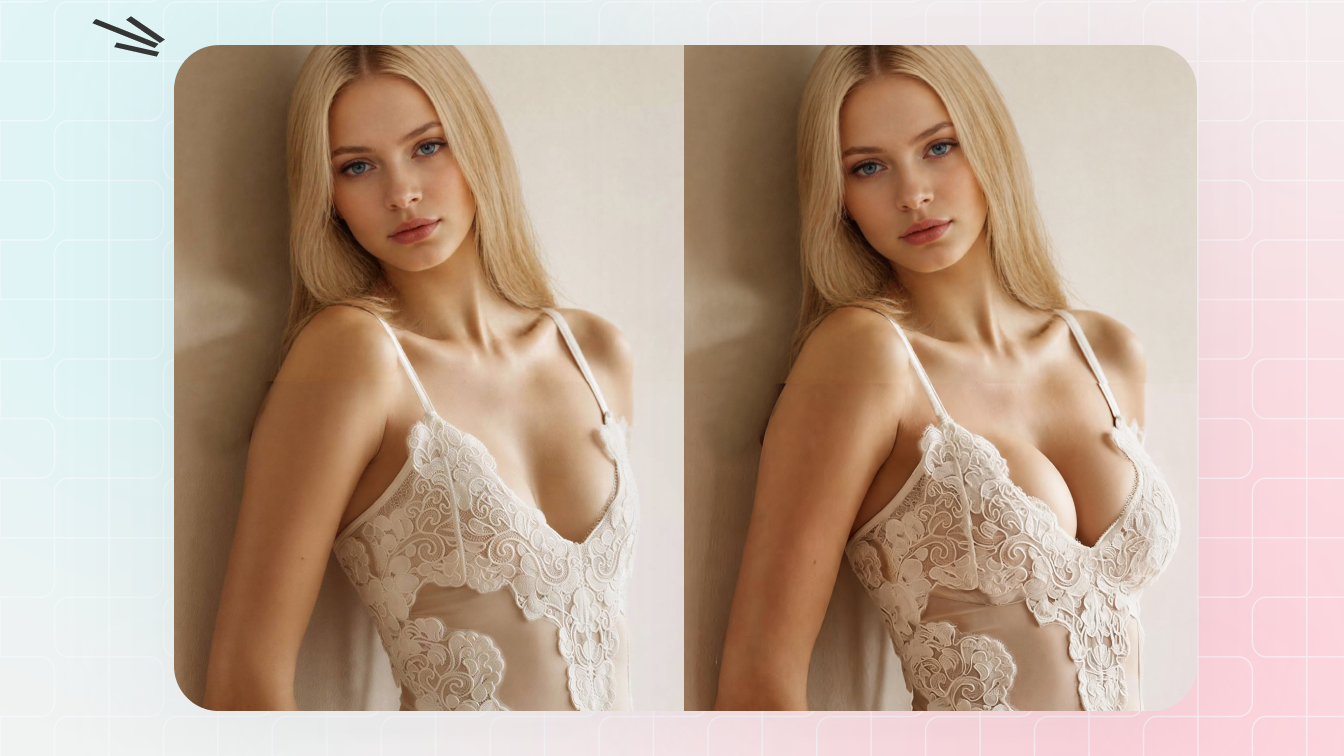
The AI breast enlargement before-and-after test image
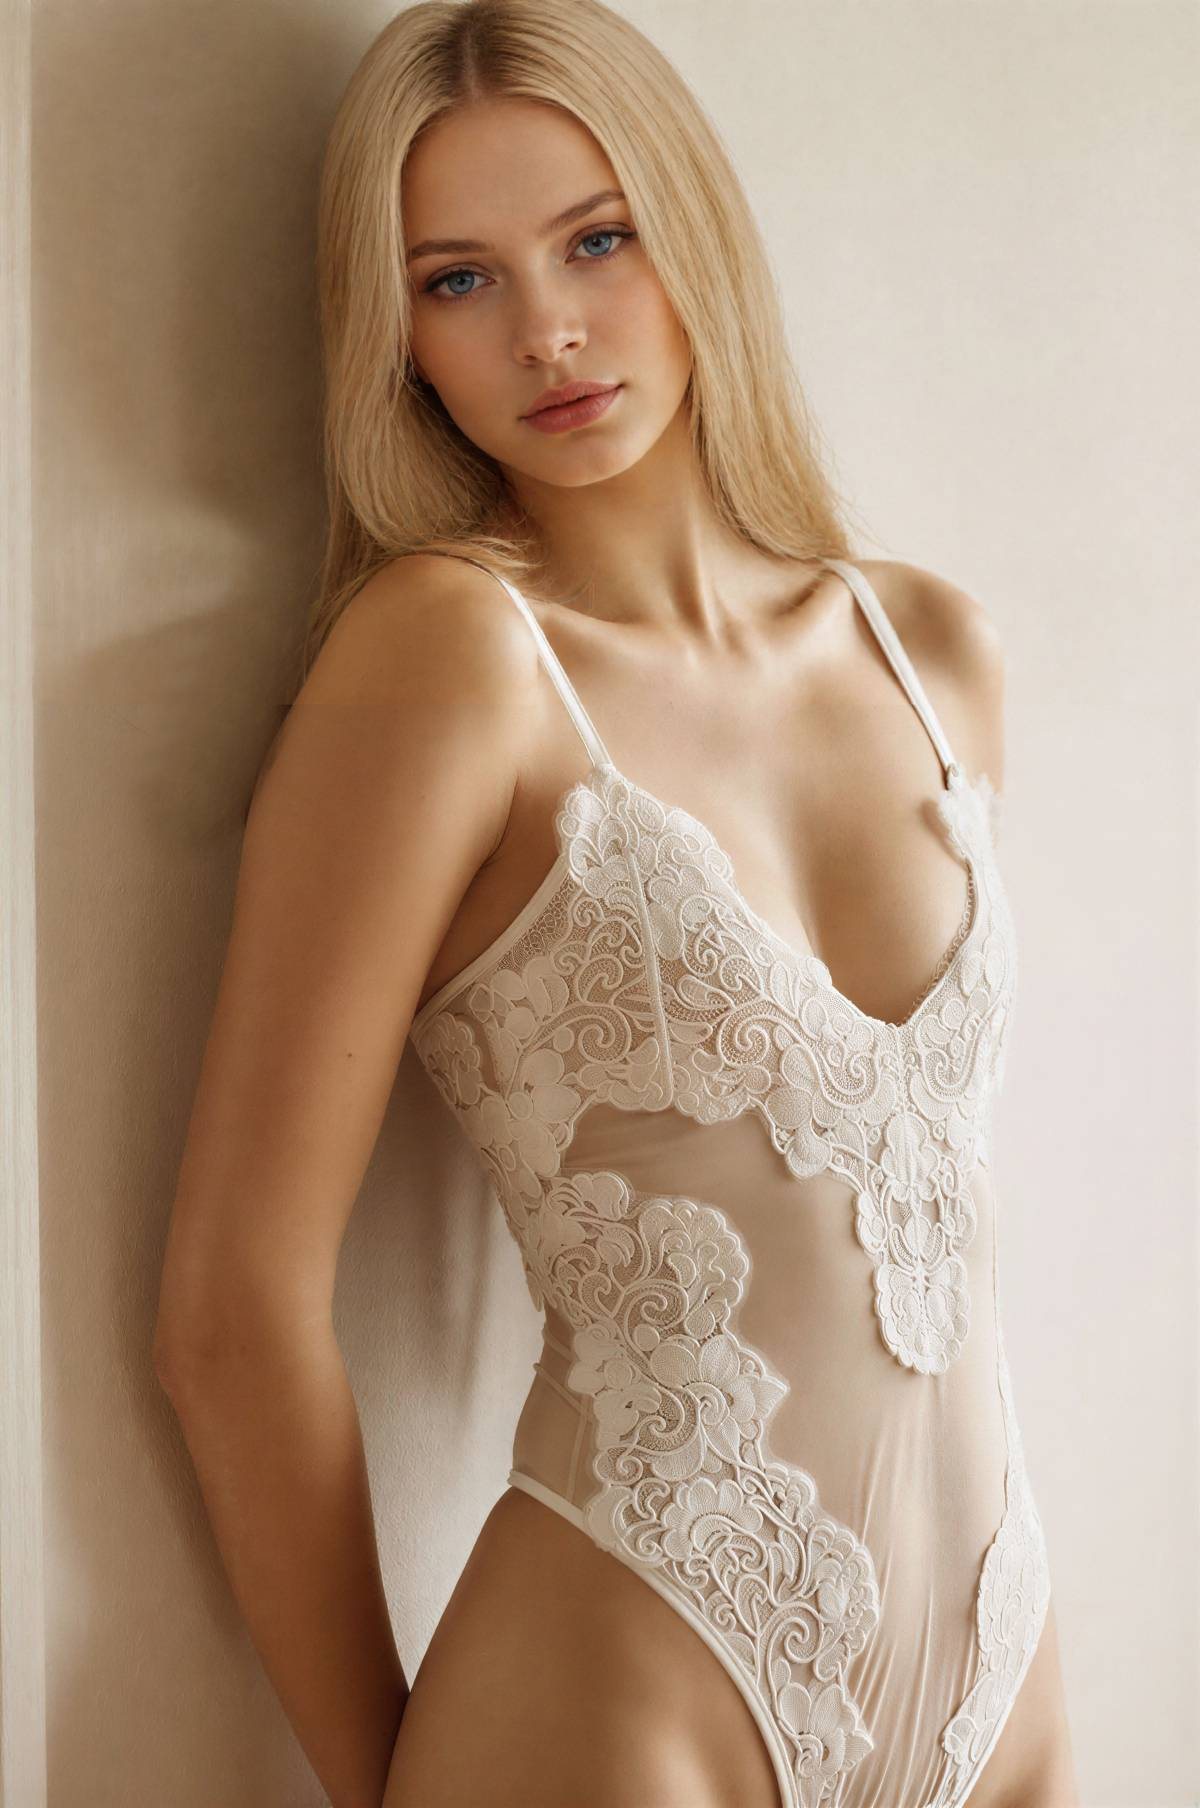
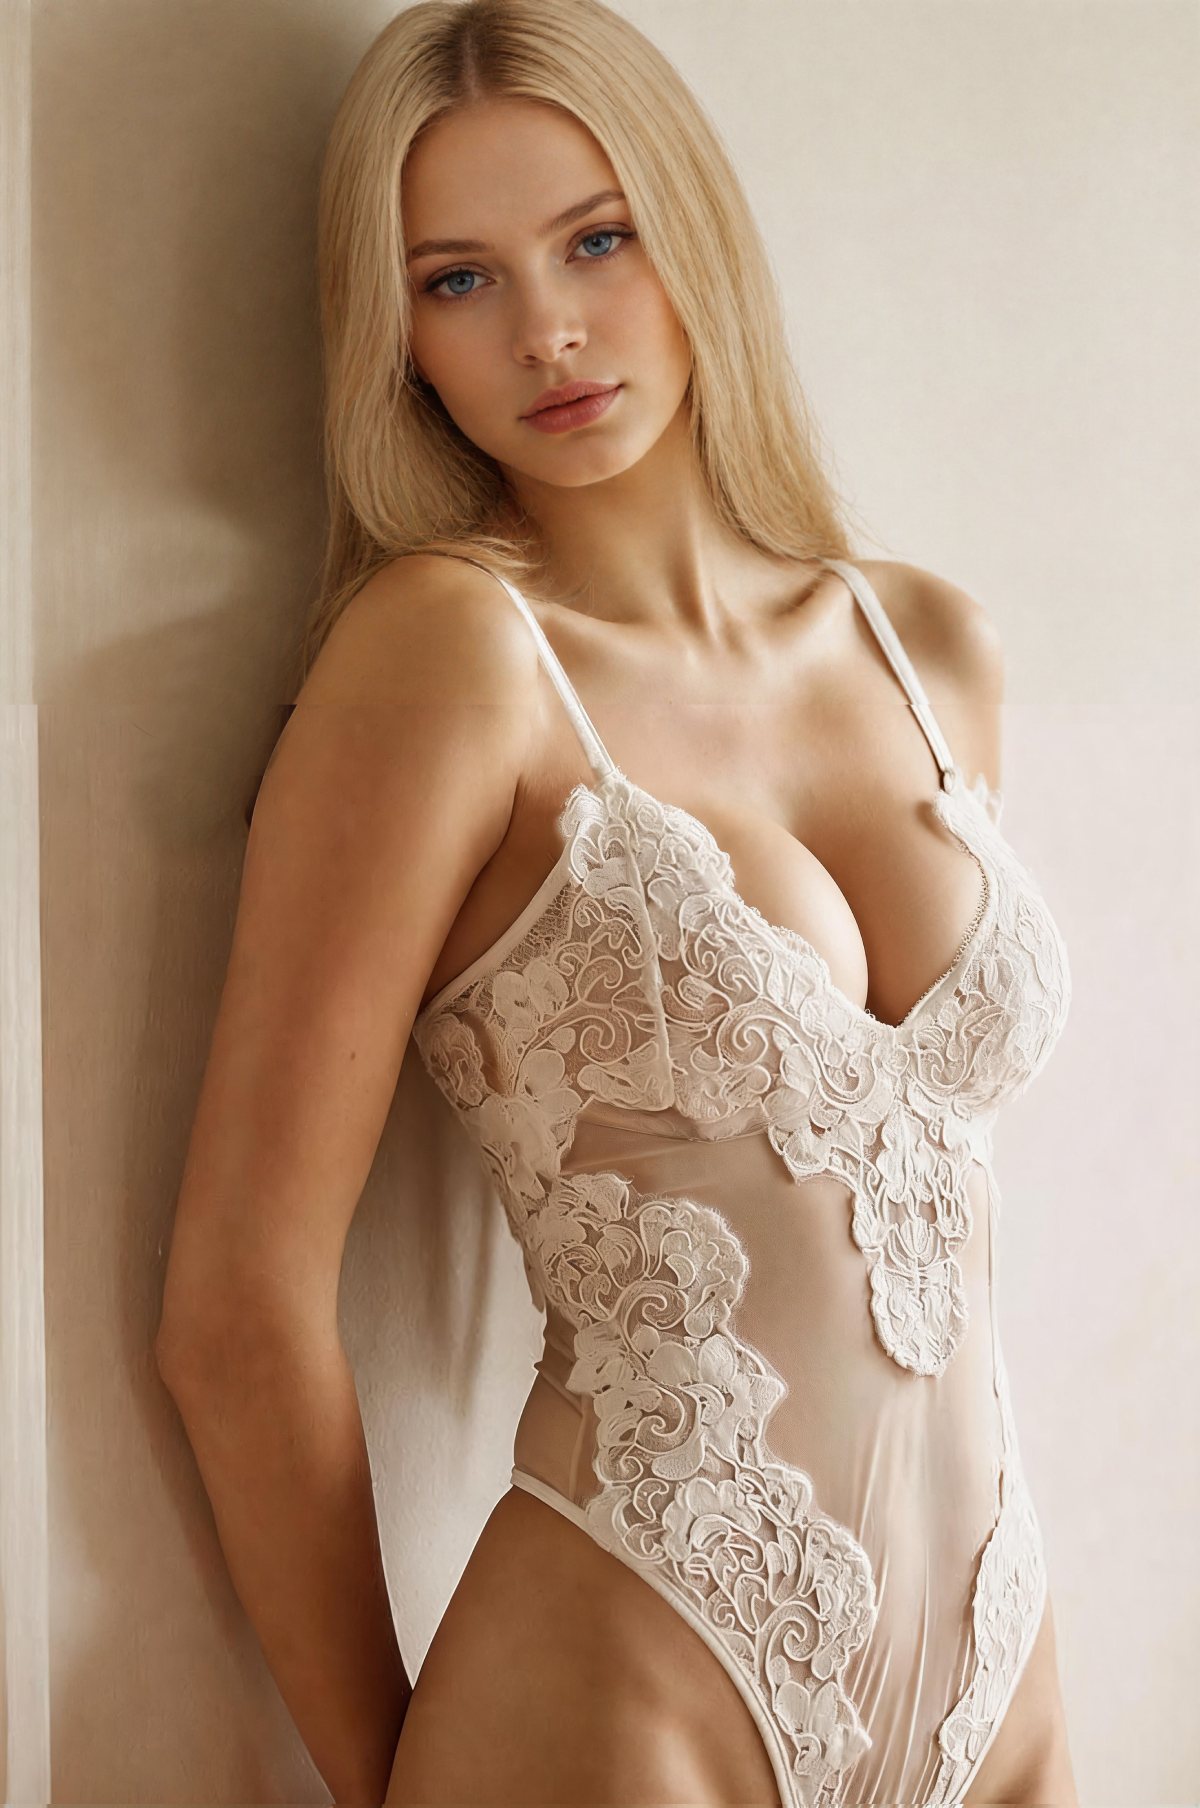
Use the pair in three views. First, compare the full frame at the same size. Second, inspect the edited clothing at 100%. Third, flip rapidly between before and after. The flip test makes small background movement, shoulder drift and changing hair edges easier to see than a side-by-side view alone.
Do not score “bigger” as “better.” The goal is a visually coherent fashion or styling concept. If a smaller adjustment passes all seven checks while a larger one fails two, the smaller edit is the stronger result. You can create adjacent versions with Snappyit AI Breast Expansion and compare them against the same original.
1. Straps and seams stay anchored
Straps, neckline edges, center seams, cup seams, buttons, zippers and under-bust bands are structural evidence. They tell the viewer how the garment sits on the body. In a natural result, these lines move only as much as the new volume requires and remain connected to the same construction points.
- Pass: both strap ends connect cleanly; a neckline remains one continuous edge; buttons retain spacing; the side seam still follows the torso.
- Review: one strap angle changes slightly but remains plausible for the pose.
- Reject: floating strap, doubled neckline, broken cup seam, missing button or a band that passes through skin.
Asymmetry is not automatically an error. Pose, perspective and real garment tension can make the near and far straps look different. Compare each detail with its own position in the source rather than forcing artificial mirror symmetry.
2. Fabric folds follow the new volume
Fabric should react, not merely stretch. A fold has an origin, direction and shadow. A solid knit may expand smoothly, while a structured bodice should keep darts and seam geometry. Checks, stripes, lace and logos make the test stricter because continuity is visible.
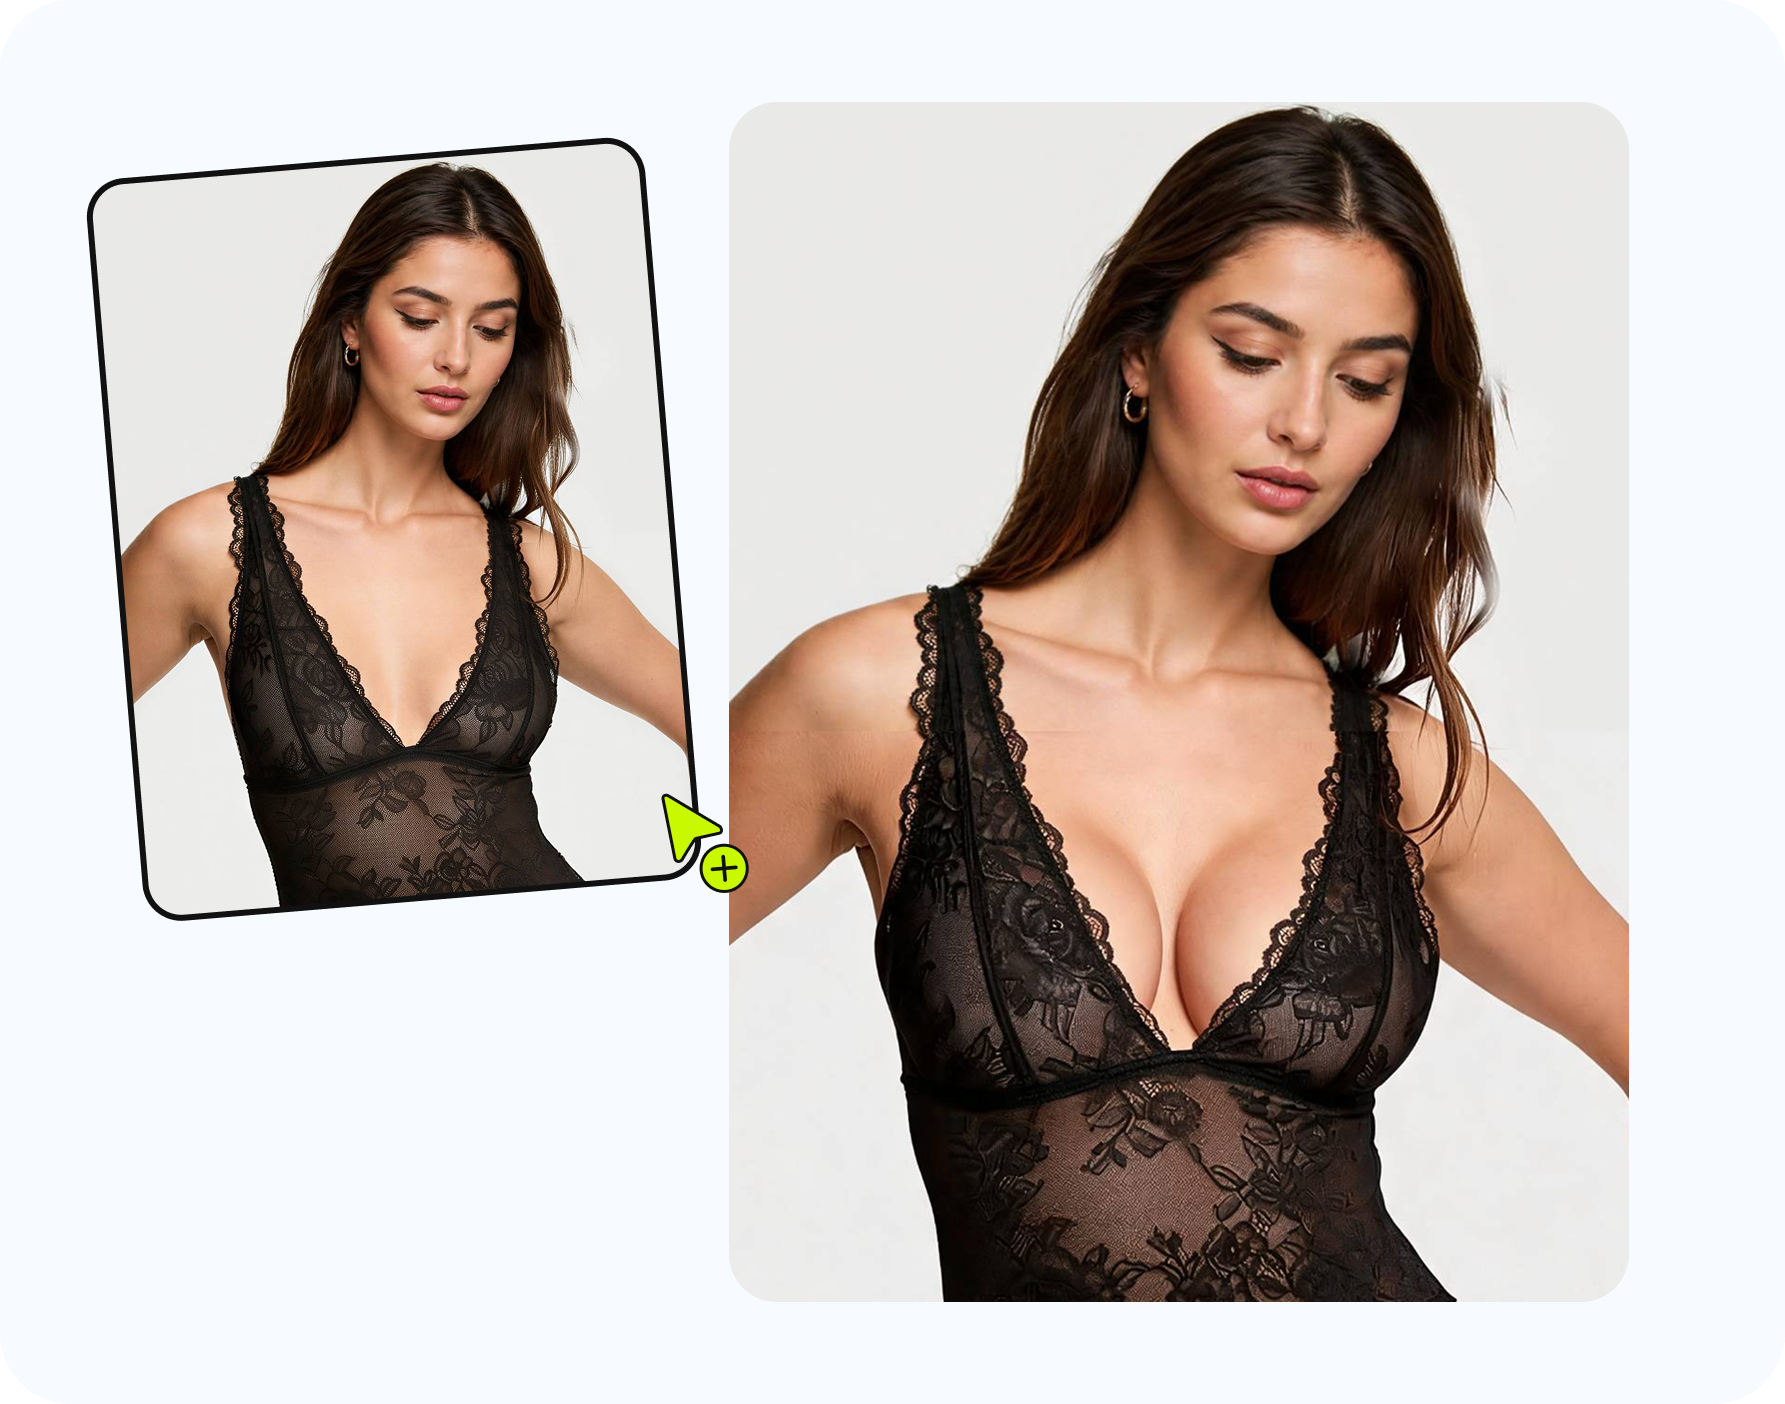
- Pass: folds curve around the changed area, print scale stays stable and garment thickness still makes sense.
- Review: a small fold is simplified but the product design remains accurate.
- Reject: rubber-like stretching, repeated texture, a logo changing shape, lace becoming painted skin or a new seam appearing.
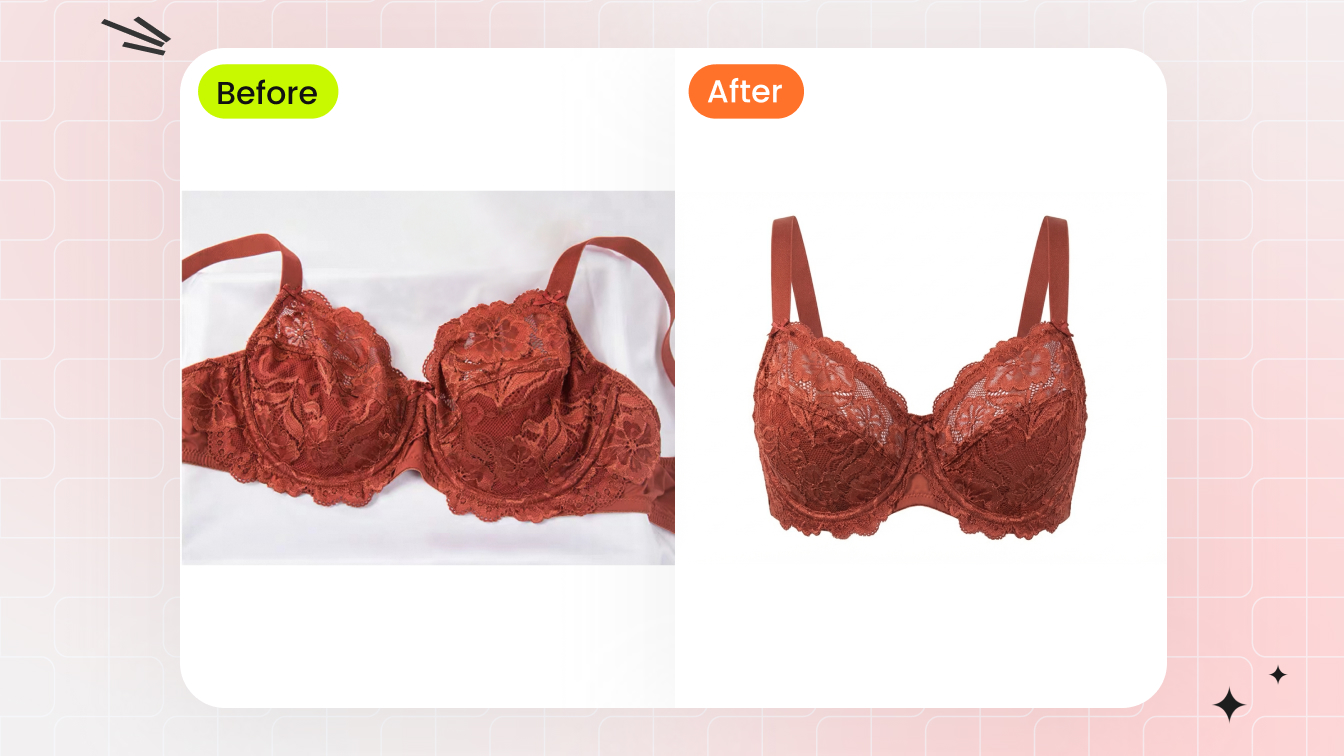
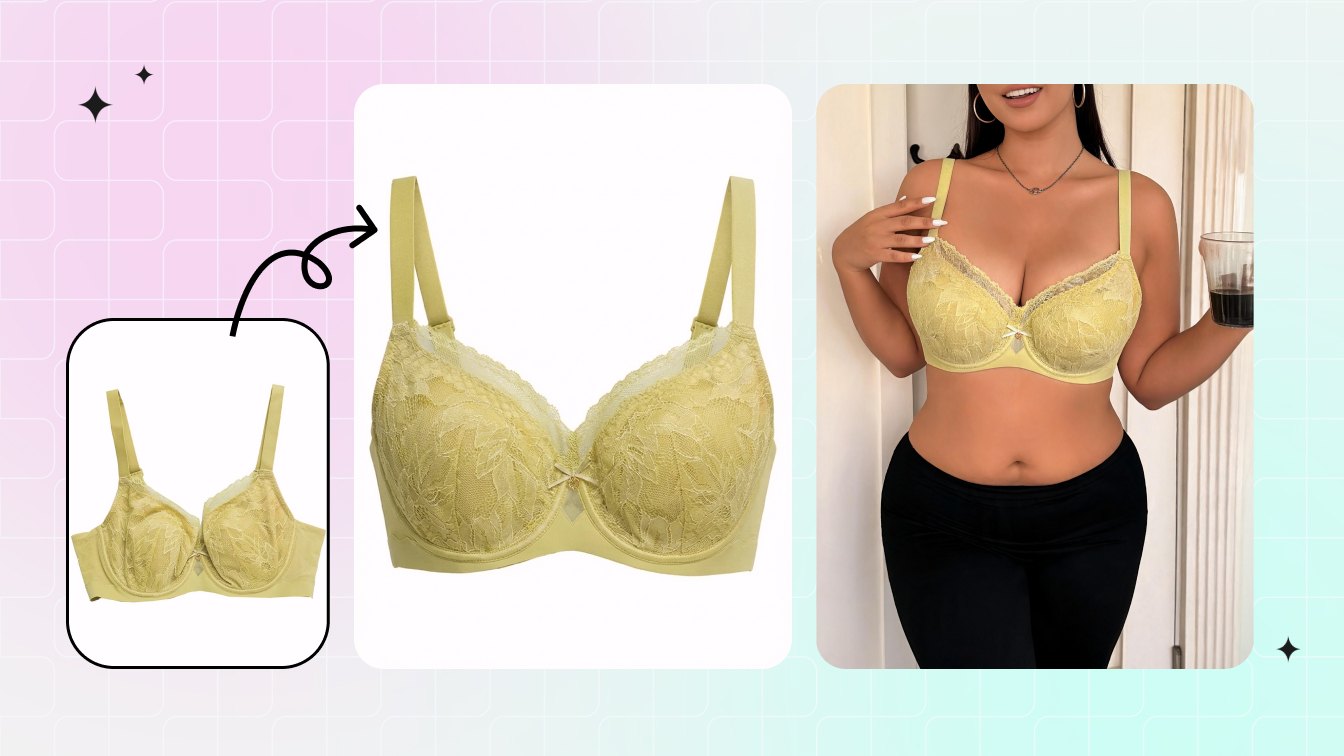
For ecommerce, an invented seam or changed print is not a cosmetic issue; it can misrepresent the product. Reject the output even if the overall body edit looks attractive. When you are comparing cup coverage or strap placement rather than the edit itself, use the separate AI bra fit and cup-size preview guide.
3. Highlights and shadows match the scene
Find the brightest highlight on the face or shoulder and identify the light direction. The edited clothing should receive light from the same side. Then compare shadow softness: a large softbox creates broad, gentle transitions; direct flash creates smaller, harder edges. The after image should not introduce a different lighting setup on one body area.
- Pass: highlight direction, shadow color and edge softness match the source.
- Review: the new shadow is slightly stronger but still belongs to the same light.
- Reject: mirrored highlight, black crescent with no source, plastic gloss on matte cloth or a halo along the neckline.
A common mistake is checking only contour. Lighting is often the first cue viewers perceive even when they cannot explain why an edit feels artificial.
4. Hair, arms and jewelry keep the right overlap
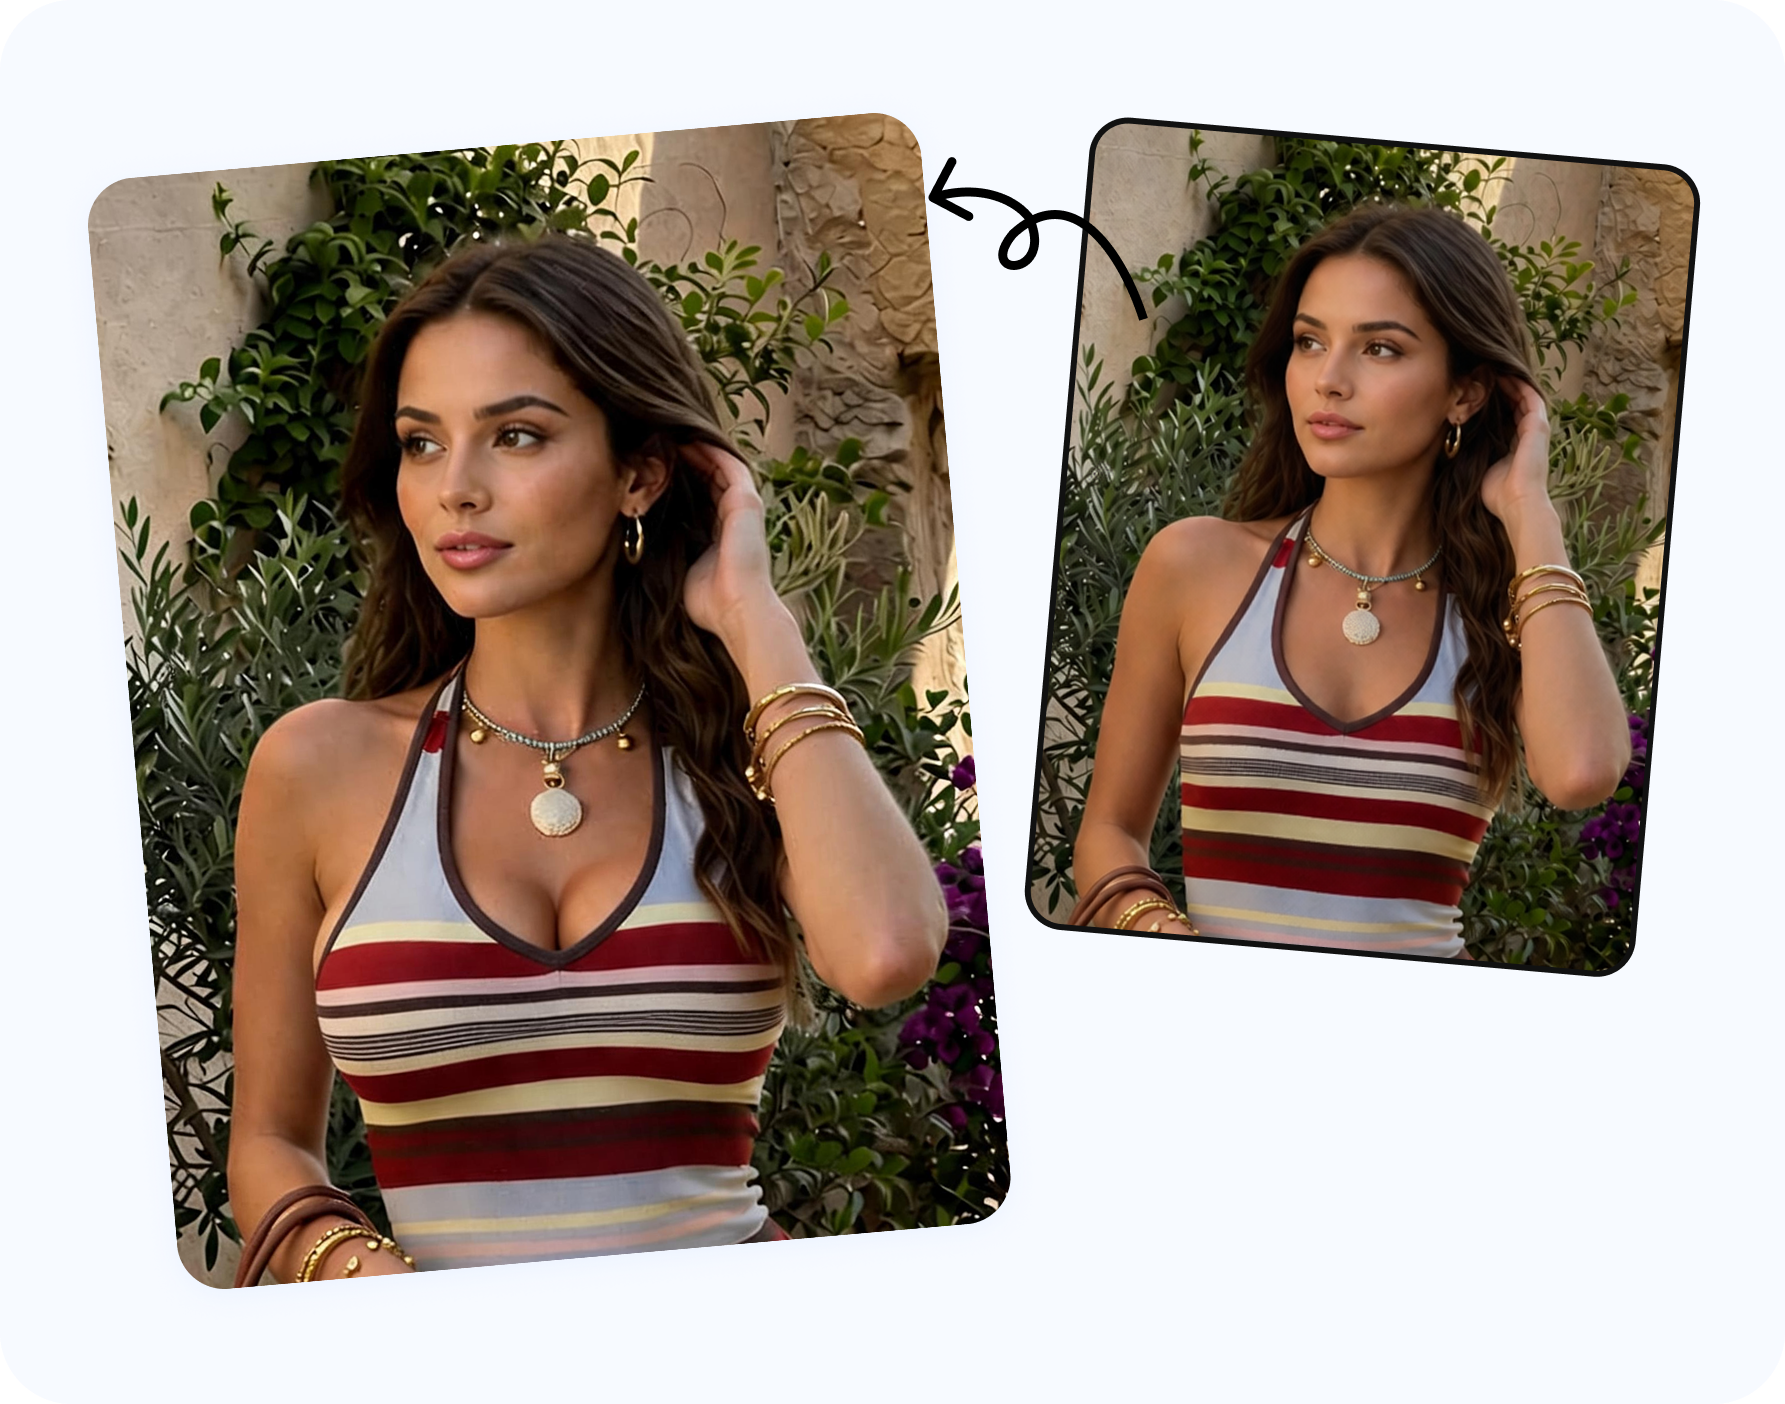
Occlusion means one object passes in front of another. If hair was in front of the blouse before, it should stay in front after. The same applies to crossed arms, handbag straps, necklaces, jacket lapels and loose outer layers. AI sometimes rebuilds the clothing correctly but places a foreground object behind it.
- Pass: hair strands retain clean edges; necklaces rest on the garment; an arm remains in front without a halo.
- Review: a few flyaway hairs are softened at normal viewing size.
- Reject: hair disappears into clothing, a necklace breaks, an arm changes shape or two incompatible layer orders appear.
If the source has dense hair across the entire neckline, the best fix is usually another photo. Repeatedly editing a failed output compounds the layer error.
5. Background lines do not bend
Door frames, tile grout, shelves, curtains, furniture edges and horizon lines are natural rulers. Traditional liquify tools push nearby pixels and often pull these lines toward the adjusted body. Generative editors can avoid that warp but may still repaint texture or move objects.
At 100%
Trace every straight line that comes within one torso-width of the edit.
With a flip
Toggle before and after quickly; stationary background objects should not jump.
At thumbnail size
Check whether the whole scene appears to lean or pinch toward the subject.
A blurred outdoor background has fewer obvious lines, but bokeh shape and repeating foliage can still expose reconstruction. “No straight line” does not mean “no background check.”
6. The whole body remains proportional
Zoom out. Compare the edited area with shoulder width, ribcage direction, waist, arm position and perspective. A proportion can be anatomically possible yet still look inconsistent with the specific pose or camera. The far side of a three-quarter pose should remain slightly smaller because of perspective; the torso should not rotate while the face stays fixed.
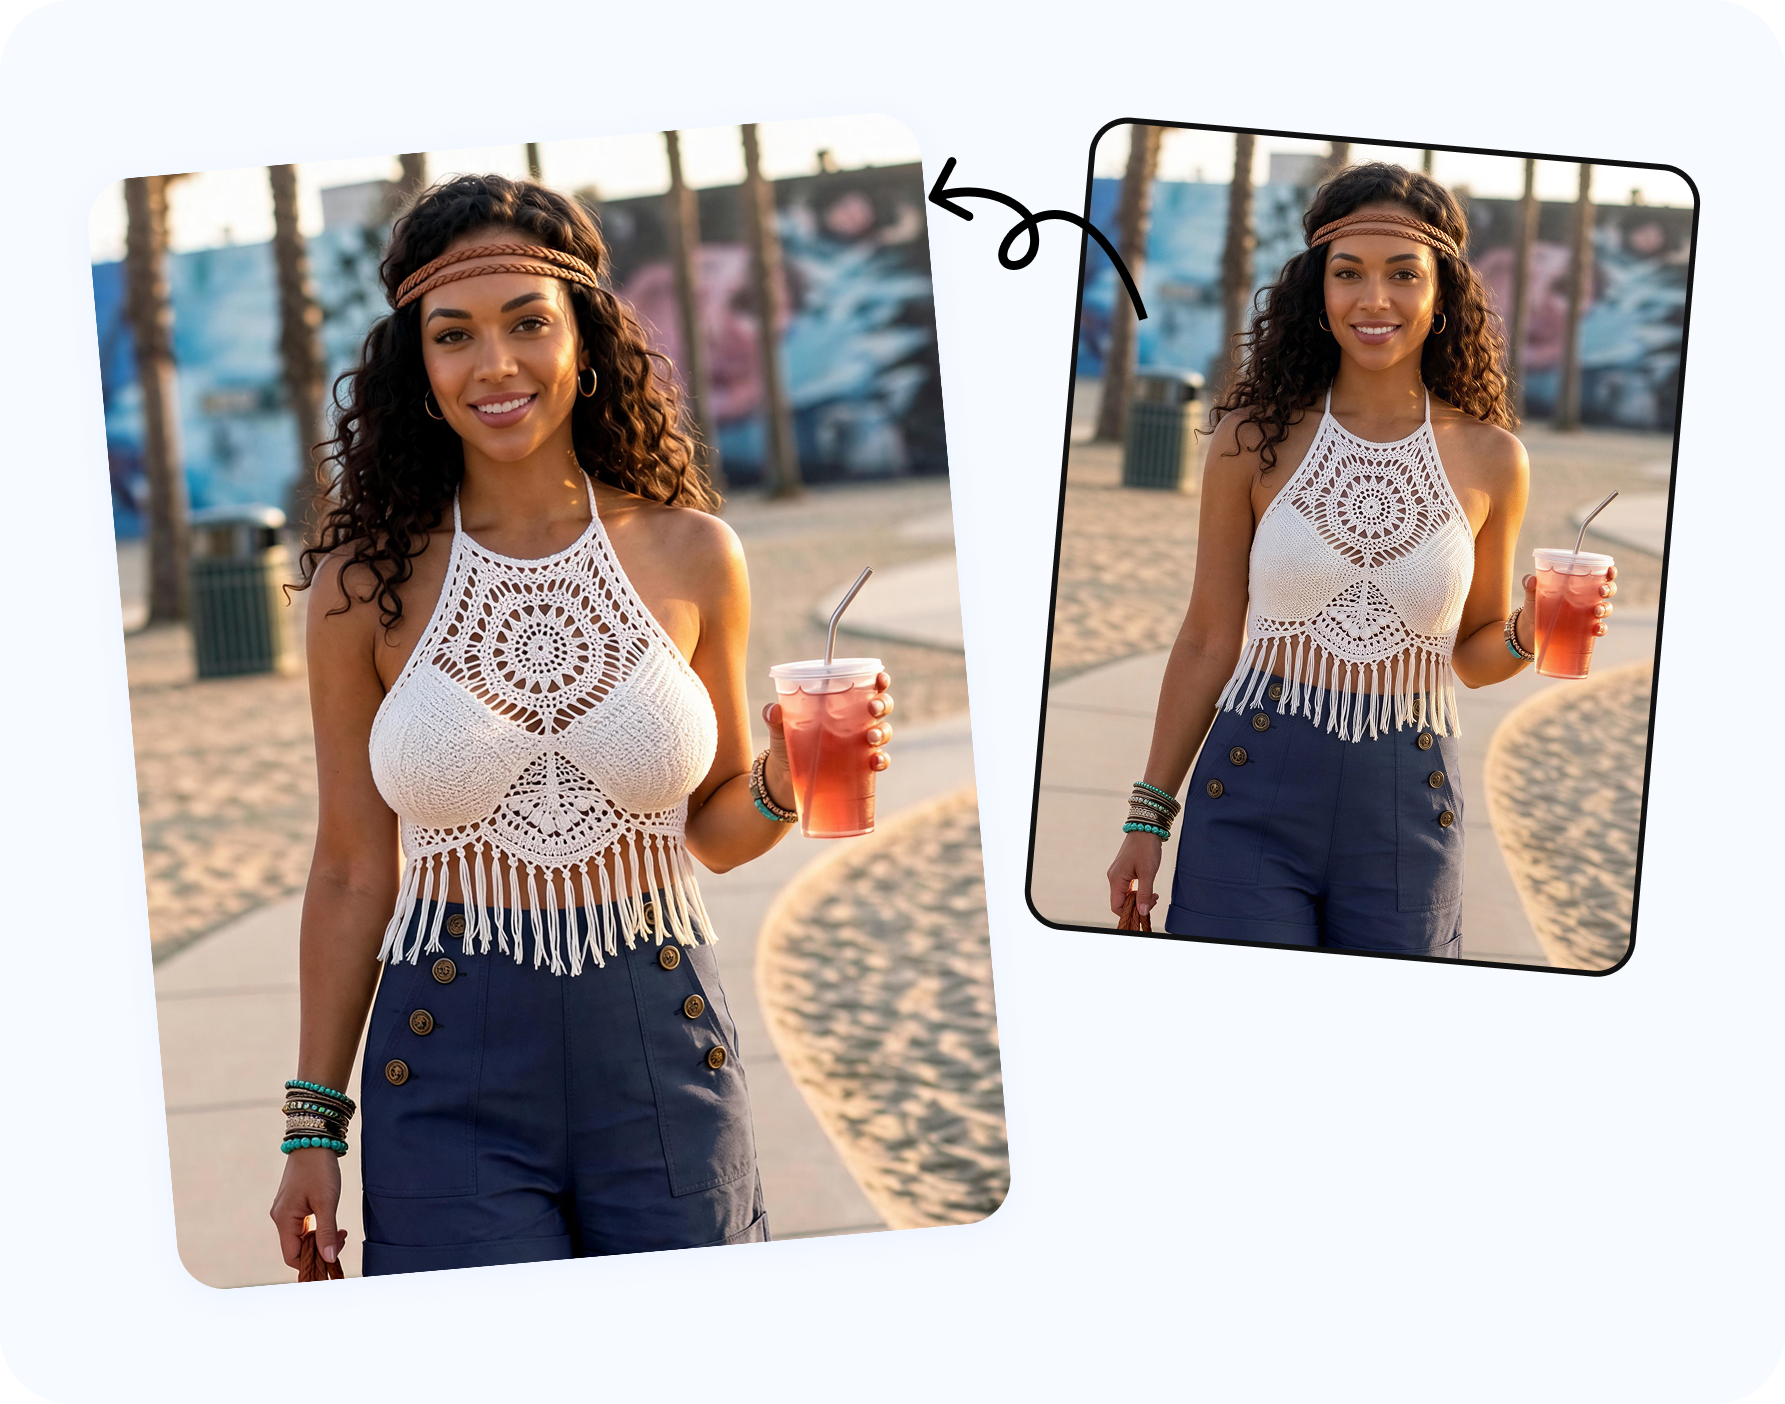
- Pass: the result feels balanced at full-frame size and the pose still carries weight naturally.
- Review: the change is plausible but dominates the composition more than the styling goal requires.
- Reject: ribcage width changes, one side ignores perspective, shoulders shift or the waist pinches because the edit is too strong.
7. Everything else stays stable
A targeted edit should not quietly change the face, hair color, skin tone, hands, garment color, crop, camera angle or background. Generative tools sometimes improve or reinterpret areas that were never requested. Those changes can make an output look polished while reducing identity and product fidelity.
Use a mental change budget: the intended body-proportion and necessary fabric response are allowed; unrelated changes are not. For a personal private preview, a tiny background variation may be tolerable. For an ecommerce or campaign image, face drift, altered garment details or changed color should trigger rejection. Commercial teams can cross-check the garment against the lingerie seller image workflow or the broader AI lingerie photography guide.
Fast rule: if you need to explain three unrelated differences between before and after, the model changed too much. Regenerate from the original with a smaller direction.
A two-minute quality scorecard
| Check | 0 points | 1 point | 2 points |
|---|---|---|---|
| Straps and seams | Broken or floating | Minor soft edge | Fully coherent |
| Fabric and pattern | Design changed | Small simplification | Structure preserved |
| Light and shadow | Conflicting light | Slight mismatch | Scene-consistent |
| Occlusion | Wrong layer order | Minor hair softness | Edges preserved |
| Background | Warp or object drift | Tiny texture change | Unchanged |
| Proportion | Implausible in pose | Visually dominant | Balanced |
| Global stability | Identity or product drift | Small unrelated change | Only intended edit |
12–14: keep after a rights review. 9–11: review at delivery size and regenerate if commercial accuracy matters. 0–8: reject and start again from the original. A zero in consent, identity or product accuracy overrides the total score.
How to fix a failed result
- Return to the original. Never stack a second AI edit on an already warped result.
- Reduce the direction. Step down one preset before changing the prompt or source.
- Choose a cleaner frame. Remove the need to reconstruct crossed arms, dense hair, bags or heavy layers.
- Constrain the request. Preserve face, pose, clothing design, straps, fabric pattern, light and background.
- Change methods when necessary. A local slider is good for a tiny adjustment against a plain background; a generative editor is better when the garment must be redrawn.
For the full creation process, see how to make breasts look bigger in photos with AI. For tools and platform choices, compare the best free AI breast enlargement apps.
Publish or reject checklist
- Adult subject consent and source-image rights cover the exact edit and intended use.
- The result remains clothed, respectful and non-deceptive.
- All seven visual checks score at least one point; product and identity accuracy score two.
- The image is reviewed at 100%, full-frame size and the final platform crop.
- The original file and generation direction are retained for audit or regeneration.
- The output is not presented as medical advice, a real body measurement, an exact bra fit or a surgical prediction.
Create and check a clothed preview →
FAQ
What makes an AI breast expansion before-and-after look natural?
The edit looks natural when straps, seams, folds, patterns, lighting, foreground overlap, background and whole-body proportion remain coherent while unrelated parts of the image stay unchanged.
Why do straps and necklines warp in AI breast edits?
They are thin structural edges close to the changed area. Large adjustments, low-resolution sources and hair or arms crossing the garment make it harder for the editor to preserve their connection points.
How can I spot background distortion?
Compare door frames, tiles, shelves, furniture and horizon lines at 100%, then flip quickly between before and after. Straight objects should not bend, jump or pull toward the torso.
Does a larger edit look less realistic?
Often yes because more fabric, shadow, perspective and body proportion must be reconstructed. The smallest change that answers the styling goal is usually the strongest result.
Can I publish an AI breast expansion before-and-after?
Only when the adult subject consented to this edit, you hold the required image rights, the result remains clothed and respectful, and the intended platform or commercial use allows it.
When should I reject an AI breast enlargement result?
Reject it when consent or rights are unclear, identity or product design changes, straps or patterns break, lighting conflicts, foreground objects clip, the background warps or the full-body proportion no longer fits the pose.