 Snappyit Team
At a glance
If you want to make breasts look bigger in photos, start with restraint rather than the strongest available setting.
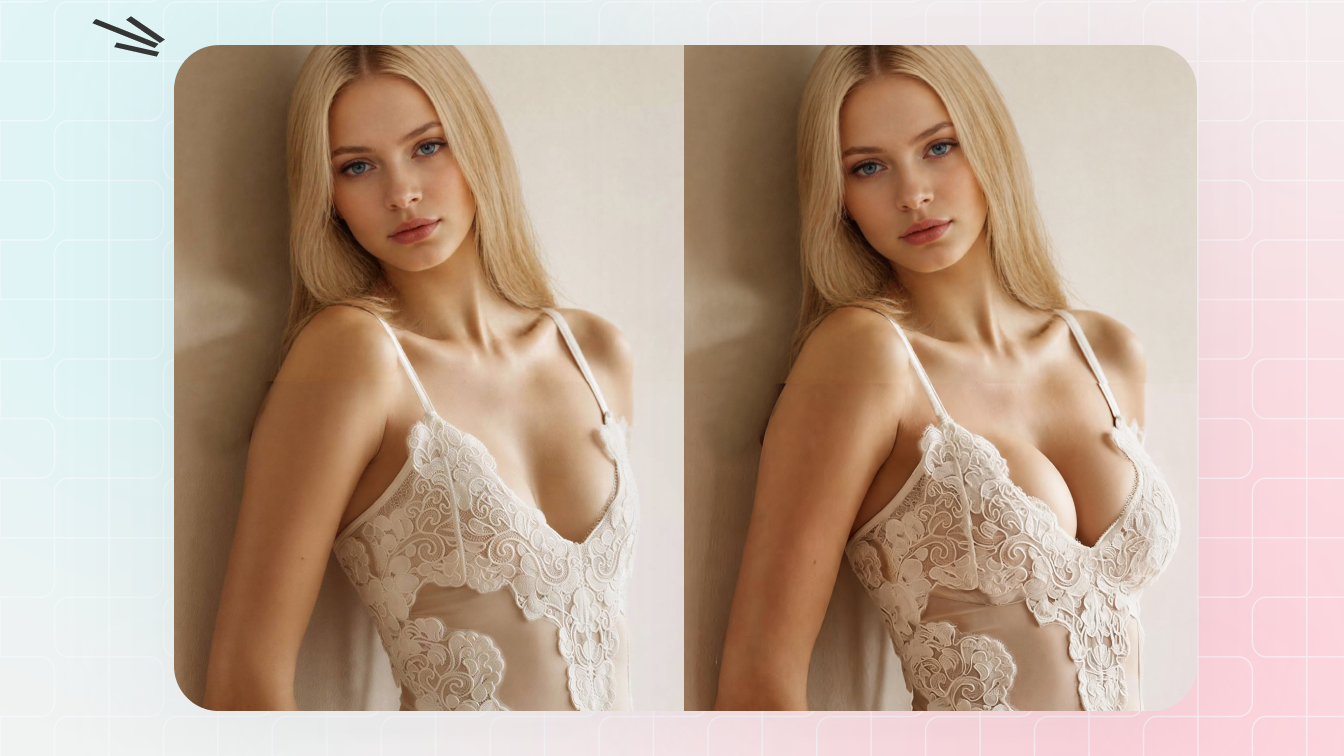
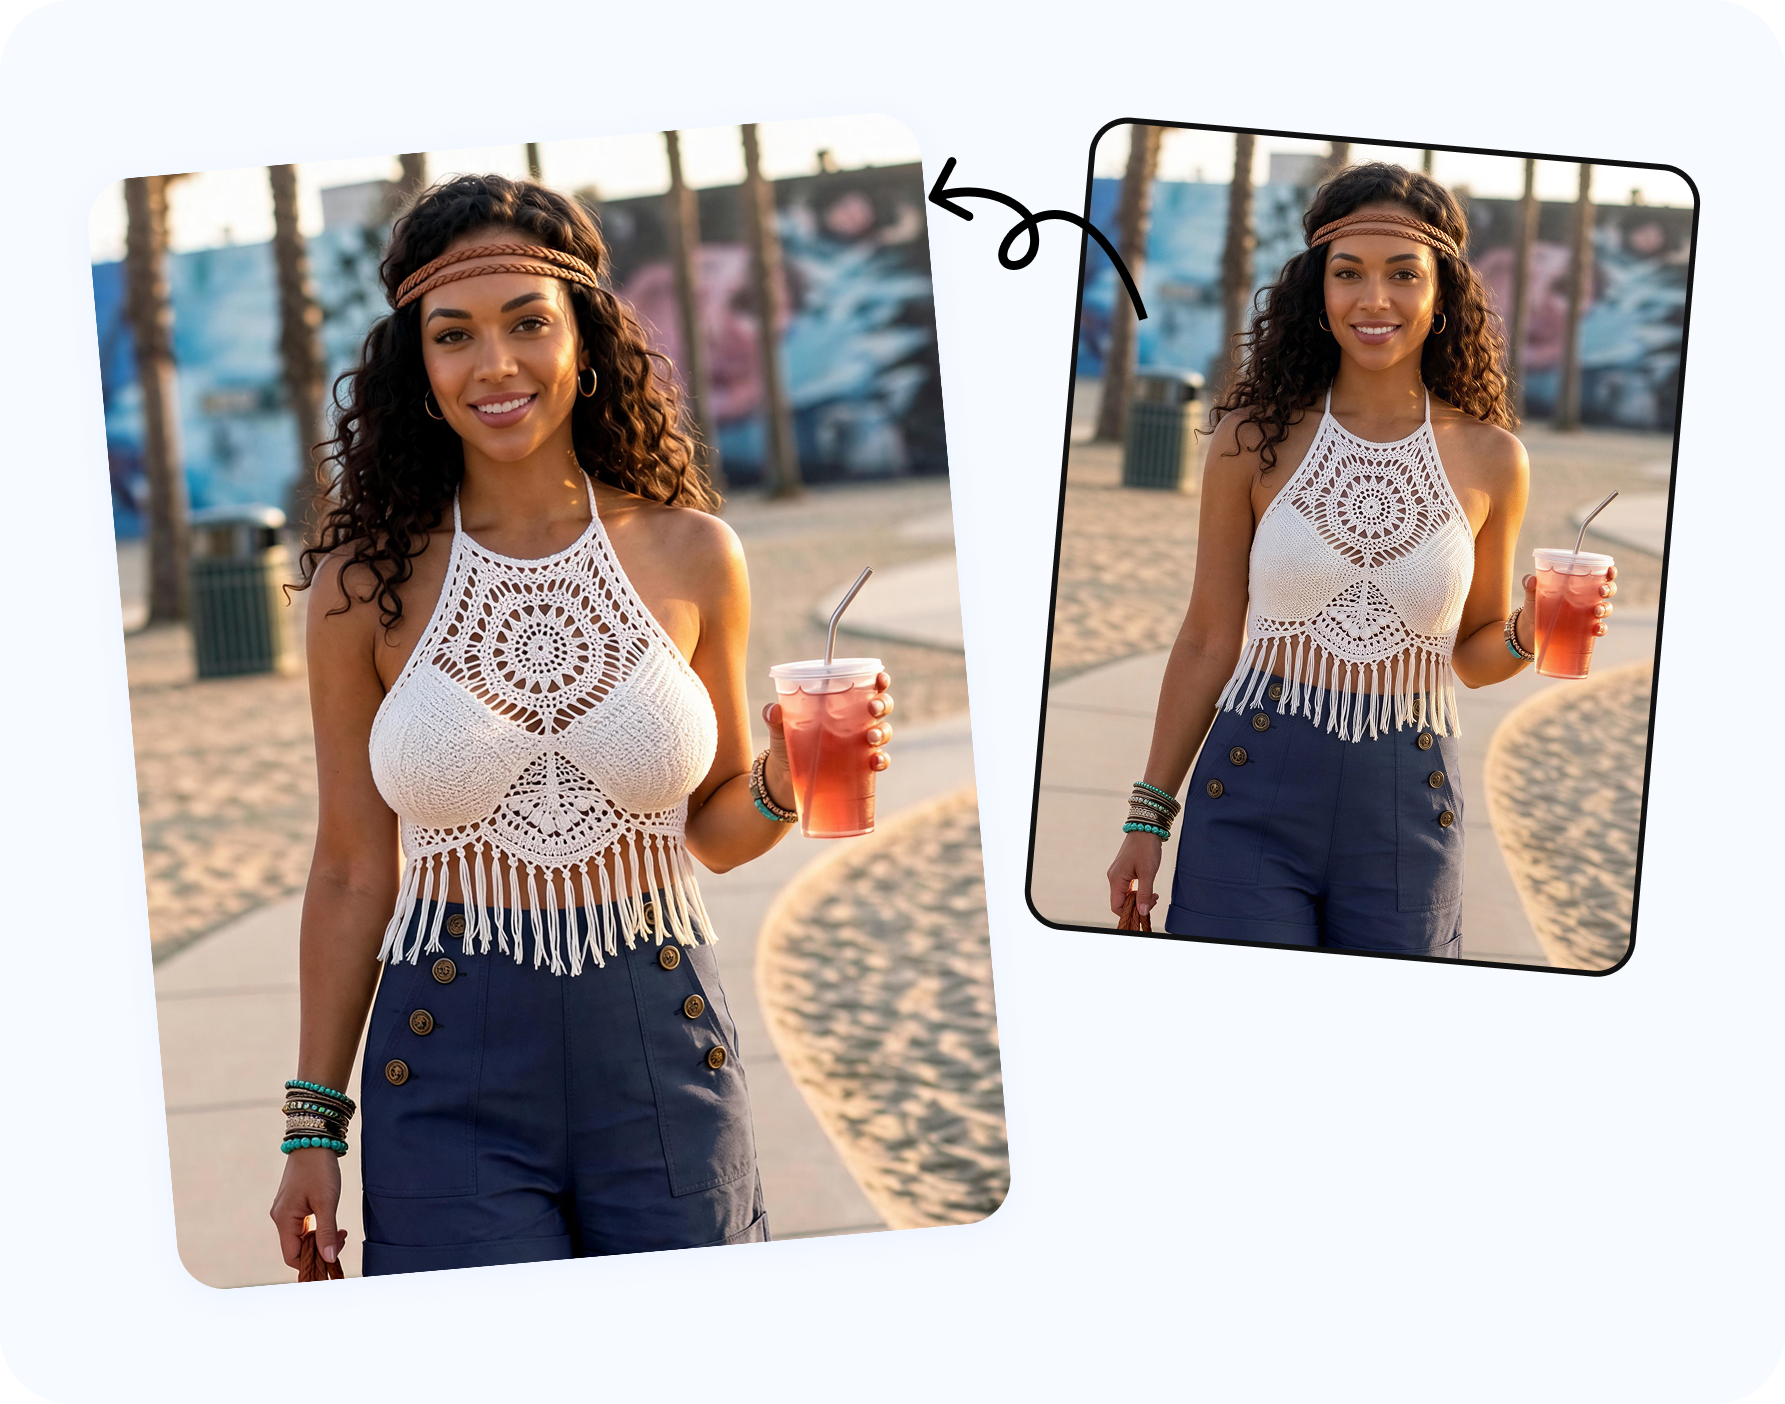
To increase breast size in a photo without an obvious body-filter effect, use a clear authorized adult clothed image, choose the smallest useful size direction, then inspect the garment and scene before exporting. Snappyit’s AI breast enhancer uses B–F visual presets so you can compare controlled versions instead of pushing a freehand warp tool until the image breaks.
| Step | Action | Quality goal |
|---|---|---|
| 1. Choose | Use a sharp, clothed adult photo you have permission to edit. | Torso direction, straps and garment edges are visible. |
| 2. Adjust | Upload and start with one modest B–F direction. | The change supports the outfit rather than replacing its design. |
| 3. Check | Review at 100% and full-frame size before saving. | Folds, shadows, hair overlap, background and body balance still agree. |
If you prefer a phone workflow or want to compare control styles first, see the free AI breast enlargement app comparison.
What a natural clothed result should preserve
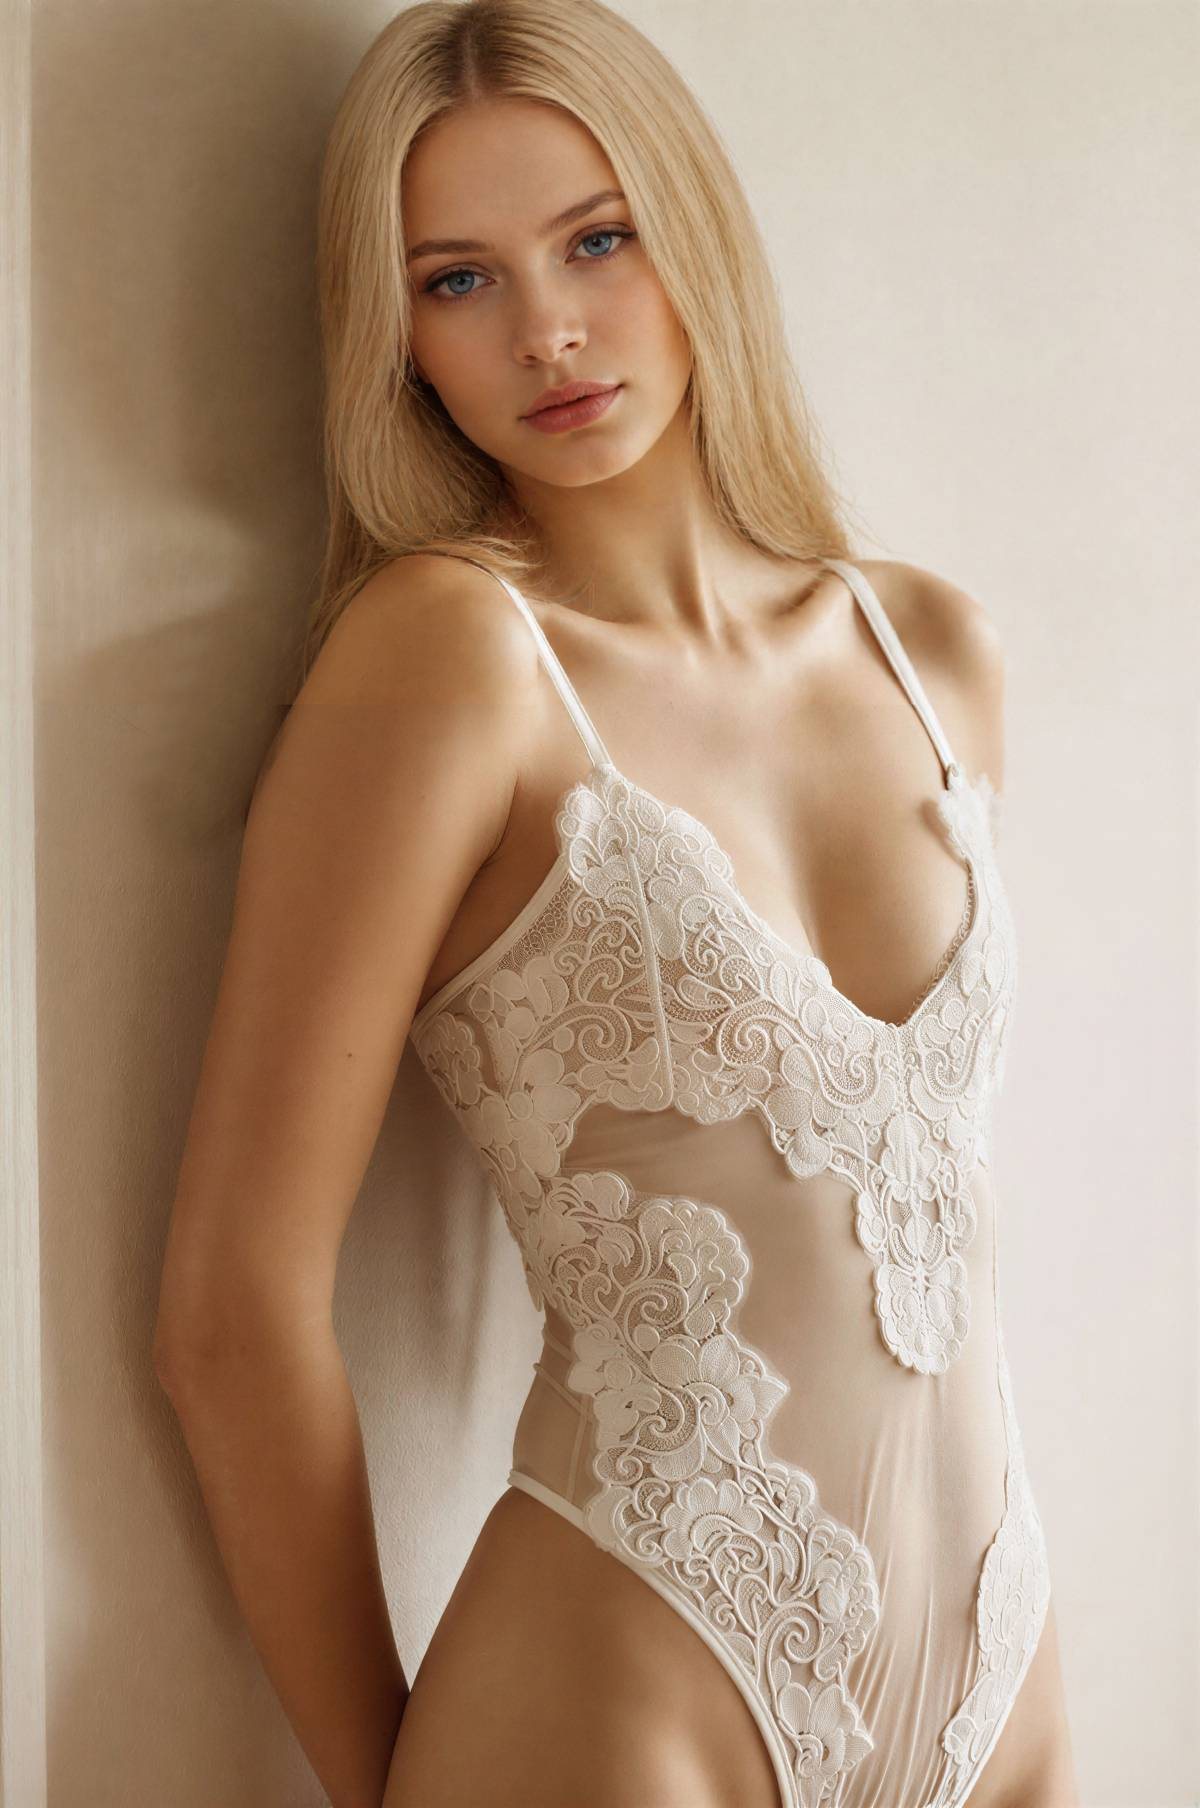
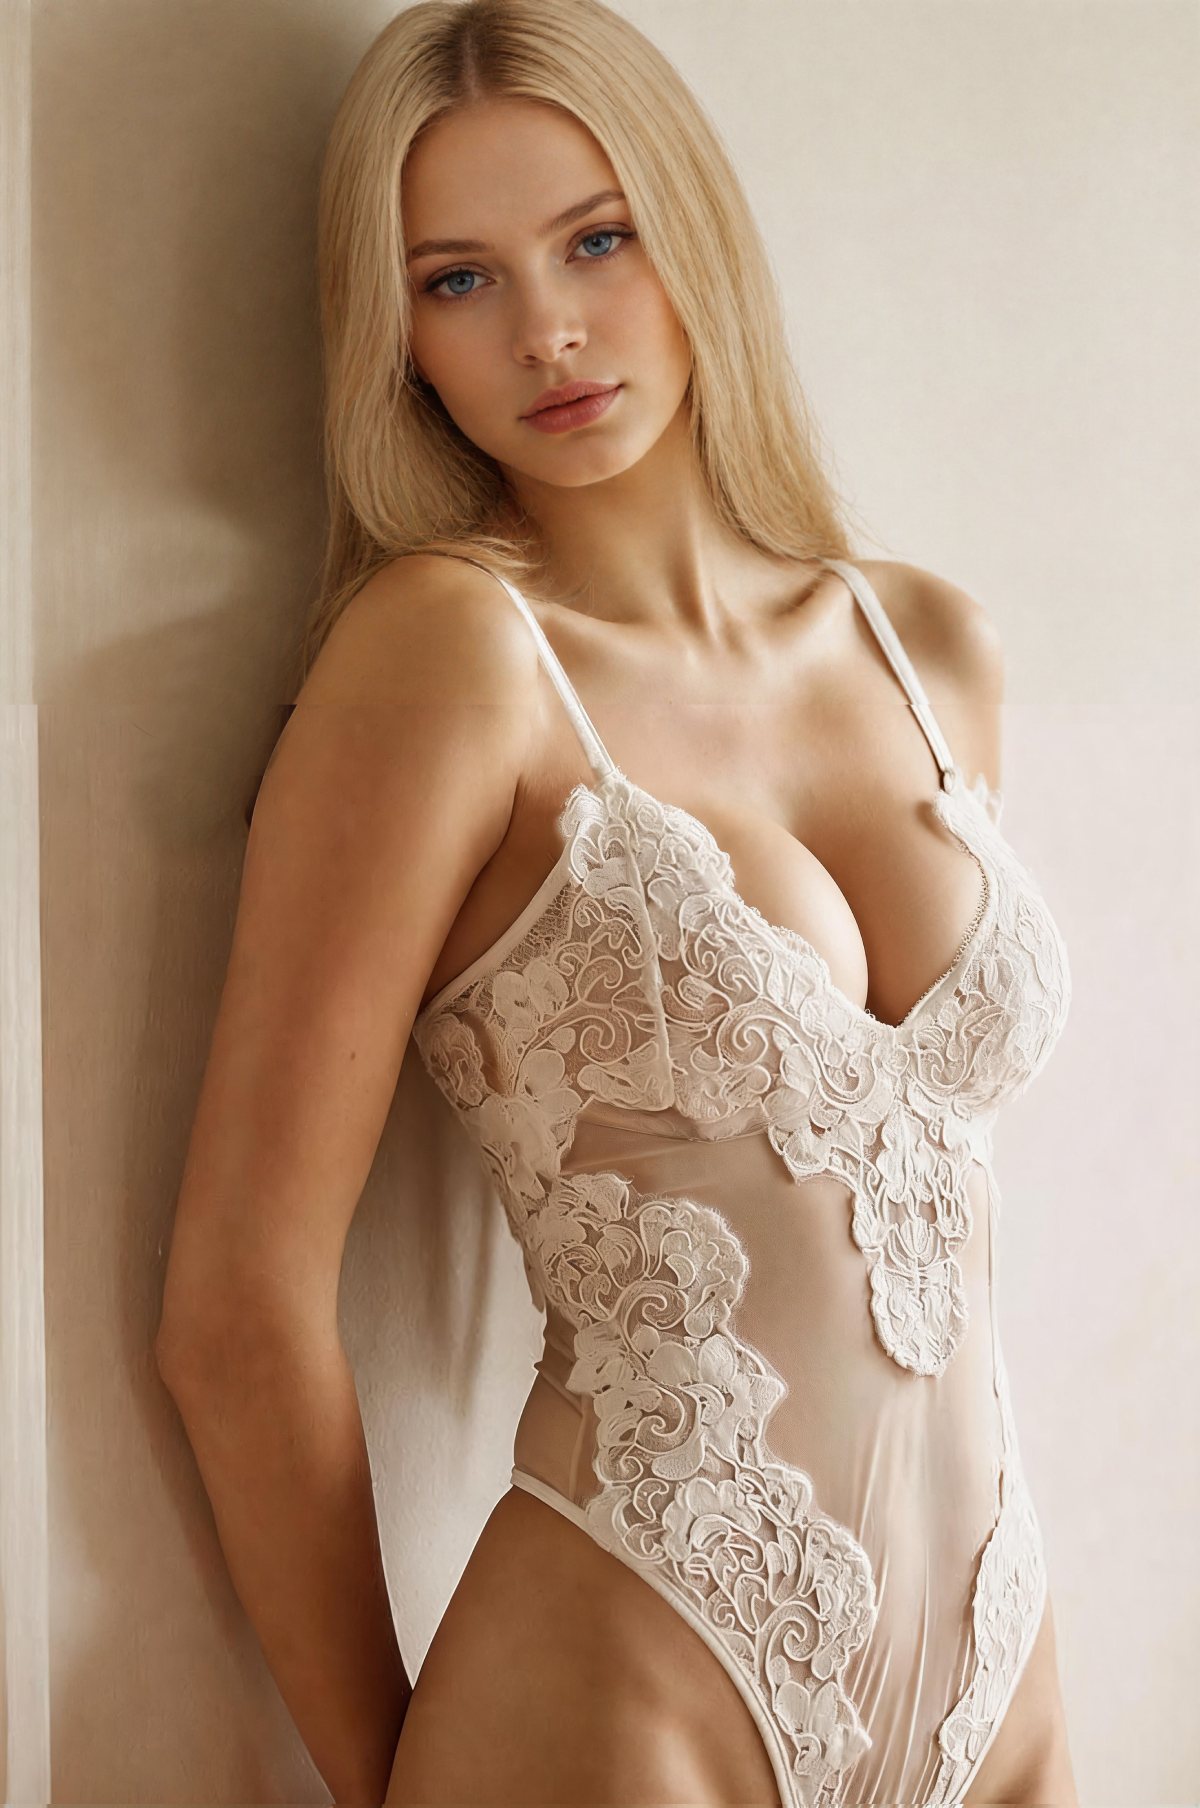
A convincing edit changes one visual relationship while leaving the rest of the photograph stable. The model’s face, shoulders, waist, pose and camera angle should stay the same. The top should still have coherent seams and folds. Highlights and shadows should follow the original light. The background should not bow toward the edited area.
The companion AI breast expansion before-and-after checklist turns those observations into seven pass-or-reject checks.
Step 1 — Choose the right clothed photo
The source image determines more of the final quality than the size preset. AI can infer a plausible shape only when it can read the torso, clothing and light. A front or gentle three-quarter pose usually works better than a profile, crossed-arm pose or image where hair covers most of the neckline.
| Photo feature | Use it | Avoid it | Why |
|---|---|---|---|
| Resolution | Sharp original, ideally 1200 px or wider | Compressed screenshot or blurred crop | Straps, seams and hair edges need real pixels. |
| Pose | Front or slight three-quarter, relaxed shoulders | Crossed arms, deep twist or extreme profile | Occlusion makes the new contour ambiguous. |
| Clothing | Simple top, dress, bra or swim top with visible edges | Heavy coat, scarf, dense ruffles or layered outerwear | The AI must decide which layer should move. |
| Lighting | Soft, even light with readable shadows | Hard flash, crushed blacks or mixed color light | New volume needs consistent highlight and shadow. |
| Background | Plain wall or distant scene | Tiles, railings or door frames touching the torso | Straight lines reveal local warping immediately. |
If the only available image has hair, arms or a bag crossing the clothing, do not crop those details out blindly. They establish which object is in front. Choose another frame when possible; otherwise expect to regenerate and inspect the overlap carefully.
Step 2 — Upload and choose a size direction
- Open Snappyit AI Breast Expansion.
- Upload your own clothed adult photo or a licensed adult model image with explicit editing permission.
- Choose one B, C, D, E or F direction. Start with the smallest change that answers the styling question.
- Generate one result before testing a larger direction. Comparing adjacent presets is more useful than jumping from the source to the strongest option.
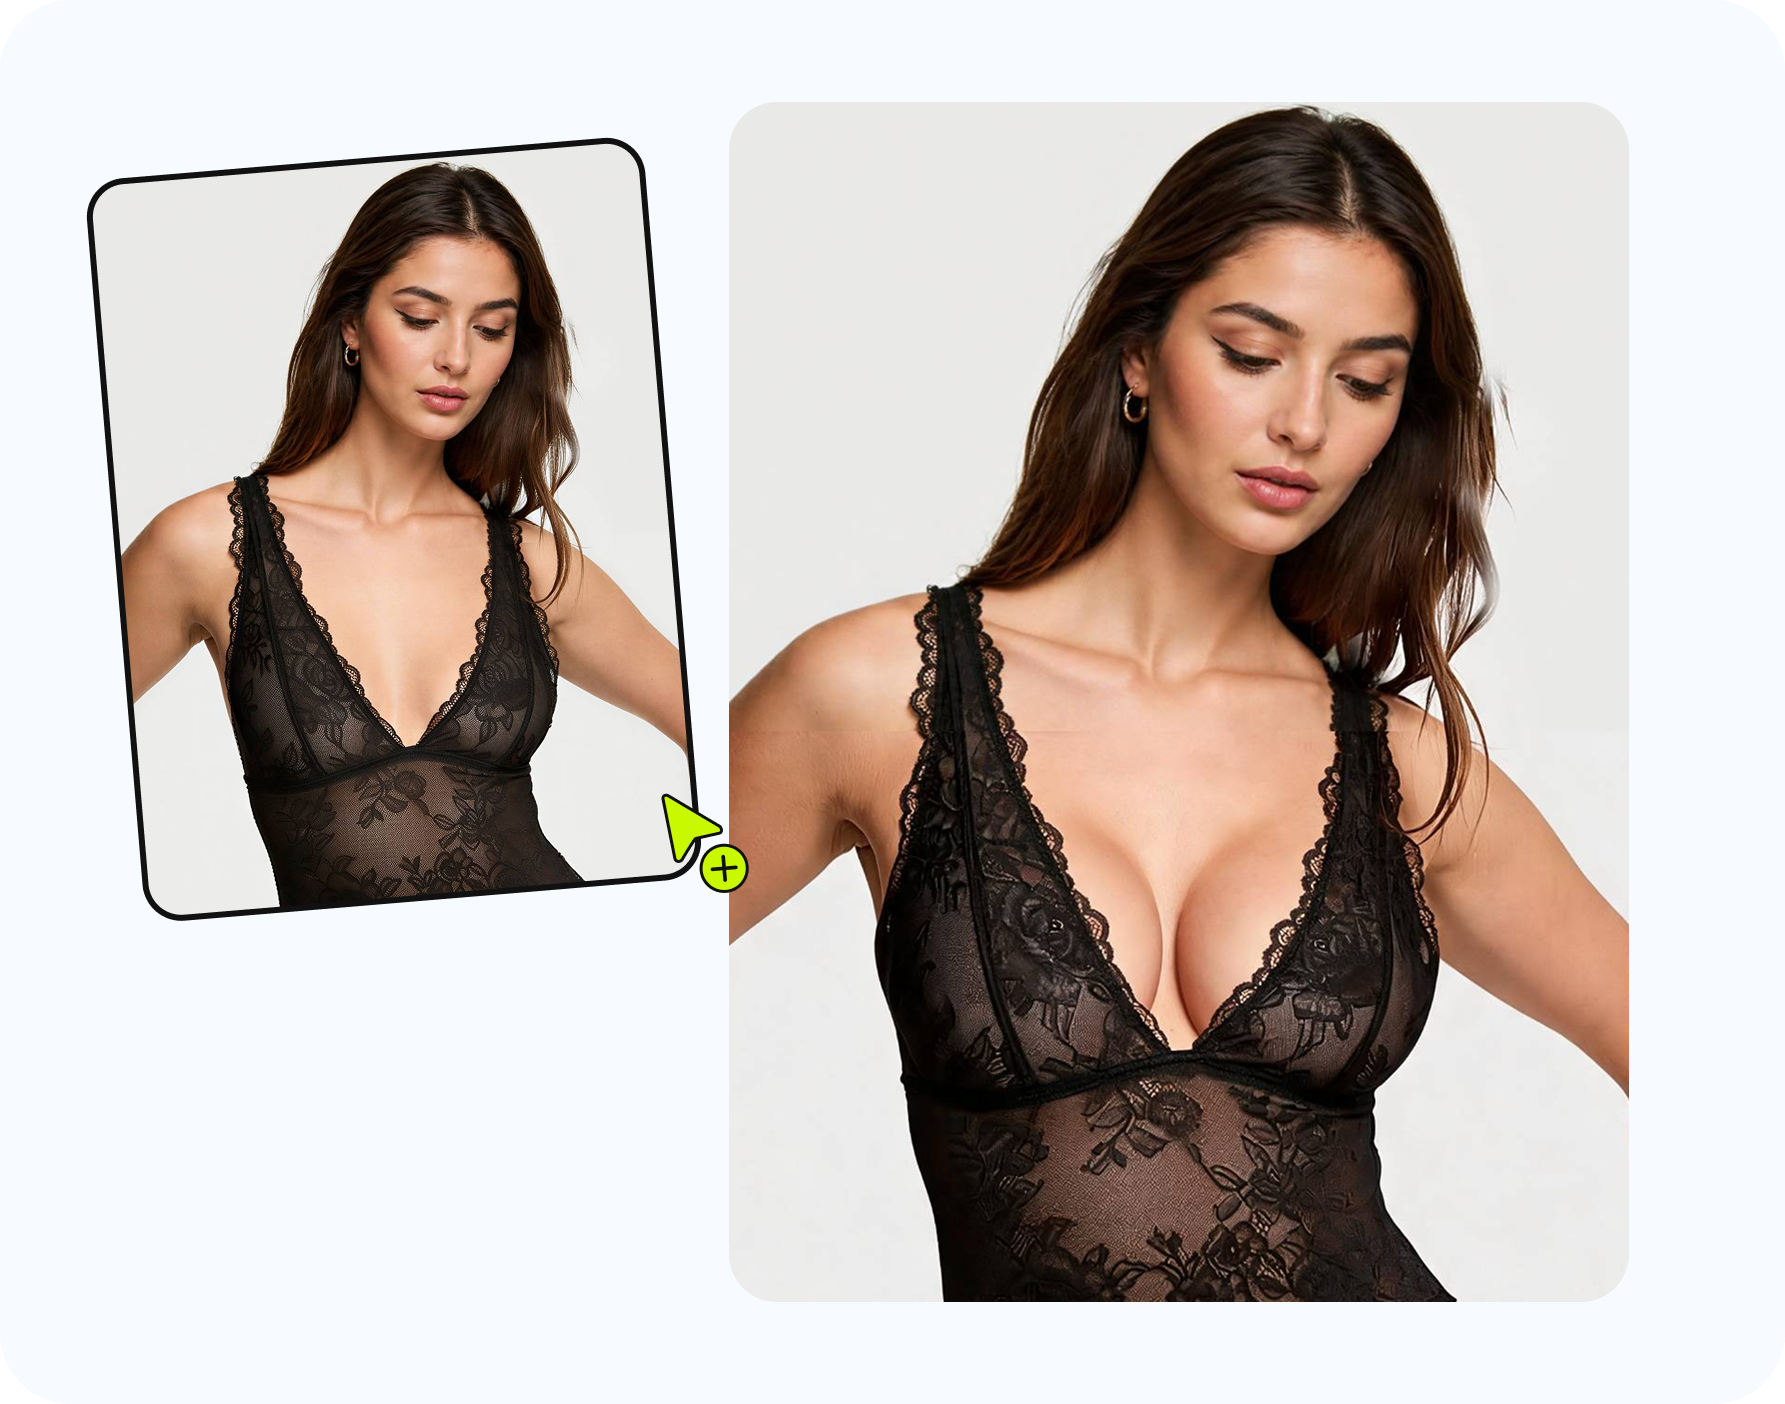
Do not interpret the preset literally. A generated “D” direction is not a diagnosis, body measurement or promise that a D-cup garment will fit. Band size, cup construction, fabric stretch and brand sizing are not recoverable from a photograph.
For a blouse or fitted dress, one modest step is often enough to test neckline balance. For a lingerie or swimwear concept, compare two adjacent directions and focus on cup coverage, strap angle and band placement. If the actual task is evaluating bra fit rather than enlarging the photo, use the dedicated AI bra fit preview guide.
Step 3 — Generate, check and export
Do not judge the result only in the small preview. Open it at 100% and move around the edited area in a fixed order. Then zoom back out to check the whole silhouette.
Check contact points: straps at the shoulder, neckline seams, under-bust bands, side seams and any jewelry touching the clothing.
Check material: folds should curve with the new volume; checks, stripes, lace and logos should remain continuous.
Check light: the highlight should stay on the same side and the shadow should have the same softness and color as the original.
Check the scene: door frames, tiles, furniture and horizon lines should remain straight and unchanged.
Check the person: face, shoulders, arms, waist, posture and identity should not drift.
Export only after all five checks pass. For commercial use, keep the original and generation settings with the final file so a reviewer can reproduce the decision and confirm image rights. If anything feels off, use the full two-minute quality scorecard before regenerating.
Photo requirements by clothing type
Dress or blouse
Look for neckline symmetry, darts, buttons and waist tension. Structured bodices expose seam mistakes quickly.
Bra or lingerie
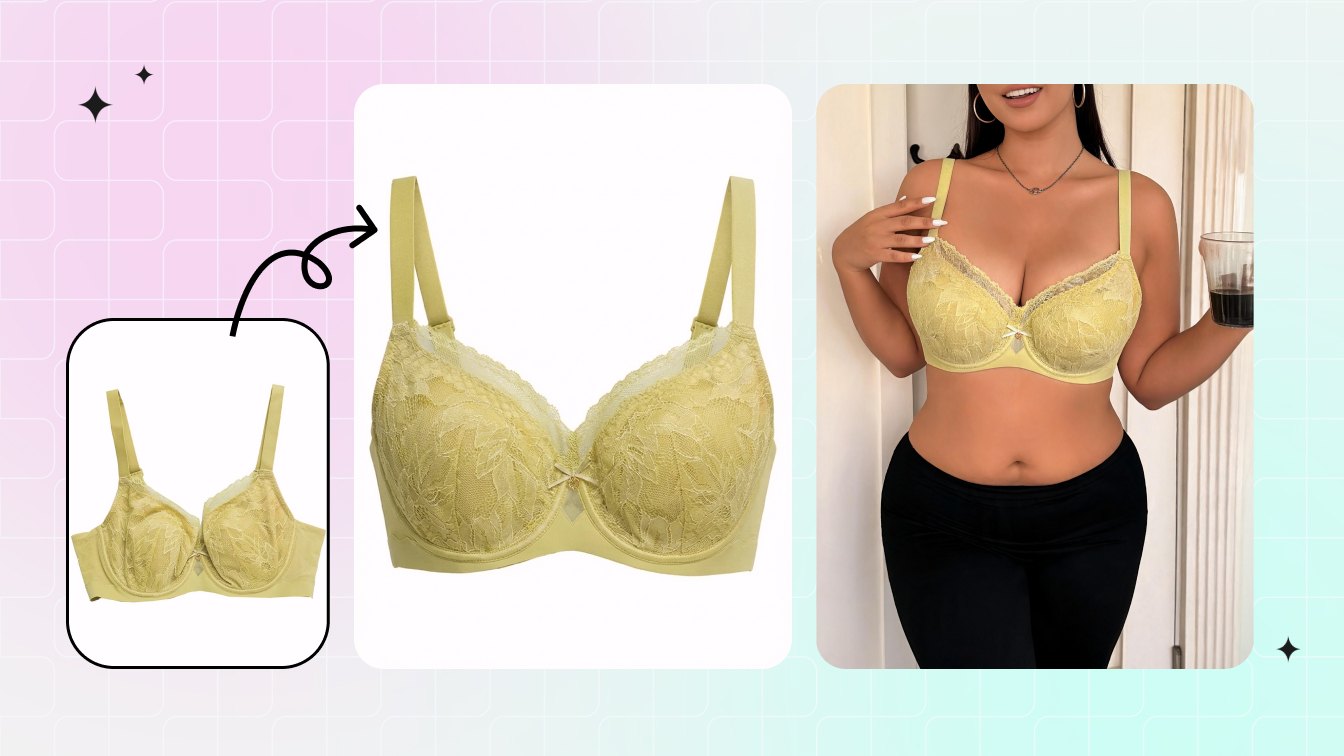
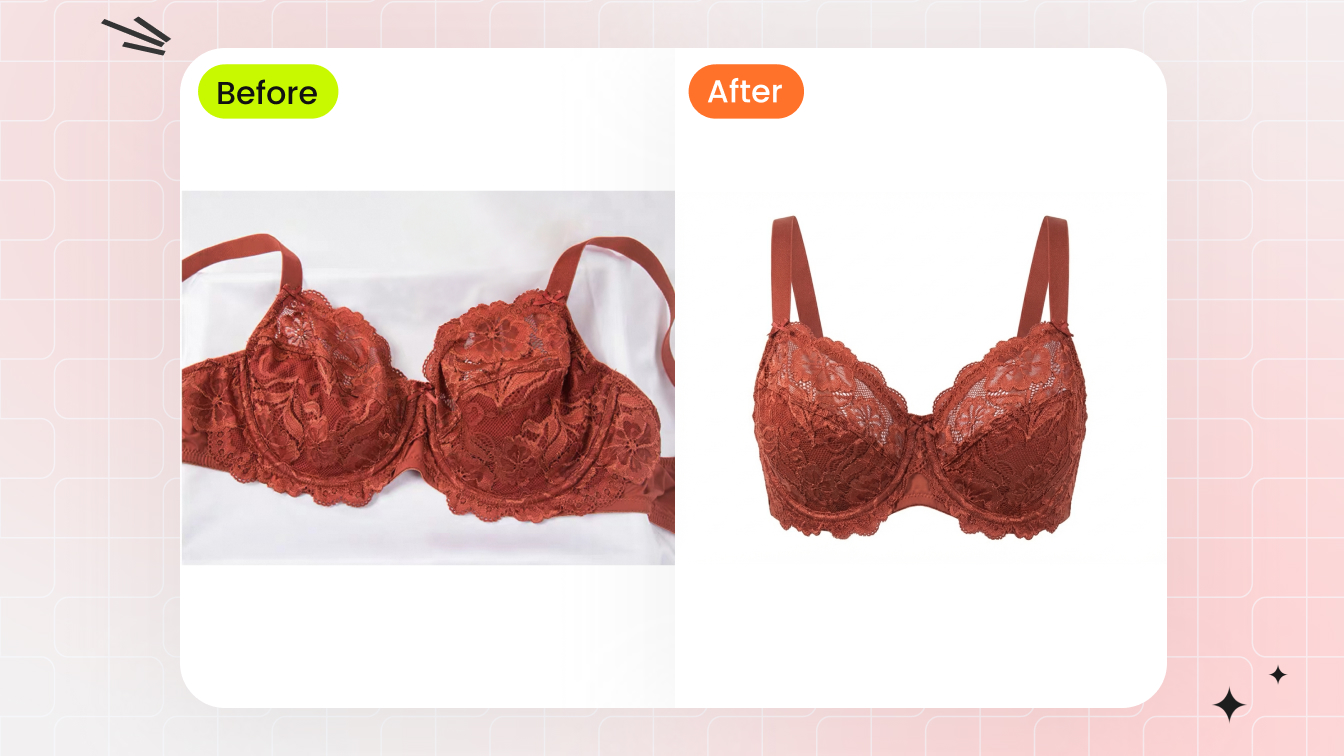
Inspect straps, cup edge, center seam, lace transparency and under-bust band. Keep the image clothed and campaign-appropriate.
Swim top
Check ties, rings, straps and print continuity. Outdoor light also makes shadow direction especially important.
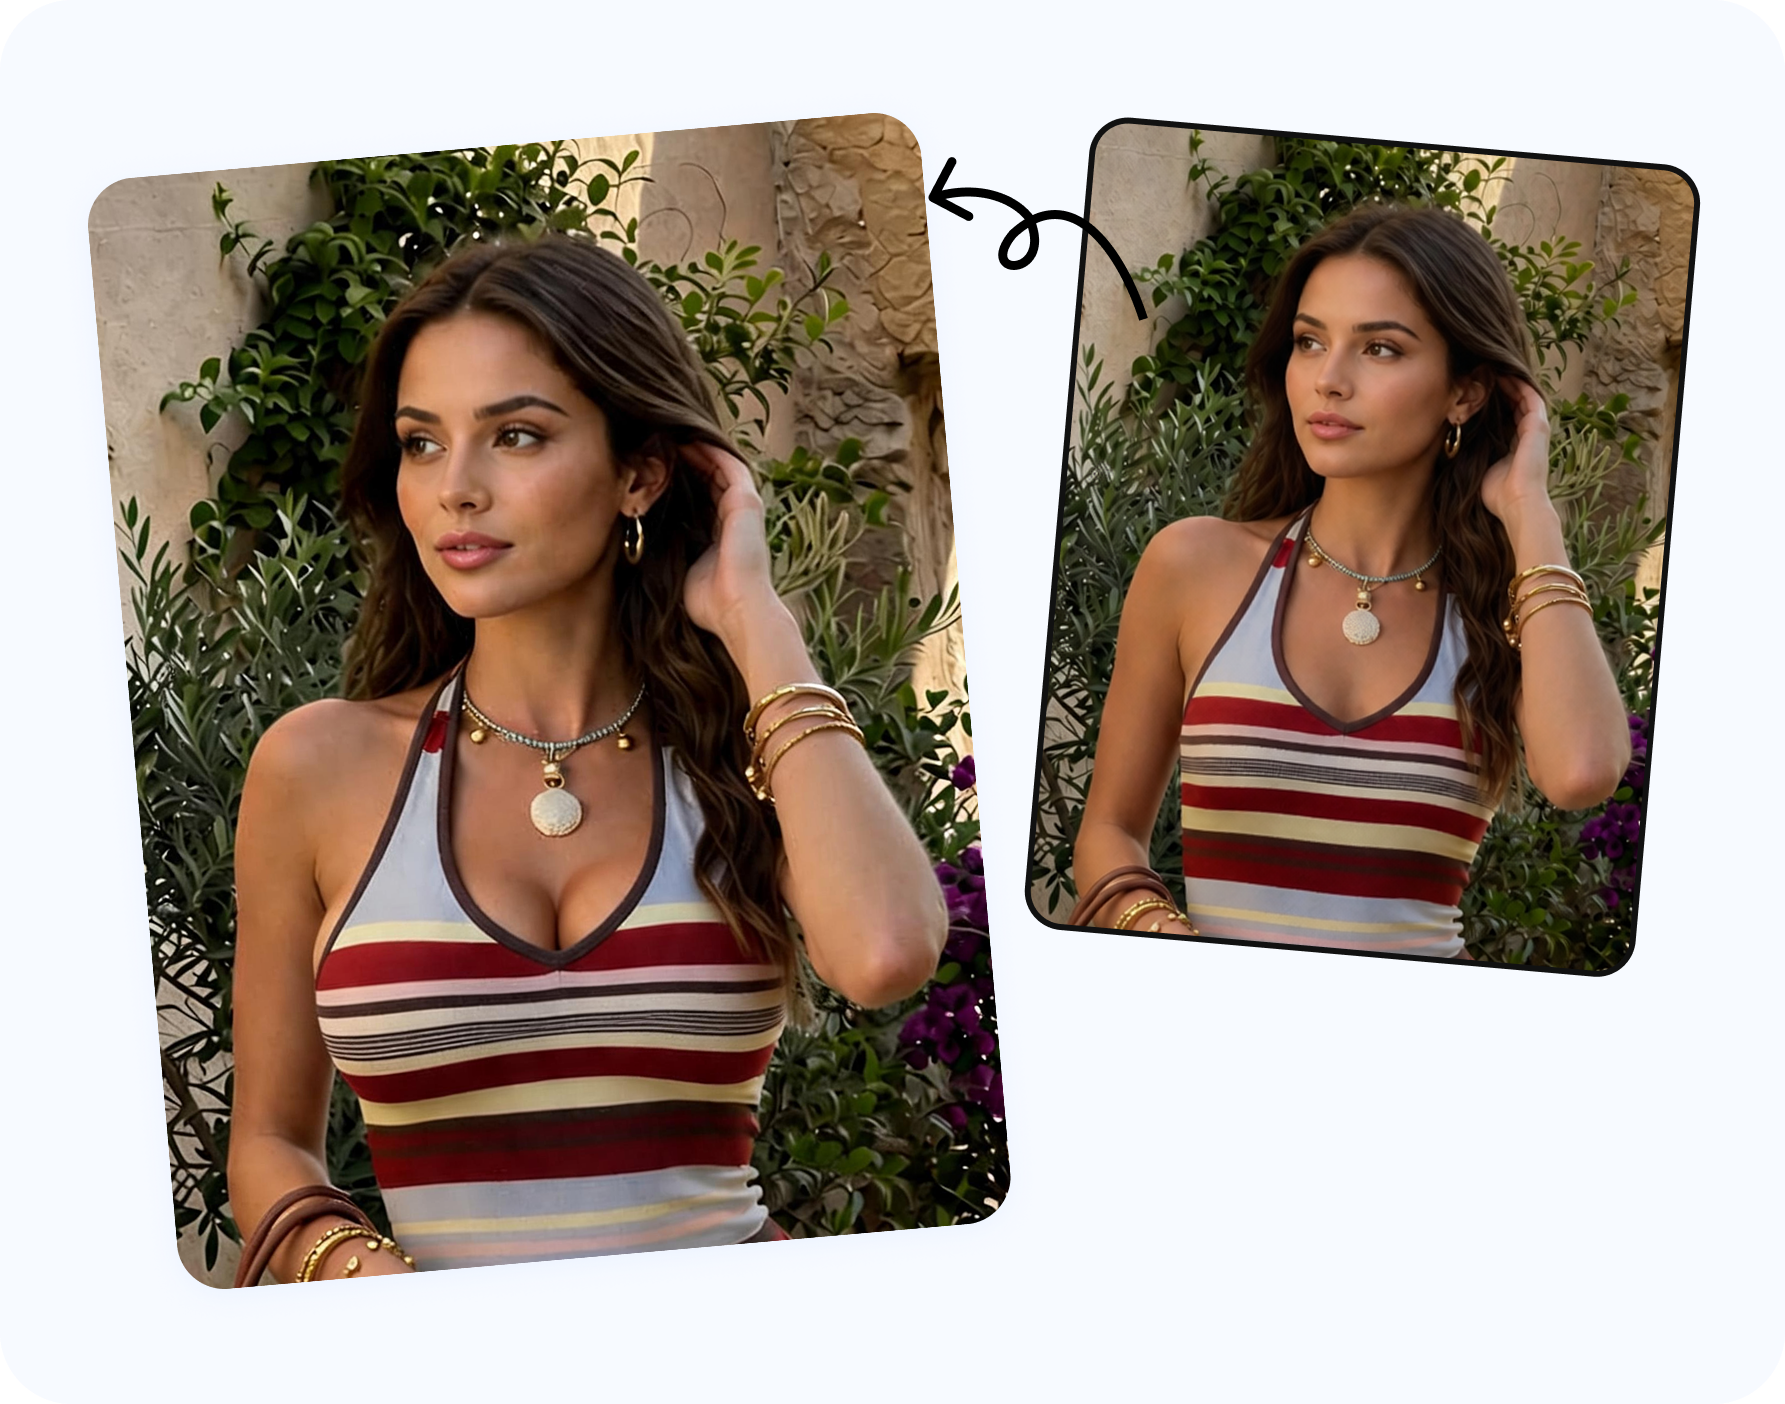
If your goal is to replace or restyle a bikini top rather than change body proportion, switch to the AI Bikini Photo Editor; it is designed around the garment itself.
Common failures and how to fix them
| Failure | What it looks like | Likely cause | Fix |
|---|---|---|---|
| Floating strap | Strap no longer touches shoulder or cup edge | Large change or occluded source | Use a smaller direction or a clearer photo. |
| Rubber fabric | Print and folds stretch uniformly | Local warp rather than garment reconstruction | Use a generative editor and constrain garment design. |
| Double neckline | Original edge remains under a new edge | Incomplete mask or weak reconstruction | Regenerate from the original; do not edit the failed output again. |
| Wrong shadow | New dark patch conflicts with the light source | AI invented volume without scene context | Use an evenly lit source and a smaller change. |
| Bent background | Door frame or tile bows inward | Liquify-style pixel displacement | Protect straight lines or switch to a generative workflow. |
| Body imbalance | Torso no longer matches shoulders, waist or pose | Change is too large for the composition | Step down one direction and judge the full frame. |
| Hair clipping | Hair edge dissolves or appears behind the wrong layer | Hair covers the edited area | Choose a frame with hair behind the shoulder or regenerate carefully. |
How much change looks natural?
There is no universal “natural” size. Naturalness is consistency: the result agrees with the person’s pose, the garment’s construction, the camera, the light and the rest of the scene. In most photos, the smallest visible change is the easiest to believe because fewer pixels and clothing relationships must be reinterpreted.
Use the edit to answer a concrete styling question: Does this neckline still feel balanced? Does the top provide the intended visual coverage? Would the campaign direction read differently? If the goal becomes “make the change as large as possible,” quality usually falls because straps, folds, shadows and body proportions all need a more radical reconstruction.
The best edit is not the strongest one. It is the first version that answers the styling question without making viewers inspect the editing.
What this AI edit cannot tell you
An AI breast enhancer cannot measure breast volume, determine a real cup size, predict how a bra will feel, assess support, forecast movement, or show a medical or surgical outcome. It also cannot create consent where none exists. Treat the result as a visual styling draft for an authorized clothed image.
For ecommerce, verify that the final image does not misrepresent the garment itself. A body-proportion concept can guide art direction, but a product page should still communicate real cup construction, fabric, coverage and fit accurately. The lingerie seller workflow and AI lingerie photography guide cover those product-image checks in more detail.
Final export checklist
- The subject is an adult and explicitly allowed this body-proportion edit.
- You own or licensed the source image for the intended private or commercial use.
- The result remains clothed and non-deceptive.
- Both straps, seams, folds, prints and jewelry pass at 100% zoom.
- Light direction and shadow softness match the original.
- Hair, arms and other foreground objects stay in the correct layer order.
- Background lines, face, pose and overall body balance remain stable.
Create a clothed AI breast preview →
FAQ
Can AI make breasts look bigger in a photo naturally?
Yes, when the source is clear, the adjustment is restrained and the result preserves clothing, lighting, pose, background and overall body proportion. Every output still needs human review.
What photo works best for an AI breast enhancer?
Use a sharp front or gentle three-quarter clothed adult photo with even lighting, visible garment edges, a relaxed pose and little obstruction from hair, arms, bags or outerwear.
Should I use the largest available size setting?
Usually not. Start with the smallest setting that answers your styling question. Larger changes require more fabric, shadow and proportion reconstruction and are more likely to look edited.
Does a B, C, D, E or F preset show a real cup size?
No. The presets are visual generation directions. A photo cannot reliably determine band size, cup construction, body measurements, comfort or real garment fit.
Is an AI breast enhancement photo a medical or surgical simulation?
No. It is a visual photo edit and should not be used for medical decisions, surgical planning, anatomical prediction or health advice.
Can I use someone else’s photo?
Only if the subject is an adult and has explicitly agreed to this body-proportion edit, and you also have the photographer or license rights required for the intended use.