
At a glance
18 clothing photoshoot ideas for apparel brands and online sellers — flat lay, ghost mannequin, on-model, lifestyle, editorial, and creative concepts, with backgrounds, styling, and planning guidance.
| Need | What to do |
|---|---|
| Get oriented | Read the short summary, then use the checklist below. |
| Create a test image | Try AI Fashion Model Free |
What Makes a Clothing Photoshoot Idea "Work"
Before reaching for a concept, it helps to be honest about what product photography is for. Online, the photo is the product — the shopper can't touch the fabric, check the drape, or try it on. Every image in a listing therefore has a job: one proves what the garment is, another proves how it fits, a third shows the texture up close, and a fourth places it in a world the buyer wants to belong to. The brands that convert best aren't the ones with the most expensive cameras; they are the ones who plan a complementary set of images instead of five near-identical angles of the same flat lay.
That's the lens to read this guide through. A "good" clothing photoshoot idea isn't just visually pleasing — it removes a specific doubt or creates a specific desire. Below, the ideas are grouped by the five core shot types every apparel catalog draws from, followed by creative, background, and planning ideas that elevate them. Mix two or three groups per product and you will cover the angles that actually move add-to-cart rate.
Flat Lay Ideas
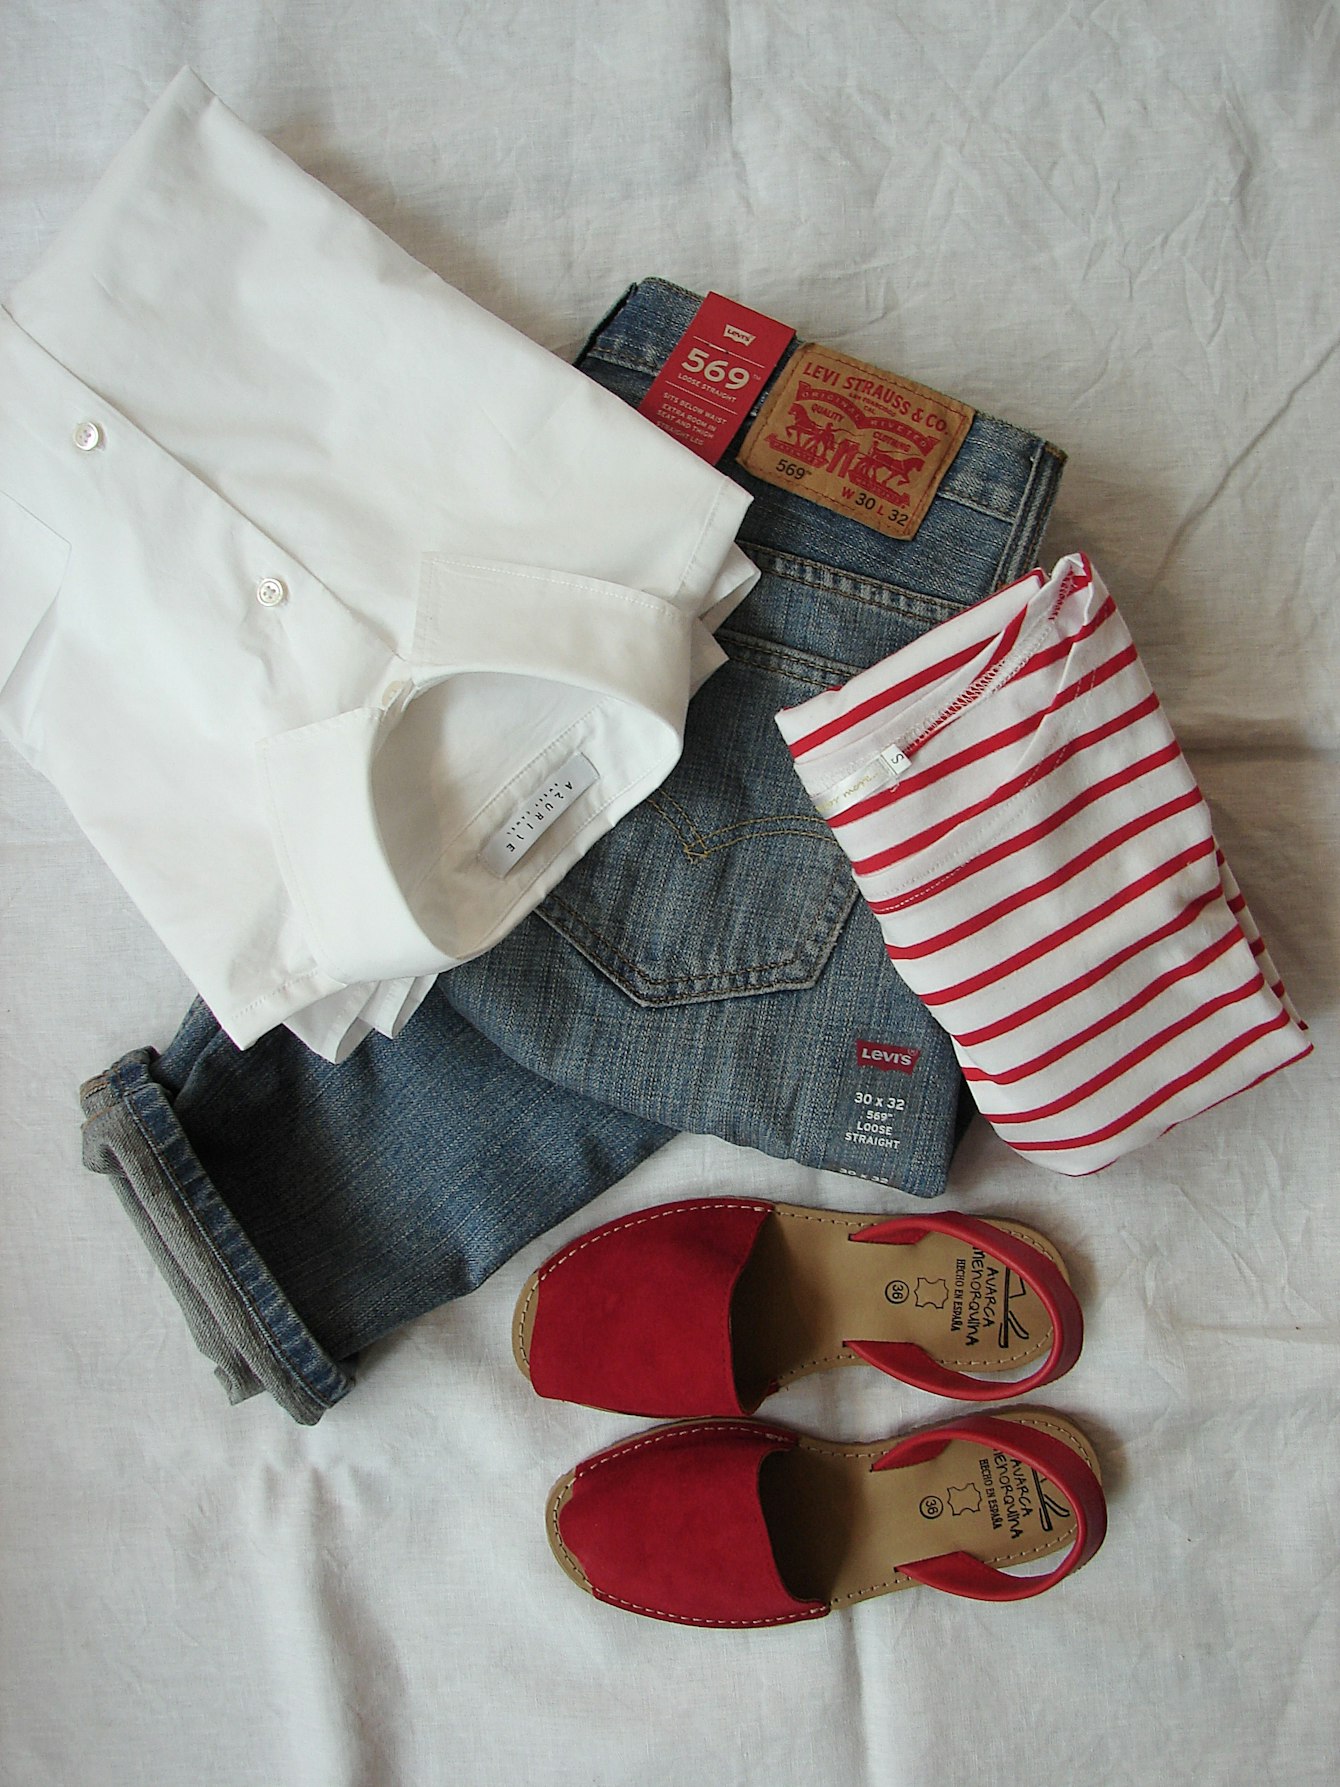
Flat lay — the garment laid flat and shot from directly overhead — is the most accessible and lowest-cost concept, and it remains the backbone of most marketplace catalogs. Done carelessly it looks like a return; done well it is clean, graphic, and scroll-stopping. The craft is in the surface, the symmetry, and the styling of the fold.
1. Clean catalog flat lay
The workhorse: garment centered on a pure-white or light-grey surface, shot from straight above with soft, even light and minimal shadow. Square it up so seams are parallel to the frame. This is your safe, compliant main image for Amazon, Etsy, and most marketplaces.
2. Knolling and styled-set flat lay
"Knolling" arranges the garment alongside related items — a belt, sunglasses, shoes, jewelry — at right angles, suggesting a complete outfit and a price-point story. It works especially well for capsule collections and gift bundles.
3. Texture and construction flat lay
Fold or drape the garment to reveal the weave, knit ribbing, seam finishing, or print registration. Shot close with a macro or standard lens, this is the frame that answers "what is the fabric actually like?" — the single most common pre-purchase doubt for apparel.
4. Color-stack flat lay
For a style that comes in multiple colors, fold each colorway identically and stack or fan them on a neutral surface. It communicates range at a glance and is a strong secondary image on a variant listing.
Pro tip used by catalog studios: tuck small wads of tissue paper inside collars, sleeves, and shoulders so the garment holds a soft three-dimensional volume instead of lying completely dead-flat. It is the difference between "laundry" and "merchandised."
Ghost Mannequin Ideas
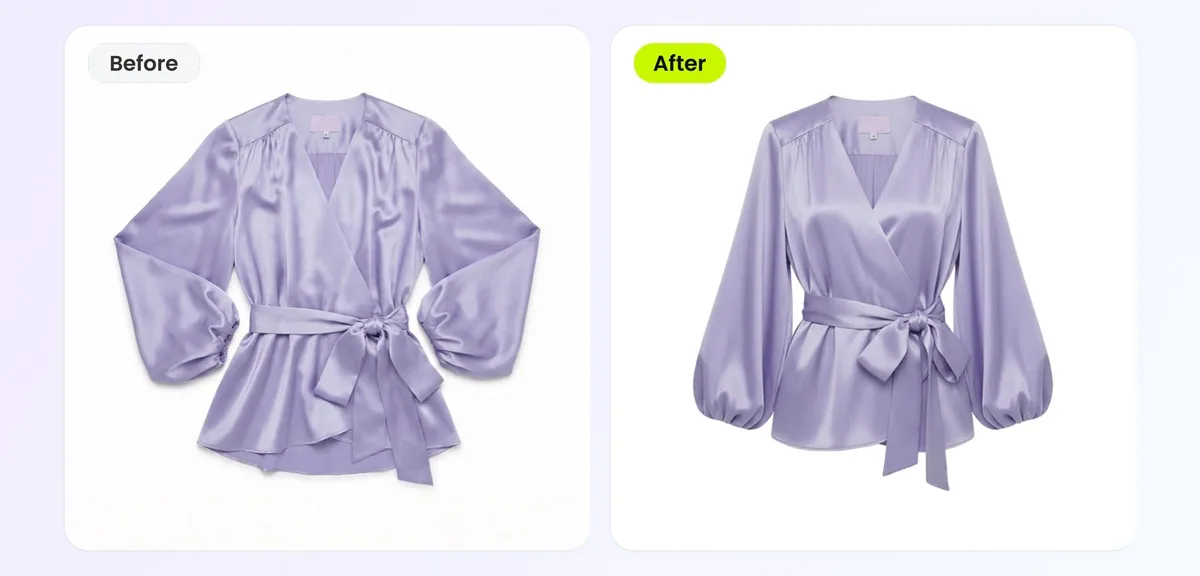
The ghost mannequin — also called the invisible mannequin or hollow-man effect — shows a garment with a three-dimensional worn shape but no visible model or mannequin. The garment is photographed on a mannequin, then the mannequin is edited out so the piece appears to float, often with the inside back collar showing through the neck. It is the catalog standard for shirts, dresses, knitwear, and outerwear because it communicates true silhouette and fit without the cost or distraction of a model.
5. Front-and-back ghost set
Pair a front and a back ghost shot so buyers understand the full garment shape, including the rear neckline, yoke, and hem. This two-image set often converts better than a single on-model photo for structured pieces.
6. Hollow-neck hero
The classic premium look: the inside back collar is composited to show through the open neckline, signalling tailored, catalog-grade quality. It is most striking on shirts, blazers, and coats.
7. Detail-on-form close-up
Because a mannequin holds structure, ghost technique lets collars, plackets, cuffs, and pleats read clearly — far better than a limp flat lay. Use it for tailoring and workwear where construction is the selling point.
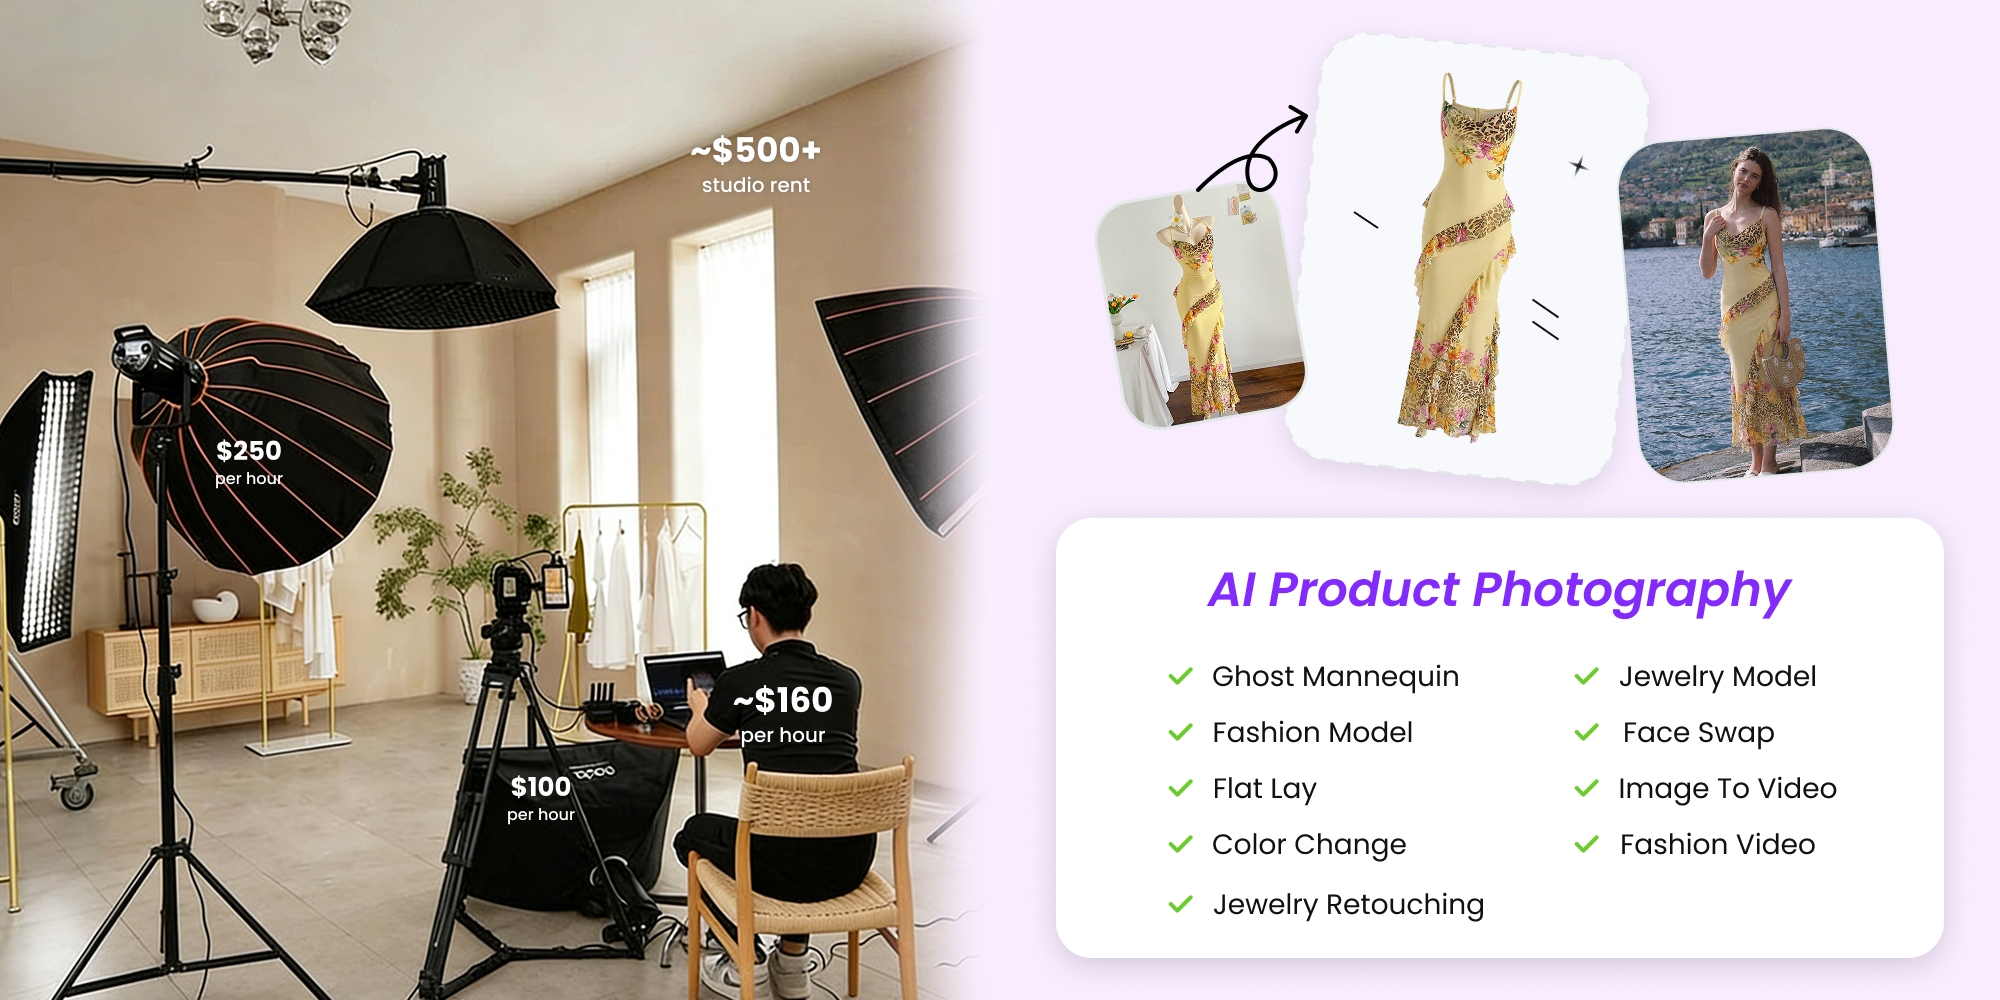
Traditionally the ghost effect required a mannequin, careful pinning, and an hour of Photoshop compositing per garment. Today many sellers produce it from a single flat lay using AI ghost-mannequin tools, which is worth knowing if pinning and masking isn't realistic at your volume.
The transformation, conceptually — a flat supplier photo to a ghost-mannequin result:
On-Model & Studio Ideas
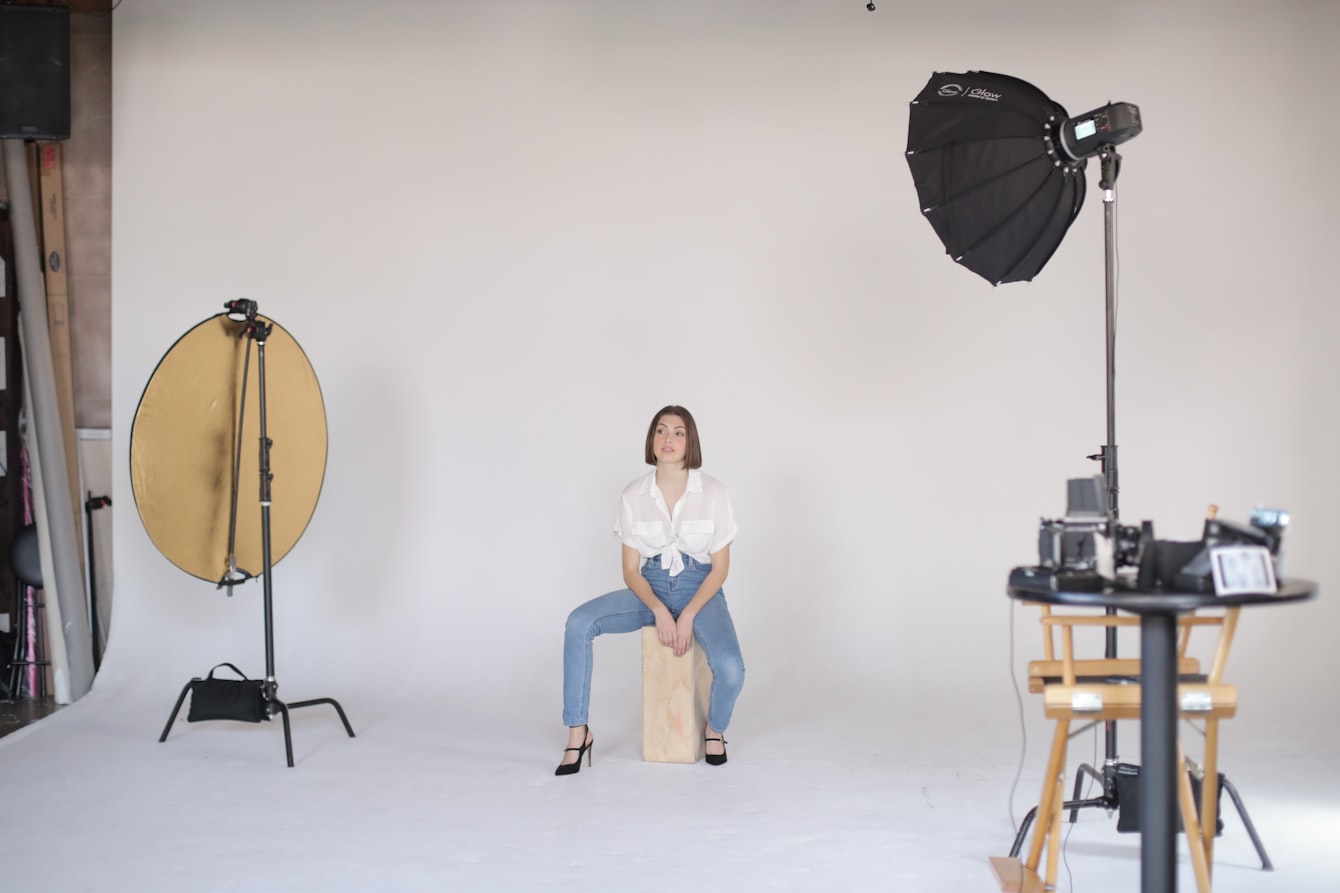
On-model photography — a real or generated person wearing the garment — is the single biggest conversion lever in apparel, because buyers want to see the piece on a body before they trust the fit. The concepts matter more than the budget:
8. Clean studio on-model
The product-detail-page standard: model standing against a white or light-grey seamless, front and back, even three-point lighting, neutral pose. This is the on-model equivalent of the clean flat lay — reliable, compliant, and informative.
9. Movement and three-quarter shots
A slight turn, a walk, or a hand in a pocket reveals drape and movement that a static front shot hides. For dresses, skirts, and outerwear, a movement frame communicates flow that no flat image can.
10. Size and fit diversity
Showing the same piece on petite, mid-size, and plus-size models — or describing the model's height and the size worn — lets more shoppers picture the fit on their own body. This is increasingly an expectation, not a bonus, and it measurably reduces returns.
11. Detail-on-body
A cropped frame of the sleeve, neckline, waistband, or hem as worn, showing how a feature behaves on a real shoulder or hip. It bridges the gap between the flat detail shot and the full look.
Hiring models, a photographer, and a studio is the classic route here, and for hero brand campaigns it is still the gold standard. For the routine catalog and the long tail of SKUs, many independent sellers now generate on-model images from a flat lay using an AI fashion model tool — useful when casting and studio time aren't feasible for every product.
Lifestyle & Location Ideas
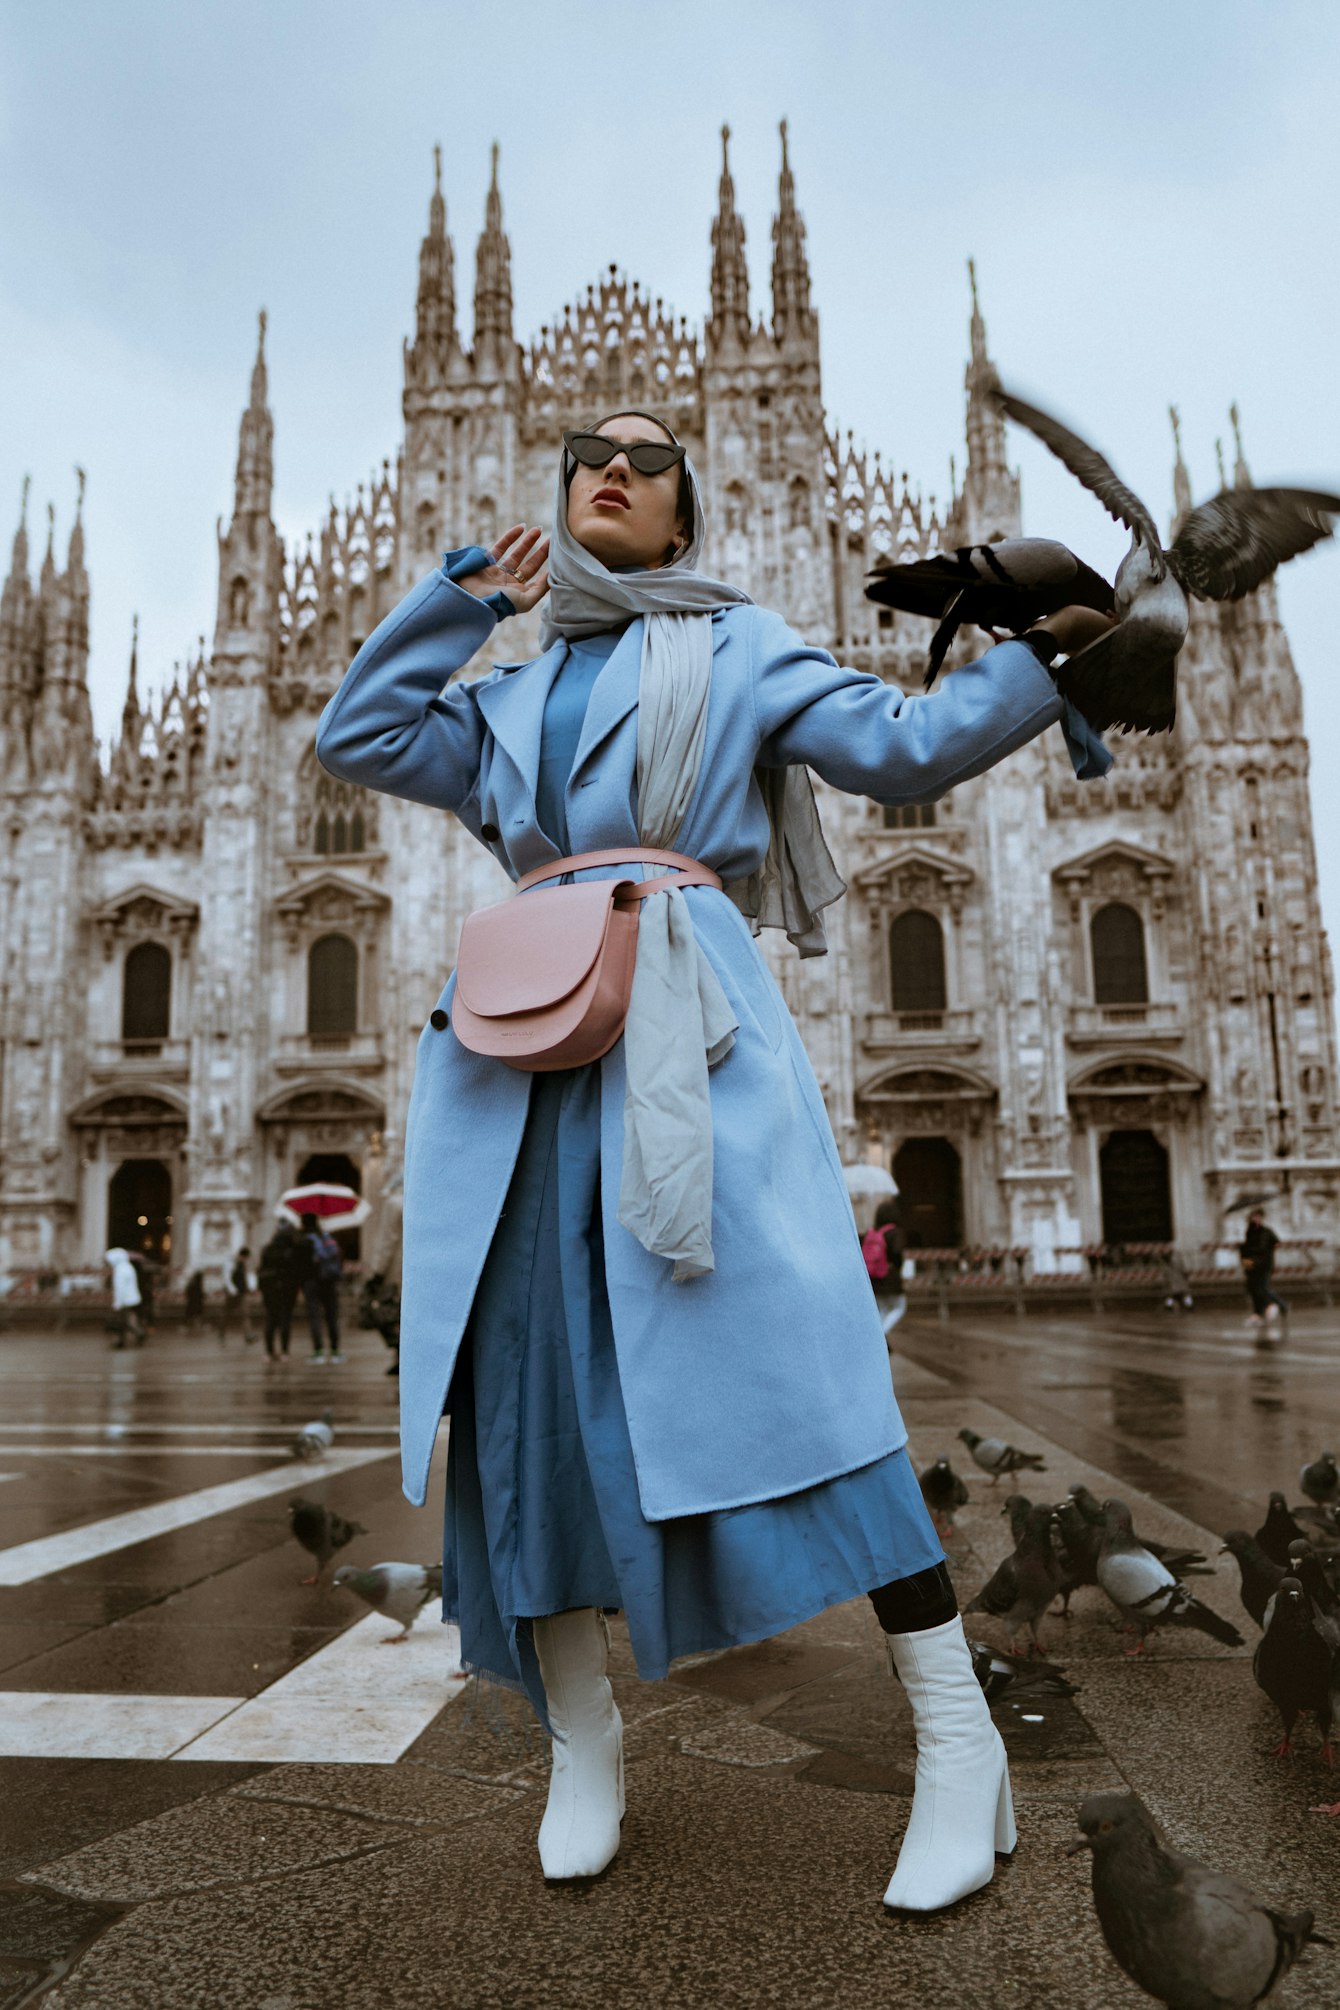
Lifestyle photography places the garment in a real or styled environment — a café, a city street, a sunlit balcony — and sells a feeling, not just a fit. These are your scroll-stopping social, hero-banner, and email images. They are less about technical accuracy and more about aspiration and context.
12. Seasonal scene
Match the environment to the selling season: autumn leaves for knitwear, a bright beach for linen and swim, string lights for holiday occasion wear. Seasonal context makes a product feel timely and shoppable now.
13. Aspirational location
An editorial outdoor or interior setting — a minimalist apartment, a desert road, a rooftop — signals the brand's price point and personality. The location should match the customer you want, not just the one you have.
14. Activity in context
The garment genuinely in use: coffee in hand, walking a dog, sitting on the studio floor. Candid, slightly imperfect "in-the-moment" shots read as authentic and perform well on social where polish can feel like an ad.
A budget-friendly middle ground is the styled flat lay shot on a textured real-world surface — linen, raw wood, terrazzo, sand — which borrows lifestyle warmth without a model or location fee.
Turn a flat lay into a lifestyle on-model shot →
Editorial & Concept Ideas
Editorial photography is the most expensive and least product-literal style: it prioritizes brand essence, mood, and storytelling over showing every button. It is the right investment for a brand launch, a lookbook, a magazine feature, or a campaign — and overkill for a routine product page. Treat these as occasional brand-building set pieces, not the everyday catalog.
15. Monochrome and color-theory concepts
Build a frame around a single color family — garment, background, and props all within one palette — or use complementary-color backgrounds to make the product pop. Color theory is the cheapest way to make a simple shot feel directed.
16. Negative space and graphic composition
Place the garment small within a large, clean frame, leaving deliberate empty space for text overlays. This is the format that works hardest on banners, ads, and Pinterest, where copy shares the image.
17. Theme and narrative series
Shoot a small collection as a story — a "morning routine," a "weekend away," a single recurring character — so the images cross-sell each other and build a recognizable brand world across a grid.
Motion & Video Ideas
Short video is now the highest-engagement format on every marketplace and social feed, and it answers the movement question that stills cannot.
18. Turntable, walk loop, and reveal
- 360° turntable — a slow rotation showing the garment from every side, ideal for a product page.
- Model walk loop — a few seconds of movement to show drape, weight, and flow.
- Still-to-motion reveal — animate a single product photo into a short clip, a low-effort way to add video to listings that only have stills.
If filming isn't practical, image-to-video tools can animate an existing photo into a marketplace-ready clip; our roundup of AI clothing video generators compares the main options objectively.
Backgrounds & Color Choices
Background is a decision, not an afterthought. The right choice depends on where the image will live:
| Background | Best for | Watch out for |
|---|---|---|
| Pure white (#FFFFFF) | Main marketplace image; Amazon-compliant | White/pale garments lose edges — switch to grey |
| Light grey | White, cream, and pastel garments; separation | Can look dull if under-lit |
| Pastel / muted color | Social, brand personality, lifestyle slots | Avoid colors that cast onto the fabric |
| Bold / saturated | Streetwear, editorial, attention on feeds | Not for the main catalog image |
| Textured (linen, wood, stone) | Budget lifestyle warmth without a location | Keep it subtle so it doesn't compete |
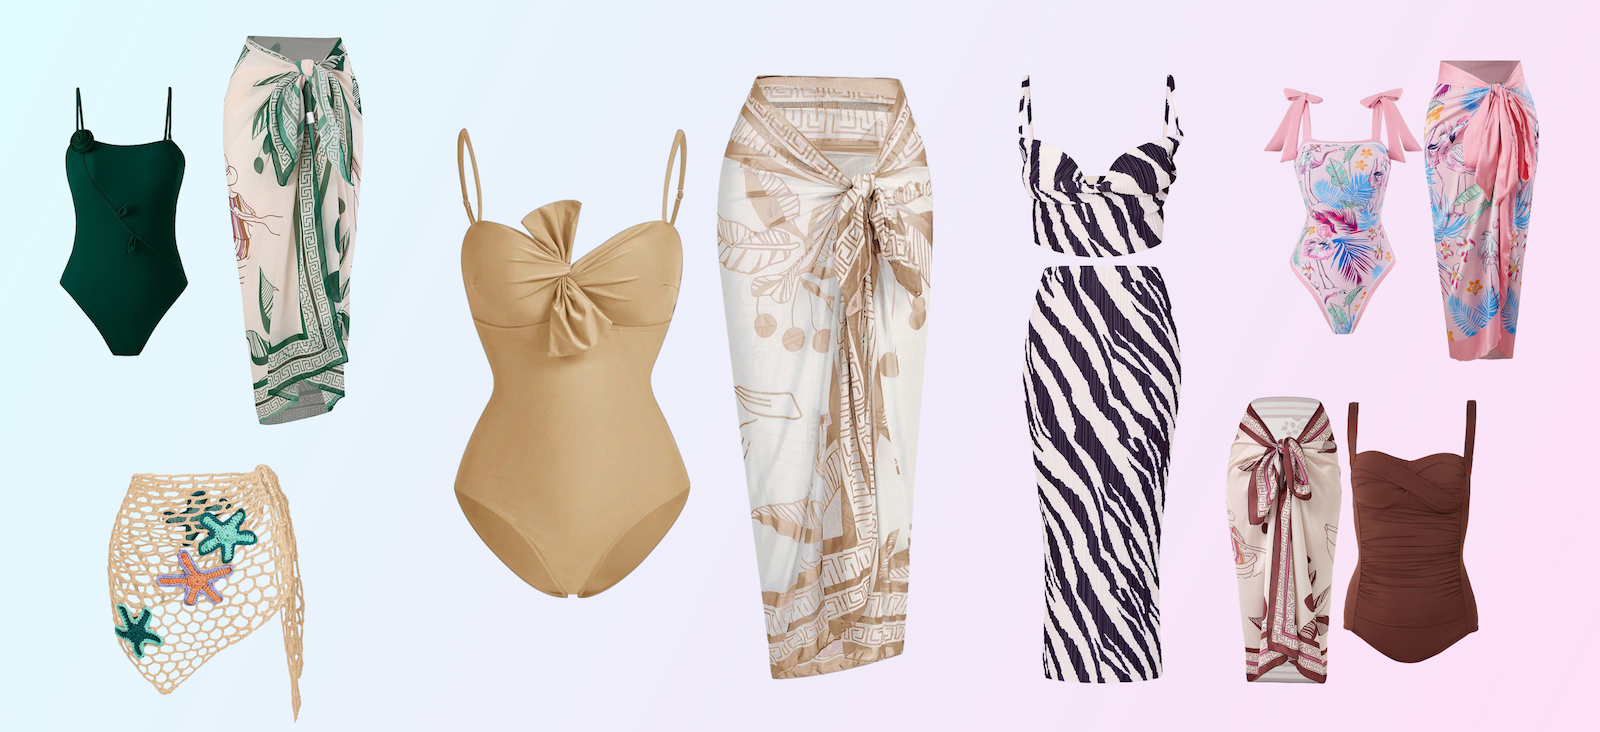
The reliable rule: keep the main image clean and neutral, and use color and texture in secondary images. One way to test palettes cheaply is to shoot a garment once and generate color variants digitally rather than buying multiple backdrops:
Ideas by Garment Type
The same concept lands differently depending on what you are selling. A few garment-specific notes that experienced apparel photographers rely on:
Knitwear and sweaters
Texture is the product, so shoot it close and side-lit to rake light across the stitch and reveal the cable, rib, or gauge. Knit stretches and sags on a hanger — lay it flat or use a ghost form so the shoulders keep their shape, and steam gently rather than press to avoid flattening the loft.
Denim and structured pieces
Hardware and washes sell denim. Plan detail frames for the rivets, stitching contrast, leather patch, and the wash gradient down the leg. Structured jackets and blazers are the strongest case for ghost mannequin, which holds the shoulder line and lapel roll that a flat lay collapses.
Dresses and flowy fabrics
Drape and movement are everything. A static flat lay undersells a silk slip or a chiffon maxi; an on-model movement frame or a short walk clip shows how the fabric falls and flows. If shooting flat, arrange the skirt with deliberate, even folds rather than letting it pile.
Activewear and swimwear
Fit and stretch under tension are the buying questions, so on-model (or a well-fitted form) beats flat lay here more than in any other category. Show the waistband, seams, and how the fabric performs on a body; for swim, plan a lifestyle or bright daylight scene that matches the season.
Accessories, bags, and small goods
Scale is the doubt to remove — buyers misjudge size constantly. Include a styling shot with a reference (a bag on a shoulder, a scarf worn) alongside the clean product frame, and use macro detail shots for hardware, grain, and clasps.
Common Mistakes to Avoid
Even good ideas fail in predictable ways. The recurring ones worth designing around:
- Five versions of the same angle. A gallery of near-identical front shots wastes slots that should answer fit, fabric, and scale.
- Wrinkled or unprepared garments. No concept survives creases — steam and lint-roll before every frame.
- Inconsistent backgrounds and crops across a catalog, which makes a shop look unfinished even when each photo is fine on its own.
- Color that doesn't match the product. A beautiful but inaccurate image drives returns and erodes trust faster than a plain accurate one.
- Lifestyle that hides the product. A gorgeous scene where you cannot actually see the garment is a brand image, not a product image — use both, but know which is which.
Planning the Shoot
Most failed photoshoots fail before the camera comes out. A short planning ritual saves hours:
- Define where the images will be used. Marketplace main image, PDP gallery, Instagram grid, paid ads, and email all have different ratios and rules. Decide the destinations first; they dictate the shot list.
- Build a mood board. Pull 10–20 reference images into a Pinterest board or a one-page PDF so the photographer, stylist, and model share one visual target.
- Write a shot list. For each SKU, list the exact frames you need — main, on-model front, on-model back, detail, lifestyle, video. A written list is what keeps a shoot day on schedule.
- Prep the garments. Steam out every wrinkle, lint-roll, and clip excess fabric at the back so the front reads clean. This single step separates amateur from professional results.
- Prioritize consistency. The biggest predictor of a polished catalog is that every garment looks like it was shot in the same session — same lighting, same crop, same distance, same background.
A workable default shot list for a single apparel SKU looks like this — adapt it to the garment and the slots your platform allows:
- Main image — clean flat lay or ghost mannequin on white.
- On-model front, full length.
- On-model back or three-quarter, showing movement.
- Fabric / construction close-up.
- Detail-on-body (sleeve, neckline, or hem as worn).
- Lifestyle or styled context shot.
- Optional: color-variant grid and a short video clip.
Keeping that same list across every product is what turns a pile of individual photos into a catalog that feels designed.
Where Each Shot Goes
The same image rarely works everywhere. Deciding the destination first tells you which ideas to prioritize and how to crop them:
- Marketplace main image — clean flat lay or ghost mannequin on white, square (1:1). This is the thumbnail that wins or loses the click, so it has to be the clearest, most accurate frame you have.
- Product-page gallery — the full set: on-model front and back, fabric detail, scale, and one lifestyle shot. Order them by how strongly they answer a buyer's biggest doubt.
- Instagram and TikTok — lifestyle, movement, and editorial concepts in 4:5 and 9:16; candid and in-context shots outperform polished catalog frames here.
- Paid ads and banners — negative-space and graphic compositions that leave room for text overlays.
- Email and lookbooks — theme and narrative series that cross-sell multiple pieces in one story.
A practical workflow is to shoot the richest version of a concept once, then crop and adapt it for each channel — a single on-model frame can become a PDP image, a 9:16 social post, and an ad with text space, rather than three separate shoots.
Matching Ideas to Your Budget
The honest reality is that some of these concepts are cheap and some are not. Here is roughly how they map to budget so you can pick what fits:
- Near-zero budget: flat lay, hanger, detail, color-stack, textured-surface lifestyle — all achievable with a phone, a window, and a white board at home.
- Mid budget: ghost mannequin (a form plus editing), basic on-model with a friend or local model, simple location lifestyle.
- Higher budget: professional studio on-model, editorial campaigns, hired models and stylists — typically $2,000–$10,000 per session once photographer, model, studio, styling, and retouching are added up.
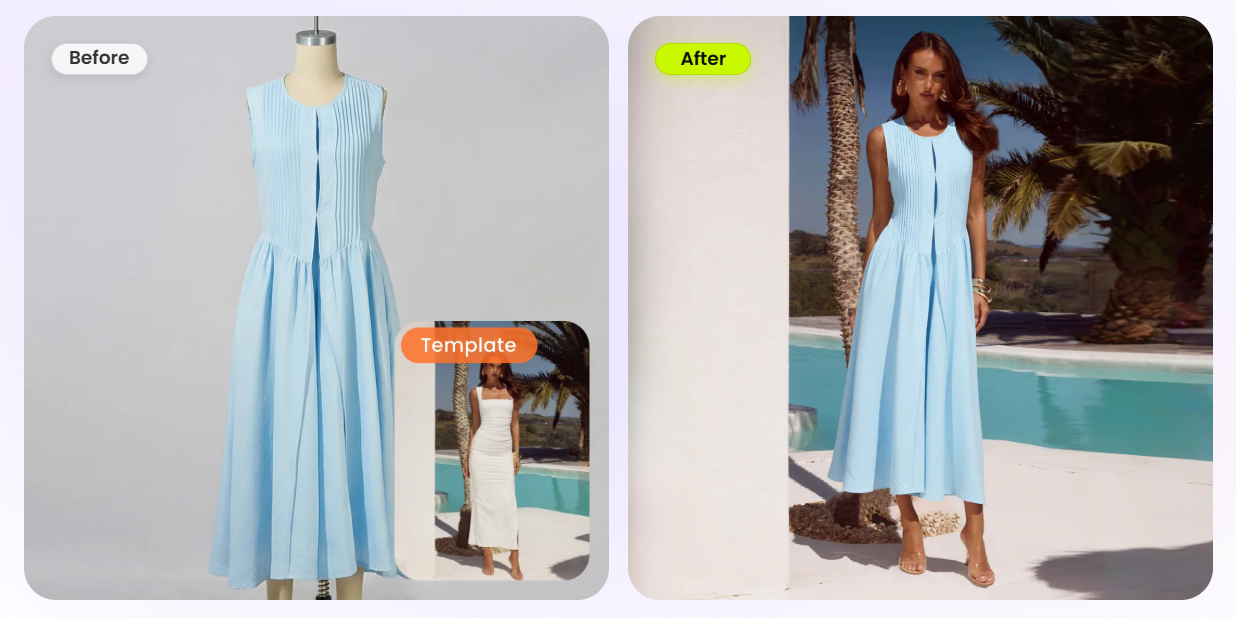
The shift in the last few years is that AI tools have made several previously expensive concepts — consistent on-model, ghost mannequin, color variants, and still-to-video — reachable from a single flat lay. They are not a replacement for a great campaign shoot, but they do let a small seller cover the everyday catalog without a studio. For the full method, costs, and trade-offs, see our companion guide to photographing clothing for your store.
One flat lay, conceptually turned into an on-model image — the kind of transform that now sits in the mid-budget tier:
FAQ
What are the main types of clothing photoshoot?
There are five core types: flat lay (garment shot from overhead on a surface), hanger or product-on-white (the simple e-commerce standard), ghost mannequin (a 3D worn shape with the mannequin edited out), on-model (a person wearing the garment, the highest-converting format), and lifestyle or editorial (the garment in a styled scene that tells a brand story). Most listings combine two or three: a clean main image plus on-model and detail shots.
How many photos should a clothing product listing have?
Five to eight images is the sweet spot on most marketplaces. A reliable set is: one clean main image on white, two to three on-model or lifestyle shots showing fit and movement, one fabric or construction close-up, and one scale or styling shot. Conversion comes from covering different questions a buyer has — fit, fabric, color accuracy, styling — not from more of the same angle.
What background is best for clothing photography?
Pure white is the safest baseline and is required for the main image on Amazon and most marketplaces. A light grey backdrop gives better separation for white or pale garments. Pastel and textured backgrounds work for social and lifestyle content where you want personality, and bold colors suit streetwear and editorial. Keep the main catalog image neutral and save color for secondary images.
Can I shoot a clothing brand photoshoot at home?
Yes. A window with soft daylight, a plain wall or large white board, a phone or entry camera, and a steamer cover most flat lay, hanger, and detail shots. The hardest concept to produce at home is consistent on-model imagery, since you would need a willing model and styling. Many small sellers shoot flat lays at home and use an AI fashion model tool to generate the on-model versions.