
At a glance
A complete, objective guide to clothing photography for ecommerce — methods, equipment, lighting, backgrounds, camera settings, garment prep, post-processing, costs, and marketplace image specs.
| Need | What to do |
|---|---|
| Get oriented | Read the short summary, then use the checklist below. |
| Create a test image | Try AI Fashion Model Free |
Why Clothing Photography Decides the Sale
In a physical store, a shopper picks the garment up, feels the weight, checks the seams, and holds it against the light. Online, none of that happens — the photograph has to do all of it. Study after study from ecommerce platforms shows product imagery is the single strongest on-page driver of conversion for apparel, ahead of price and description. A clear, consistent, accurate set of photos doesn't just look professional; it reduces returns, because buyers know what they are getting before it arrives.
That sets the bar for this guide. The goal of clothing photography is not "pretty pictures" — it is to communicate fit, fabric, color, and construction so faithfully that a stranger can buy with confidence. Everything below serves that goal, starting with the most important decision: which shooting method to use.
The Five Shooting Methods
Almost every clothing photo falls into one of five methods. They differ in cost, difficulty, and what they communicate — and a good catalog usually combines several.
1. Flat lay
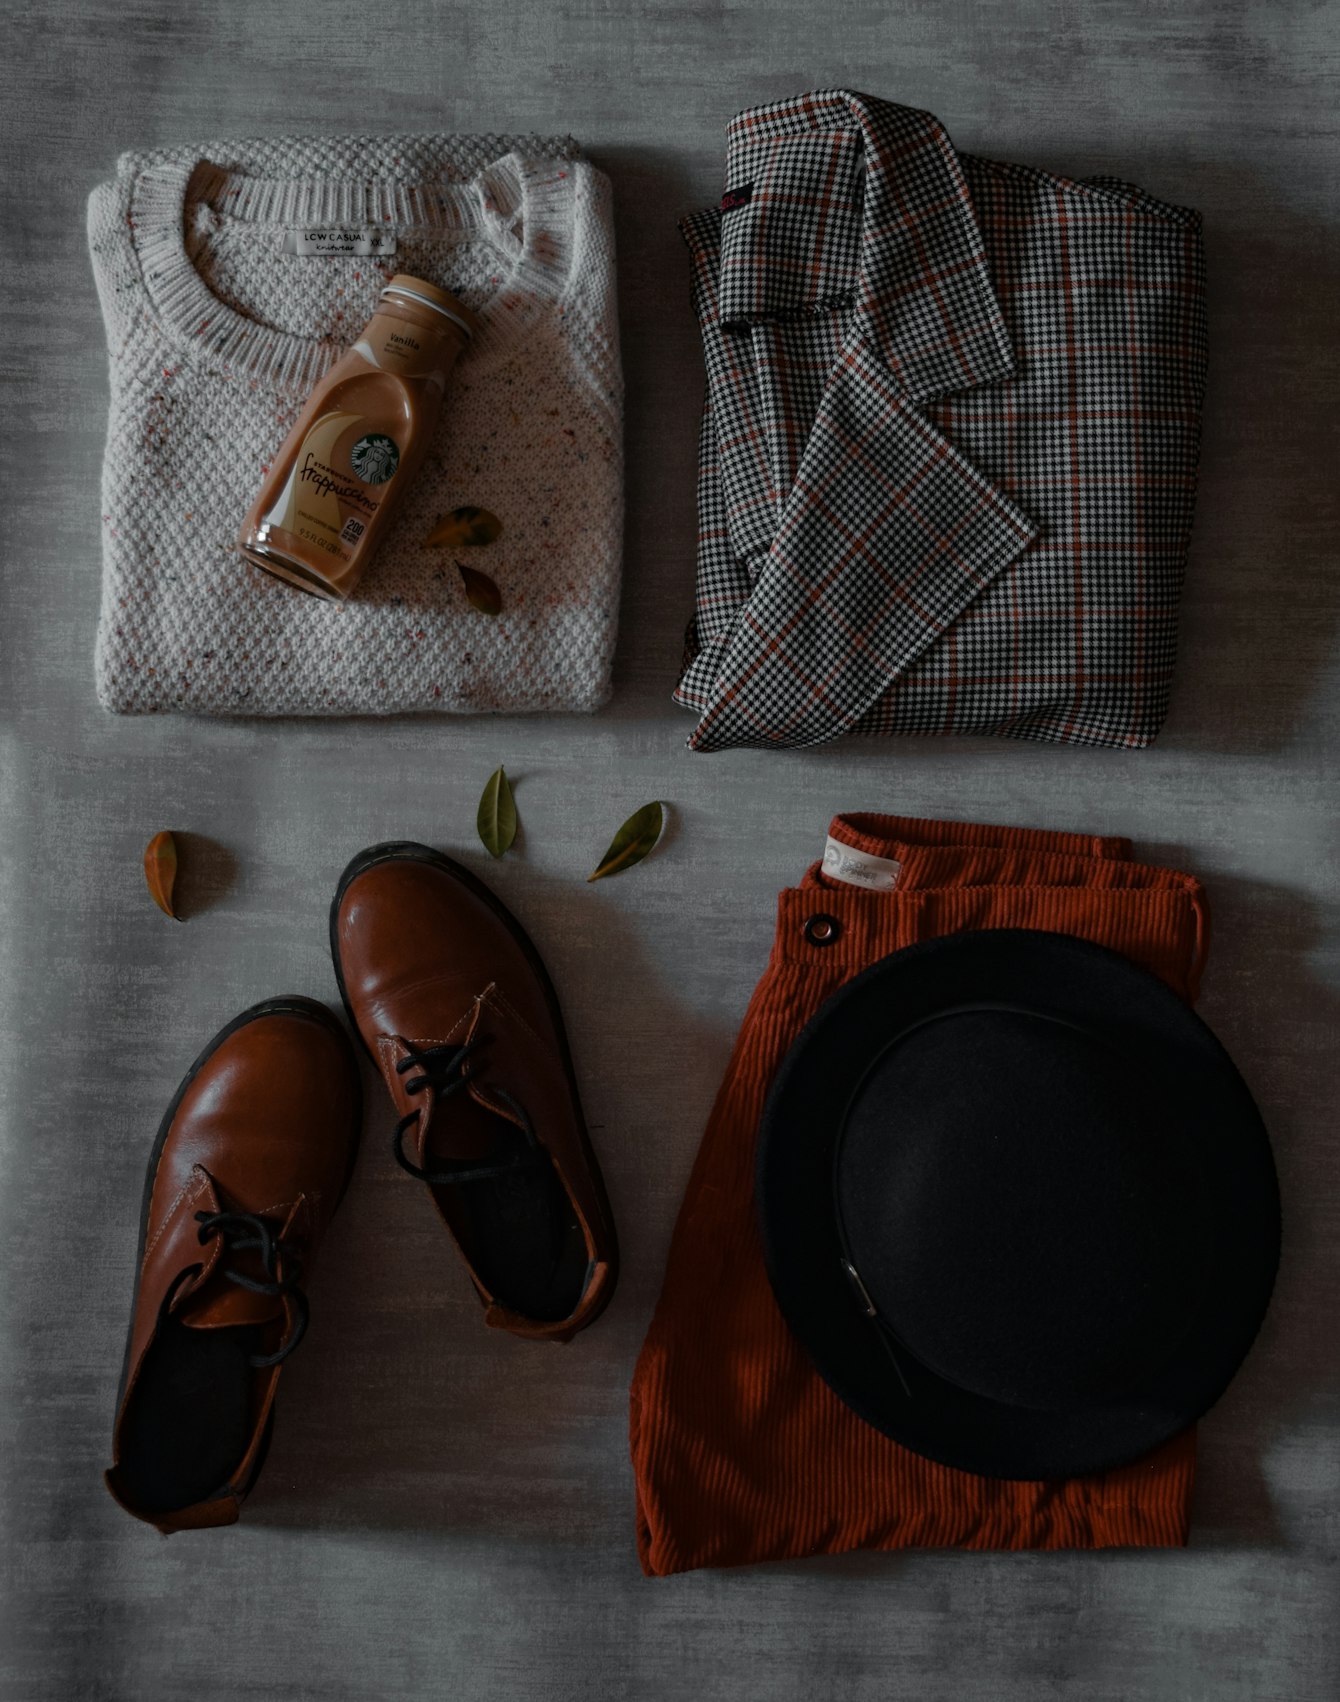
The garment is laid flat on a surface and photographed from directly overhead. It is the fastest, cheapest method and needs no model or mannequin, which is why it dominates marketplace listings and handmade shops. It shows pattern, color, and styling well, but it cannot convey true fit or drape. Best for: accessories, tees, knitwear, and any seller starting out.
2. Hanger / product-on-white
The garment hangs on a hook or hanger against a clean background. It is a half-step up from flat lay, showing length and how the piece falls, and is quick to produce. The trade-off is that hangers create unnatural shoulder shapes and visible hardware that should be edited out for a polished listing.
3. Ghost mannequin (invisible mannequin)
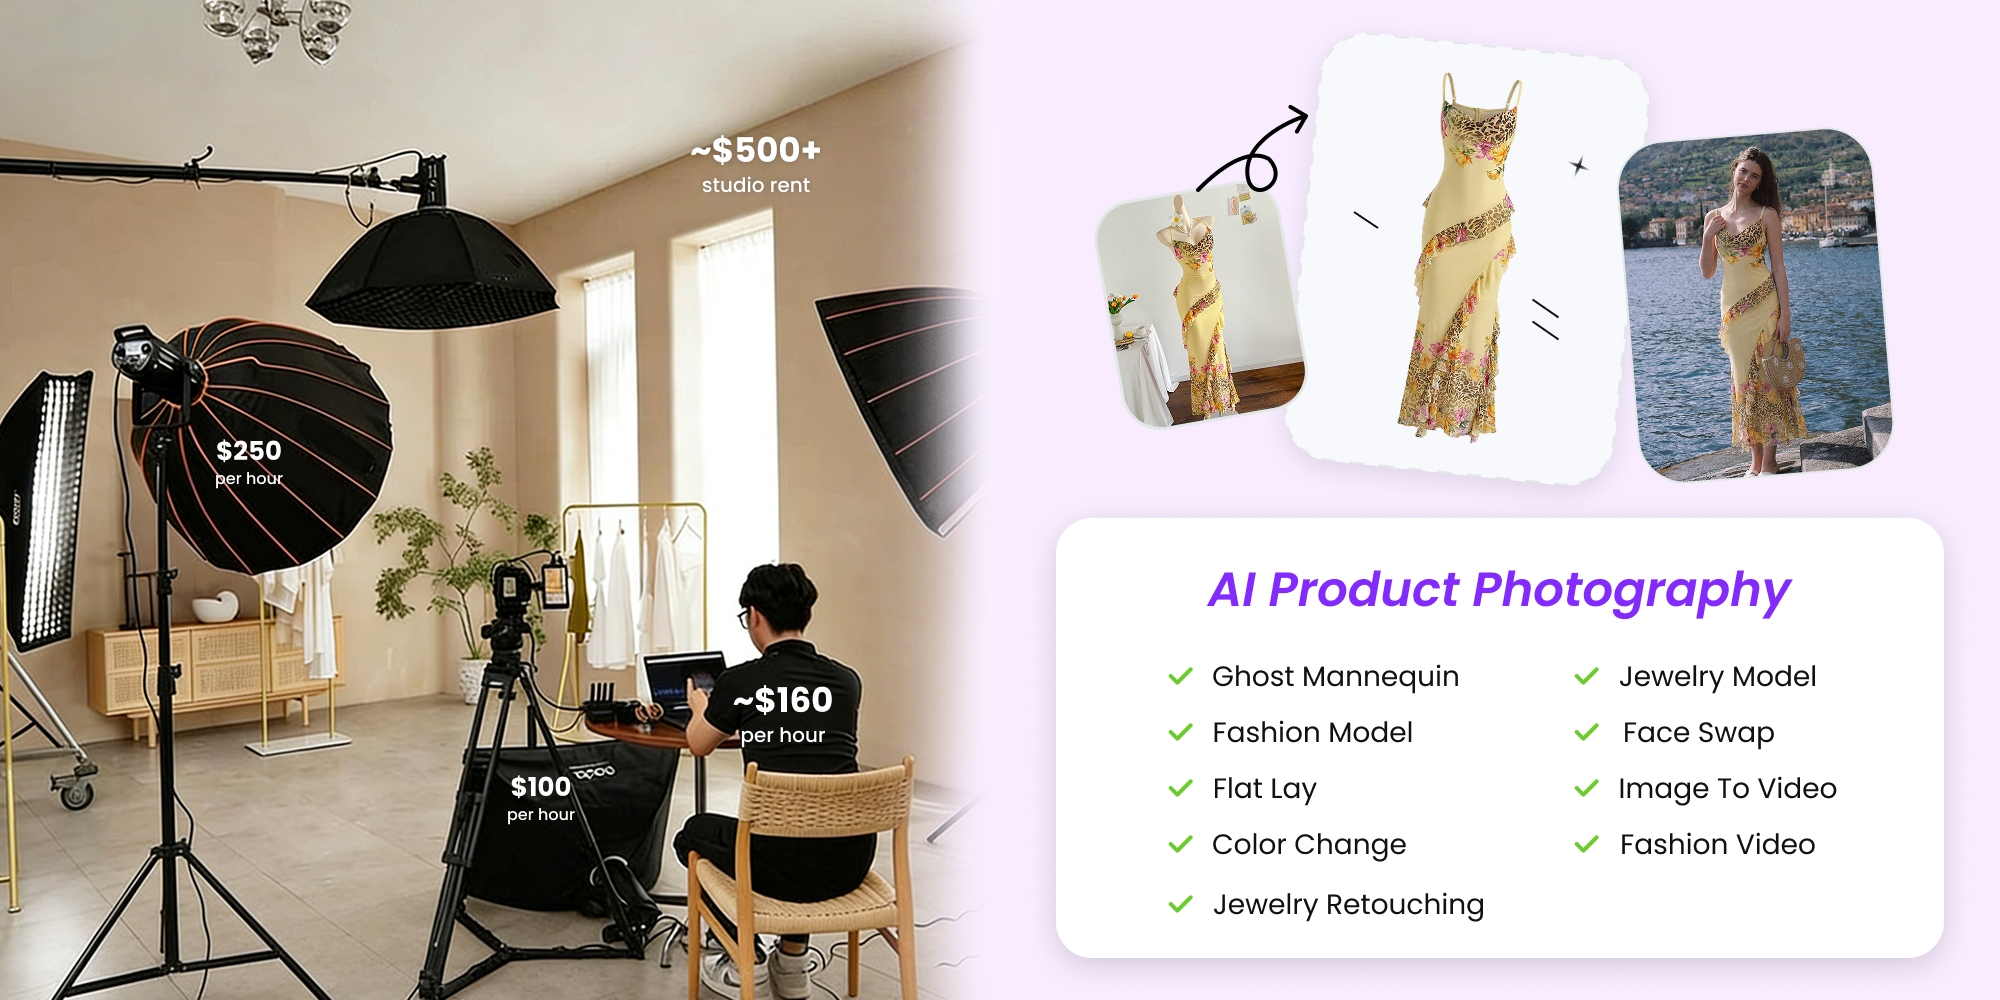
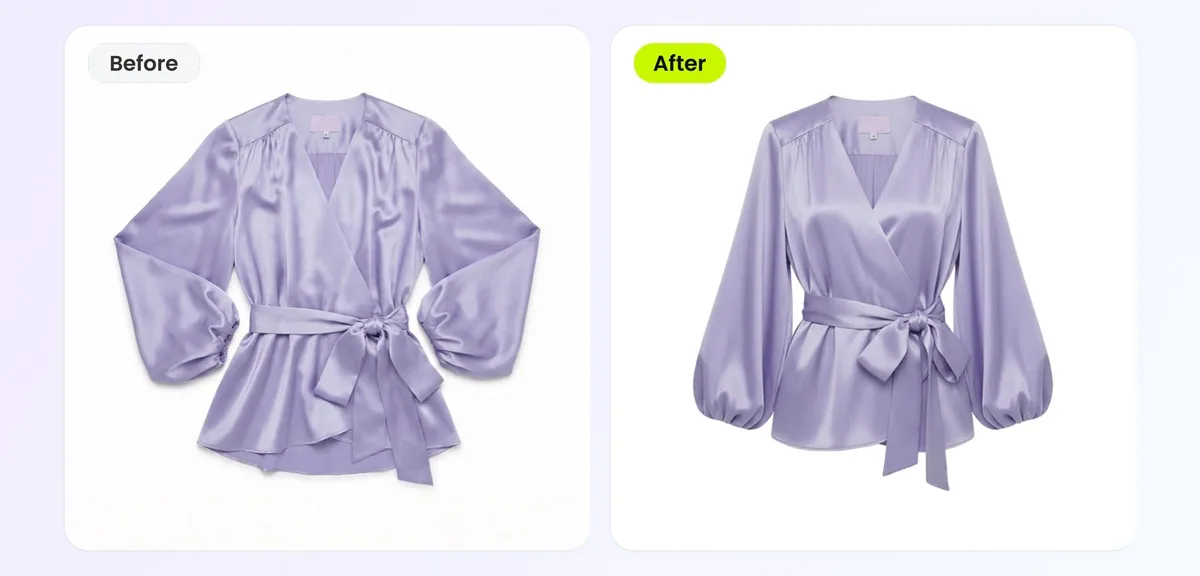
The garment is shot on a mannequin, which is then edited out so the piece keeps a three-dimensional worn shape on a clean background. It is the catalog standard for structured garments because it shows true silhouette without a model. It requires a mannequin, careful pinning, and compositing skill — the editing is where most of the time goes, though AI ghost mannequin tools now automate it from a single flat lay.
The principle: a flat supplier photo becomes a dimensional, worn-looking result.
4. On-model
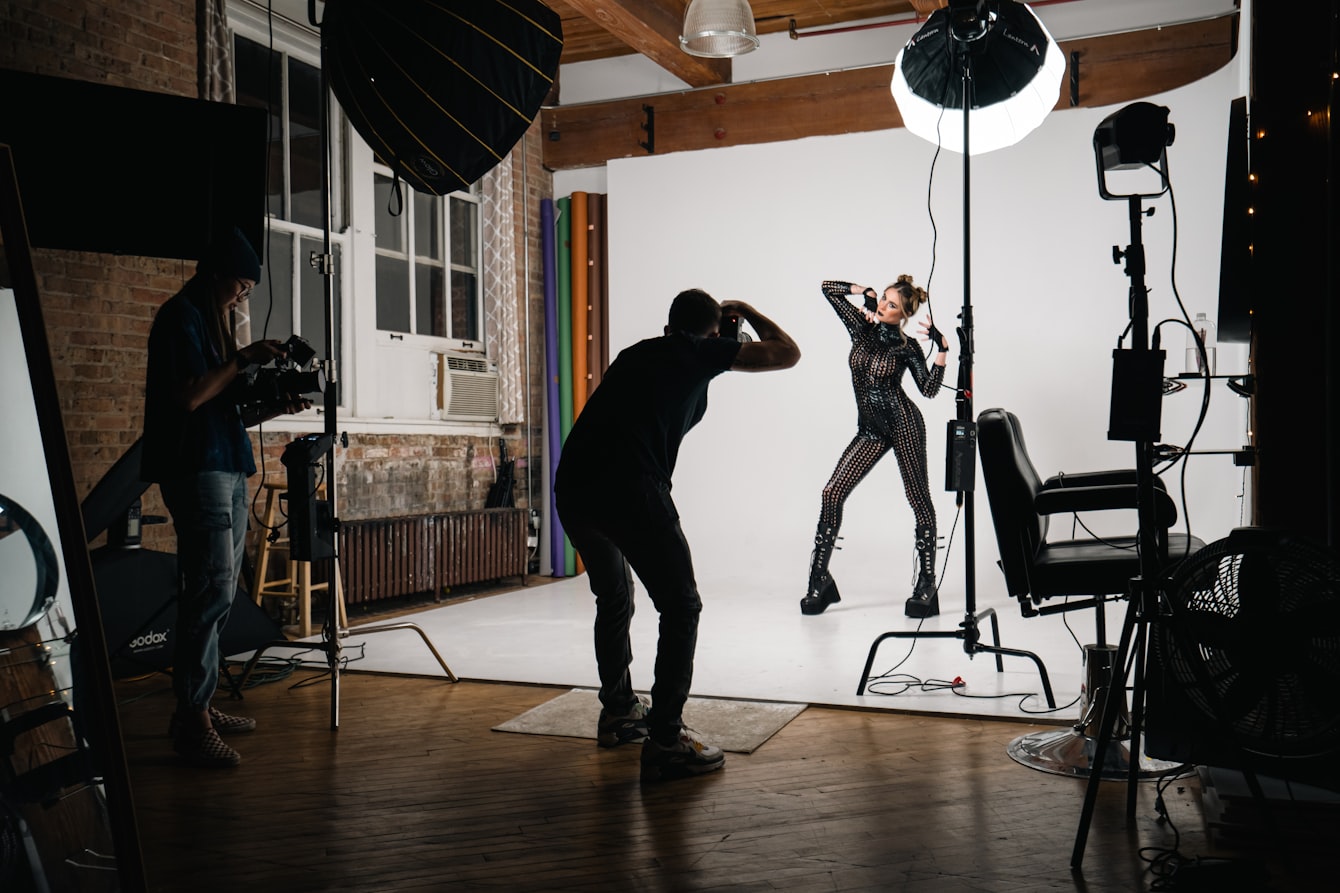
A person wears the garment. This produces the most aspirational, highest-converting images for apparel because it answers the fit question directly, and it lets you show movement, styling, and scale. It is also the most resource-intensive: it needs a model, a photographer, styling, and a studio or location. Best for: hero images, premium pieces, and brands whose model casting is part of the story; where casting isn't practical for every SKU, an AI fashion model generator can produce on-model shots from a flat lay.
5. Lifestyle / editorial
The garment appears in a styled, real-world scene — a street, a café, an interior — to sell a mood and context rather than spec. These are your social, banner, and campaign images. They are the least literal and most expensive to produce well, and are best treated as occasional brand pieces rather than the everyday catalog.
Which method, when
| Method | Cost | Difficulty | Shows fit? | Best for |
|---|---|---|---|---|
| Flat lay | $ | Low | No | Main image, accessories, starters |
| Hanger | $ | Low | Partly | Quick catalog, length reference |
| Ghost mannequin | $$ | Medium | Silhouette | Shirts, dresses, outerwear main image |
| On-model | $$$ | High | Yes | Hero, premium, fit-critical pieces |
| Lifestyle | $$$ | High | In context | Social, ads, brand campaigns |
Equipment You Actually Need
It is easy to over-buy. Here is what genuinely affects the result, in priority order:
- A camera — a modern smartphone in its highest-resolution mode is enough for marketplace images. A mirrorless or DSLR gives more control and file latitude, but it is not a prerequisite. Spend on lighting before a camera body.
- A tripod — non-negotiable for consistency. It locks framing and distance so every garment is shot identically, and it lets you use slow shutter speeds at low ISO for clean files. For flat lay, an overhead arm or a copy stand.
- Lighting — see the next section. Even one softbox or a good window beats an expensive camera in poor light.
- A backdrop — a roll of white seamless paper, a large foam-core board, or a plain wall. Light grey is a useful second option for pale garments.
- A steamer — the most underrated tool in clothing photography. Wrinkles are the fastest way to make a product look cheap, and they are tedious to remove in editing.
- Lenses (if using a camera) — a standard prime (50mm) or a standard zoom covers most work; a macro lens helps for fabric and detail close-ups; avoid wide angles, which distort garment proportions.
- Clips, pins, and tissue paper — to shape garments, hide excess fabric at the back, and add volume to flat lays.
A complete home setup — board, two lights, tripod, steamer — can be assembled for under $100 if you already own a phone. That is the floor; everything above it is refinement, not requirement.
Phone vs dedicated camera
The most common question is whether a phone is "good enough." For marketplace listings, yes — a current smartphone shooting in its highest-quality mode resolves more detail than those images will ever be displayed at, and computational processing handles exposure well. A dedicated mirrorless or DSLR earns its place when you need precise manual control, shoot in RAW at volume, want shallow-depth lifestyle looks, or print large. The honest order of impact is: lighting and prep first, consistency second, lens third, camera body last. A phone in great light beats a pro camera in bad light every time, so if the budget is fixed, put it into lighting and a tripod before a new body.
Lighting Fundamentals
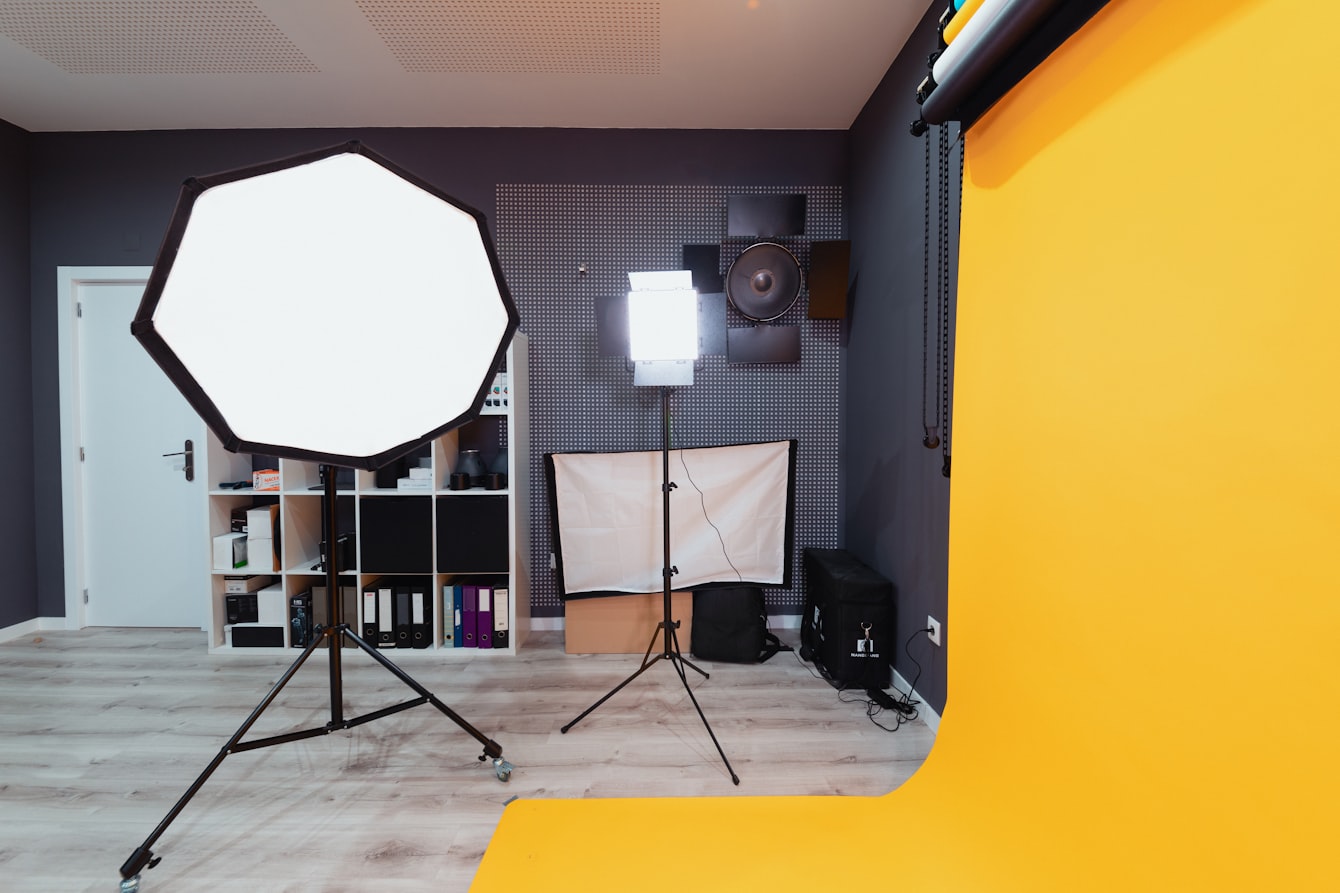
Lighting is where amateur and professional results actually diverge — more than camera, more than background. The aim for clothing is soft, even, diffused light that minimizes harsh shadows and renders true color and texture.
Natural light
Large, indirect daylight from a north-facing window (in the Northern Hemisphere) is soft, free, and flattering. Place the garment beside the window, not in direct sun, and use a white board on the opposite side to bounce light back and fill shadows. The limitation is consistency: the light changes through the day and with the weather, which makes it hard to match images across a catalog.
Artificial light: the three-point setup
For repeatable, all-weather results, a classic studio arrangement uses up to three lights:
- Key light — the main source, placed at roughly 45° to the garment, diffused through a softbox or umbrella.
- Fill light — a softer, lower-power source on the opposite side to lift shadows so detail stays visible.
- Backlight / rim light — optional, behind or above, to separate the garment from the background and add a clean edge.
The single most important word is diffusion. Bare bulbs and direct flash create hard, ugly shadows and blown highlights on fabric. Always shoot through a softbox, umbrella, or diffusion panel. Consistency tip: once you find a lighting position that works, mark the floor with tape so you can reproduce it exactly on the next shoot day.
Backgrounds & Surfaces
Most clothing photographers default to white or light grey, and for good reason: a neutral background shows color and texture without competing, and white is required for the main image on Amazon and many other marketplaces. A few practical notes:
- Pure white is the safe baseline for the main image, but white and pale garments lose their edges against it — switch those to light grey for separation.
- Seamless paper or a swept board avoids the visible corner line where wall meets floor, which is the giveaway of an amateur setup.
- Color and texture belong in secondary and lifestyle images, not the main catalog shot. A muted or textured surface (linen, wood, stone) adds warmth on social without a location.
- Keep the background clean — lint, shadows, and creases on a white backdrop all have to be retouched out later.
Preparing the Garment
This is the step most beginners skip and most professionals obsess over. The garment has to look its absolute best before the shutter fires, because fixing it afterward is slow and imperfect.
- Steam or press out every wrinkle. A handheld steamer is faster and gentler than an iron and is the highest-impact thing you can do.
- Lint-roll and de-fuzz. Dust and stray threads are obvious at full zoom and tedious to clone out.
- Shape the garment. Pin or clip excess fabric at the back so the front reads clean and fitted; stuff collars and shoulders with tissue for soft volume.
- Style consistently. Decide button, cuff, and collar positions once and replicate them on every similar garment so the catalog feels uniform.
- Show the right features. Plan frames for the details that sell — embellishments, hardware, lining, special stitching — and the inside of the garment where relevant.
Camera Settings
Whether on a phone or a dedicated camera, a few settings make the difference between a usable file and a frustrating one:
- White balance — set a custom white balance from a grey card, or lock a fixed Kelvin value, so color is identical across the shoot. Auto white balance drifts between frames and makes a catalog look mismatched.
- ISO — keep it low (100–200) for clean, noise-free files. A tripod lets you do this even in modest light.
- Aperture — f/8 to f/11 keeps the whole garment in focus. Wide apertures (low f-numbers) blur parts of the product, which you don't want for catalog work.
- Shutter speed — set last, to balance the exposure; on a tripod it can be slow without introducing blur.
- File format — shoot RAW (or your phone's highest-quality / ProRAW mode) for the most latitude in editing color and exposure.
- Turn off on-camera flash — it creates hard, flat, unflattering light. Use your continuous or strobe lighting instead.
The Shoot Workflow
A repeatable sequence keeps a shoot on schedule and the output consistent:
- Make a shot list. For each SKU, write the exact frames needed — main, front, back, detail, lifestyle, video. The list is what prevents missed shots and re-shoots.
- Set up and lock the frame. Position camera, lights, and background; mark positions with tape; shoot a test frame and check exposure and white balance.
- Prep the first garment fully before it goes in front of the camera.
- Shoot in a consistent order — same angles, same distance, same crop for every garment so the catalog matches.
- Review as you go. Check focus and exposure on a large screen every few garments; it is far cheaper to re-shoot now than after the set is struck.
- Edit and export. Process to a consistent look and export per destination (see below).
The recurring theme is consistency: the strongest predictor of a catalog that looks professional is that every garment appears to come from the same session — same light, same crop, same distance, same background.
Post-Processing
Editing finishes the job; it does not rescue a bad capture. Keep it disciplined:
- Color correction — the priority. The on-screen color must match the real garment, or you will get returns and bad reviews. Calibrate from your grey-card frame.
- Exposure and white balance — even out brightness across the set so images sit together in the gallery.
- Background cleanup — remove lint, shadows, and stray threads; pure-white backgrounds often need to be clipped to true white (255,255,255) for marketplace compliance.
- Ghost mannequin compositing — for that method, combine the inside-collar shot with the body shot and remove the mannequin.
- Retouching, lightly — fix genuine flaws, but do not misrepresent the product. Accurate beats flawless.
- Batch for consistency — apply the same baseline edit across the set, then fine-tune individually.
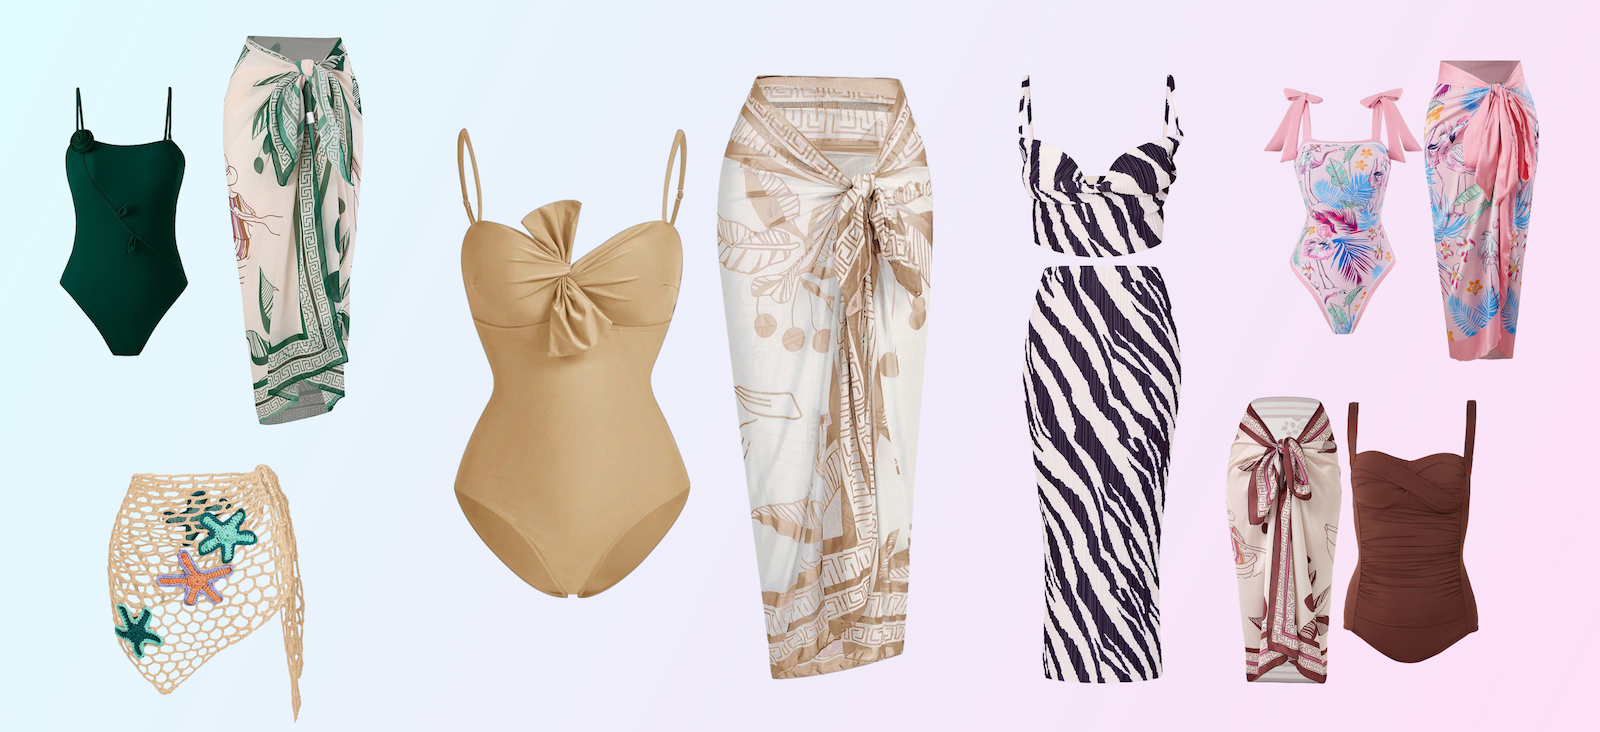
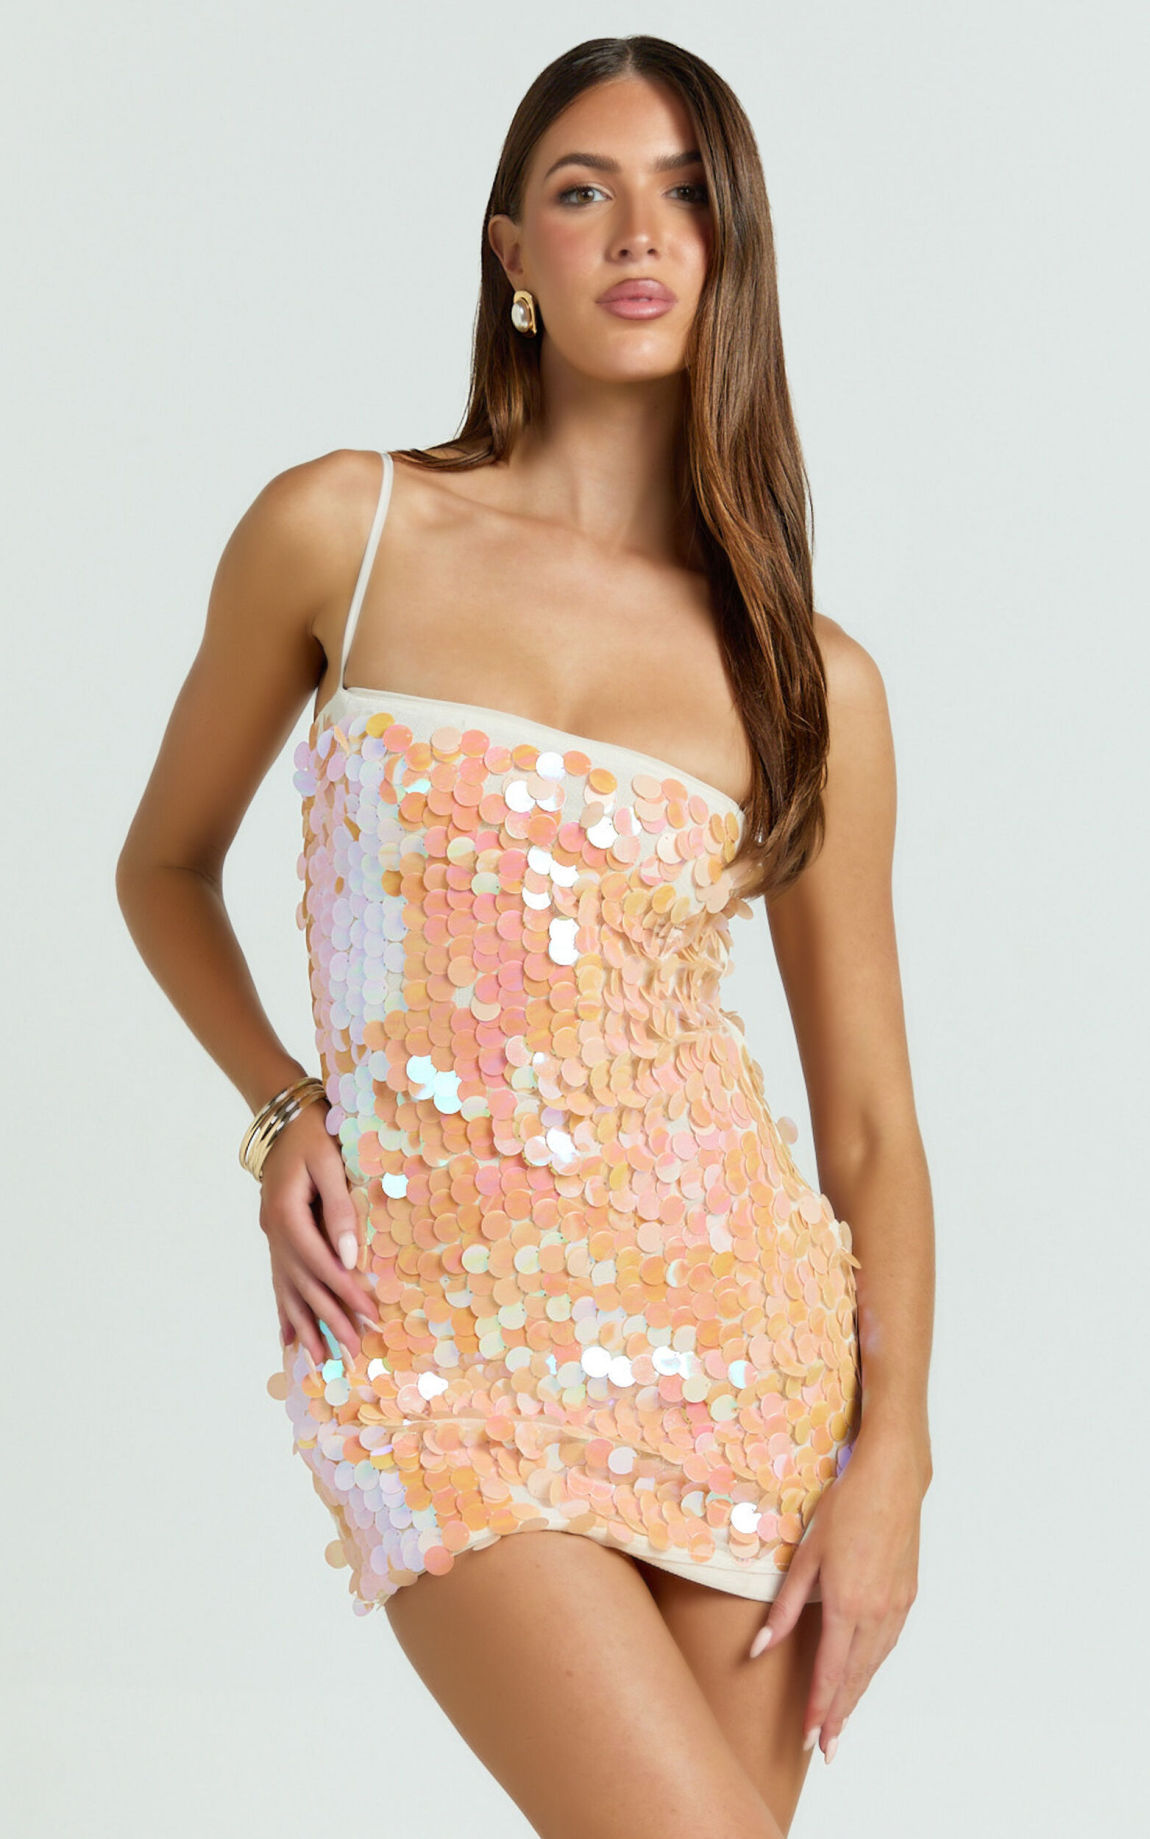
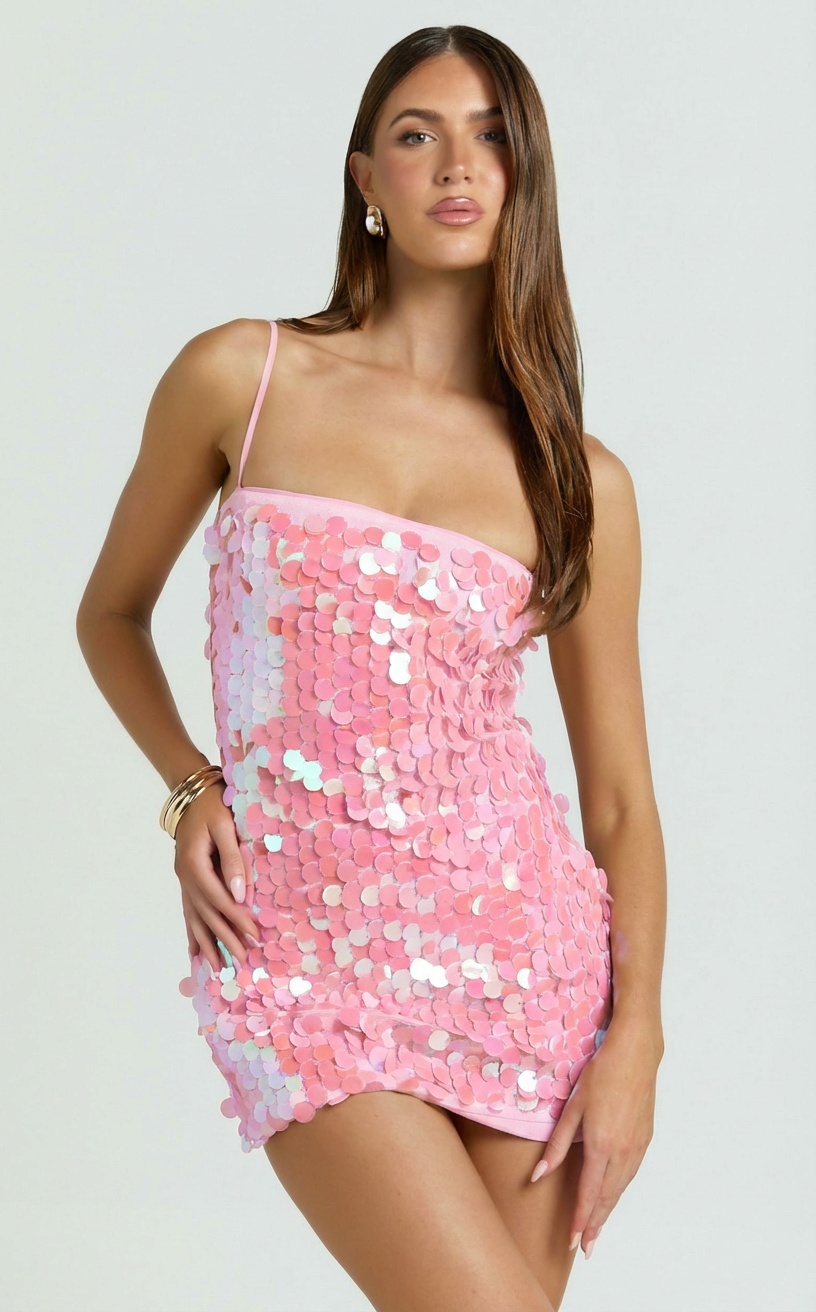
If you sell the same style in several colors, recoloring one accurate photo digitally is far faster than re-shooting each colorway — and keeps fabric texture and shadow identical across variants:
One source garment, recolored while texture and shadow are preserved:
What Clothing Photography Costs
Budget shapes which methods are realistic. The three honest tiers:
| Approach | Typical cost | Turnaround | Trade-off |
|---|---|---|---|
| DIY home setup | <$100 one-time | Same day | Your time; hard to do on-model |
| Professional studio | $2,000–$10,000 / session | 2–4 weeks | Cost and lead time per shoot |
| AI clothing photography | ~$0.20–$0.80 / image | Seconds | Needs one good source photo; not for hero campaigns |
The professional studio figure adds up fast: photographer day rate ($800–$3,000), model ($300–$1,500), studio rental ($300–$1,200), hair/makeup/styling ($300–$1,000), and retouching ($15–$50 per image). That is why most independent sellers reserve studio shoots for hero campaigns and handle the everyday catalog themselves.
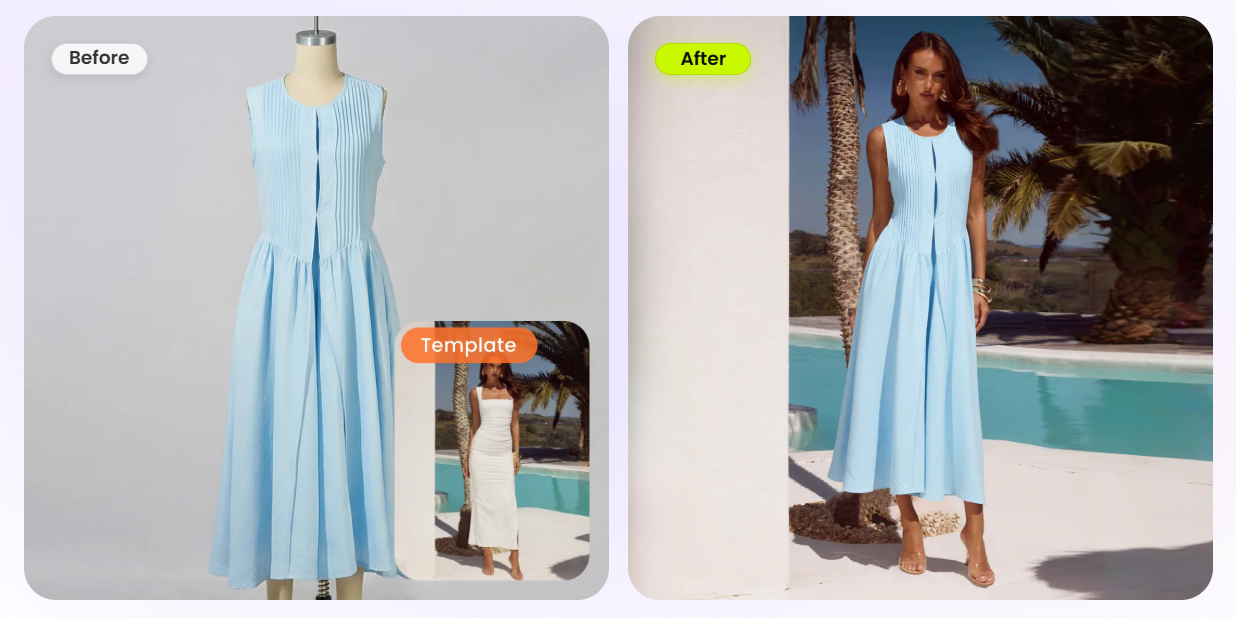
The newer option is AI clothing photography, which generates on-model, ghost-mannequin, or color-variant images from a single source photo. It sits between DIY and studio: cheaper and faster than a shoot, but dependent on having one clean source image and not a substitute for a true creative campaign. Tools in this space include Snappyit, Botika, and Pixelcut, among others — worth evaluating if on-model imagery for every SKU is otherwise out of reach. The example below shows what that transform looks like — a flat lay turned into an on-model render from a single source photo.
Tips by Garment Type
General rules get you most of the way, but each category has quirks that change how you light, prep, and shoot it.
Knitwear and sweaters
Loft and texture are the selling points. Rake the key light across the surface from the side to reveal stitch detail, and shoot at f/8–f/11 so the whole texture stays sharp. Knit distorts on a hanger — lay it flat or use a form, and steam rather than press so you don't flatten the pile. Plan one macro frame of the stitch.
Tailoring and structured pieces
Blazers, coats, and shirts live or die on their shoulder line and lapel roll, which a flat lay collapses. This is the strongest case for ghost mannequin or on-model. Keep buttons and cuffs styled identically across the range, and light to show the cloth's weave without blowing out the highlights on darker suiting.
Flowy fabrics and dresses
Silk, chiffon, and jersey are about drape and movement. A static frame undersells them — capture an on-model movement shot or a short walk clip. When shooting flat, arrange folds deliberately and evenly; when on a form, let the hem fall naturally and shoot slightly below eye level to lengthen the line.
Denim and workwear
Hardware and wash sell the piece. Plan detail frames for rivets, contrast stitching, the leather patch, and the wash gradient. These fabrics handle harder, more directional light better than delicate ones, which helps show texture.
Activewear and swimwear
Fit under tension is the buying question, so favor on-model or a snug form over flat lay. Show the waistband, seam construction, and stretch behavior. For swim, a bright, daylight-balanced or lifestyle setting matches the seasonal context buyers expect, and you can even photograph swimwear without a model when casting isn't an option.
Building a Repeatable System
The difference between a one-off good shoot and a consistently professional catalog is a documented system. Once you find a setup that works, write it down so you — or anyone you hand it to — can reproduce it exactly:
- A lighting diagram — light positions, heights, power, and distance from the garment, plus tape marks on the floor.
- Saved camera settings — your standard ISO, aperture, white balance, and a reference grey-card frame for each session.
- A framing template — fixed camera distance and crop so every garment fills the frame identically.
- An edit preset — a baseline color and exposure correction applied to the whole set before individual tweaks.
- A naming and export convention — consistent file names and per-platform export sizes so publishing is mechanical.
This is also where AI tools fit for high-volume sellers: because they generate from a single source under fixed parameters, on-model and ghost-mannequin output is inherently consistent across a catalog, which is otherwise the hardest thing to maintain by hand across many shoot days.
Marketplace Image Requirements
However you shoot, the destination platform sets hard rules. The current essentials:
- Amazon — main image on a pure white background (RGB 255,255,255), product filling ~85% of the frame, no text, logos, or props; clothing main images need a live model or ghost mannequin look, not a flat hanger. Minimum 1,600 px on the longest side to enable zoom.
- Etsy — the first photo should show the actual product clearly; up to 10 images, with lifestyle and detail shots encouraged in the remaining slots. Recommended ~2,000 px or larger on the shortest side.
- Shopify / your own store — no platform-imposed style rules, but keep aspect ratios uniform across products so the collection grid looks tidy; square (1:1) or 4:5 portrait are common.
- Poshmark, Depop, Vinted and similar — favor authentic, well-lit photos; square crops; the first image is the thumbnail that wins the click.
- All platforms — accurate color and honest representation matter most; misleading images drive returns and policy strikes regardless of how the photo was made.
How Many Images, and Which
More images help only up to a point, and only if each one does a distinct job. Across marketplaces, five to eight images per product is the reliable range. A set that consistently performs:
- Main — clean flat lay or ghost mannequin on white; the thumbnail.
- On-model front — full length, neutral pose.
- On-model back or three-quarter — showing movement and rear detail.
- Fabric / construction close-up — answers the texture question.
- Detail-on-body — a feature as worn (cuff, neckline, waistband).
- Lifestyle or scale shot — context and proportion.
- Optional — color-variant grid, size-fit comparison, or a short video.
The test for each slot is simple: does it remove a doubt or create a desire the other images don't? If a frame just repeats an angle you already have, it is taking a slot a more useful shot should own.
Common Mistakes to Avoid
- Wrinkled or unprepared garments — the fastest way to look unprofessional.
- Mixed white balance — auto WB drifting between shots makes a catalog look incoherent.
- Hard shadows from direct light or flash — always diffuse.
- Inconsistent crop, distance, and background across the set.
- Over-retouching that misrepresents color or fit and triggers returns.
- Too few angles — skipping the back, the detail, and the fit shot leaves buyer questions unanswered.
FAQ
What camera settings are best for clothing photography?
Shoot in manual or aperture-priority. Use a low ISO (100–200) for clean, noise-free files; an aperture of f/8 to f/11 to keep the whole garment sharp; and a shutter speed set to balance exposure, using a tripod so it can be slow without blur. Set a custom white balance from a grey card or fixed Kelvin value so color is consistent across the shoot, and capture in RAW for the most editing latitude.
Do I need an expensive camera to photograph clothing?
No. A modern smartphone in its highest-resolution mode, with good soft lighting and a tripod, produces images that are more than sharp enough for marketplace listings. Lighting, garment preparation, and consistency matter far more than the camera body. Many successful sellers shoot their entire catalog on a phone.
What is the best lighting for clothing photography?
Soft, even, diffused light is the goal — it minimizes harsh shadows and shows true color and texture. The cheapest source is large, indirect daylight from a north-facing window. For consistency and volume, a two- or three-light setup with softboxes or umbrellas (a key light, a fill light, and optionally a backlight) gives controllable, repeatable results regardless of the time of day.
How much does clothing photography cost?
A DIY home setup costs under $100 one-time for a backdrop, lighting, and a tripod, using a phone you already own. A professional studio session typically runs $2,000–$10,000 once photographer, model, studio rental, styling, and retouching are added. AI clothing photography tools fall in between on a per-image basis, generating on-model or ghost-mannequin images from a source photo for roughly $0.20–$0.80 each.