
At a glance
How to photograph clothing on a mannequin: choosing a dress form, backdrop and lighting setup, step-by-step shooting, inner-collar shots for ghost mannequin, plus the AI alternative.
| Need | What to do |
|---|---|
| Get oriented | Read the short summary, then use the checklist below. |
| Create a test image | Try Ghost Mannequin Free |
If you sell apparel, the single biggest jump in photo quality usually comes from putting the garment on a body instead of laying it flat. A shirt photographed flat on a table tells the buyer its color and its print, but it says almost nothing about how it sits on shoulders, how the sleeves hang, or whether the cut is boxy or fitted. Putting it on a mannequin solves that in one move: the dress form supplies the three-dimensional shape, and the camera captures fit and drape the way a customer will actually wear the piece.
This is a practical, hands-on guide to mannequin product photography — the kind you do with an actual physical form in front of you. It is the counterpart to shooting on a flat surface or a hanger; if you have decided you do not want a mannequin at all, that is a separate path covered in a sibling article linked at the end. Here the assumption is that you have (or are about to buy) a dress form, and you want to know exactly how to set it up, light it, shoot it, and capture the extra frames that let you build a clean hollow-neck result later. At the end we will also look honestly at the AI alternative, because for a lot of sellers it removes the studio step completely.
Why Shoot Clothing on a Mannequin at All
The core reason is dimensionality. A flat lay is a two-dimensional record of a garment lying still; a mannequin shot is a three-dimensional record of the garment as a worn object. Those are genuinely different pictures, and they answer different buyer questions.
- Fit becomes visible. On a form, you can see whether a tee is relaxed or slim, whether a dress nips at the waist, whether trousers break at the ankle. A flat lay flattens all of that into an outline.
- Drape and weight read correctly. The way fabric falls from the shoulders and gathers at the hem tells a shopper if it is a heavy structured cotton or a light flowing rayon. That fall only exists when gravity is pulling the garment down over a body shape.
- The image looks like a real listing. Buyers have been trained by big retailers to associate the dimensional, worn look with professional catalogs. A flat phone snapshot signals "amateur" before anyone reads the description.

The payoff is not just aesthetic — it is commercial. A review of product-image research by Let's Enhance points to image quality ranking among the top factors shoppers weigh before buying online, with weak or misleading photos showing up as a recurring trigger for returns. The practical read for apparel: a dimensional shot that shows fit honestly can ease a buyer's hesitation and head off some of the returns a flat, ambiguous photo invites. Take it as a directional signal for your own catalog rather than a fixed promise.
Where a flat lay still wins is speed and certain product types — small accessories, jewelry, or tightly cropped fabric-detail shots. For most tops, dresses, jackets, and knitwear, though, the mannequin is the move that lifts the whole listing.
Choosing a Mannequin or Dress Form
The form you buy shapes everything downstream, so it is worth a moment of thought rather than grabbing the cheapest option. There are a few real decisions.
Full-body mannequin versus half / torso dress form
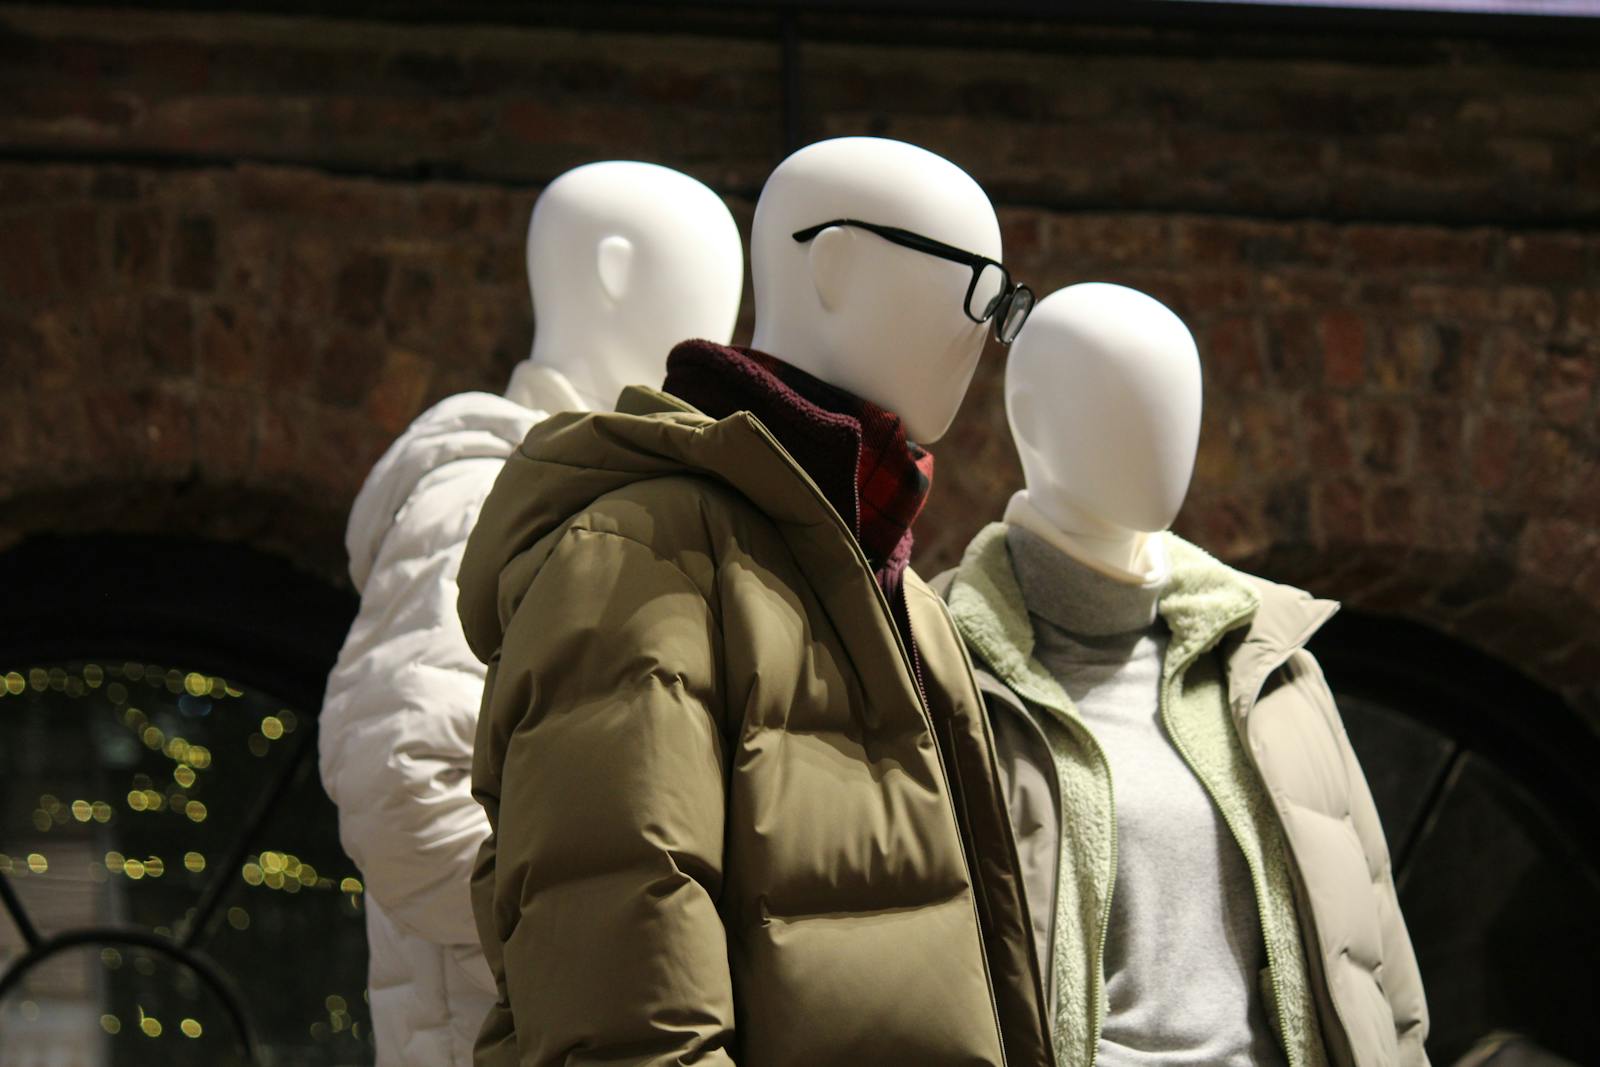
A full-body mannequin shows entire outfits, full-length dresses, and trousers, and lets you photograph how a piece sits from shoulder to hem. It takes more space and costs more, and the legs and arms can intrude on tightly cropped shots. A torso dress form (often a tailor's bust) is cheaper, lighter, and perfect for tops, knitwear, and dresses cropped at the hip; it is the workhorse for most apparel sellers. If you only photograph upper-body pieces, a torso form is usually the smarter buy; if you regularly shoot full looks or bottoms, invest in a full-body model.
Ghost-ready forms with a removable neck
If a hollow-neck, "invisible body" look is on your roadmap, buy a form built for it. These ghost-mannequin or invisible-mannequin mannequins have a removable neck cap and detachable parts, so you can pop the neck out and shoot the inside back of the collar for the interior composite (covered in detail below). A standard form with a fixed solid neck makes that interior shot nearly impossible, which forces you to fake the collar later. If a clean ghost result matters, the removable-neck feature is the single most important spec.
Material, finish, and size
- Finish. Pick a matte, neutral finish — white, grey, or linen-wrapped. Glossy mannequins catch reflections and hotspots that complicate lighting and editing.
- Size and body type. Match the form to the size you typically sell. A garment stretched tight on an undersized form, or drowning on an oversized one, misrepresents the fit. Adjustable dress forms let you dial the bust, waist, and hip to suit different pieces.
- Stability. A solid, weighted base keeps the form from wobbling during a session. A heavy garment on a tippy stand is a recipe for a knocked-over shoot.
- Pinnable body. A linen or foam-covered form that takes pins lets you tailor the fit invisibly from the back, which beats a hard plastic shell you cannot adjust.
Setting Up: Backdrop and Even Lighting
Once you have a form, the setup around it does most of the heavy lifting. The goal is a clean, repeatable little stage so every garment is shot the same way — consistency across a catalog reads as professional far more than any single hero shot.
The backdrop
For marketplace cover images, a seamless white or very light grey background is the standard. The cleanest way to get one is a roll of seamless paper or a wrinkle-free fabric backdrop swept up behind and under the mannequin so there is no visible floor-to-wall line. The reasons to get this right in-camera rather than in editing:
- A genuinely clean, evenly lit backdrop needs little or no masking later, which saves hours across a catalog.
- Pure white that is actually white (not grey, not warm) is what most marketplaces want for cover images, and it is far easier to nail with good lighting than to rescue in post.
- A consistent backdrop means every product in your store sits on the same canvas, so the listings look like a coherent set.
Keep the mannequin a few feet in front of the backdrop. The gap lets you light the background separately and prevents the form's shadow from falling hard onto it.
Even, diffused lighting
Lighting is where most home mannequin shots go wrong, and the fix is almost always the same word: diffusion. Hard, direct light (a bare bulb, a phone flash, direct sun) creates harsh hotspots and deep shadows that hide the garment's texture and color. Soft, diffused light wraps around the form and renders fabric honestly.
A dependable setup is two soft sources — two softboxes, or two large north-facing windows — placed at roughly 45 degrees on either side of the mannequin, lighting it evenly from both sides. Add a reflector (even a white foam board) or a small third fill light on the shadow side to lift any remaining darkness. If you are shooting for a hollow-neck composite, keep the lighting symmetrical so the interior shot you capture later matches the main shot.
Camera, white balance, and consistency
You do not need a high-end camera — a modern phone on a tripod is plenty — but a few settings matter:
- Tripod, always. A fixed camera keeps framing identical across garments and is essential if you plan to composite an inner-collar shot, because the two frames must align.
- White balance matched to your light. Set a custom white balance (or shoot a grey card) so the fabric color is rendered accurately. Color accuracy is the single thing buyers notice most and returns punish hardest.
- Mid aperture, low ISO. Keep the whole garment in focus and the image clean. On a phone, just lock exposure and focus on the garment so it does not drift between shots.
- Shoot a touch wider than you need. Extra margin around the form gives you room to crop to 1:1, 4:5, or 16:9 for different marketplaces without re-shooting.
Step-by-Step: Shooting the Garment
With the stage built, the actual shoot is a short, repeatable routine. Run the same sequence for every piece.
Step 1 — Prep and steam the garment
Wrinkles are the number-one giveaway of an amateur shot, and they are far cheaper to remove with a steamer before the shutter than to retouch after. Steam or press the garment, lint-roll it, and check for loose threads or tags. Five minutes here saves a lot of editing.
Step 2 — Dress the form and tailor the fit from behind
Put the garment on the form and adjust it so it sits the way it should be worn — collar straight, seams aligned, hem level. If a piece is slightly large, gather and pin the excess at the back of the form where the camera will not see it, so the front reads as a clean, tailored fit. Never pin where it shows. The aim is an honest representation of the fit, just neatened.
Step 3 — Frame and shoot the front
Square the camera to the form at chest height so the garment is not distorted by an up- or down-angle. Center the form, leave breathing room around it, and shoot the front. Take a few frames and check the back of the camera (or the phone screen) at full zoom for focus, hotspots, and stray wrinkles before moving on.
Step 4 — Shoot the back and quarter angles
Rotate the form (or move around it) and shoot the back and one or both quarter angles, keeping the camera position and lighting fixed. A catalog-grade listing usually shows front, back, and at least one angle so the buyer sees the whole garment. Structured pieces like blazers benefit from a second quarter angle to reveal the shoulder and lapel.
Step 5 — Capture detail shots
Finally, move in for close-ups of the parts that sell the piece: fabric texture, buttons and hardware, embroidery, a label, a special hem. These detail frames are what reassure a buyer that the quality is real, and they round out the listing alongside the full-body shots.
Already shooting clean flat-lays and want the dimensional look without the mannequin step? Drop one photo into the AI tool and compare. Try Snappyit free →
Capturing the Inner-Collar Shot for a Ghost Mannequin
If your goal is the polished, hollow-neck look — where the garment appears worn by an invisible body and you can see the inside of the collar — you need one extra frame beyond the standard shots. This is the step that separates a mannequin photo from a true ghost mannequin result, and it has to be captured at shoot time because it cannot be invented later.
Why the interior frame matters
The single cue that makes a hollow-neck image read as "real" is the visible inside back of the collar showing through the front neck opening. A physical form blocks exactly that area in your main shot — the neck of the dress form is sitting where the interior should be. So you capture the interior separately and composite it in, replacing the form's neck with the garment's own inner collar.
How to shoot it
- Keep everything fixed. Do not move the camera, the lights, or the form's position. The interior frame must match the main frame in angle and lighting or the composite will not align.
- Expose the interior. Remove the form's neck cap (this is why a ghost-ready dress form matters), or take the garment off and arrange it so the inside back of the collar faces the camera at the same angle.
- Shoot the inside back of the neck. Capture a clean frame of the inner collar, including the label area if it is visible, lit the same as the main shot.
- For cuffs and open hems, repeat. Long sleeves and open-front jackets benefit from the same treatment — a quick interior frame of the cuff or placket lining so those openings also read as hollow.
Compositing the two frames
In editing, you cut the form out of the main shot, then drop the interior frame into the now-empty neck opening so the collar looks hollow and three-dimensional rather than ending at a plastic neck. You then clean the edges, rebuild any contact shadows, and even out the background. It is meticulous work — the alignment, the shadow rebuild, and the edge masking all take time per garment — but it is what produces the catalog-standard invisible-body look from a physical mannequin shoot. If you would rather not do the compositing by hand, the AI route below produces the same hollow-neck effect without the second frame at all.
Common Mistakes and a Pre-Shot Checklist
Most mannequin shots that miss fail in a handful of predictable ways. Watch for these:
- Visible pins, clips, or tags. Anything used to tailor the fit must be hidden behind the form, never in frame.
- Wrinkles left in. Un-steamed fabric reads as careless and is tedious to retouch — handle it before shooting.
- Harsh, single-source lighting. One hard light creates hotspots and heavy shadows that bury texture and color; diffuse and fill instead.
- A dirty or uneven backdrop. Creases, shadows, or a grey cast on a "white" background mean extra masking and a less convincing cutout.
- Dishonest fit. Over-pinning a loose garment into a slim shape (or letting a fitted piece sag) misrepresents the product and drives returns.
- Forgetting the interior frame. Skip the inner-collar shot and a clean ghost-mannequin composite becomes impossible — you will be faking the hollow neck.
- An up- or down-angled camera. Shooting from above or below distorts proportions; keep the lens level with the chest.
Before you press the shutter on each garment, run this quick checklist:
- Is the garment steamed and lint-free?
- Are all pins and clips hidden behind the form?
- Is the lighting even, with no harsh hotspot or deep shadow?
- Is the backdrop clean and evenly lit?
- Is the camera level with the chest and on a tripod?
- Is the white balance matched so the color is accurate?
- If I want a ghost result, have I planned the inner-collar frame?
Seven yeses and the garment is ready for the camera. A single no is your cue to fix that one thing before shooting, rather than discovering it during editing.
The AI Alternative: Skip the Physical Mannequin
Everything above gives you maximum control, but it also asks for real investment: a form, a backdrop, lights, a tripod, steaming and styling time per garment, and — for the hollow-neck look — a second frame plus careful compositing. For a large or fast-moving catalog, that adds up. The alternative is to skip the physical mannequin entirely and let an AI ghost mannequin tool generate the worn shape for you.
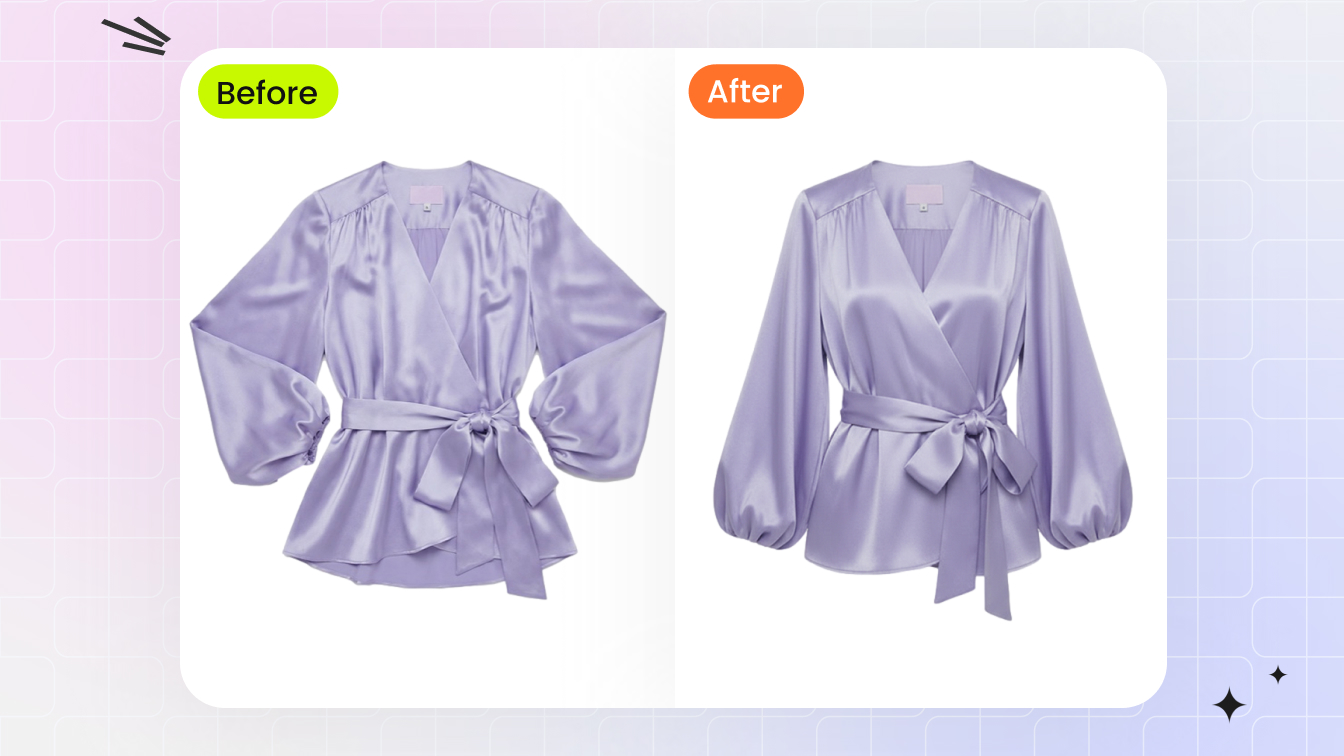
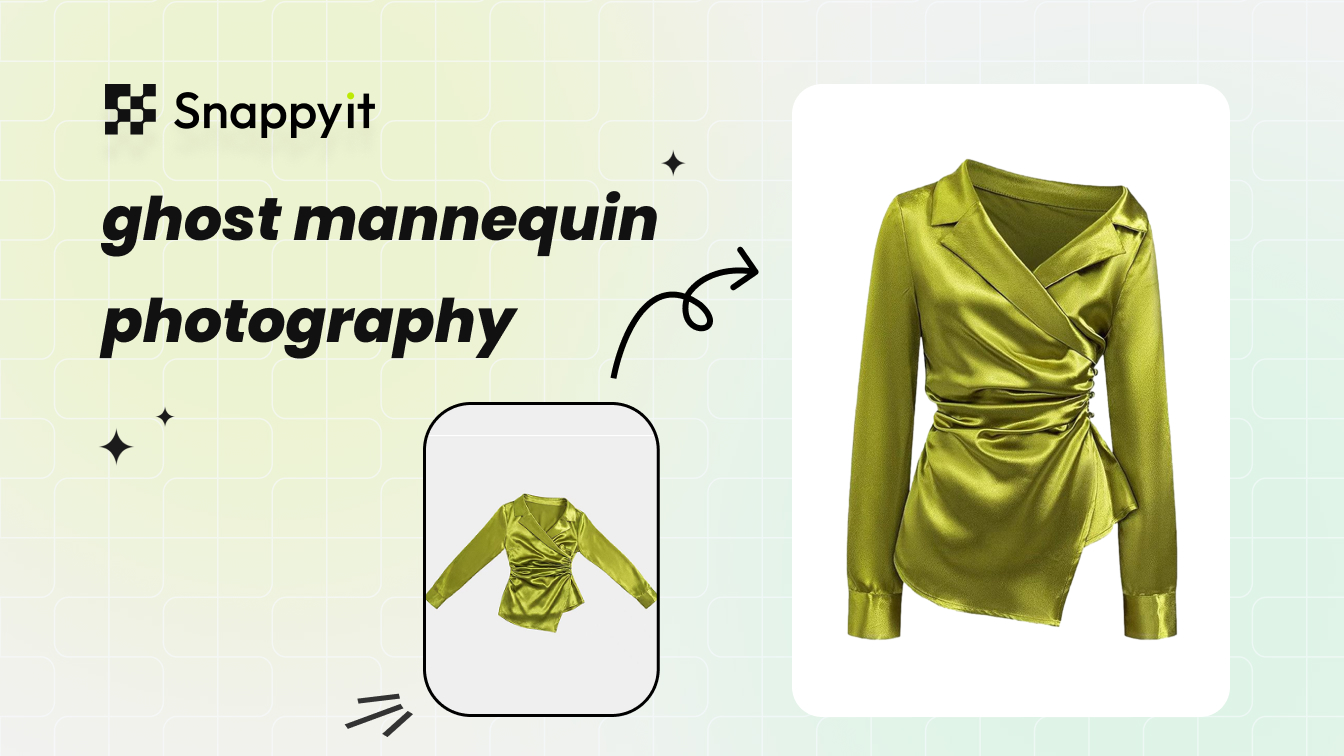
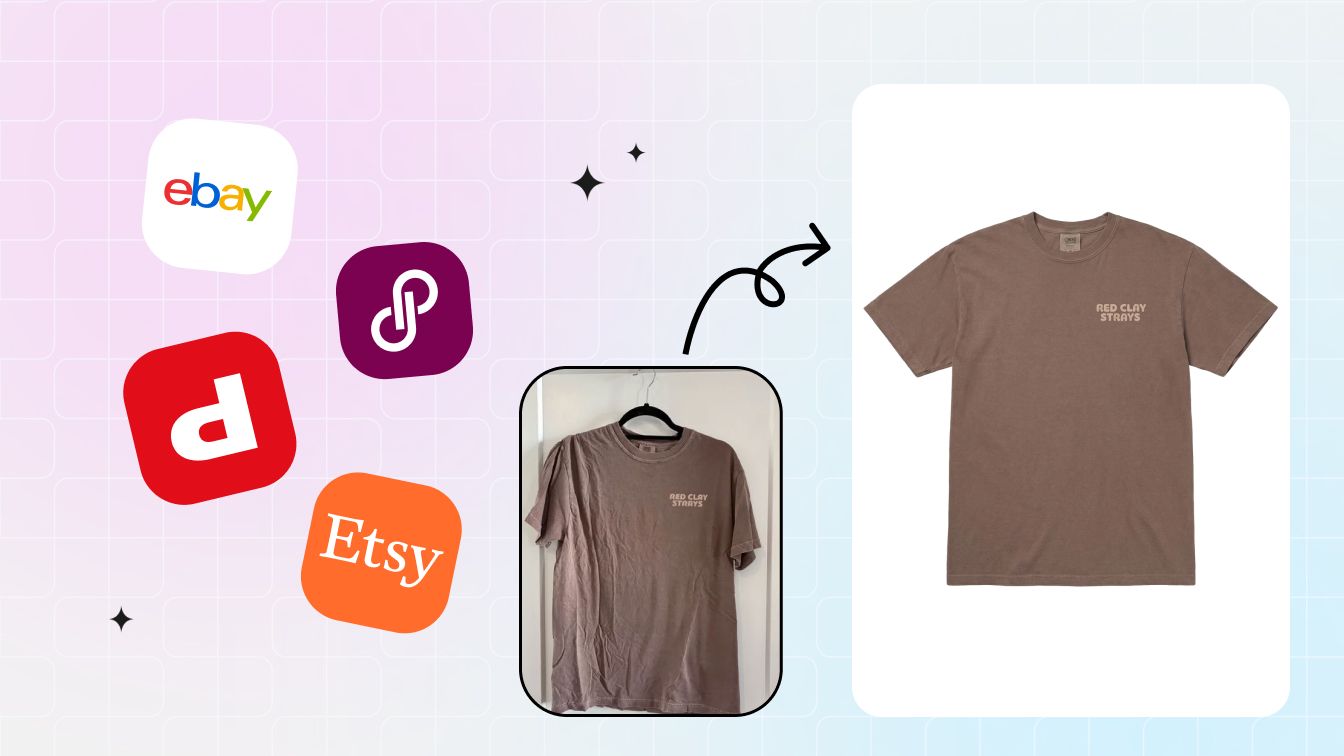
Instead of dressing a form and shooting it, you upload one flat-lay or hanger photo and the tool generates the 3D worn result directly — inferring the open collar, the visible interior, the chest volume, and the natural drape from that single source image. There is no mannequin to buy, no neck cap to remove, no inner-collar frame to capture, and no Photoshop compositing to align. In Snappyit's case the finished result comes back in roughly 60 to 90 seconds, and the workflow is template-driven by garment type, so you pick the category, drop in the photo, and the hollow-neck result is ready for a catalog.
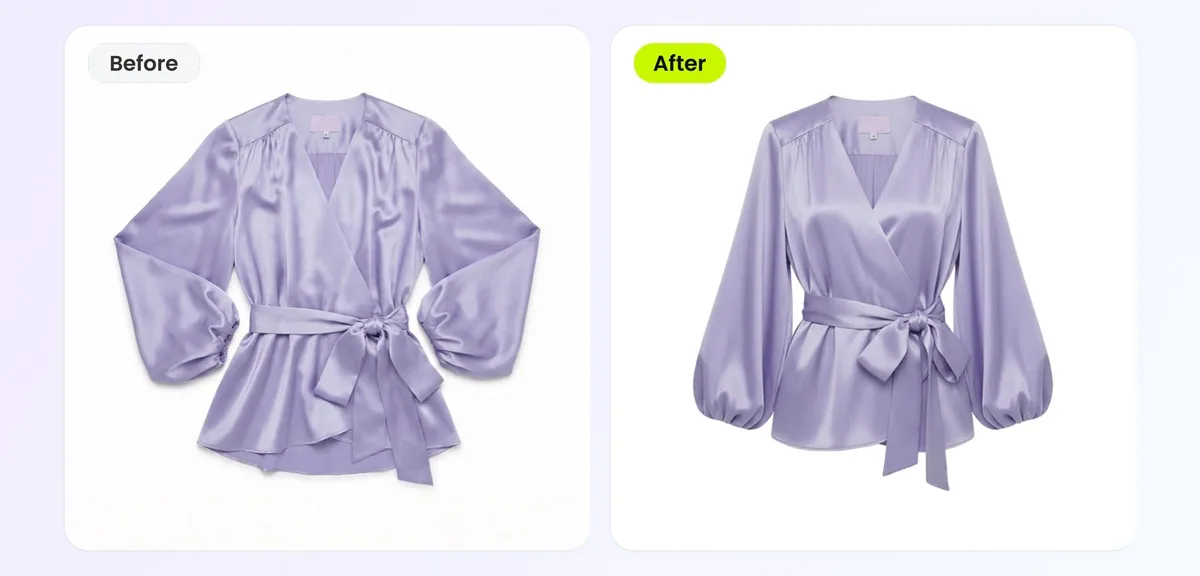
The honest trade-off is this: a physical mannequin shoot still gives you the most direct control over exactly how a specific garment is styled and lit, which some sellers value for hero or campaign images. But for routine catalog work — getting dozens of SKUs onto a clean, consistent, dimensional white-background image — the AI route removes the studio gear and the per-garment editing time, and the consistency comes for free because every garment runs through the same template. Many sellers do both: a mannequin or model shot for a flagship piece, and the AI tool for the long tail of the catalog. The richer roundup mentioned next looks at how product photography choices like this map to conversion.
For context on why richer presentation tends to pay off, a stat roundup compiled by GrabOn reports that the overwhelming majority of shoppers rely on product photos when deciding, and that professional, higher-quality images are associated with better conversion than basic snapshots. Whether you get your dimensional look from a mannequin and a softbox or from an AI template, the underlying lesson is the same: invest in the image, because it is doing the selling.
Try the AI Ghost Mannequin Free →
Frequently Asked Questions
What kind of mannequin is best for photographing clothing?
For apparel product photos, a torso dress form or a full-body mannequin in a neutral matte finish works best, and a model with a removable neck (often sold as ghost-mannequin or invisible-mannequin ready) is ideal because it lets you capture the inner-collar shot you need for a hollow-neck composite. Pick the body type that matches your typical garment size so the clothing fills out naturally rather than being pinned tight or hanging loose.
How do I light a mannequin for clothing photography?
Use soft, even, diffused light from both sides so the garment has no harsh hotspots or deep shadows. Two softboxes or two large windows at roughly 45 degrees to the mannequin is a reliable setup; add a reflector or a third fill light to lift shadows on the far side. Keep the white balance consistent and matched to your light source so the fabric color is rendered accurately, which matters more than any single lighting trick.
How do I get the inner-collar shot for a ghost mannequin effect?
After shooting the garment on the form, remove the front or use a model with a detachable neck cap, then shoot a second frame that shows the inside back of the collar from the same camera angle and lighting. In post-production you composite that interior into the empty neck opening so the finished image looks like an invisible body is wearing the garment. Keeping the camera and lights fixed between the two shots makes the composite far easier to align.
Do I still need a mannequin if I use an AI ghost mannequin tool?
No. An AI ghost mannequin tool generates the 3D worn shape, the open collar, and the visible interior from a single flat-lay or hanger photo, so you can skip the physical mannequin, the neck form, the second inner-collar shot, and the Photoshop compositing entirely. A mannequin shoot still gives you maximum control, but the AI route removes the studio gear and the per-garment editing time, which is why many high-volume sellers use it for catalog work.
What are the most common mistakes when photographing clothes on a mannequin?
The usual mistakes are leaving visible pins, clips, or wrinkles in frame; uneven or single-source lighting that creates harsh shadows; a dirty or uneven backdrop that has to be masked out later; styling the garment so tightly it misrepresents the true fit; and forgetting to capture the inner-collar frame, which makes a clean ghost-mannequin composite impossible later. A short pre-shot checklist catches most of these before you press the shutter.
Get the Mannequin Look Without the Mannequin
Drop one flat-lay or hanger photo into Snappyit and get a dimensional, hollow-neck ghost mannequin result — open collar, real volume, natural drape — without a form, a softbox, or a compositing afternoon.
Cited research: the product-image quality roundup from Let's Enhance, and the product-photography statistics compiled by GrabOn.