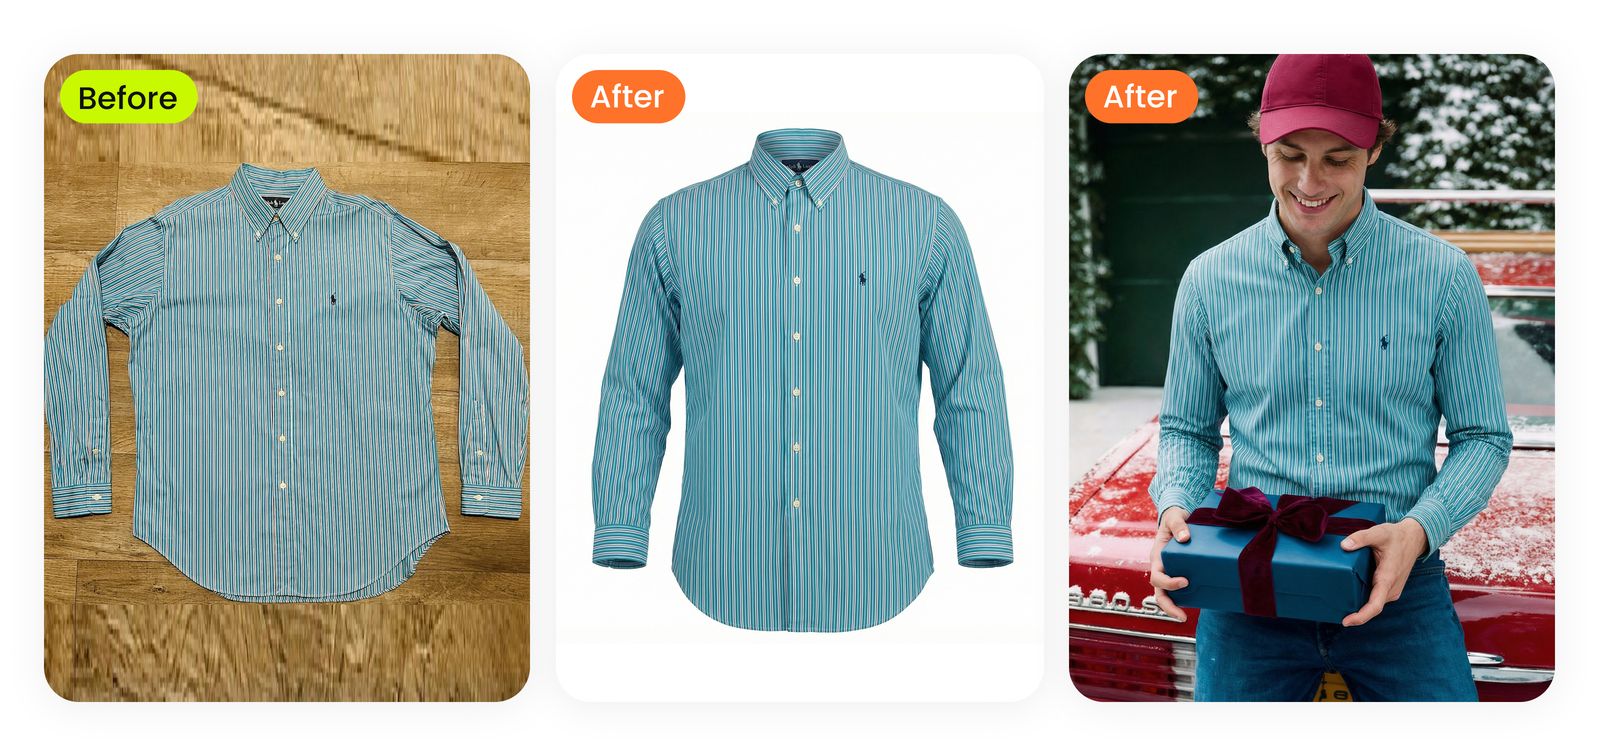
At a Glance
A resale photo set needs a strong browsing image and enough information to help a buyer assess the item. Work in this order:
- Prepare the garment and record its condition.
- Set up a repeatable background and soft, even light.
- Choose a hanger, flat lay, or on-body presentation.
- Set up the phone and frame the item.
- Capture a complete photo set, including cover candidates, labels, measurements, details, and flaws.
- Create platform-ready copies, choose the cover, write the listing, and set the price.
- Run a final check before publishing.
AI alternative: After the traditional capture steps, the optional AI section shows how one direct garment photo can support a clean-background image, a ghost-mannequin view, or an on-model presentation.
1. Prepare the Garment and Document Its Condition
Begin with the item itself. Careful preparation makes the garment easier to photograph and reduces the amount of editing needed later.
- Read the care label before removing wrinkles. Steam, press, or leave the fabric untreated according to its material and care instructions. Test delicate or unfamiliar fabrics in an inconspicuous area.
- Remove surface distractions. Use a lint roller or soft garment brush, trim only loose threads that are not part of the construction, and empty the pockets.
- Restore the intended shape. Fasten buttons, zippers, hooks, and belts. Arrange collars, cuffs, waistbands, straps, and hems so their construction is visible.
- Record labels and measurements. Note the brand, tagged size, fiber content, and care instructions. Measure the areas a buyer is likely to compare, such as chest, waist, rise, inseam, or total length.
- Find every condition issue before styling. Note stains, fading, pilling, repairs, missing hardware, stretched areas, and holes. Add a clear close-up of each issue to the shot list so it is documented before any background removal or other editing.
For vintage and one-off items, condition is part of the product information. Use specific descriptions such as “light pilling under the right arm” or “approximately 1 cm repair near the hem” instead of broad labels such as “good condition.”
2. Build a Simple Home Photo Setup
Choose a neutral background
Use a clean, matte surface that separates the garment from its surroundings. White and light gray are flexible choices, but a darker neutral may show the edges of a white or cream item more clearly. Paper, foam board, a wrinkle-free sheet, or a plain wall can all work when they are large enough to stay inside the frame.
Flat-lay photography is easiest to repeat when the surface, camera height, and direction of light stay consistent from one item to the next.[1]
Use soft, even light
Place the setup near a window that gives indirect daylight. If direct sun creates bright patches or hard shadows, diffuse it with a sheer curtain and move the garment farther from the window. Turn off nearby lamps when their color differs from the daylight.
For night work or repeatable batch photography, consider buying a pair of daylight-balanced LED panels or softboxes with adjustable brightness and color temperature. Diffuse the light, use one panel as the main light, and place the second panel or a white foam board on the opposite side to soften shadows. Turn off room lamps that do not match the selected color temperature.
Color differences often come from mixed light, changing auto white balance, or exposure shifts. Take a test frame with a neutral gray card, lock white balance and exposure if your phone allows it, and compare the image with the garment under neutral light before shooting the batch. Screens still vary, but a stable setup avoids preventable color casts.
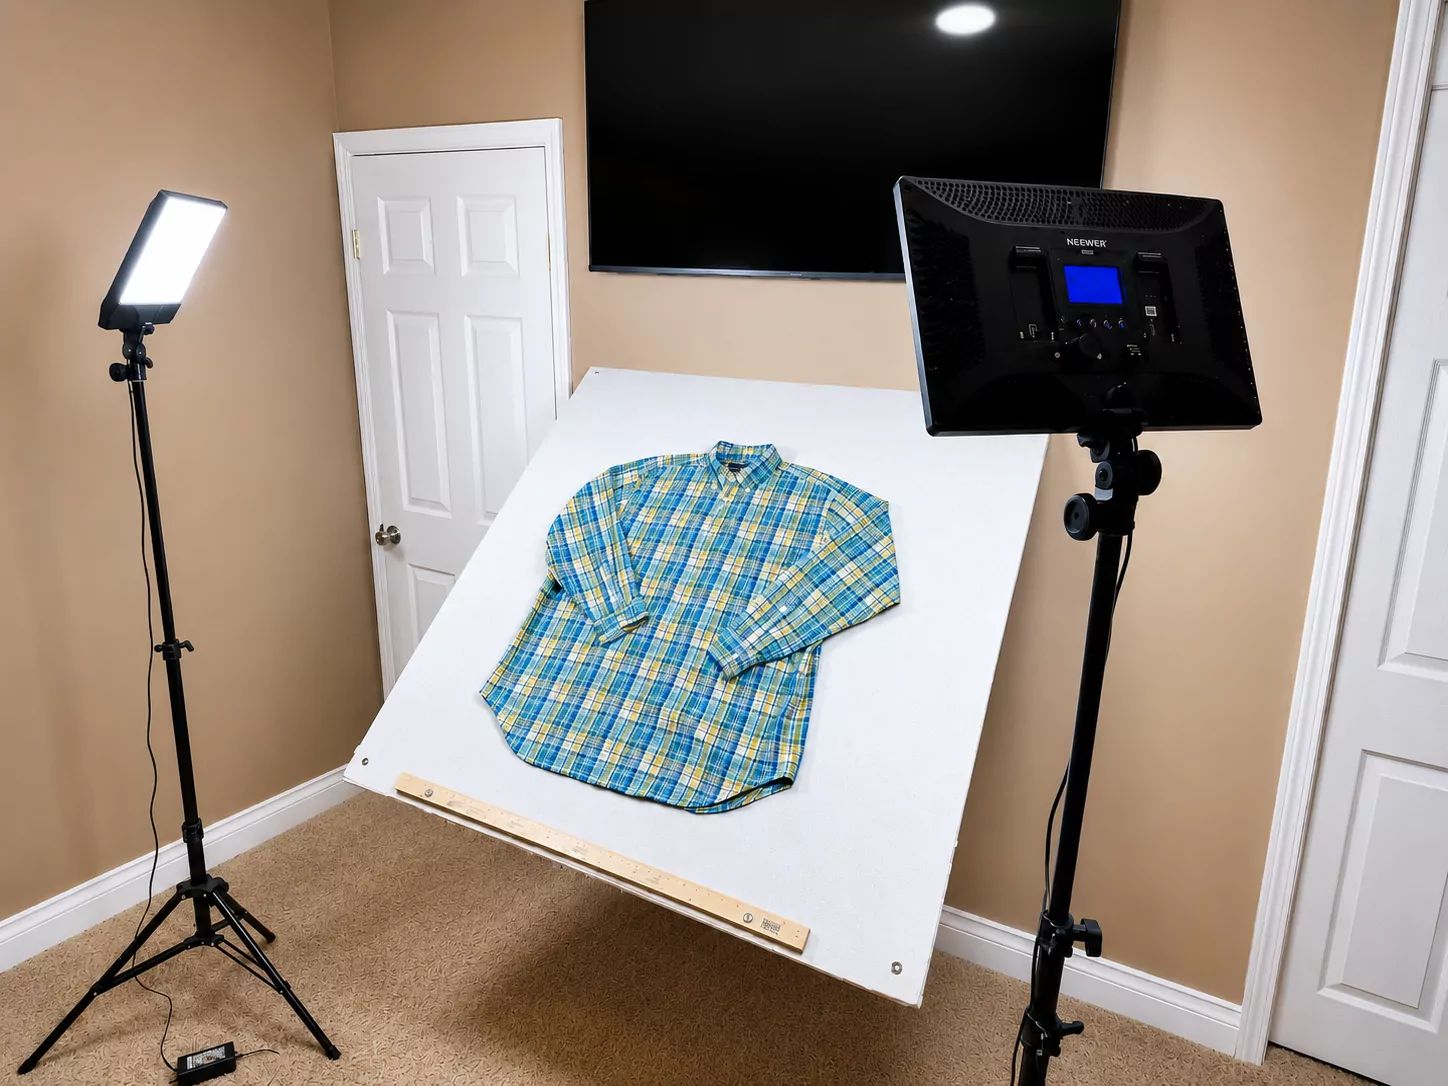
Make the setup repeatable
Mark the positions of the garment, phone support, and light with removable tape. Photograph one test item, check it at full size, and correct glare or softness before shooting the rest of the batch.
3. Choose a Presentation Style
Select the traditional view that shows the garment most accurately. You can add other views when they contribute useful information, but you do not need every method for every item.
| Style | Works well for | Watch for |
|---|---|---|
| Hanger | Coats, jackets, shirts, and other structured garments | A narrow hanger can stretch or distort knit shoulders. Keep the hanger level and the camera parallel to the garment. |
| Flat lay | T-shirts, knitwear, trousers, skirts, accessories, and garments that need clear measurements | Long pieces need enough surface area. Keep the phone directly above the item to avoid perspective distortion. |
| Mannequin or real model | Items whose silhouette, volume, or styling is difficult to read when flat | The body shape and pose can influence the apparent fit, so avoid positions that obscure the garment's shape. |
At this stage, choose the presentation you want to prioritize for the cover; capture the actual candidate after setting up the phone in the next step. For a closer comparison of physical setup and generated alternatives, see this guide to traditional versus AI flat-lay photography.
4. Set Up Your Phone and Frame the Item
The default camera app is usually sufficient. Before you begin:
- Clean the lens with a soft cloth.
- Use the main lens rather than an ultrawide lens, which can stretch shoulders, sleeves, and hems near the edge of the frame.
- Turn on gridlines and the level if your camera app provides them. Keep the phone parallel to a flat lay or square to a hanging garment.
- Tap the garment to set focus and exposure. If your phone offers exposure or focus lock, use it so a batch remains consistent. Controls vary by device.
- Turn off flash and portrait blur. Direct flash can create glare and hard shadows, while simulated blur may erase garment edges.
- Capture at the phone's normal full resolution. Keep the original files and make separate edited copies for listing.
If an inherited or downloaded source is already too small for a clean marketplace crop, diagnose the file before editing with this guide to making product photos higher resolution.
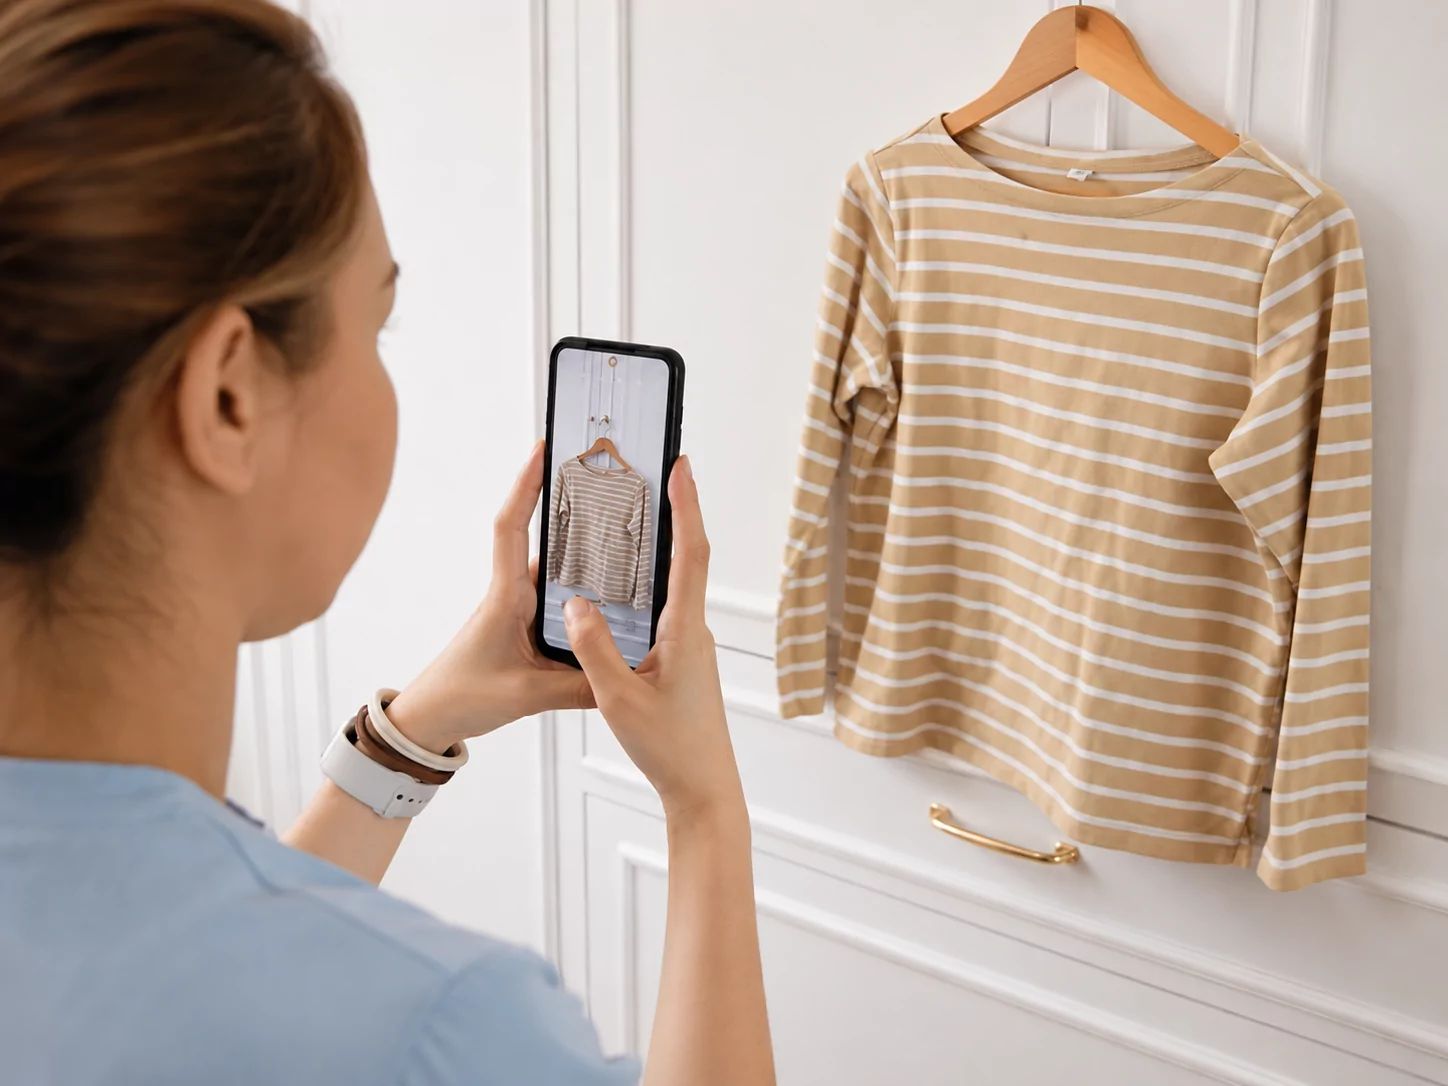
Leave space around the garment so the same source photo can support different marketplace crops. Fill enough of the frame to preserve detail, but do not cut off sleeves, hems, straps, or other identifying features.
5. Capture a Complete Resale Photo Set
There is no universal photo count for every garment. A complete resale photo set usually covers five image groups:
- Full-garment views: photograph the front and back at a similar scale and camera angle. Add a side, mannequin, or on-body view only when it clarifies shape or volume.
- Labels: make the brand, size, fiber-content, care, and other relevant label text readable.
- Measurements: place the tape measure flat and show both its starting point and the final reading.
- Fabric and construction: capture texture, pattern, closures, pockets, cuffs, hems, and other distinctive features.
- Condition: take a focused close-up and, when useful, a wider location view for wear, repairs, stains, or missing parts.
AI Alternative to the Traditional Workflow
The traditional method gives you direct control over every shot, but it is not the only way to produce the presentation images. Starting from a clean garment photo, AI can take over work that would otherwise require a prepared backdrop, a dressed mannequin and compositing, or a separate model shoot. This is especially useful when you are processing many items, working without a studio, or trying to reduce production time and cost. The AI product photography pillar guide explains how these workflows fit into a broader ecommerce image system.
| AI workflow | Traditional work it can replace | Typical result |
|---|---|---|
| Background removal | Building or changing physical backdrops and manually cutting out or cleaning each background | A clean cutout or product image on a reusable background; review edges and color before listing |
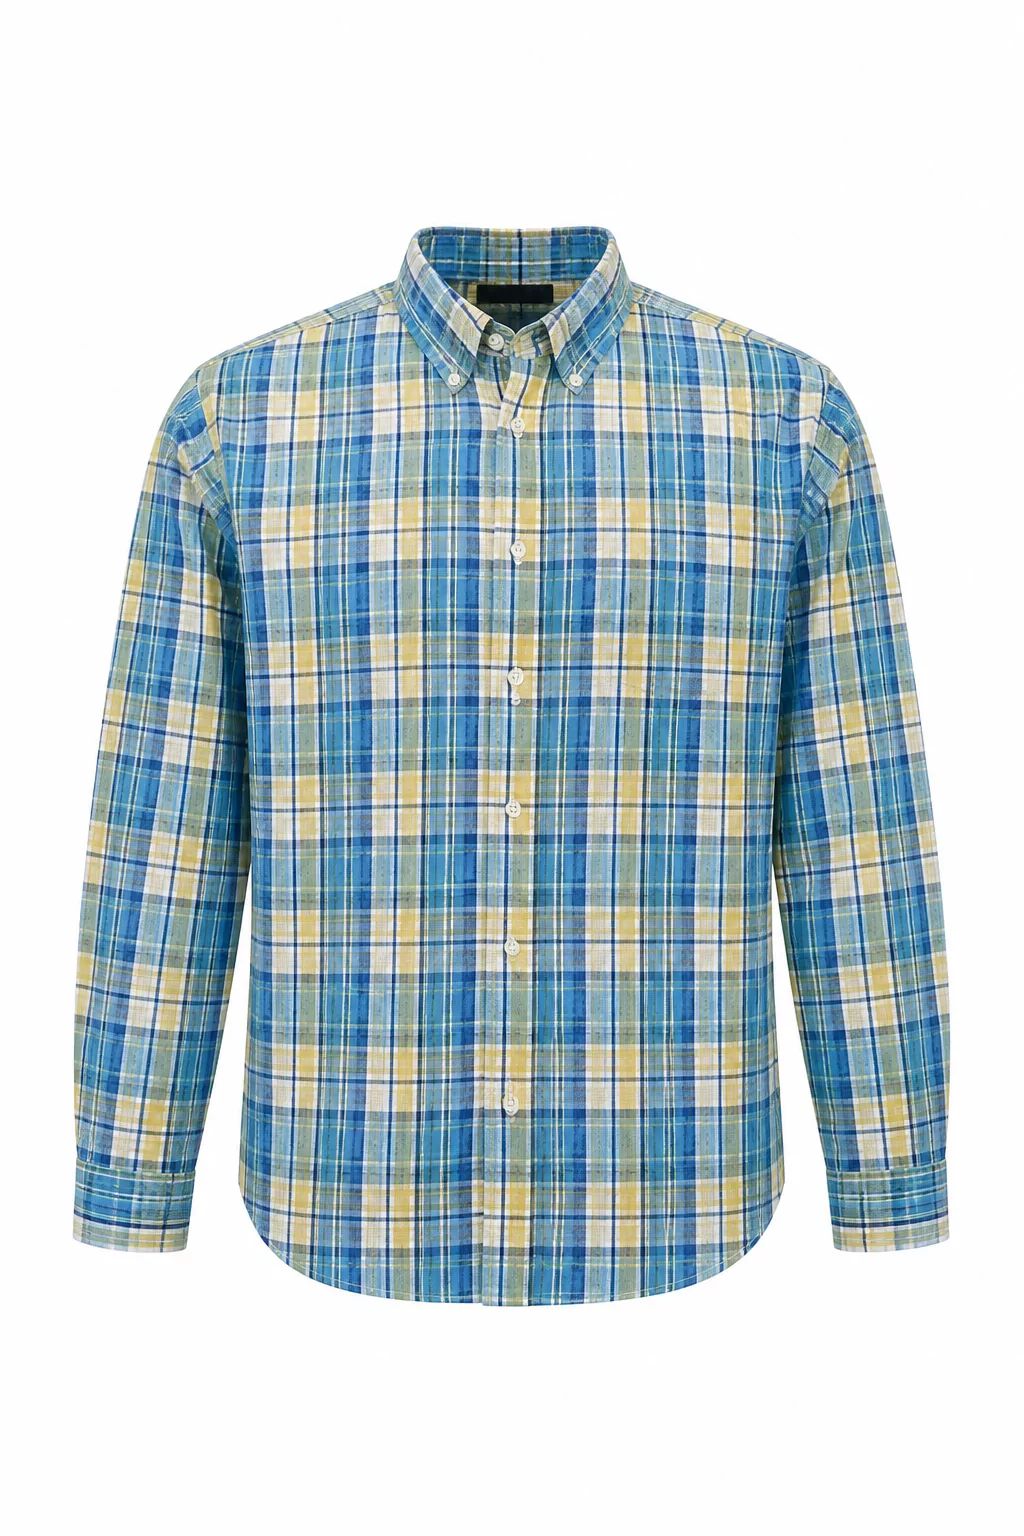
| Ghost mannequin | Dressing a mannequin, photographing multiple angles, and compositing the final image | A catalog-style silhouette; review openings, seams, and garment length |
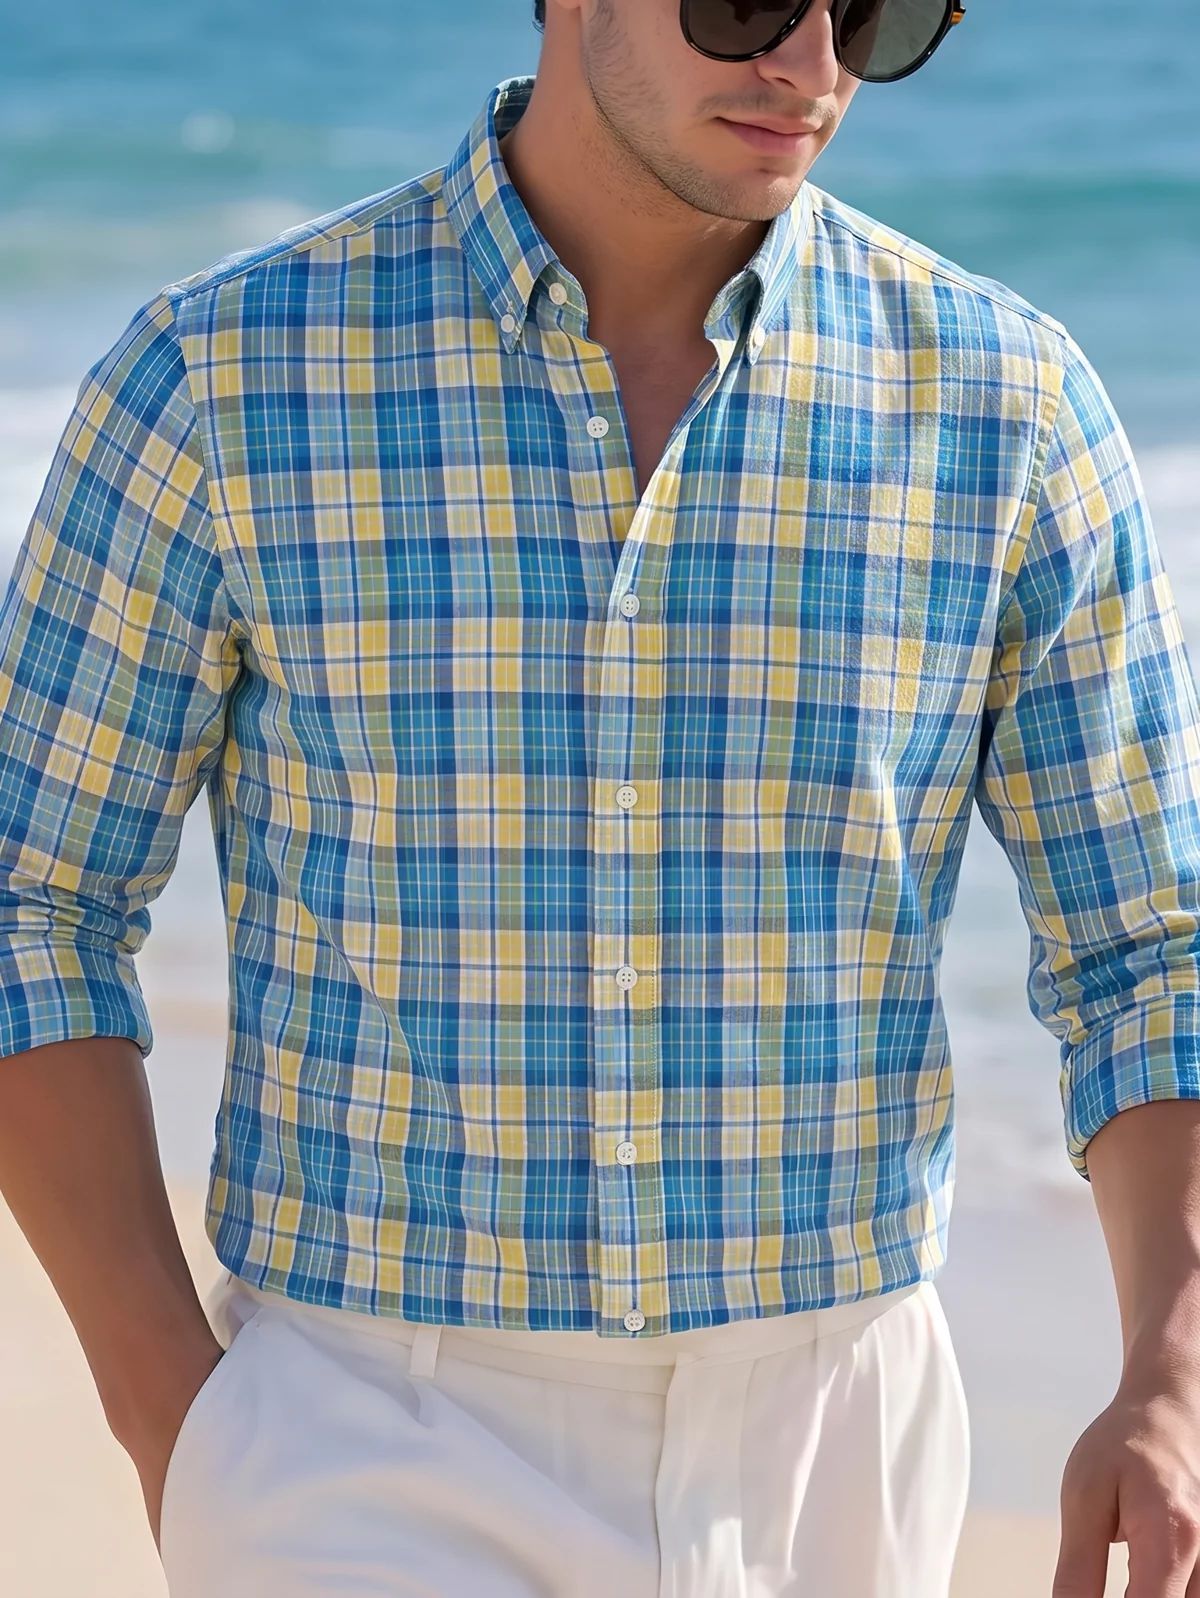
| AI fashion model | Booking a model, arranging styling and a location, and running a separate shoot | An on-model cover or outfit view; review garment features and generated accessories |
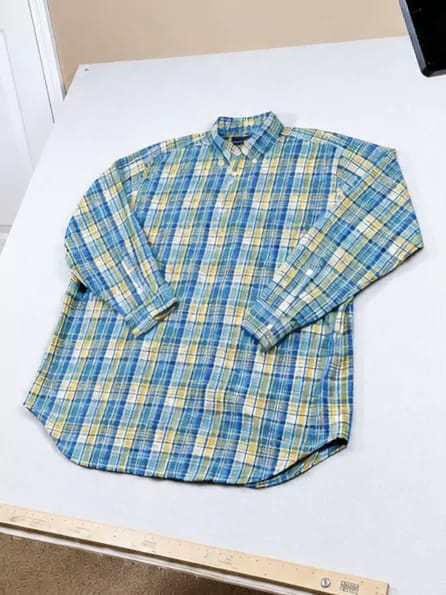
Blue-and-yellow plaid shirt
Beige striped top
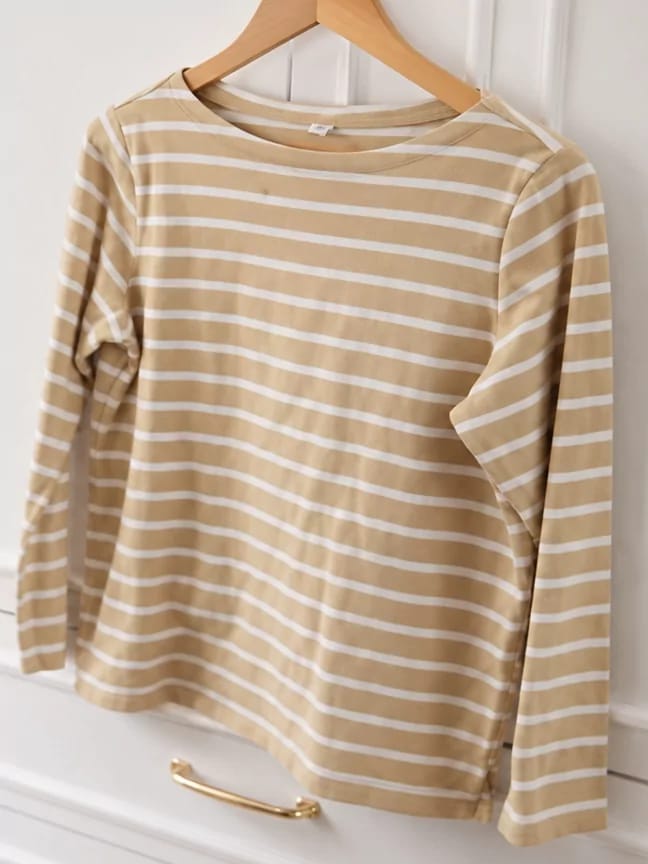
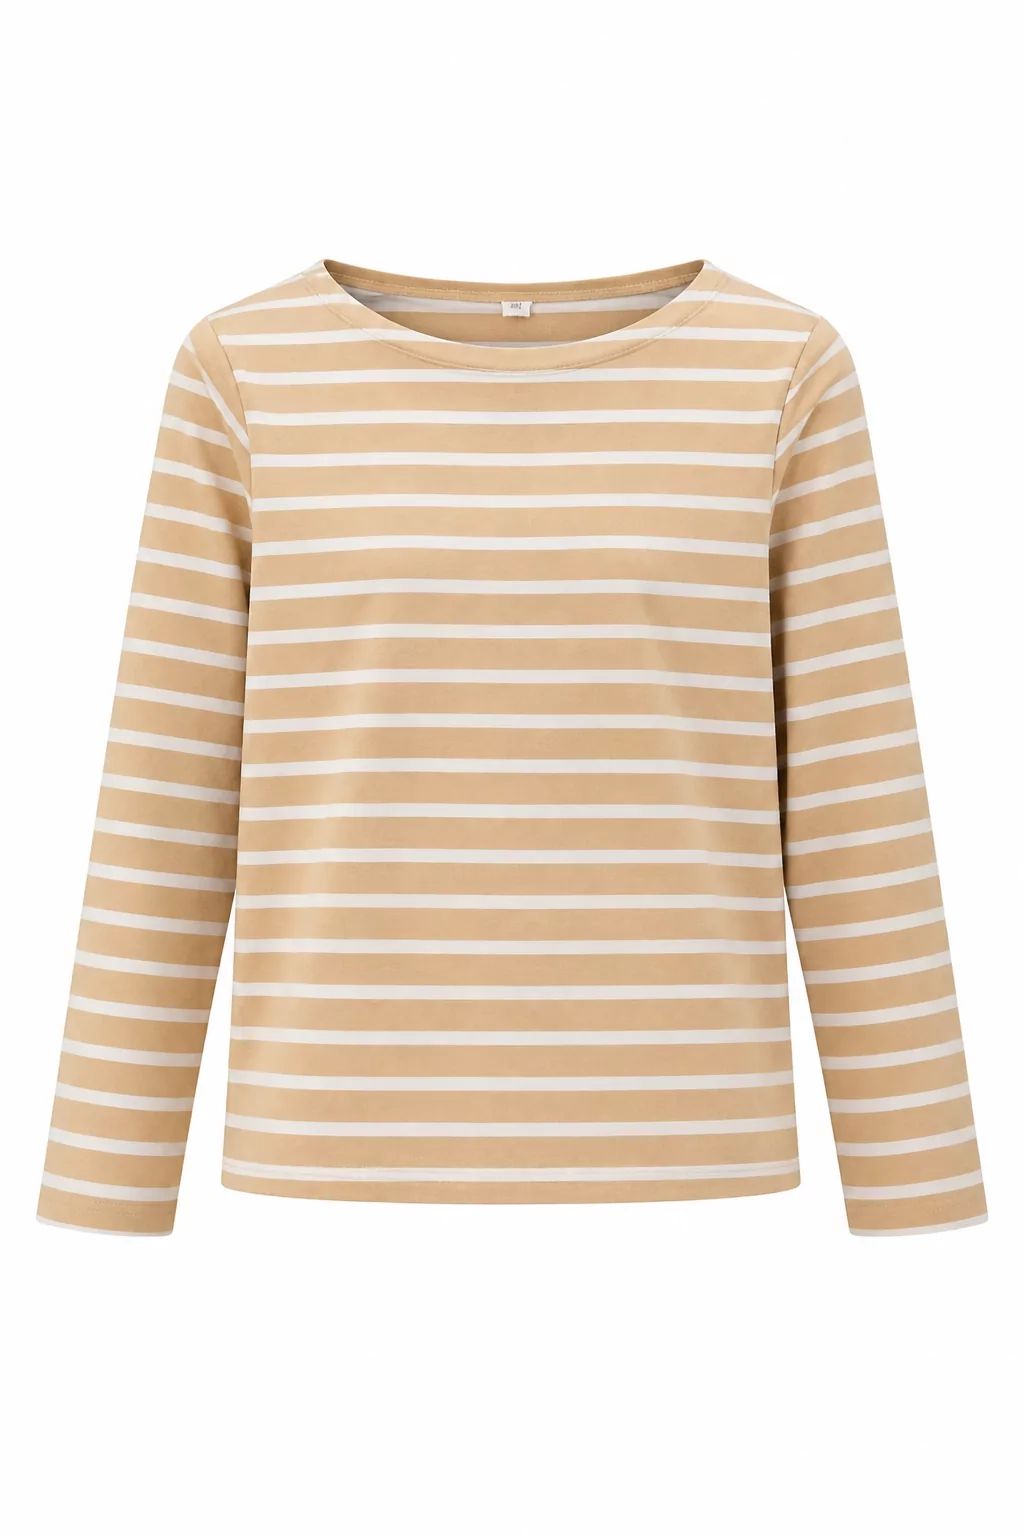
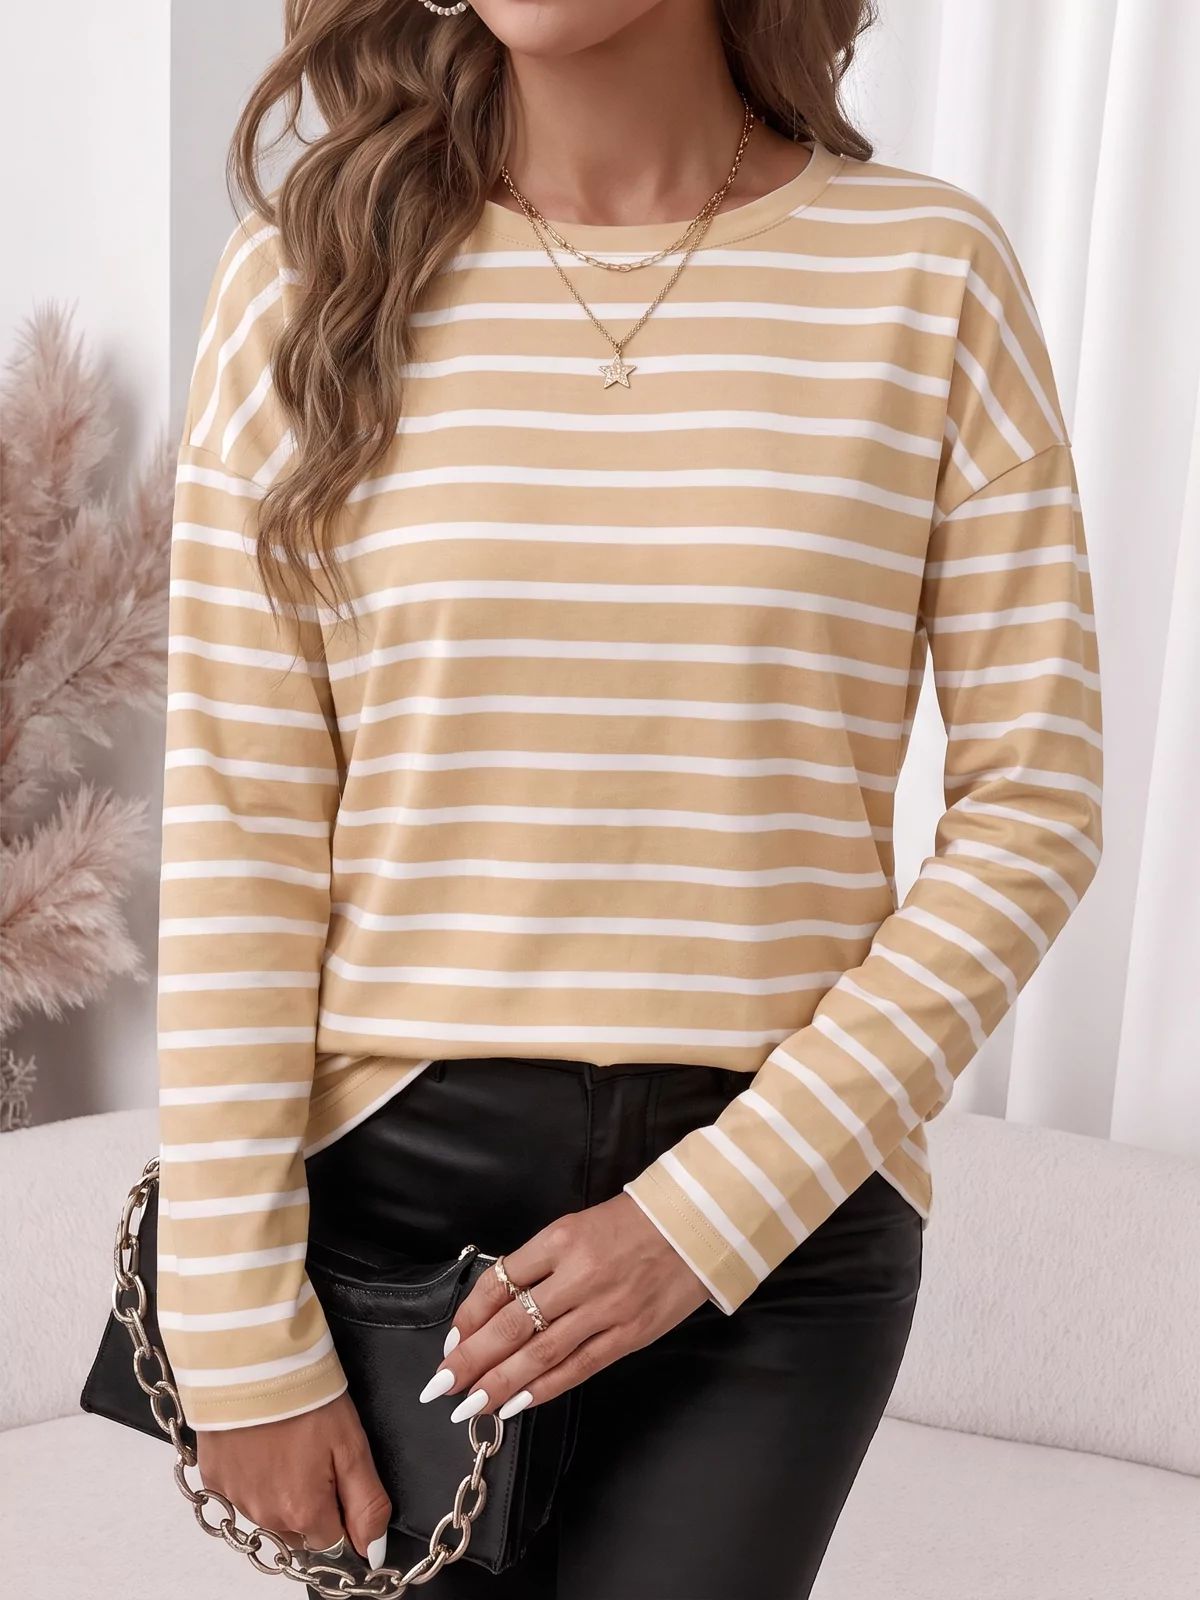
The two comparisons above were created with Snappyit from the direct photos on the left: AI Fashion Model generated the on-model results, and Ghost Mannequin generated the hollow-form product views.[2][7]
Before publishing any generated result, compare it with the direct photo and follow the marketplace's current rules for generated imagery and disclosure.
6. Prepare the Photos and Publish the Listing
Once the photos are ready, make marketplace-specific copies and add the listing information.
Create platform-ready image copies
There is no universal marketplace ratio. Keep the full-resolution originals and make a cover copy for each channel:
- Poshmark: listing photos now display in a 3:4 portrait format. Center the garment, leave a small margin, and preview the cover crop; existing photos do not need to be reshot solely for the format change.[3]
- eBay: images should be at least 500 × 500 px; eBay recommends about 1600 × 1600 px and says 1:1 or 16:9 generally works well across its placements.[4]
- Etsy: the listing editor lets you choose the crop ratio, while Etsy recommends high-resolution primary images with both dimensions at 2000 px or more.[5][6]
Keep labels, measurements, and detail photos at their original ratio when that makes them easier to read. For a Poshmark closet, reuse a similar background and framing across covers while keeping color and item visibility accurate. Check the current marketplace image sizes and zoom requirements before exporting channel-specific copies.
Crop the images and choose the cover
Crop excess background, straighten the frame, or remove the background for a cleaner presentation. Do not stretch the garment or repeatedly compress the same file. Start with the clearest direct photo. When the marketplace permits generated imagery, you can use a carefully reviewed ghost-mannequin or AI-model image as the cover; keep direct photos of labels, measurements, construction details, and every condition issue in the listing. Preview the thumbnail to make sure the full outline survives the crop.
Add the product details and price
Build the title from the brand, item type, key style or material, size, and color. In the description, cover the tagged size, measurements, fabric, notable features, condition, and whether any detachable pieces or styling accessories are included.
For pricing, compare several recently sold items that are close in brand, style, material, size, and condition. Use those sales to form a reasonable listing-price range.
7. Final Pre-Publish Checklist
- The exported images meet the target marketplace's current requirements, and the cover crop works in its thumbnail preview.
- The title, category, item specifics, measurements, condition notes, and photos agree with one another.
- The price reflects several relevant sold listings with comparable brand, style, size, and condition.
- Any AI-generated image has been reviewed and disclosed when required.
A strong resale listing combines clear photos with accurate product information and a defensible price. Once those elements agree, the item is ready to publish.
Frequently Asked Questions
Do I need a mannequin to photograph thrifted clothes?
No. A hanger or flat lay can document most garments clearly. Use a mannequin, a real model, or a carefully reviewed AI image only when an additional silhouette view would help the buyer understand the item.
What background works best for thrifted clothing photos?
Use a clean, matte background that contrasts with the garment without changing its apparent color. White, light gray, and other neutral surfaces are flexible choices, but a darker neutral can be clearer for a very light garment.
How many photos should a thrift clothing listing include?
Include enough photos to show the front, back, labels, fabric, measurements, construction details, and every relevant flaw. The exact number depends on the garment and the marketplace's current photo allowance.
Should I show stains, pilling, or repairs?
Yes. Photograph each condition issue clearly and describe its location and approximate size. Do not remove or soften flaws during editing, because the photos need to represent the item the buyer will receive.
Can an AI fashion model or ghost mannequin image be the cover?
Yes, when the marketplace permits it and the generated image accurately represents the garment. It can replace a conventional mannequin or model shoot for the cover, reducing the setup required for each listing; review the output carefully and disclose it when required.
Do I need to reshoot square Poshmark photos for the 3:4 format?
No. Poshmark listing photos now display in a 3:4 portrait format, but existing photos do not need to be reshot solely because of the format change. When the original has enough space around the garment, make a 3:4 cover copy, center the item, leave a small margin, and preview the crop before publishing.
How can I make my Poshmark closet photos look consistent?
Use a similar neutral background, light direction, camera position, garment scale, and margin across your cover photos. Keep color accurate, preview each cover at thumbnail size, and retain direct photos that document labels, measurements, construction details, and flaws.
Should every Poshmark listing photo use the same 3:4 crop?
No. Optimize the cover for Poshmark's 3:4 display and thumbnail crop, but keep label, measurement, construction, and flaw photos at the ratio that makes the evidence easiest to read. Do not crop away relevant product information just to make every image identical.
What should I check before publishing a resale listing?
Preview the cover crop on the target marketplace, confirm that the title, description, measurements, and condition match the photos, compare the price with similar sold items, and review any required AI disclosure before publishing.
References
- Adobe, “Flat lay photography: A beginner's guide.” Accessed August 20, 2026.
- Snappyit, “AI Fashion Model.” Accessed August 20, 2026.
- Poshmark Blog, “Your Guide to Portrait Photos.” Published March 25, 2026.
- eBay Help, “Adding pictures to your listings.” Accessed August 20, 2026.
- Etsy Help, “How to Create a Listing.” Accessed August 20, 2026.
- Etsy Help, “How to Use the Etsy Search Visibility Page.” Accessed August 20, 2026.
- Snappyit, “AI Ghost Mannequin.” Accessed August 20, 2026.
Create Optional Presentation Images from One Direct Photo
Keep the direct photo set as the factual record of the garment, then use optional AI presentation images only where they help buyers understand silhouette or styling.