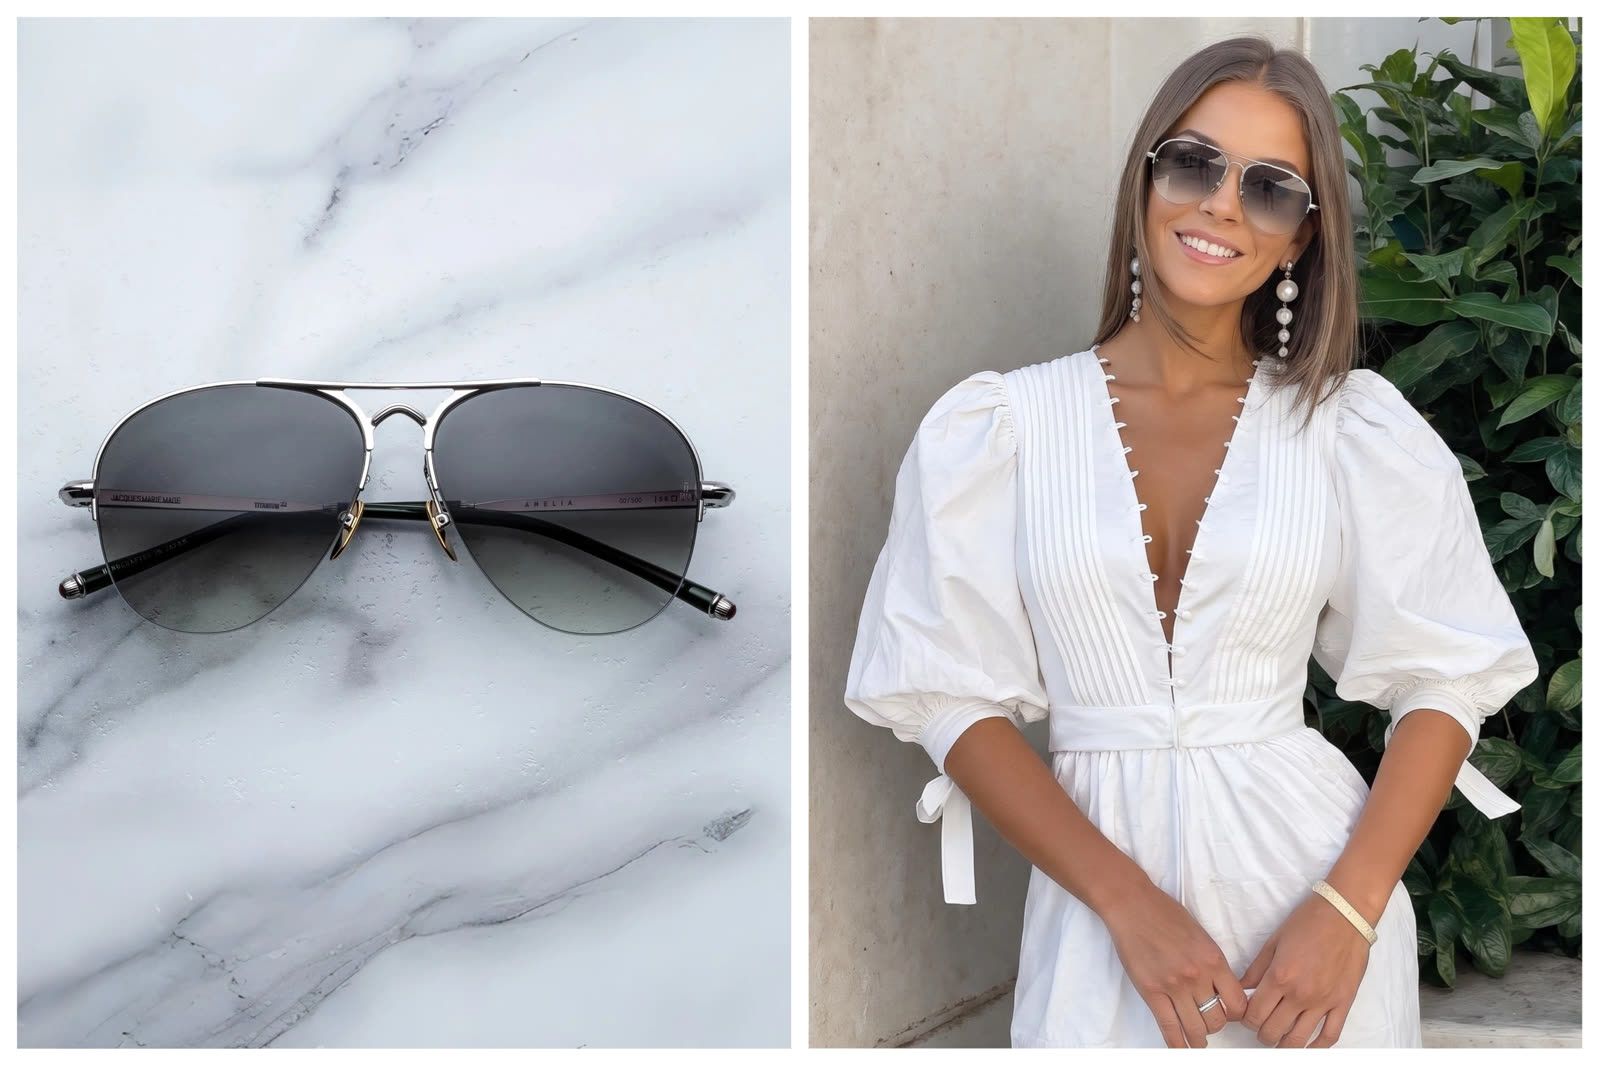

Previewing glasses before buying with AI
To try on glasses online from a photo, upload a clear face photo and a reference image of the frame. Photo-based AI generates a still style preview that can help compare frame shape, color and overall appearance.
This guide uses Snappyit as an example of the upload-photo glasses try-on workflow, from preparing the two images to generating and reviewing the result. Eyewear sellers can use the same process for on-model product visuals.
A generated preview shows visual style; it does not confirm exact size, prescription suitability or wearing comfort.
| Purpose | Inputs and checks |
|---|---|
| Preview a frame on a particular face | A clear face photo and a product reference for that frame. |
| Compare frame styles or colors | The same face photo, with a separate reference for each frame or colorway. |
| Create on-model eyewear visuals | A specific product reference and a permitted model image, followed by product-detail review. |
| Confirm physical fit | Retailer dimensions and fitting advice; a generated image cannot verify this. |
How photo-based glasses try-on works
- 1Add the glassesUse the frame photo as Product Image.
- 2Add a face photoUpload and select the face photo under Custom.
- 3Generate a previewConfirm the selected person and image count.
- 4Review the resultCompare the frame details and visual placement.
1. Choose a frame reference
The workflow starts with a clear product reference that the user has permission to use. The whole frame should be visible, including the bridge, lens outline and temples. Each colorway needs its own reference: a black frame image will not reliably show how the clear version looks.
2. Upload the glasses image first
The process begins on Snappyit’s virtual try-on glasses page, using Upload glasses image. The eyewear reference is sent to the Fashion Model generator, where the person’s photo is added.
3. Upload and select the person’s photo
The Try on model selection panel includes a Custom tab with an Upload option for an adult face photo. A personal style preview uses the person’s own photo; a model-library image shows the frame on that model.
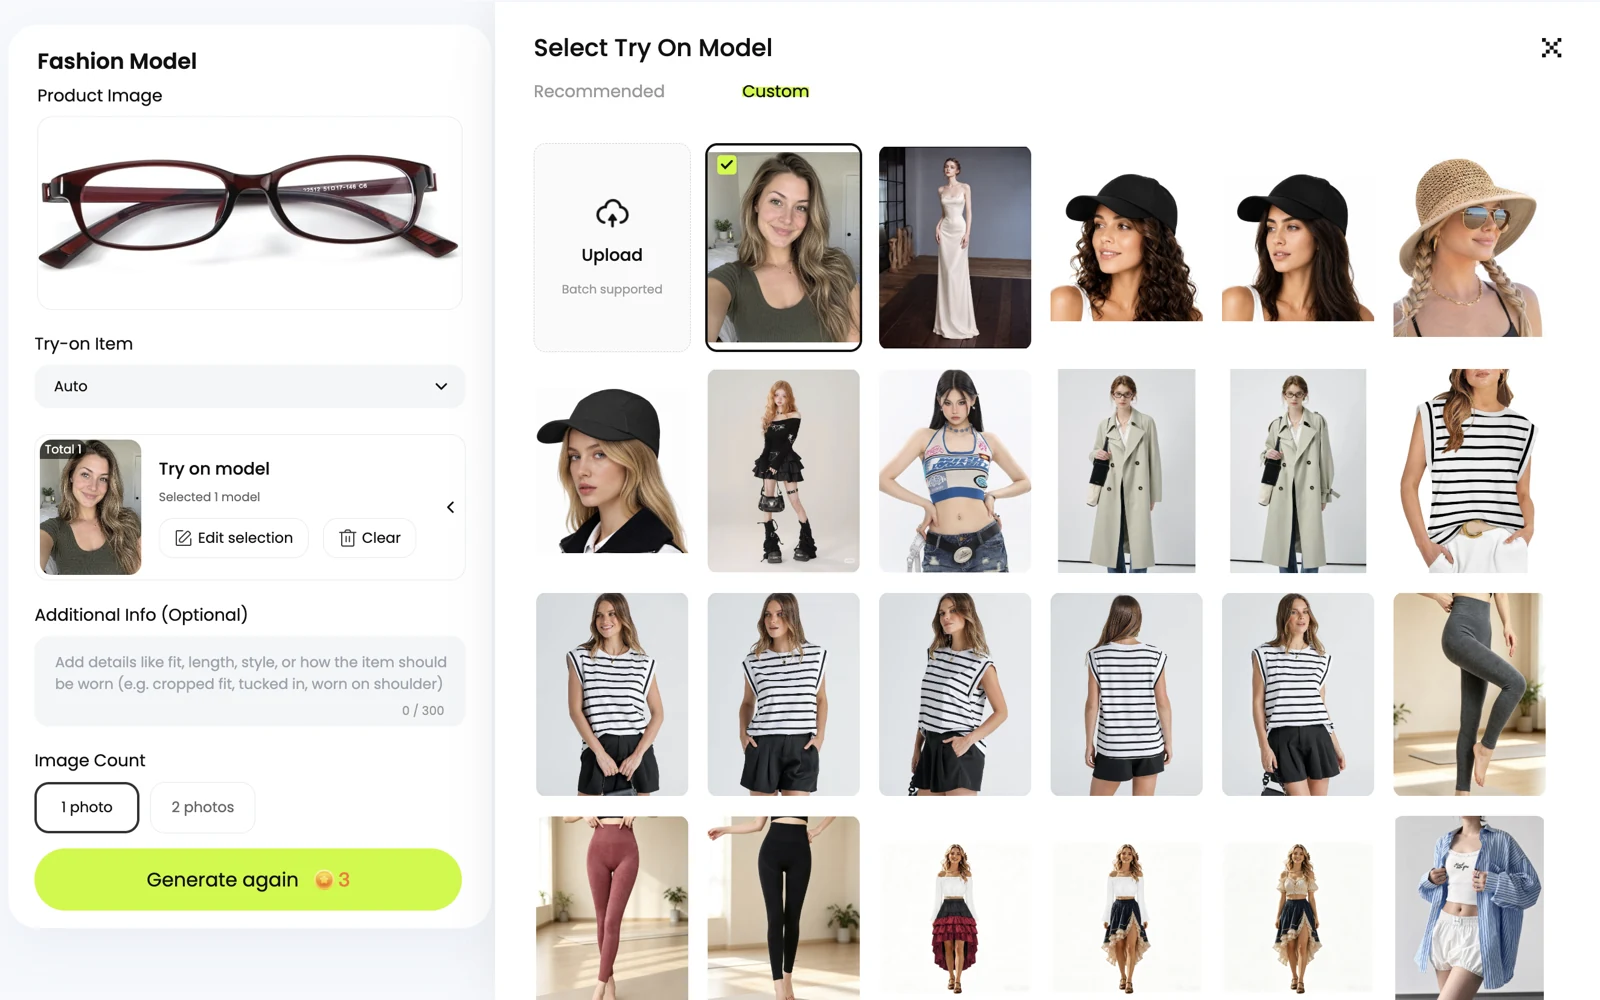
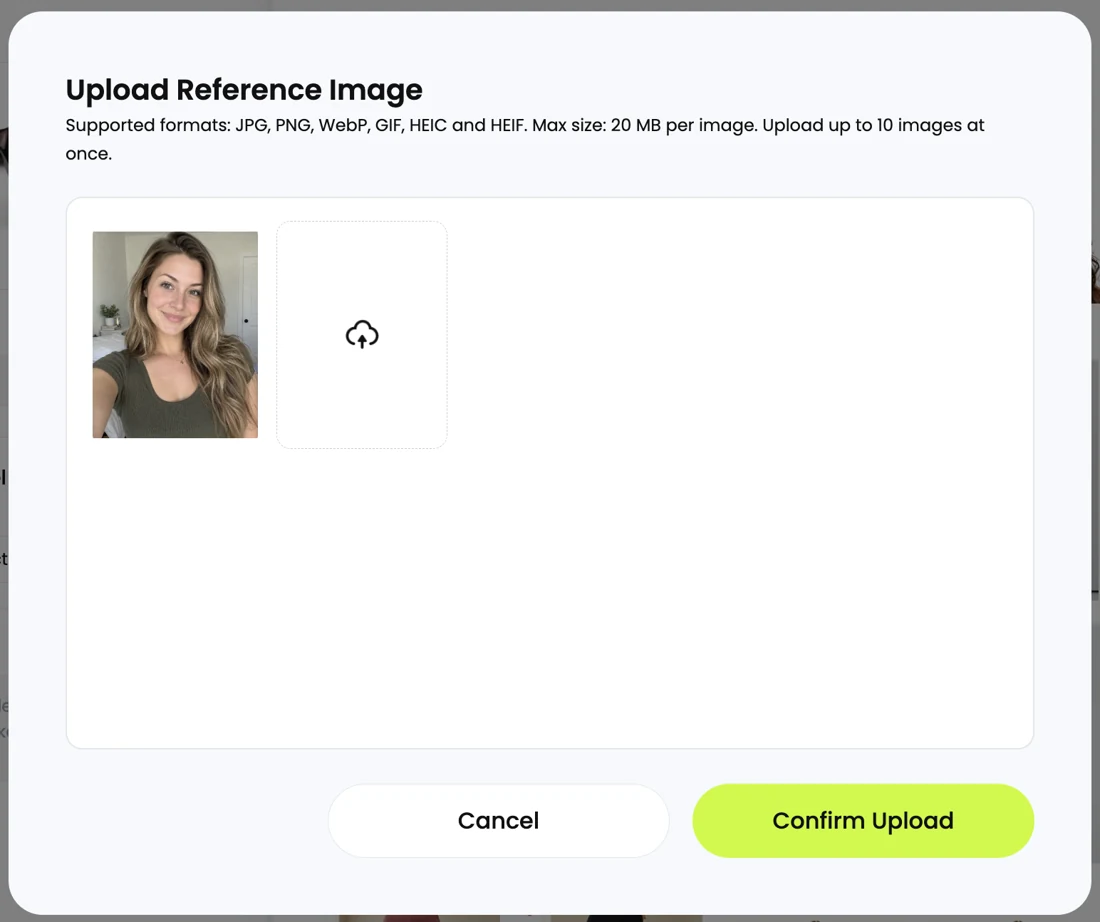
In Upload Reference Image, add the face photo and click Confirm Upload. Then select that photo in the Custom panel. Look for the checkmark and confirm that the left-hand card shows Selected 1 model. Here, “reference image” means the person’s photo; the glasses remain the separate Product Image.
4. Generate and check the preview
Confirm that the glasses reference and the intended person are selected, then choose the image count and start generation. In the supplied example, Try-on Item is set to Auto, Additional Info is empty, and 1 photo is selected.
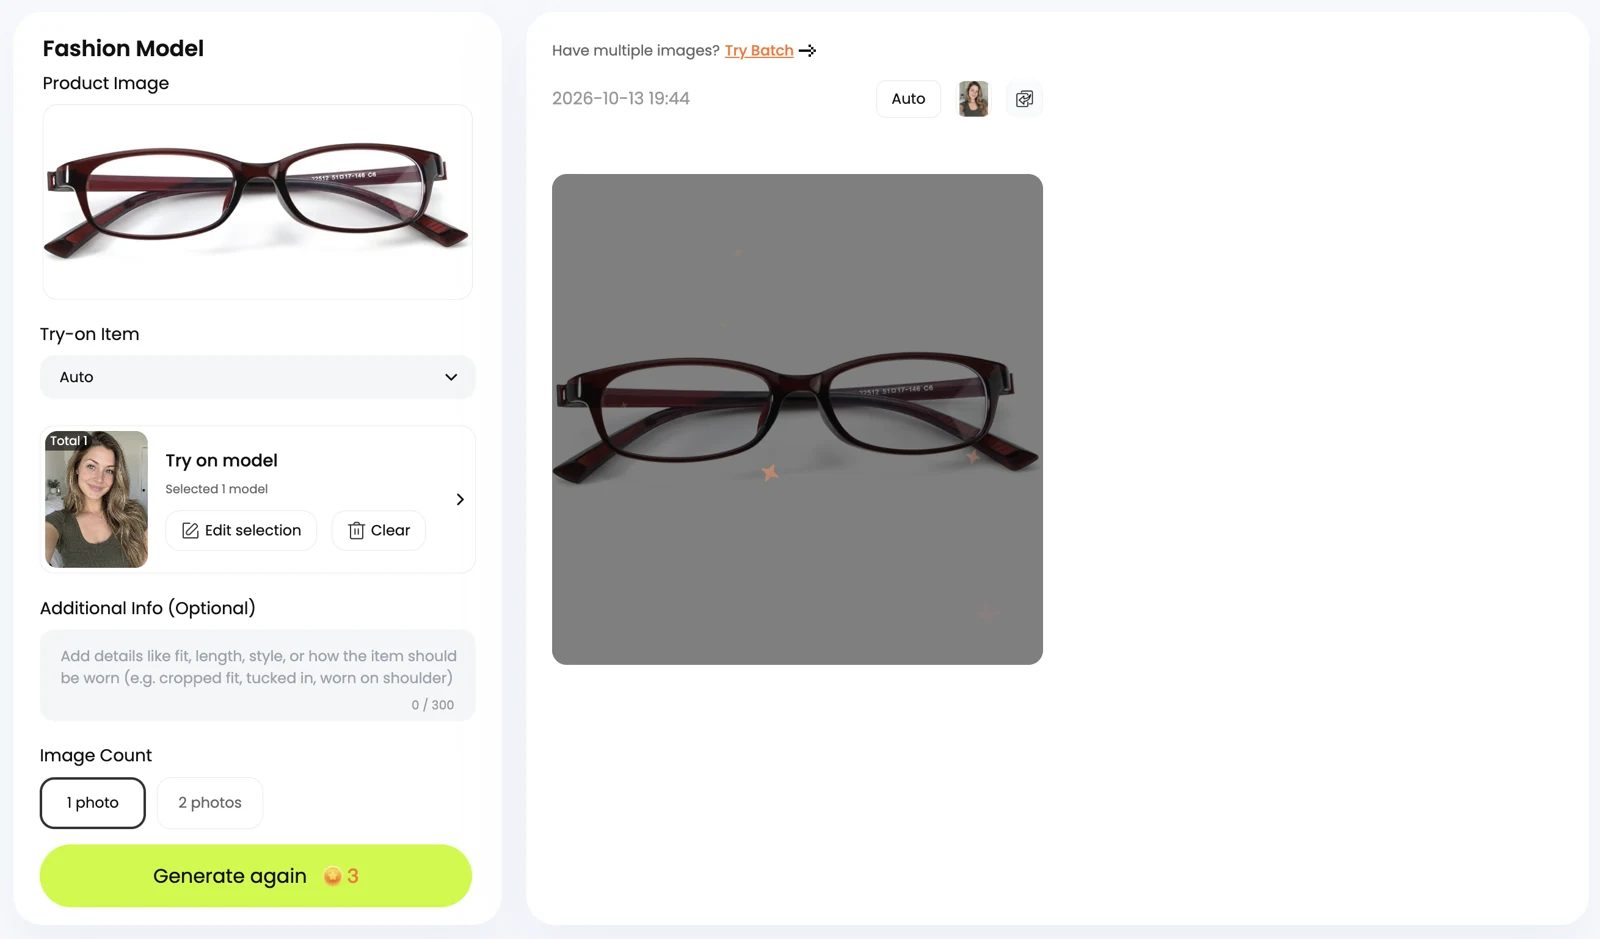
Compare the result with the eyewear reference. Check that the rim shape, bridge, frame color and lens tint remain recognizable. If the glasses sit unevenly or the frame has changed, use a clearer input before making a style decision.
5. Compare another frame on the same selfie
Keep the face photo and crop consistent, then repeat with a different frame reference. Review the previews side by side. Changing the selfie, head angle or lighting between frames can make the comparison harder to judge.
This uploaded-photo workflow generates a still image. A preview that follows head movement requires a camera-based virtual try-on service, such as those offered by some eyewear retailers.
Choose a selfie that makes frame placement easier
A straightforward face photo provides a clearer starting point than a filtered portrait or a distant group shot. Even lighting, a neutral head angle and the same photo across frames make the comparison easier to review.
- Keep both eyes and the nose bridge visible. Hair and sunglasses should not obscure the eye area.
- Face the camera. Start with a straight-on view rather than an extreme side angle.
- Avoid face-reshaping filters. They can change the facial proportions used for the comparison.
- Use the original image where possible. A tiny screenshot or heavily compressed crop can obscure thin rims and lens edges.
Choose a clear photo of the glasses
The reference should show the specific frame being considered. A clean front or three-quarter product view should keep the lens edges, bridge and temples visible. Cropped frames, tiny catalog thumbnails and heavy reflections can obscure the frame outline.
For a color comparison, use a reference for each actual colorway. Review transparent acetate, thin metal rims and rimless frames especially closely: a convincing generated image can still alter small details.
What to check in a glasses try-on preview
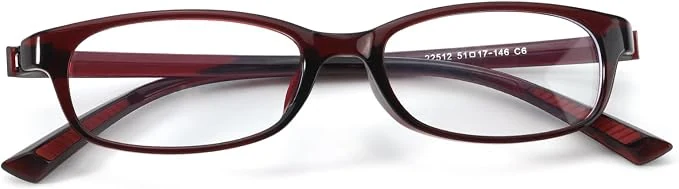
Input 1: glasses reference
Input 2: face photo

Output: generated try-on preview

The supplied example shows burgundy frames added to the selected face photo. Compare the output with both inputs: check the rim outline, bridge and visible temple details against the glasses reference, and check that the face remains suitable for a style comparison. Color and overall shape are recognizable, but small details and proportions still need review.
| Check | What to look for |
|---|---|
| Bridge and alignment | The frame should sit coherently across the nose, with neither lens floating noticeably above or below the other. |
| Frame identity | Compare the rim outline, bridge design and visible temples with the product reference. |
| Color and lens tint | Check whether clear lenses became dark, or a thin metal rim became a thick or differently colored frame. |
| Face consistency | Changes to the eyes, nose or face shape can make the style comparison unreliable. |
Comparing frame styles on the same face photo
A small selection provides a useful starting point for finding frames that suit a particular face: one round frame, one angular frame and one style the person already likes. Face-shape categories can suggest options, but personal preferences, hair, eyebrows and the frame itself also matter.
Compare shape before color
References with similar colors make frame outlines easier to compare. Round rims give a different impression from square corners, while cat-eye frames draw attention toward the outer edge. The relationship between the frame, eyebrows and eyes can help guide a personal preference; face-shape rules are suggestions rather than a verdict.
Compare how prominent the frame looks
A thick dark rim can look more prominent than thin metal or rimless glasses. Side-by-side previews can show how much attention each frame draws relative to the face. A larger-looking generated frame may reflect styling or a scale error, so real dimensions still need a separate check.
Then compare color and sunglasses tint
Once a preferred shape has been shortlisted, actual color references can be compared on the same face photo. For sunglasses, both the frame outline and lens opacity need review. The image suggests a visual look but does not establish how the lenses perform outdoors.
Why does the glasses preview look wrong?
- The frame looks tilted or misplaced: try a straight-on selfie with an unobstructed nose bridge and eye line.
- The frame shape or material changed: use a sharper product reference with the entire frame visible.
- Clear lenses look tinted or opaque: check the source reflections and compare the generated lenses with the product image.
- The face changed: do not use that result for comparison; choose an unfiltered photo and review a new preview.
- The glasses look too large or too small: treat this as uncertain placement, then check retailer measurements. An attractive image does not verify scale.
Before buying: check size and prescription requirements
Photo try-on cannot establish whether the bridge will feel comfortable, whether the temples are the right length or whether the frame suits a particular prescription. The retailer’s lens width, bridge width and temple length can be compared with a pair that already fits. Total frame width and lens height may also need checking with the retailer.
For optical fit, pupillary distance or progressive-lens questions, use retailer or optician guidance. Check the return policy as well. For sunglasses, confirm UV protection from the product specification rather than the darkness of the generated lenses.
How eyewear sellers can use the same workflow
For eyewear shops and brands, the same frame-and-person workflow can help create on-model visual drafts for product pages, frame collections and campaign planning. A clear frame-only photo remains useful for showing the product itself; a model preview adds context for its appearance on a face.
- Compare a collection on one model. Keep the person image and crop consistent, then use the reference for each actual frame or colorway. This can make visual differences easier to review across a collection.
- Plan product-page and campaign images. Test how a frame looks with different permitted model photos or styling directions before selecting visuals for further review.
- Check each result against the product. Review rim shape, bridge design, temples, color and lens tint. If generation changes those details, the image should be corrected or replaced before publication.
Generated previews should be identified as such where needed and paired with clear product photos, frame measurements and relevant lens specifications. They can support visual presentation, but they do not prove optical fit or replace accurate SKU information. The glasses try-on guide for ecommerce covers the seller workflow in more detail.
Frequently asked questions
Can a personal photo be used for online glasses try-on?
Yes. Fashion Model uses the eyewear reference as Product Image. The person’s adult photo is uploaded, confirmed and selected under Try on model → Custom. The generated preview is then reviewed against both input images.
How can a photo help identify suitable frame styles?
The same selfie can be used to compare a few frame shapes and colors. The outline around the eyes, the prominence of the rims and personal style preferences can help narrow the selection. A photo preview cannot confirm physical fit.
Does the workflow need both a glasses photo and a face photo?
Yes. Snappyit’s reference-based workflow needs a clear image of the specific eyeglasses or sunglasses and a clear photo of the person who will wear them.
Does photo-based try-on work with sunglasses?
Yes. The same workflow combines a sunglasses reference with a face photo. Lens tint, opacity, frame shape and bridge placement need comparison with the original product image. A generated preview does not verify UV protection.
Can virtual glasses try-on confirm exact frame size?
No. A generated image is a style preview rather than a measurement-accurate fitting. Frame dimensions and prescription suitability require retailer information or optician guidance.
Why can glasses look wrong in a generated preview?
An angled or blurry selfie, hidden eyes, a cropped frame reference or changes introduced during generation can affect the result. Clearer inputs may help, but the bridge, rims, lens shape and color still need comparison with the reference.
Is this a live-camera glasses try-on?
The workflow described here generates an image from uploaded photos. A moving preview that follows the person’s head requires a camera-based virtual try-on service.
References
- TJUTR eyeglass frame listing on Amazon — Source listing for the glasses product image used in the example. The generated preview illustrates appearance and does not verify the listing’s lens or fit claims.
- U.S. Food and Drug Administration — Tips to Stay Safe in the Sun: From Sunscreen to Sunglasses — Guidance on checking sunglasses for UV protection; a generated preview cannot verify protective performance.
- Snappyit — Virtual Try-On Glasses — Description of the eyewear-reference and person-photo workflow and its visual-preview limitations.