 Snappyit Team
A useful review starts with two views of the same file: the listing thumbnail and a 100% crop. The thumbnail shows whether the product reads quickly; the close view exposes halos, clipped texture, dust, and weak masking. If you only inspect one view, you will miss one of those failure modes.
Use a fixed audit order
Reviewing at random makes batches inconsistent. Check the file in the same order every time: canvas, silhouette, surface detail, color, shadow, scale, and export. That order moves from the largest visual problem to the smallest and prevents you from polishing an edge on an image that still needs a different crop.
| Review pass | What to inspect | Typical correction |
|---|---|---|
| Thumbnail | Product size, centering, empty space | Reframe or use a consistent canvas template |
| 100% view | Halos, dust, jagged edges, lost detail | Refine the mask; do not blur the whole outline |
| Neutral display | White balance, material color, clipped highlights | Correct the product and background separately |
| Final export | Dimensions, format, file name, accidental transparency | Export a fresh derivative from the master |
Check the background without bleaching the product
The common shortcut is to raise exposure until the backdrop reads as white. That also strips texture from pale fabric, ceramic, paper packaging, and polished metal. Treat the background and product as separate regions. The canvas can reach the required white value while the product keeps highlight detail and a believable tonal range.
For an Amazon main image, consult the current Seller Central product-image guide before publishing. Pure white is a main-image rule, not a universal rule for every secondary image or every sales channel. Our Amazon white-background guide covers that channel-specific setup; this article stays focused on quality control.

Inspect the silhouette at 100%
Run around the entire outline, not just the easy straight edges. Zoom into handles, straps, lace, fur, chain links, gaps between fingers, and the underside where the object meets the surface. Four defects deserve separate corrections:
- Light halo: background pixels remain outside the product.
- Dark fringe: the original shadow or backdrop contaminates the new edge.
- Clipped detail: thin or low-contrast parts were removed with the background.
- Over-sharp mask: a hard cut makes soft fabric, fur, or hair look pasted on.
Fix the mask locally. A global blur may hide a jagged line, but it also softens clean edges and makes the whole product look out of focus. Snappyit's free Background Remover includes keep/remove refinement brushes for this second pass and can export a transparent or solid-background PNG.
Keep a shadow only when it explains the surface
A believable shadow answers three questions: where is the surface, where is the light, and how close is the product to that surface? A soft contact shadow under a standing product can stop it from floating. A large gray oval with no connection to the lighting does the opposite.
- The darkest part should usually sit close to the contact point.
- The direction must agree with highlights and reflections on the product.
- Every image in a product set should use the same shadow logic.
- Transparent-background exports should not contain a baked white rectangle around the shadow.
Protect product color and texture
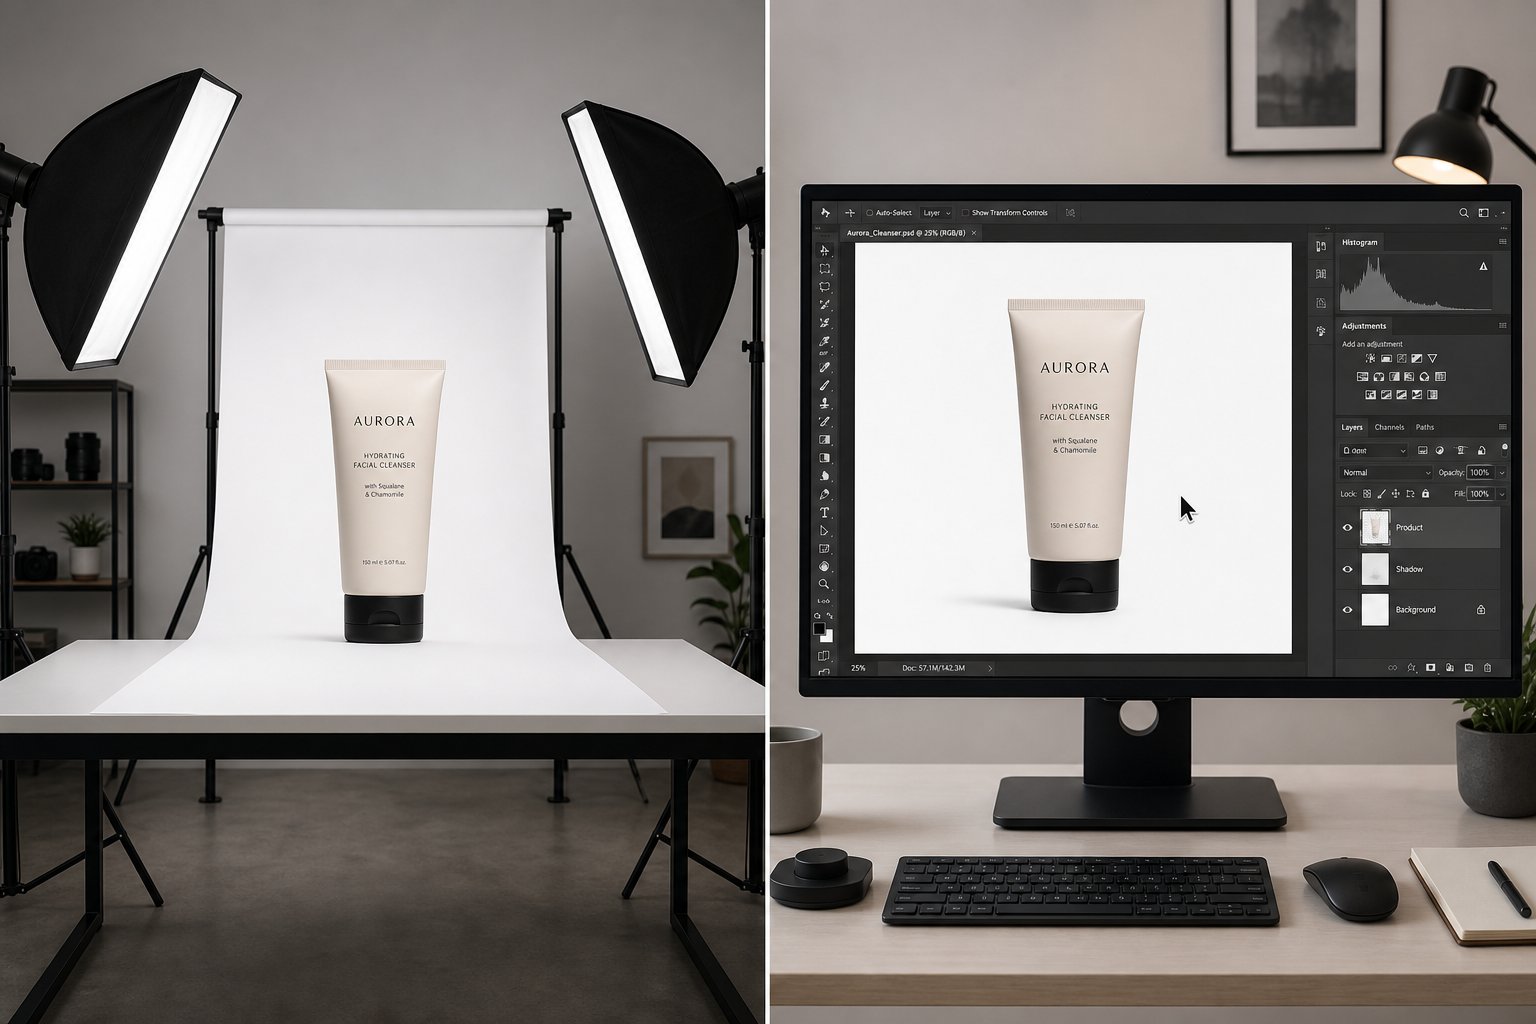
White-background edits often fail quietly: the canvas looks cleaner, but the product no longer matches the item. Compare the final against a color-managed master or a trusted reference photo. Check white products for missing seams, black products for blocked-up texture, and saturated products for clipped channels.
Do not judge color against a warm room light or a phone in vivid display mode. Use a neutral screen setting, then inspect the same batch together. Consistency across a product family matters more than making one file unusually bright.
Treat reflective, transparent, and dark items differently
These materials need edge definition from the lighting, not just stronger masking. Reflective metal needs controlled highlights that describe its shape. Clear glass needs edge flags or backlighting so the outline remains visible. A black item needs separation from the white canvas without lifting the blacks until they look gray.

Compare the batch, not only individual files
Open a contact sheet with every SKU at the same thumbnail size. A file can pass on its own and still look wrong in a collection grid. Watch for drifting scale, inconsistent top and bottom margins, mixed camera angles, warm and cool whites, and shadows that change direction between products.
Use one reference SKU for each product category and place new exports beside it. Keep the canvas ratio and safe area in a template. For a multichannel catalog, save the clean master first and create channel-specific derivatives later; do not crop the only high-resolution file.
The 12-point pre-publish checklist
- The background matches the destination's current rule or your store design.
- The product is complete and not accidentally cropped.
- Scale and centering match the rest of the category.
- No warm, blue, or gray cast remains in the canvas.
- White product details remain visible.
- Dark products retain texture instead of collapsing into black.
- Edges are clean at 100% with no halo or dark fringe.
- Holes, straps, lace, hair, and chain links are intact.
- Reflections describe the real material rather than hiding it.
- The contact shadow agrees with the lighting and surface.
- Export dimensions and file format match the destination.
- The final downloaded file opens correctly and has a useful SKU-based name.
Where Snappyit fits
Use the no-login Background Remover when the issue is the cutout or canvas. Its automatic pass creates the first mask; the refinement brush handles missed gaps and fine edges. Use the separate free Image Resizer after the visual edit is approved, not before, so you only downsample once.
Refine a product cutout free →
White background photo FAQ
Does every marketplace require a pure white background?
No. Requirements vary by platform, image position, and category. Confirm the current policy for the destination, especially for a marketplace main image.
Why does a white product disappear on a white background?
The product highlights were pushed too close to the canvas value. Edit the background separately and preserve seams, texture, and edge contrast on the product.
Should a white background product photo have a shadow?
Use a subtle contact shadow when it helps the product feel grounded and the destination allows it. Remove shadows that conflict with the lighting or look like a generic gray oval.
How can I find halos around a cutout?
View the file at 100 percent against both a dark temporary layer and a white layer. The two backgrounds reveal light halos, dark fringes, and missing semi-transparent detail.
Should I resize before or after background cleanup?
Clean the background, edges, color, and shadow on the high-resolution master first. Create smaller channel exports only after the visual edit passes QA.