



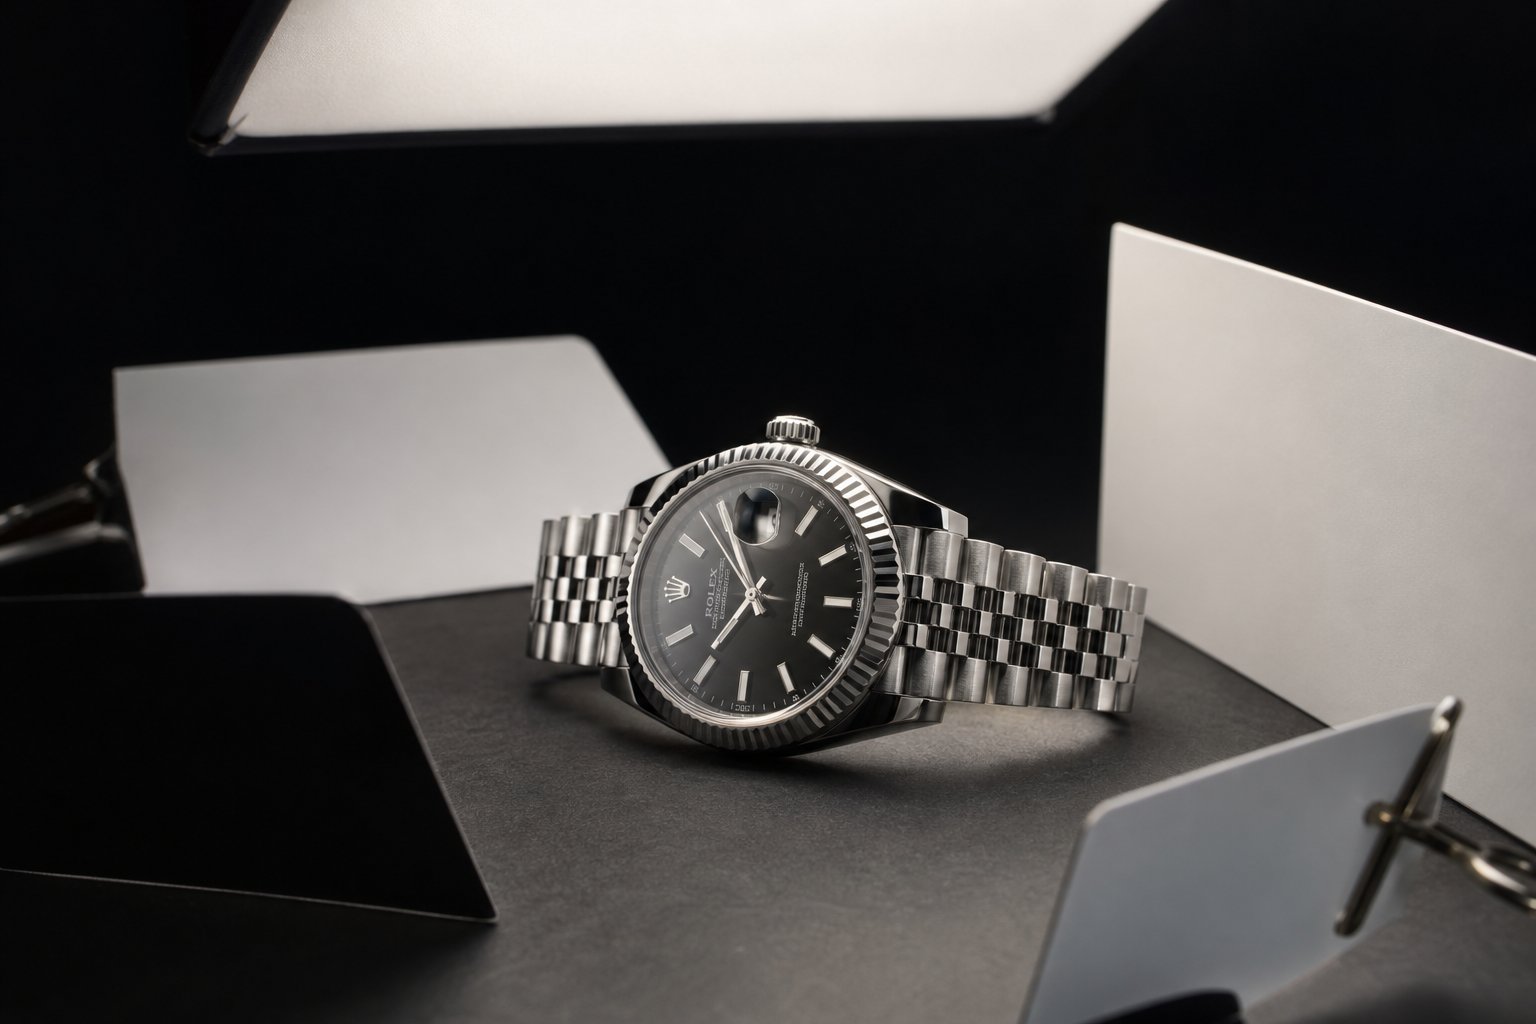

Quick answer: the accessory photo set
A complete accessory product photography set usually needs six images: clean front product image, angled or side view, scale or worn image, material detail, lifestyle or outfit image and platform crop. Add packaging, authenticity, clasp, sole, lens or interior shots when the accessory category requires proof.
The goal is not to make every image artistic. The goal is to remove buyer uncertainty. Accessories are small, tactile and style-driven, so photos must prove size, texture and how the item reads when worn or carried. For the full selling setup, pair this checklist with how to sell accessories online.
Before the shoot: prepare the accessory
Clean the product first. Remove dust from sunglasses lenses, fingerprints from metal hardware, lint from hats, creases from scarves and loose threads from bags. Use a plain background for the main image and keep props away from the product unless the image is clearly a lifestyle asset.
For AI-assisted workflows, the source image still matters. A sharp, well-lit reference gives the model a better target than a dark, angled, cluttered photo. Shoot the product from the angle you want to preserve.
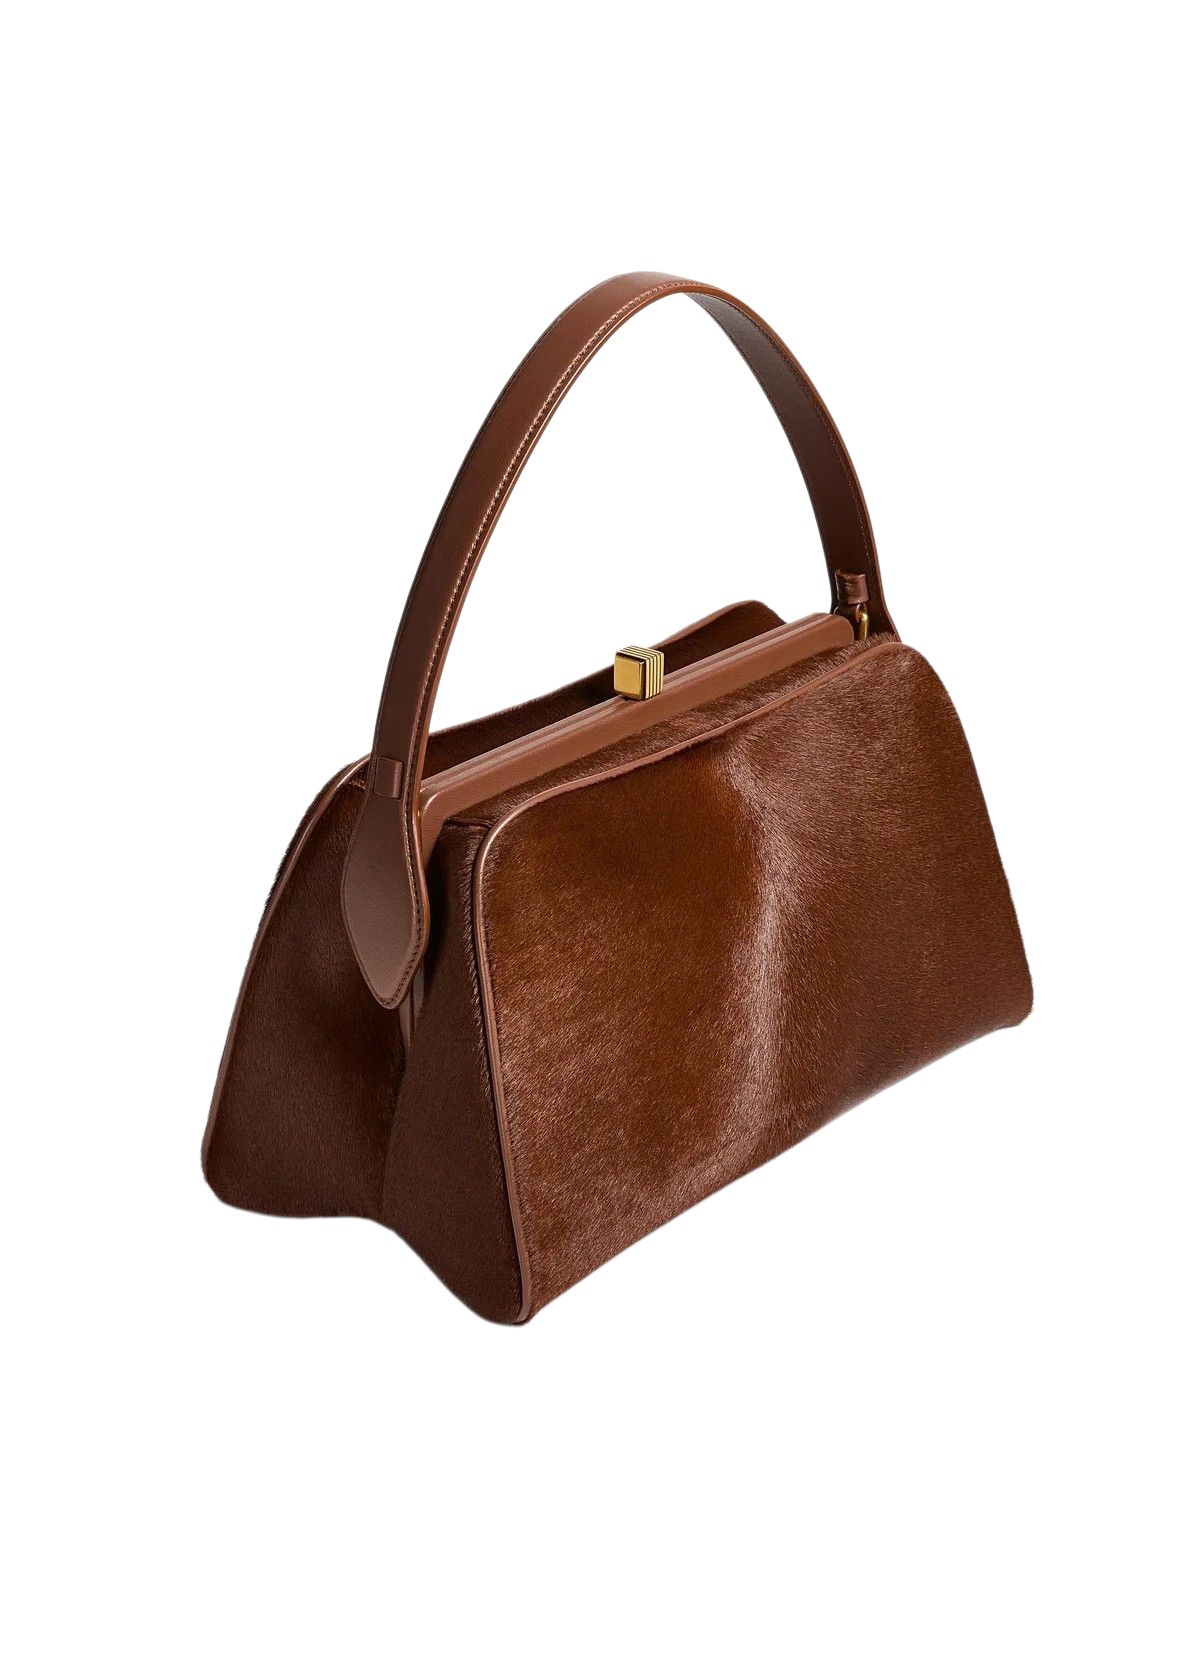 Start with a clean product image that shows shape and structure.
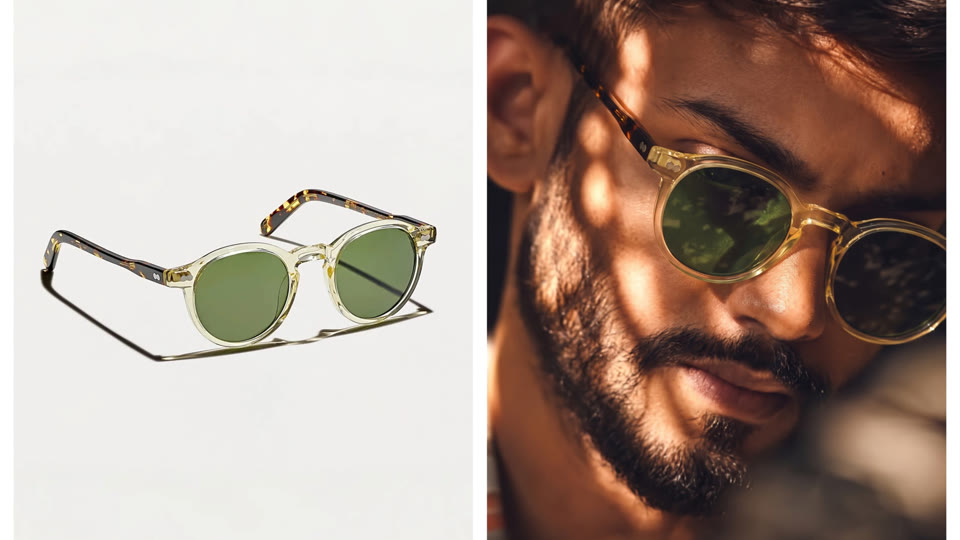 Eyewear needs front, side and lens detail without harsh reflections.
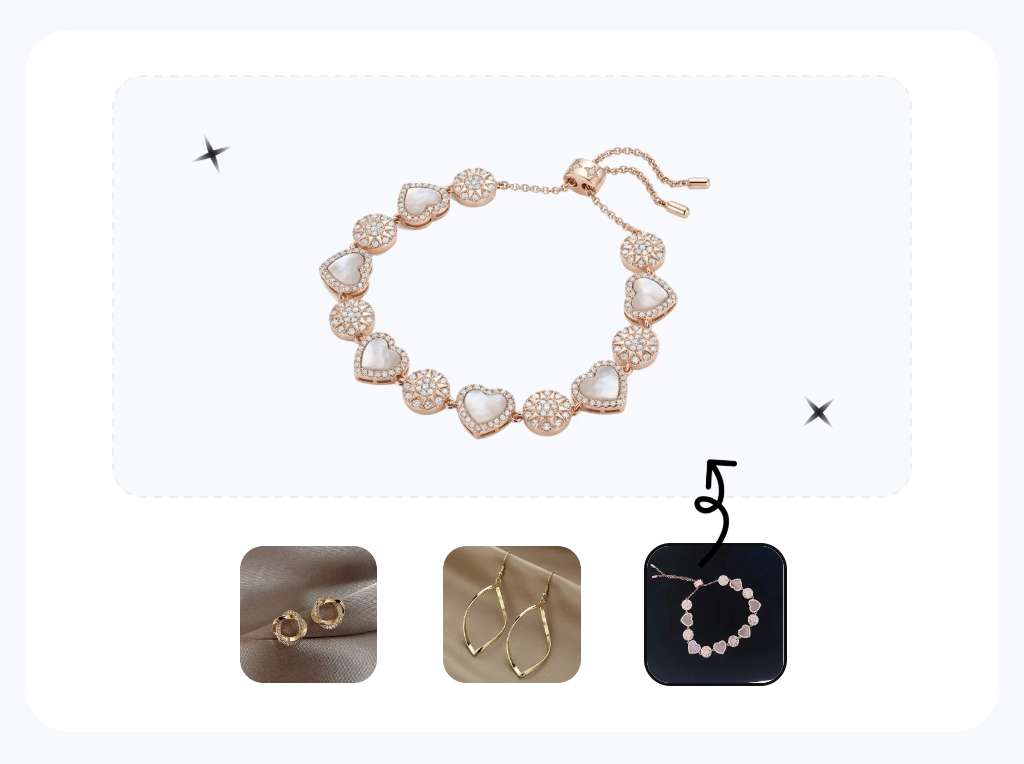 Jewelry needs macro detail plus scale context.
Category-specific image checklist
Bags need front, side, inside, strap drop, hardware, scale and styled outfit images. Hats need front, side, crown, brim, inside label and on-head fit. Jewelry needs macro detail, clasp, scale on hand or neck, metal color and gemstone clarity. Shoes need side, front, back, sole, material and on-foot images. Sunglasses need front, side, lens tint, hinge detail, face shape and case or packaging. For deeper category examples, compare handbag listing photos with sunglasses ecommerce photos.
Belts, scarves and hair accessories need styling images because buyers often need ideas for how to wear them. Show a belt on trousers, a scarf around a neck or bag handle, and hair clips in use.
Lighting and background rules
Use soft light, not harsh overhead light. Reflective accessories need controlled highlights; jewelry and sunglasses can look cheap if the reflection is messy. Matte accessories such as canvas bags and felt hats need enough side light to show texture. White backgrounds are useful for marketplace clarity, but lifestyle backgrounds sell style.
Keep the main product crop consistent across a category. A grid of bags or sunglasses should feel like one collection, not images from five different shoots.
AI-assisted production checklist
Use AI after you have the accuracy image. Generate supporting images for on-model views, outfit context, lifestyle settings and social crops. Keep the original product photo in the listing so buyers can verify the actual item. Generated images should support the sale, not replace product proof. When the accessory needs to be worn or carried, use an AI accessory try-on workflow as the next step.
For accessories, review four things: product scale, contact point, shadows and material. A bag should hang naturally. A ring should fit the finger. Sunglasses should sit on the nose and ears. A hat should follow head perspective.
Export and marketplace checks
Export square, portrait and vertical variants depending on channel. Shopify collections often need consistent grid crops. Etsy and eBay benefit from clear detail images. Amazon requires a compliant main image. Instagram and TikTok Shop need vertical lifestyle visuals.
Before publishing, open the listing on mobile. Accessories often fail on mobile because fine details become too small. If the clasp, lens tint, handle shape or gemstone setting matters, add a close-up crop.
Simple home setup for accessory photos
A phone, a window, a white board and a small reflector are enough for many accessory products. Place the accessory near soft side light, keep the background simple and use a small card to bounce light into shadows. For jewelry and sunglasses, move slowly until reflections look intentional rather than accidental. For bags and hats, support the product so the shape does not collapse.
Use the same distance, lens setting and crop for every item in a collection. This matters more than expensive gear. A consistent set of accessory photos lets shoppers compare colors, silhouettes and sizes without visual noise.
Common accessory photography mistakes
Do not over-style the main image. Props can make the item harder to understand and may violate marketplace expectations. Do not rely on one flat lay for products that need scale, such as hats, glasses, bags and jewelry. Do not crop out functional details like closures, straps, soles, hinges or clasps. These details are often the reason a buyer trusts the listing.
The final mistake is exporting one image for every channel. A square marketplace image, a portrait PDP image and a vertical social image need different crops. Build those exports once so the product can travel across channels without last-minute resizing problems.
Accessory content workflow at a glance
| Step | What to create | Why it matters |
|---|---|---|
| 1. Accuracy image | Clean product photo with shape, color and material visible. | Gives shoppers proof of the actual accessory. |
| 2. Scale image | On-body, on-face, on-foot or carried image. | Shows size, fit and placement. |
| 3. Styling image | Lifestyle, outfit or campaign crop. | Helps shoppers imagine how to use the accessory. |
| 4. Channel crop | Square, portrait and vertical exports. | Adapts the same SKU for Shopify, marketplaces and social. |
Create Accessory Images Faster
Snappyit can help turn clean accessory references into ecommerce-ready product images, on-model previews and social visuals. Keep the original product photo as the accuracy anchor, then use AI images to scale styling and campaign content.
Try AI Product Photography Free ->
More Resources for Accessory Sellers
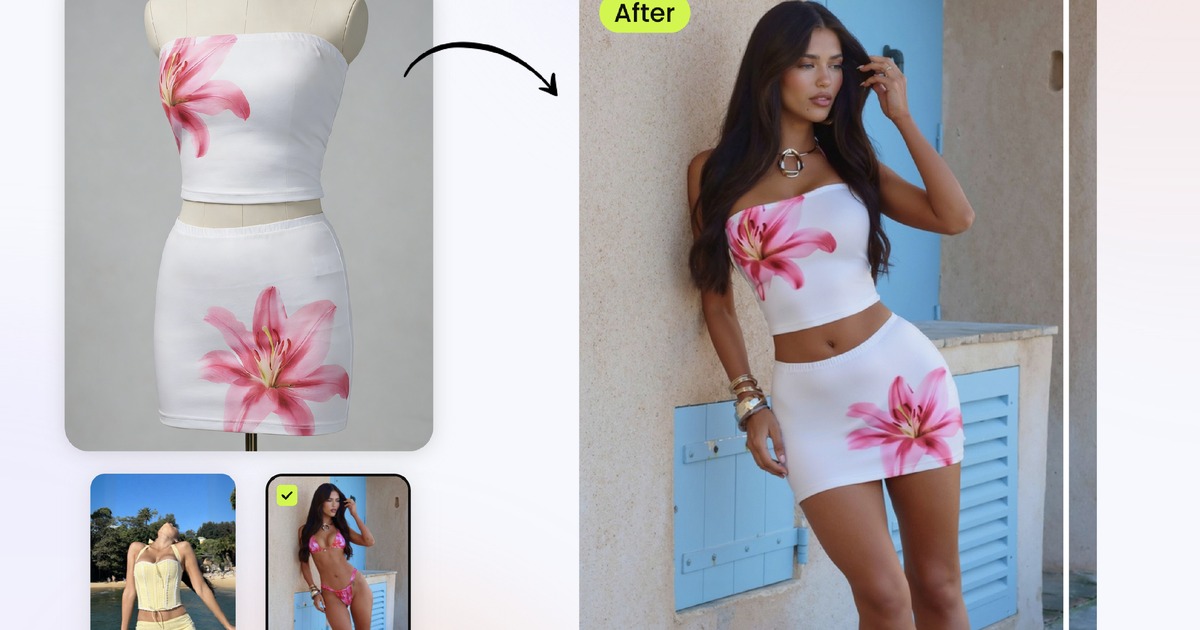 Related guideAI Outfit GeneratorPut clothes and accessories on models for ecommerce styling.
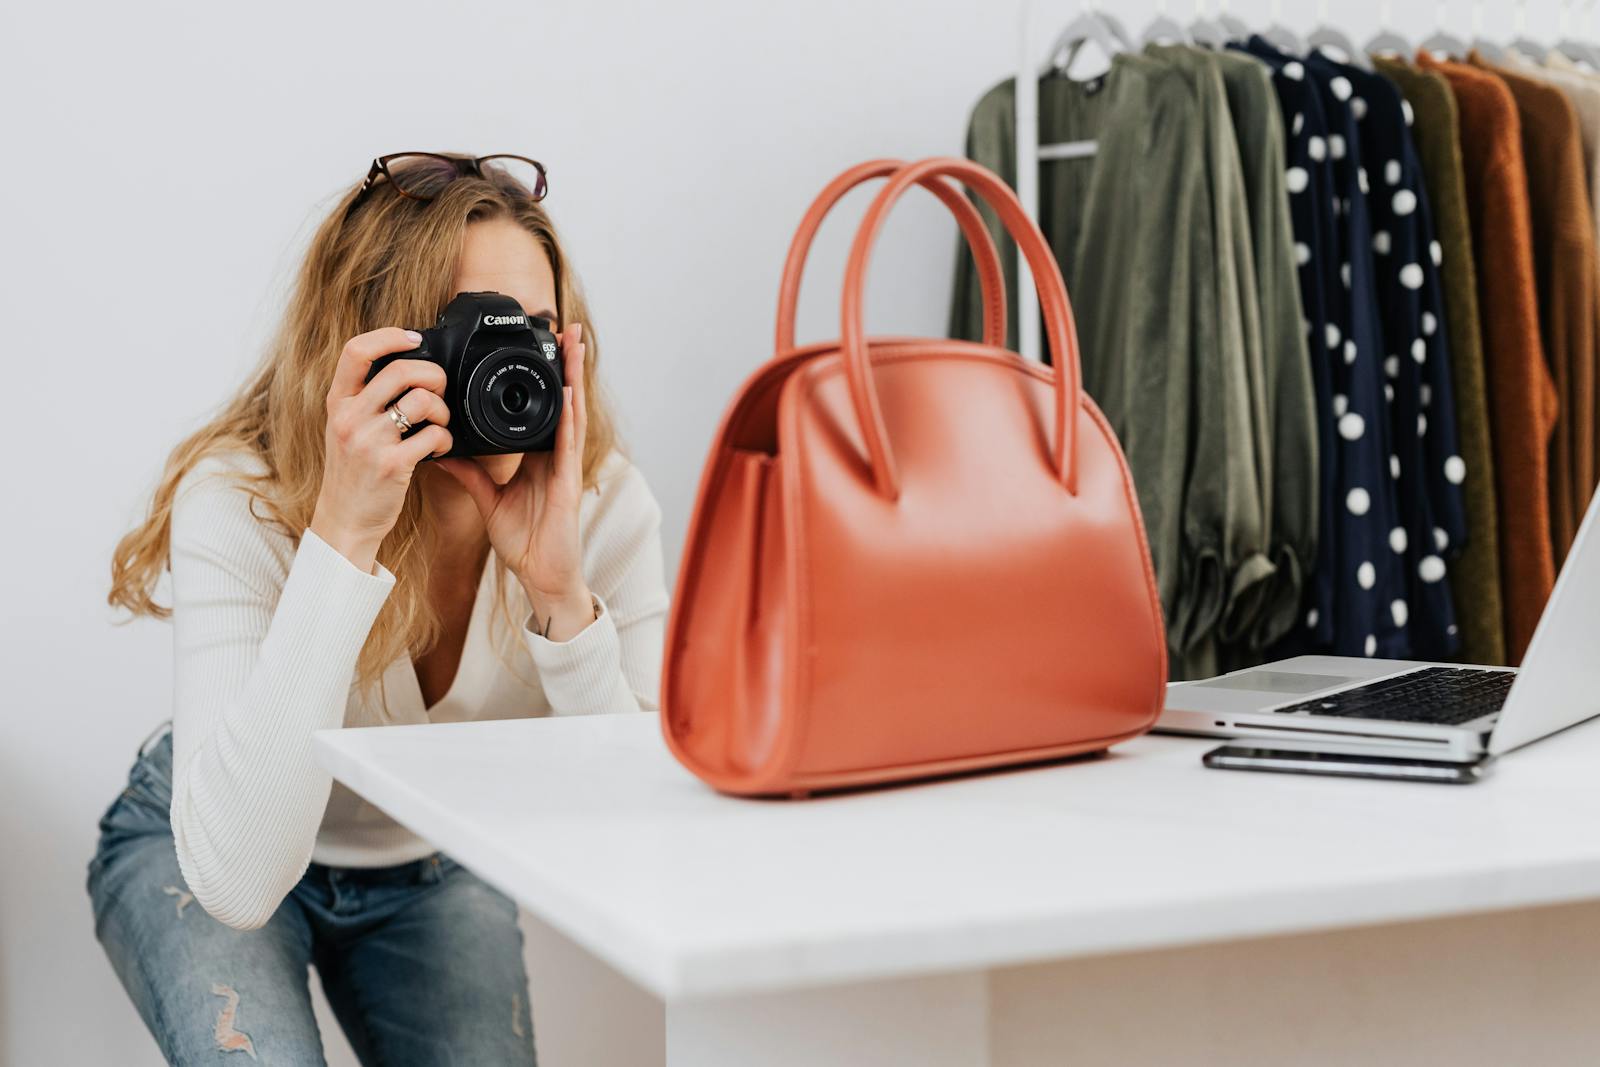 Related guideAI Product PhotographyCreate clean product visuals, lifestyle scenes and marketplace images.
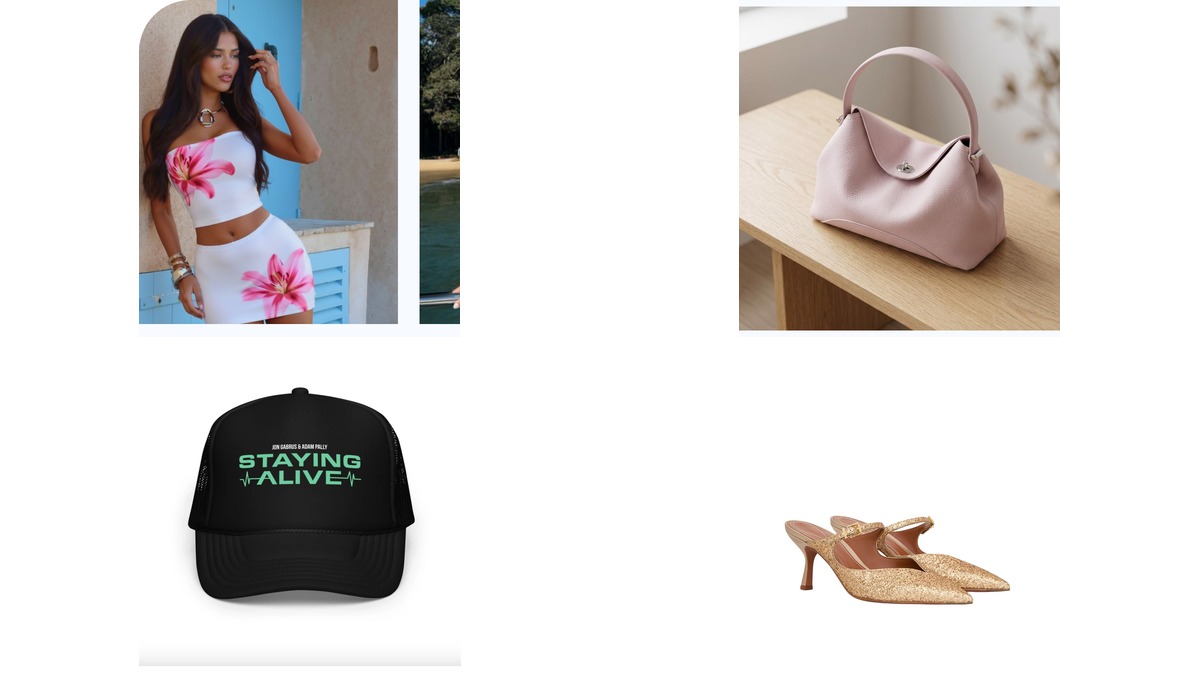 Related guideAccessory Photography Without a PhotoshootTurn accessory references into broader ecommerce photo sets.
Frequently Asked Questions
What is accessory product photography?
Accessory product photography is the process of creating ecommerce images for items such as bags, hats, jewelry, shoes, sunglasses, belts, scarves and hair accessories.
How many photos should an accessory listing have?
Most accessory listings need at least five images: main product image, alternate angle, detail close-up, scale or worn image and lifestyle image.
Should accessory photos be white background or lifestyle?
Use both. White background images are good for clarity and marketplaces; lifestyle or on-model images help shoppers understand styling and scale.
How do I photograph reflective accessories?
Use soft, controlled lighting and avoid cluttered reflections. Sunglasses, jewelry and metal hardware often need diffused light and careful angle selection.
Can AI create accessory product photos?
AI can create supporting lifestyle, on-model and social images from a clean product reference. Keep real product images for accuracy and review every generated result.
What is the best crop for accessory photos?
Use square for marketplaces and category grids, portrait for product detail pages and vertical crops for social or short-form commerce.






