Amazon does not reject images because they are ugly. It rejects them because they break a rule — a tinted background, a logo in the corner, a file 200 pixels too small. The rules are precise, they are public, and they are enforced by an automated system that does not negotiate. Once you know the spec exactly, passing review stops being a gamble and becomes a checklist you run before every upload.
This guide is that checklist, expanded. We cover the main image rules that make or break a listing, the recommended pixel sizes for 2026, the accepted file formats, and the full image-slot strategy — main plus secondary, lifestyle, and infographic — that separates a bare listing from one that actually converts. Every number here maps to a real Amazon Seller Central policy, not a guess.
Why Amazon images get rejected
Image rejection on Amazon is almost never random. When a listing gets suppressed or an image gets bounced, it is because one of a small set of automated checks failed. Understanding the categories of failure is the fastest route to a clean upload, because most sellers repeat the same two or three mistakes across their entire catalog.
The single largest cause is the background. Amazon's algorithm samples the corner pixels of your main image and expects them to read as pure white. Anything close — a soft grey gradient from a lightbox, a faint blue cast from daylight, a drop shadow that bleeds to the edge — can trip the check. The second largest cause is dimensions: an image whose longest side falls below the minimum, or whose aspect ratio is so extreme the product looks lost. The third is prohibited content: text, logos, watermarks, borders, or props baked into the main shot.
Here is the practical breakdown of what gets listings flagged:
| Rejection trigger | What Amazon detects | Where it applies |
|---|---|---|
| Non-white background | Corner pixels not at RGB 255, 255, 255 | Main image only |
| Product too small in frame | Product fills under 85% of the image | Main image |
| Image too small | Longest side under 1000 px (no zoom) or under marketplace minimum | All slots |
| Text or graphics on main | Overlaid words, logos, watermarks, badges | Main image only |
| Props or extra objects | Items not for sale included in the shot | Main image only |
| Unsupported format | File not JPEG, TIFF, PNG, or GIF | All slots |
| Borders or frames | Decorative edges around the product | All slots |
Notice how many of these apply to the main image only. Amazon is strict about the main shot because it is what shows in search results, and it wants that grid to look uniform across every seller. Your secondary slots have far more freedom — which is exactly where your creative strategy lives. We will get there, but the main image is non-negotiable, so it comes first.
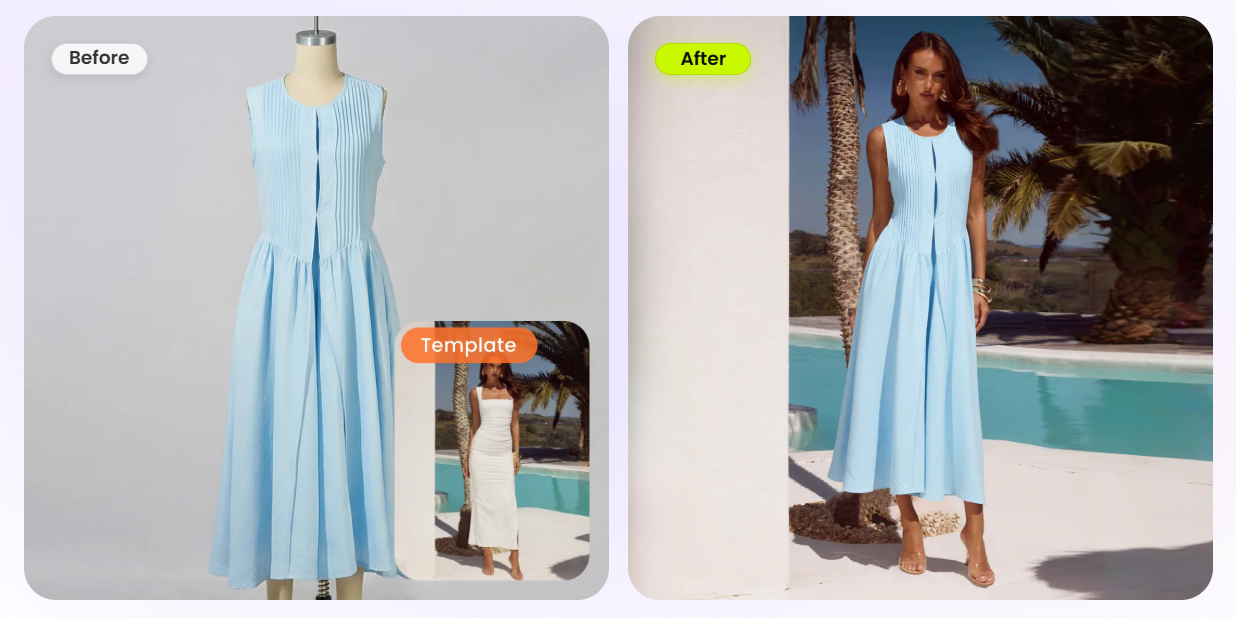
Main image: pure white background
The main image is the first photo shoppers see in search and the thumbnail that loads on the detail page. Amazon holds it to a single uncompromising standard: a pure white background, RGB 255, 255, 255, showing only the product that is for sale. "Off-white," "studio grey," and "looks white on my monitor" all fail. The value has to be exactly 255 across all three channels.
What this rules out, specifically:
- No props. If you are selling a coffee mug, you cannot show coffee beans, a saucer, or a table. Only the mug.
- No text or graphics. No "Best Seller" badge, no size callout, no promotional copy, no brand logo placed in the frame.
- No watermarks. Your studio's signature or website URL belongs nowhere on the main image.
- No borders or frames. The product sits on white, edge to edge, with nothing around it.
- No accessories not included. Showing batteries, cables, or a stand the buyer will not receive is a violation.
The reliable way to hit exactly 255 is not to shoot against a white sweep and hope — lighting falloff almost always leaves the corners at 248 or 250. The reliable way is to cut the product out and place it on a generated pure-white canvas. That guarantees the corner-pixel check passes because the background is mathematically white, not photographically near-white.
Try the background-and-resize step first. Drop a product photo into the Snappyit Image Resizer to land a clean, correctly sized canvas before you upload — free, no card needed.
The 85% frame-fill rule
Amazon's second main-image rule is about proportion: the product must fill at least 85% of the image frame. The reasoning is straightforward — shoppers want to see detail, and a product floating in a sea of white wastes the space that could be showing texture, stitching, or finish. It also keeps the search grid visually consistent, with every thumbnail showing a product at roughly the same scale.
Eighty-five percent does not mean cramming the product to the very edges. You still want a small, even margin of white around it so nothing touches the frame and the zoom crop has room to breathe. The target is the longest dimension of the product spanning about 85–90% of the matching dimension of the canvas. For a tall bottle, that means the bottle's height fills most of the canvas height; for a wide laptop, its width fills most of the canvas width.
The most common 85% failure is not an oversized product — it is an undersized one. Sellers crop conservatively, leave 40% empty white, and the listing reads as low-effort. Fill the frame, keep a clean margin, and the product looks premium.
If you are working from a transparent cutout, scaling to the 85% target is trivial: place the subject on a square canvas and size it so its longest edge reaches roughly 88% of the canvas. Doing this in a resizer rather than by eye means every image in your catalog hits the same fill ratio, which is what makes a brand's listings look like a coordinated set rather than a pile of one-off shots.
Pixel size & the zoom threshold
Pixel dimensions are where two numbers matter: the zoom threshold and the recommended size. They are not the same thing, and conflating them is why so many listings ship images that are technically accepted but practically weak.
The zoom feature — the magnifier that lets a shopper hover and inspect detail — activates only when the longest side of the image is 1000 pixels or larger. Below 1000 px, the image still uploads, but it shows flat with no zoom, which on a competitive listing is a real conversion loss. So 1000 px is the floor, not the target.
Amazon's 2026 Seller Central guidance recommends shooting and uploading at 2000–3000 pixels on the longest side. At that resolution, zoom is crisp on a Retina display, the image stays sharp when Amazon generates its own smaller derivatives, and you have headroom for future display formats. A square 2000 × 2000 file is the sweet spot for most categories: well above the zoom threshold, sharp everywhere, and comfortably under the file-size cap.
| Longest side | Zoom? | Verdict |
|---|---|---|
| Under 1000 px | No zoom | Accepted but avoid — weak on the detail page |
| 1000 px | Zoom activates | Bare minimum for a competitive listing |
| 1600 px | Yes | Acceptable; fine for simple products |
| 2000–3000 px | Yes | Recommended — sharp zoom, future-proof |
| Over 10,000 px | — | Exceeds Amazon's maximum; will fail |
Resizing up from a small original will not add real detail — a 600 px photo stretched to 2000 px just looks soft. Shoot large, then resize down to your target with the Image Resizer so every file lands at exactly 2000 × 2000 without losing sharpness. If your only original is small, that is a different problem — see the related guide on listings rejected for being too small in the resources below.
Accepted file formats & limits
Amazon accepts four image formats, and the practical choice among them is narrower than the list suggests.
| Format | Extension | Best for | Notes |
|---|---|---|---|
| JPEG | .jpg / .jpeg | The default for almost everything | Best balance of quality and file size; what Amazon prefers |
| TIFF | .tif / .tiff | Highest-fidelity archival source | Large files; convert to JPEG before upload in practice |
| PNG | .png | Source files with transparency | Flatten to white before upload; larger than JPEG |
| GIF | .gif | Rarely used for product photos | Limited color depth; not recommended for main images |
The honest recommendation: upload JPEG. It gives you the best quality-to-size ratio, Amazon optimizes it cleanly, and it sidesteps the transparency-handling quirks that bite PNG uploads. Keep a PNG or TIFF as your high-quality master if you like, but flatten the transparency onto a pure-white background and export JPEG for the actual upload.
The other hard limit is file size: keep each image under 10 MB. A correctly compressed 2000 × 2000 JPEG of a single product on white lands well under 1 MB, so the cap is rarely an issue unless you are uploading uncompressed TIFFs by mistake. The other naming-and-format rule worth remembering: color mode should be sRGB or CMYK, and sRGB is the safe default for web display.
Quick conversion path. A transparent PNG cutout flattens to a compliant white JPEG in one pass — set the canvas, fill white, and export. The Image Resizer handles the canvas and dimensions in the same step.
Main vs secondary image slots
A listing is not one image — it is a set. Amazon gives most categories seven image slots, and apparel and some other categories allow up to nine. The first slot is the strict, pure-white main image. Slots two through seven (or nine) are secondary images, and the rules loosen dramatically: lifestyle backgrounds, text overlays, infographics, scale references, and detail crops are all permitted. This is where a listing earns its conversion.
The mistake most sellers make is uploading one main image and stopping, or filling the secondary slots with the same product on white from slightly different angles. That is a wasted opportunity. Each slot should answer a different buyer question. Here is a slot strategy that works across most categories:
| Slot | Image type | Job it does |
|---|---|---|
| 1 (Main) | Pure white, product only | Pass review; look uniform in search |
| 2 | Lifestyle / in-context | Show the product in real use |
| 3 | Infographic — key features | Call out top 3–4 selling points with text |
| 4 | Scale / dimensions | Answer "how big is it?" |
| 5 | Detail / close-up | Show material, texture, finish |
| 6 | What's in the box | Set expectations on contents |
| 7 | Comparison / variant | Differentiate from alternatives |
The secondary slots are also where you recover the props, text, and context that the main image forbids. The coffee mug you had to shoot bare on white in slot one can sit on a breakfast table in slot two, get a "12 oz, dishwasher safe" infographic in slot three, and show its handle detail in slot five. Same product, three different buyer questions answered.
Lifestyle & infographic images
Two secondary types deserve special attention because they do the heaviest conversion lifting: lifestyle images and infographics.
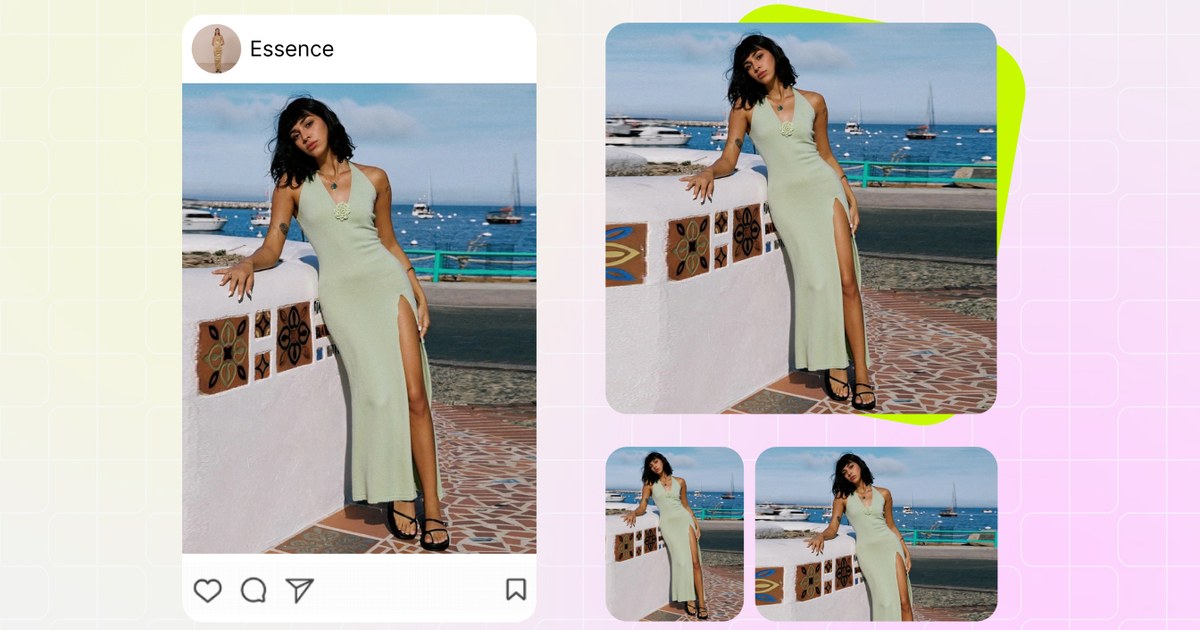
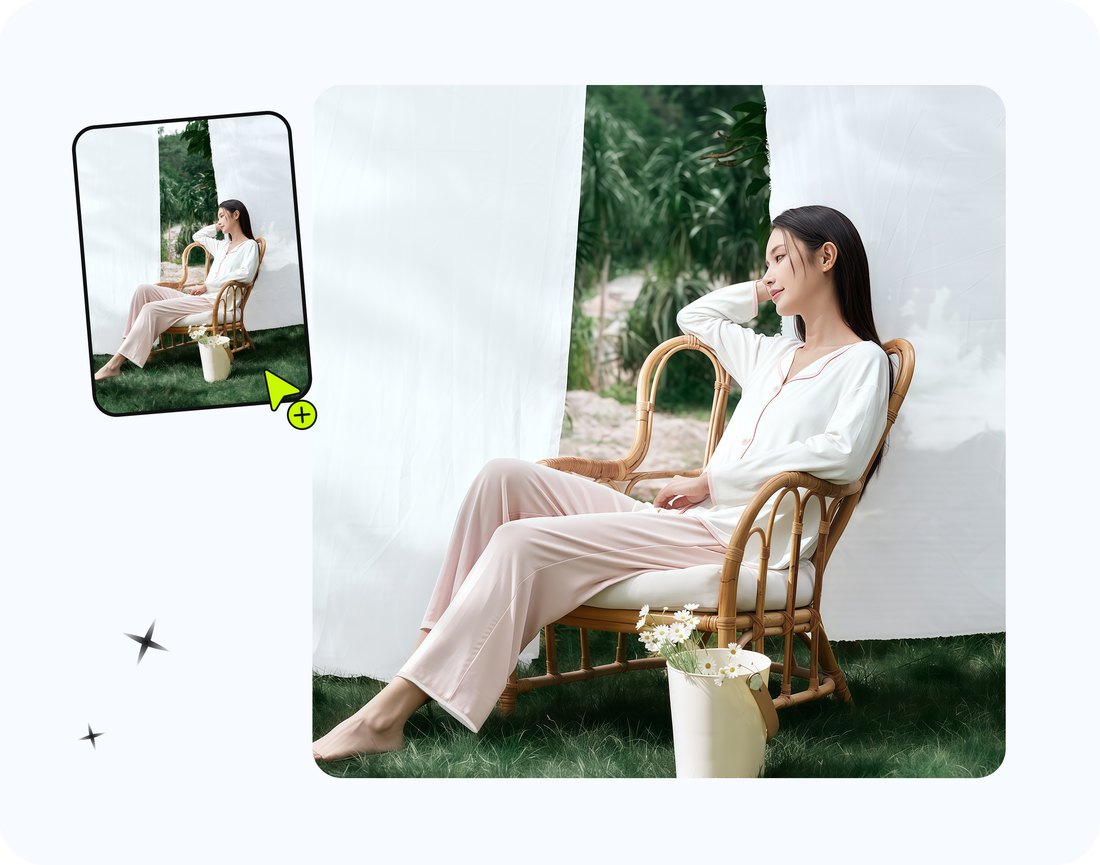
Lifestyle images place the product in a believable real-world setting — worn, held, used, or styled in a room. They sell the outcome, not just the object. For apparel, this is on-model photography; for home goods, it is the product staged in a kitchen or living space. Lifestyle shots are exempt from the pure-white rule, so you have full creative latitude on background, but the same pixel-size and format rules still apply: 2000 px on the longest side, JPEG, under 10 MB.
Infographic images overlay short text on the product to communicate the things a photo alone cannot: dimensions, materials, key benefits, certifications. The best ones pick three or four selling points, give each a clear icon and a few words, and keep the type large enough to read on a phone. Crowded infographics with ten tiny callouts get ignored; restraint wins. Because text is allowed on secondary slots, the infographic is the legal home for everything banned from slot one.
A workable cadence for a strong listing: one compliant main, one or two lifestyle shots, one feature infographic, one scale reference, and one or two detail crops. That uses six or seven of your slots and answers every common pre-purchase question without a single shopper having to scroll to the Q&A.
A pre-upload compliance checklist
Run this checklist on every image before it goes near Seller Central. If all of it passes, the automated review will too. Treat the main-image items as hard gates and the rest as quality controls.
Main image — hard requirements:
- Background is pure white, RGB 255, 255, 255 (verify the corner pixels, not just your eye).
- Product fills at least 85% of the frame, with a small even white margin.
- Only the product for sale is shown — no props, no extra items.
- No text, logos, watermarks, badges, or borders anywhere in the frame.
- Longest side is at least 1000 px (target 2000–3000 px for sharp zoom).
Every image — universal requirements:
- Format is JPEG (preferred), TIFF, PNG, or GIF — upload JPEG in practice.
- File size is under 10 MB.
- Color mode is sRGB.
- The product is in focus, well lit, and color-accurate.
- Image is right-side up and not stretched or distorted.
Secondary slots — strategy check:
- At least one lifestyle / in-context image.
- At least one infographic covering the top features.
- A scale or dimensions reference.
- A detail / close-up of material or finish.
- Slots filled: aim for six or more of the available seven to nine.
Resize & prep your Amazon images free →
Prep & resize for Amazon free
The two steps that catch the most rejections — pure-white background and correct pixel dimensions — are exactly the two steps you can knock out for free before you ever open Seller Central. The workflow is short:
- Cut the product onto white. Remove the photographed background and place the product on a clean, mathematically pure-white canvas so the corner-pixel check passes every time.
- Set the canvas and fill. Make it square, scale the product to about 88% of the frame so you clear the 85% rule with a clean margin.
- Resize to target. Output 2000 × 2000 px so zoom is sharp and you stay under the 10 MB cap, then export JPEG in sRGB.
You can run the resize-and-canvas step in the browser with the free Snappyit Image Resizer — set your dimensions, fit the product, export a compliant JPEG, and upload with confidence. Do this once per product and the rejection cycle disappears, because the image meets every rule before review ever sees it.
Compliance is not the hard part once you know the spec. The hard part is remembering to apply it consistently across a whole catalog — which is why the checklist above, and a repeatable resize step, are worth more than any single perfect photo.
Frequently asked questions
Why does Amazon keep rejecting my main product image?
Nine out of ten rejections come down to background — Amazon requires pure white RGB (255, 255, 255), with the product filling at least 85% of the frame and the longest side at or above 1000 pixels.
Is 1600 or 2000 pixels right for Amazon in 2026?
Amazon’s 2026 Seller Central guidance recommends 2000–3000 pixels on the longest side. Zoom activates at 1000 px, but 2000 × 2000 is Retina-sharp and stays under the 10 MB file cap.
Does the Amazon main image have to be pure white?
Yes. The main image must have a pure white background (RGB 255, 255, 255) with only the product — no props, text, logos or watermarks. Secondary images can use lifestyle or infographic backgrounds.
How much of the frame must the product fill on Amazon?
At least 85%. Amazon wants the product to occupy the majority of the image so buyers can see detail without wasted empty space.