What size-inclusive fashion photography means
Size-inclusive fashion photography shows clothing on models with a range of body sizes and proportions. It gives shoppers a broader view of how a style looks on different people, whether they are browsing a product page, a clothing catalog or a new collection.
Plus-size fashion photography focuses on larger sizes, often sold as plus-size apparel, curve collections or extended sizes. A size-inclusive gallery can bring slim, mid-size and fuller-figure models together around the same garment. Body shape matters too: people who wear the same labeled size can have different waist, hip and bust proportions.
| Approach | Production work | Cost and timing |
|---|---|---|
| Traditional photo shoot | Book models and crew, arrange samples and fittings, then shoot and retouch. | Talent, studio and crew fees. Adding another body type may require more bookings and shoot time. |
| AI model images | Reuse a product photo across selected models, then review and correct the results. | Generation credits and editing time. Create variations without another studio session. |
| A mix of both | Photograph the real garment and add AI model views where useful. | Use the shoot for fit and fabric details, then extend the gallery with AI. |
Choose models shoppers can relate to
Give shoppers a model they can use as a reference for themselves. Research in the Journal of the Academy of Marketing Science found that perceived body-size similarity reduced concerns about garment fit and supported purchase decisions.
Choose a mix that reflects your customers. Include mid-size models when your range spans slim to plus-size bodies. A curve collection may need several fuller-figure models: a curvy model and one with a straighter silhouette offer different references. There is no fixed number every store needs. Alongside body size, consider whether the model’s overall look suits your brand and feels relevant to your audience.
Show the same style across body types
Show the same garment on those models. The same research found that using different model sizes for different tops could shift shoppers’ choices toward the top worn by the model they felt most similar to.
Keep each product’s model views together, with a similar view and crop for easier comparison. Across related products, reuse the same model lineup and visual style so shoppers can compare pieces on a familiar model. Universal Standard’s Tee Rex page, for example, offers “See It In Your Size” across 11 model sizes for one T-shirt.
For real-model photos, include available measurements and the size worn. Baymard’s usability testing found that shoppers use this information alongside size guides to judge how an item might fit.
AI fashion photography workflow
1. Prepare the product photo
Use a sharp, evenly lit front or flat-lay photo that shows the entire garment. Keep back and detail photos nearby as references when checking the output. Our source-photo checklist for AI fashion images covers lighting, framing and other input problems.
2. Choose the model and scene
Select your models and use a simple pose and background, with hands and accessories clear of the garment.
3. Generate images with Snappyit
In Snappyit AI Plus Size Model Generator, follow these steps:
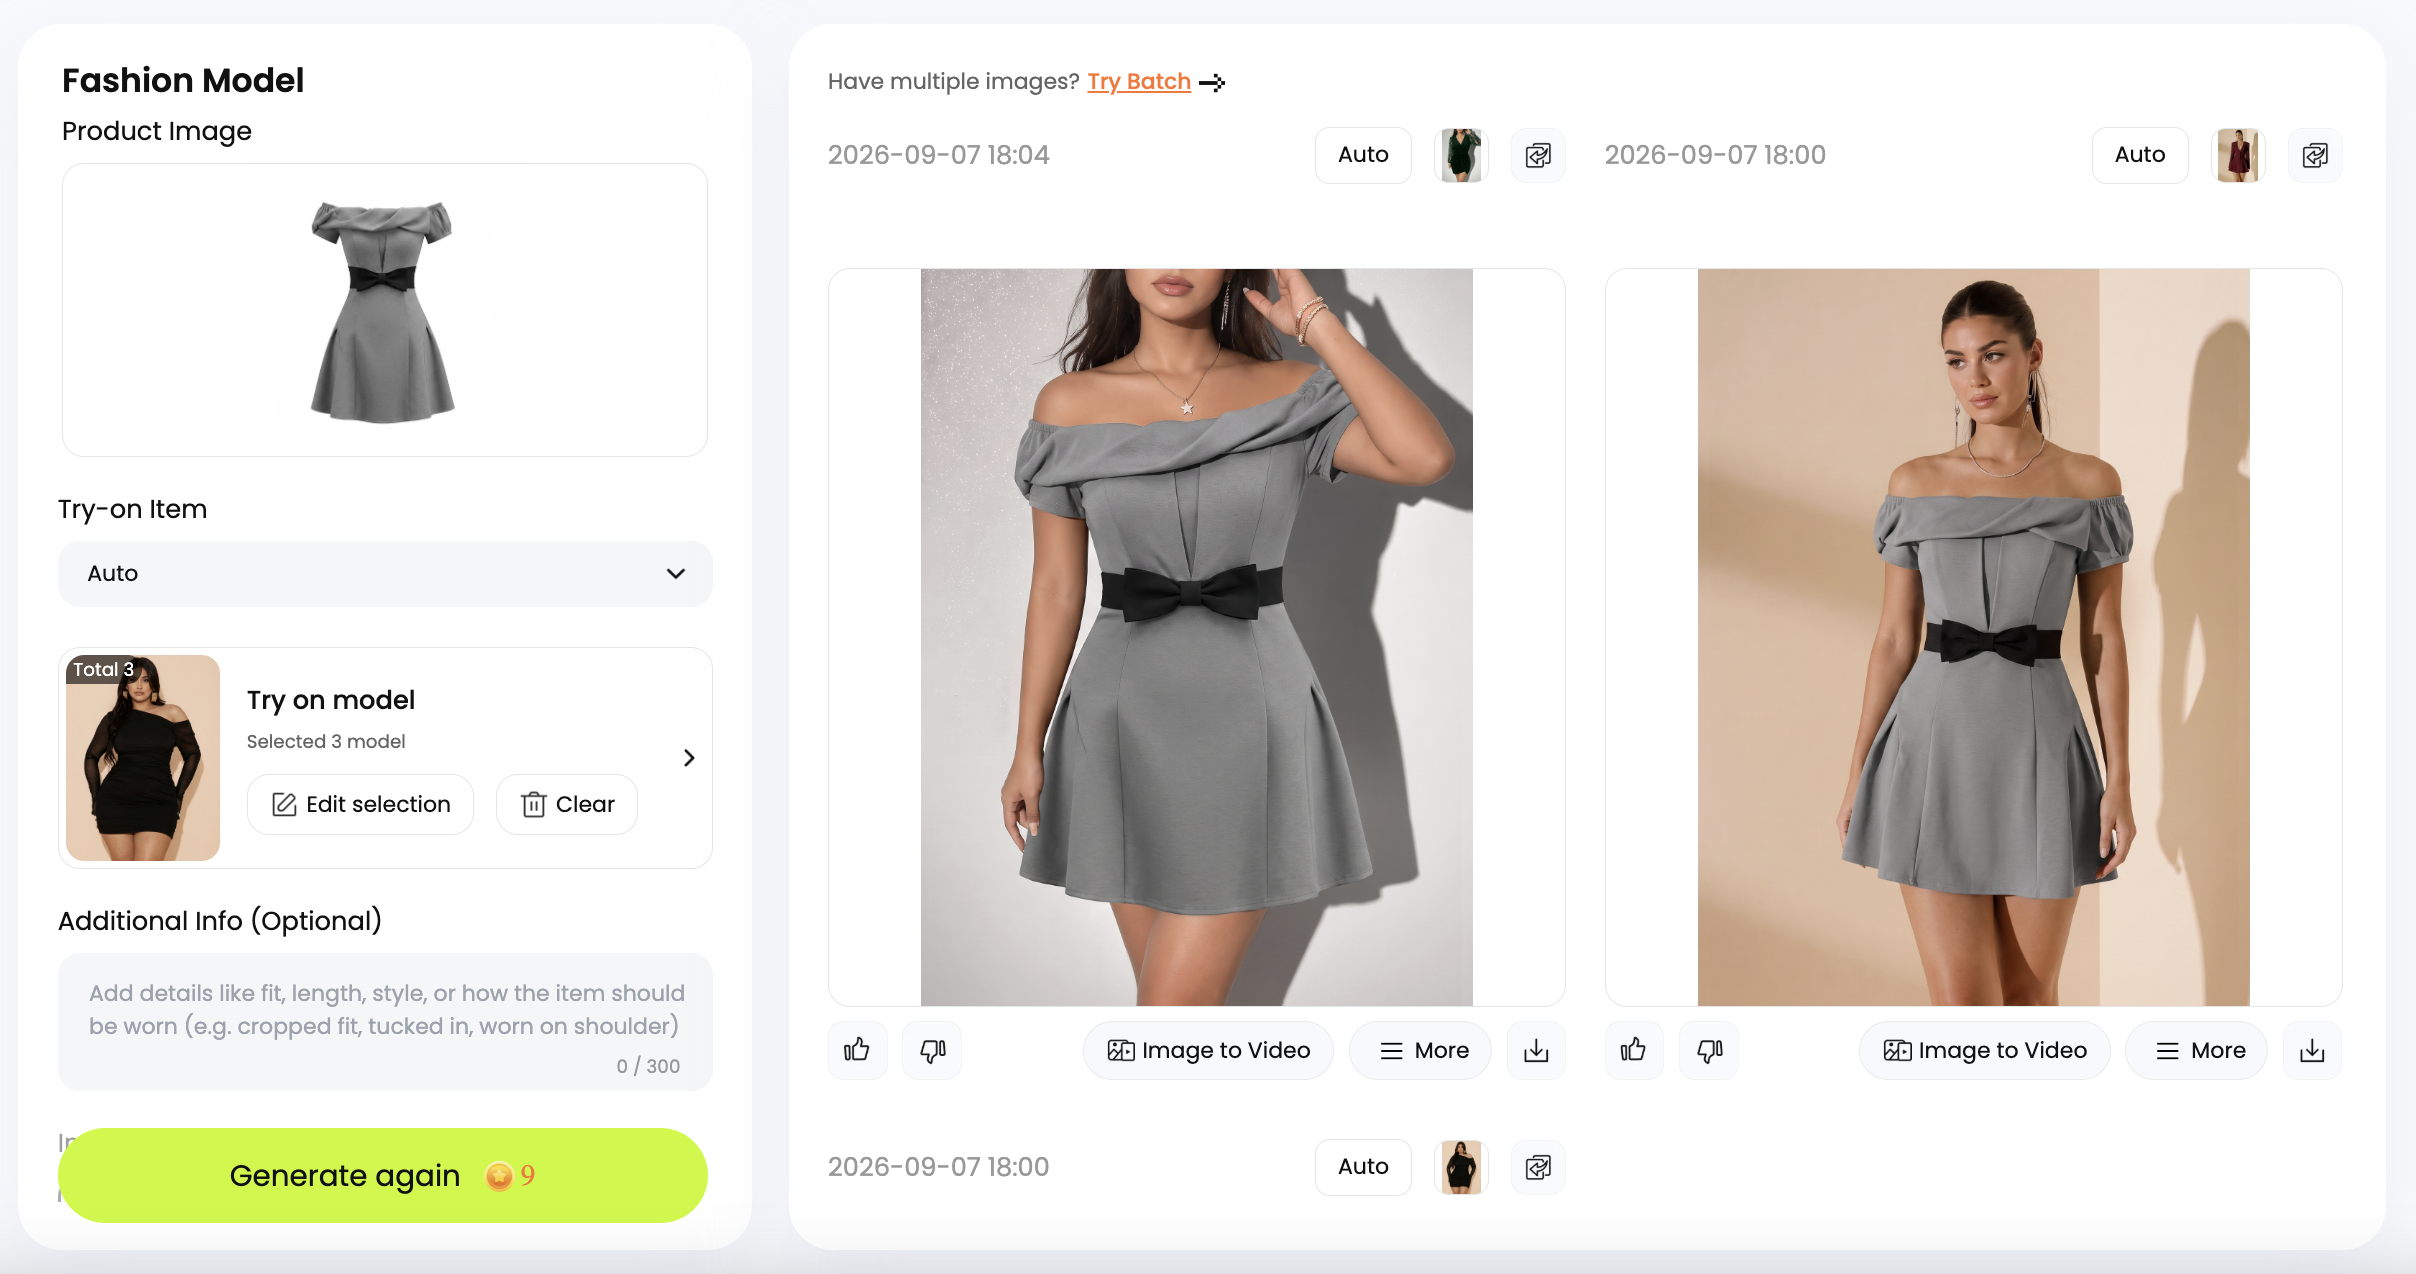
- Upload your garment photo under Product Image.
- Set Try-on Item to Auto.
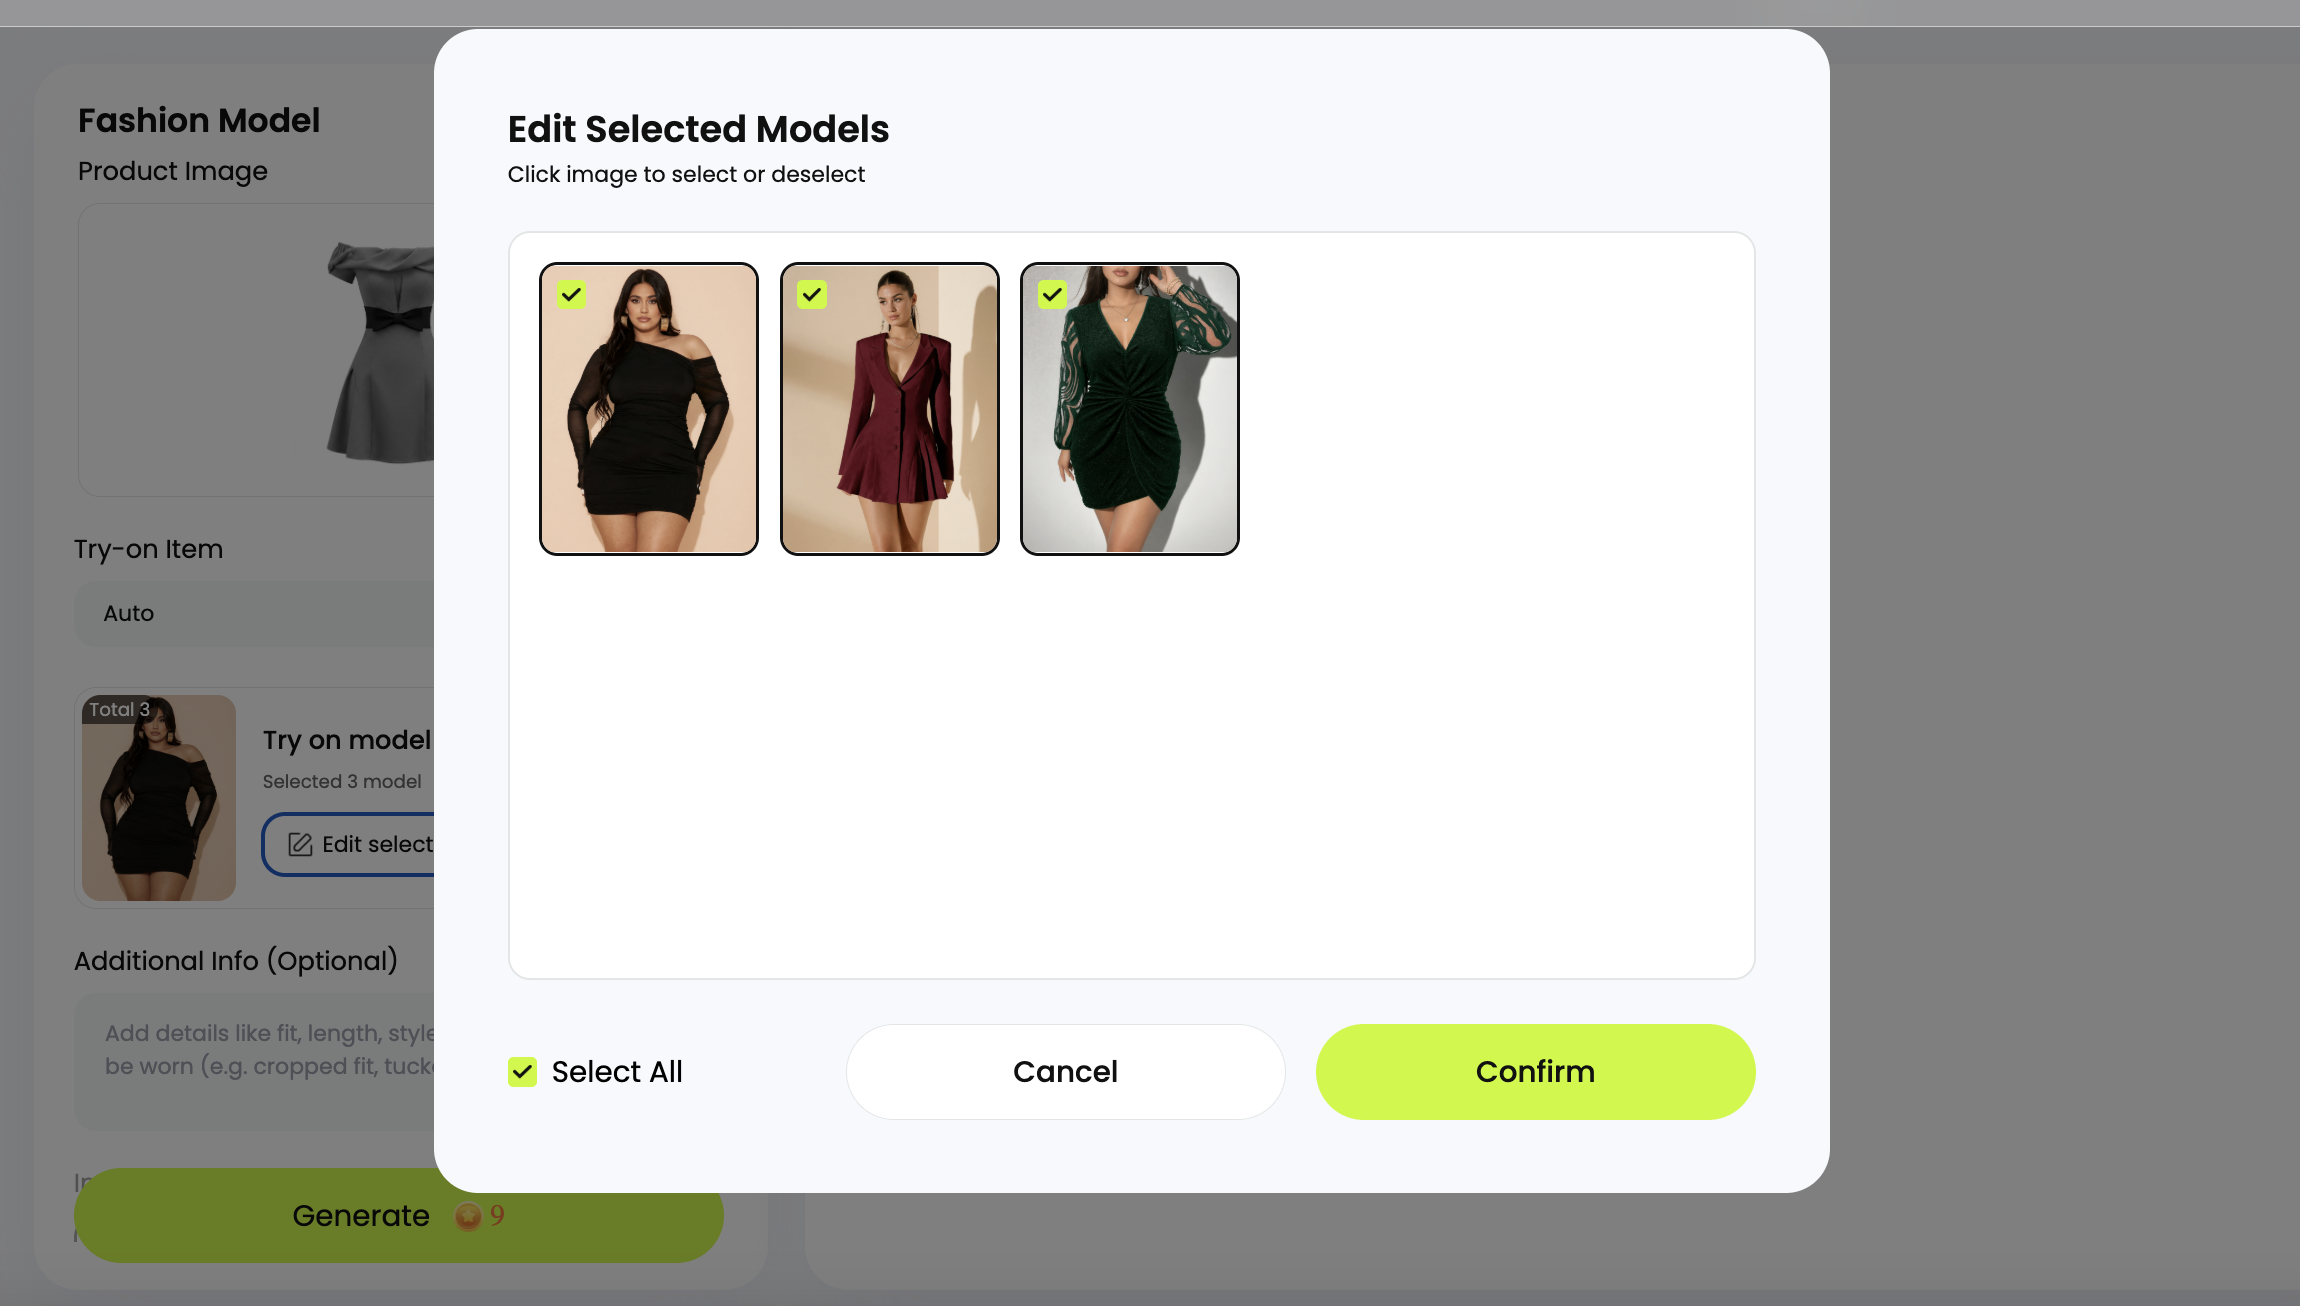
- Open Edit selection, choose your models and click Confirm.
- Click Generate and review the results.
4. Review the results
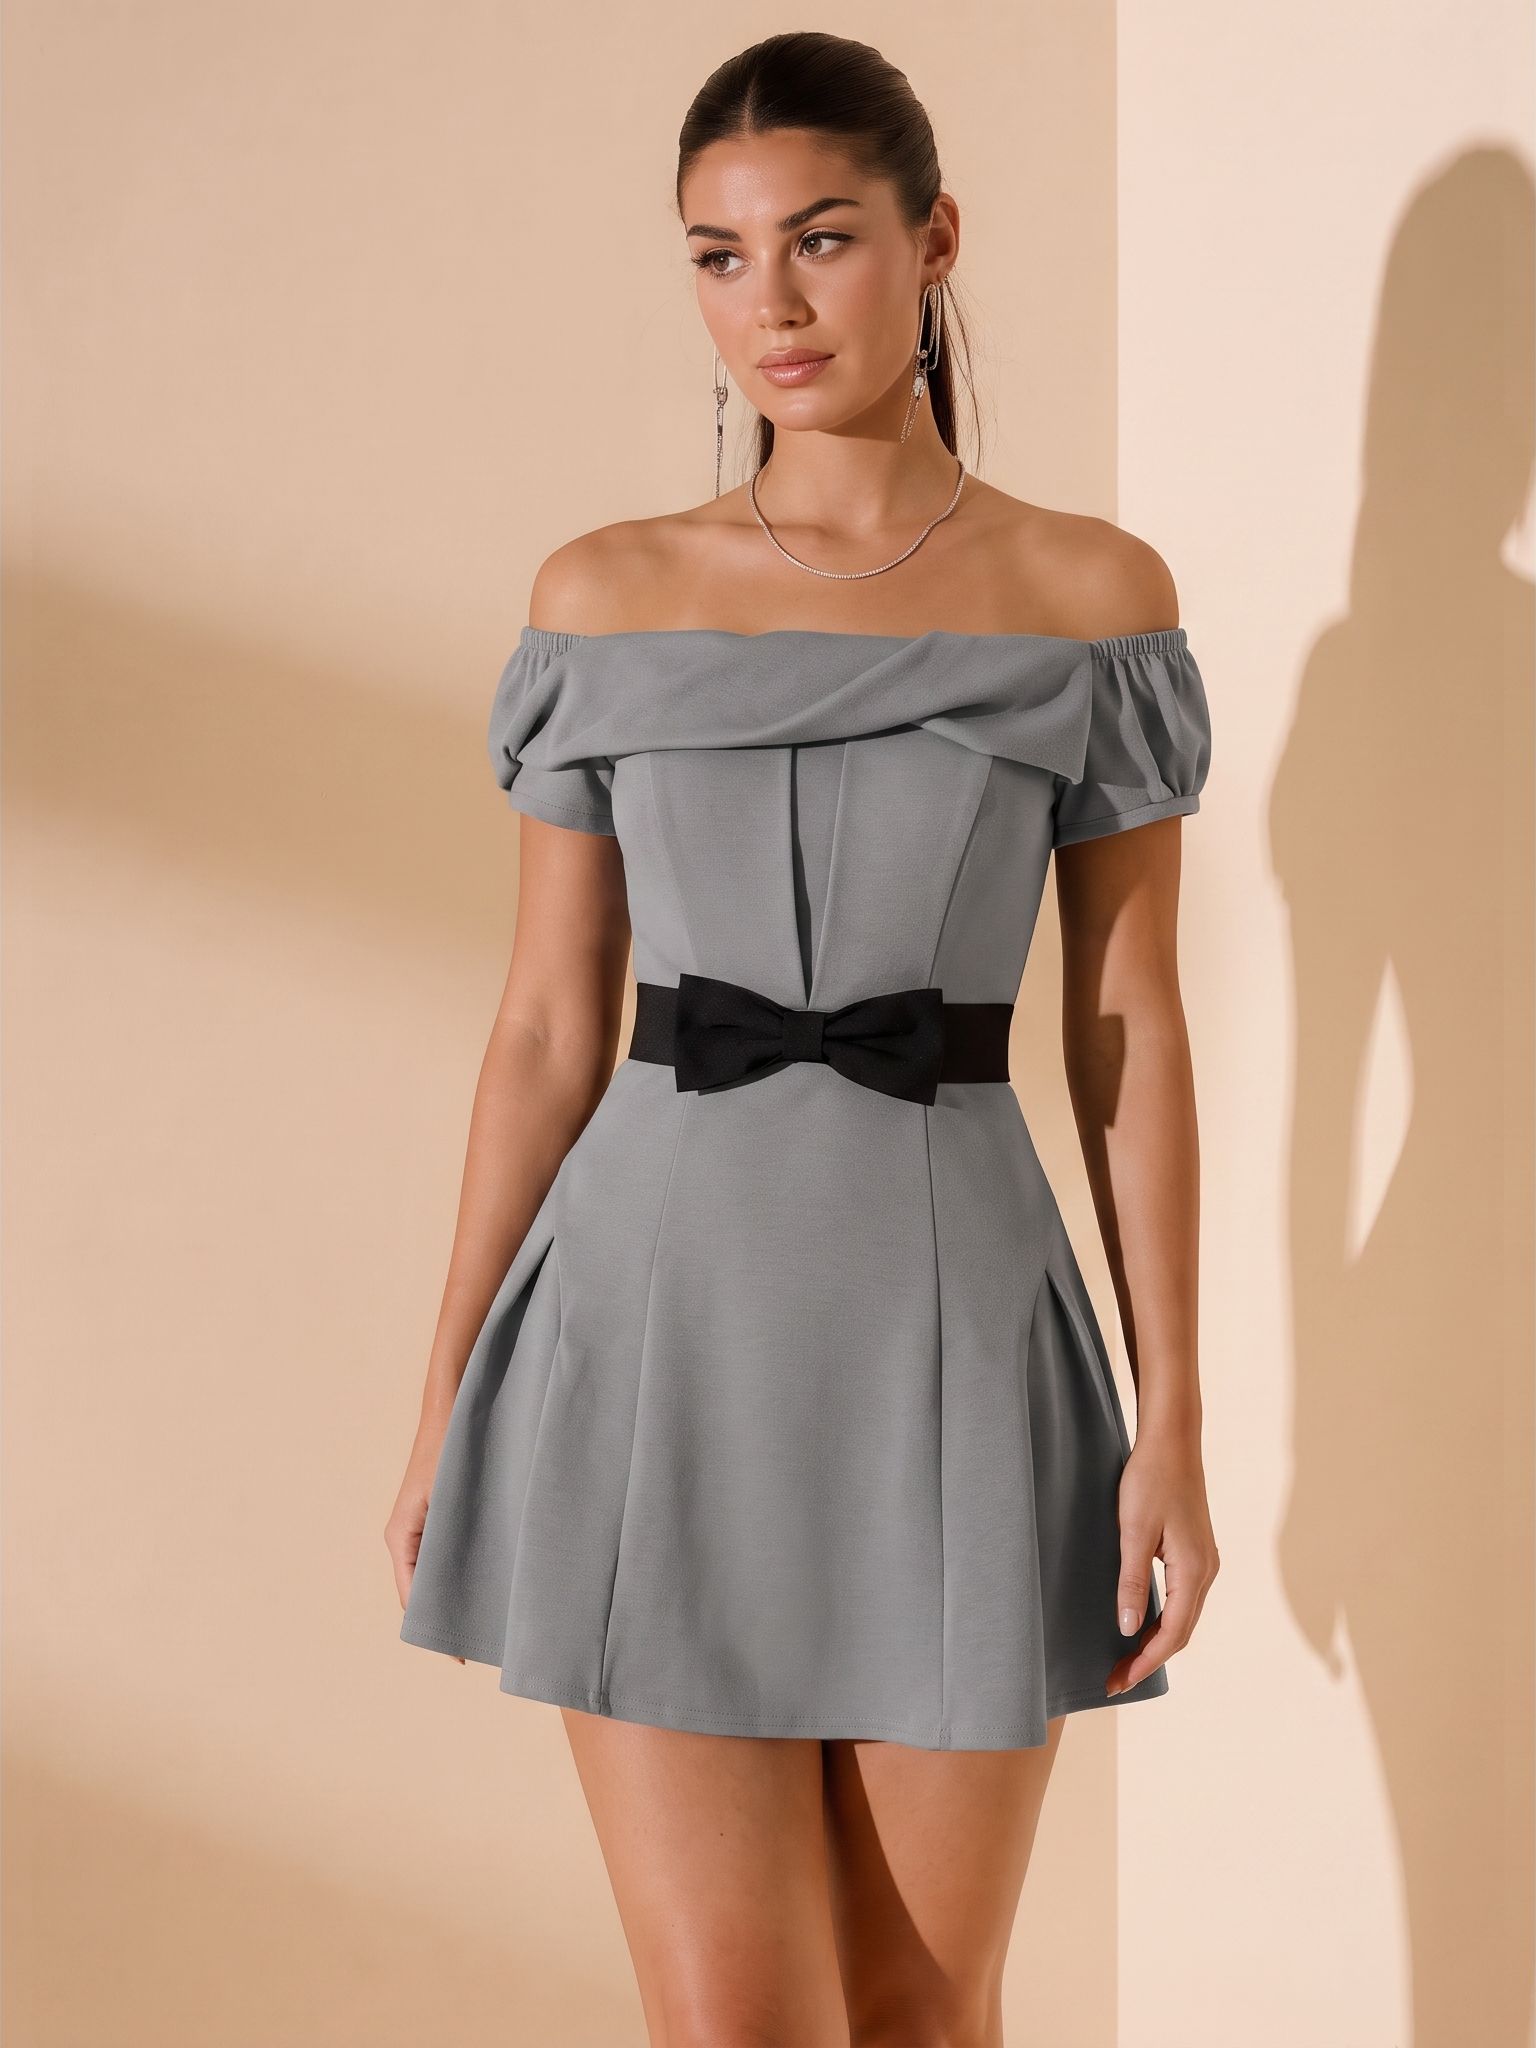
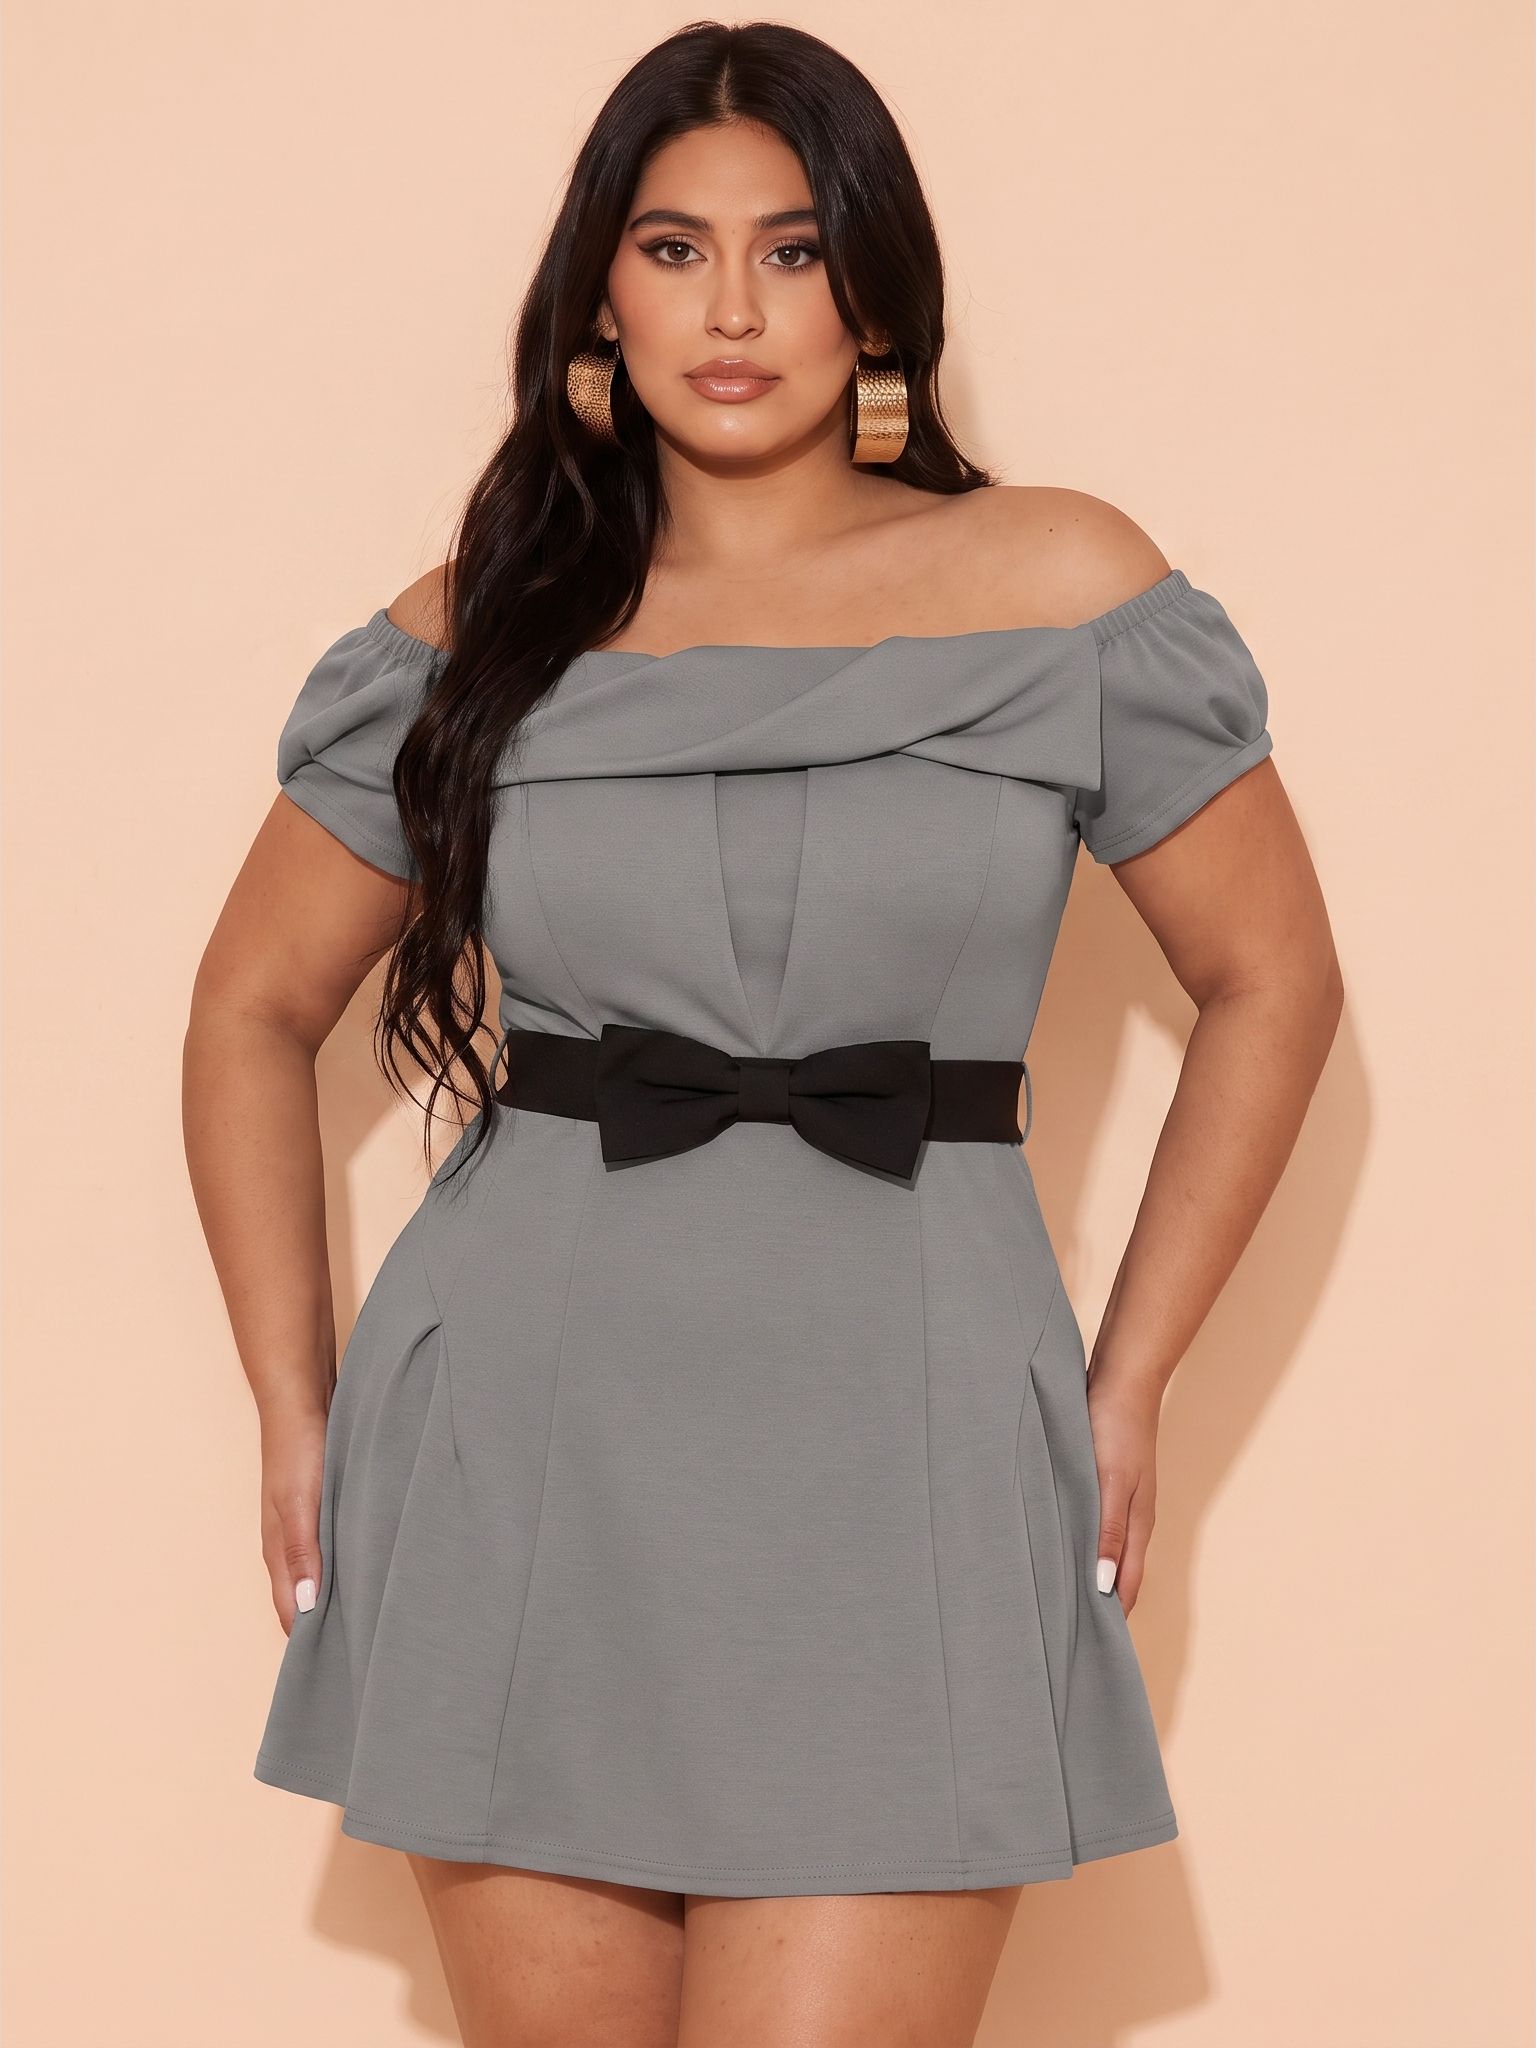
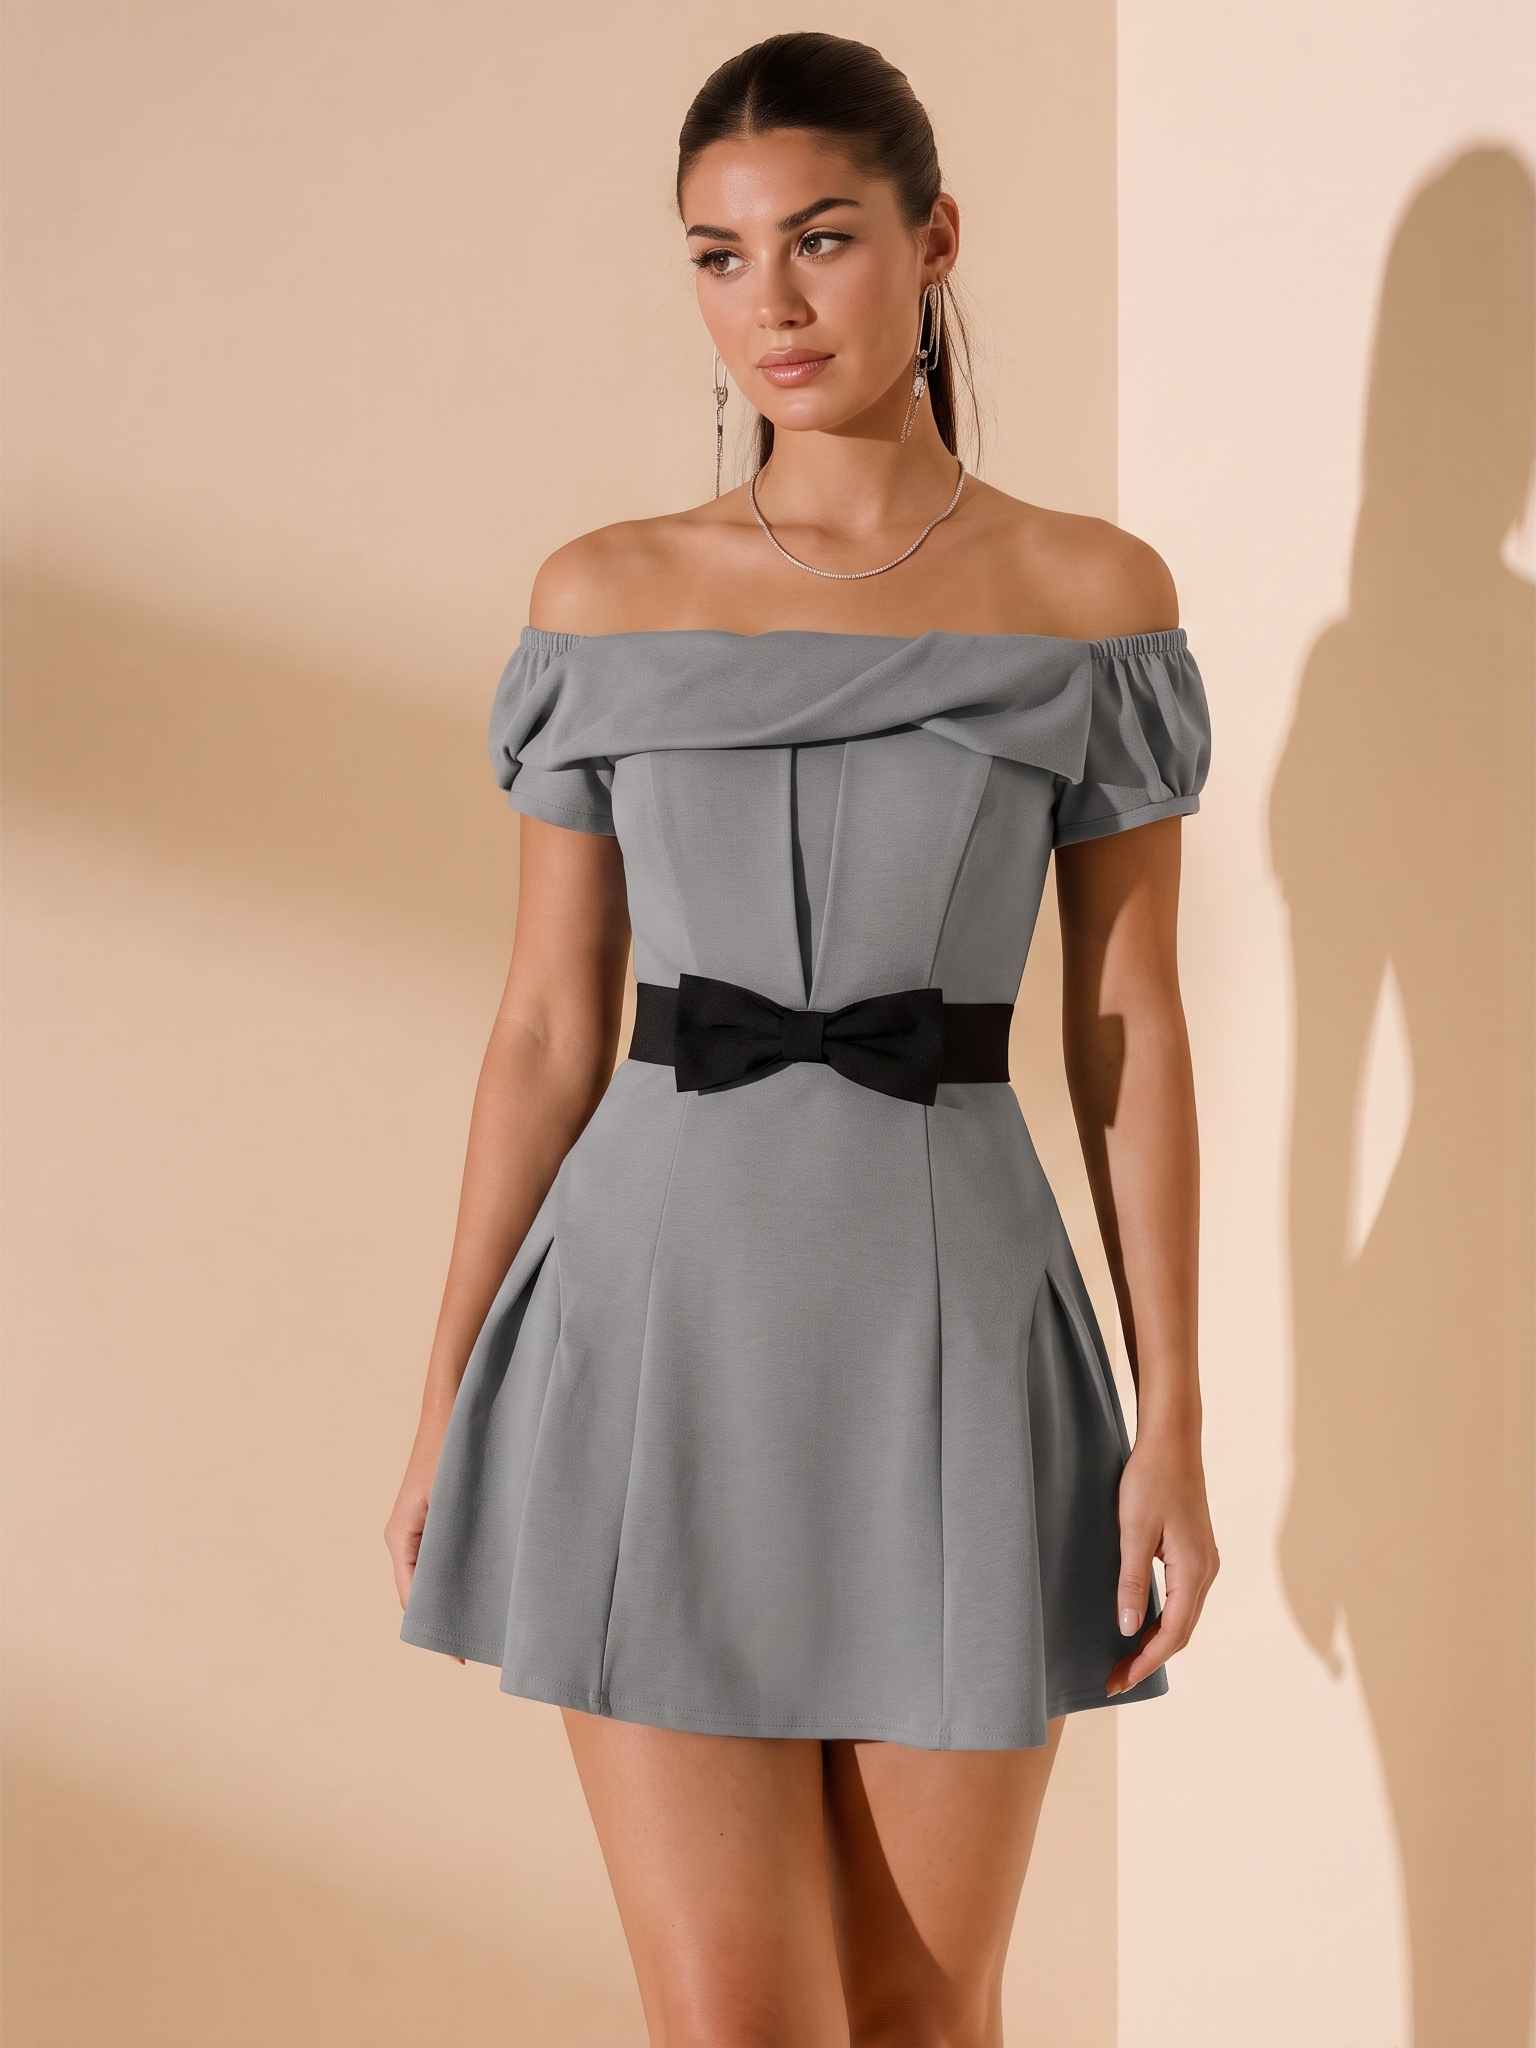
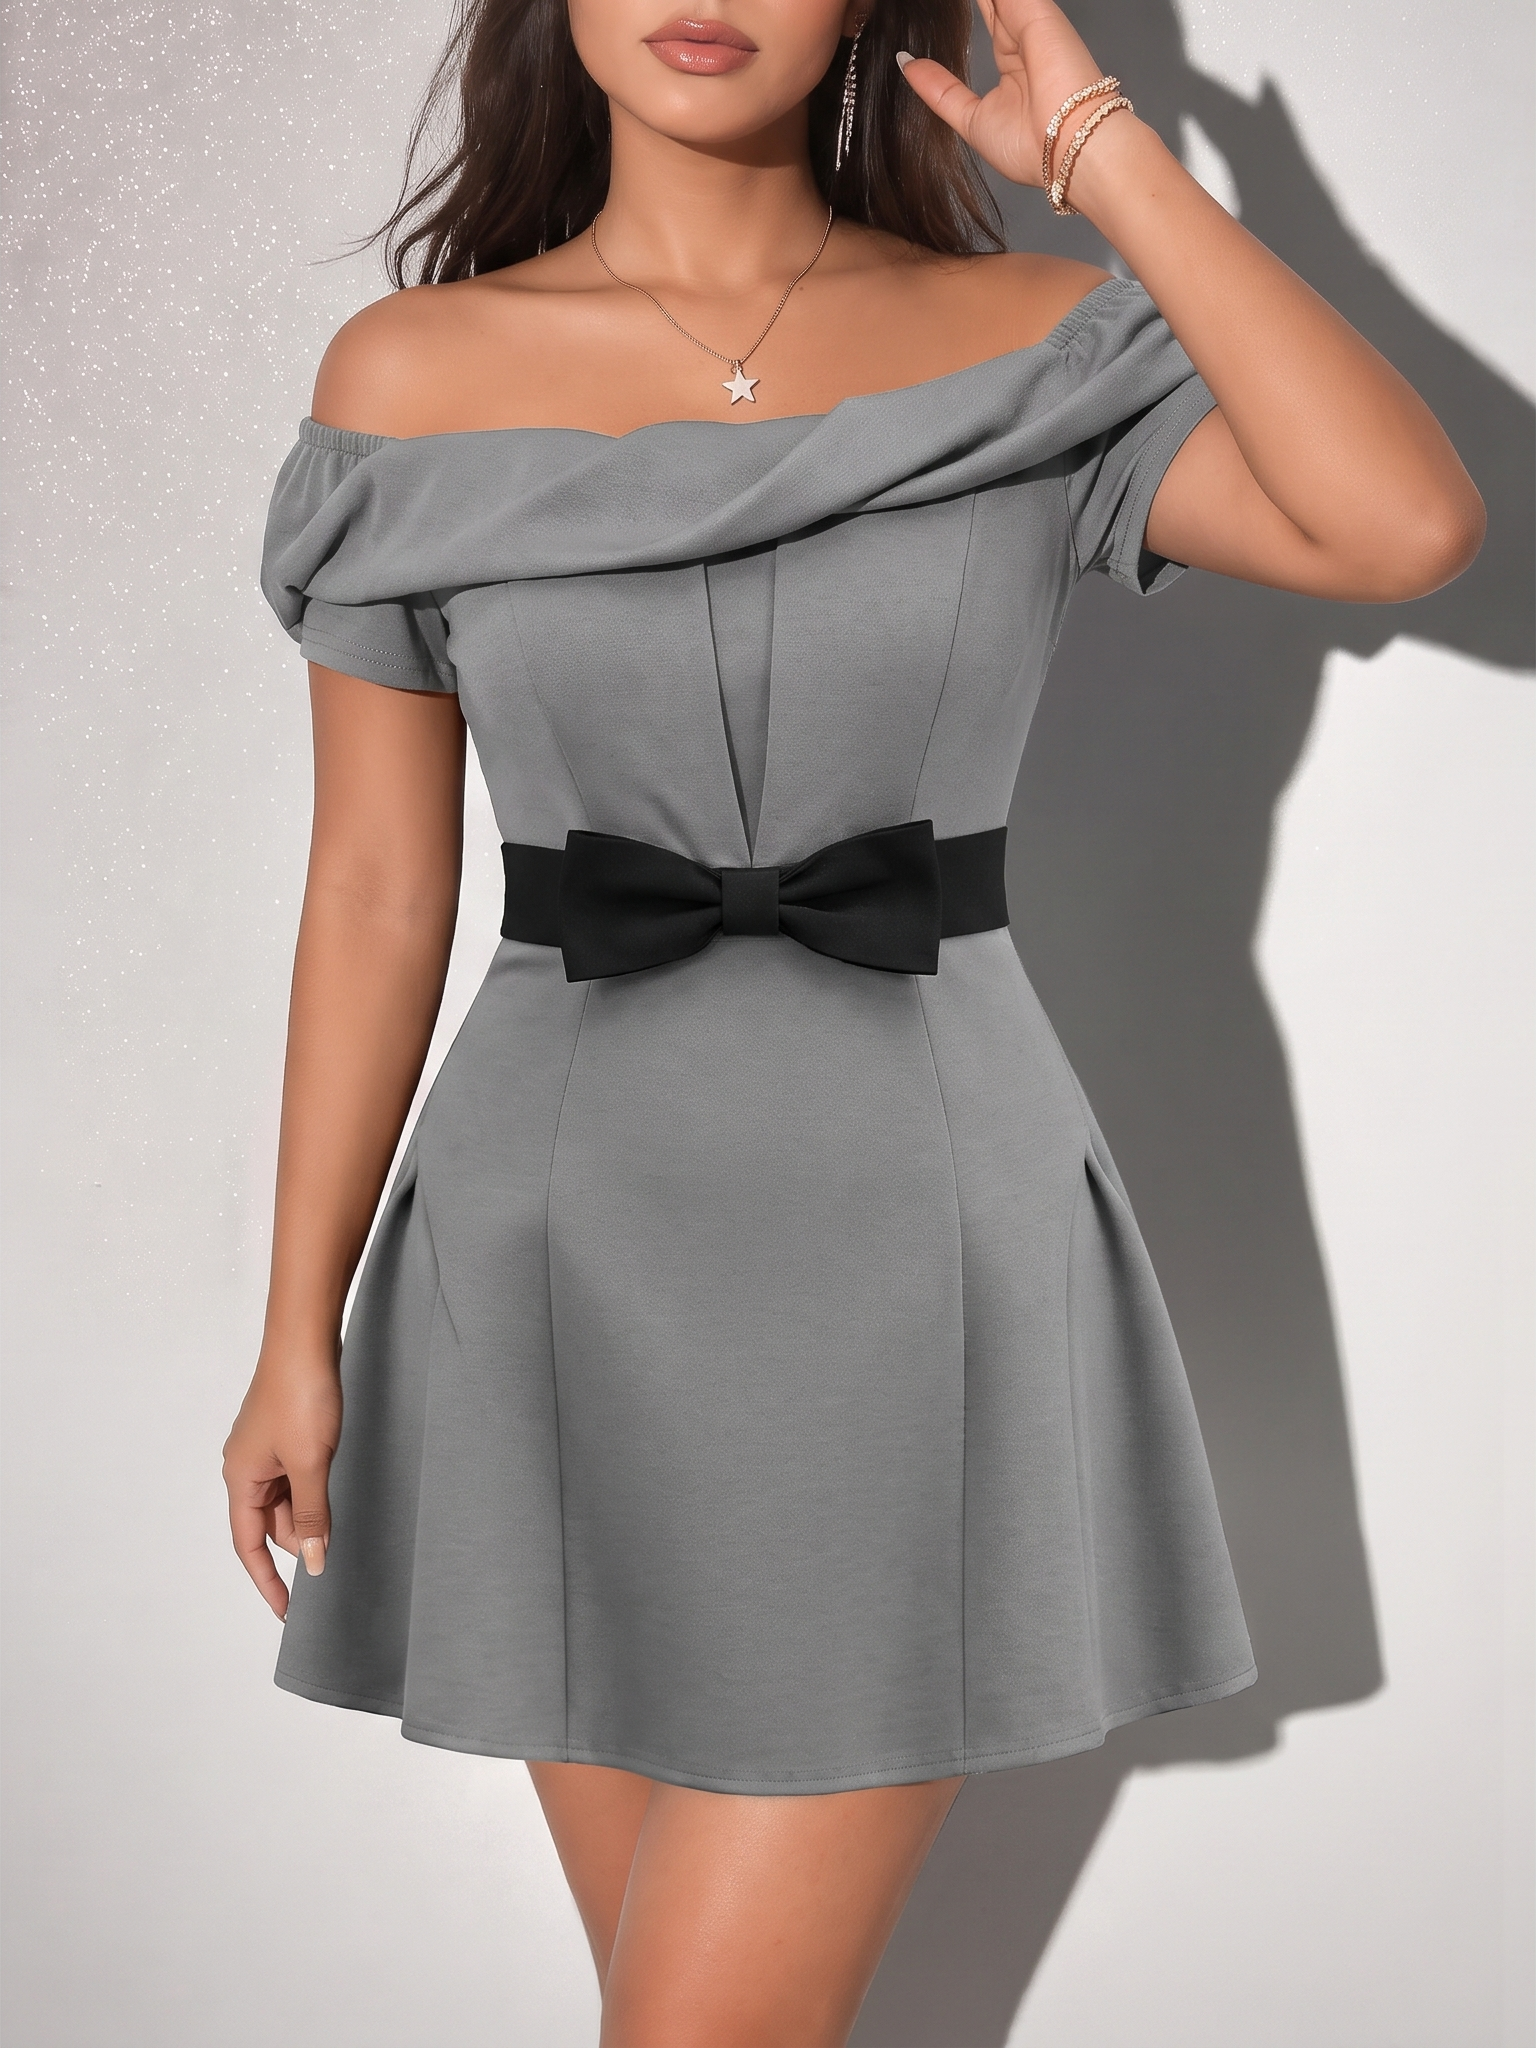
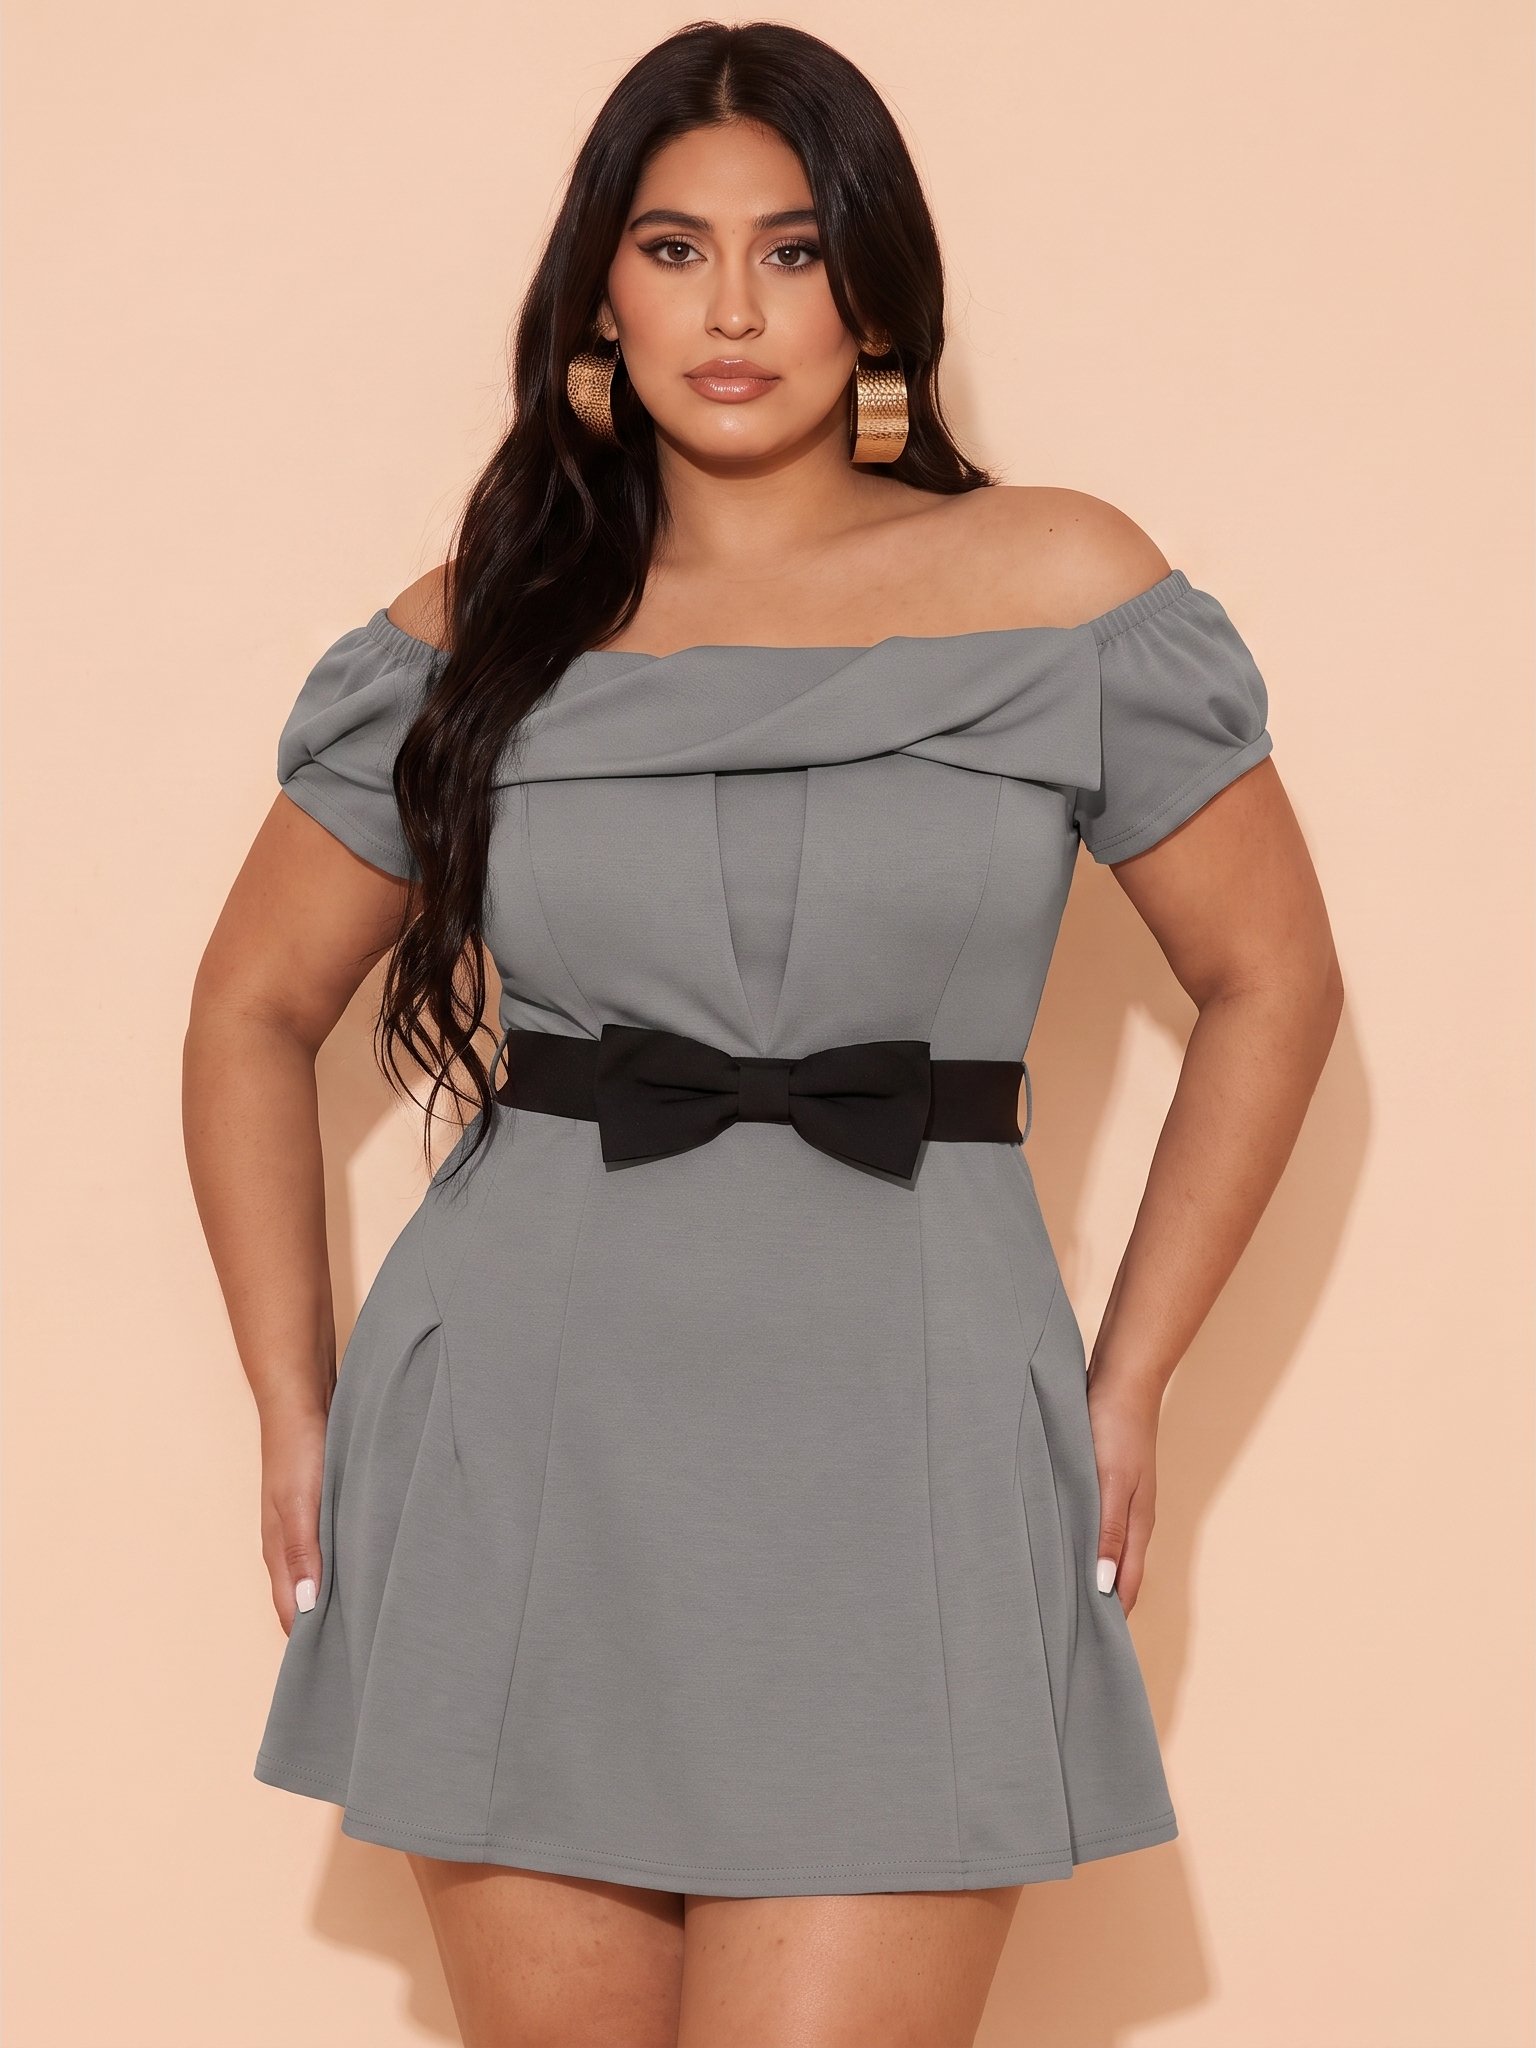
The same dress is shown on slim, mid-size and plus-size models, from left to right.
5. Check and publish the images
Reject images that change the garment’s color, print, seams or fastenings. Check hands, pose and crop before adding an image to the gallery.
Keep product photos, the size chart and measurements alongside the AI images. Label generated model images clearly.
For a comparison using one garment across several tools, see our AI fashion model app comparison.
Why use an AI workflow
1. Lower production costs
Adding another model to a traditional shoot means arranging samples, fittings and time on set. With AI, you can use the same product photo to create more model views, reducing the need for extra bookings, crew time and studio sessions.
2. Test models for your brand
You can also A/B test AI model images on your store to find models that suit your brand and resonate with shoppers. Keep the garment, background and framing consistent, and split visitors randomly between versions. Compare product engagement, add-to-cart behavior and customer feedback to decide which models to keep.
3. Keep a consistent catalog with templates
Templates then let you reuse those models and presentation styles across different products. Keep a template for each model in your lineup and apply the same set to new garments. This gives the collection a consistent look as you add dresses, denim or other styles.
4. Help shoppers choose with familiar models
Models that shoppers recognize and like can become familiar references for choosing products. Customers can compare one garment across body types, then browse other pieces on a model whose look and proportions they know.
Frequently asked questions
What is the difference between plus-size and size-inclusive photography?
Plus-size photography focuses on larger clothing sizes; size-inclusive photography covers a broader range, including mid-size bodies. The exact size labels vary by brand and market, so use the brand’s size chart for measurements.
Can I create AI plus-size model photos from one product image?
Yes. Start with a clear front or flat-lay photo of the garment. In Snappyit, the same source image can be used with several selected models, including different body types.
How many model body types should a product gallery include?
There is no fixed number. Start with body types missing from the gallery and add views that give customers a different reference for the garment’s shape and styling.
Can AI fashion model images predict fit or replace a size chart?
No. They show a visual interpretation of the garment, not a verified fit for a particular person or clothing size. Keep actual product measurements, fabric and stretch details, and the size chart available when shoppers choose a size.
Where can I use size-inclusive fashion photos?
Use them in product galleries, clothing catalogs and collection pages. For shopping reference, group images of the same style so customers can compare body types without switching between products.
References
- Zhang, Y., et al. (2025). One size does not fit all: Optimizing size-inclusive model photography mitigates fit risk in online fashion retailing. Journal of the Academy of Marketing Science. First published online July 22, 2024.
- Baymard Institute. 10 Best Practices on Sizing, section 10: “Consider Including Measurements of Human Models.”
- Universal Standard. Tee Rex – Black, “See It In Your Size” product gallery. Accessed September 7, 2026.