The 72-to-300 DPI Trap That Ruins POD Designs
Almost every print-on-demand seller hits the same wall: you upload a design to Printify or Printful, it flags a low-resolution warning, and the advice you find online says "just change the DPI from 72 to 300." So you open the file, type 300 into the resolution field, re-export, and re-upload. The warning is still there. Or worse, it disappears, you order a sample, and the print comes back soft and pixelated.
Here is what nobody told you: DPI is metadata, not image data. The DPI field is just a label that tells a printer how tightly to space the pixels you already have on paper. It doesn't create new pixels and it doesn't add any sharpness or detail (Dots per inch). A 6000x4000px file tagged at 72 DPI is pixel-for-pixel identical in quality to the same file tagged at 300 DPI. The detail is locked into the pixel count, and editing the DPI field changes nothing about how much detail exists.
What actually happens when you change 72 to 300 without resampling is that the printer interprets your existing pixels as smaller and closer together, so the physical print size shrinks while the total pixel count stays the same (Centex Printing). To genuinely make a file print-ready, you have to add real pixels by resampling or upscaling, not edit a number. That single distinction is the foundation of everything below, and it's why we built a free Product Photo Upscaler that adds pixels instead of faking them.
Pixels-at-Size: the Only Print Math You Need
Once you stop thinking in DPI and start thinking in total pixels, print sizing becomes simple arithmetic. The formula is just: inches x DPI = pixels per side. You decide the physical size you want to print at, multiply each dimension by your target DPI, and that tells you the exact pixel dimensions your file must have.
For example, a 12x16 inch poster at 300 DPI needs 12 x 300 = 3600px wide by 16 x 300 = 4800px tall, so 3600 x 4800px (PrintUpscale). A few more useful reference points using the same formula:
| Print size | Target DPI | Pixels needed |
|---|---|---|
| 6 x 4 in photo | 300 | 1800 x 1200 |
| 12 x 16 in poster | 300 | 3600 x 4800 |
| 18 x 24 in poster | 300 | 5400 x 7200 |
| 24 in wide print | 300 | 7200 wide |
This is the math behind every "how many pixels do I need" question (Lumino). Notice the DPI tag never enters the equation as a property of your file; it's a target you choose. If your source image is 1500px wide and you want a 12-inch-wide print at 300 DPI, you are 2100px short and no DPI edit will close that gap. You either print smaller, accept lower quality, or add pixels. For a wider walkthrough of getting source files sharp before any of this, see our guide to making product photos clearer.
Why Are My Printify Mockups Blurry?
This is one of the most-searched POD problems, and there are two separate causes that get confused with each other. Diagnosing which one you have saves you hours.
Cause one: the source file genuinely lacks pixels. Printify's own help docs are blunt about this: "The overall quality is determined by the quality of the pixels, not the number of them," and resolution can be artificially inflated so the DPI tag alone guarantees nothing (Printify Help). The low-resolution warning fires when your pixel count is too low to fill the chosen print area at acceptable quality. A file tagged 300 DPI but only 500x600px will still trigger it, because the tag is irrelevant to whether enough pixels exist.
Cause two: it's only the preview. Printify shows compressed preview images in its editor for speed, so a mockup can look soft on screen even when the underlying file is fine (Mockupify). Before assuming your source is bad, download the generated mockup and view it at 100%. If it's crisp at full size, you were looking at a display artifact, not a print problem.
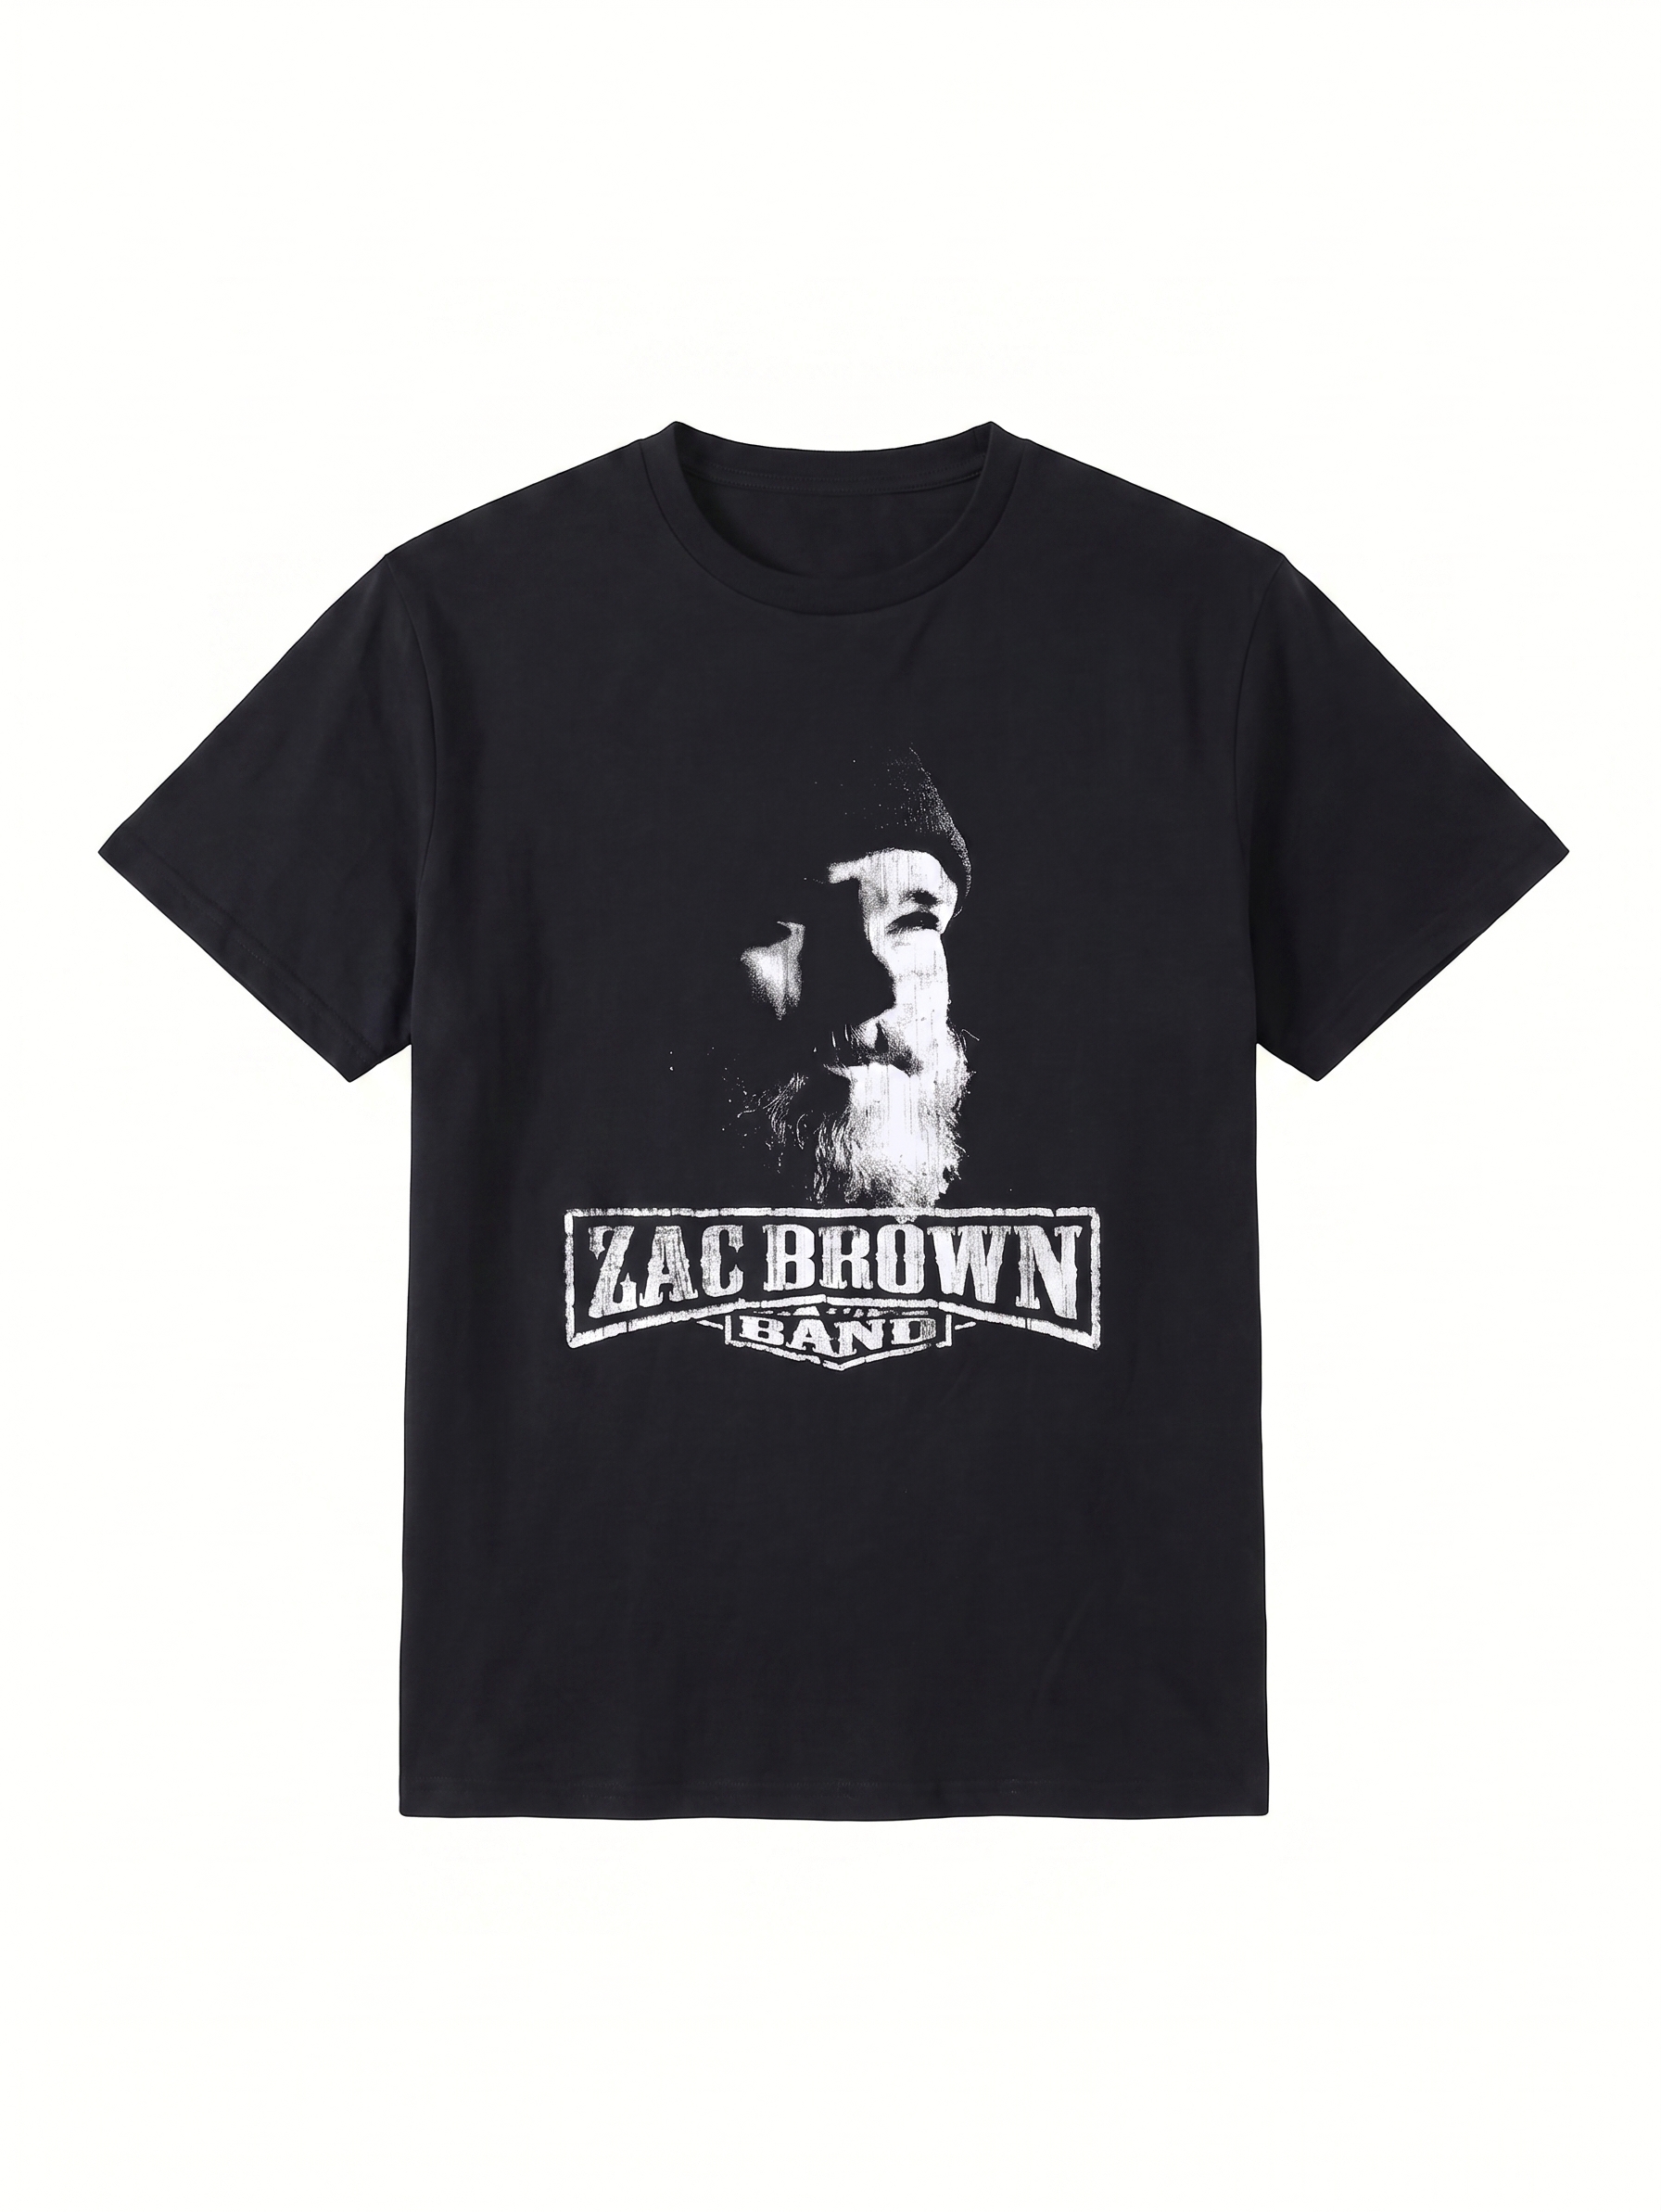
For apparel with full coverage, Printify references roughly 4500 x 5400px for t-shirt designs (stated as 15x18 in at 300 DPI), and always uploading PNG rather than JPEG avoids compression artifacts baking into your design (Printify). If your file falls short of these dimensions, that's the real fix to chase, not the DPI field.
Why Faking DPI Backfires on POD Platforms
A tempting shortcut is to take a small file, upscale it crudely or just bump the DPI tag, and let the platform's own enhancement deal with it. This is precisely the trap to avoid.
Printify does auto-enhance genuinely low-resolution files at production, using Claid.ai under the hood. But its help center is explicit about the limit: "Low-quality designs with artificially increased resolution won't be automatically enhanced as they can't be detected by the enhancement tool" (Printify Help). In other words, if you fake the resolution, you slip past the warning AND past the safety net, and the design prints poorly with no recourse. The same docs add that artificially increasing resolution "won't make the pixels any clearer... It will simply change the number without having any effect on the quality."
Other platforms confirm the same physics. Redbubble states plainly that "DPI doesn't affect the final print on Redbubble. Their printers use the actual pixel dimensions of your upload," and recommends designing with as many pixels as possible (around 9075x6201px to cover their full product range) (Redbubble Help). The honest takeaway: because the platform's own enhancement can't rescue a faked file, the smart move is to control quality before upload so your mockups and prints hold no surprises. That means adding real pixels yourself with an upscaler that reconstructs detail rather than stretching it.
How to Make an Image Print Ready (Add Real Pixels)
Making a file print-ready is a three-step loop once you've internalized the pixels-at-size math.
- Calculate your pixel target. Decide the largest physical size you'll print this design at, multiply each side by the product's required DPI, and write down the pixel dimensions. For paper goods that's 300 DPI; for apparel it's usually less (more on that next).
- Check your source against the target. Open the file's actual pixel dimensions (not its DPI tag). If you're short, you need to add pixels.
- Upscale to reach the target. Run the file through a pixel-adding upscaler, then verify the new dimensions meet or exceed your calculation.
This is where the difference between interpolation and AI upscaling matters. Classic bicubic resampling "merely enlarges existing pixels, producing blurry images," while AI upscaling "multiplies pixel density while re-imagining lost detail" (Printify). Our free Product Photo Upscaler uses the AI approach: it predicts plausible detail to drive your file toward 4K, sharpens, and denoises without a login, watermark, or daily cap. Drop in your design, let it add the pixels, and confirm the output clears your size target.
One housekeeping note that sits adjacent to this but isn't the same job: getting a clean white or transparent background is a separate task handled by a background tool, not an upscaler. Keep the two steps distinct.
300 DPI Isn't Universal: the Product Sets the Threshold
A common over-correction is to treat 300 DPI as a hard floor for everything. It isn't, and chasing it on the wrong products wastes file size and processing time for zero visible gain. The required DPI depends on the product and the viewing distance.
Printful, for instance, does not demand 300 DPI across the board. It calls 150 DPI the "sweet spot" for most garment products and the minimum for DTG apparel; 300 DPI is required or recommended only for specific items: phone cases, stickers, paper products like posters and cards, and DTF transfers (Printful Help). So the 300 DPI rule that this article centers on genuinely applies to paper and poster goods, where viewers hold the print close. Here's a working reference across formats (Let's Enhance):
| Product | Typical DPI |
|---|---|
| Photo prints, posters, paper goods | 300 |
| DTG apparel | 150 min (300 ideal) |
| Canvas | 150-300 |
| Large-format posters | ~150 |
| Banners | ~100 |
| Billboards | 30-75 |
The reason DPI can drop is viewing distance: the further away a print is seen, the fewer dots per inch the eye can resolve (the industry rule of thumb is max visible PPI = 3438 divided by viewing distance in inches). A billboard read from 50 feet needs a fraction of a poster's density. Match the DPI to the product before you calculate your pixel target.
Print Specs Are Not Marketplace Listing Specs
If you also sell on Amazon, Etsy, or Walmart, don't carry your print-file thinking over to your listing images, or vice versa. They measure different things. A marketplace listing image is about display pixels rendered on a screen, where zoom and minimum-size rules govern acceptance. A print file is about ink dots laid on physical material, where DPI-at-size governs sharpness.
The practical consequence is that the same product photo can be perfectly acceptable as a listing image at far fewer pixels than it would need as a print file. A 1500px-wide JPEG might sail through a marketplace listing yet fall hopelessly short for a 12-inch poster. Treat the two as separate spec domains with separate targets.
That's why this article lives in its own lane. If your problem is a marketplace rejection or zoom that won't engage rather than a print file, those are different fixes entirely. For listing-side resolution issues, our siblings cover them directly: marketplace image size and zoom requirements and increasing image resolution for an Amazon listing. For the bigger picture of where AI fits across your whole product-imaging workflow, see the AI product photography pillar.
What Upscaling Can and Cannot Do for Print
An upscaler is powerful, but selling you a fantasy helps nobody, so here are the honest limits you should plan around.
- It cannot recover detail that was never captured. AI predicts plausible detail; it doesn't reconstruct information the camera or original render never recorded (iterationlayer). A genuinely soft or out-of-focus source has a ceiling.
- Heavily compressed files improve only so much. Severe JPEG artifacts and fundamental quality problems won't fully resolve, which is exactly why uploading PNG from the start matters for POD.
- Diminishing returns past about 4x. Upscaling a 4000px file to 8000px when your print only needs 4500px adds file size and processing time with no visible benefit (Lovart). Upscale to your calculated target, not beyond it.
- Text and flat-color logos need a closer look. AI can round corners, soften crisp lines, or introduce faint texture on type and solid fills, so review those areas at 100% after upscaling.
This is the same clarity-only philosophy behind our tool: it sharpens, denoises, and adds pixels to drive your design toward print resolution, but it won't relight, recolor, or invent detail that isn't there. Used within those limits, it turns a borderline file into a confident upload. If you also wrestle with soft source images coming from suppliers or AI art, our fix-blurry-product-photos guide pairs well with this workflow.
Try the free Product Photo Upscaler
Frequently Asked Questions
Will changing my file from 72 DPI to 300 DPI fix the Printify low-resolution warning?
Usually no. The warning is triggered by insufficient pixel count for your chosen print size, not by the DPI tag value. A file tagged 300 DPI but with too few pixels still fails. Printify states quality is determined by the pixels themselves, not the number on the tag, so you have to add real pixels by upscaling, not edit the DPI field.
Why is my Printify mockup blurry even though my file looks fine?
Two possibilities. Either your source genuinely lacks pixels for the print size, or you're seeing Printify's compressed editor preview, which is softened for speed. Download the mockup and view it at 100% first. If it's crisp at full size, it was a display artifact. If it's still soft, your source file is too small and needs upscaling toward Printify's references like roughly 4500x5400px for apparel.
How many pixels do I need for a 12x16 inch print at 300 DPI?
3600 x 4800 pixels. The formula is inches times DPI per side: 12 x 300 = 3600 wide and 16 x 300 = 4800 tall. Decide your largest physical print size, multiply each dimension by the product's target DPI, and that's your minimum pixel target.
Does every print-on-demand product require 300 DPI?
No. 300 DPI applies mainly to paper goods like posters, cards, stickers, and phone cases. Printful calls 150 DPI the sweet spot for most apparel and the minimum for DTG. Required DPI drops as viewing distance grows, so canvas, large-format posters, banners, and billboards all accept progressively lower densities.
Can I just upscale a tiny file to hit 300 DPI and call it print ready?
Only if the upscaler adds real, plausible detail rather than stretching pixels, and only within limits. AI upscaling can't recover detail never captured, heavily compressed files improve only partially, and there are diminishing returns past about 4x. Upscale to your calculated pixel target, then check text and logos at 100% before ordering a sample.
Should I upload PNG or JPEG to Printify and Printful?
PNG is safer for POD designs because JPEG compression bakes in artifacts that no upscaler can fully remove later. DTG apparel specifically needs PNG for its transparent background. Printful accepts both PNG and JPEG and requires the sRGB color profile, but starting from PNG gives you the cleanest source to print from.
Are print DPI requirements the same as Amazon or Etsy listing image rules?
No, they measure different things. Listing images are about screen display pixels, zoom, and minimum-size acceptance. Print files are about ink dots at a physical size. The same photo can pass as a marketplace listing at far fewer pixels than it needs as a print file, so keep separate targets for each.
Is the Snappyit Product Photo Upscaler really free for print files?
Yes. It upscales, sharpens, denoises, and deblurs toward 4K with no login, no watermark, and no daily cap, and it supports single and batch processing. It's clarity-only, meaning it adds pixels and detail but won't relight, recolor, or invent detail that was never captured, which keeps your print files honest.