



 Cheese Yuan
What is product photo editing?
Product photo editing is the process of refining a product image after it has been captured. A traditional workflow might combine exposure correction, color adjustment, retouching, background cleanup, sharpening, cropping, and export preparation.
If you need a new studio-style presentation or a lifestyle scene, AI tools can generate options from an existing photo. This guide focuses on that workflow, from choosing the source to reviewing the result.
Choose the tool for the job. Removing a background, correcting a color cast, and generating a new scene are different tasks; one tool may not give you control over all three.
Working principle: improve presentation, preserve the product. If an edit changes the item’s color, construction, label, included parts, or material in a way that could mislead a shopper, do not use it as an accurate listing image.
Why product photo editing matters for ecommerce
Online shoppers rely on your photos to judge the item’s shape, finish, and construction. Clear views help them decide whether it suits their needs.
Photos taken on different days can vary in brightness, framing, and background. Consistent crops and presentation make products easier to compare across your store.
Common problems that make product photos feel unfinished
- Flat or uneven light: the product is visible, but its form and surface are difficult to read.
- Weak separation: the product blends into its surroundings or competes with nearby objects.
- Unclear texture: leather grain, fabric weave, brushed metal, or molded plastic looks muddy.
- Inconsistent framing: products appear at noticeably different sizes or positions across a collection.
- Distracting surroundings: furniture, clutter, or props draw attention away from the item.
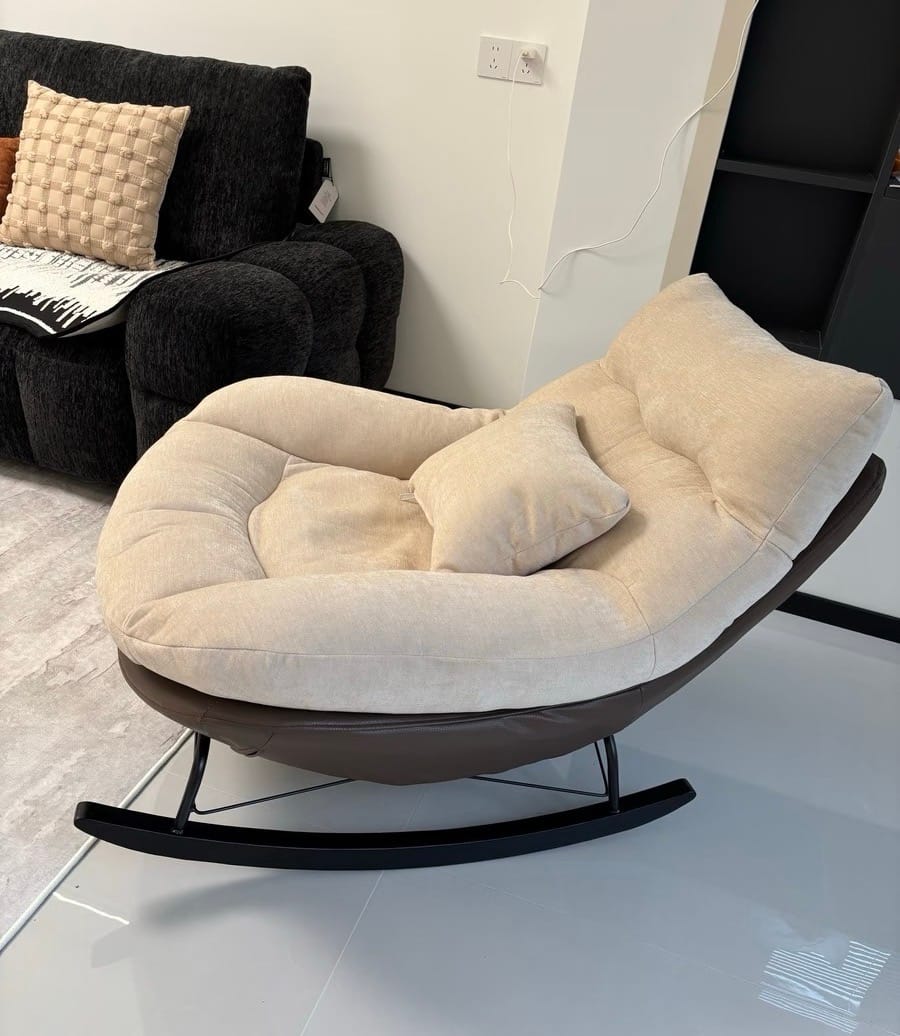 Original photo
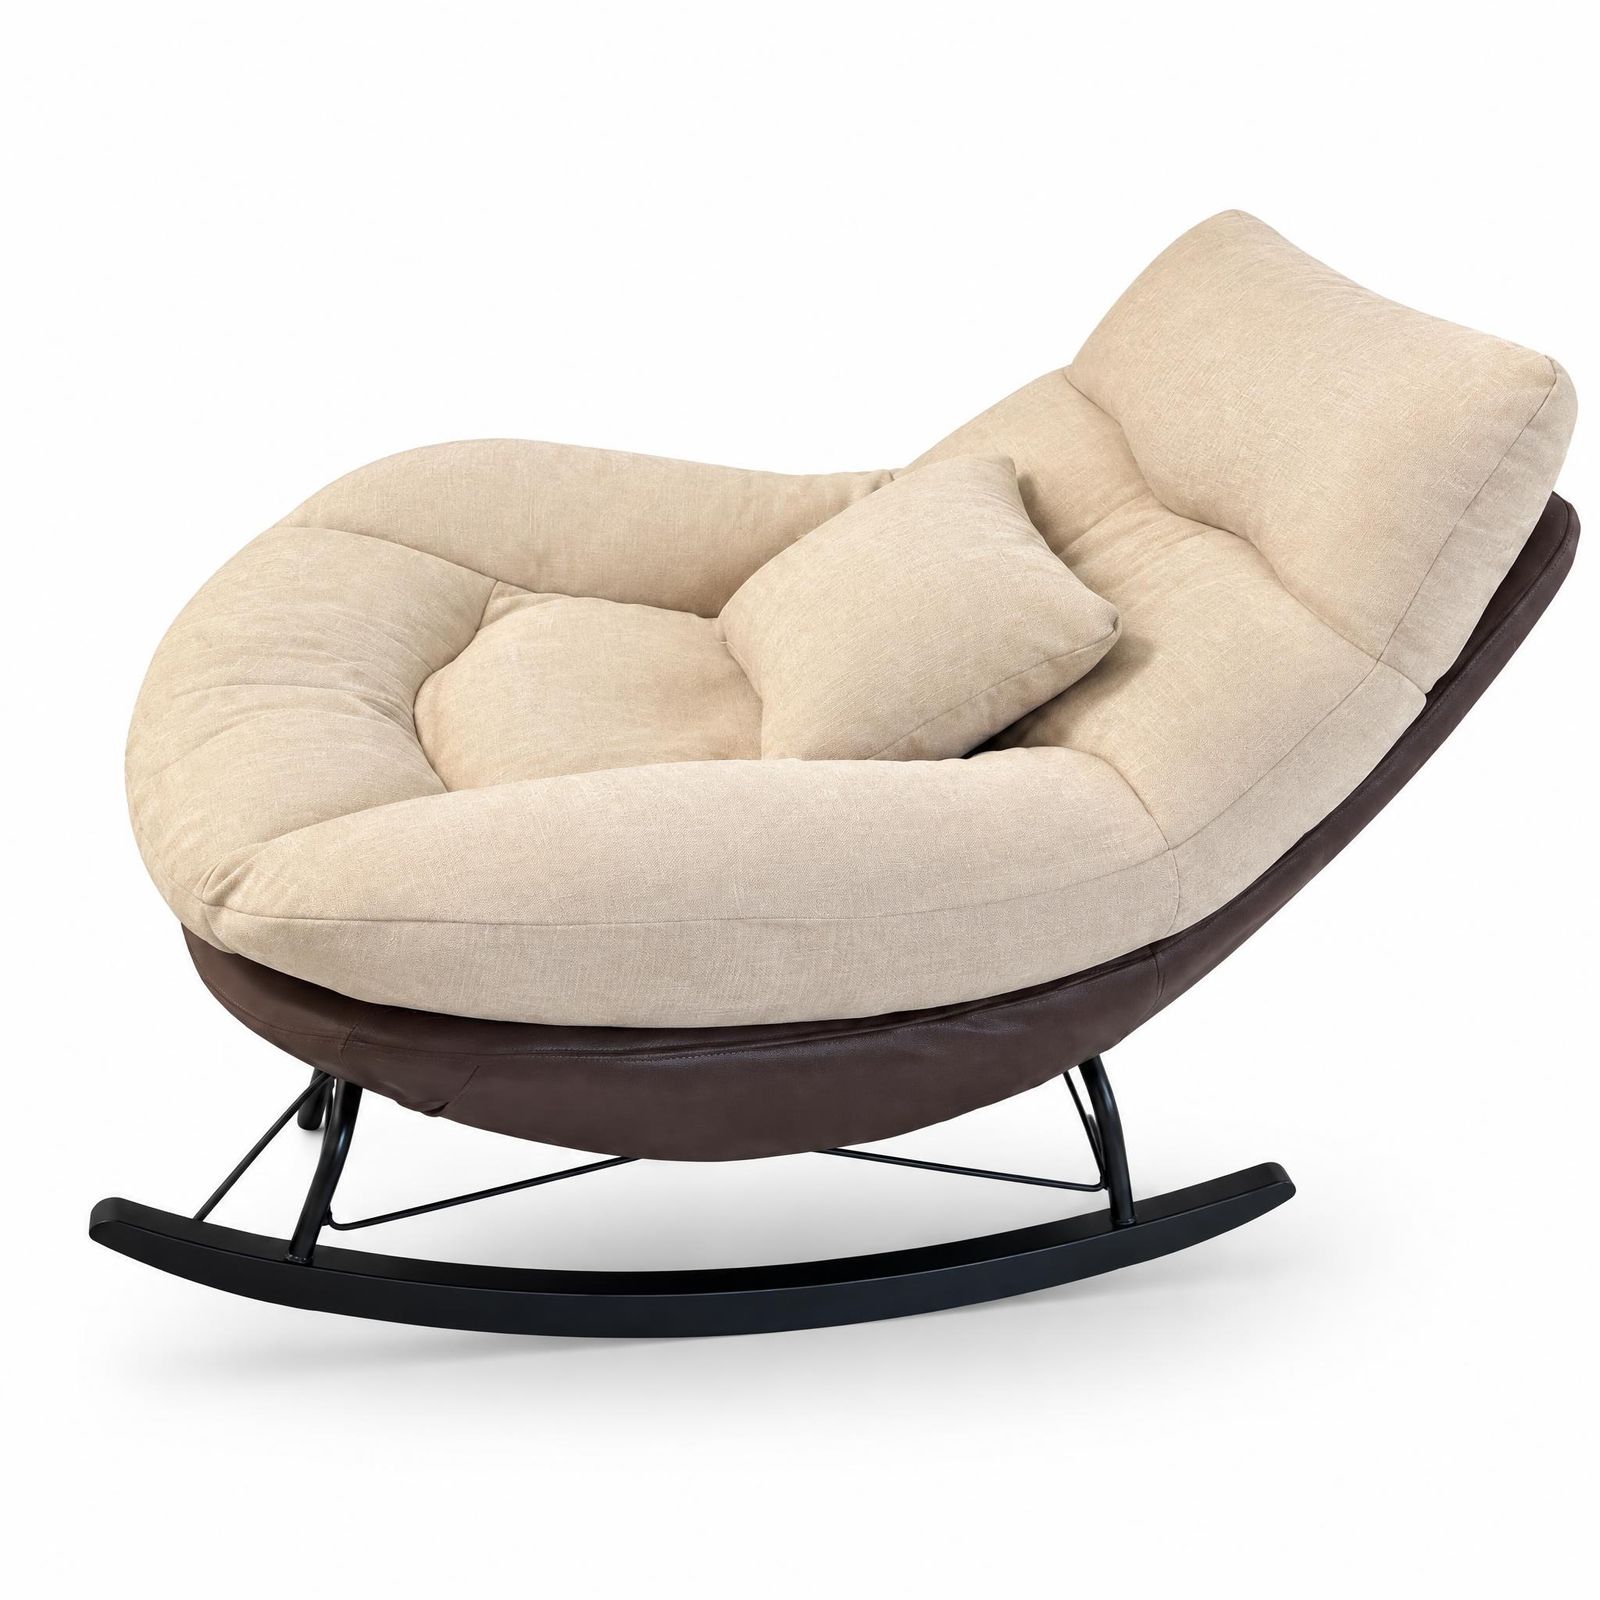 White-background result
 With a scene prompt
How to edit product photos with AI
Use these six steps to prepare a photo, generate a new version, and decide whether it is ready for your store.
Prepare the product
If you are taking a new photo, remove dust and fingerprints first. Keep product labels and details visible.
Choose the source
Select a sharp photo with the whole product visible and no important detail hidden.
Upload the photo
Upload the original photo rather than a screenshot or compressed preview.
Describe the goal
In Snappyit Product Studio, optionally describe the scene or lighting in Additional Information.
Generate options
Generate a result. Try another if the composition does not suit your listing.
Inspect and export
Compare the selected image with the source at full size before using it in a listing or campaign.
Keep important details in view
A folded strap or hidden connector is difficult to verify later. Choose a view that shows these parts clearly, with readable labels and no extreme wide-angle distortion.
Choose the image’s purpose
For a product listing, keep the item easy to inspect. For a campaign, you may want a scene that helps shoppers picture using it. Decide before generating so you can judge the result against that goal.
Example scene prompt: Place the product in a suitable, realistic scene and generate a complete background around it. Replace “suitable, realistic scene” with a specific setting, mood, surface, or color palette when needed.
Compare before you publish
A changed buckle or misspelled label is a reason to reject an image, even if the scene looks good. Use another result or keep the original.
How to prepare a better source photo
Before uploading, use this checklist to see whether your photo gives you enough detail to work with.
| Check | Better starting point | What to avoid |
|---|---|---|
| Product visibility | The complete silhouette is inside the frame. | Cropped edges, hidden straps, or blocked controls. |
| Focus | Labels, edges, and material texture are sharp. | Motion blur or focus on the background. |
| Light | Soft, even light reveals the product surface. | Clipped highlights, deep shadows, or mixed color casts. |
| Color | The source looks close to the physical product. | Strong filters or automatic effects that shift the SKU color. |
| Obstructions | The item is unobstructed and easy to separate visually. | Hands, props, packaging, or other products covering key details. |
| File quality | Use the original camera file or a high-quality export. | Screenshots, messenger previews, or repeatedly compressed files. |
Product photo editing examples across categories
These examples use Snappyit Product Studio to create white-background and scene versions. For each item, compare the details that matter to a buyer.
Beauty: skincare jar
The jar’s product name, lid, and curved sides are useful checkpoints. Compare them with the original rather than assuming a cleaner-looking image is an accurate match.
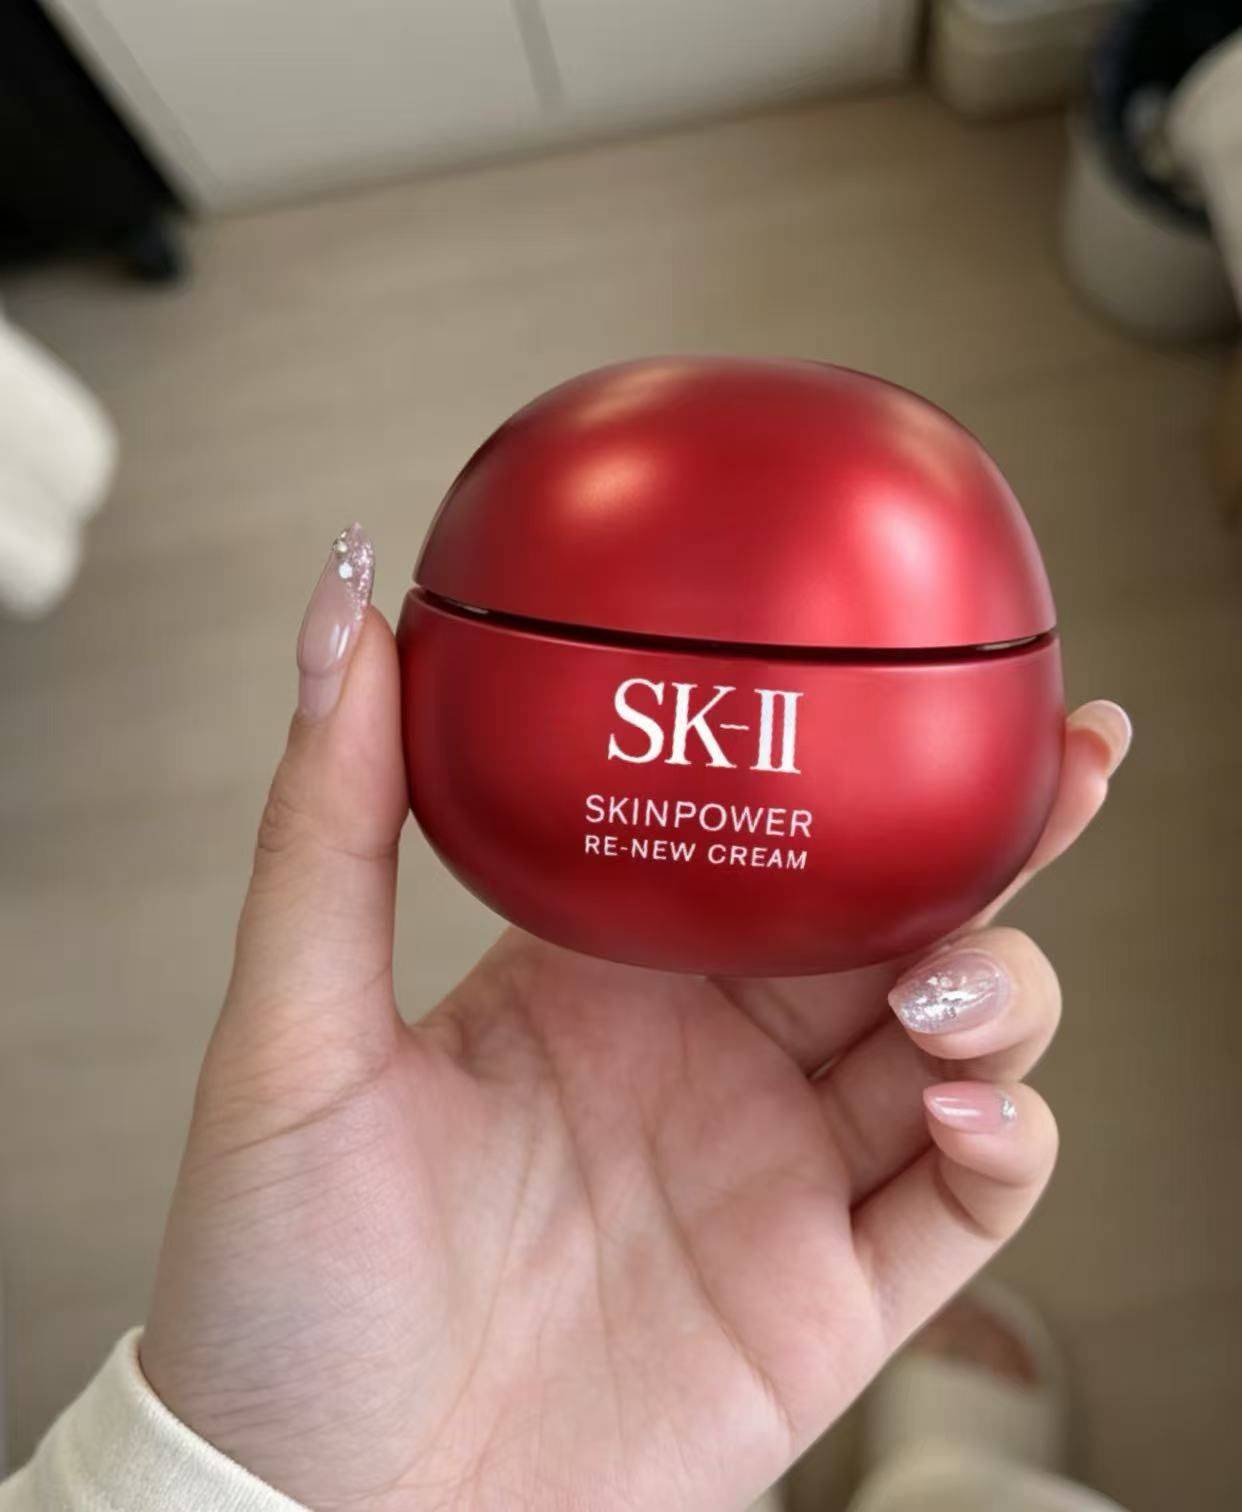 Original photo
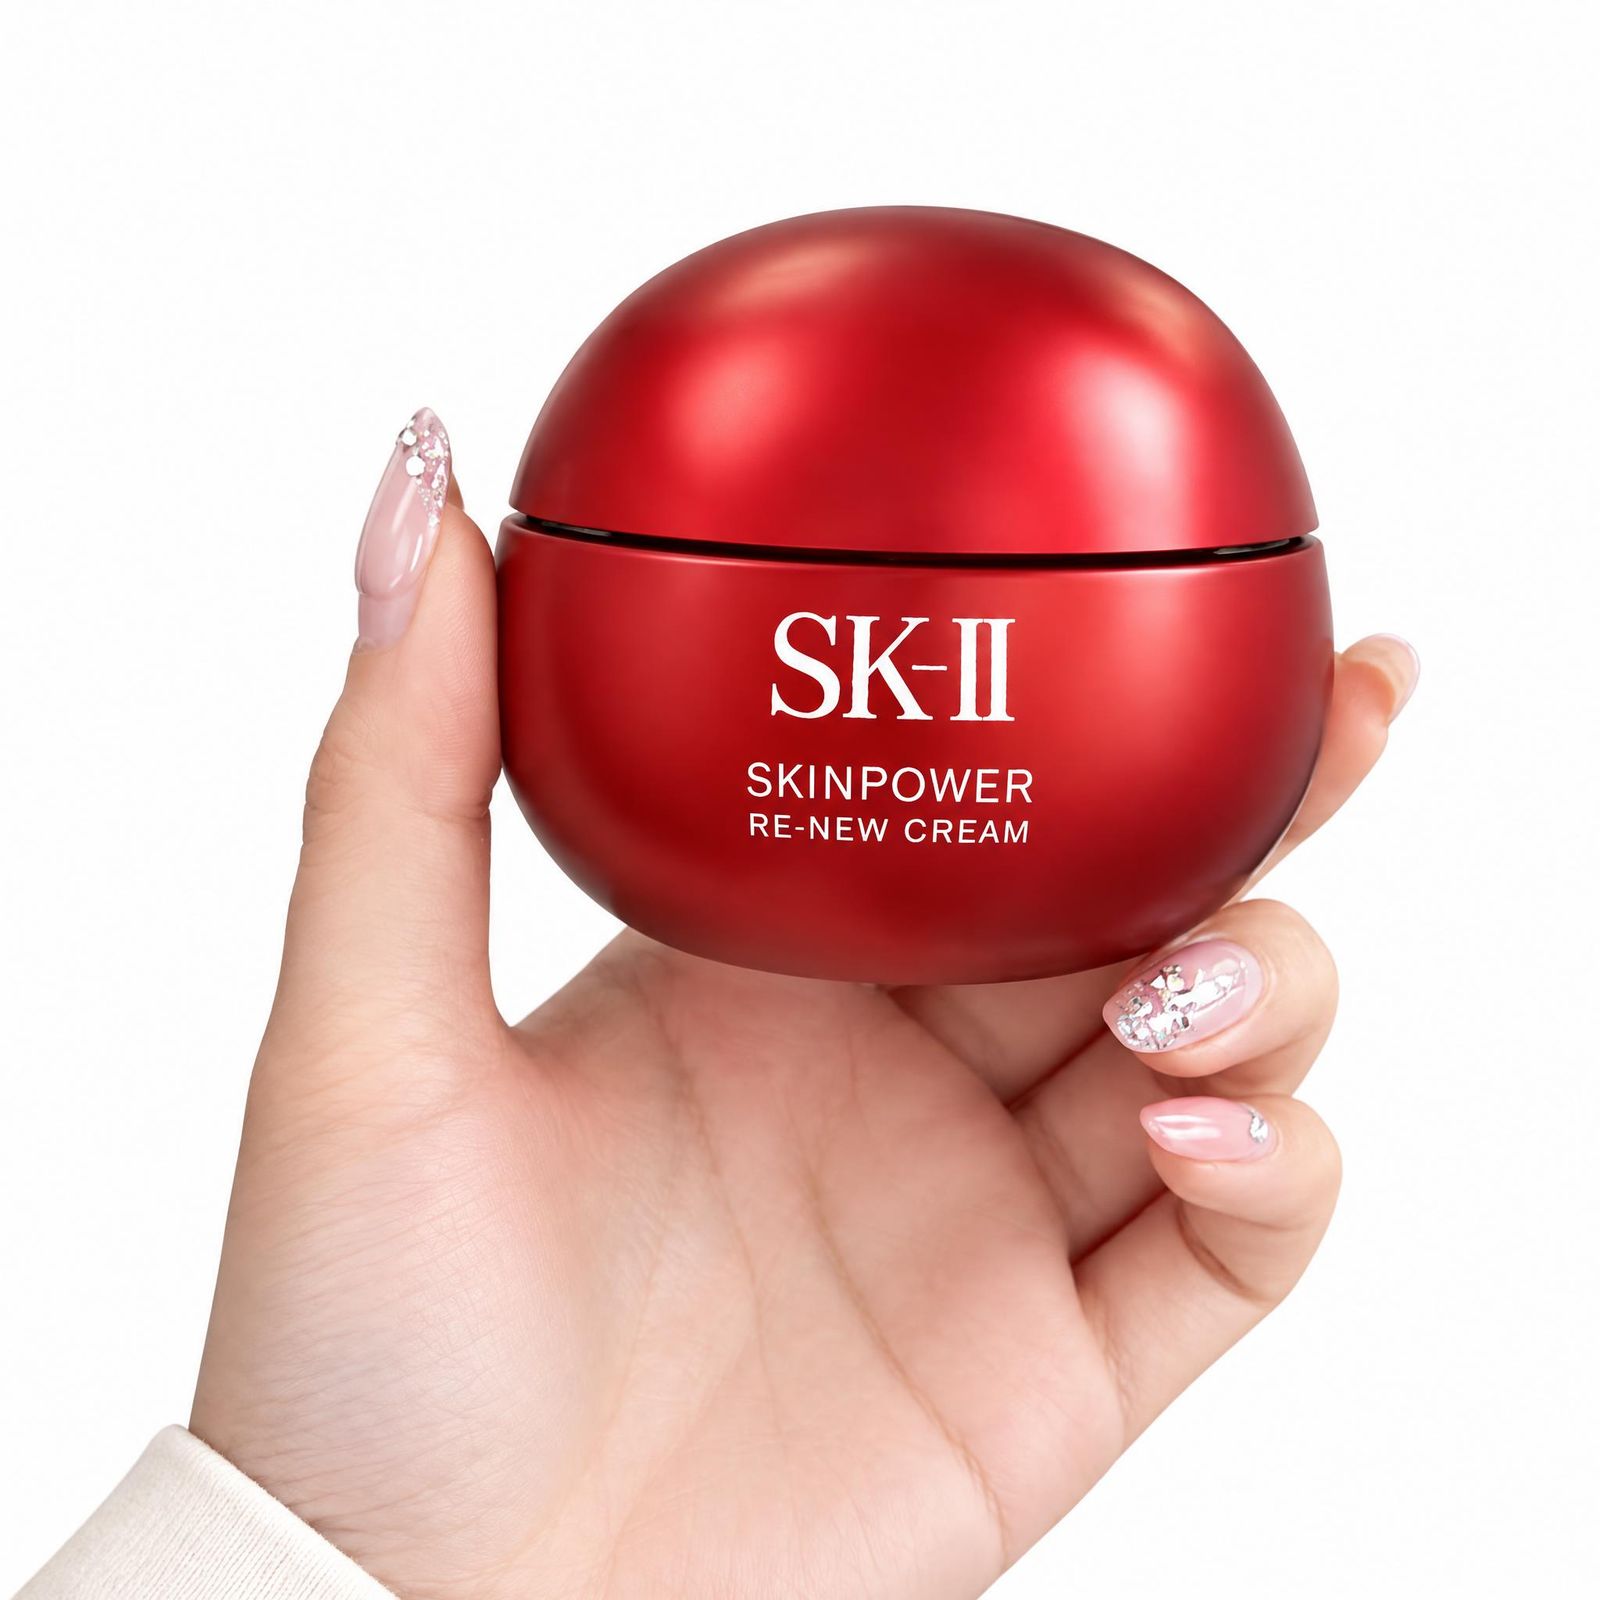 White-background result
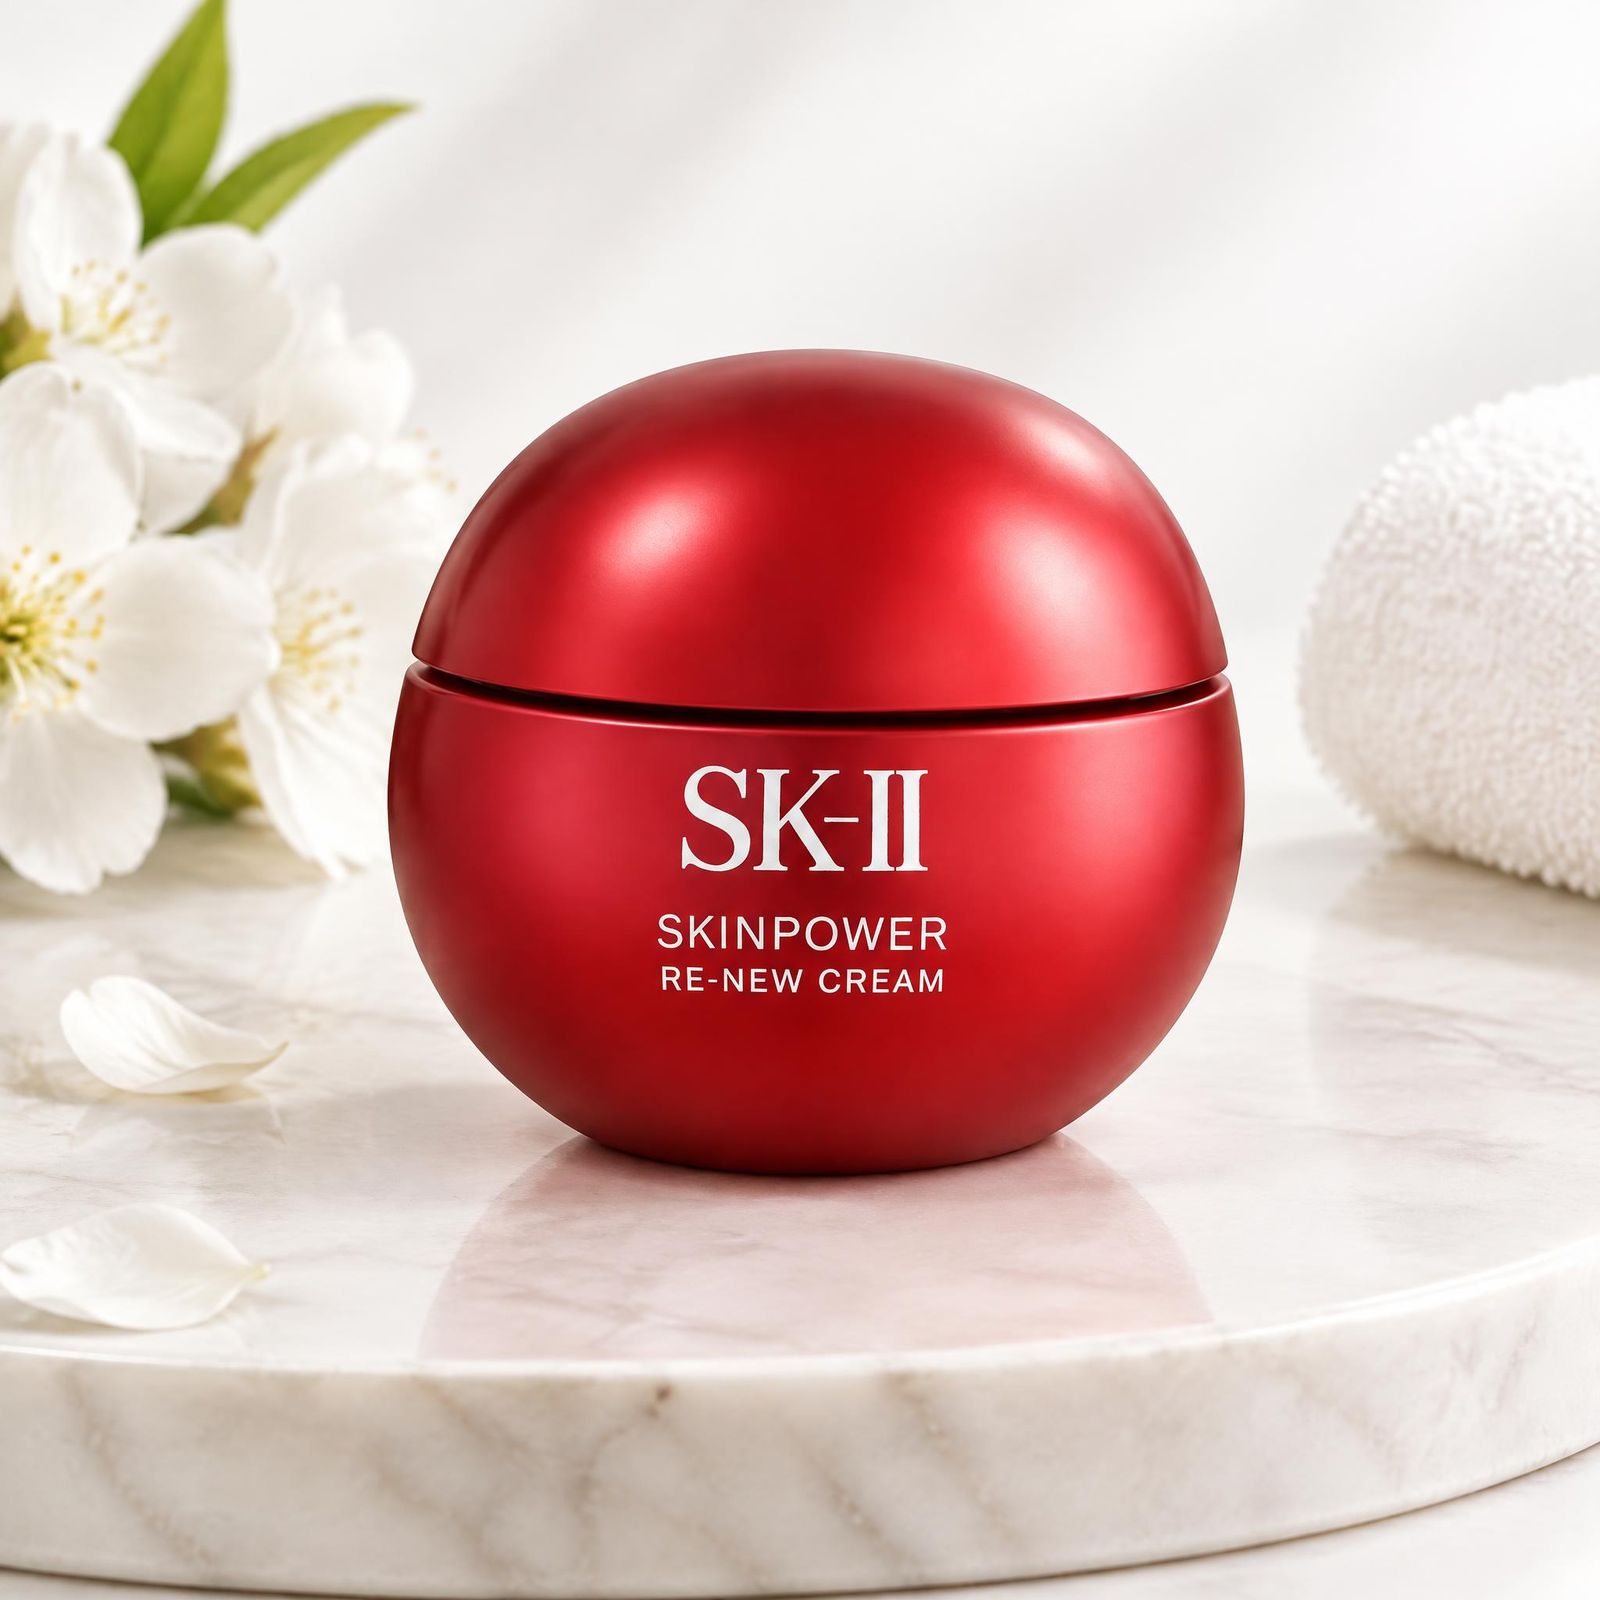 Scene result
Homeware: ceramic mug
For the mug, compare the rim, handle attachment, and printed design inside and out. A brighter image should not change the decoration customers expect to receive.
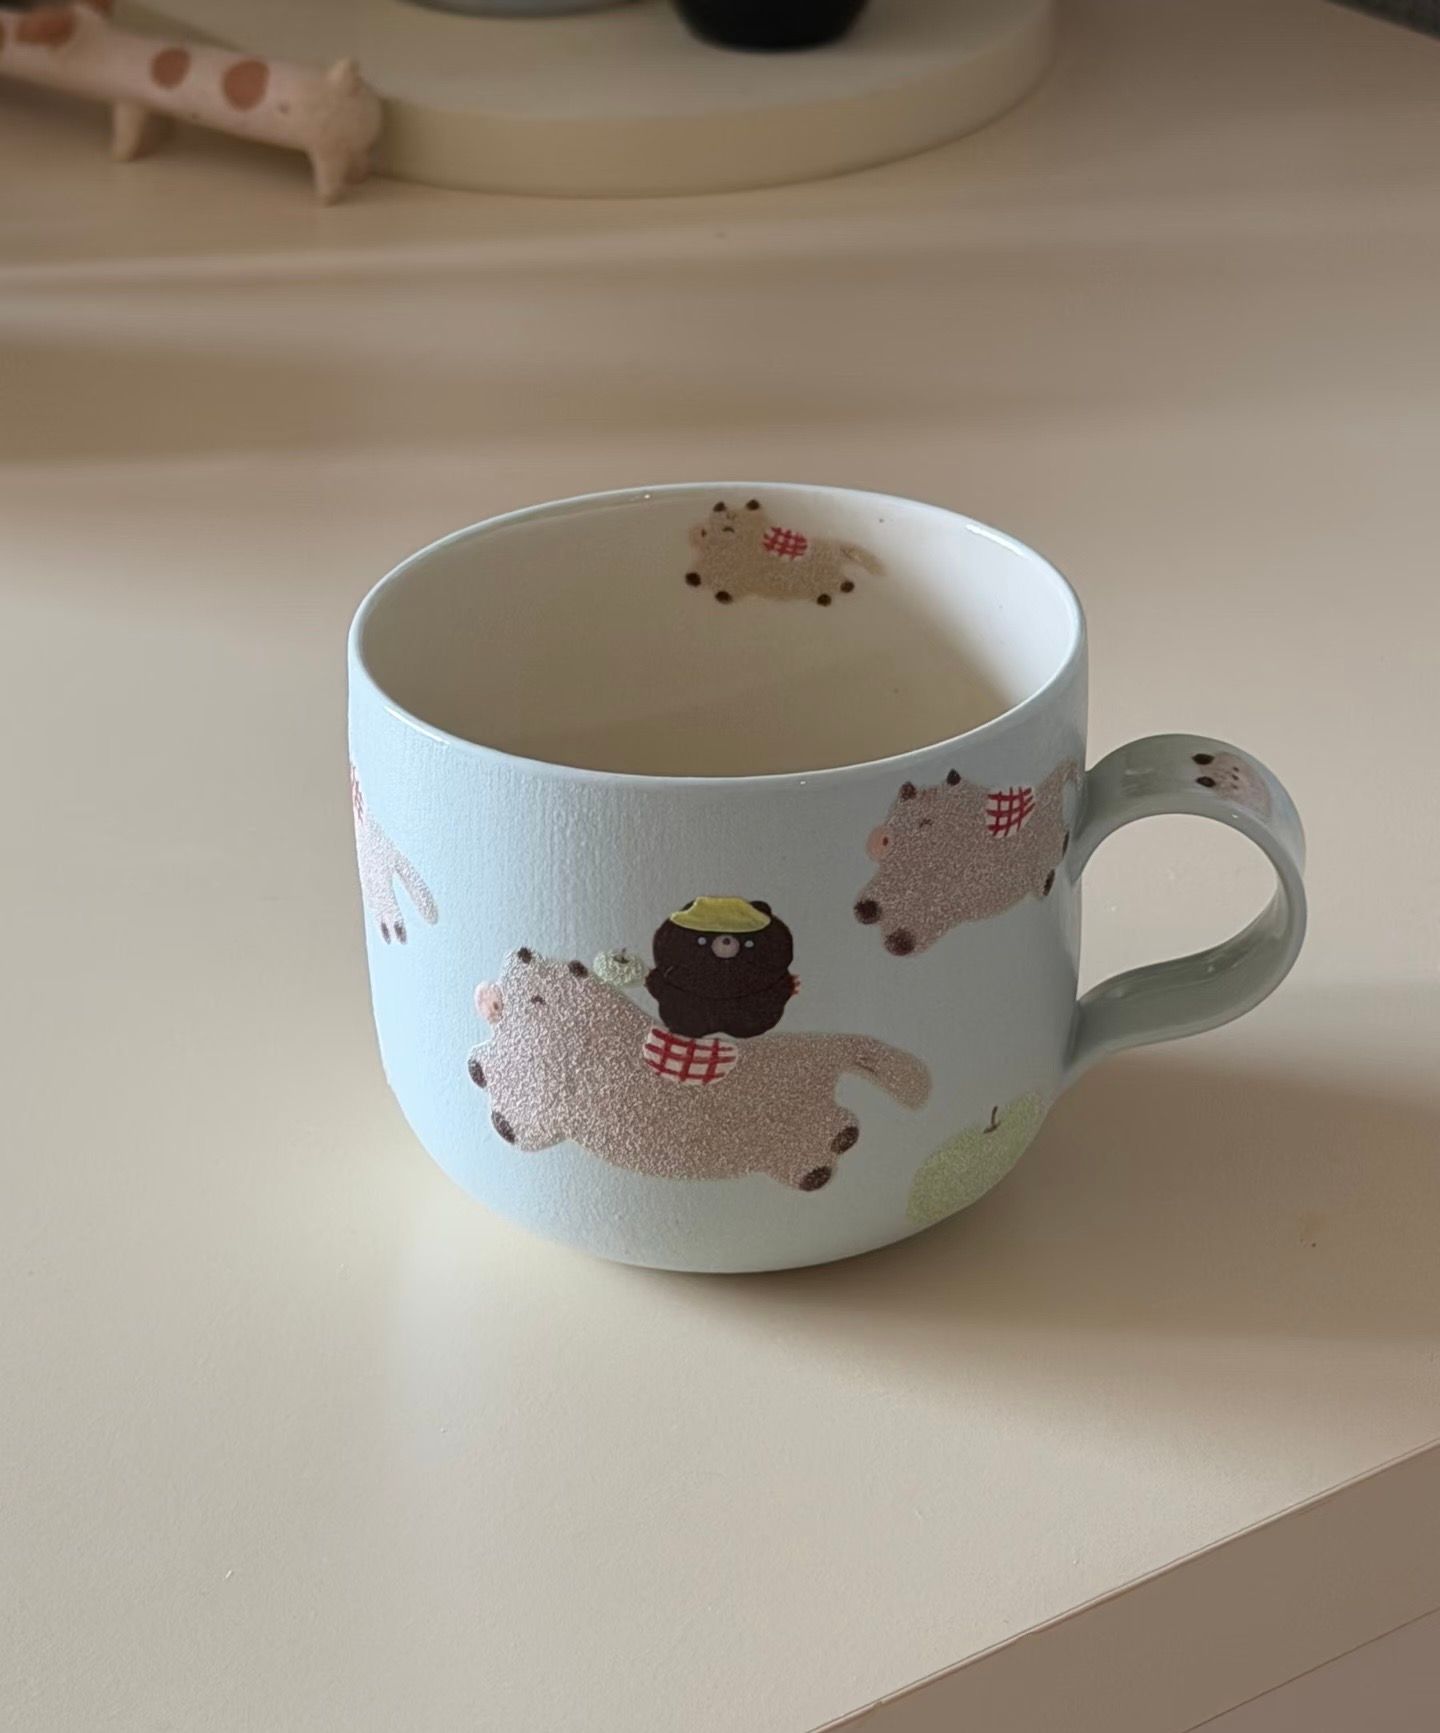 Original photo
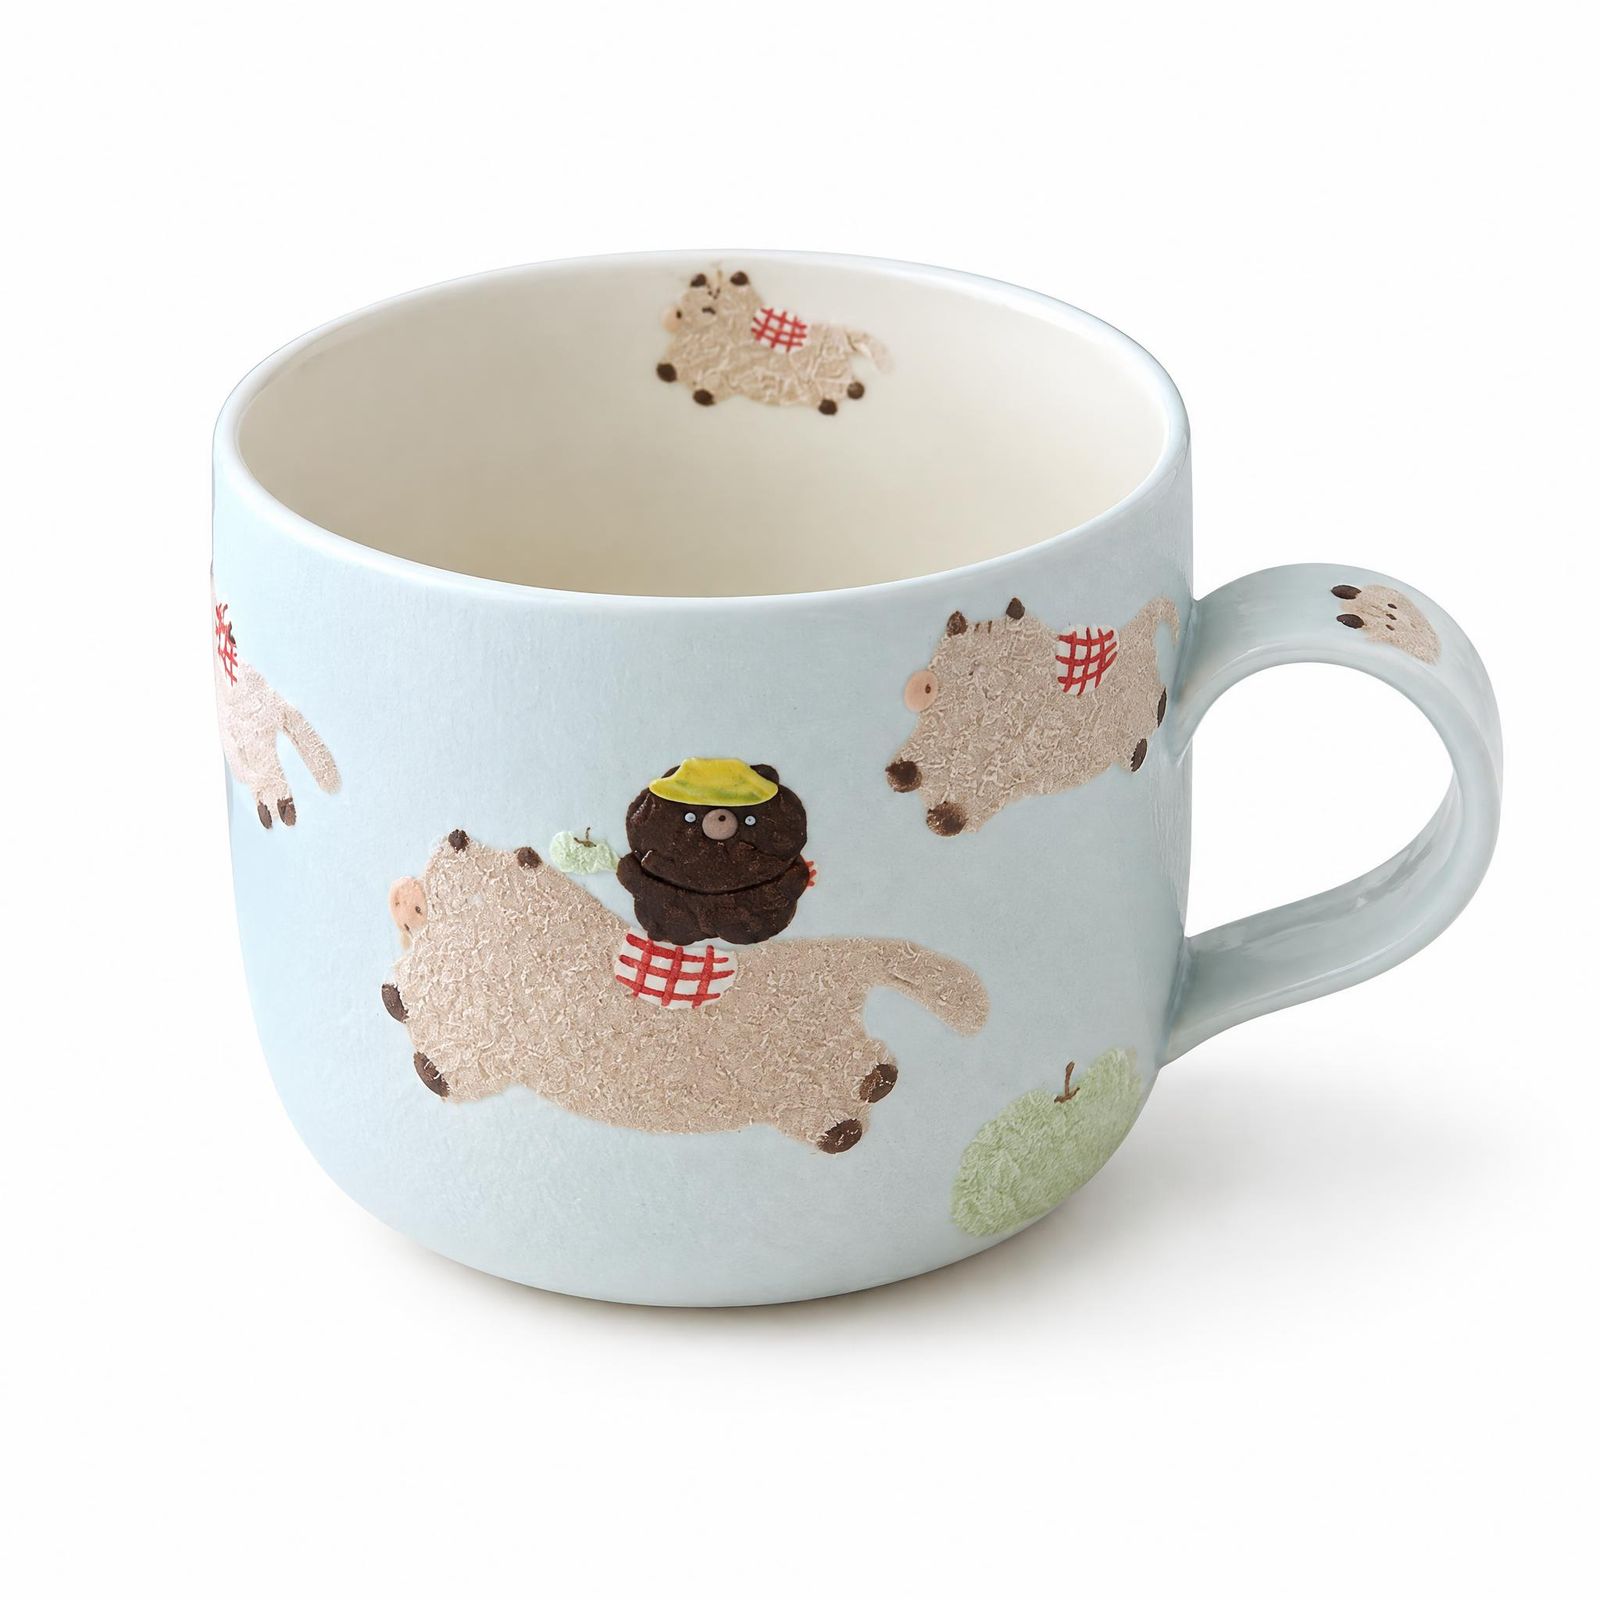 White-background result
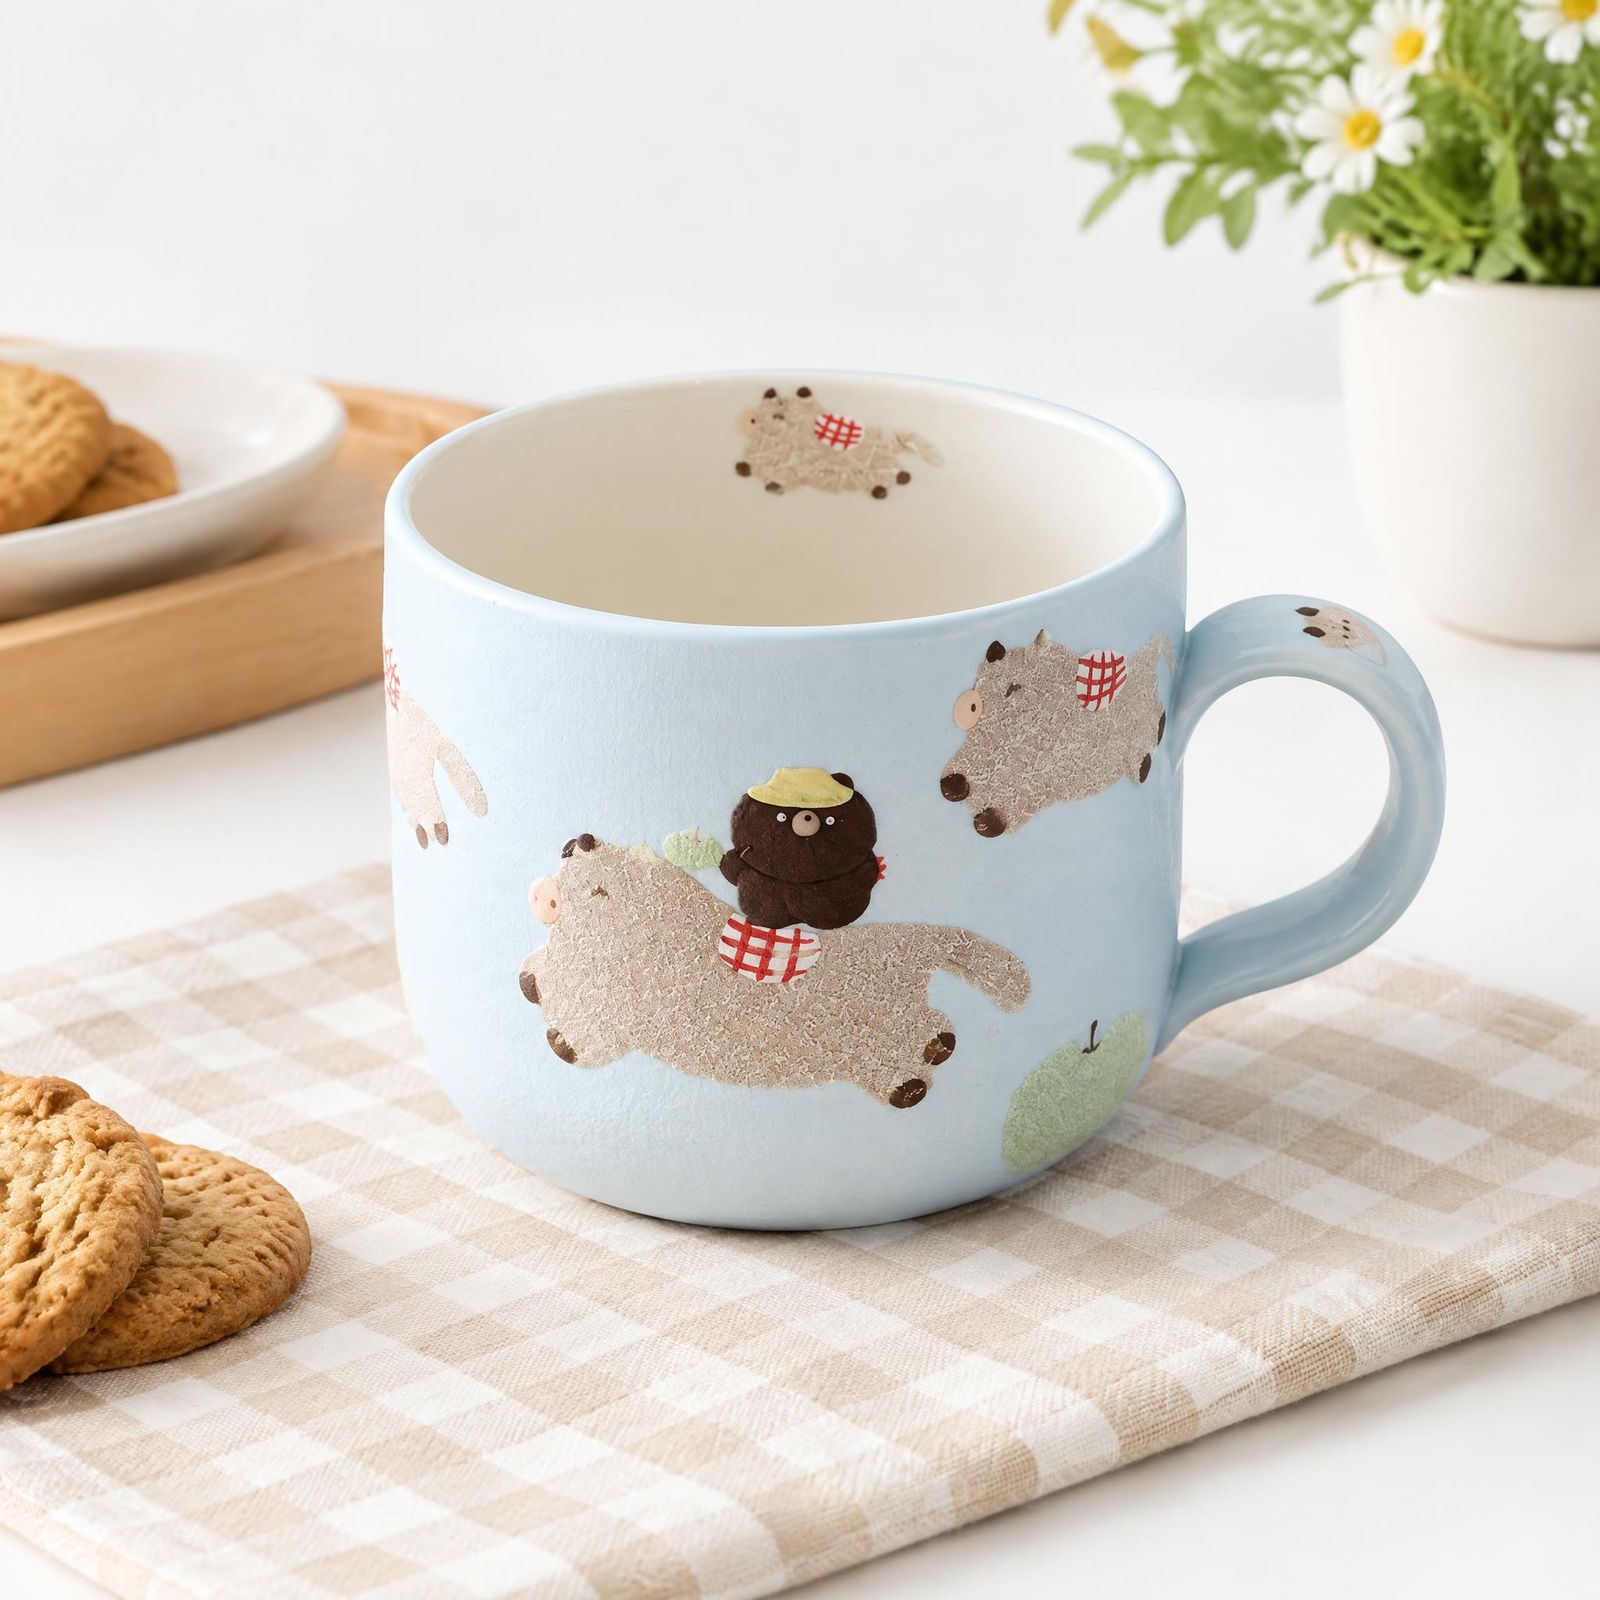 Kitchen scene result
Accessories: leather bag
Check the bag’s handles, strap attachments, seams, and hardware. Also compare the leather color with the source before choosing a result for that color variant.
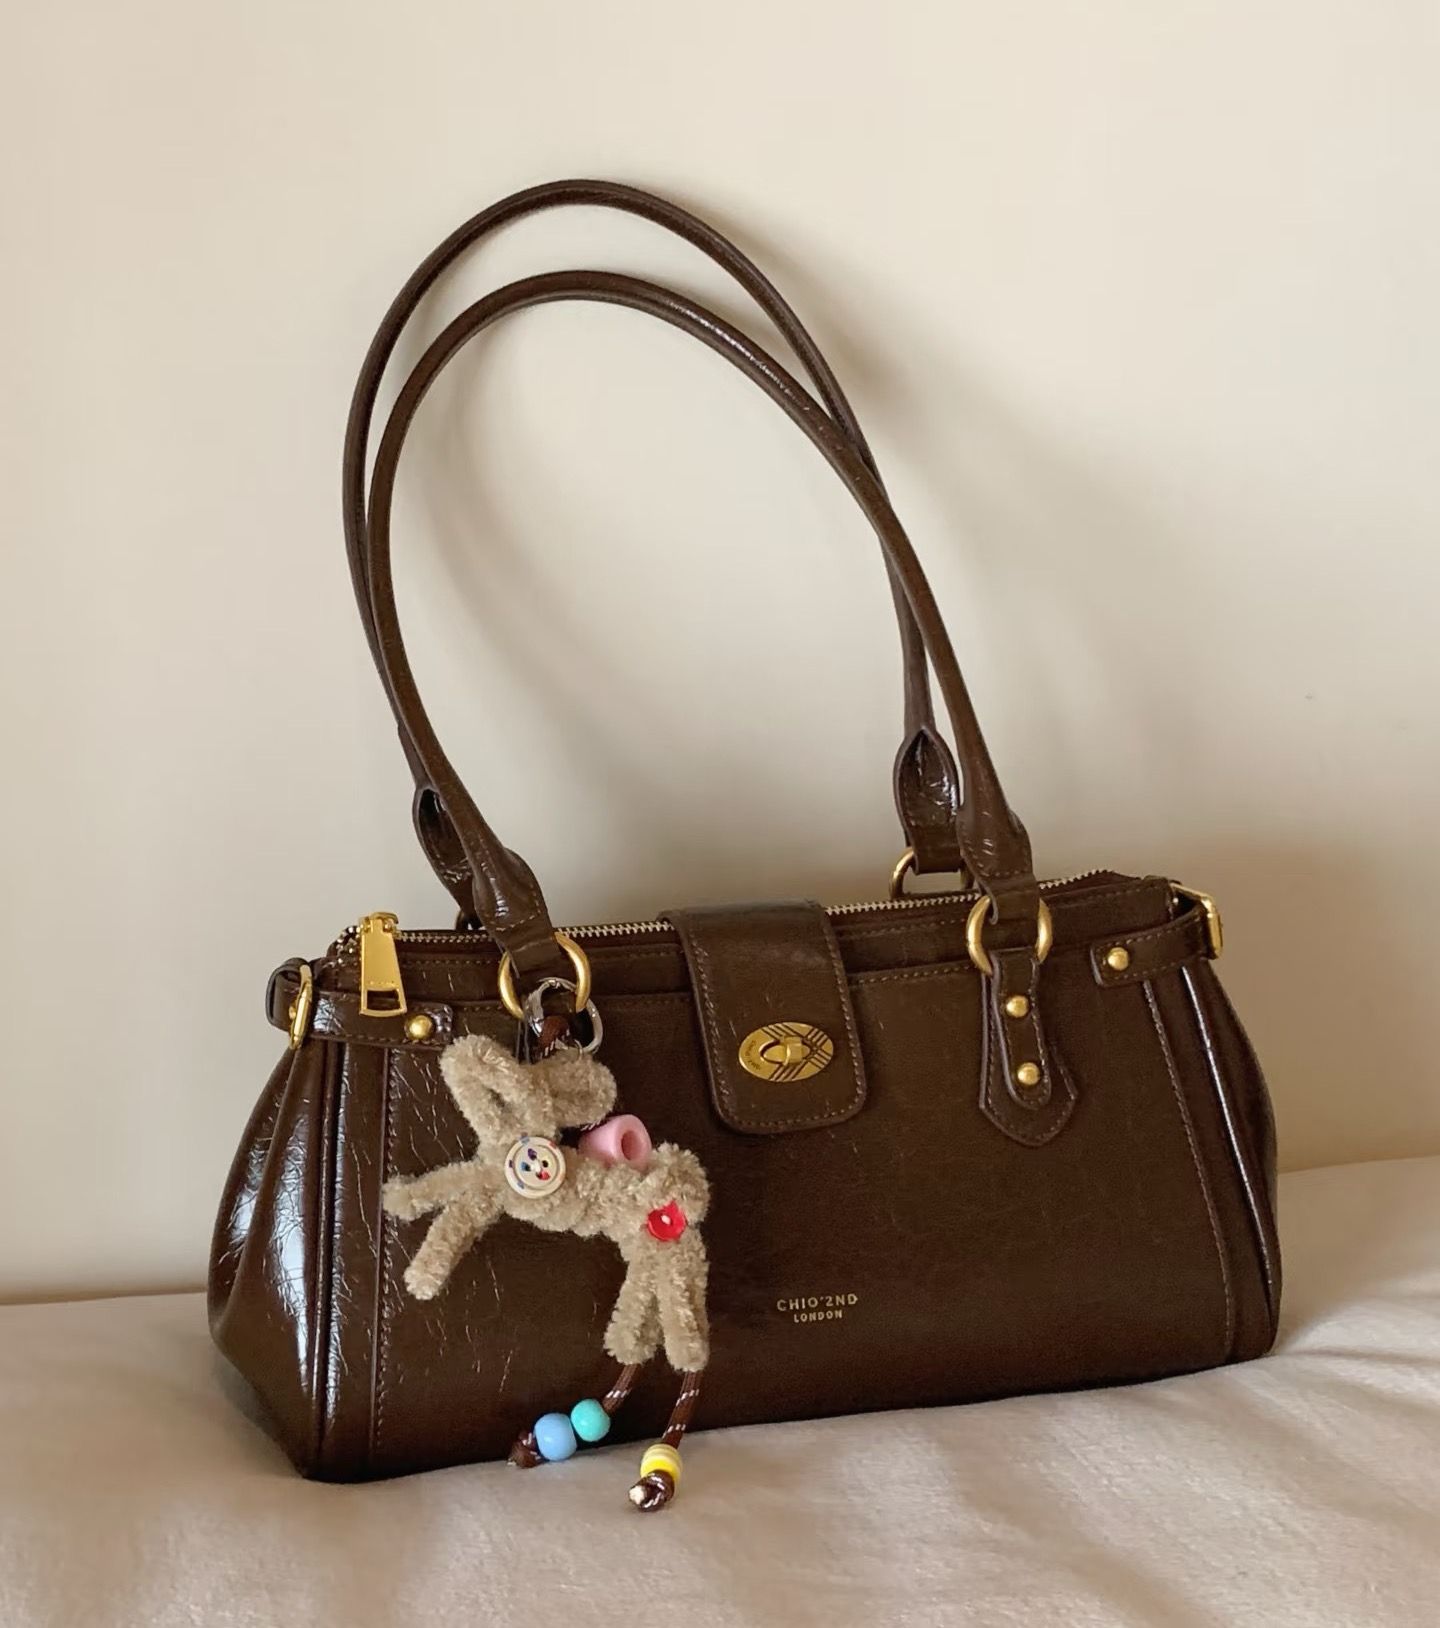 Original photo
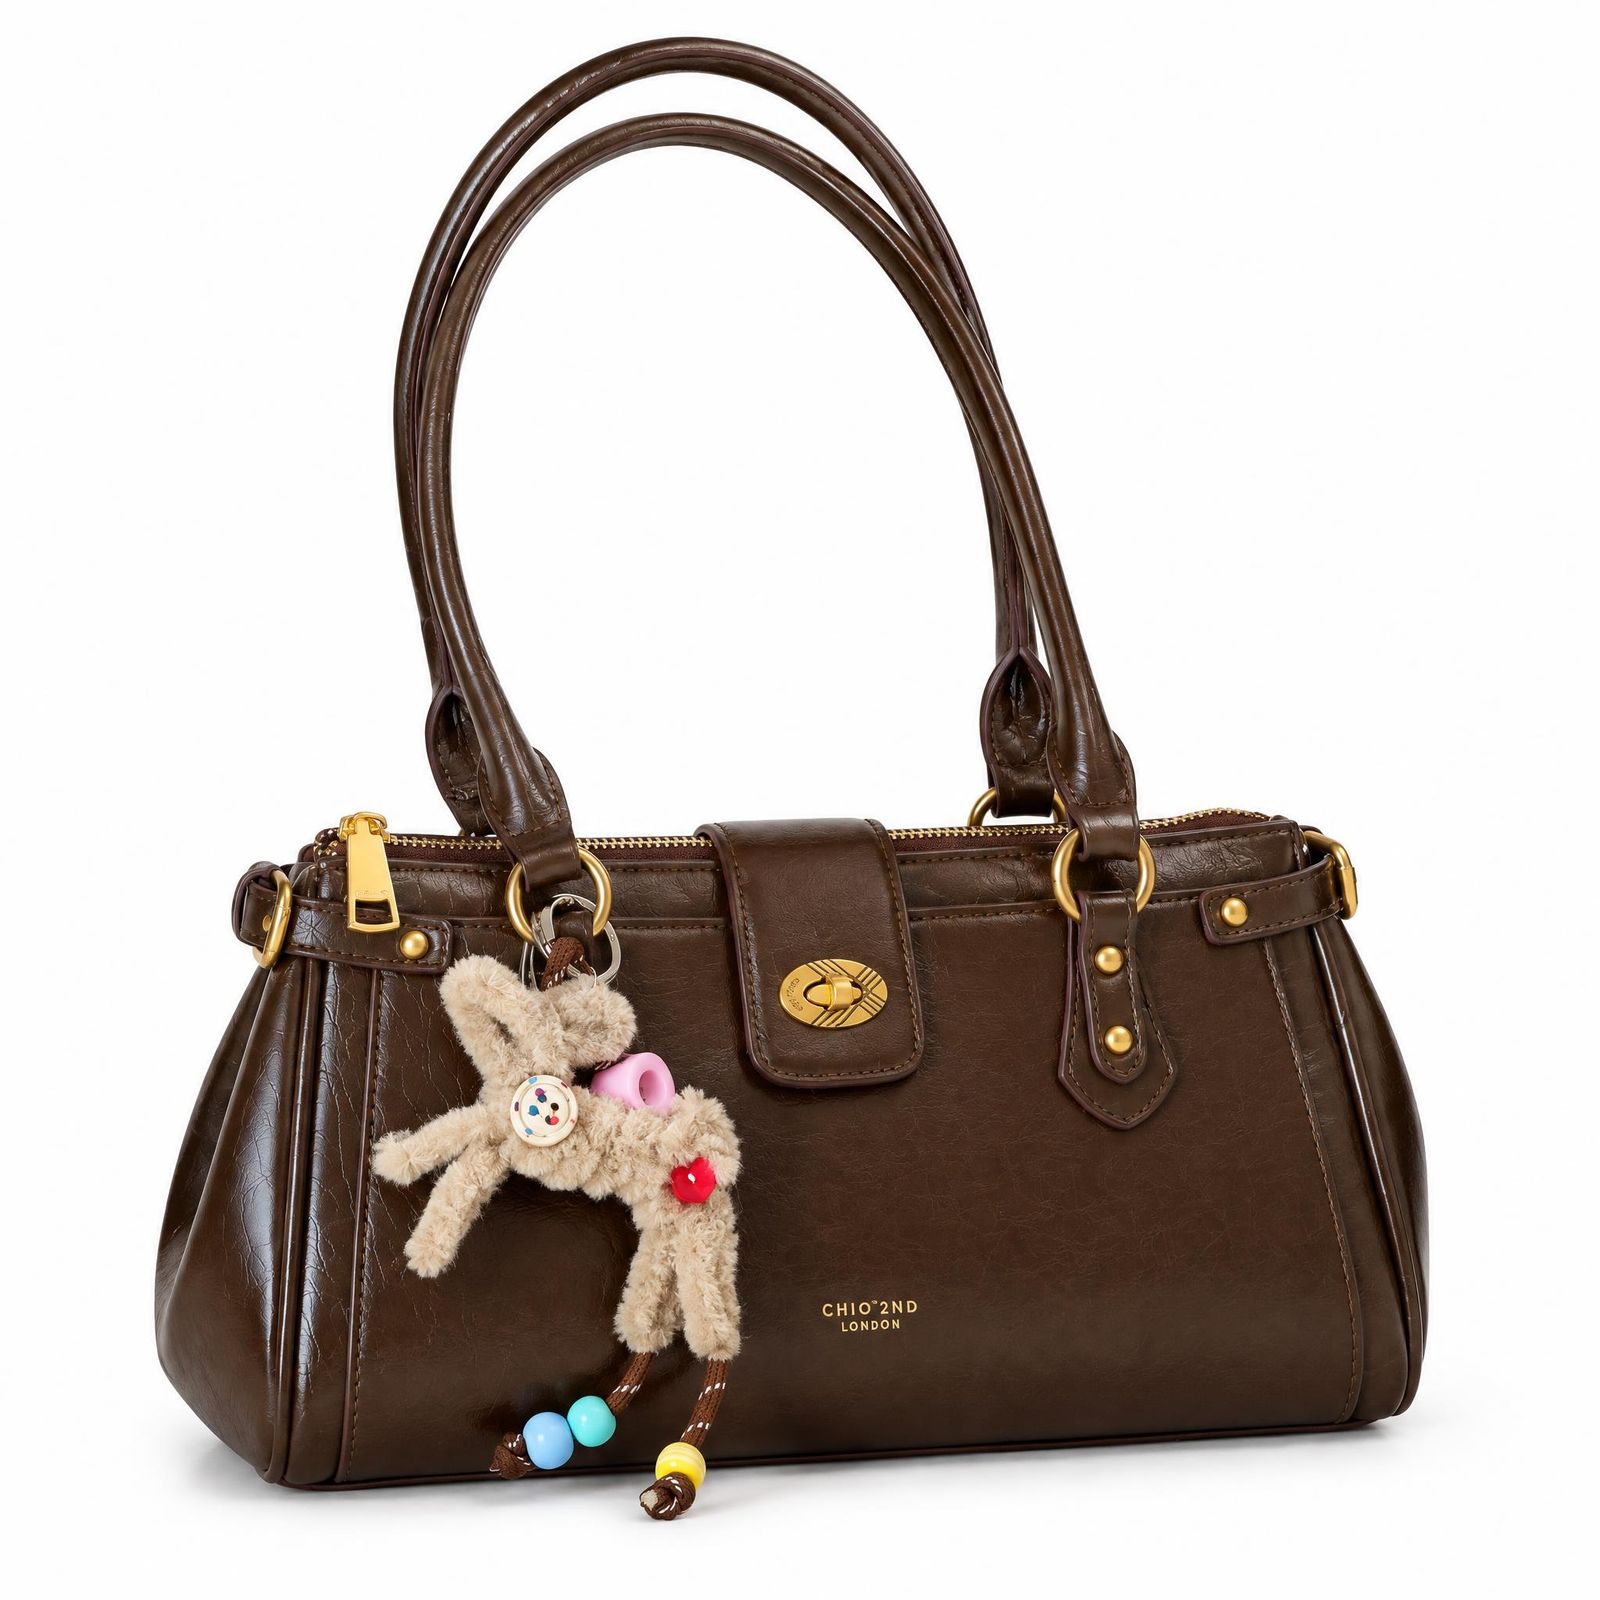 White-background result
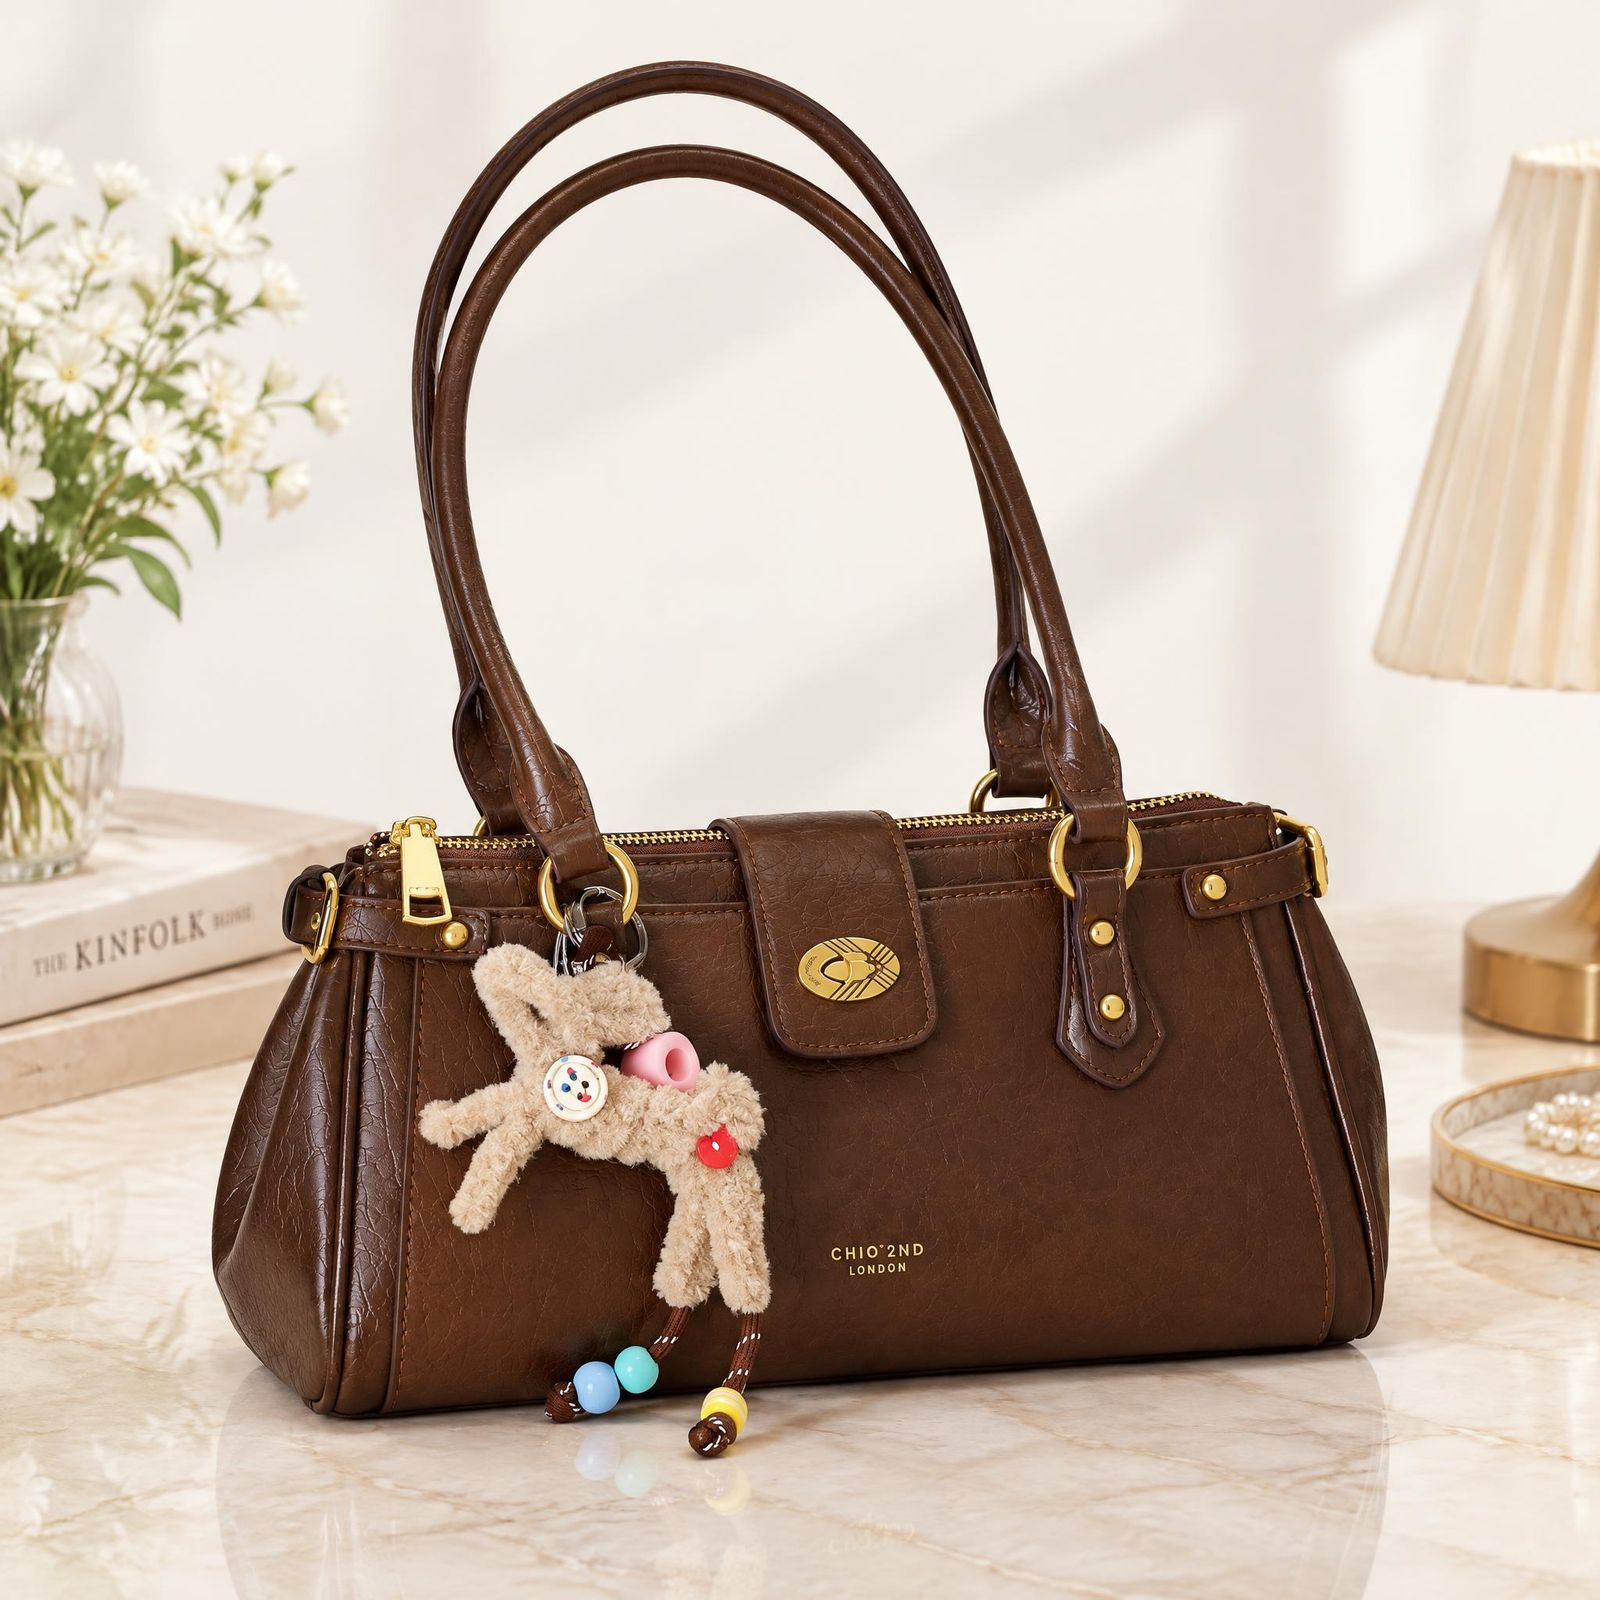 Scene result
Electronics: headphones
On the headphones, inspect the earcups, headband, and visible controls at full size. Small changes can be easy to miss in a thumbnail.
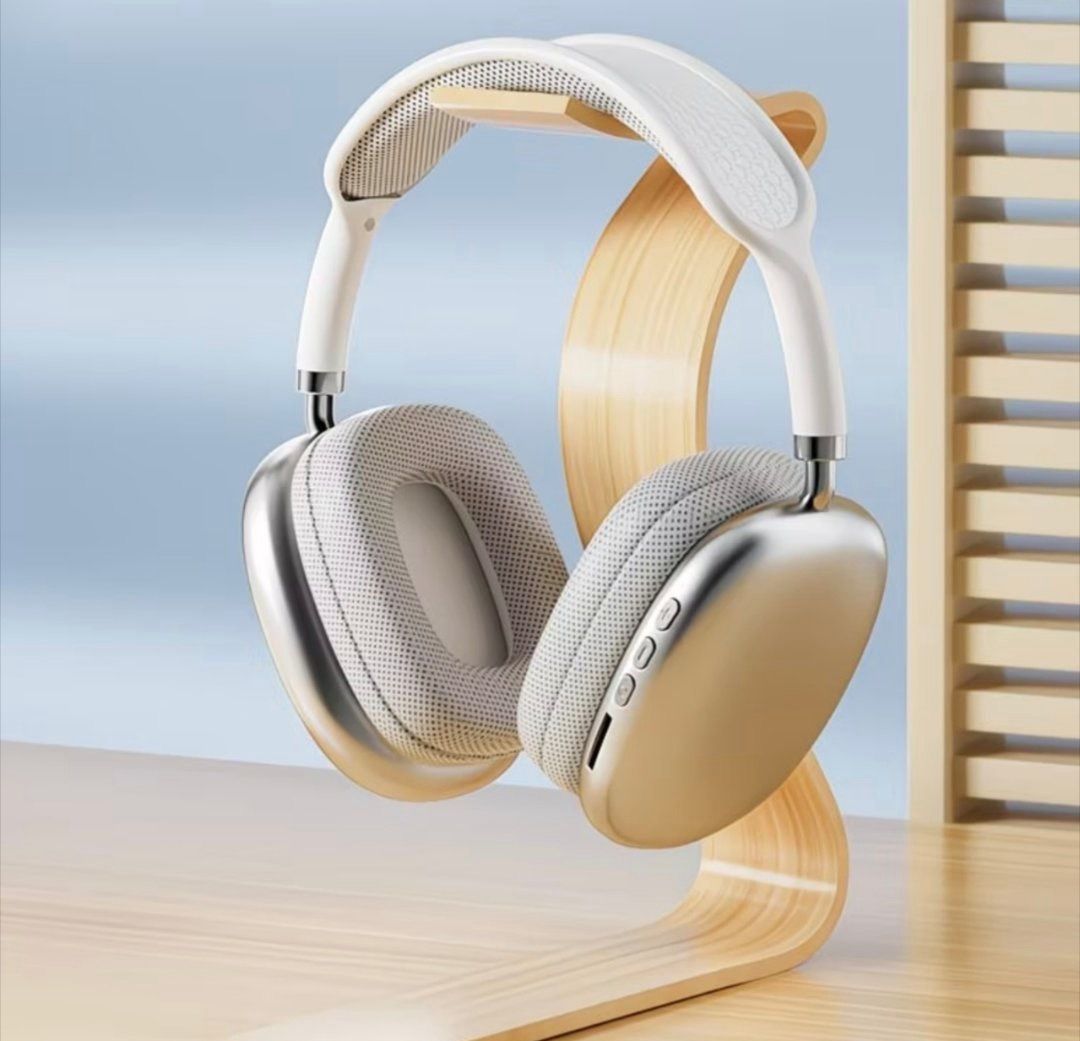 Original photo
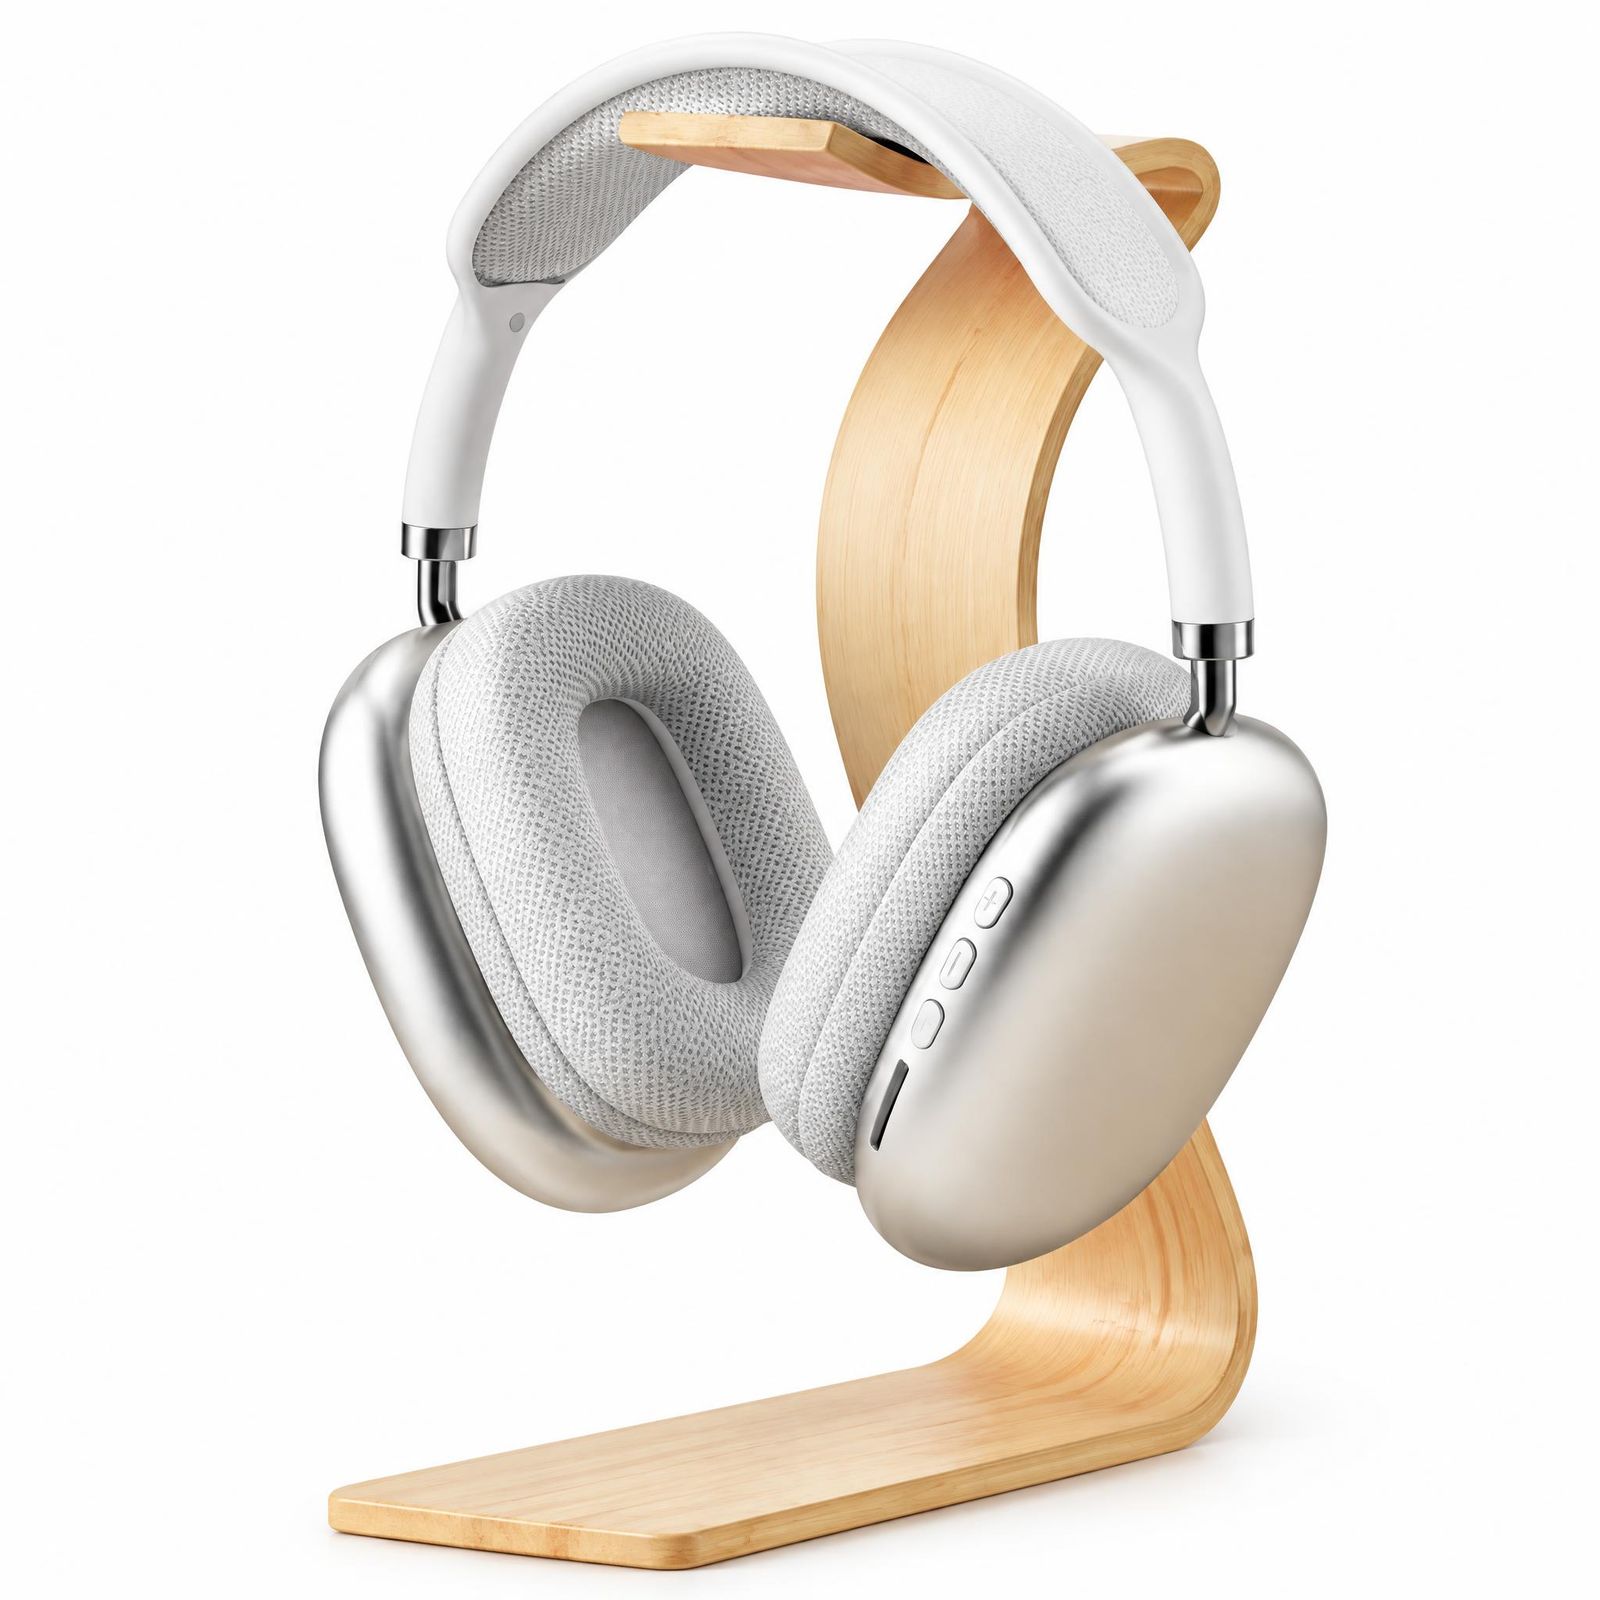 White-background result
 Scene result
Product accuracy checklist before publishing
Open the result beside the source at full size and work through these checks:
- Silhouette and proportions: compare width, height, curves, openings, and overall balance.
- Color: confirm that the result still represents the correct SKU or variant.
- Text and logos: read labels character by character; do not assume text is correct because it looks text-like.
- Component count: check buttons, eyelets, pockets, stones, ports, straps, handles, and included accessories.
- Material: leather should not become plastic, matte packaging should not become metallic, and fabric structure should remain believable.
- Edges and attachments: look for broken straps, missing edges, or parts that no longer connect.
- Light and grounding: highlights, reflections, and shadows should agree with the product’s form.
If you cannot verify a detail, use the original or a manually corrected version. Customers should receive the item your photos show.
Where edited product photos can be used
Choose the finished images for your product pages, collections, ads, social posts, or emails. Before uploading, check the crop and readability at the size shoppers will see.
Marketplace rules vary by platform, category, and image position. A creative image that works well in an ad may not meet the requirements for a marketplace main image. Check current requirements before uploading.
Product photo editing FAQ
What is product photo editing?
Product photo editing means adjusting a photo after capture, such as correcting light and color, cleaning up the background, or cropping it for your store. The edits should keep the item accurately represented.
Can AI edit product photos?
Yes. Depending on the tool, AI can help remove a background, retouch a photo, or generate a new scene. Choose a tool that fits the task, then check that the result still represents your product accurately.
Do I need Photoshop to edit product photos?
No. For a studio-style image or a new scene, you can use an AI tool such as Snappyit Product Studio. Manual editing software is useful when you need precise control over a small area or label text.
Can I use a phone photo as the source image?
A clear phone photo can be a useful source image when the complete product is visible, focus is sharp, color is reasonably accurate, and important details are not hidden by hands, props, or heavy shadows.
How do I know whether an edited product image is accurate?
Compare the result with the source image at full size. Check the silhouette, proportions, color, logo, label text, component count, attachments, surface texture, edges, reflections, and shadows. Reject a result that changes the product being sold.
When should I use a white background instead of a scene?
Use white-background product photography when the product itself needs to be the sole focus, such as a catalog or marketplace image where the destination permits it. Use a scene when context helps explain scale, use, or mood, and when that placement allows a more editorial image.
What should I check before exporting?
After checking product accuracy, check the crop, image dimensions, file format, and file size required by the destination. Open the exported file to make sure labels and edges remain clear.
References
- Adobe — Product Photography: an introduction to product photography, equipment, lighting, composition, and post-production.
- Canva — Product Photography Guide: practical guidance on planning, shooting, styling, and editing product photos.
- Google — Product Studio: an official example of AI-assisted tools for creating and enhancing merchant product imagery.
- Photoroom — AI Product Photography: examples of AI-assisted product image creation and background workflows.
- Snappyit — Product Studio: the workflow used in the article's product-image examples.






