


 Free 6 CreditsFree 6 Credits
Explore product photography workflows, examples and inspiration. Find a look you like, then open the right tool to create similar visuals with your own product.
Explore product photography, refinement and model workflows.
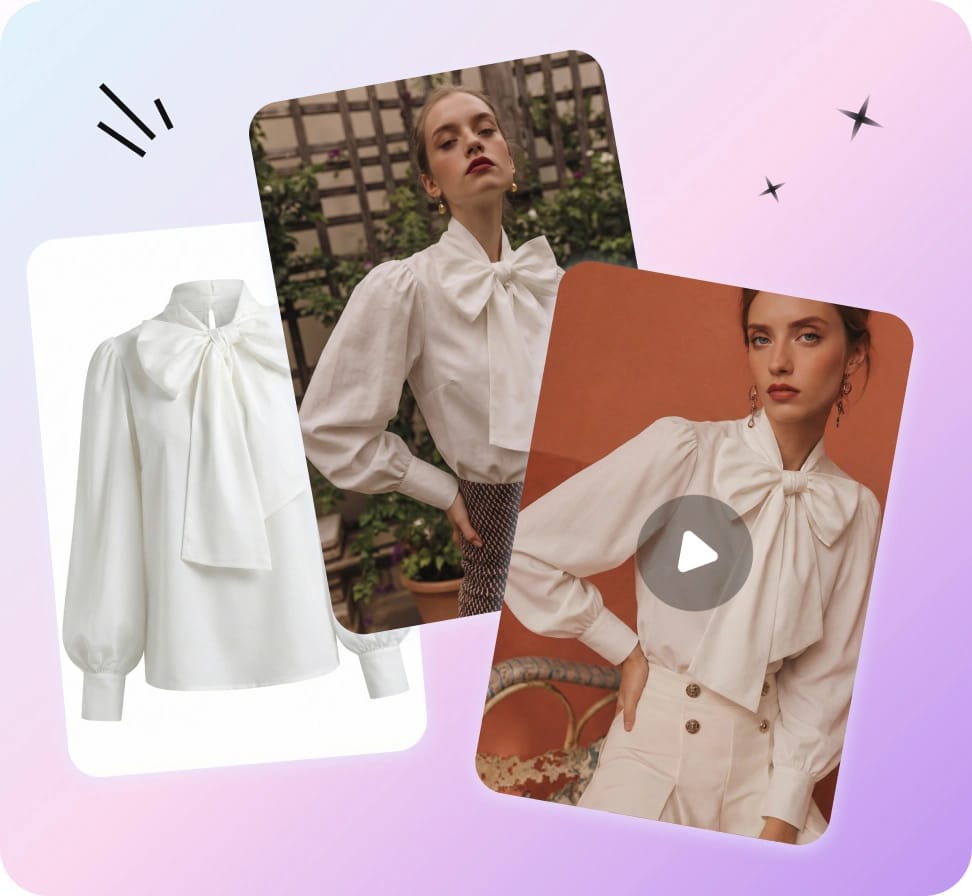
Choose a workflow to compare original product photos with AI-generated results.
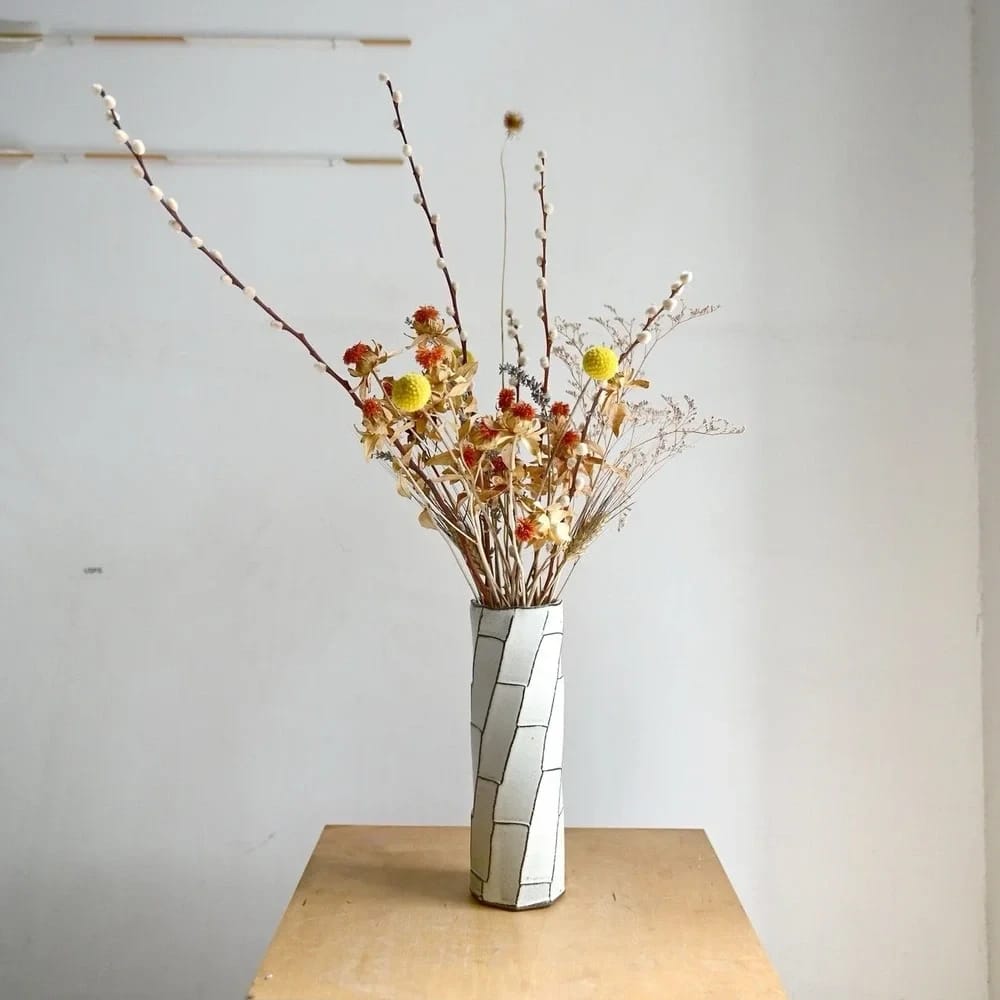
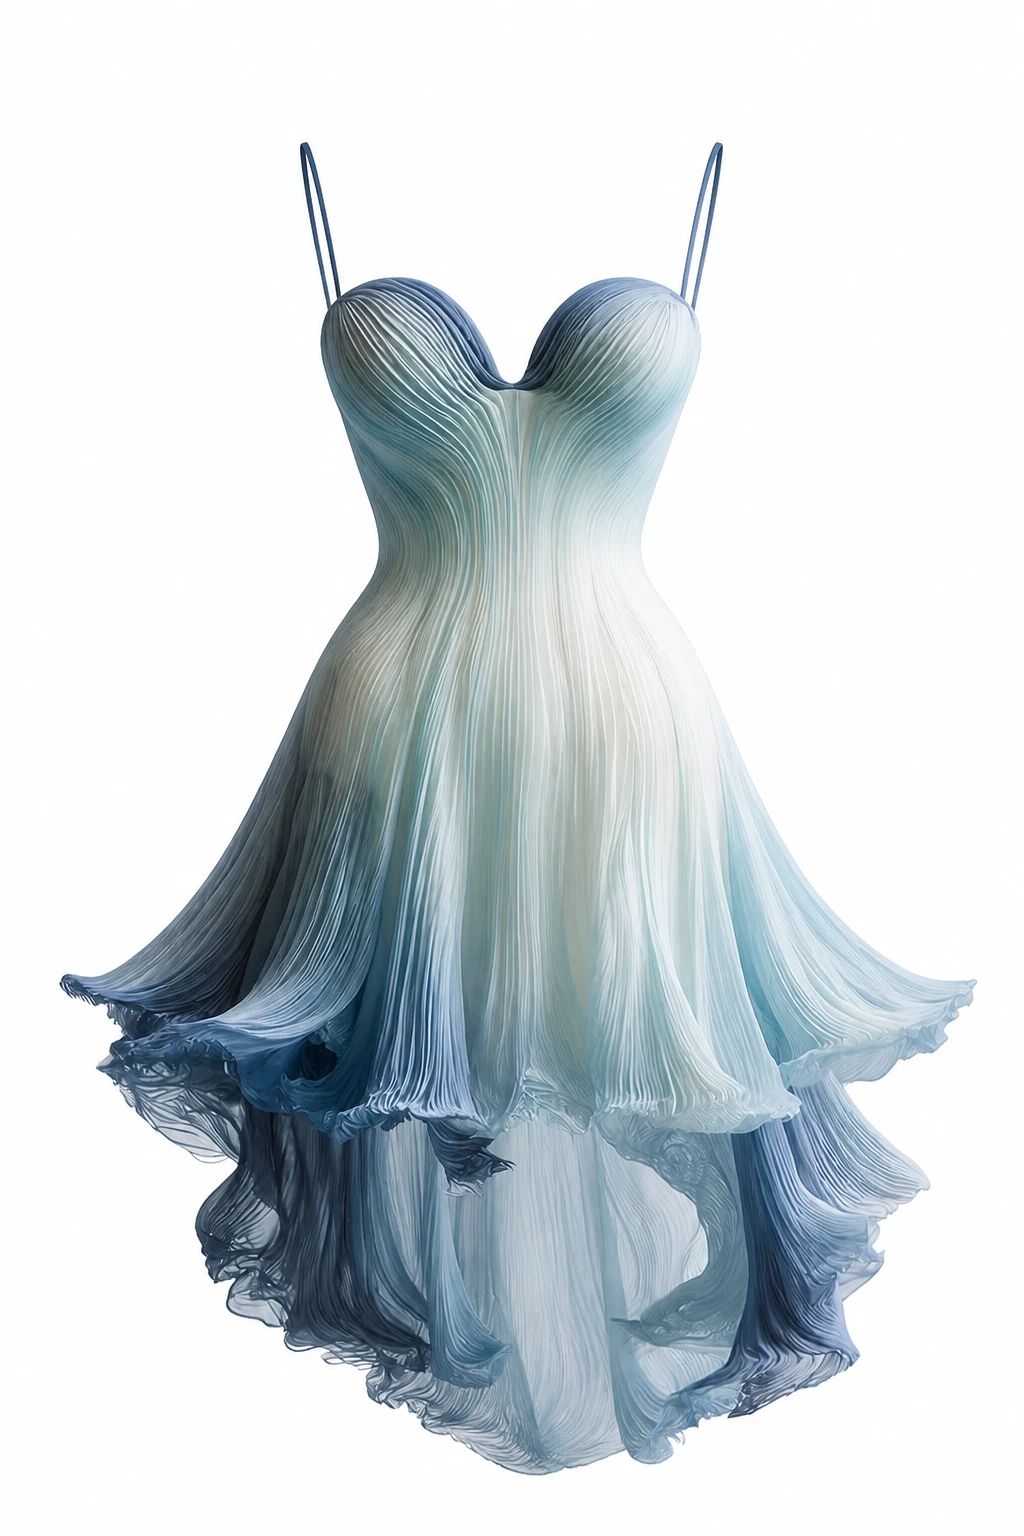
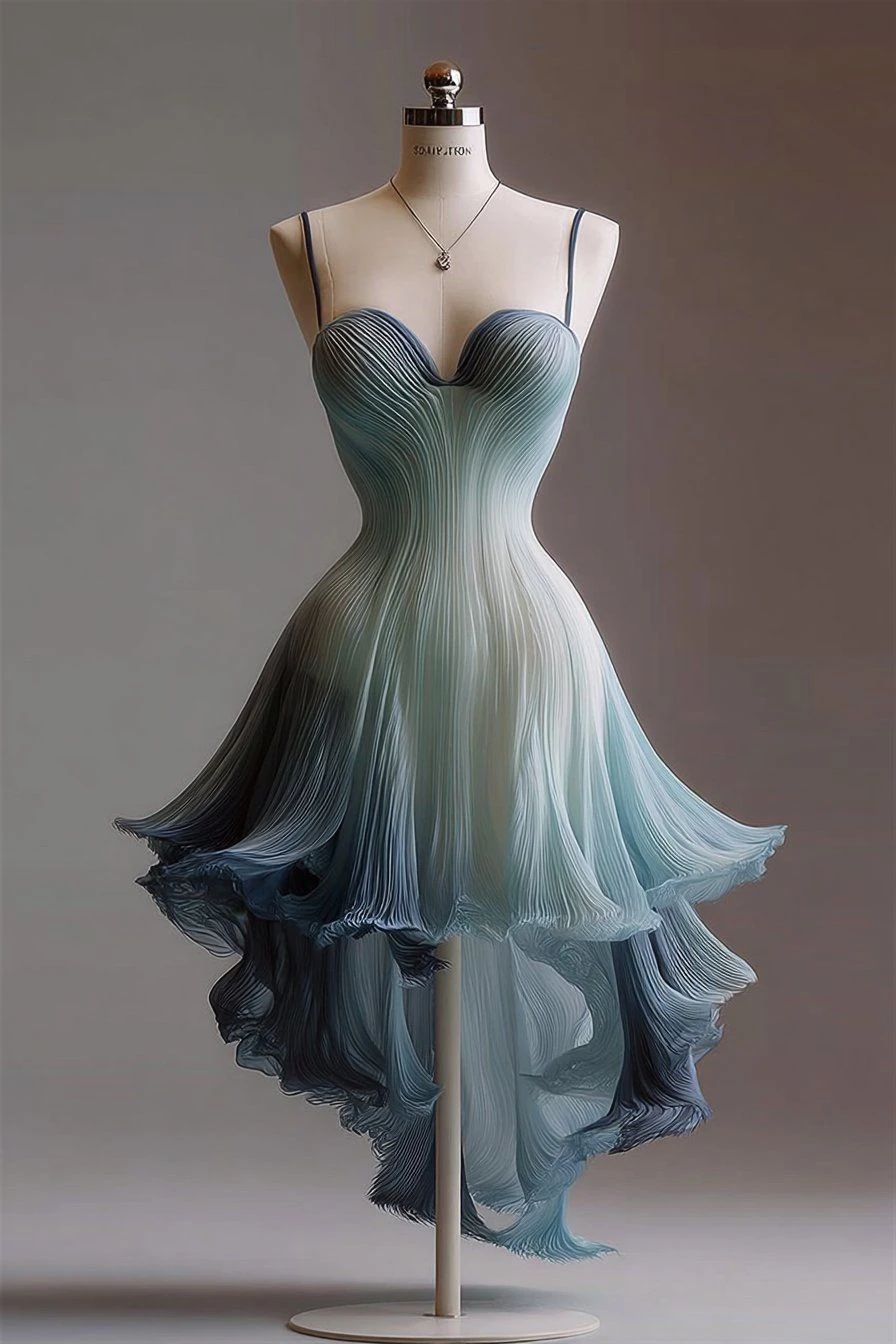
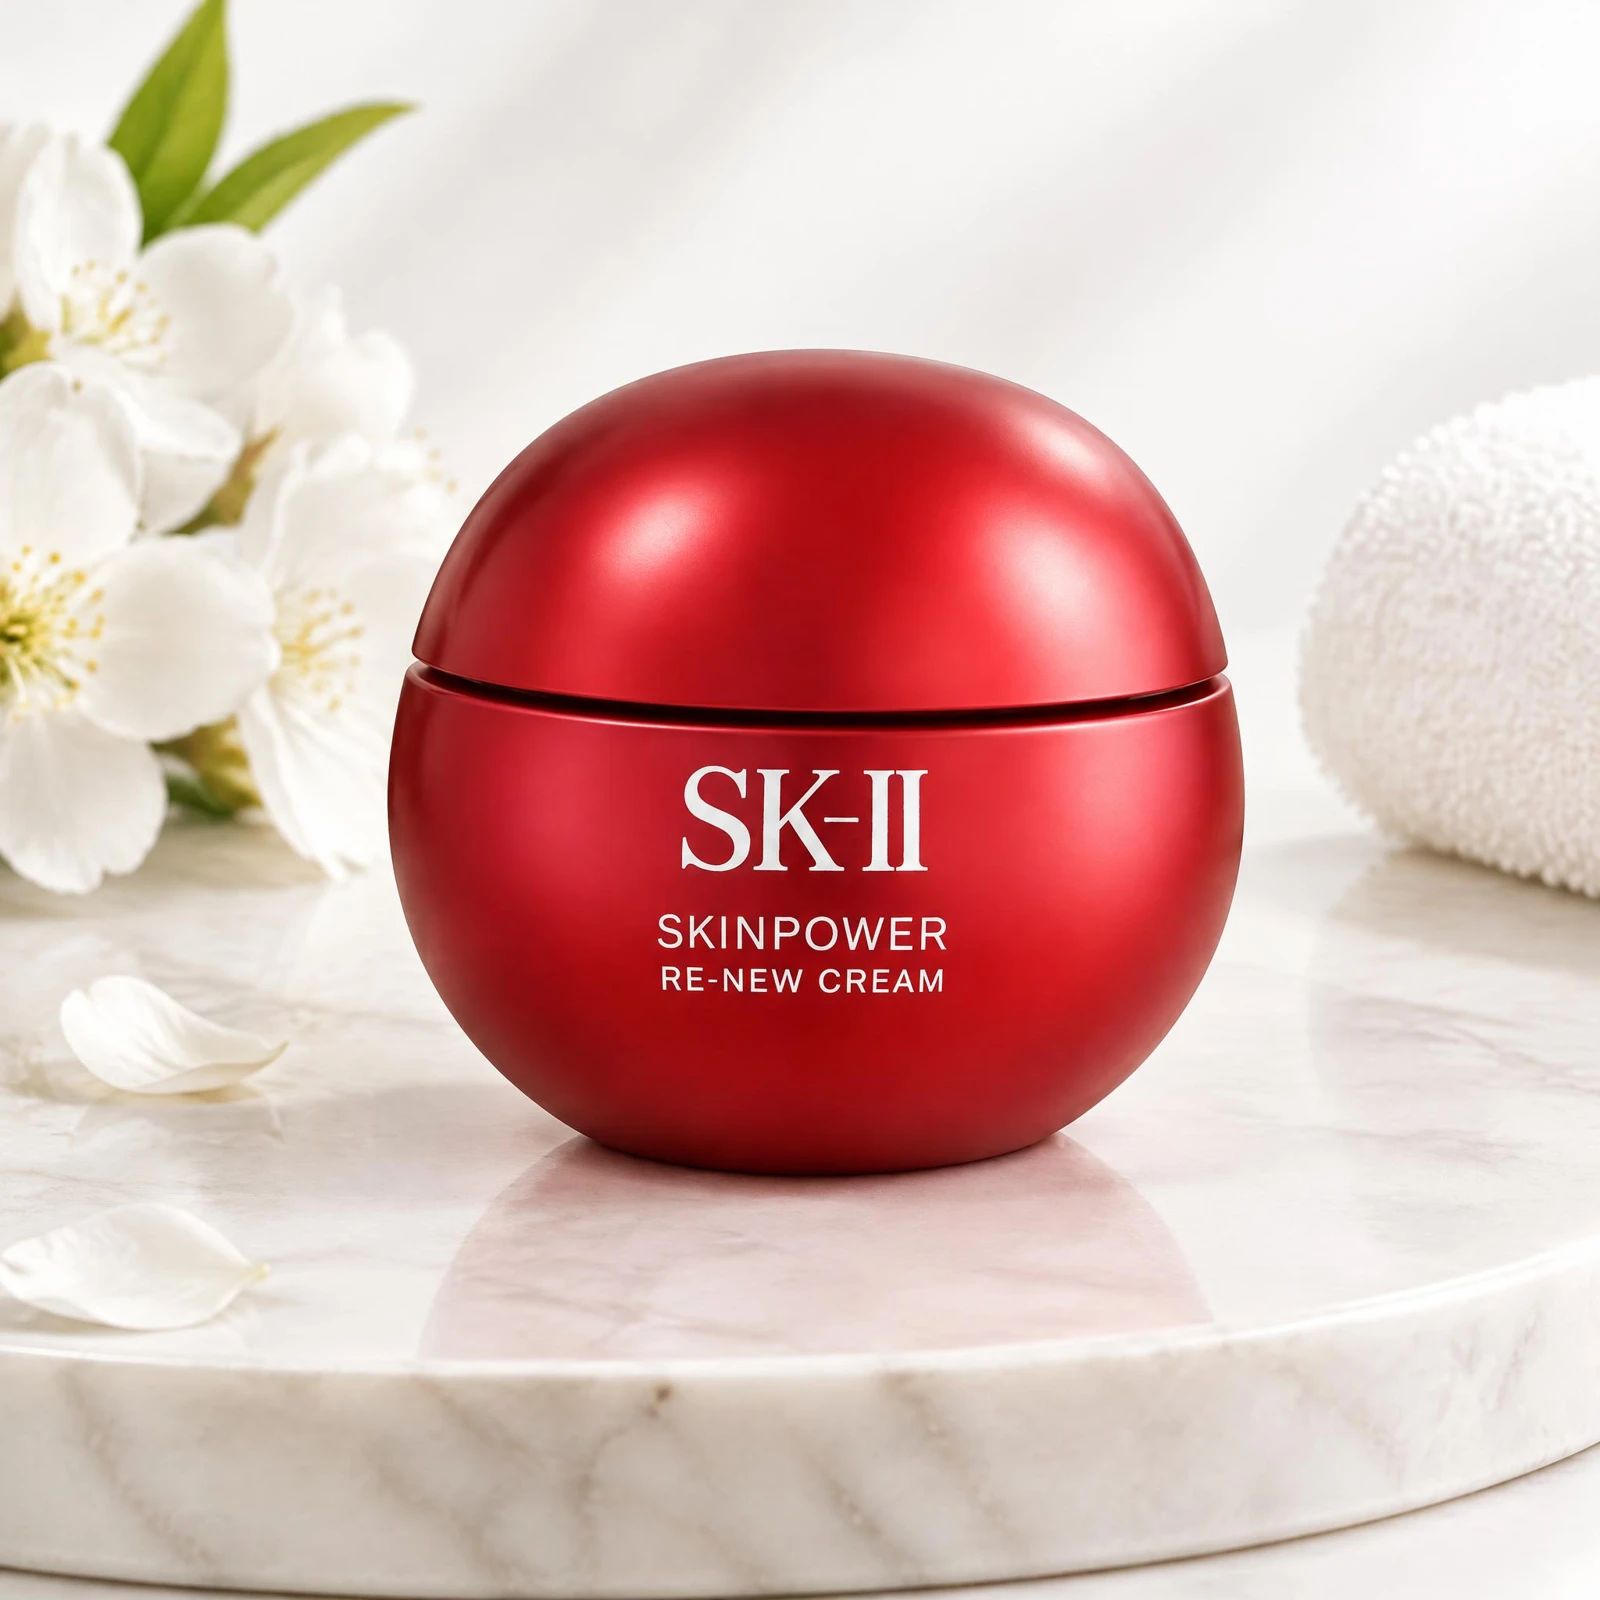
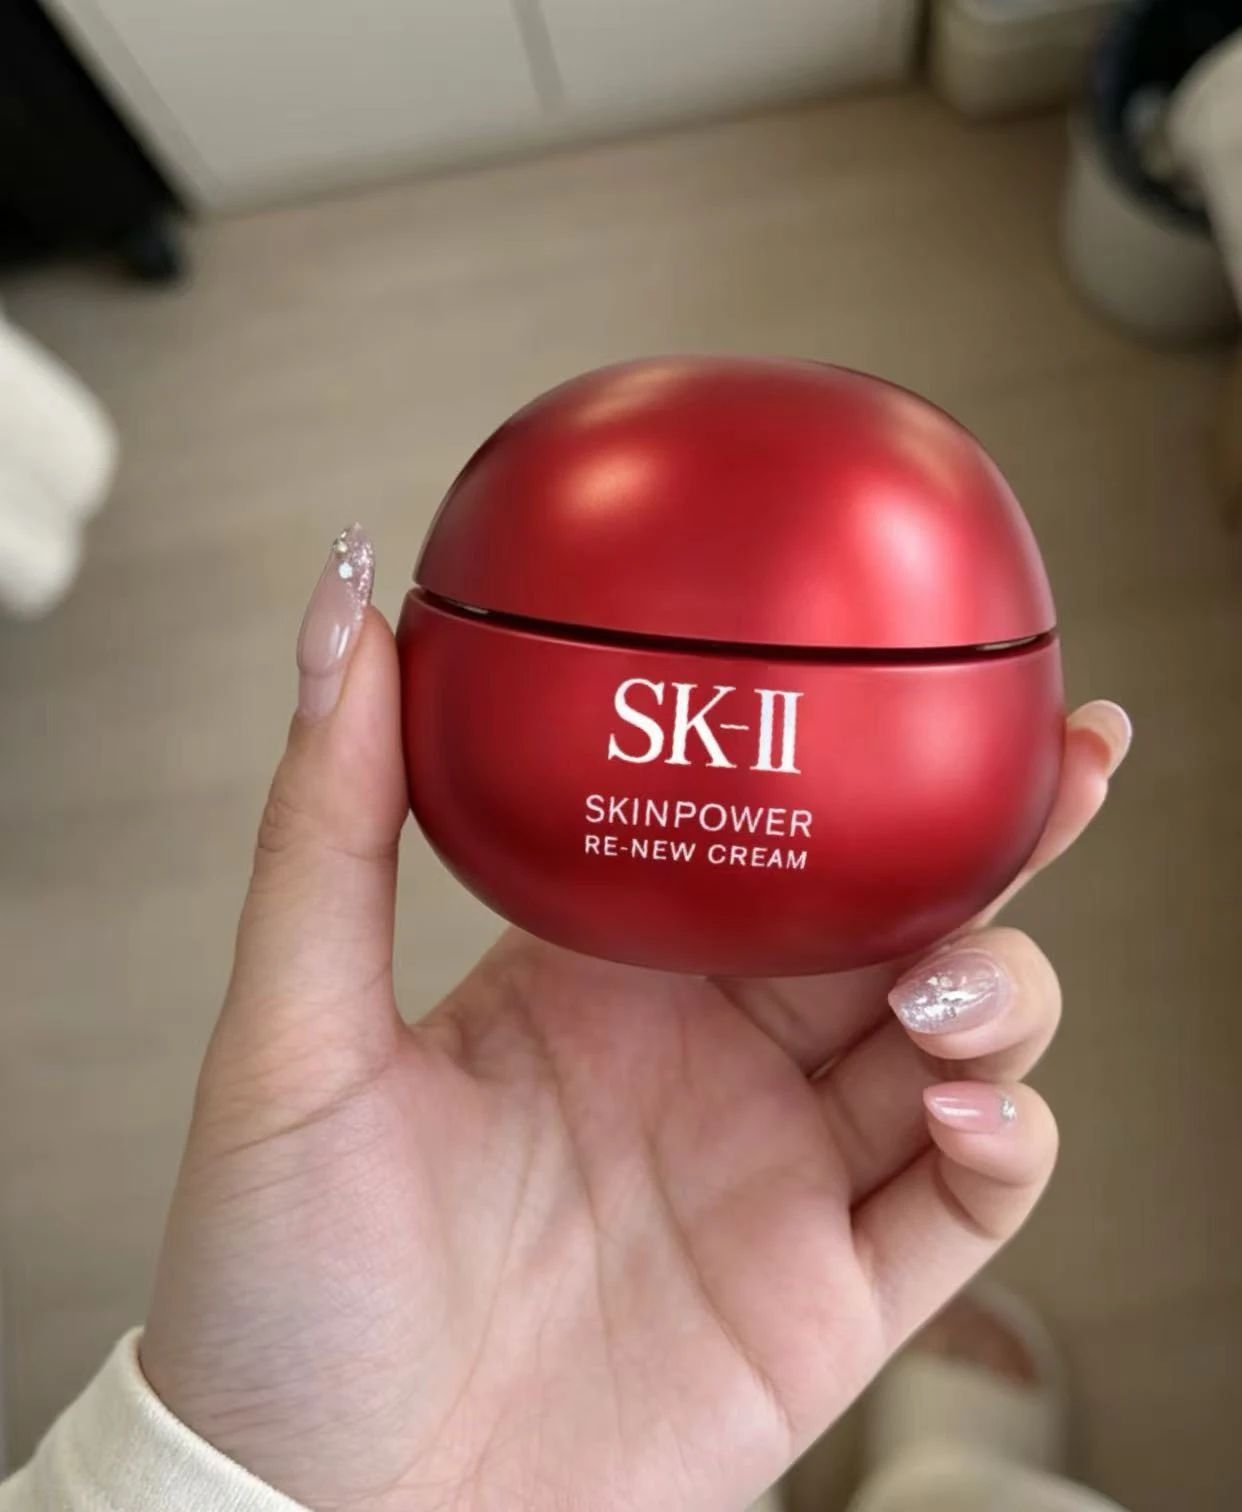
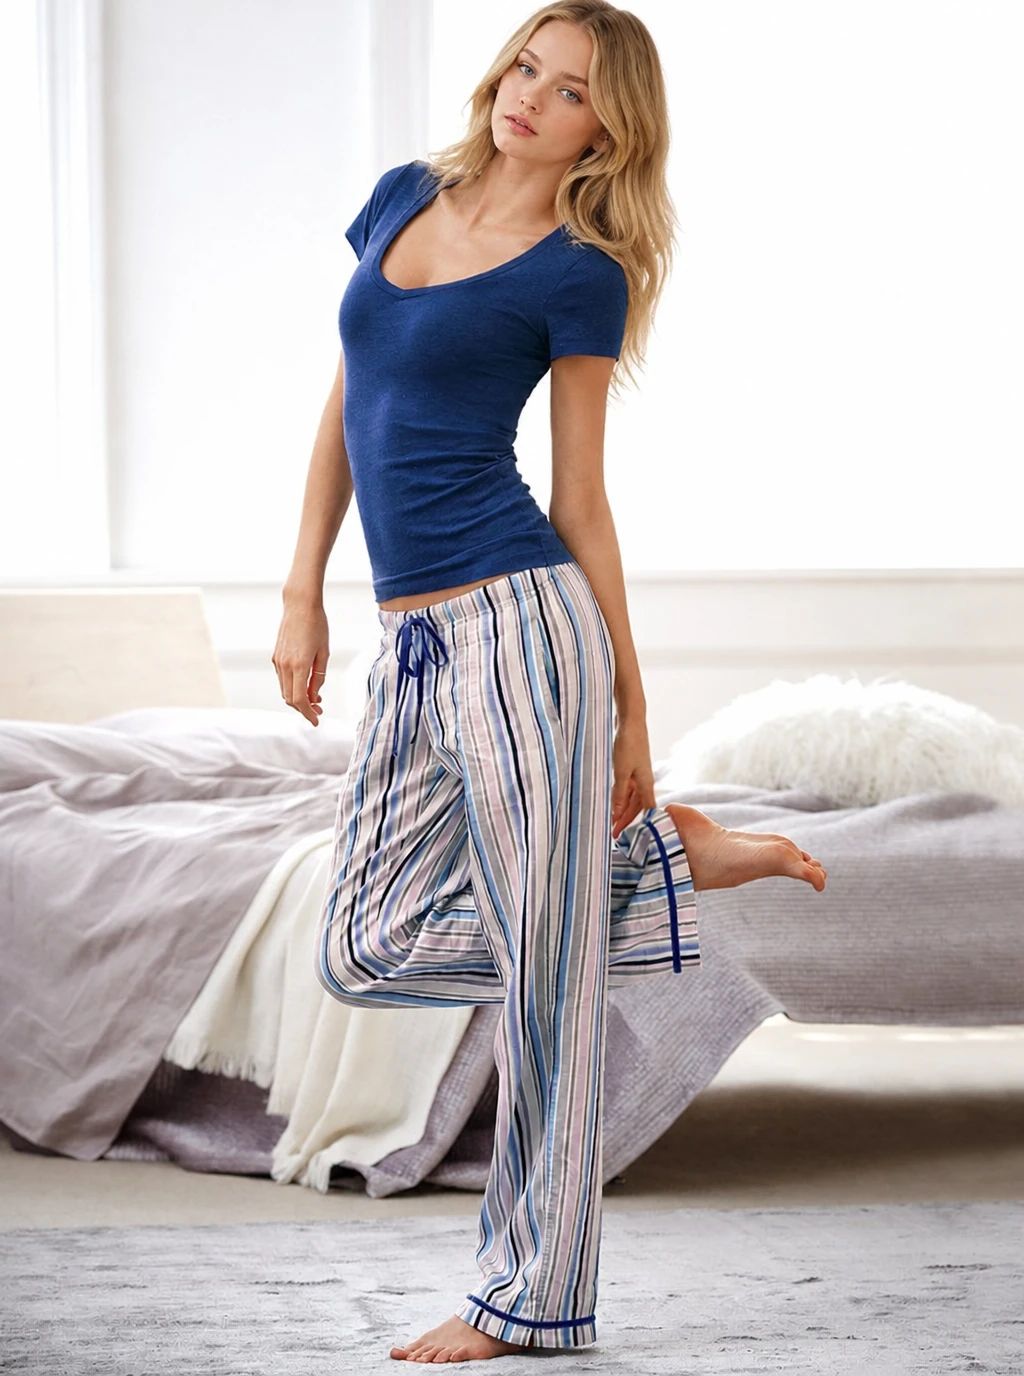
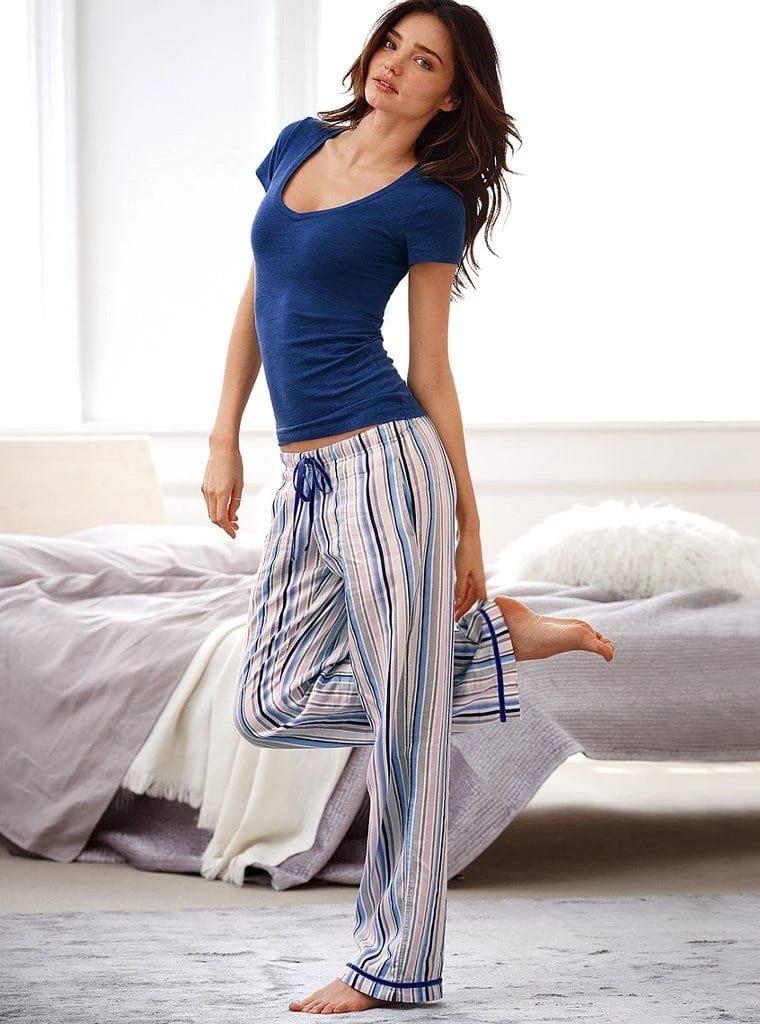
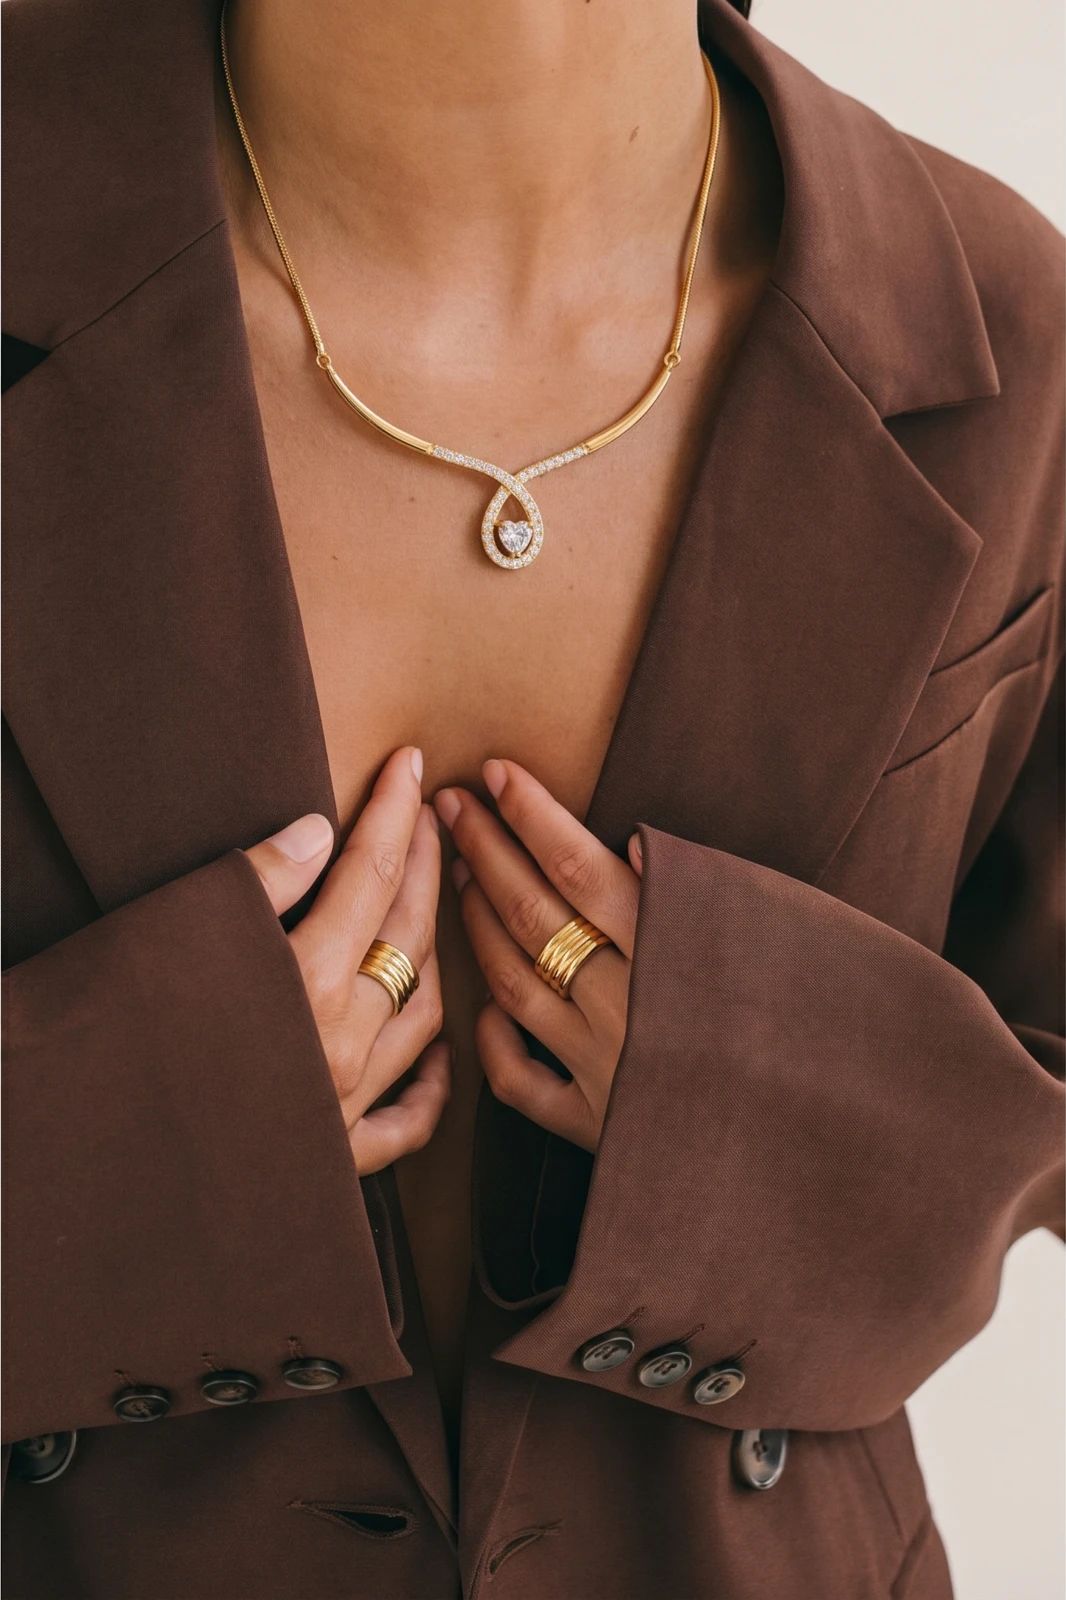
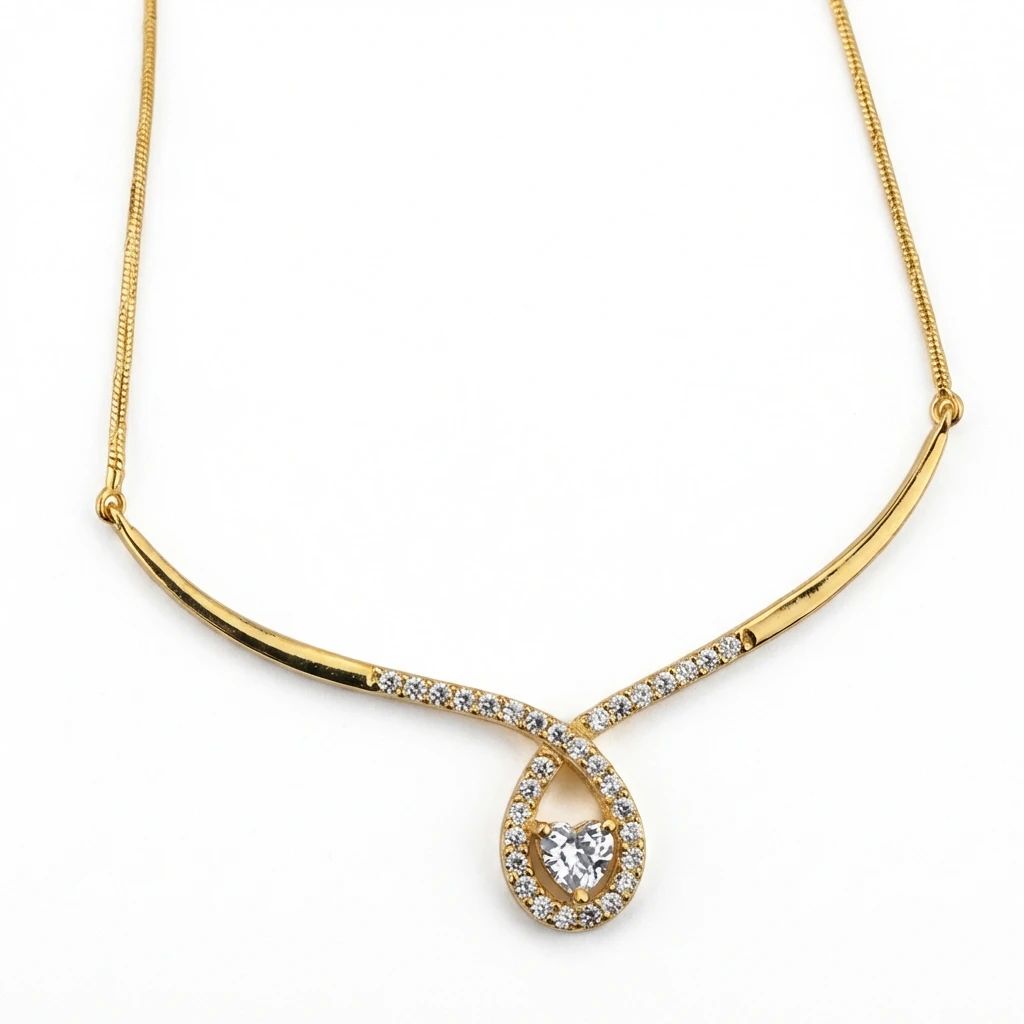
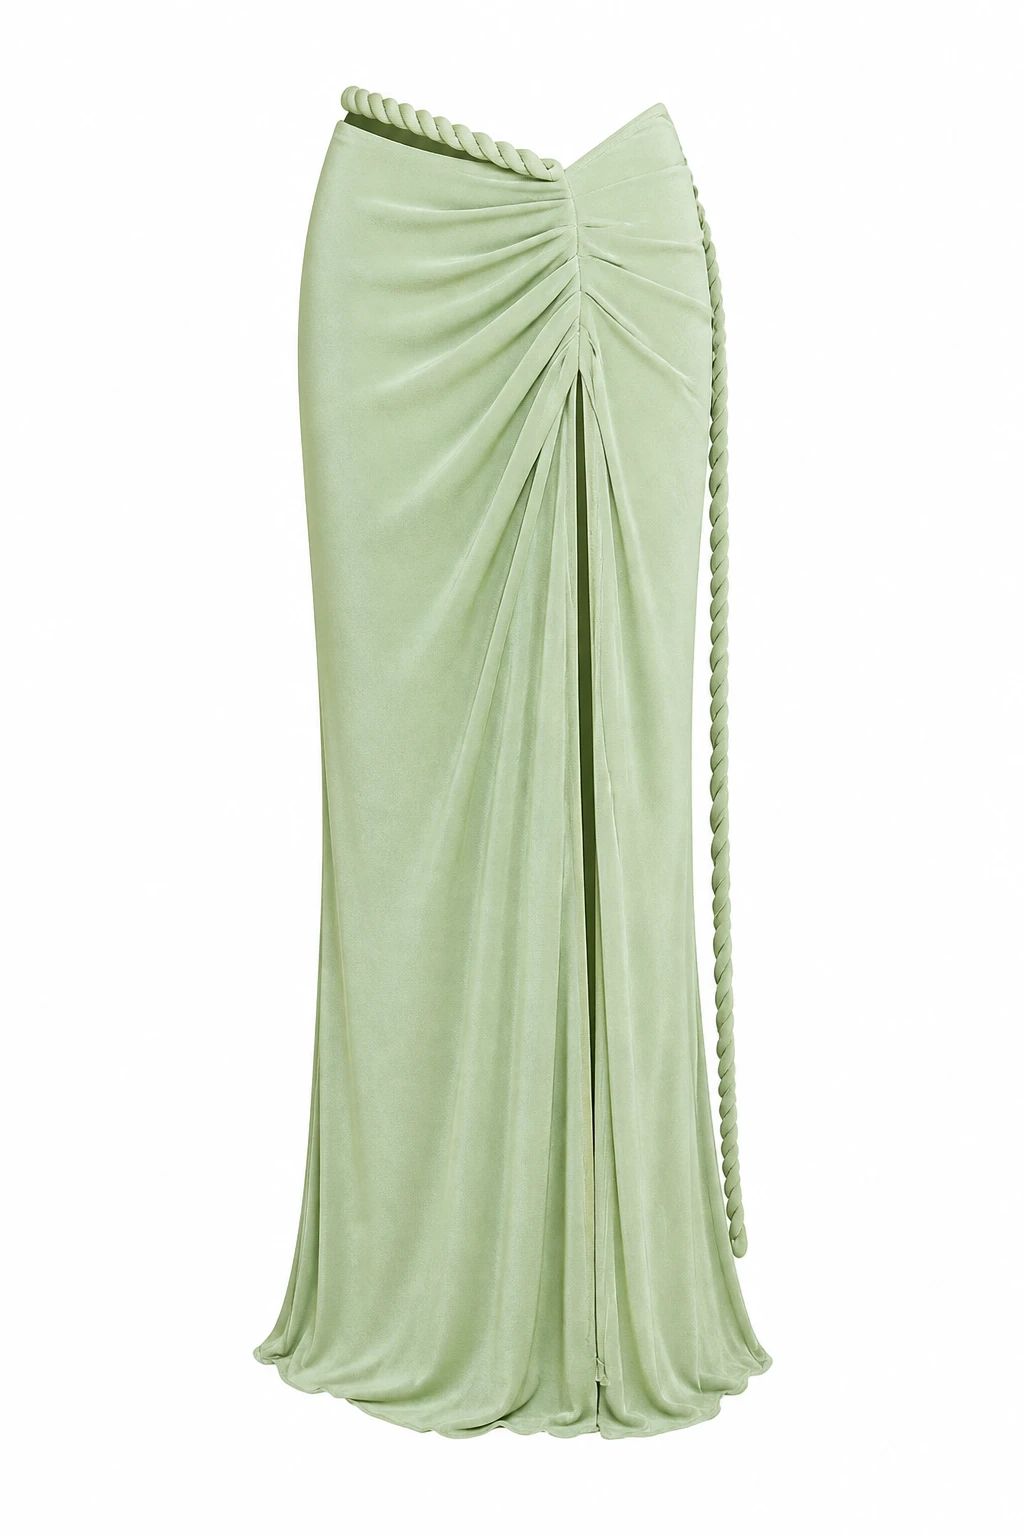
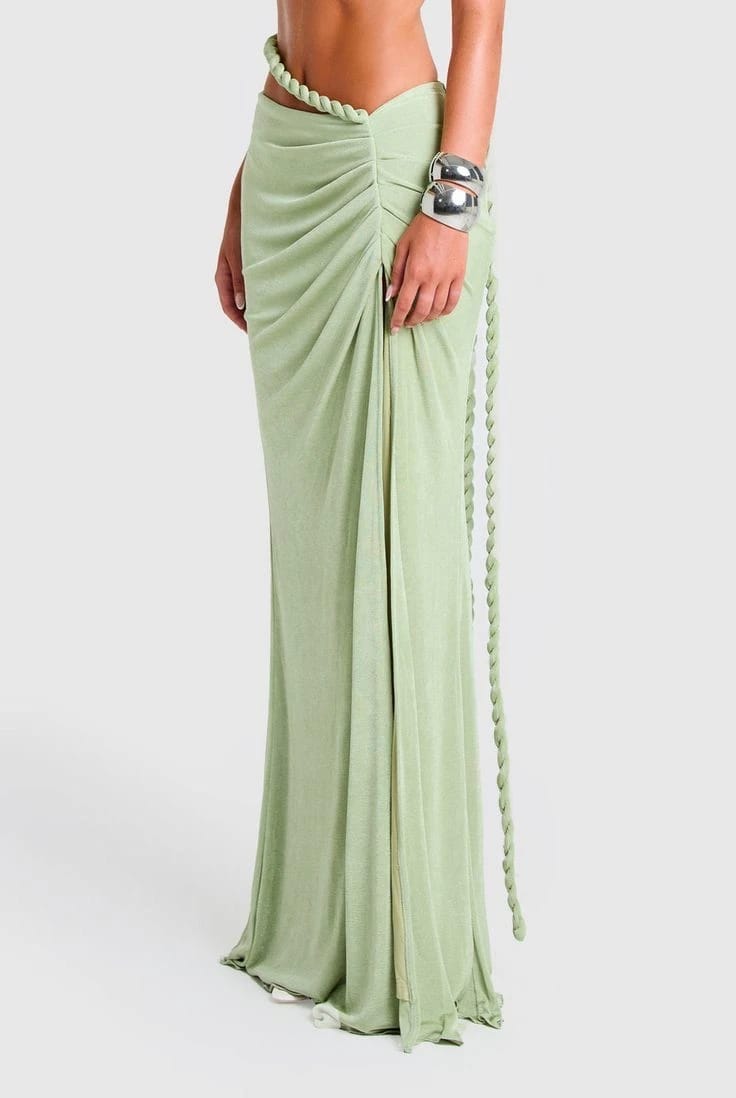
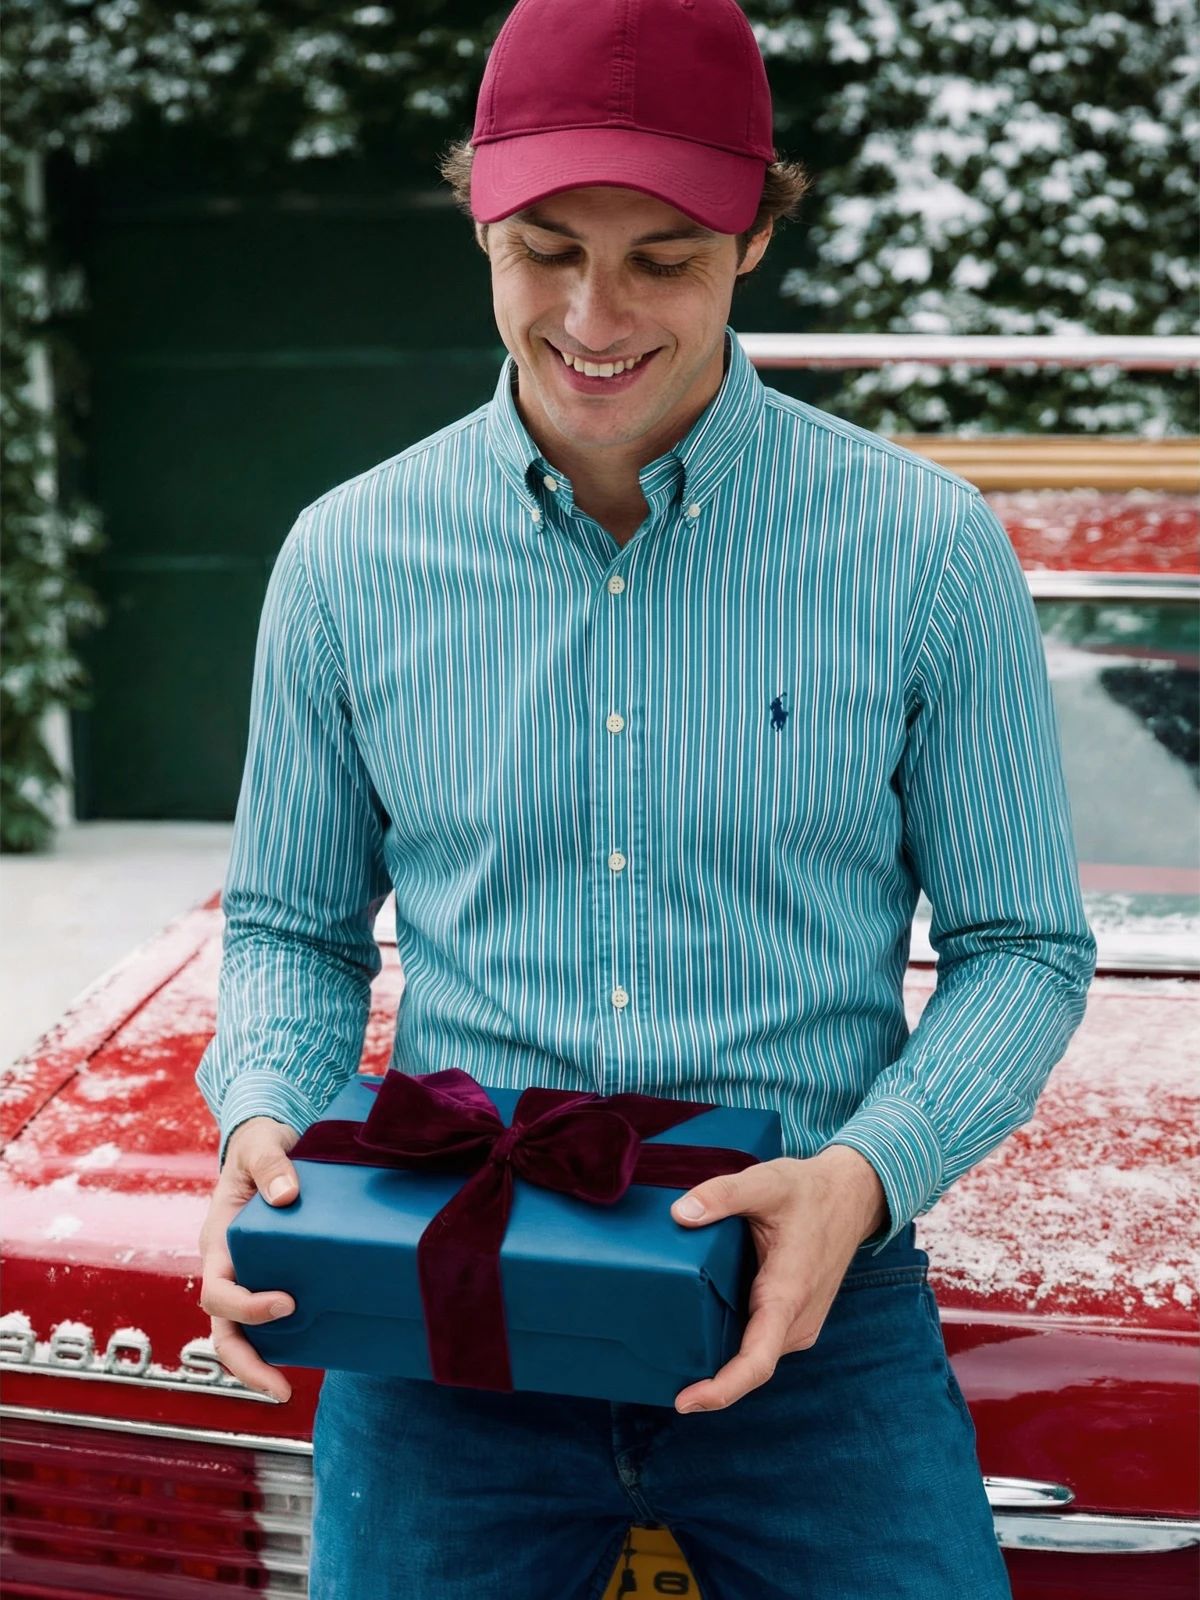
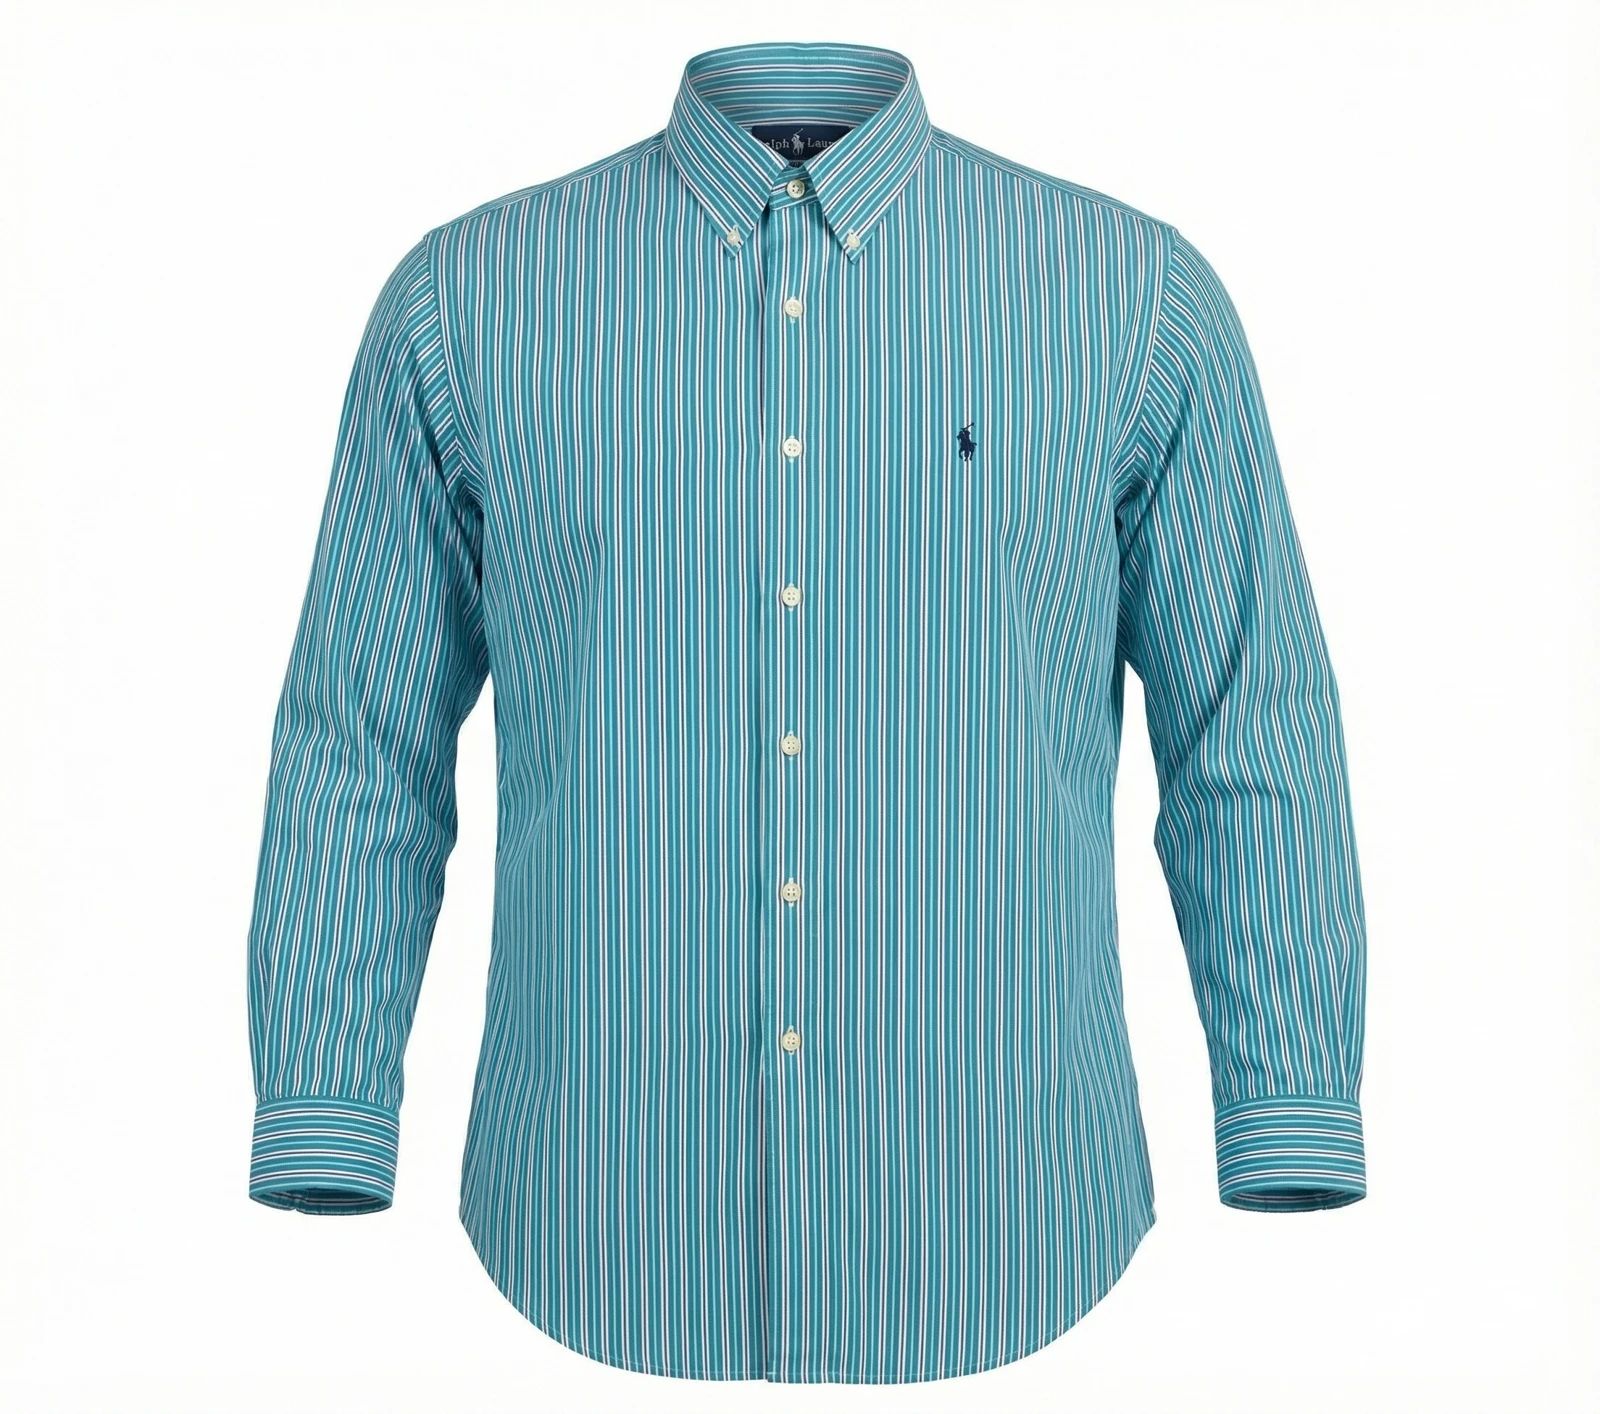
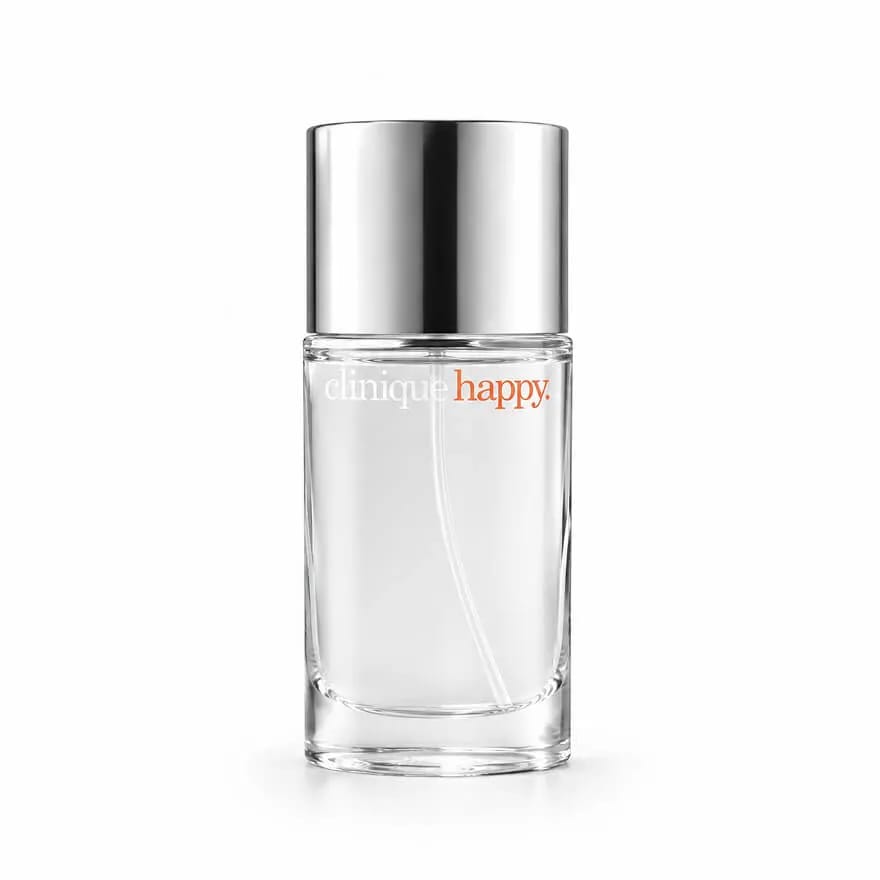
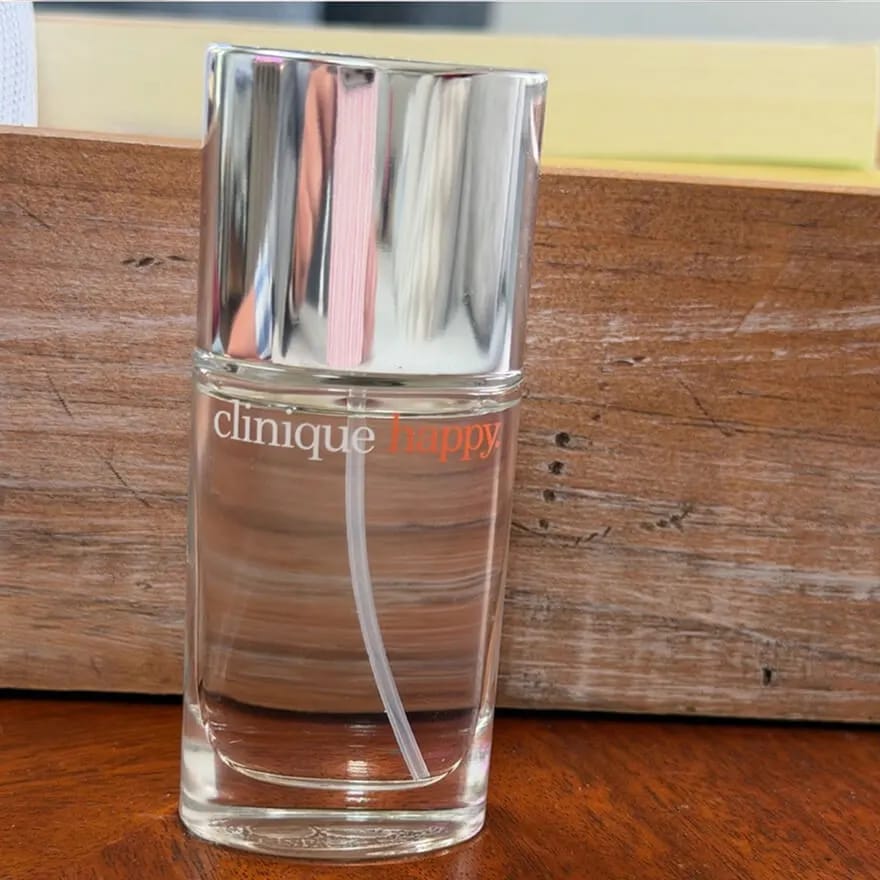
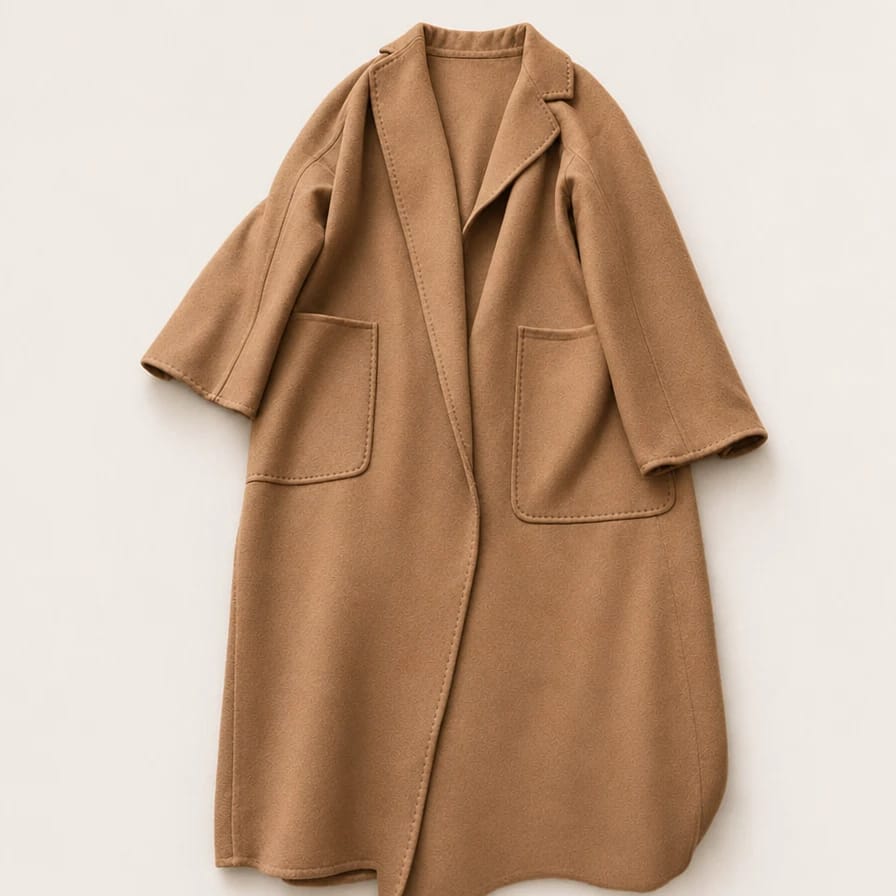
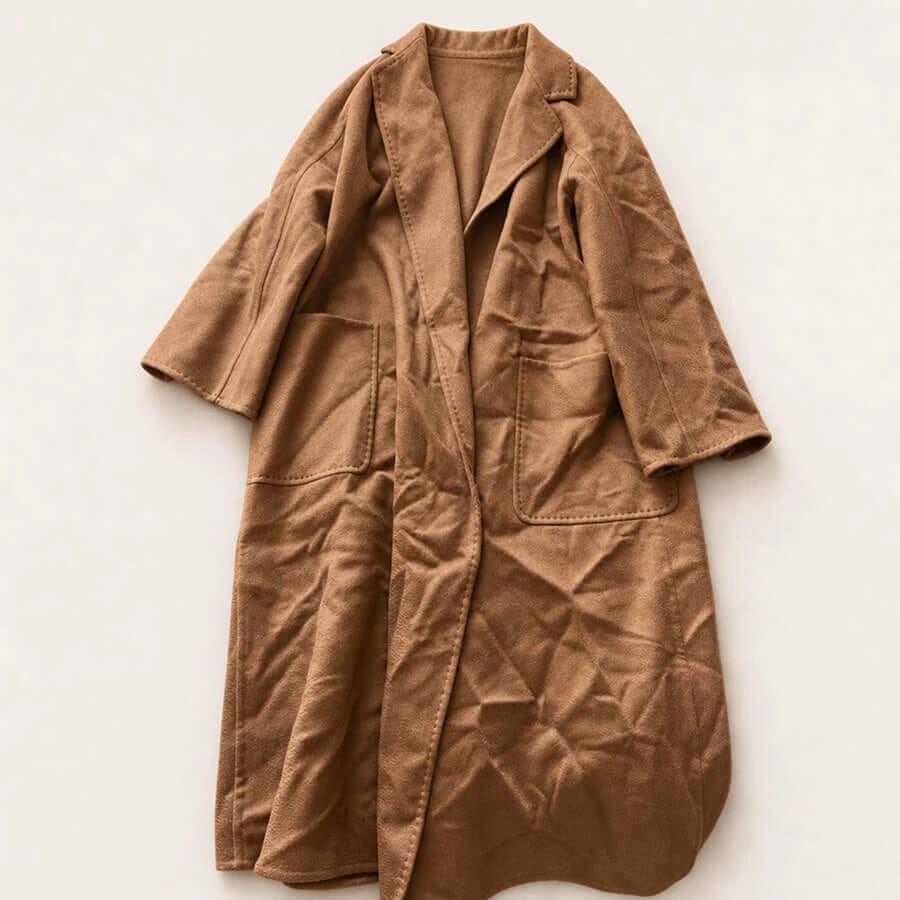
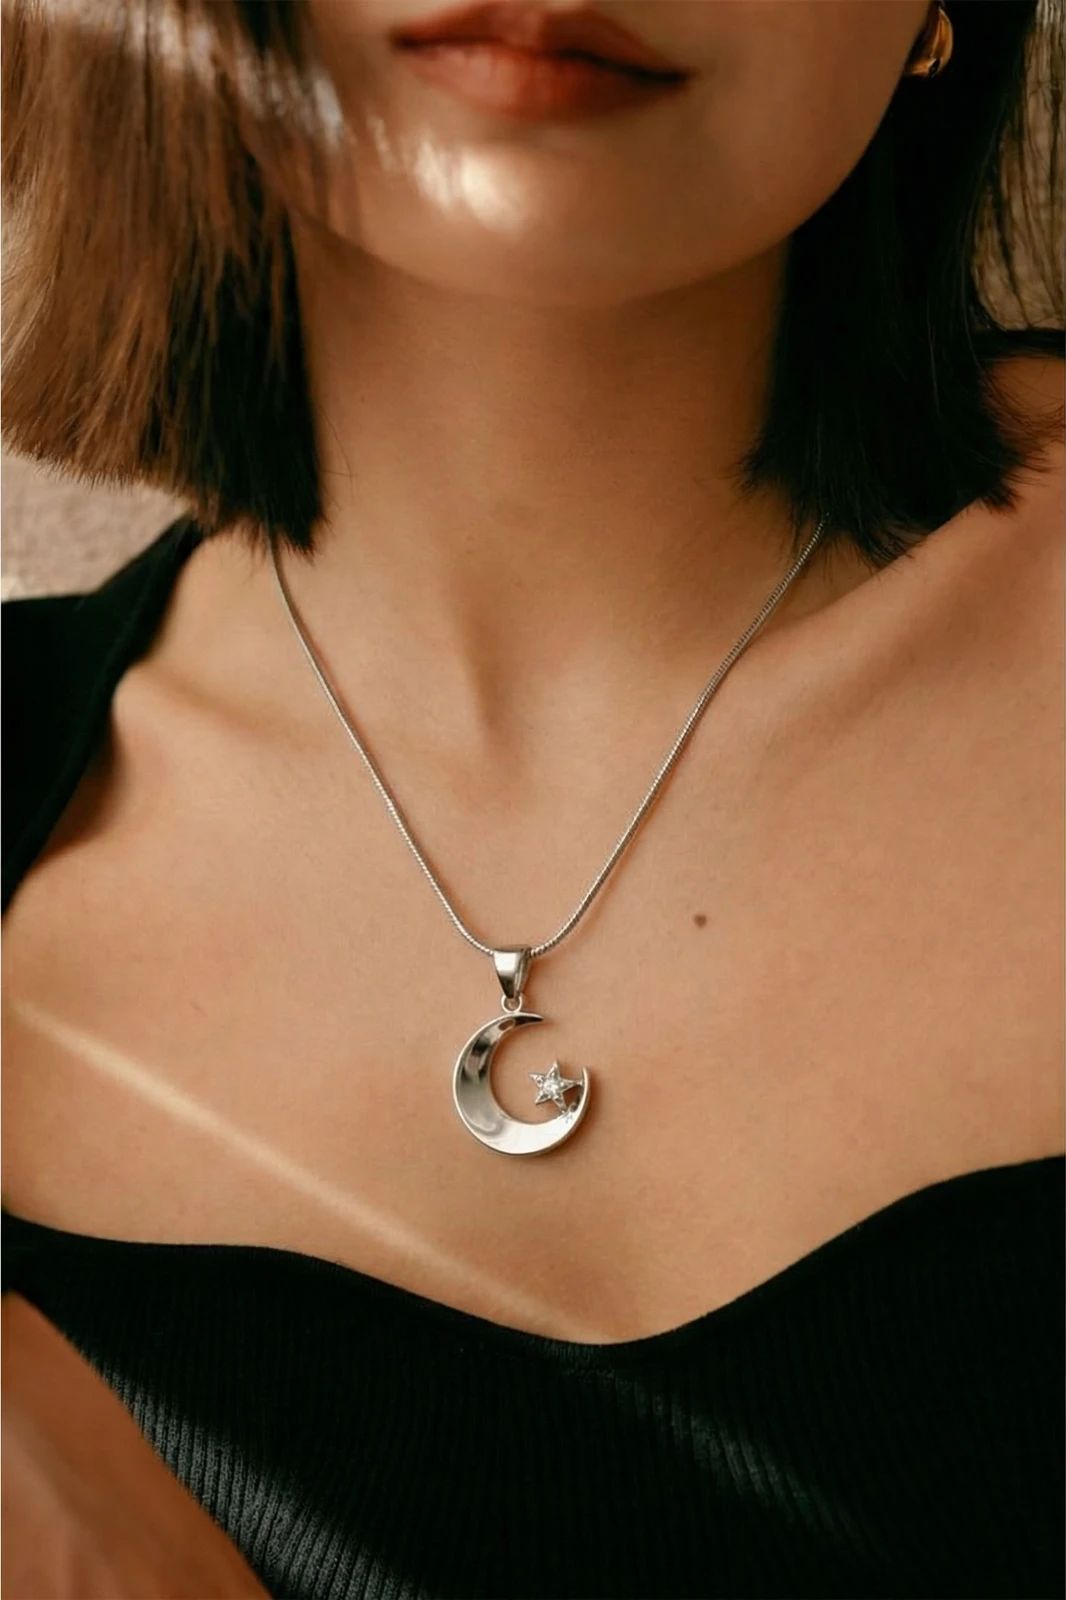
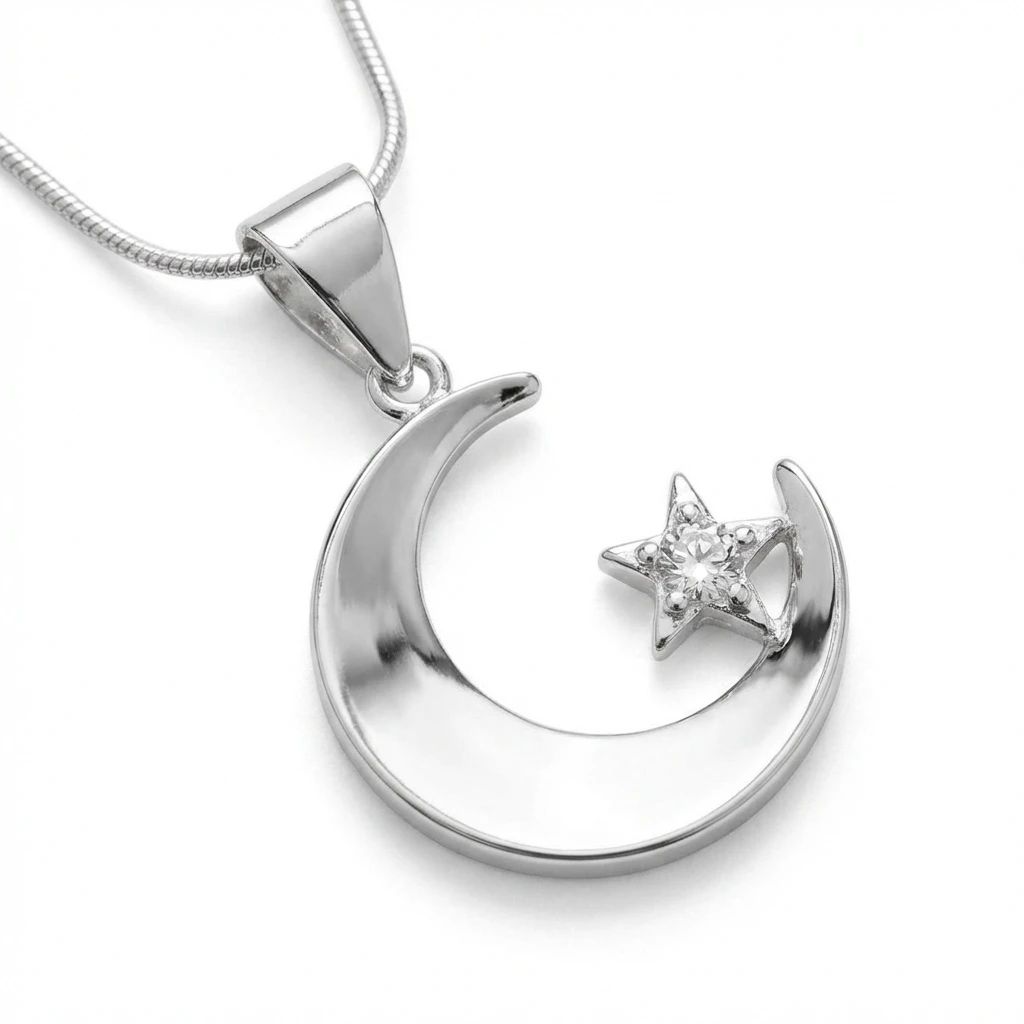
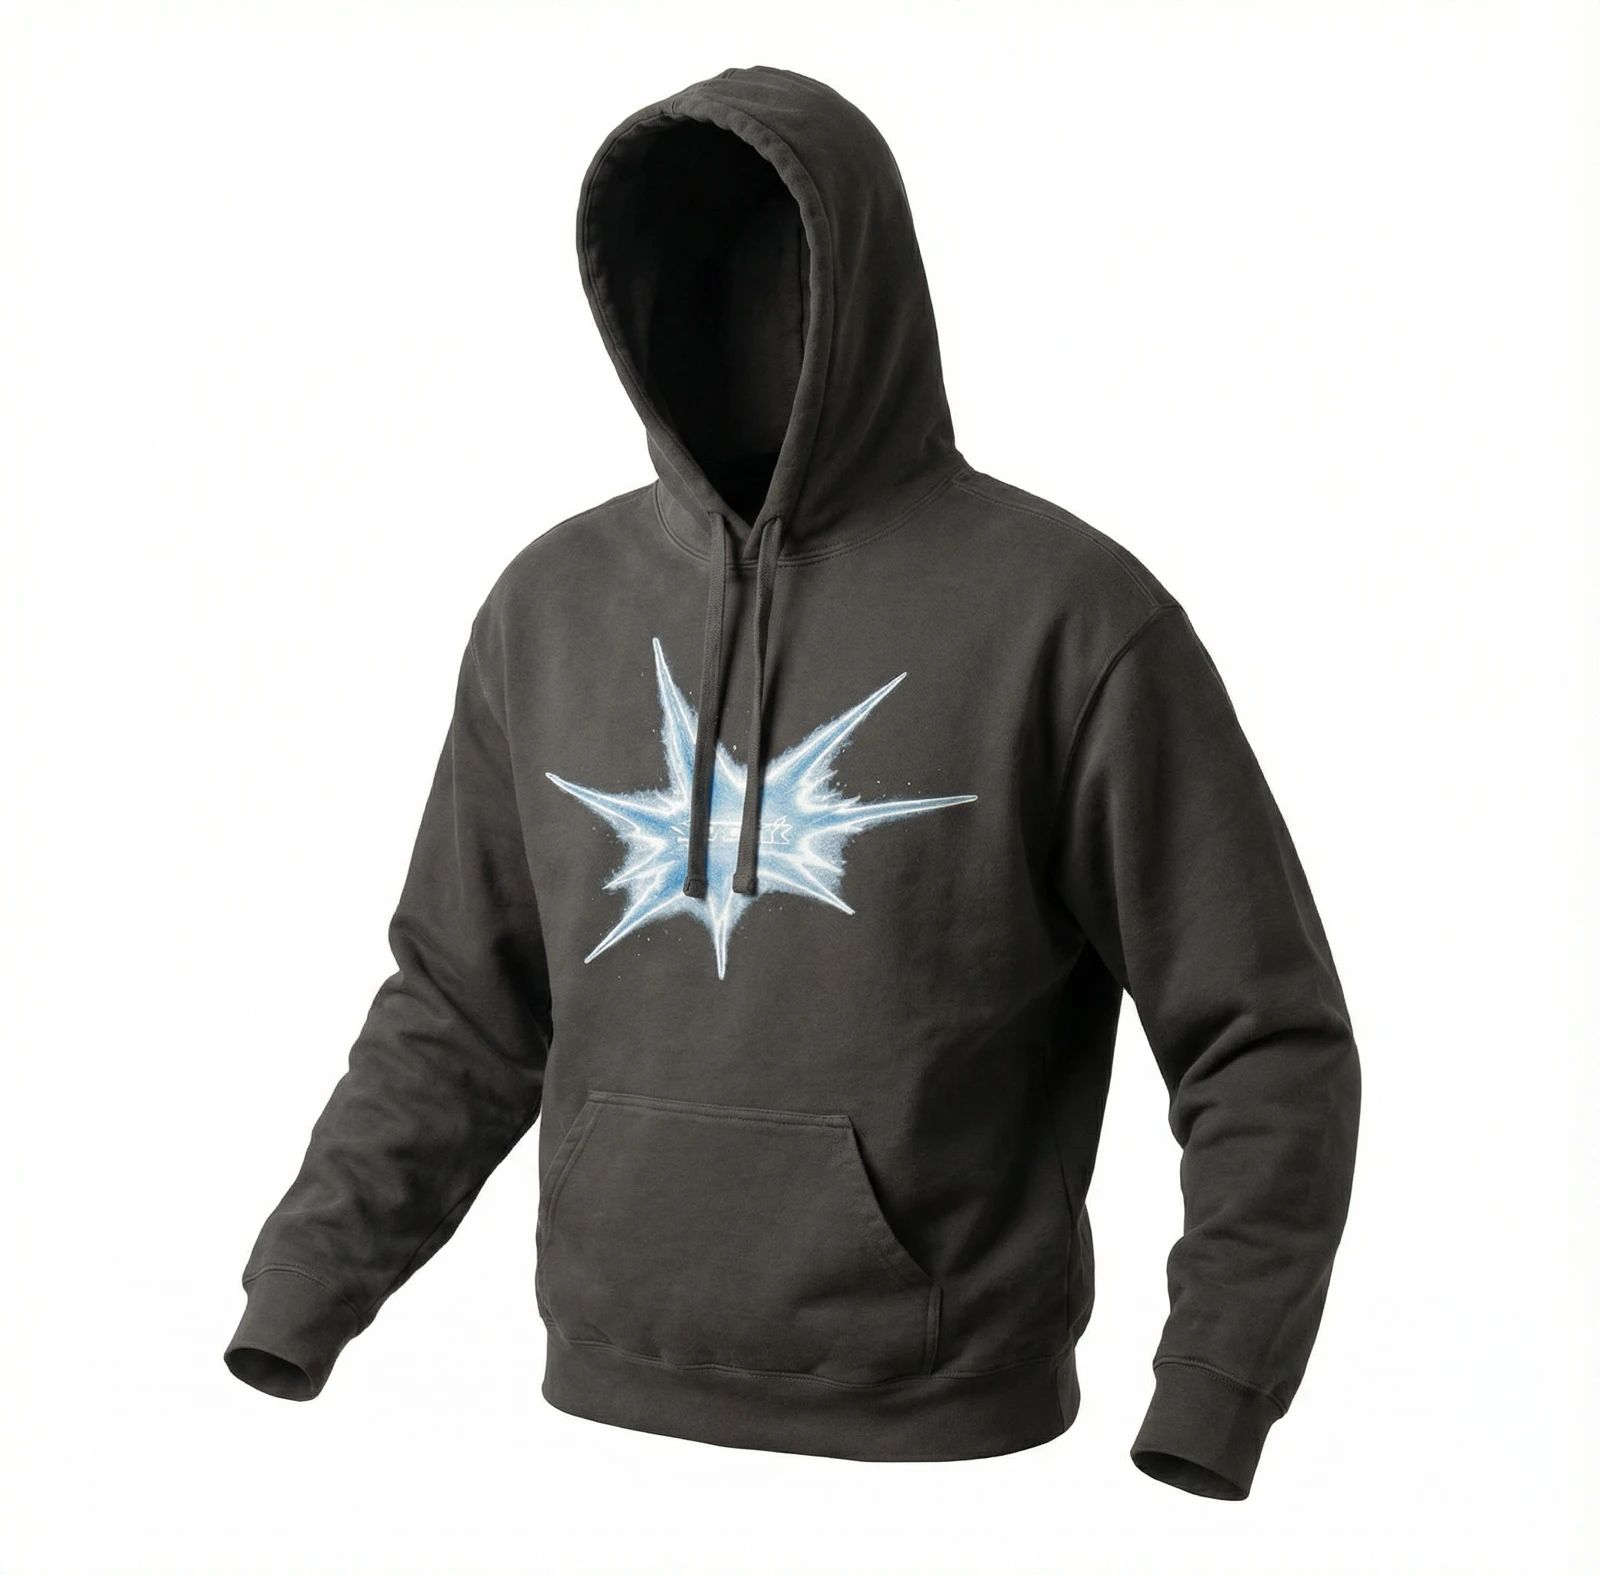
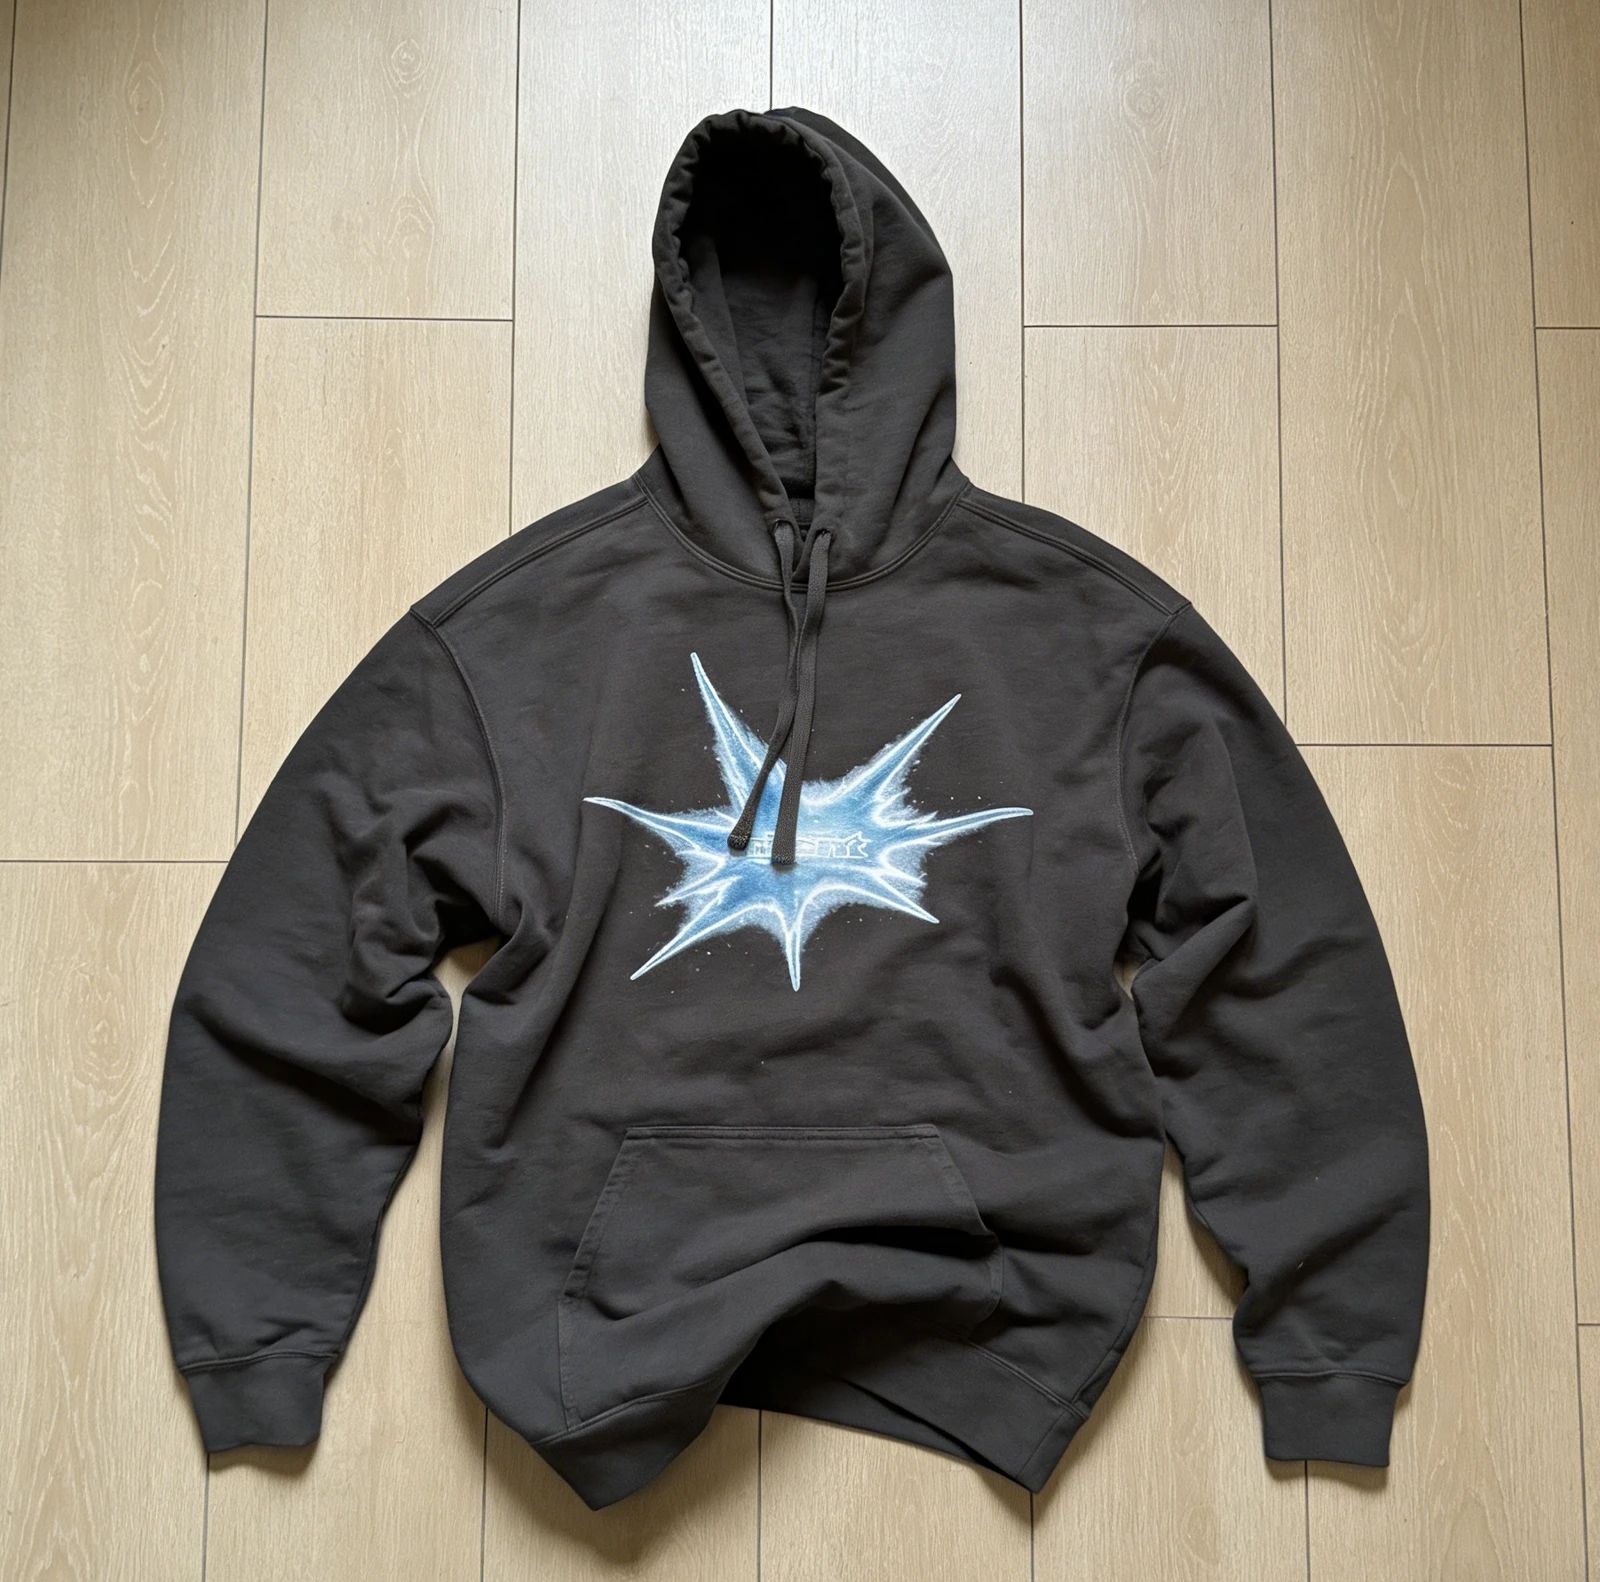
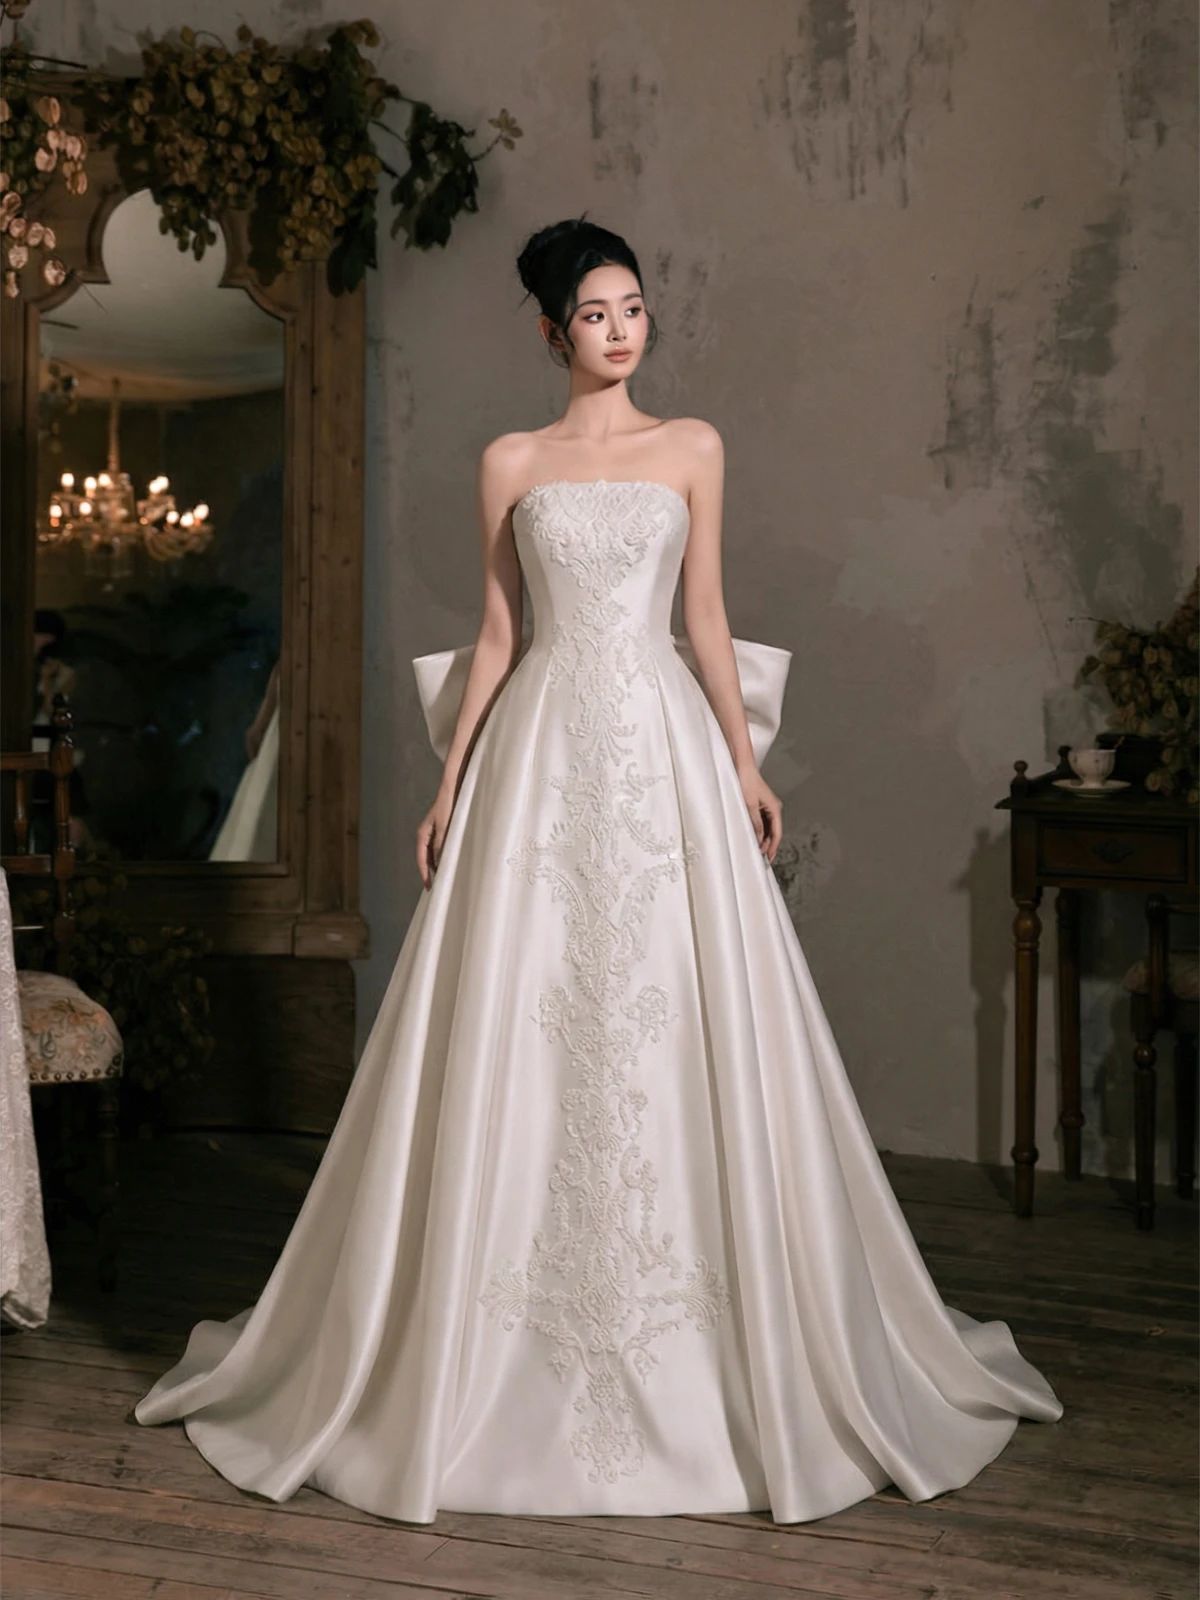
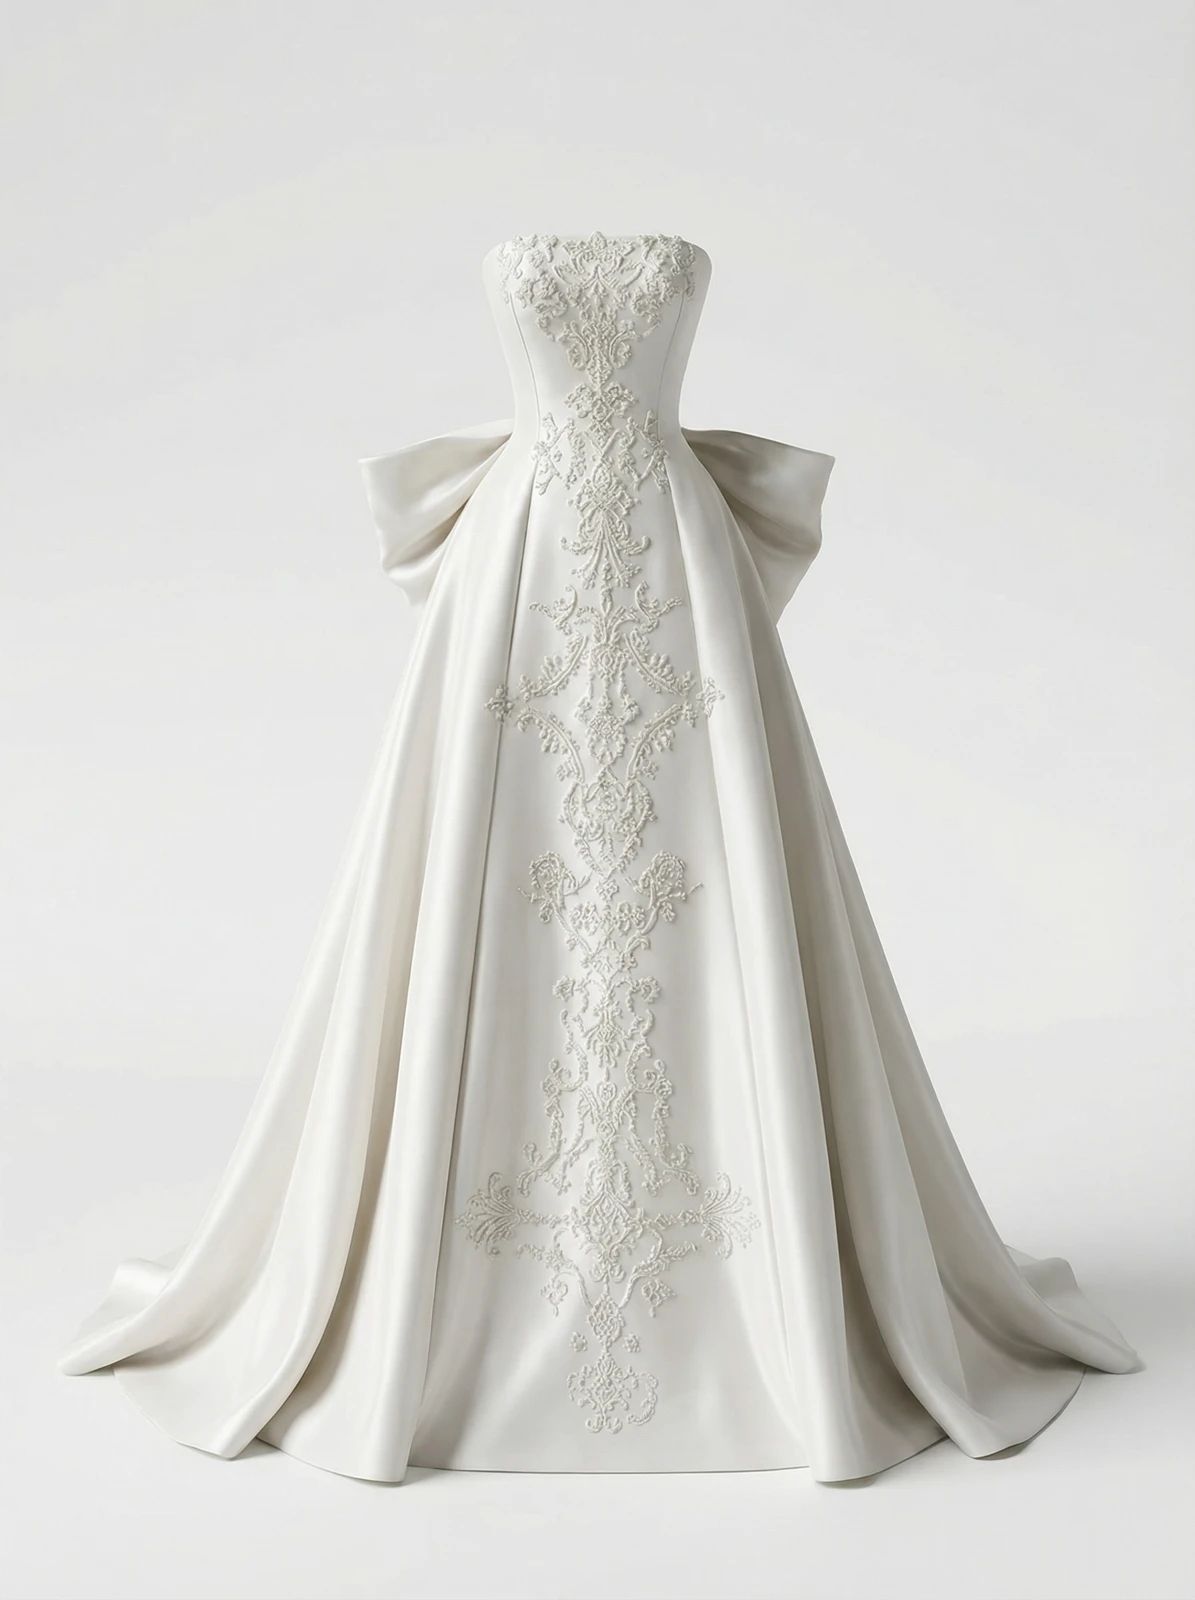
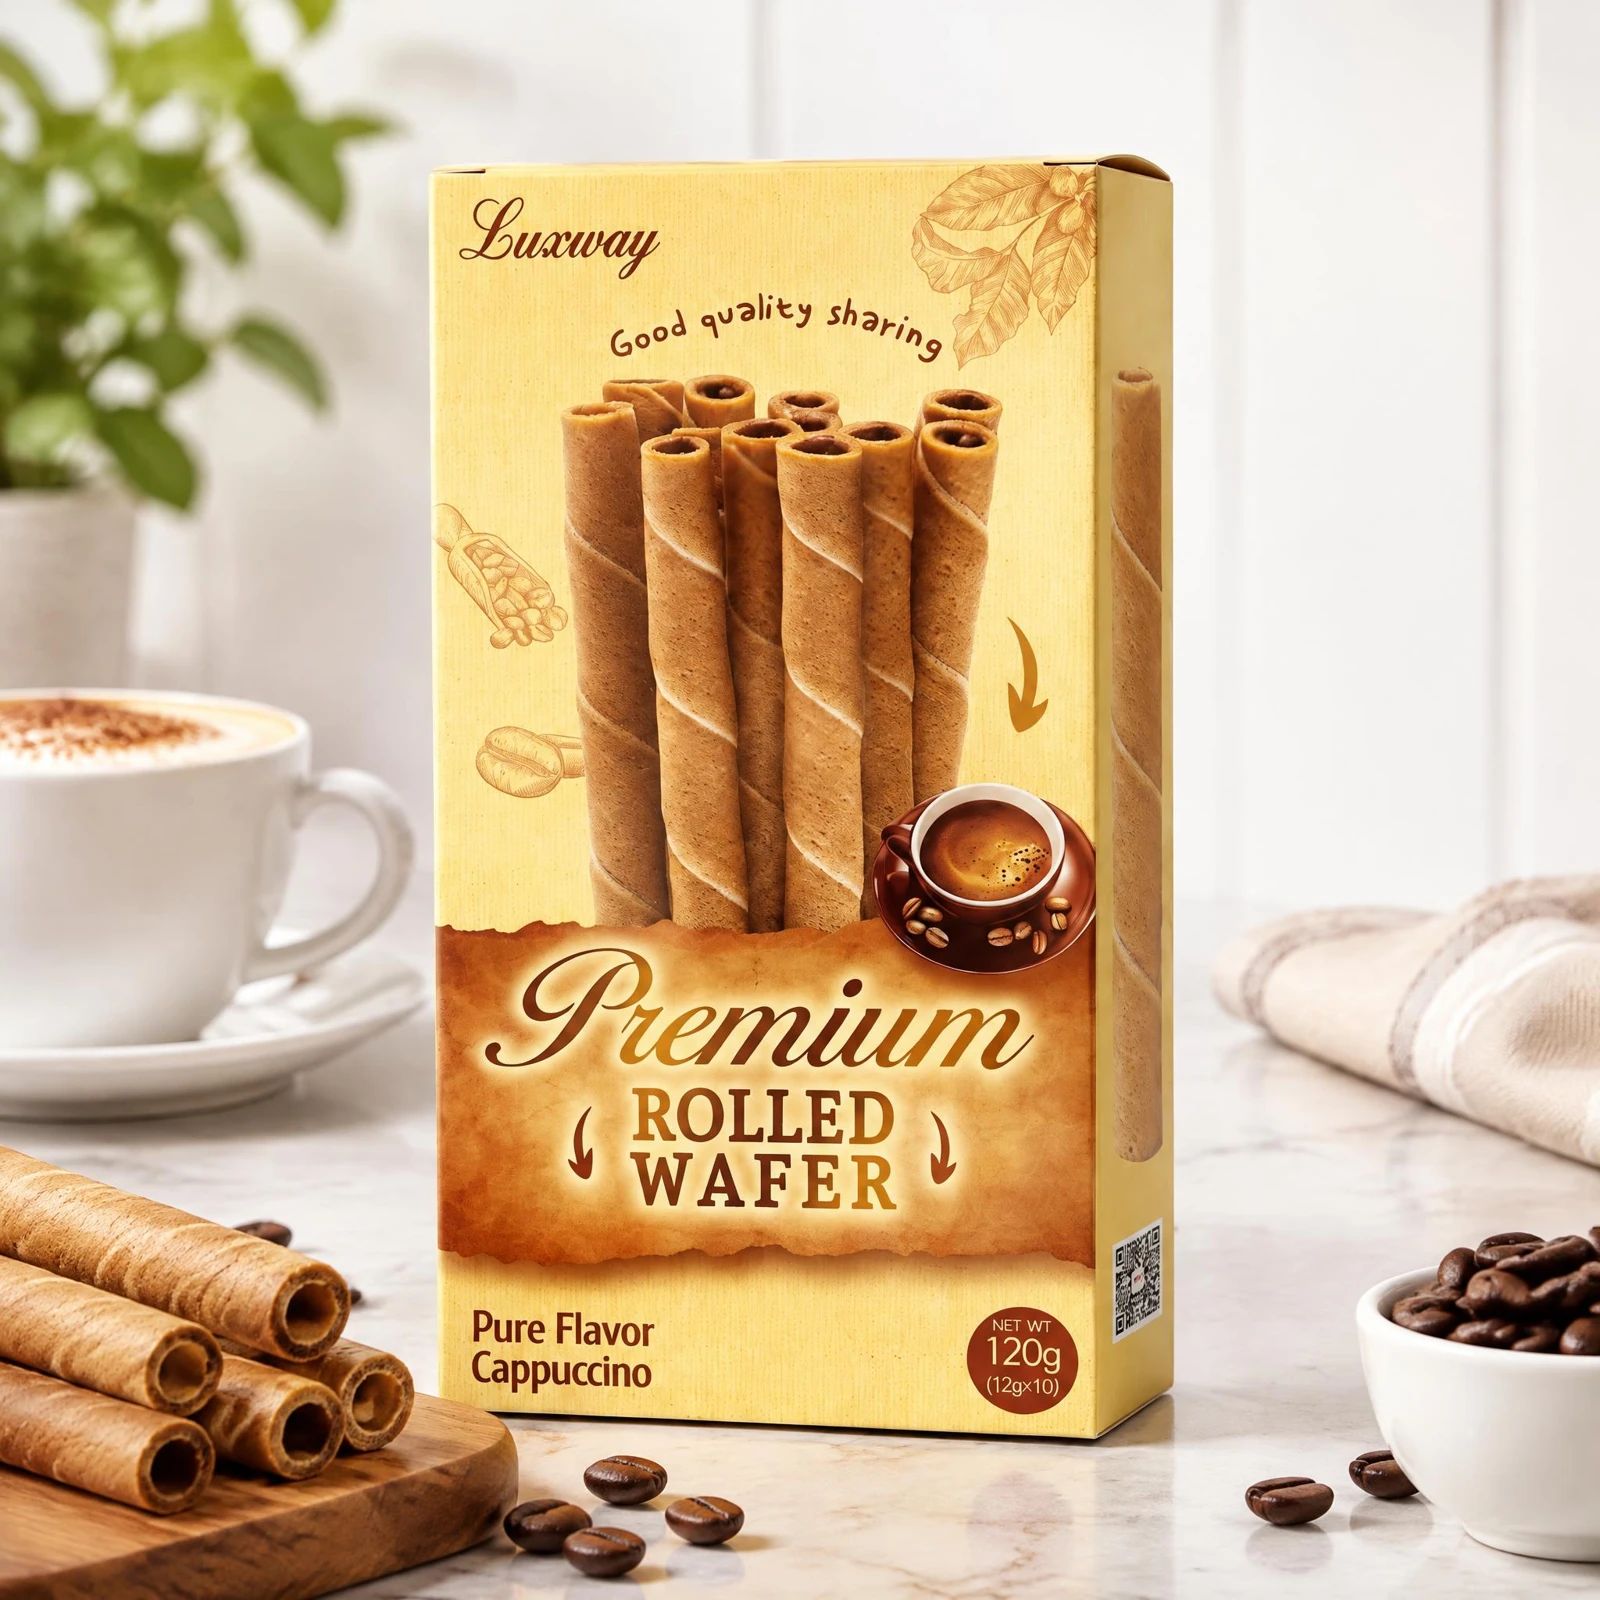
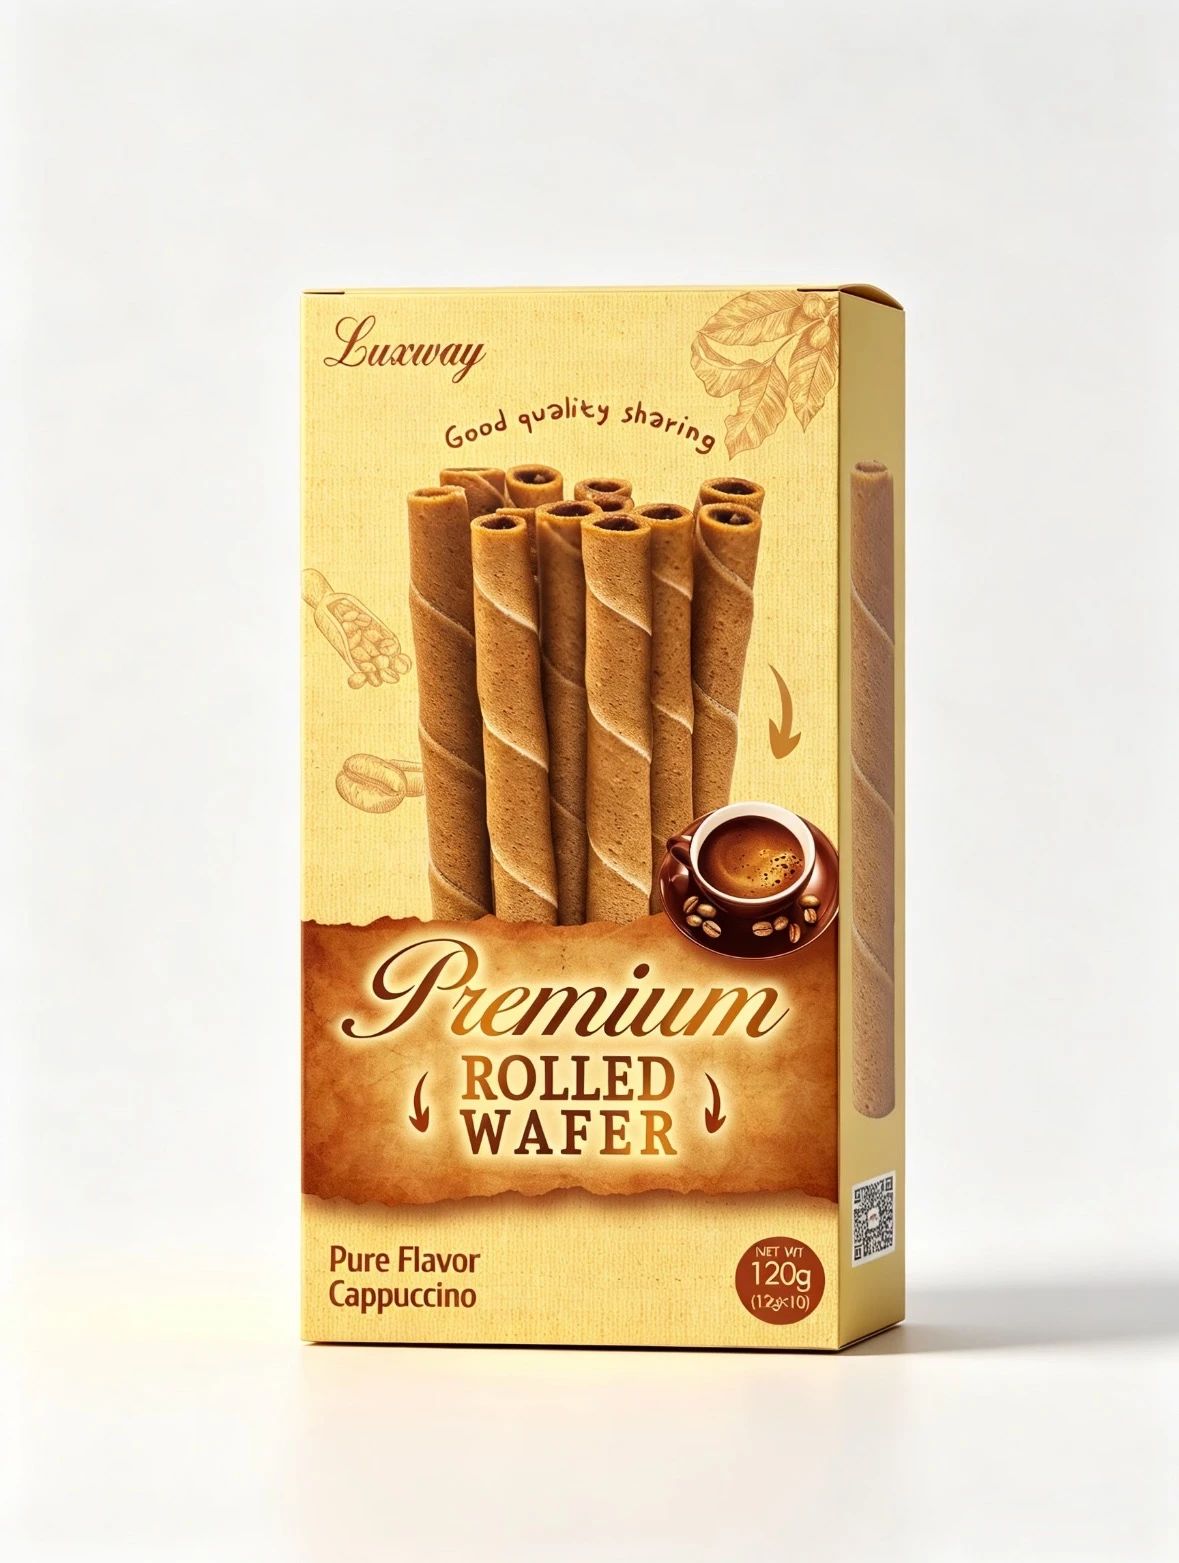
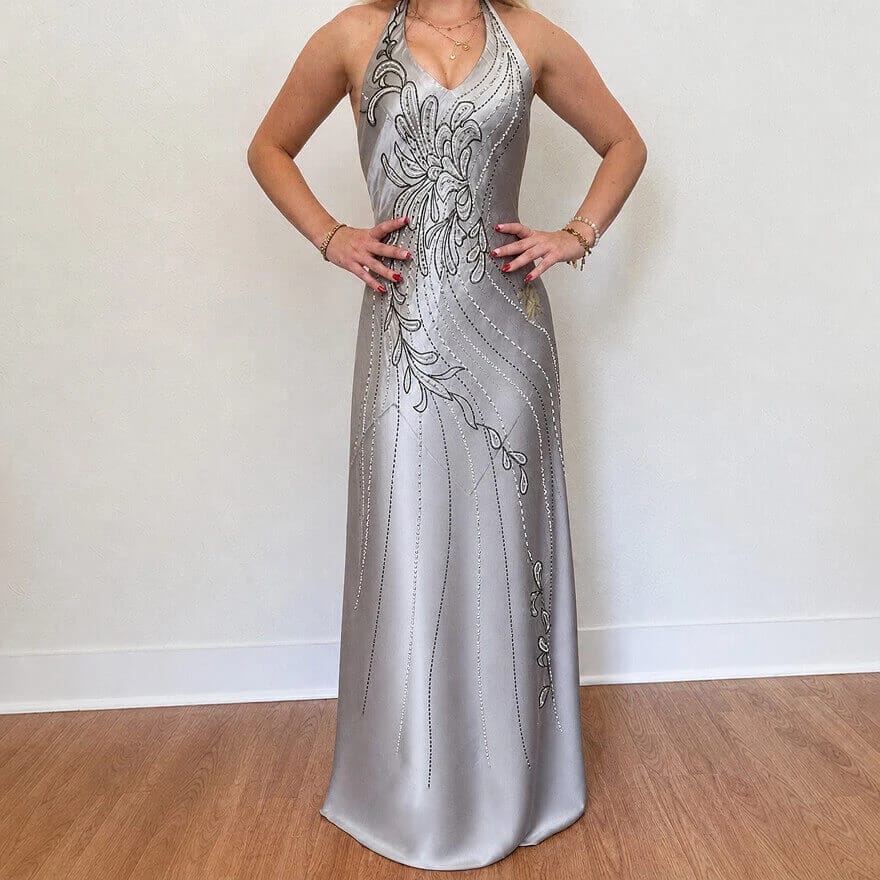
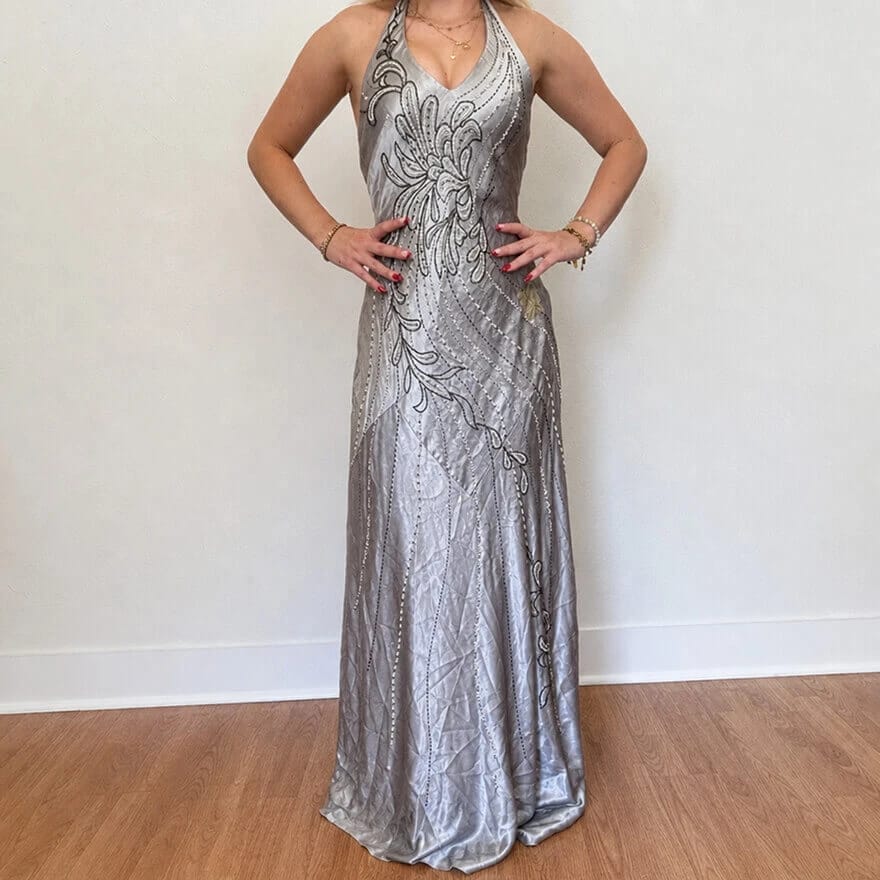
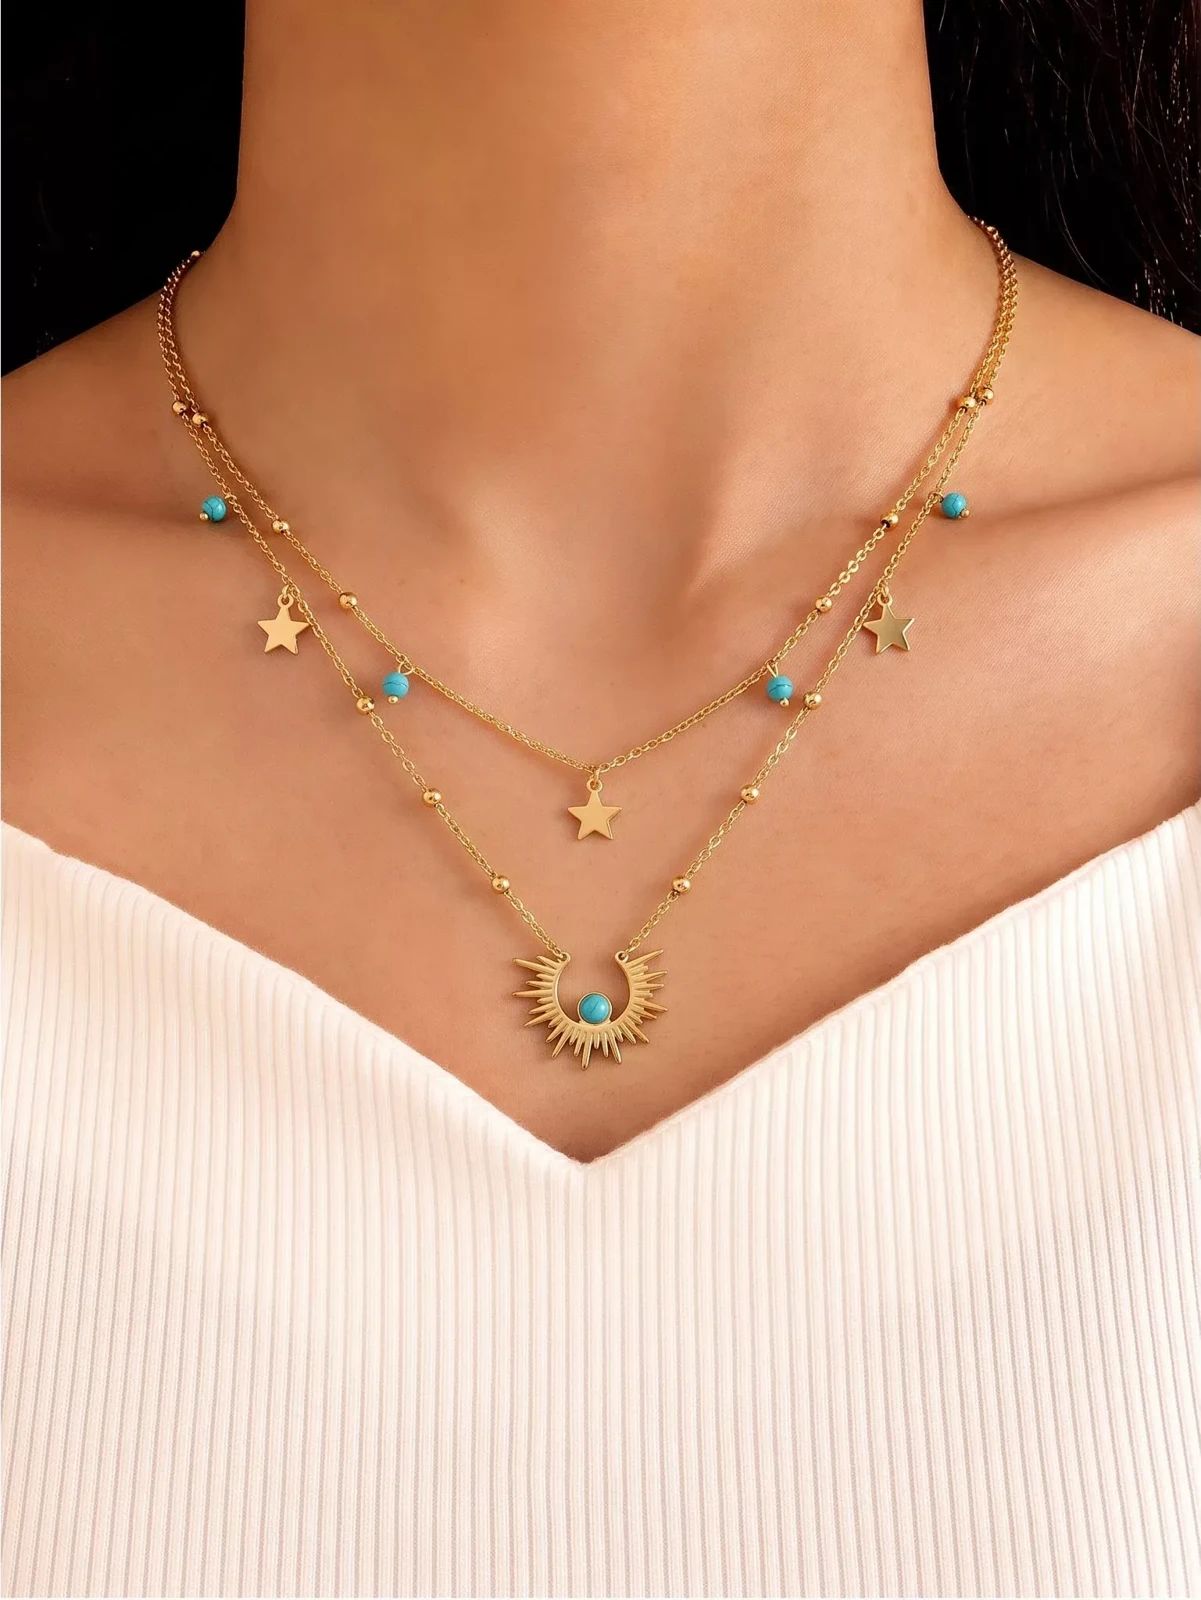
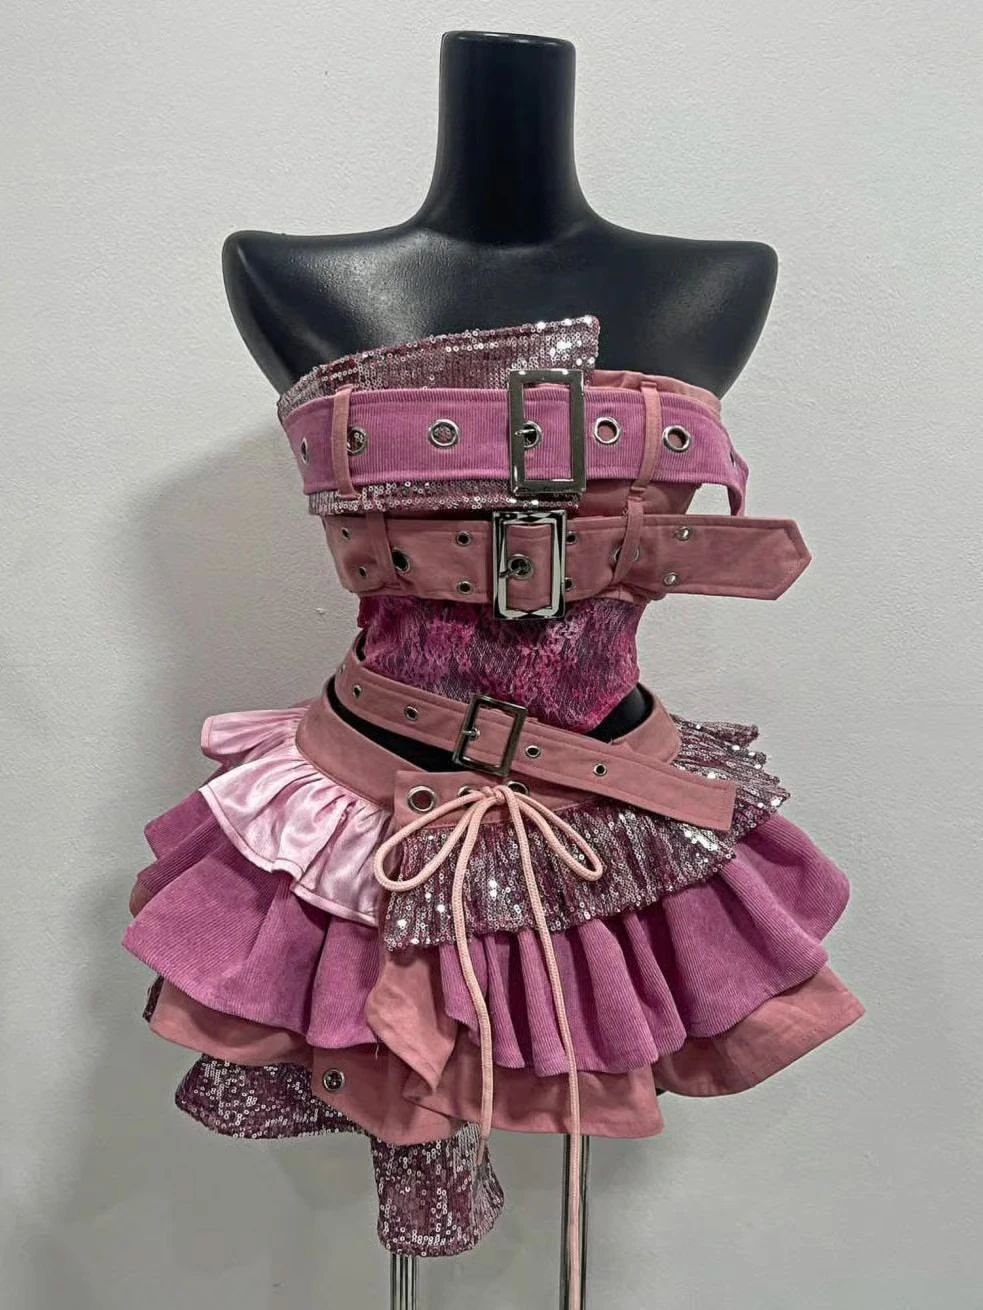
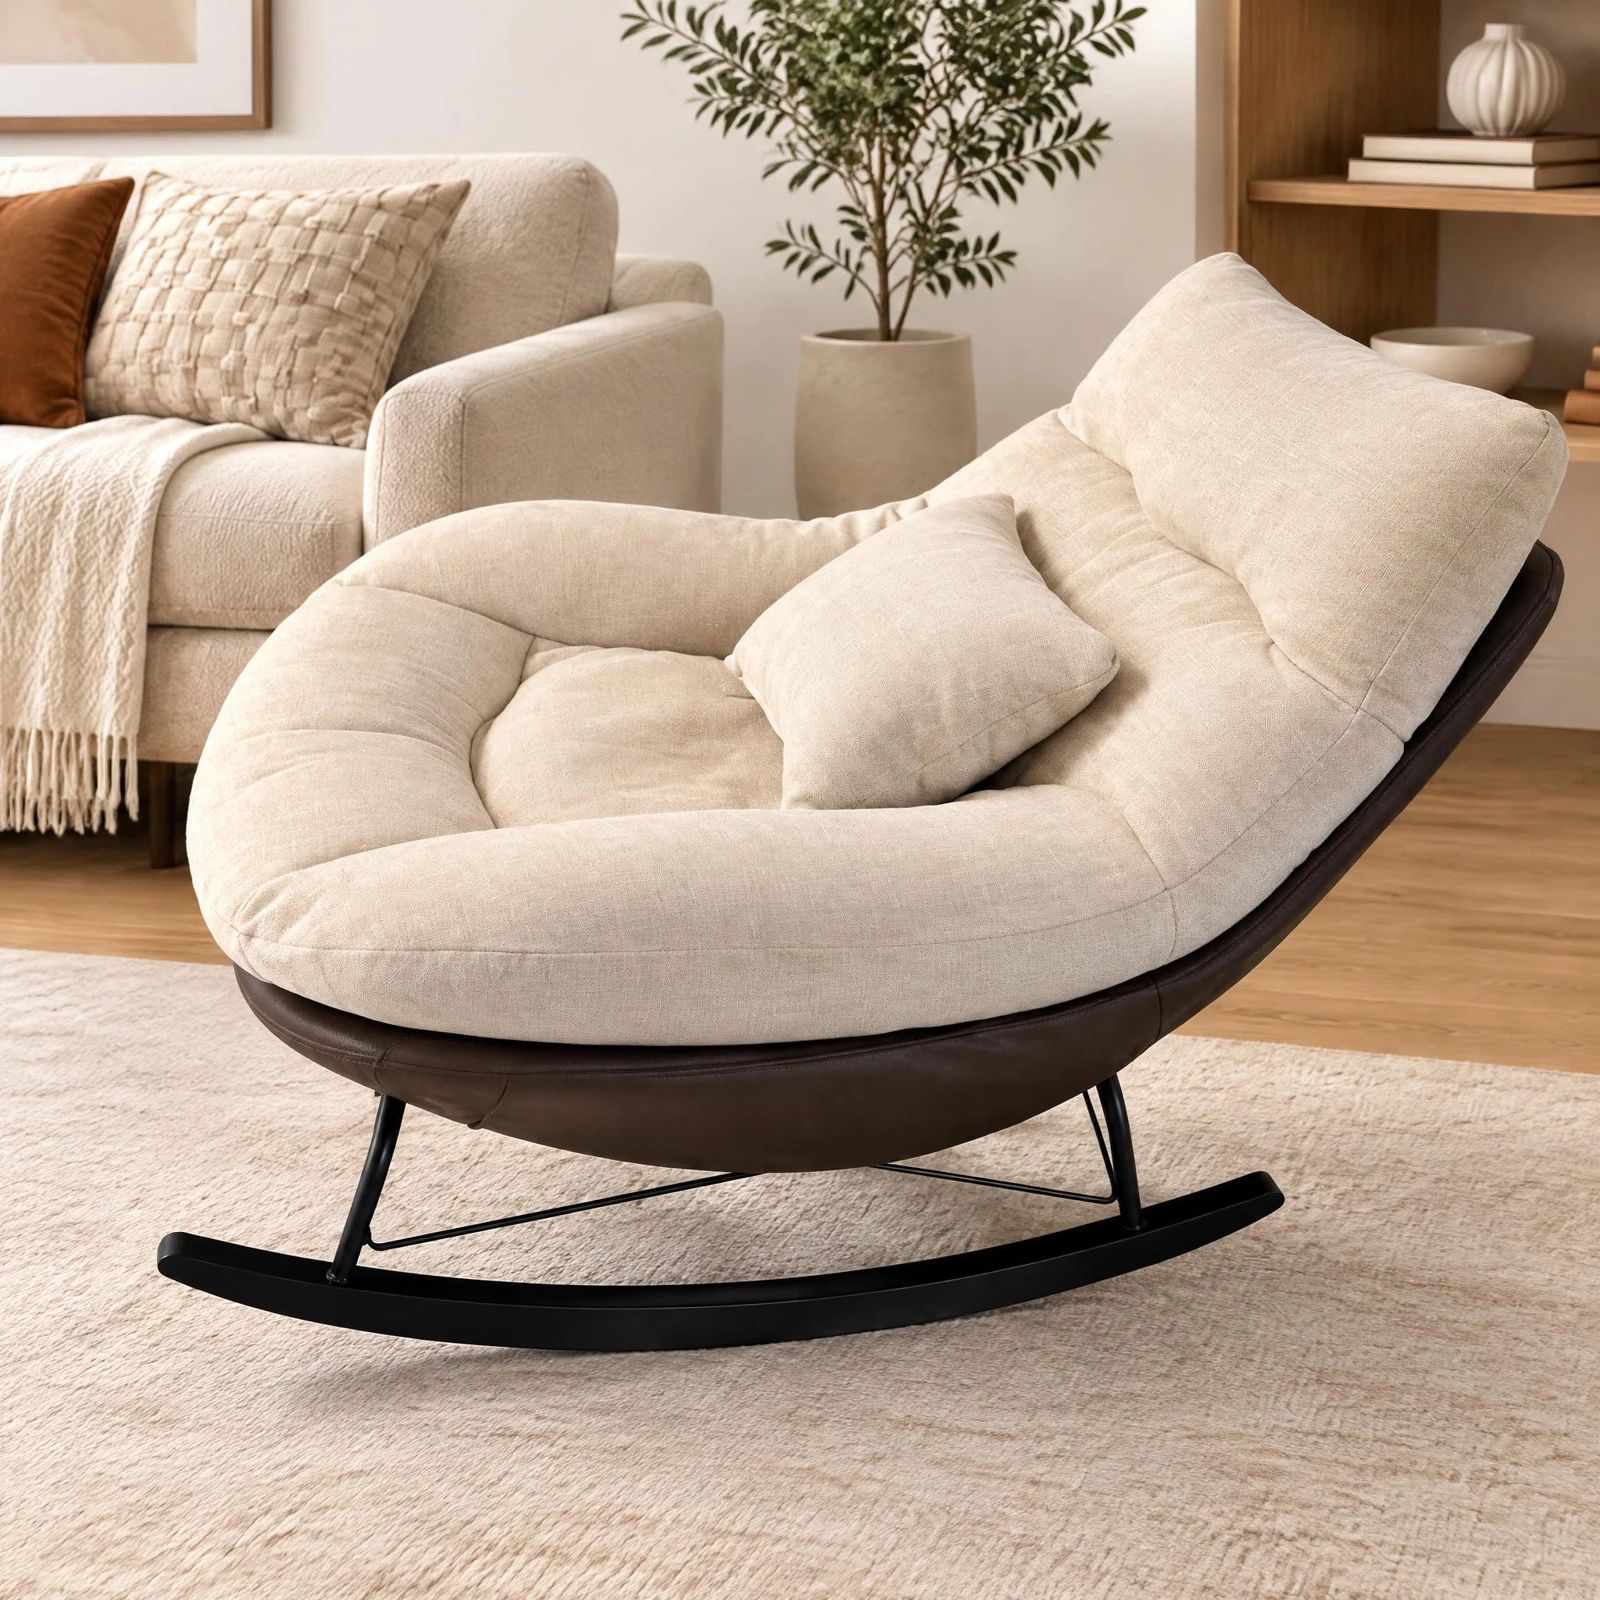
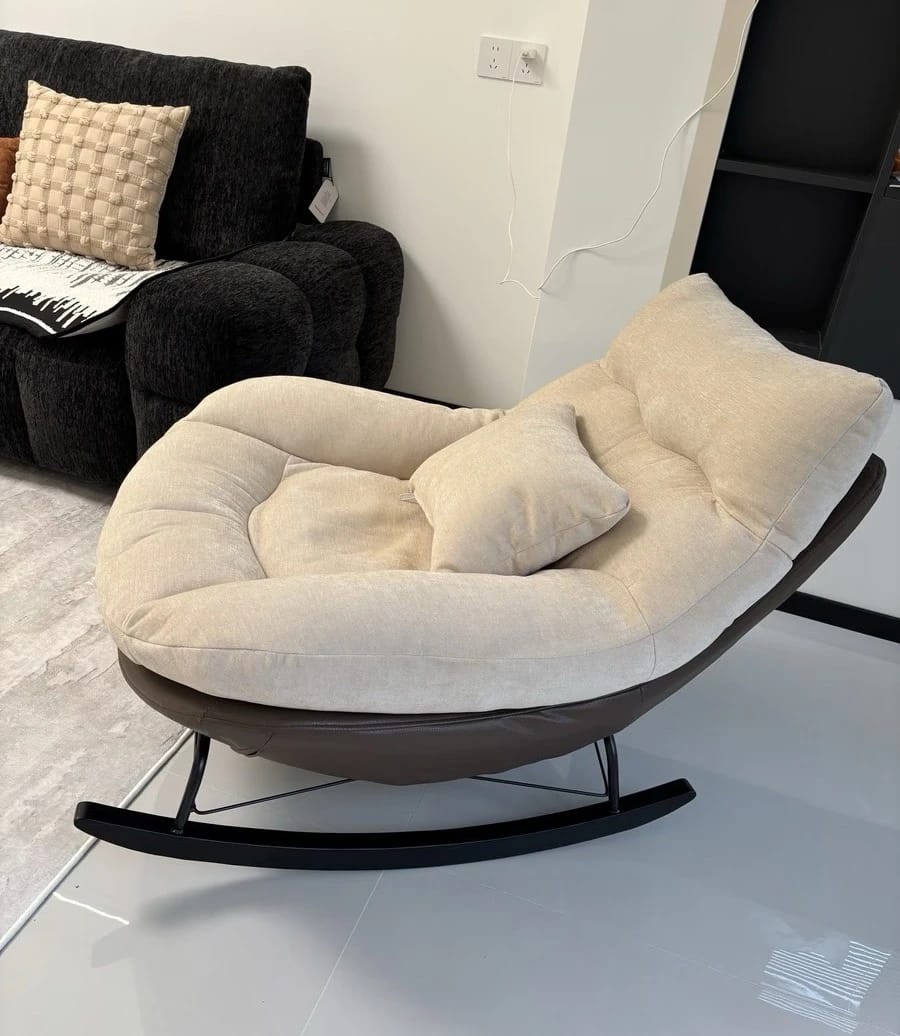
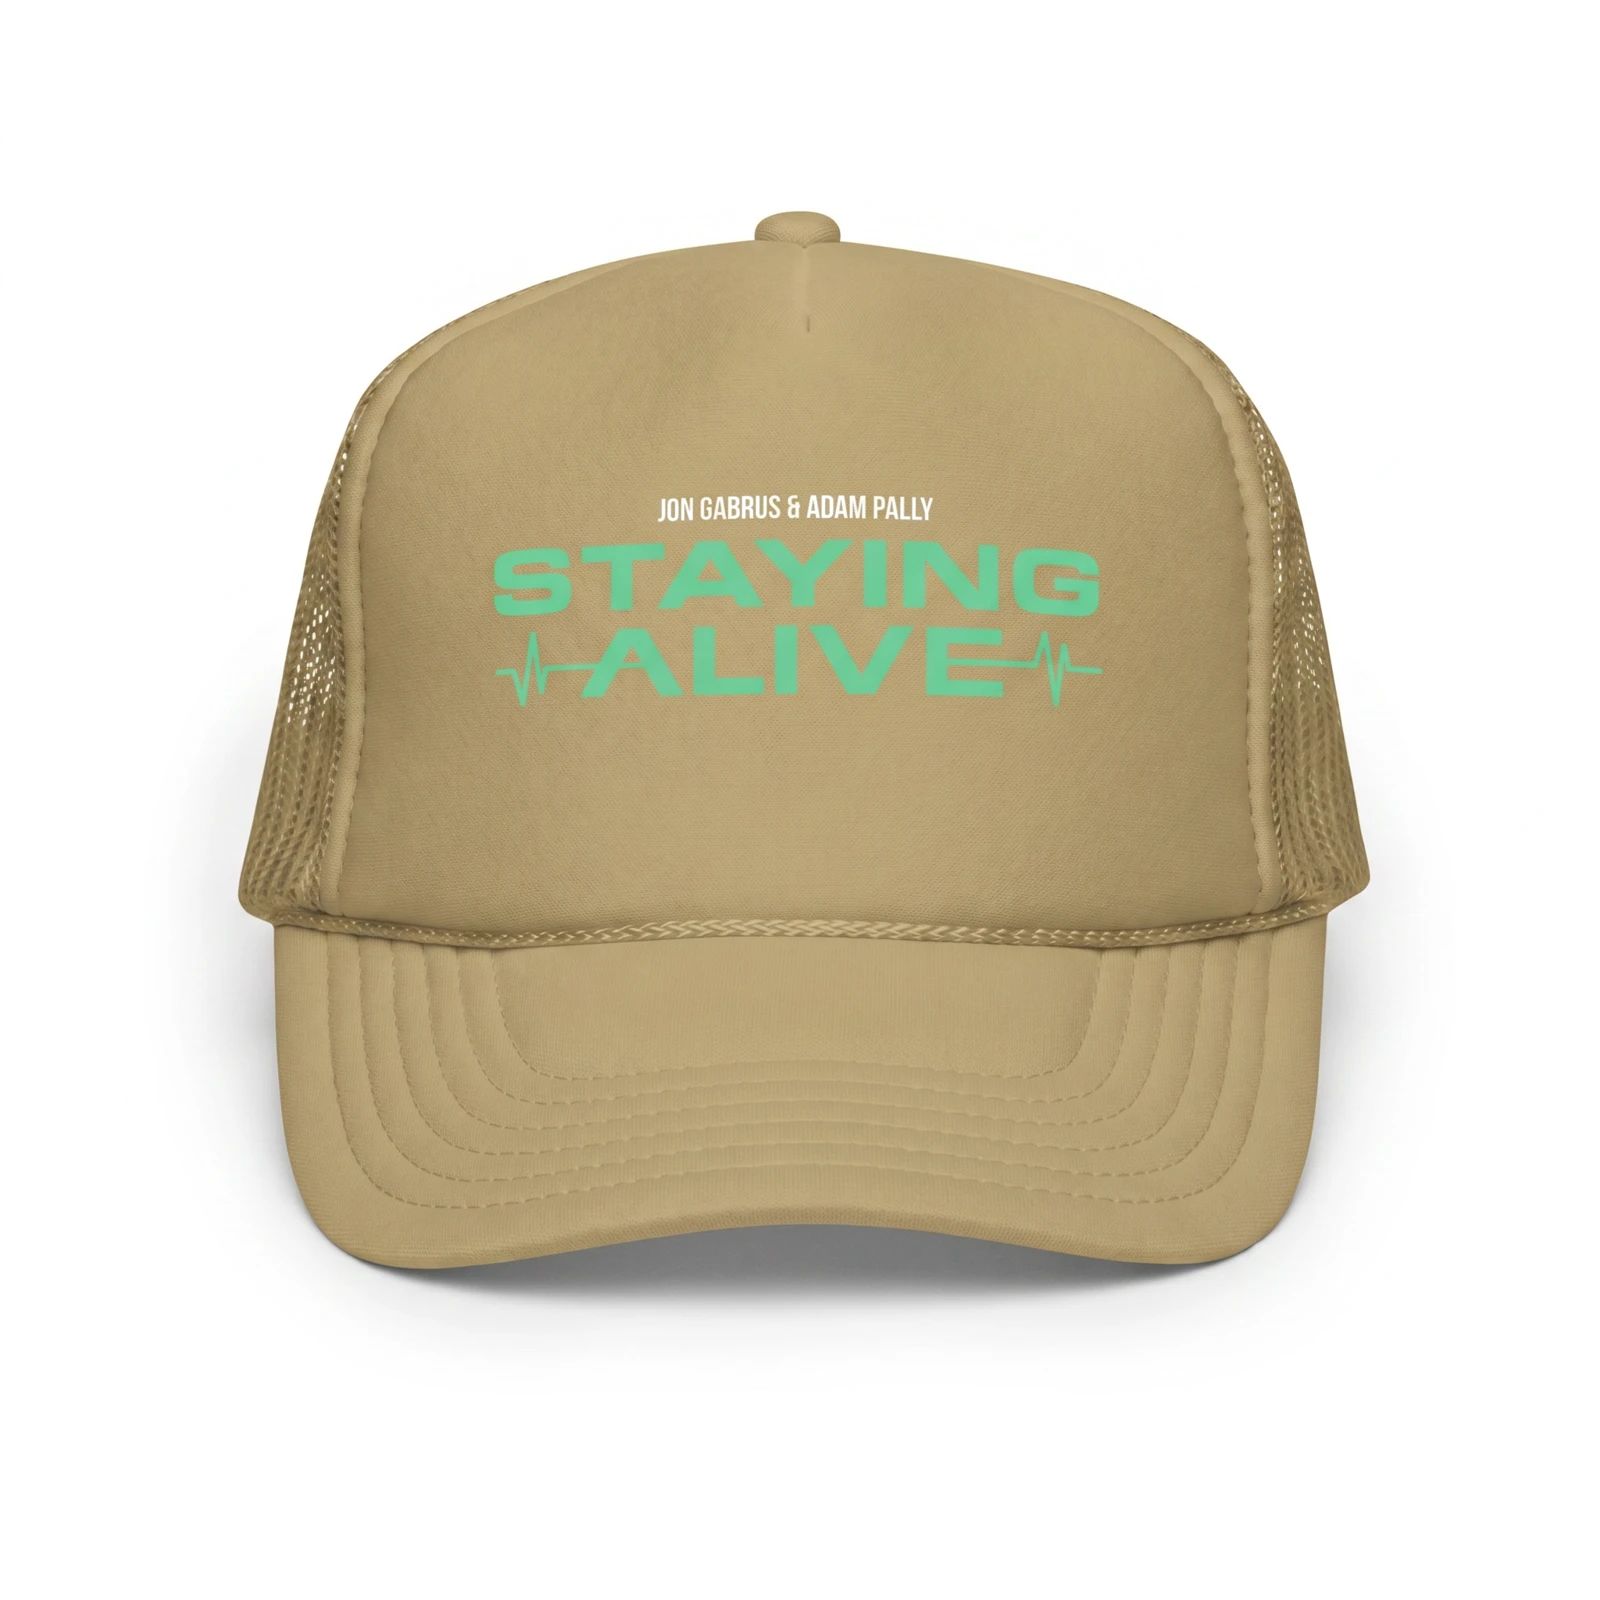
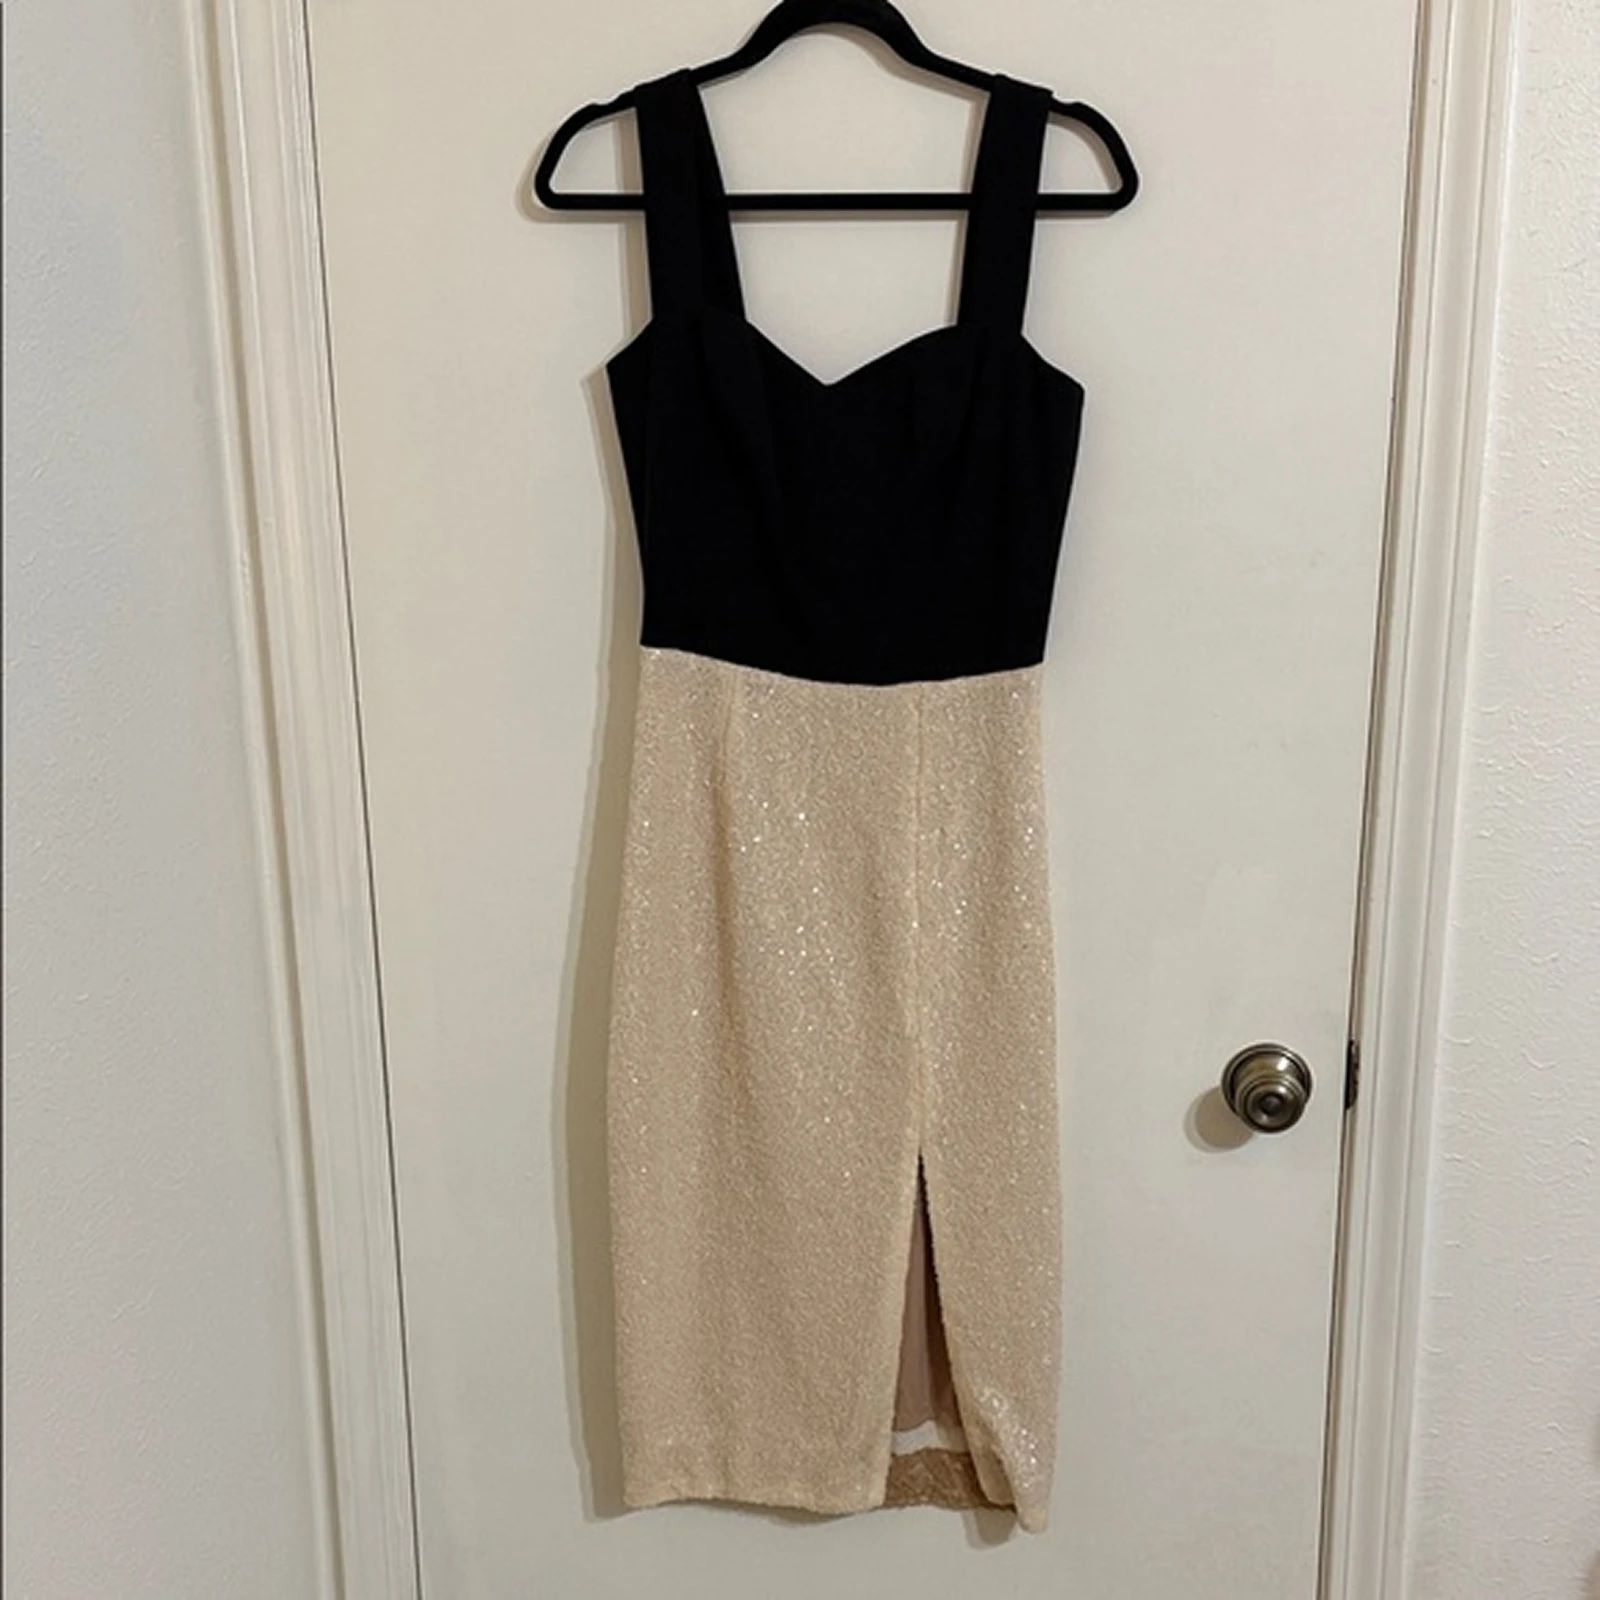
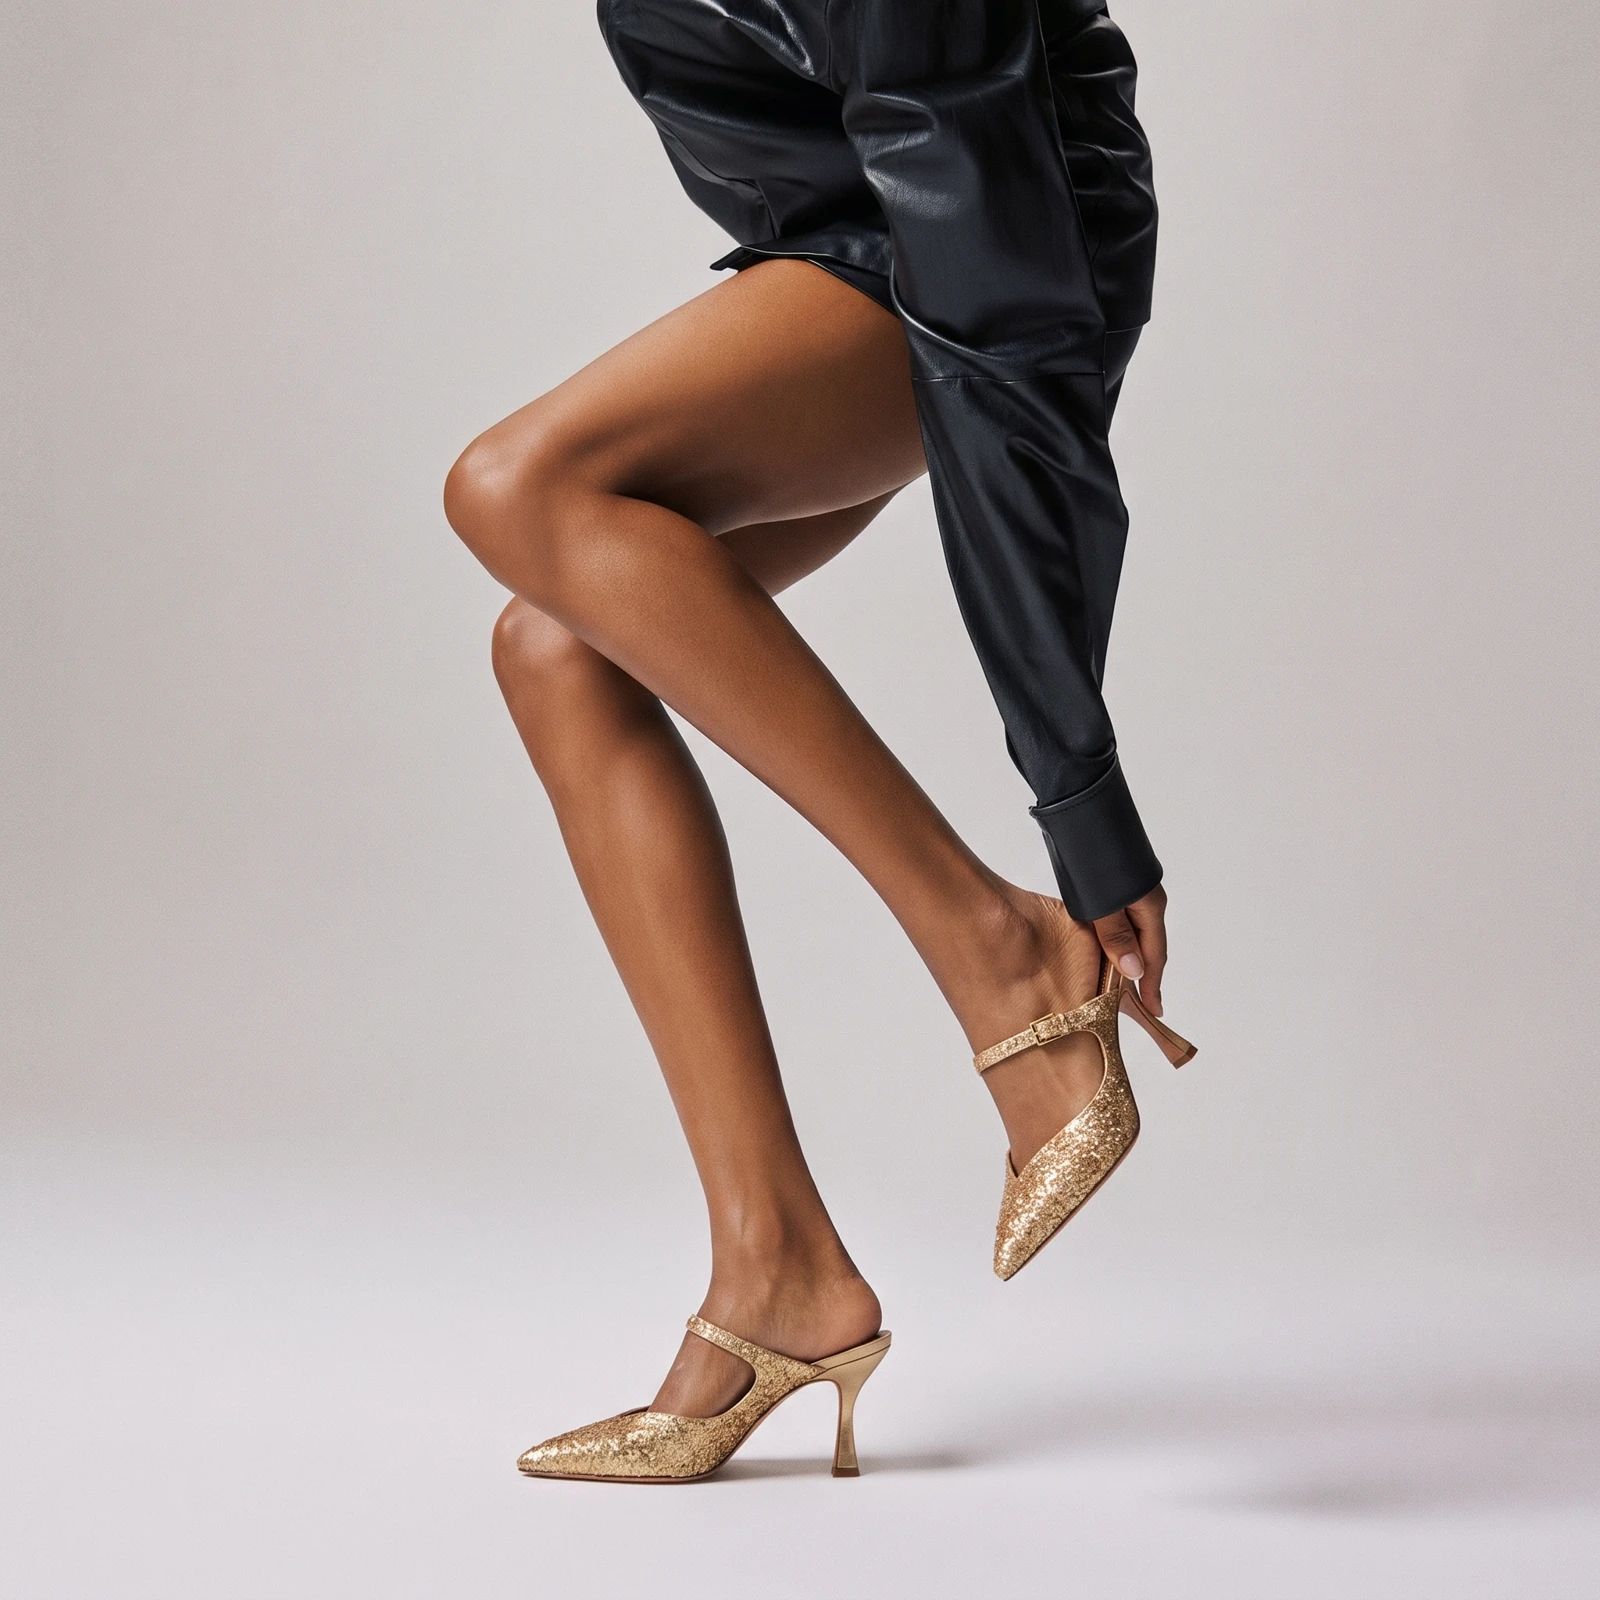
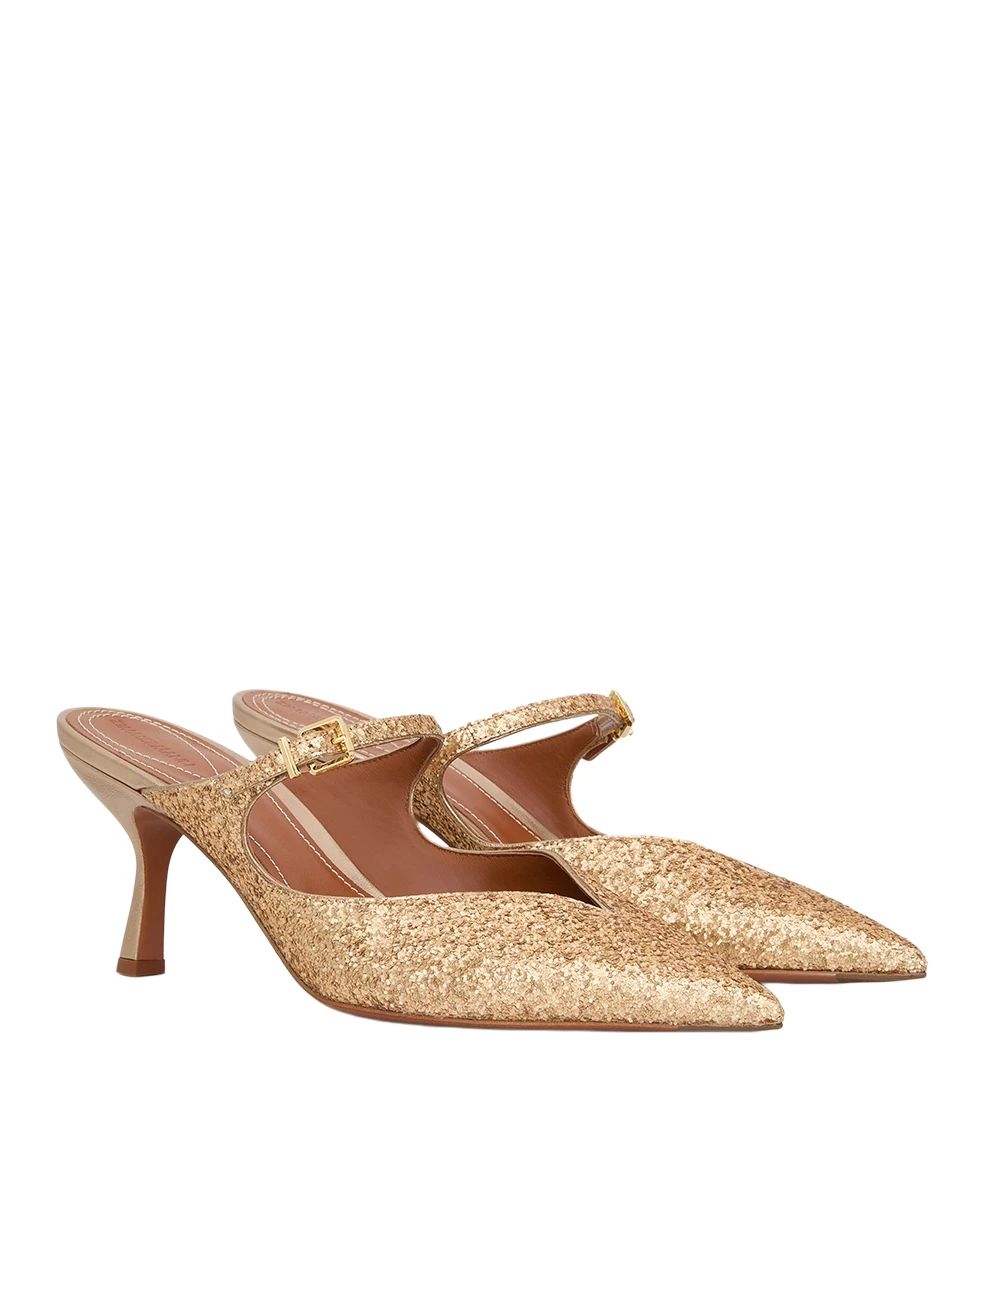
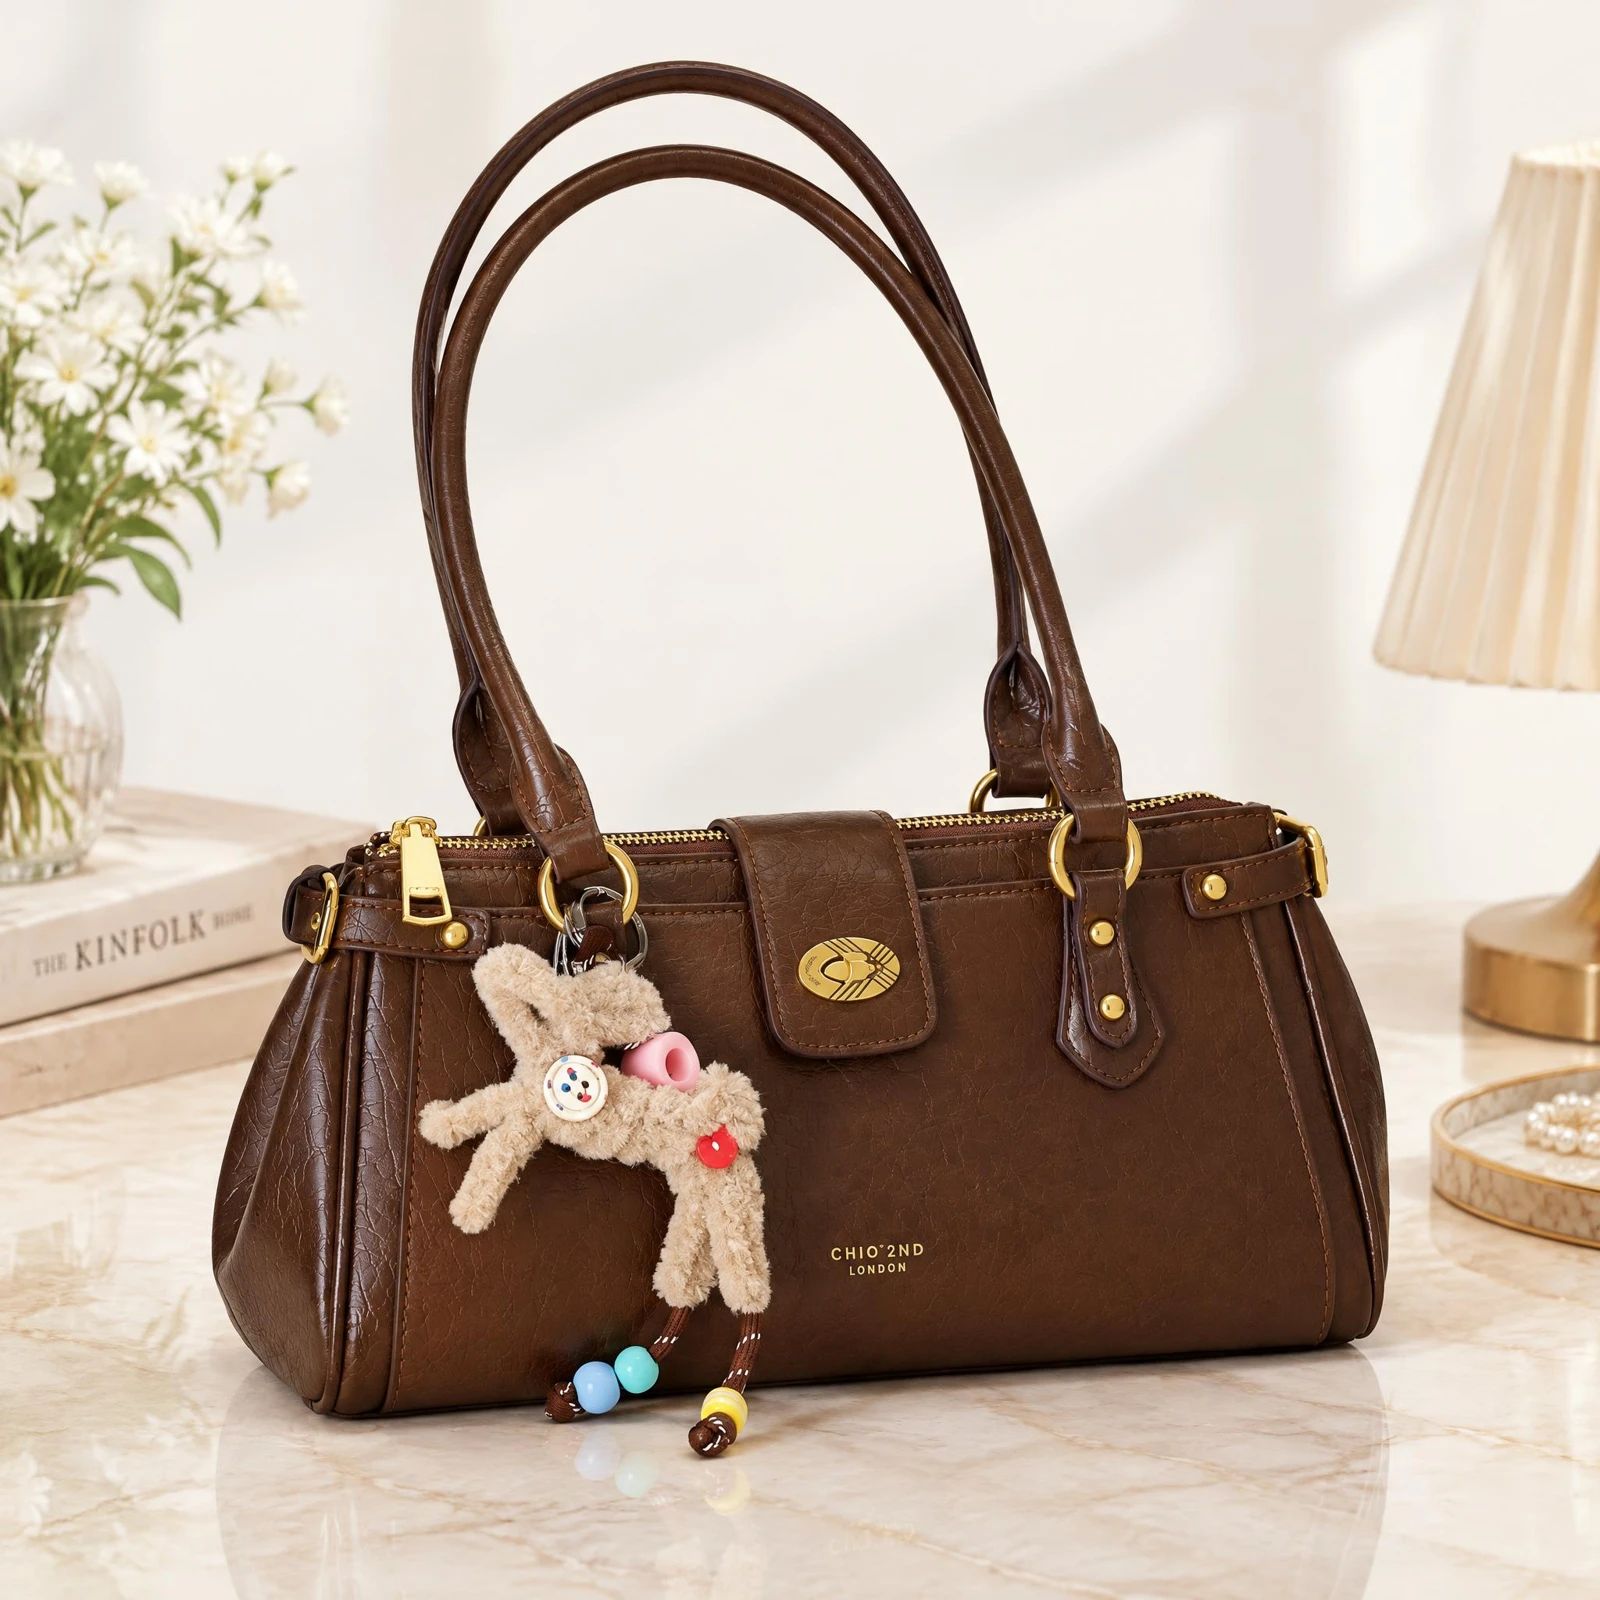
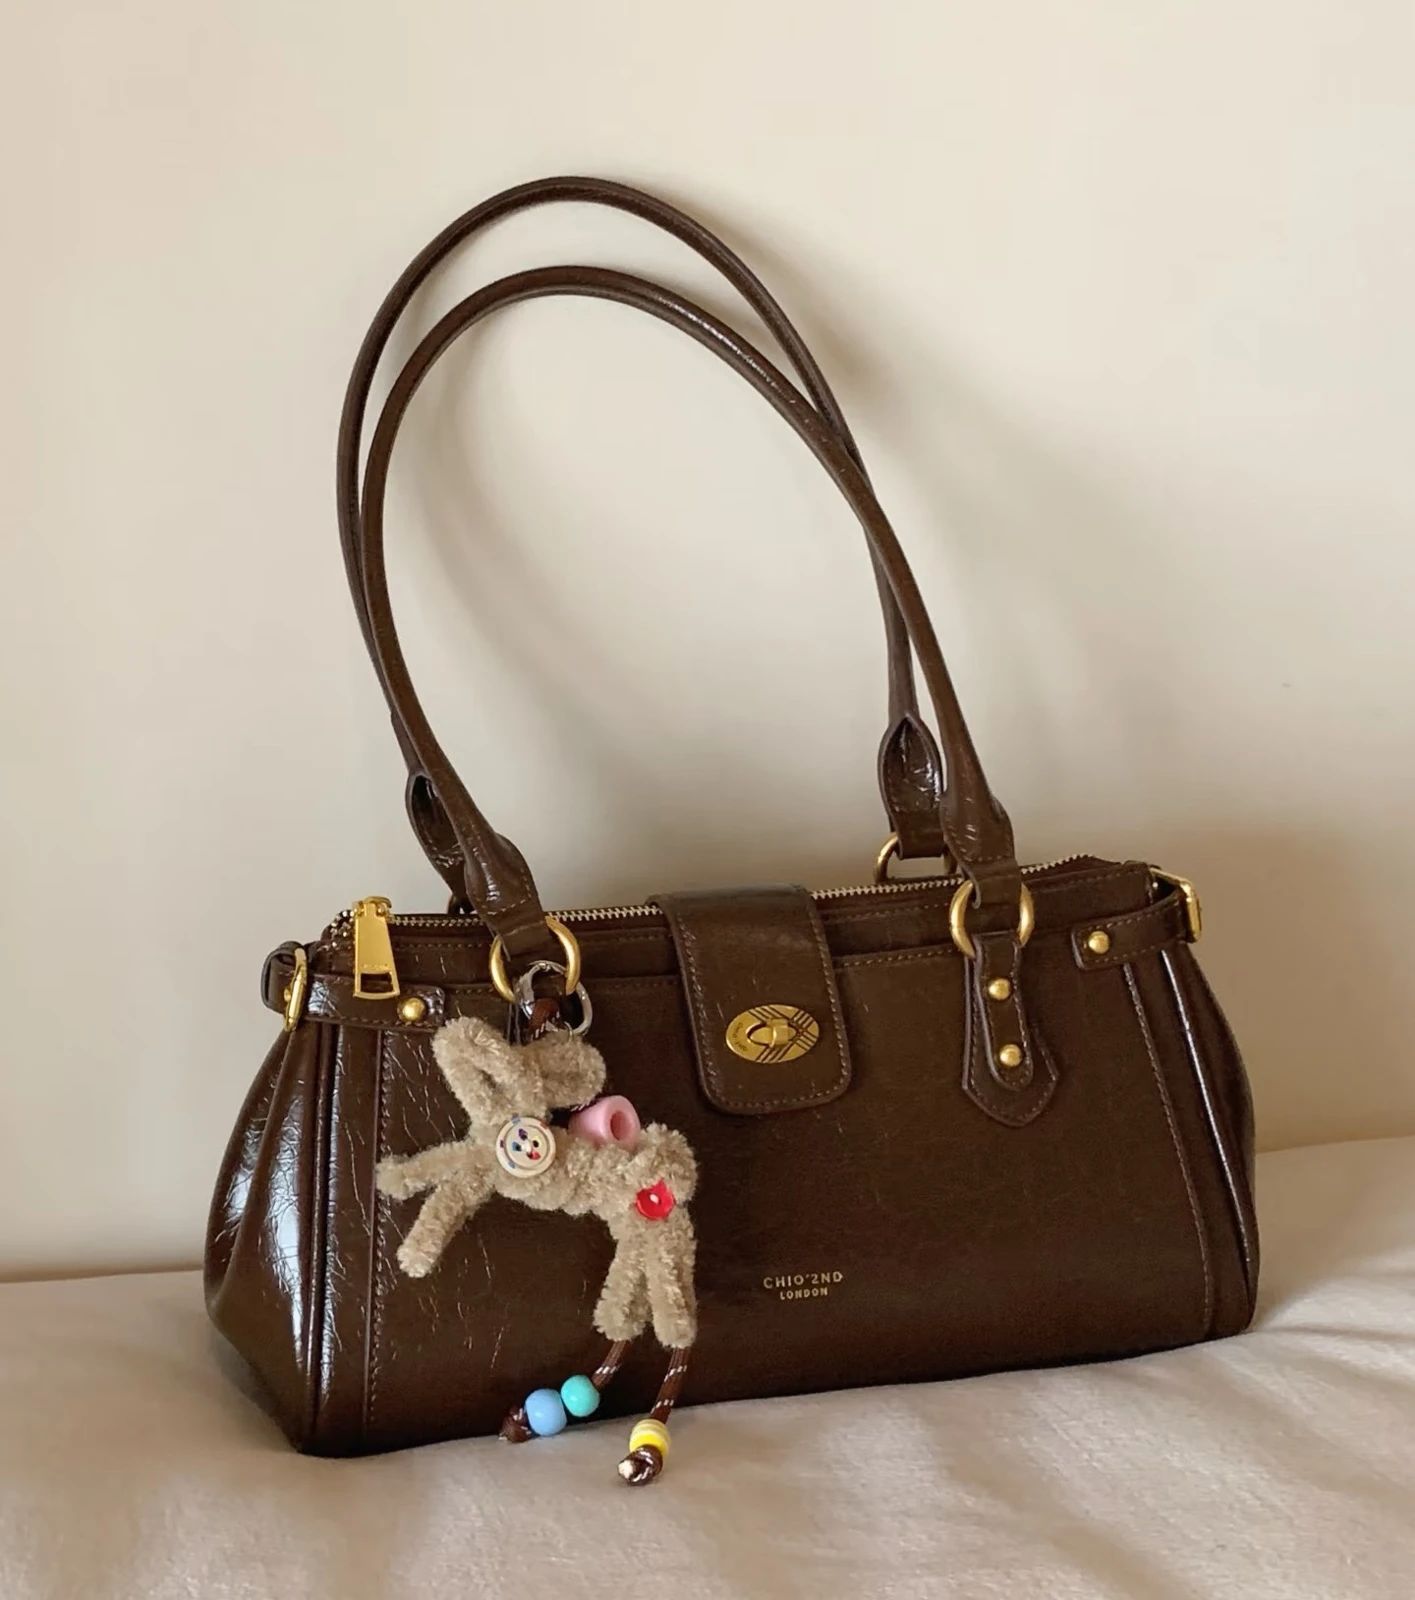
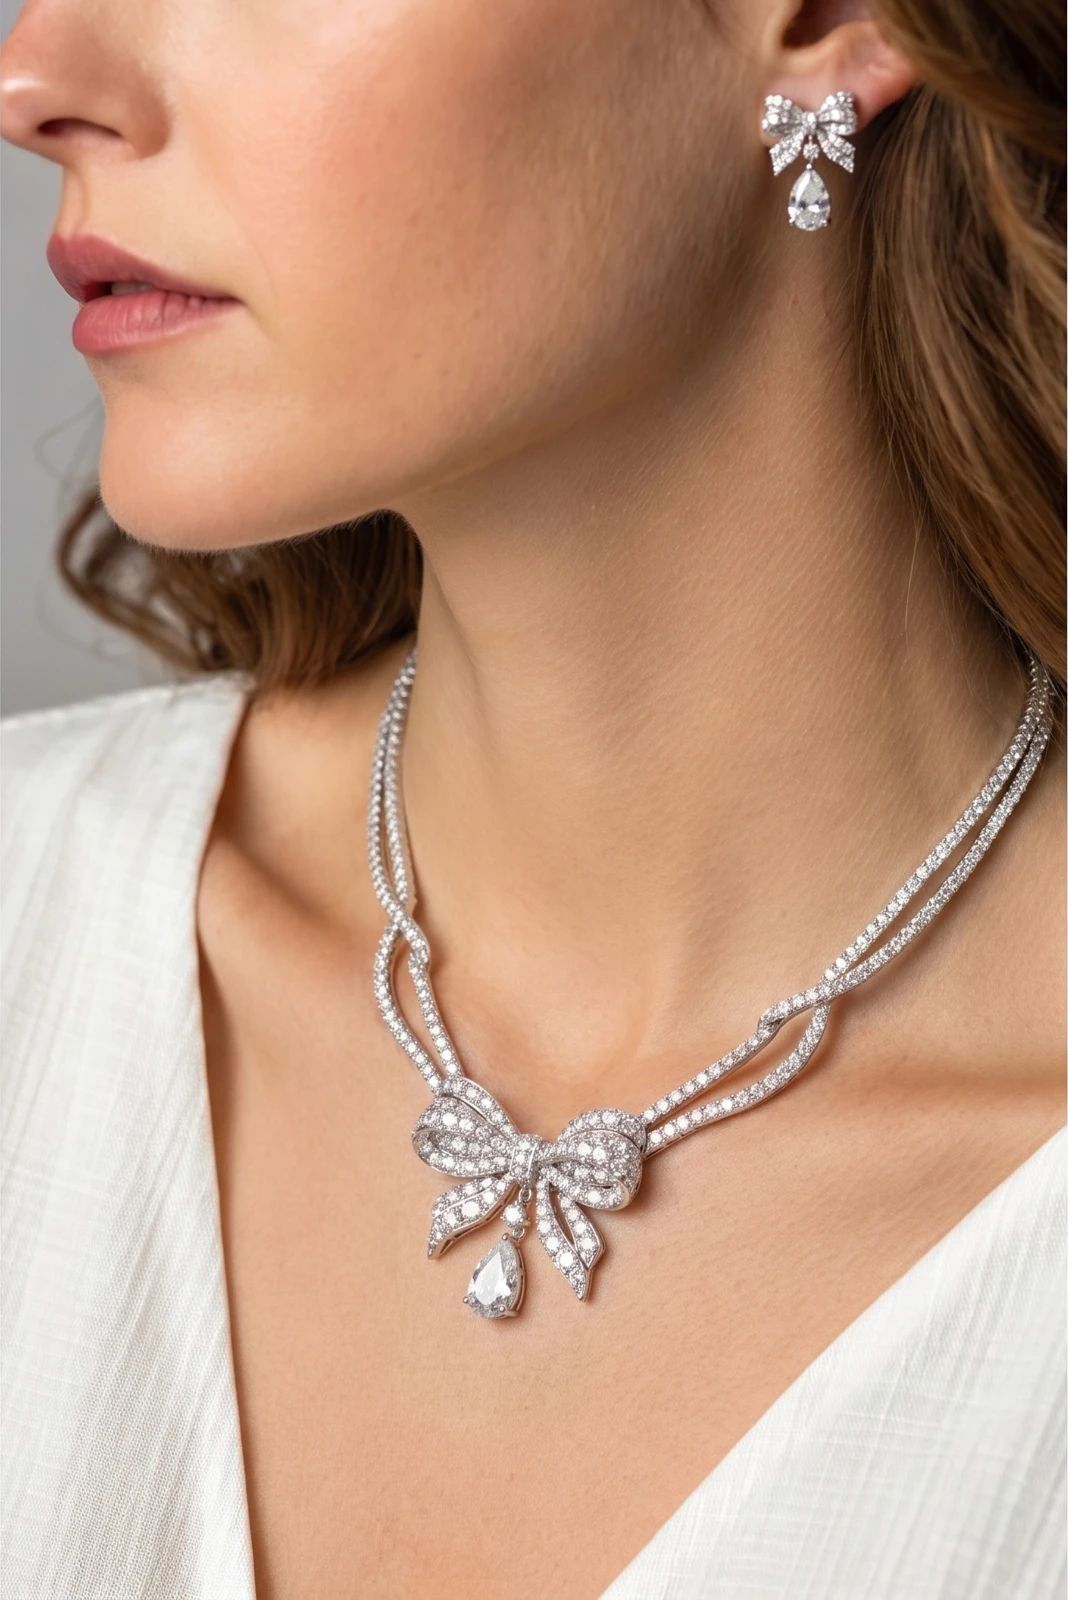
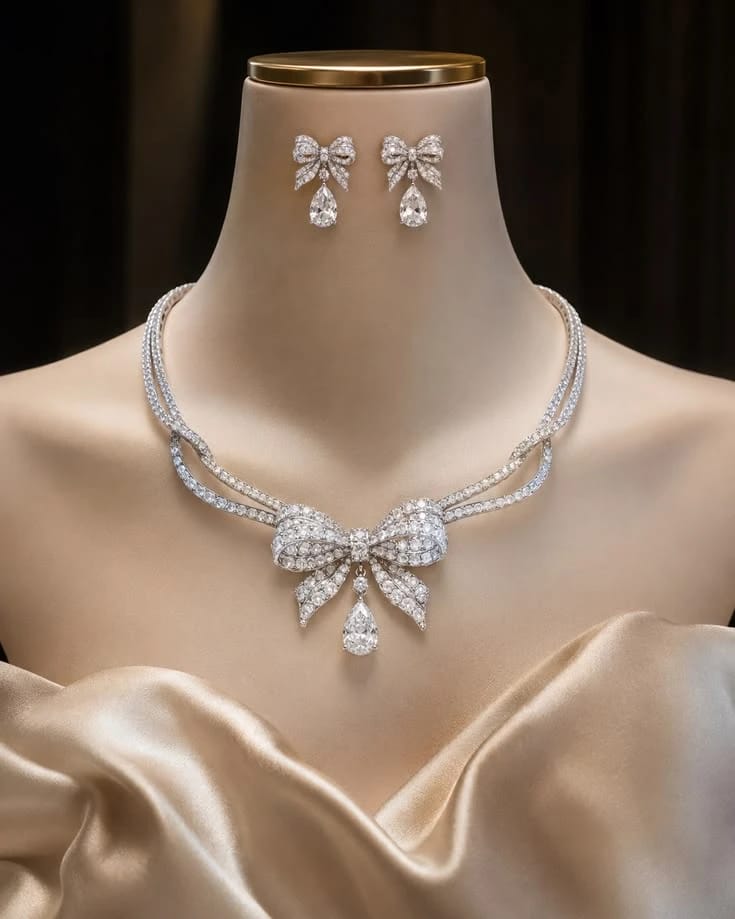
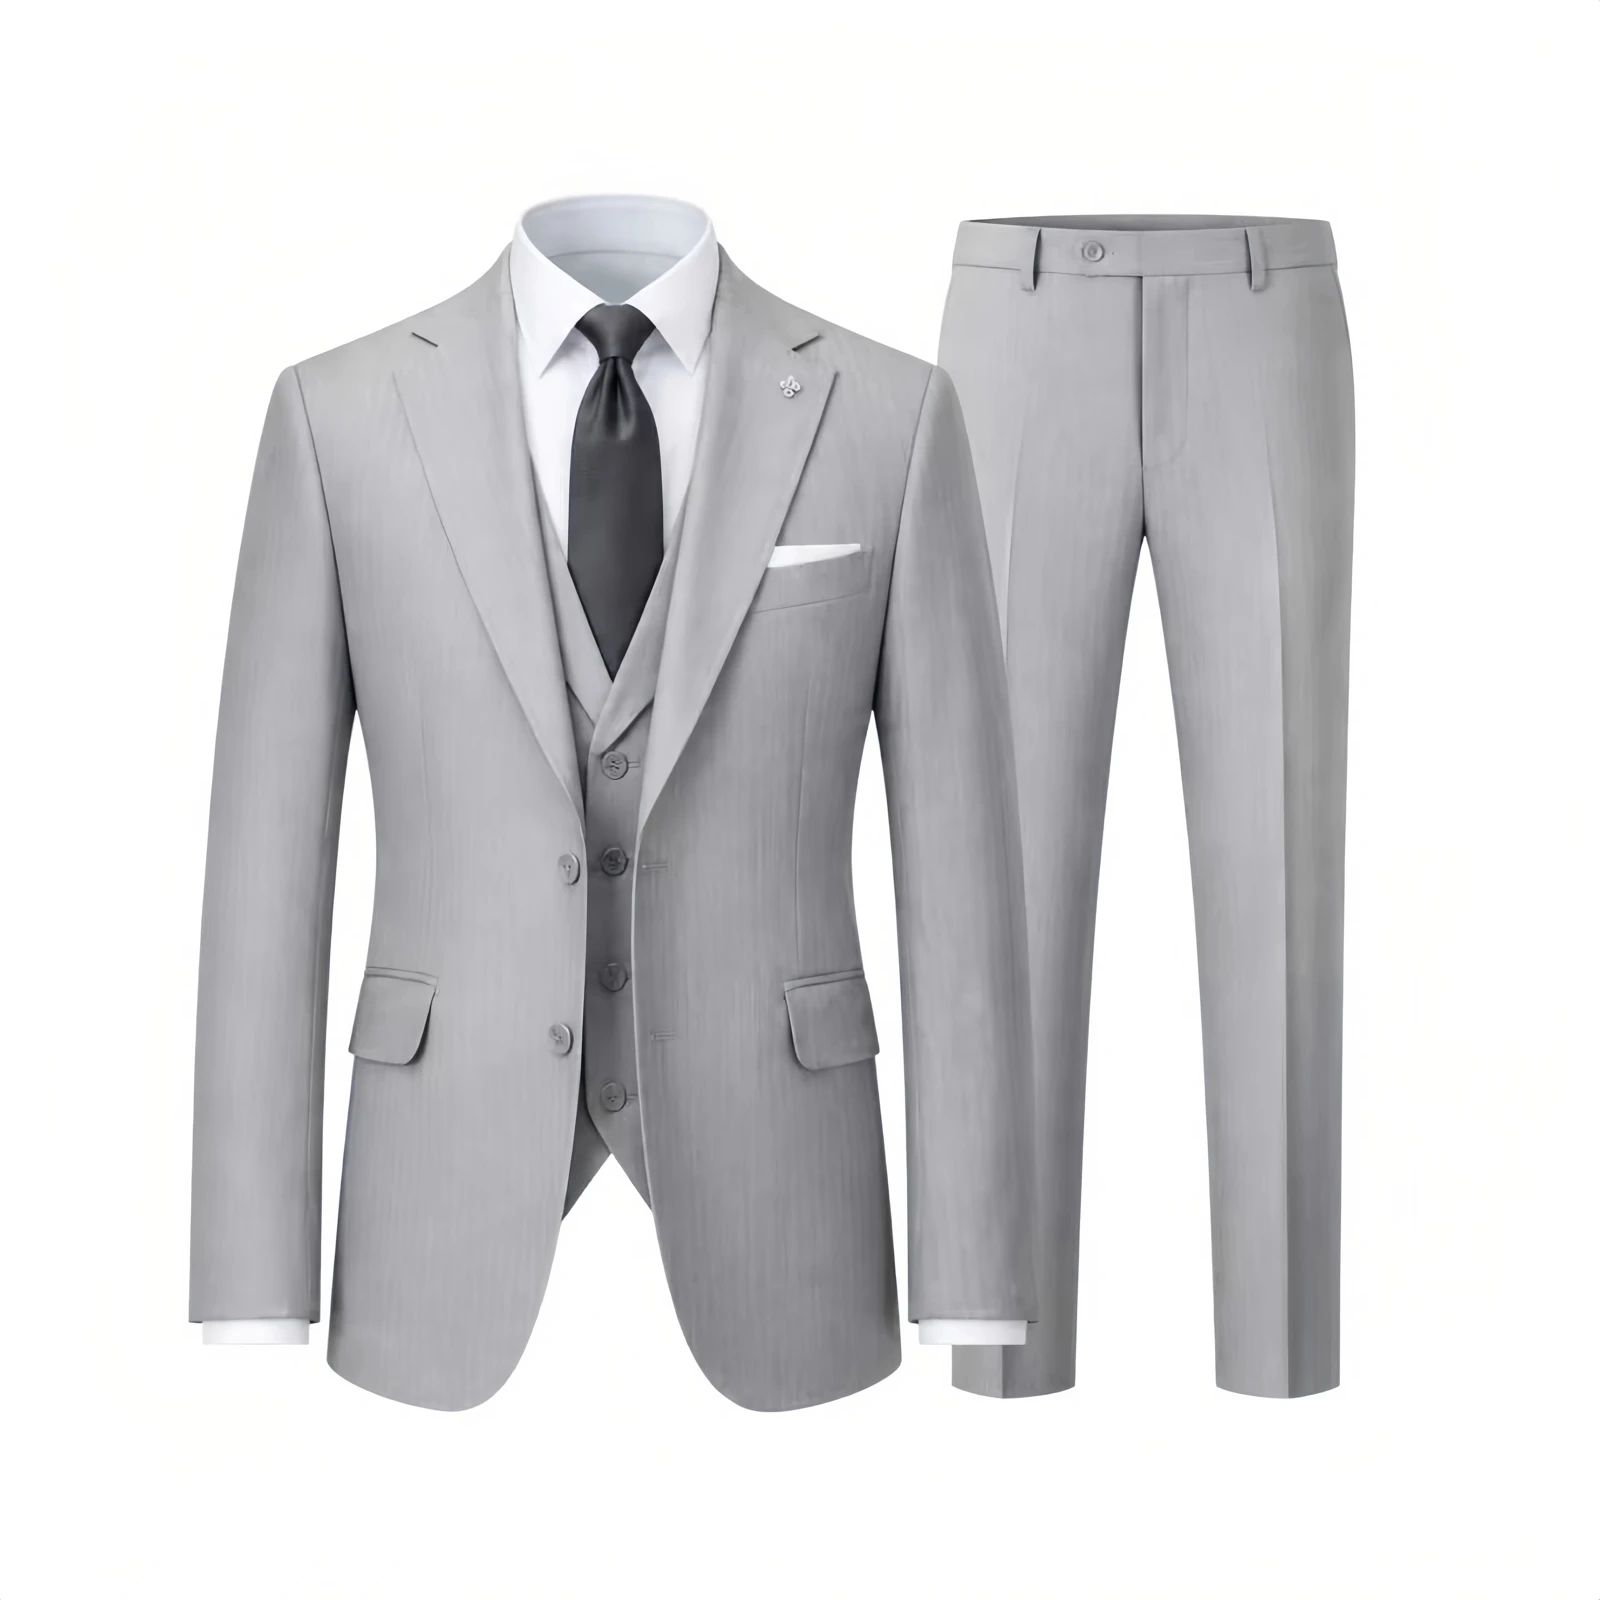
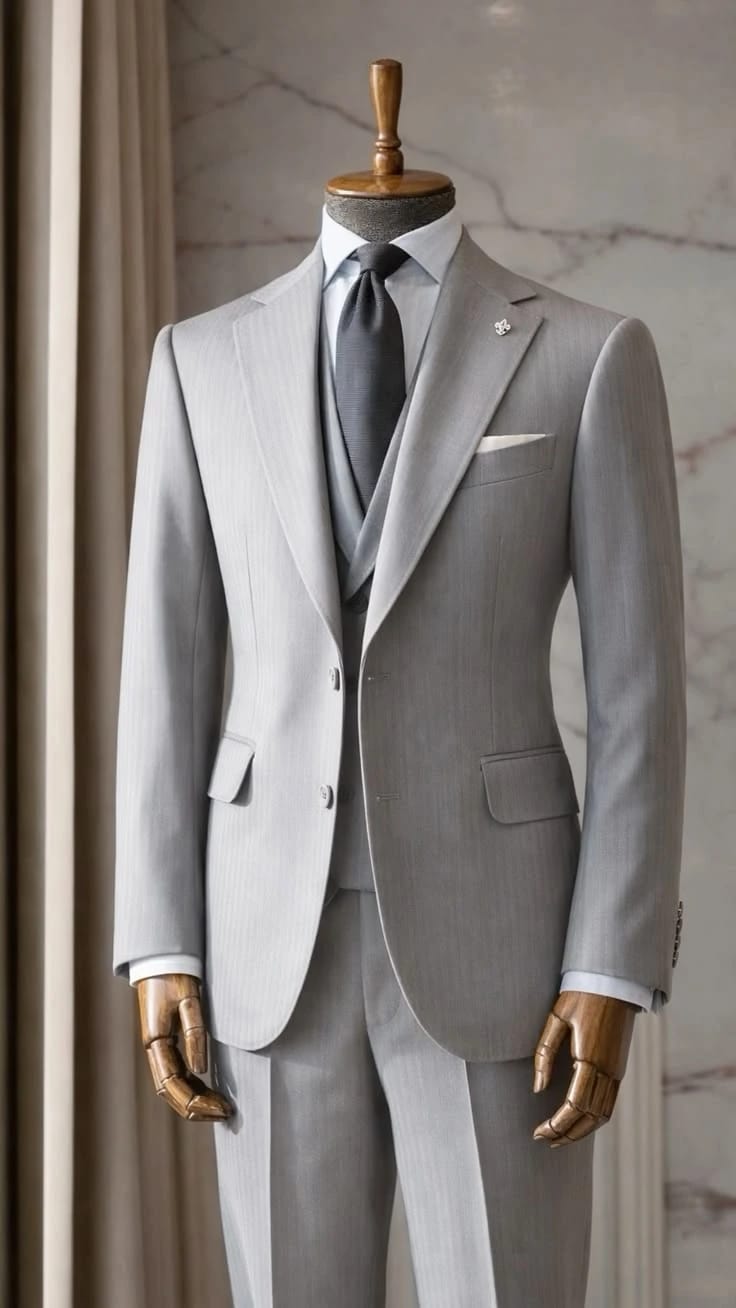
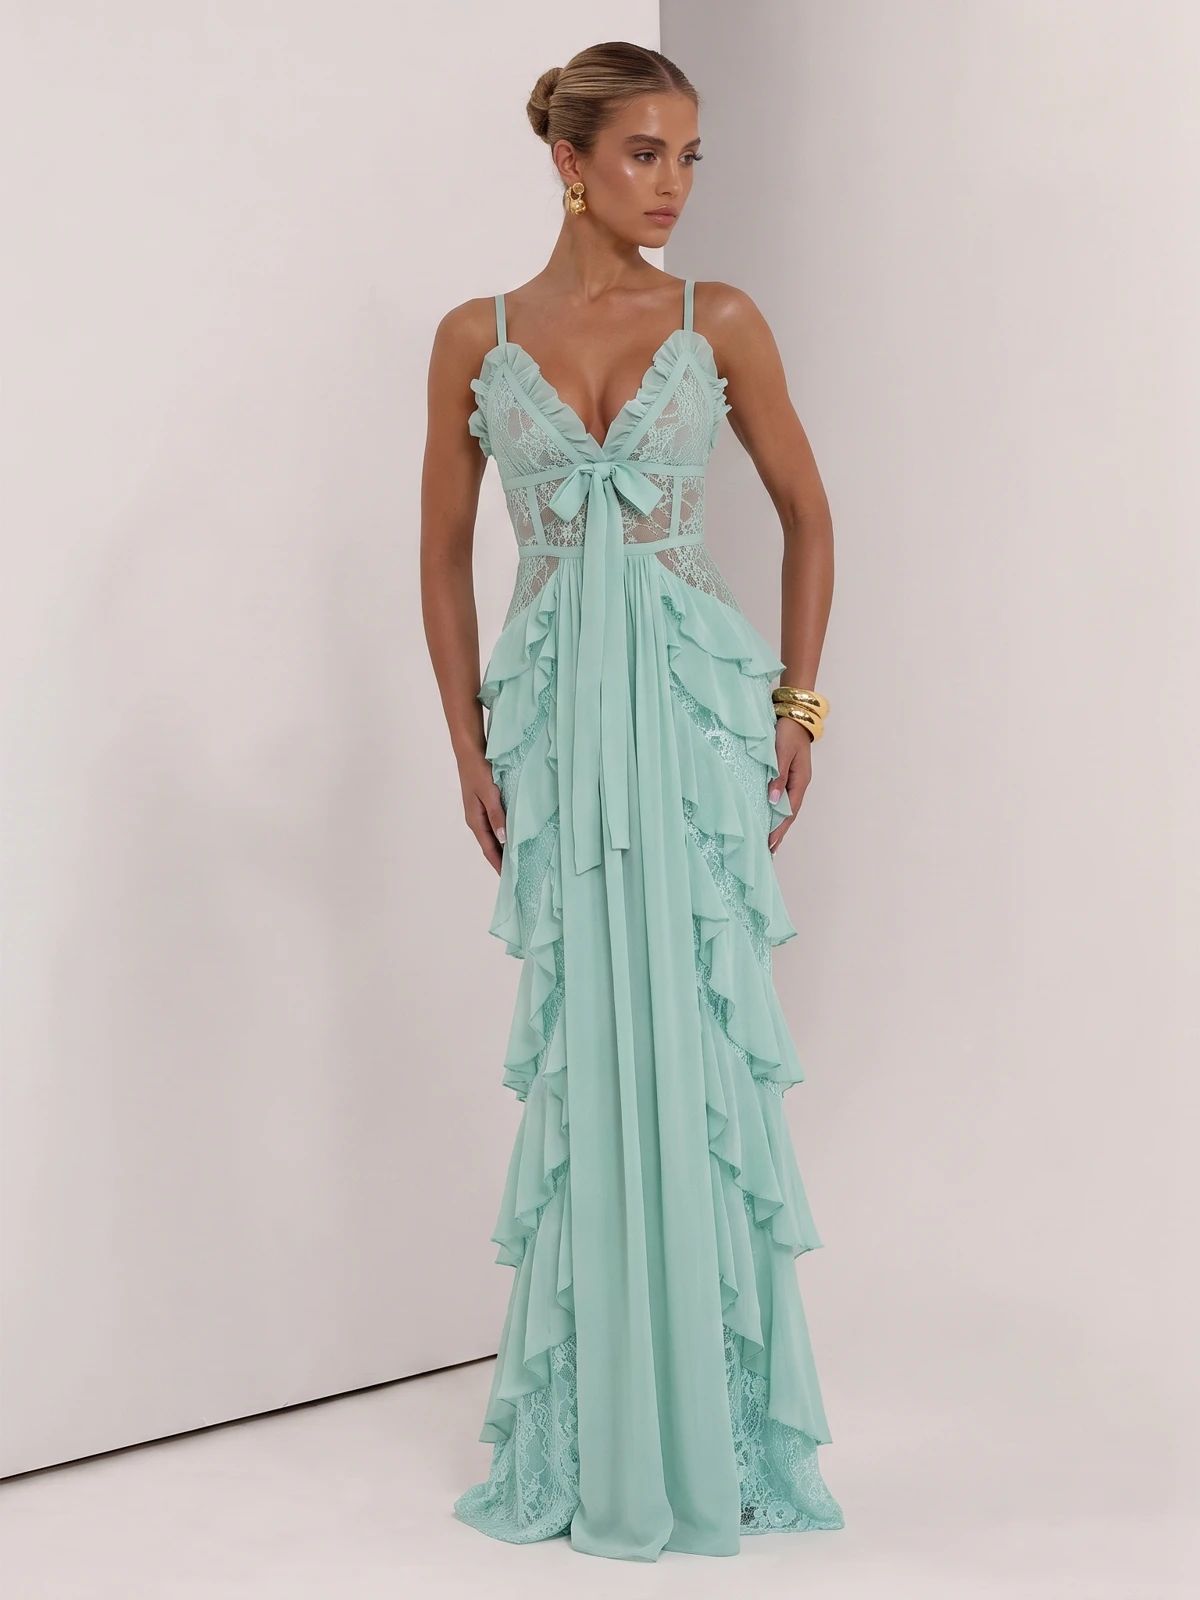
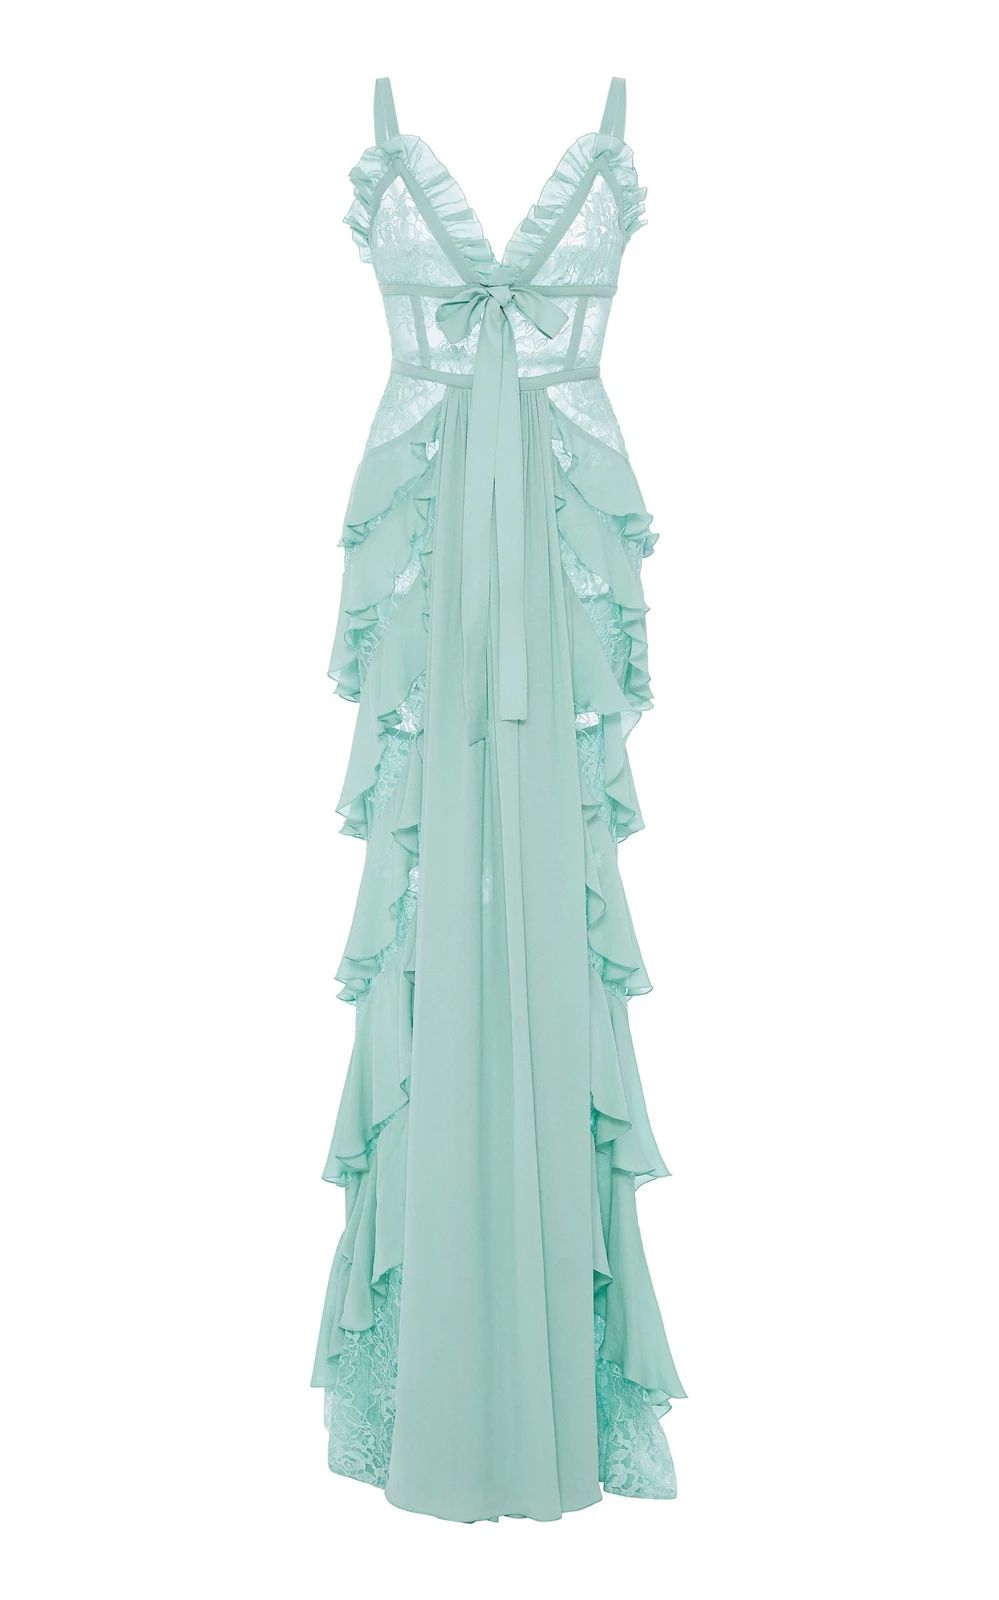
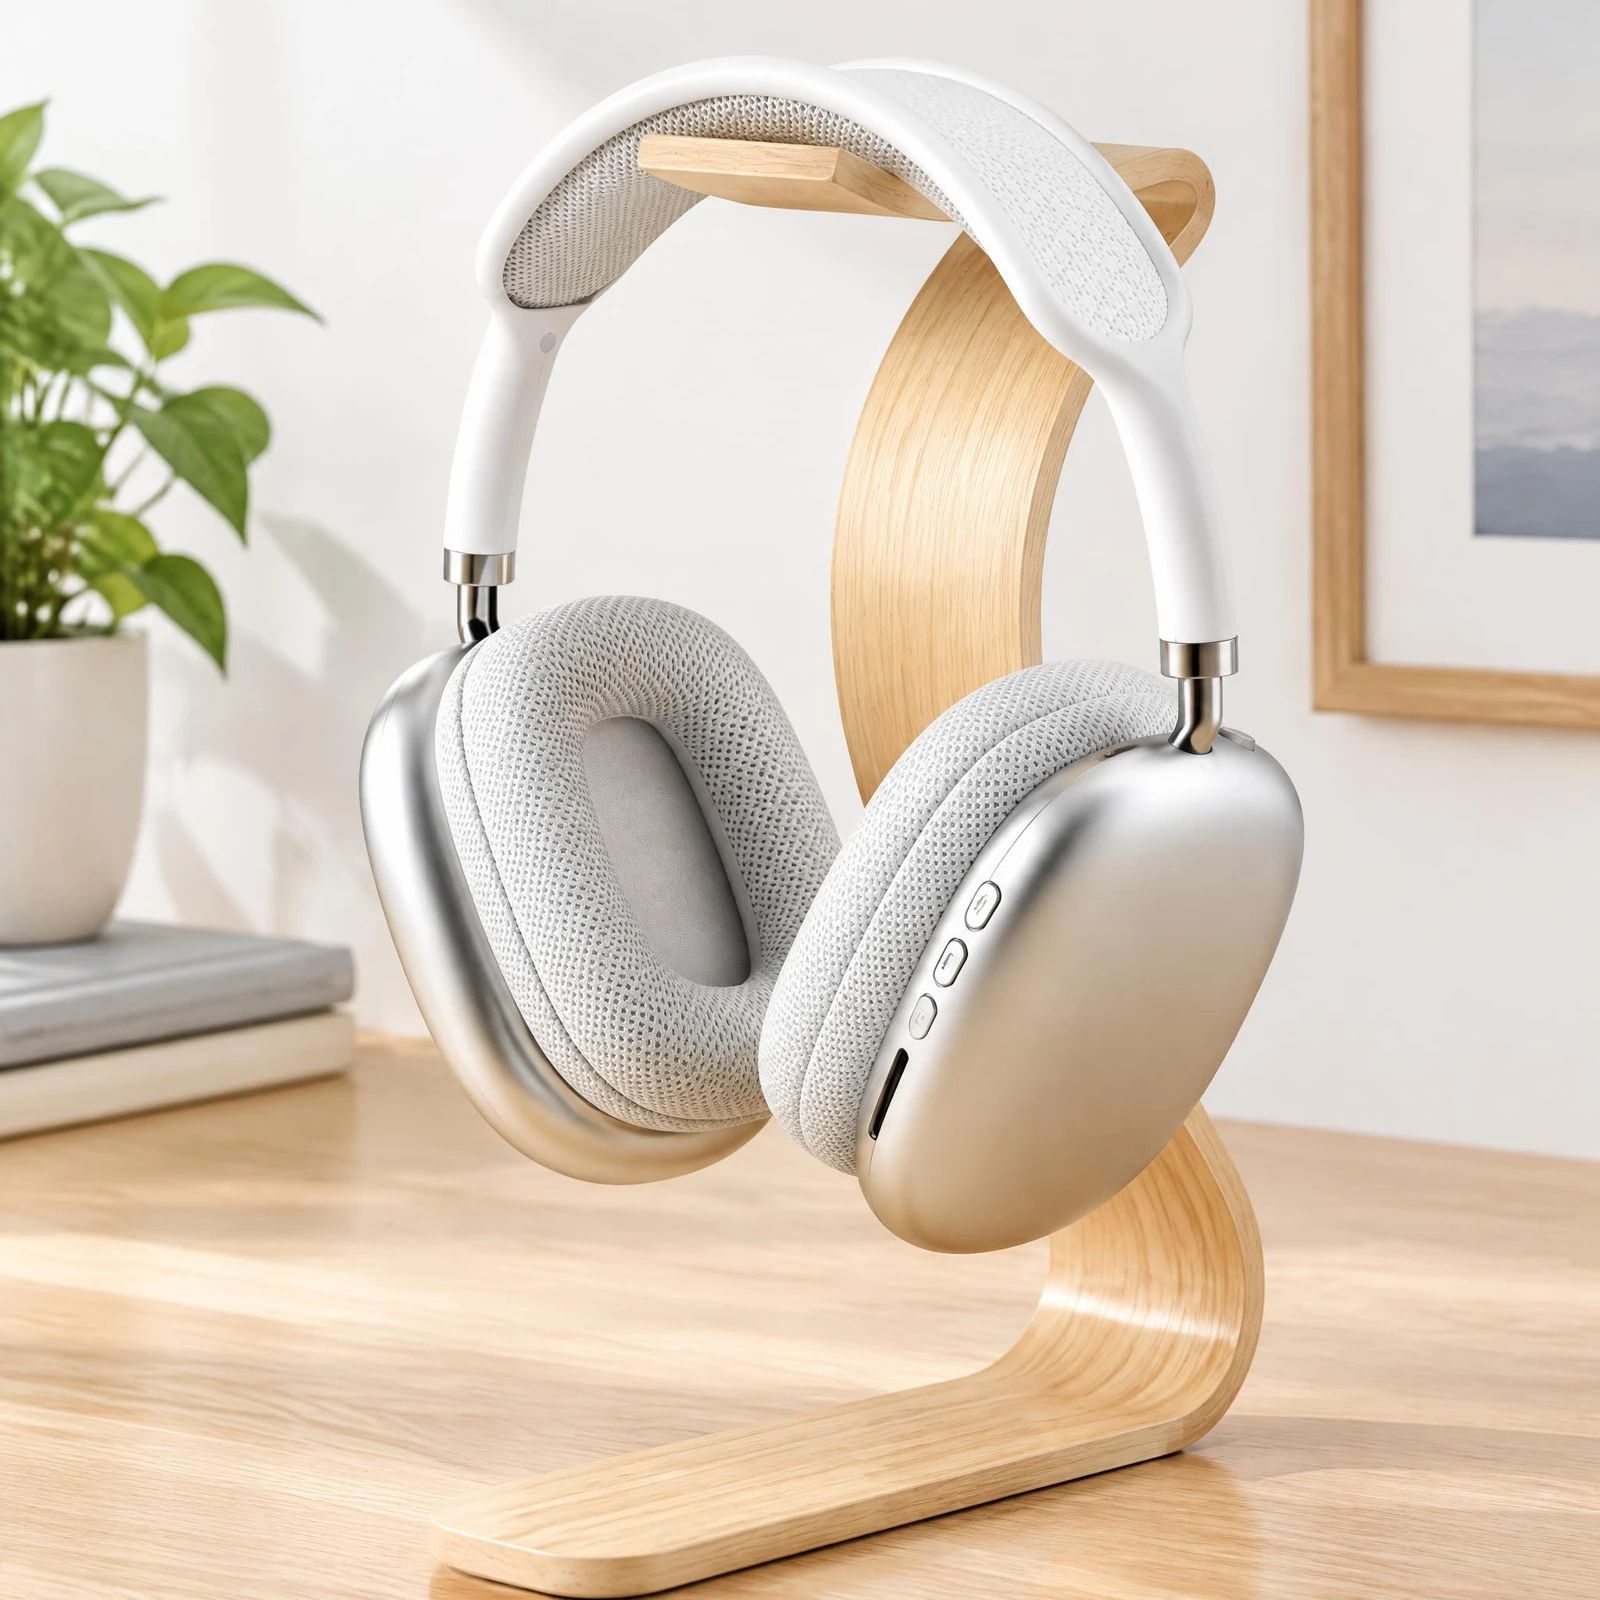
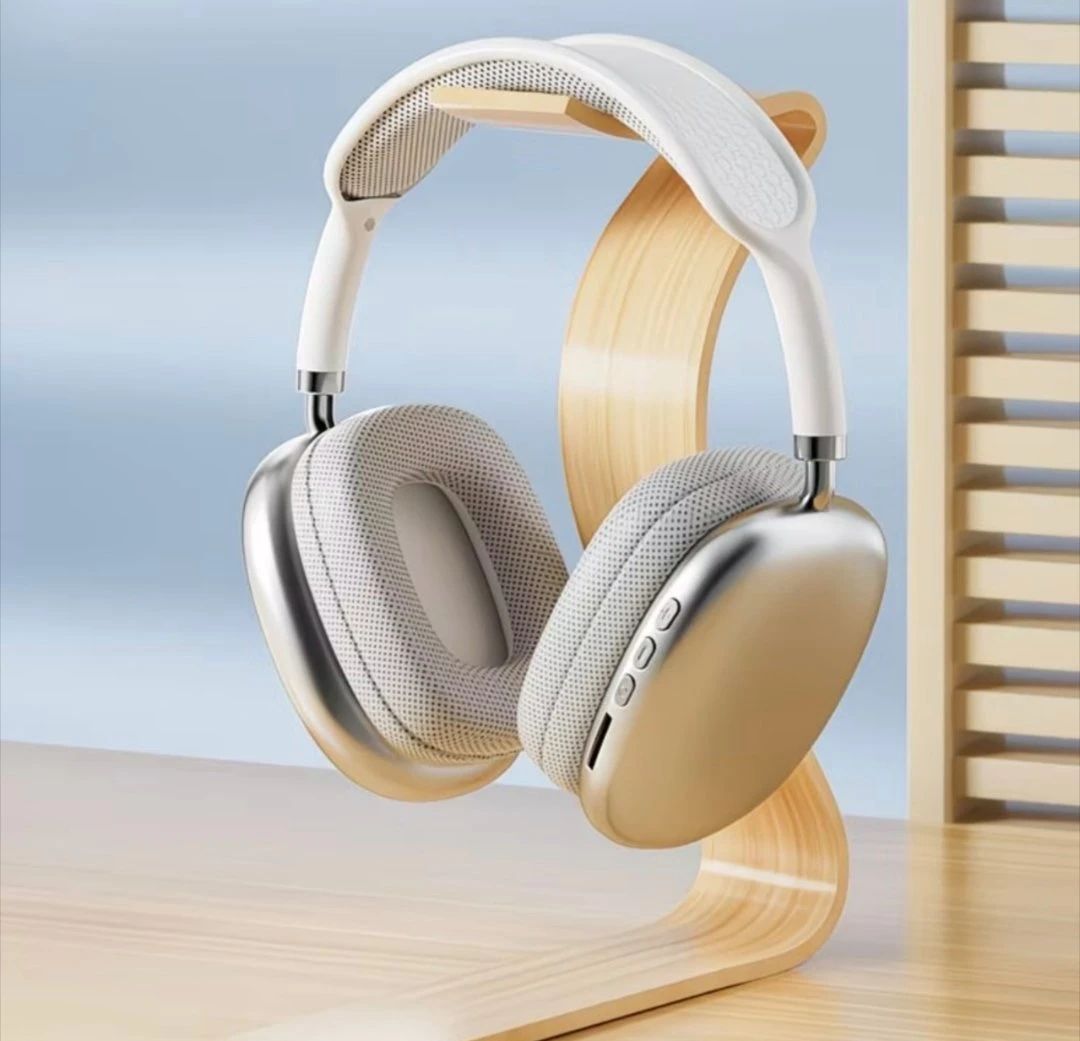
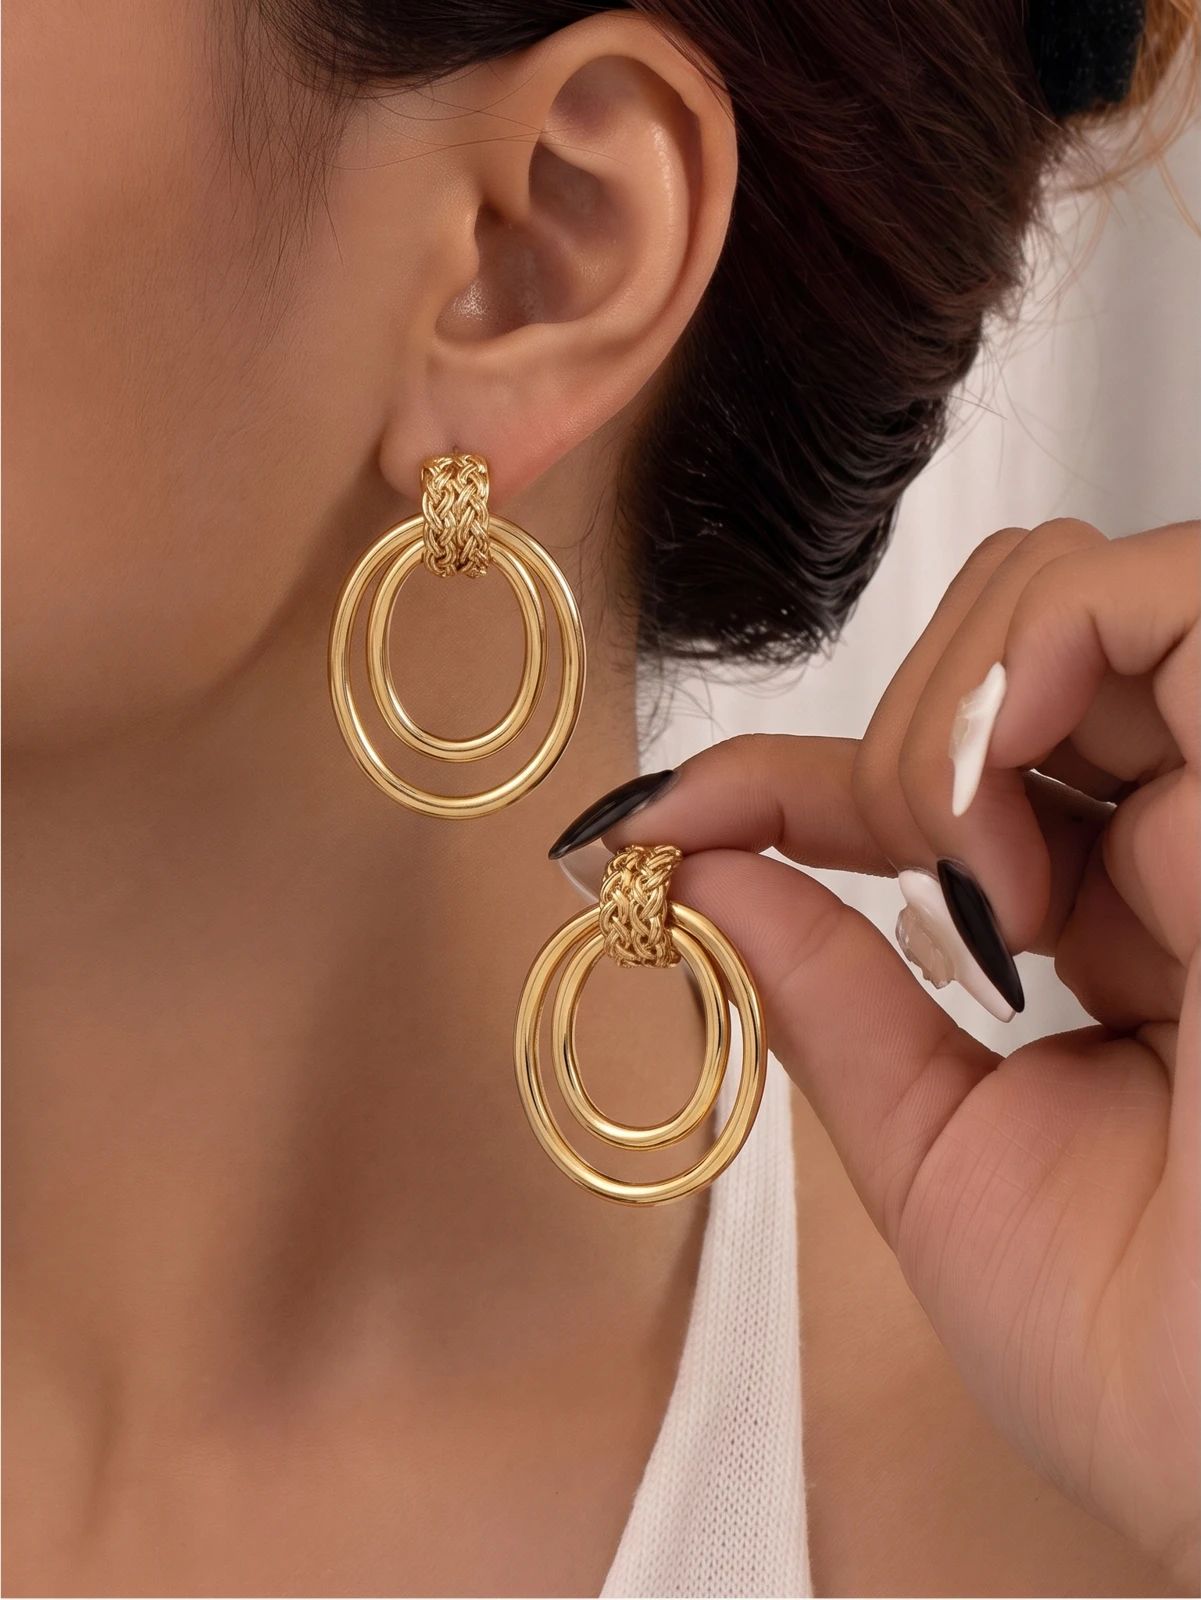
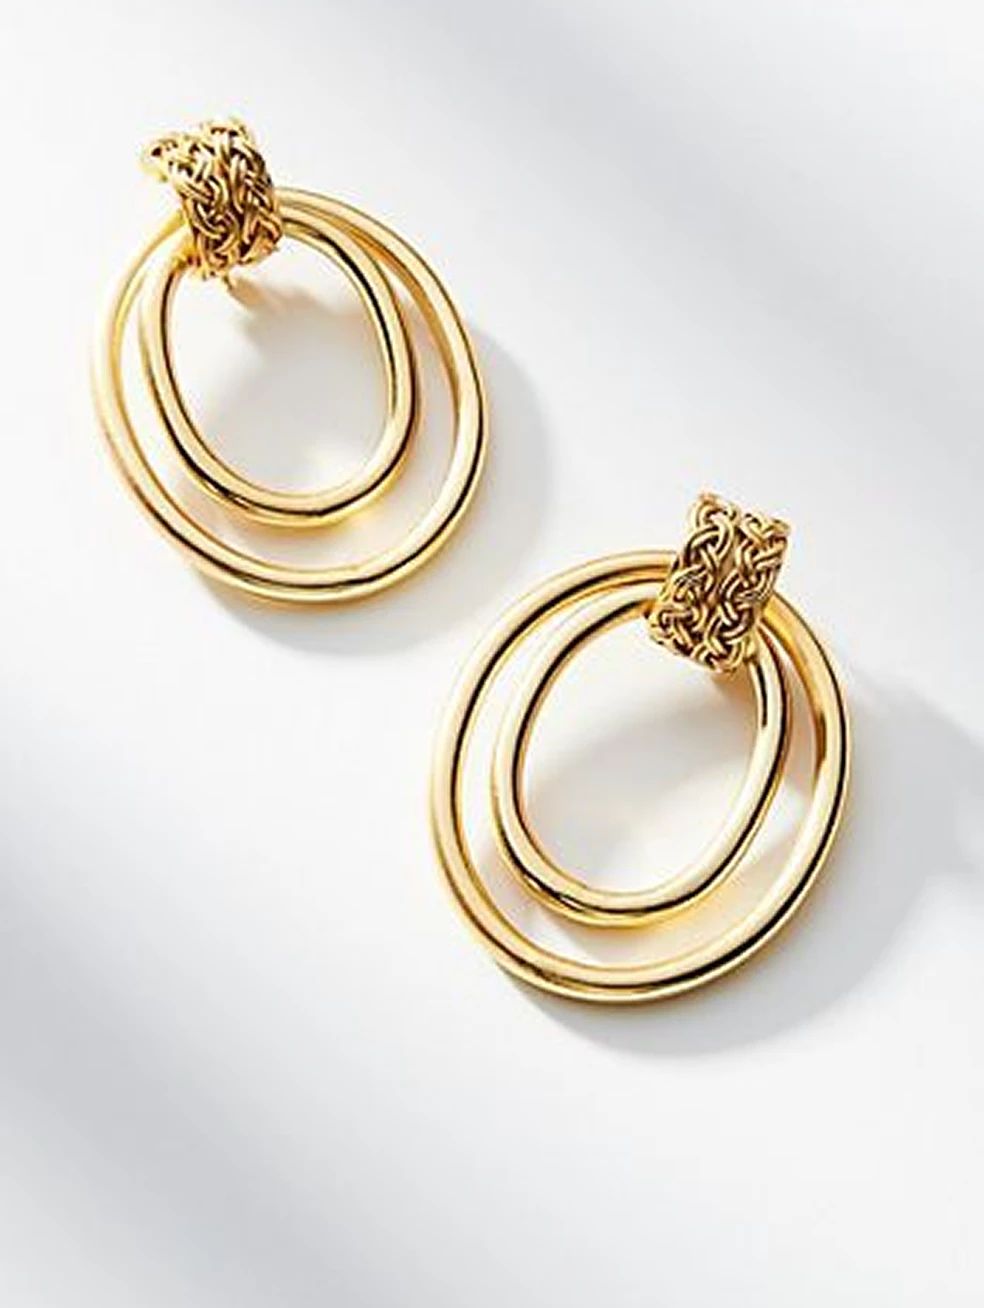
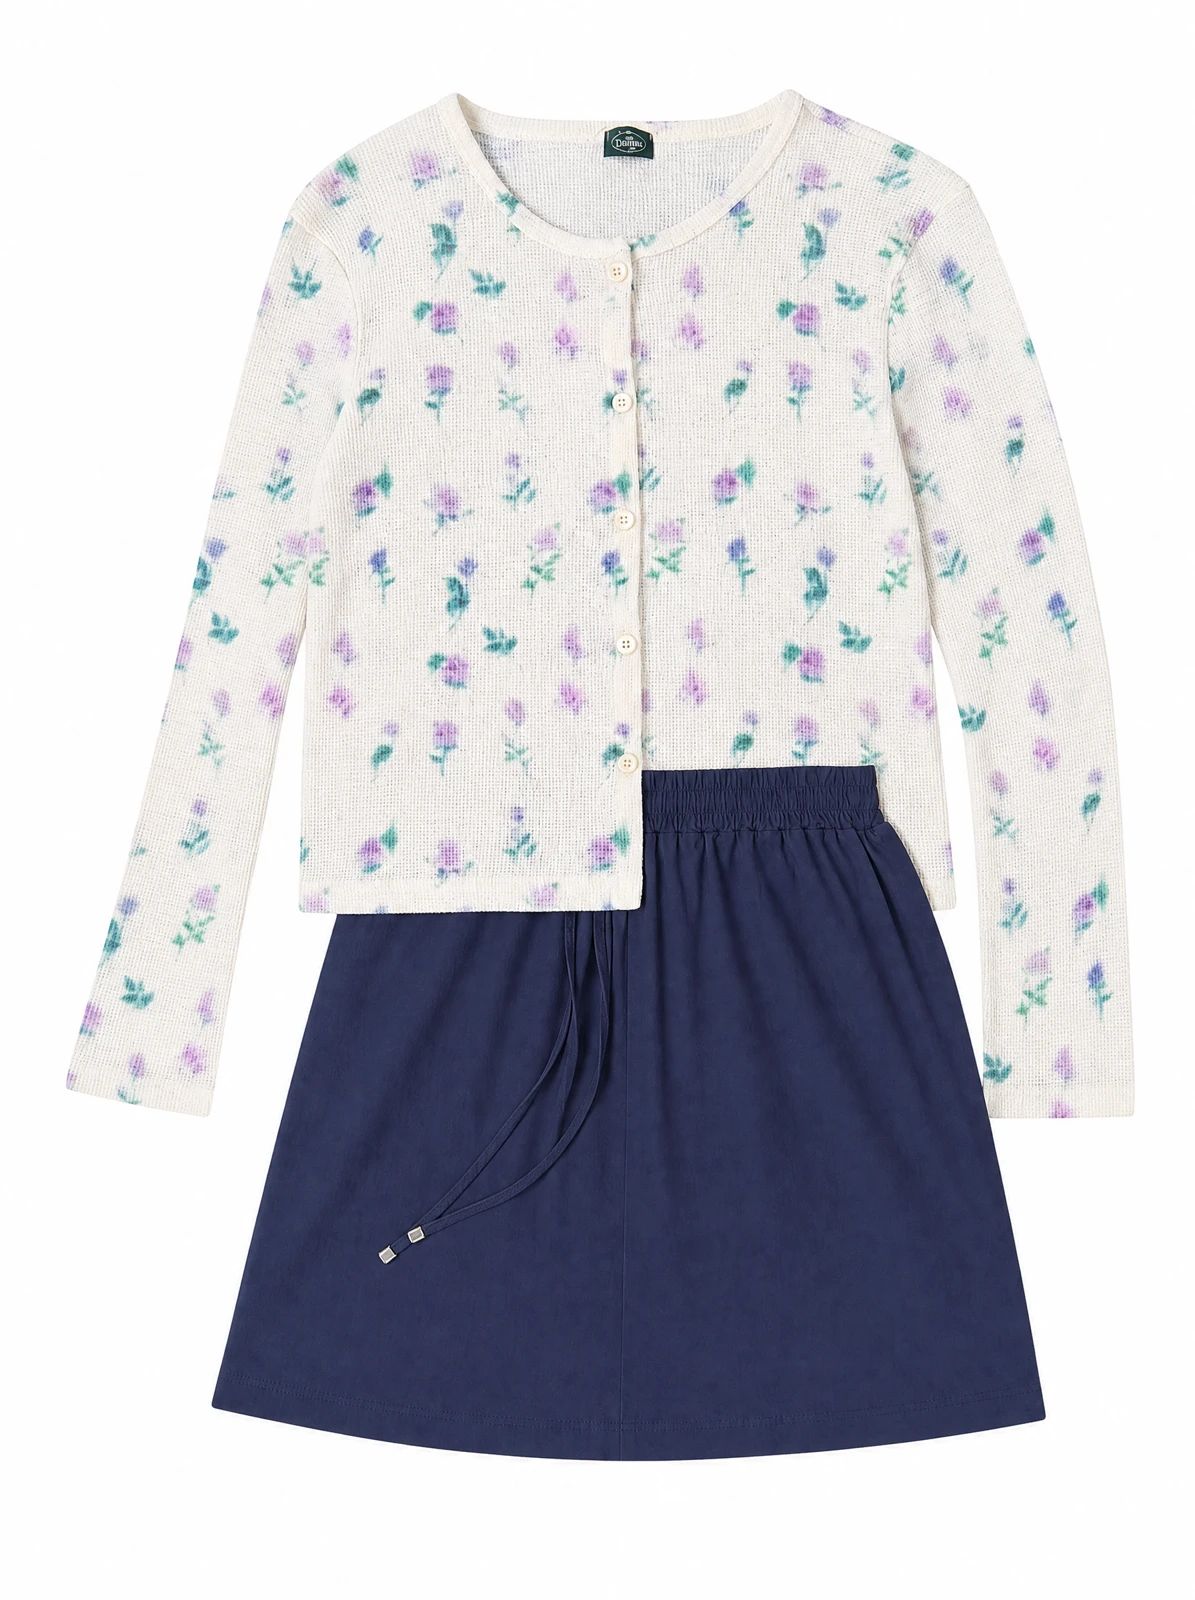
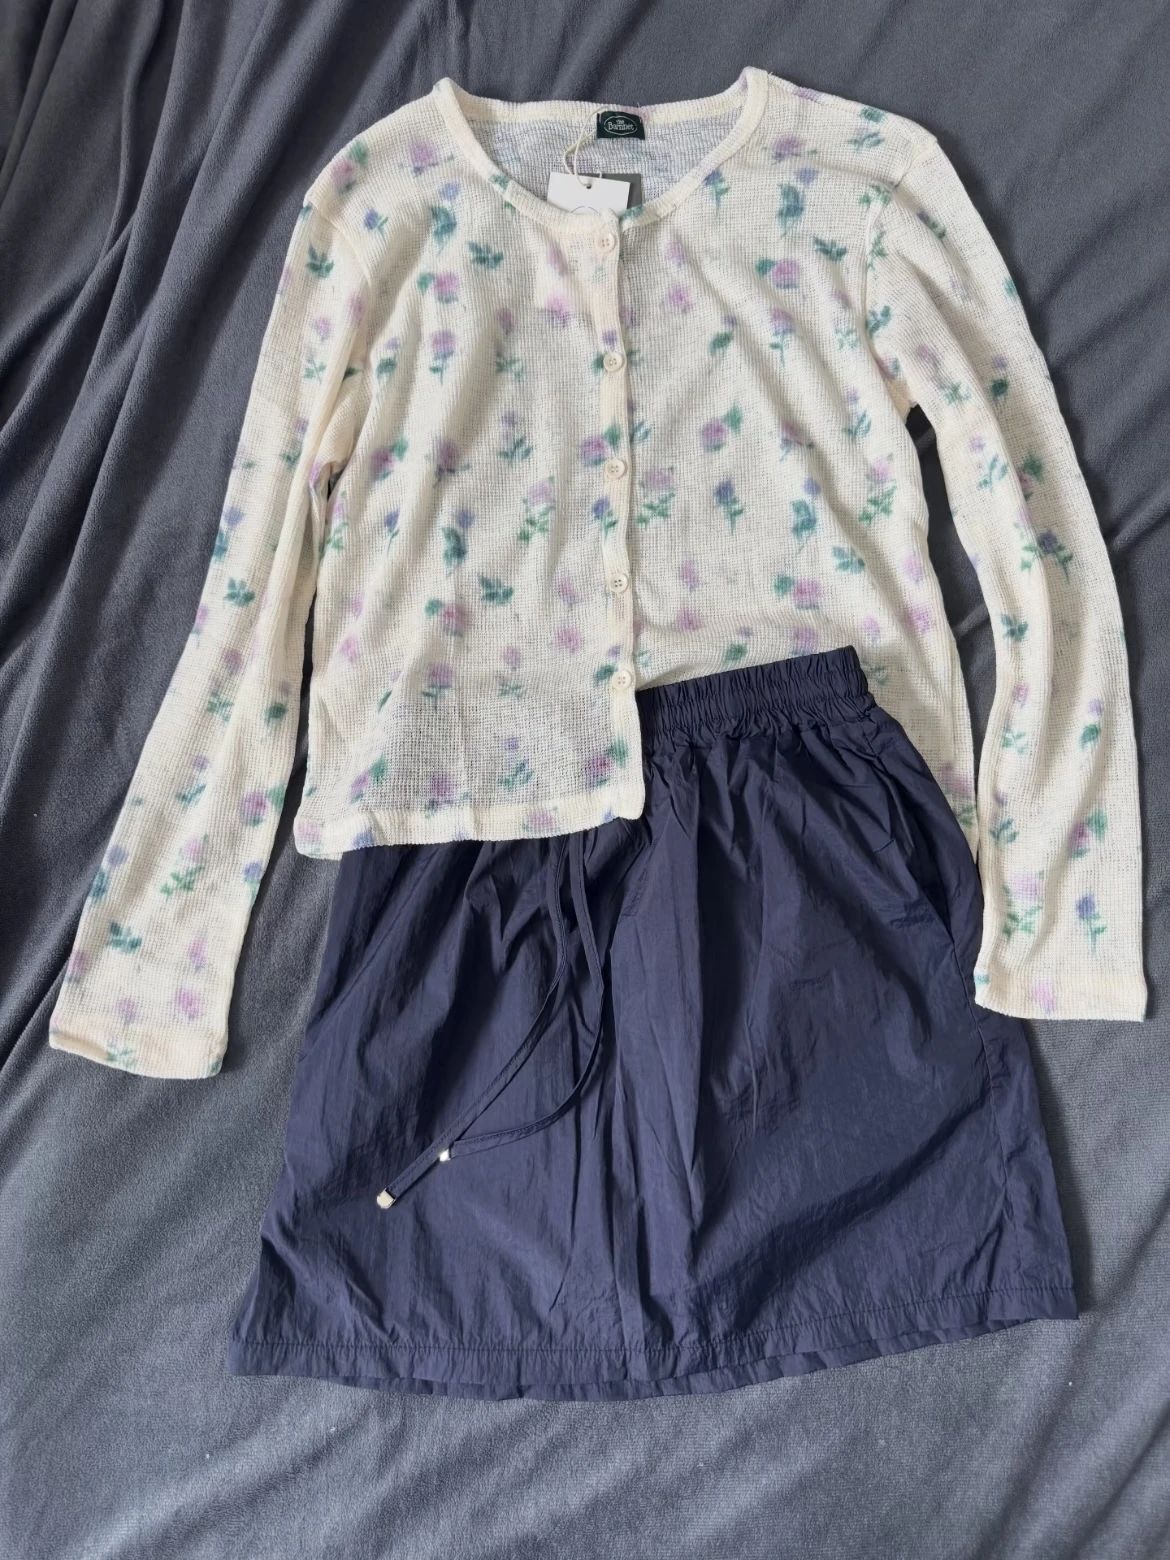
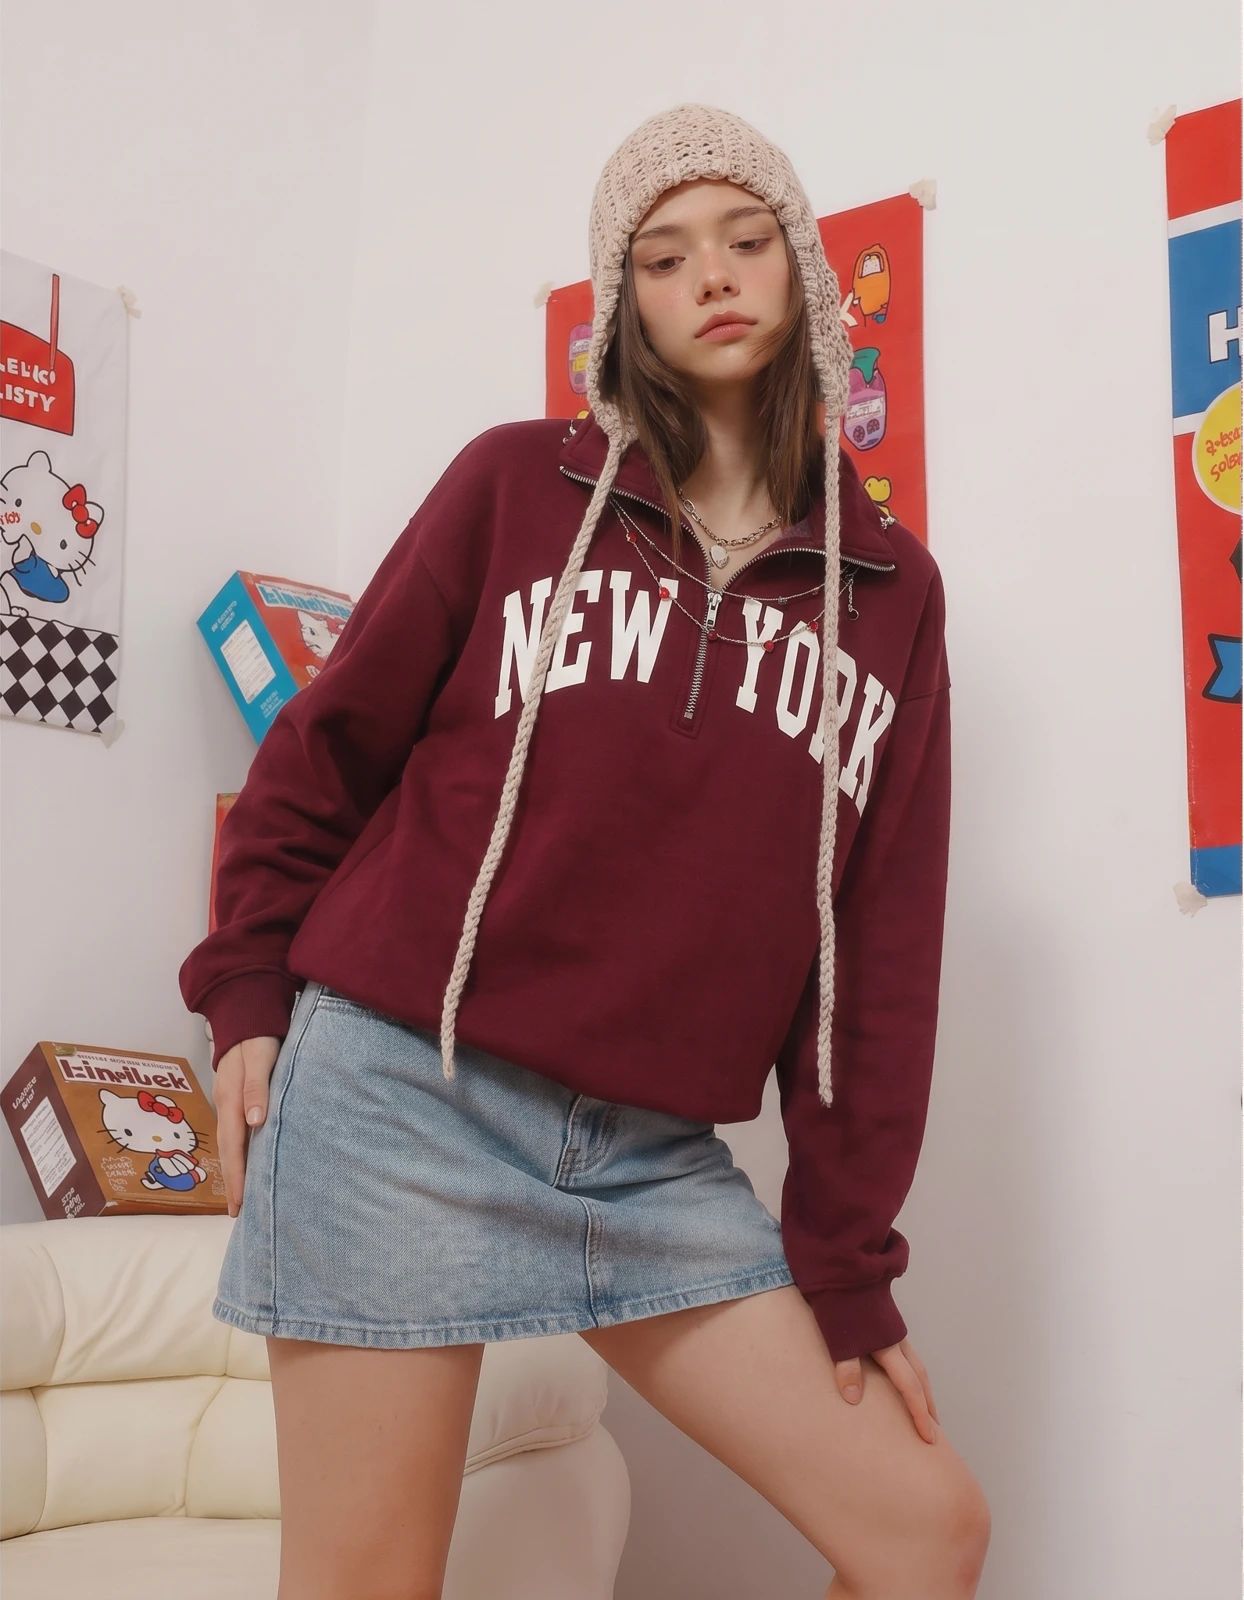
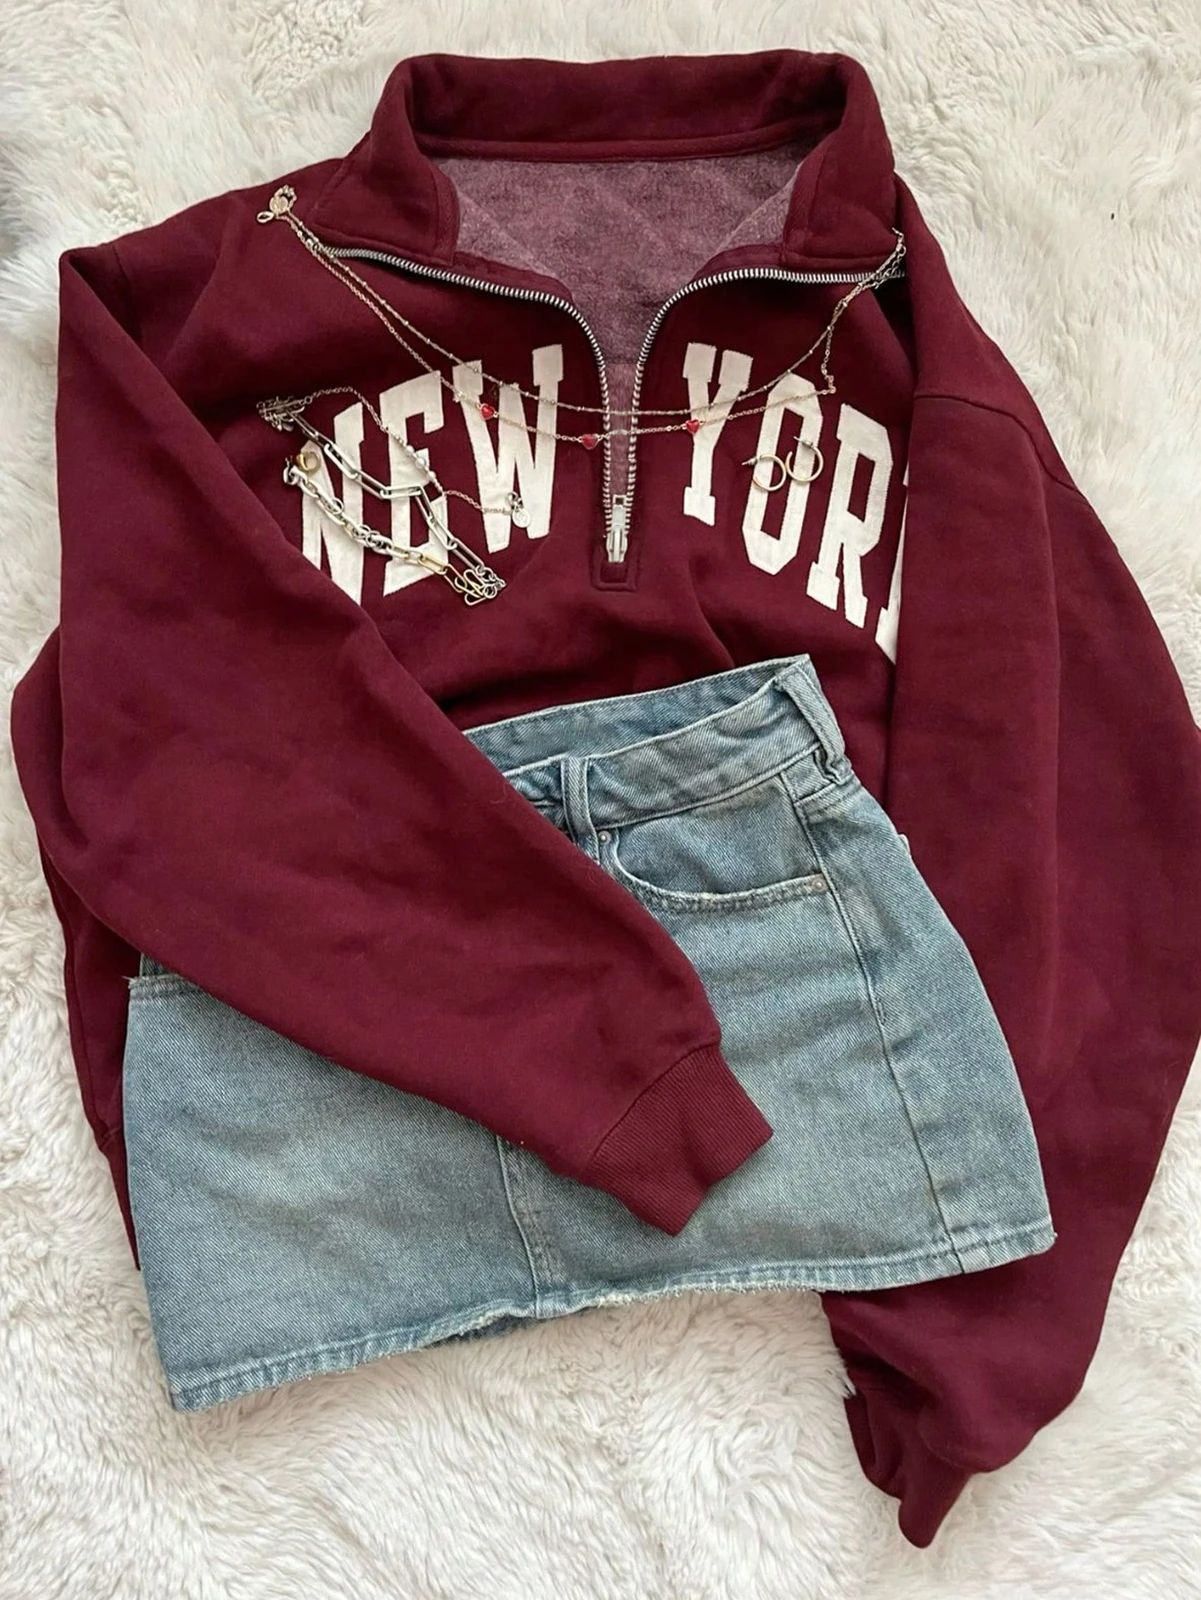
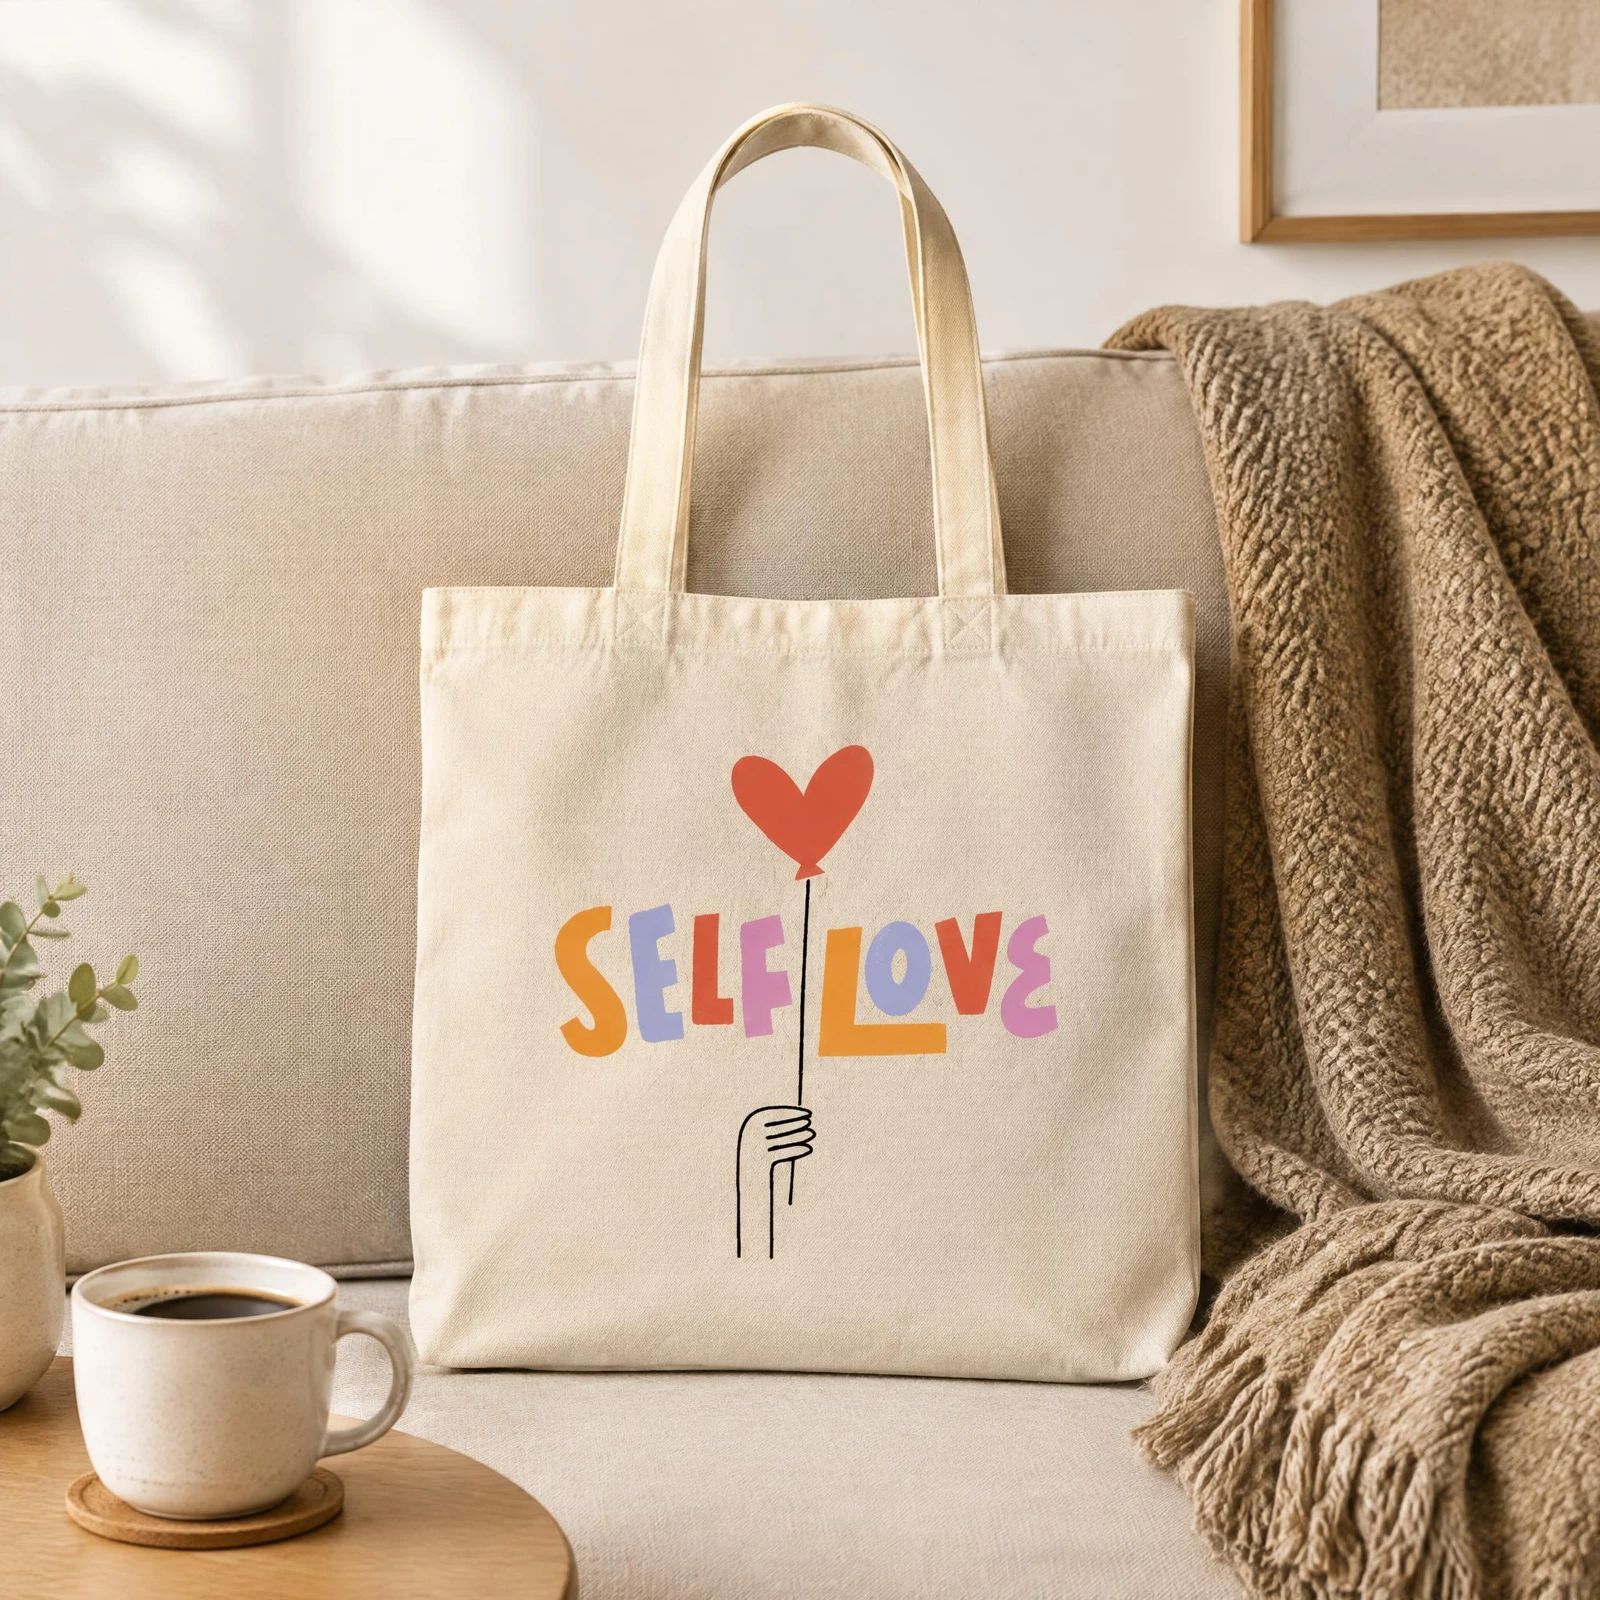
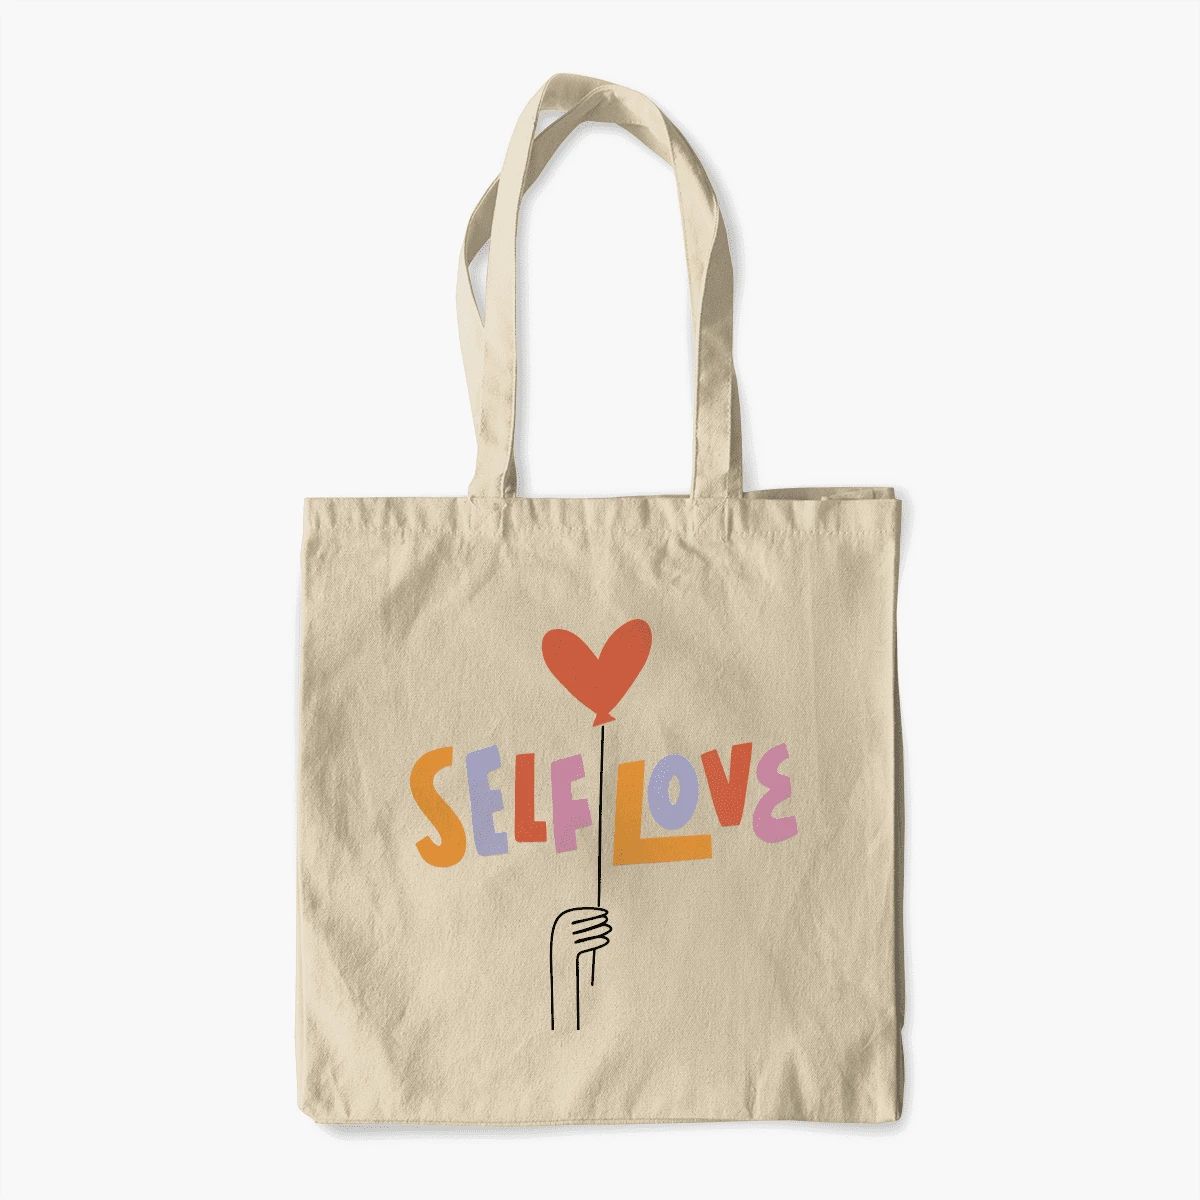
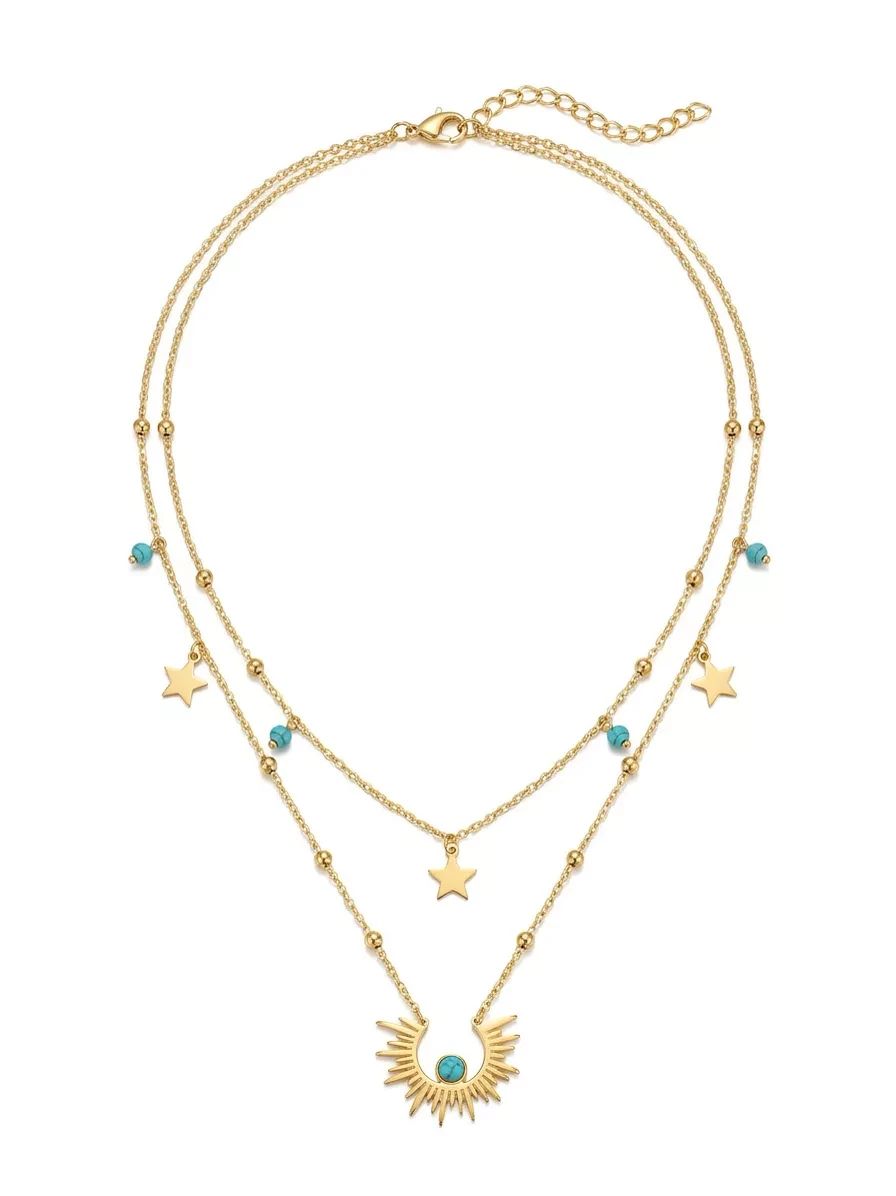
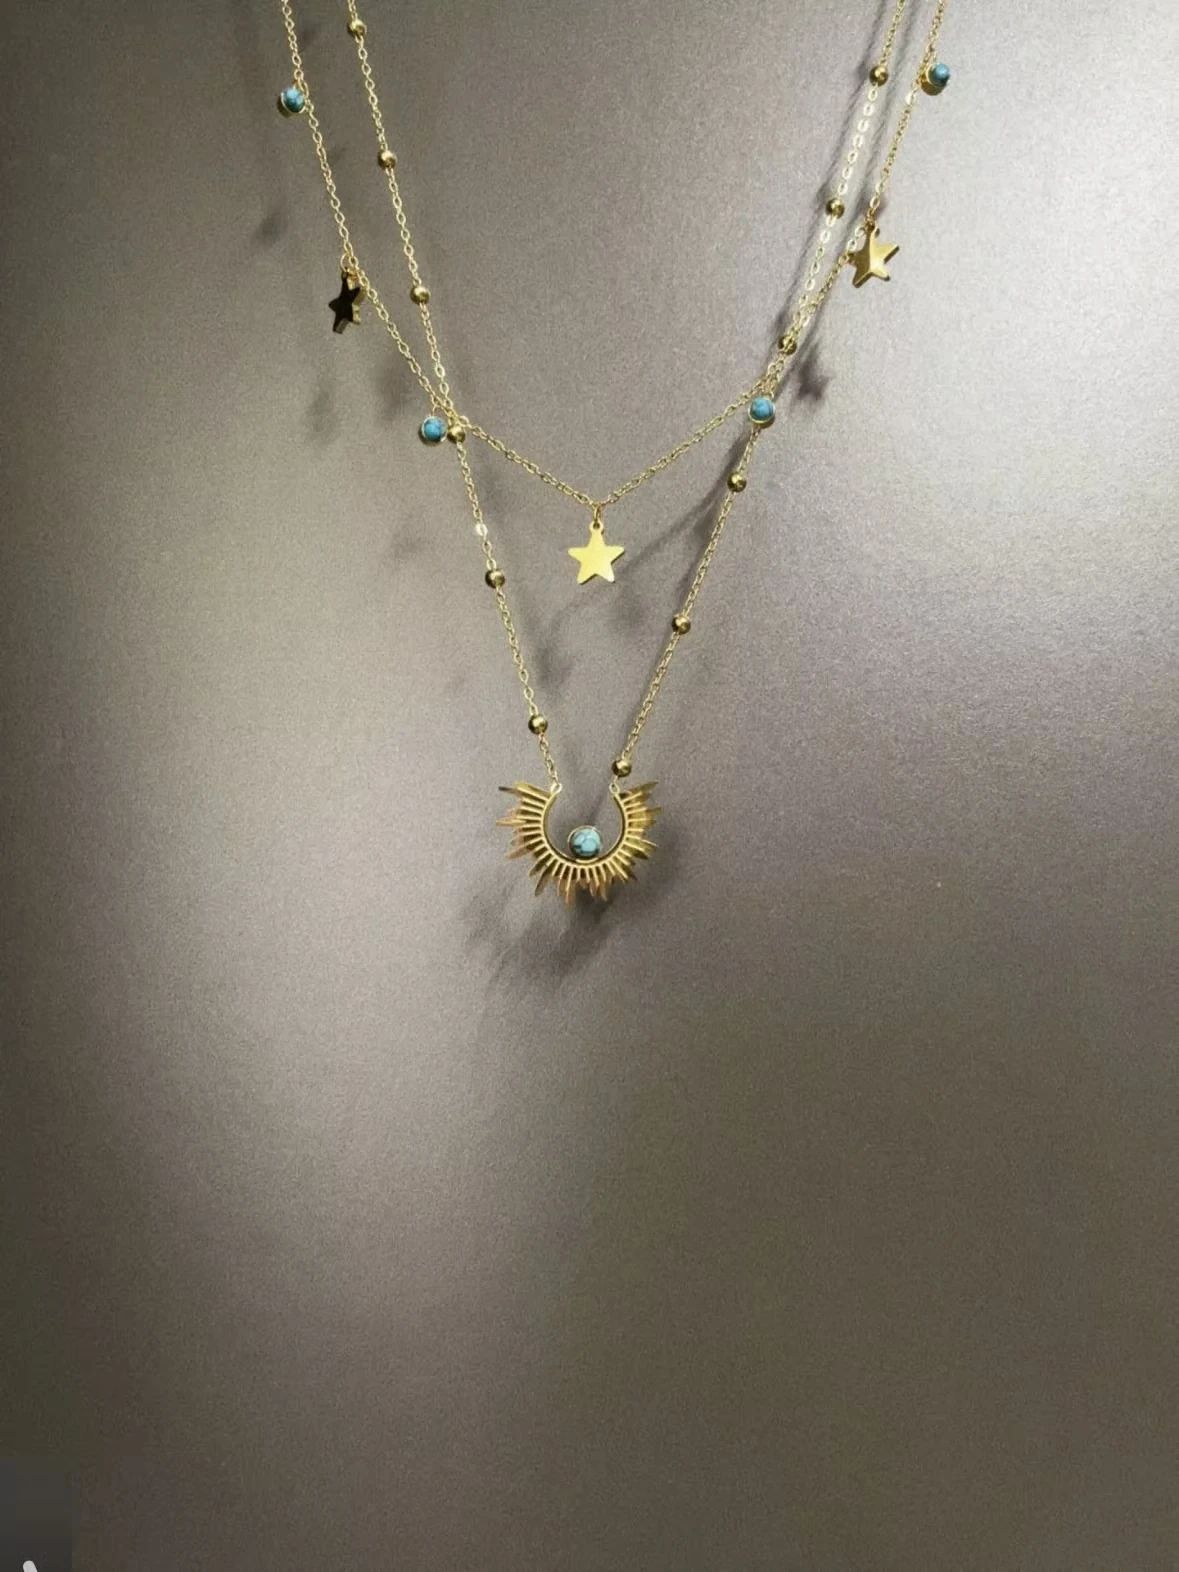
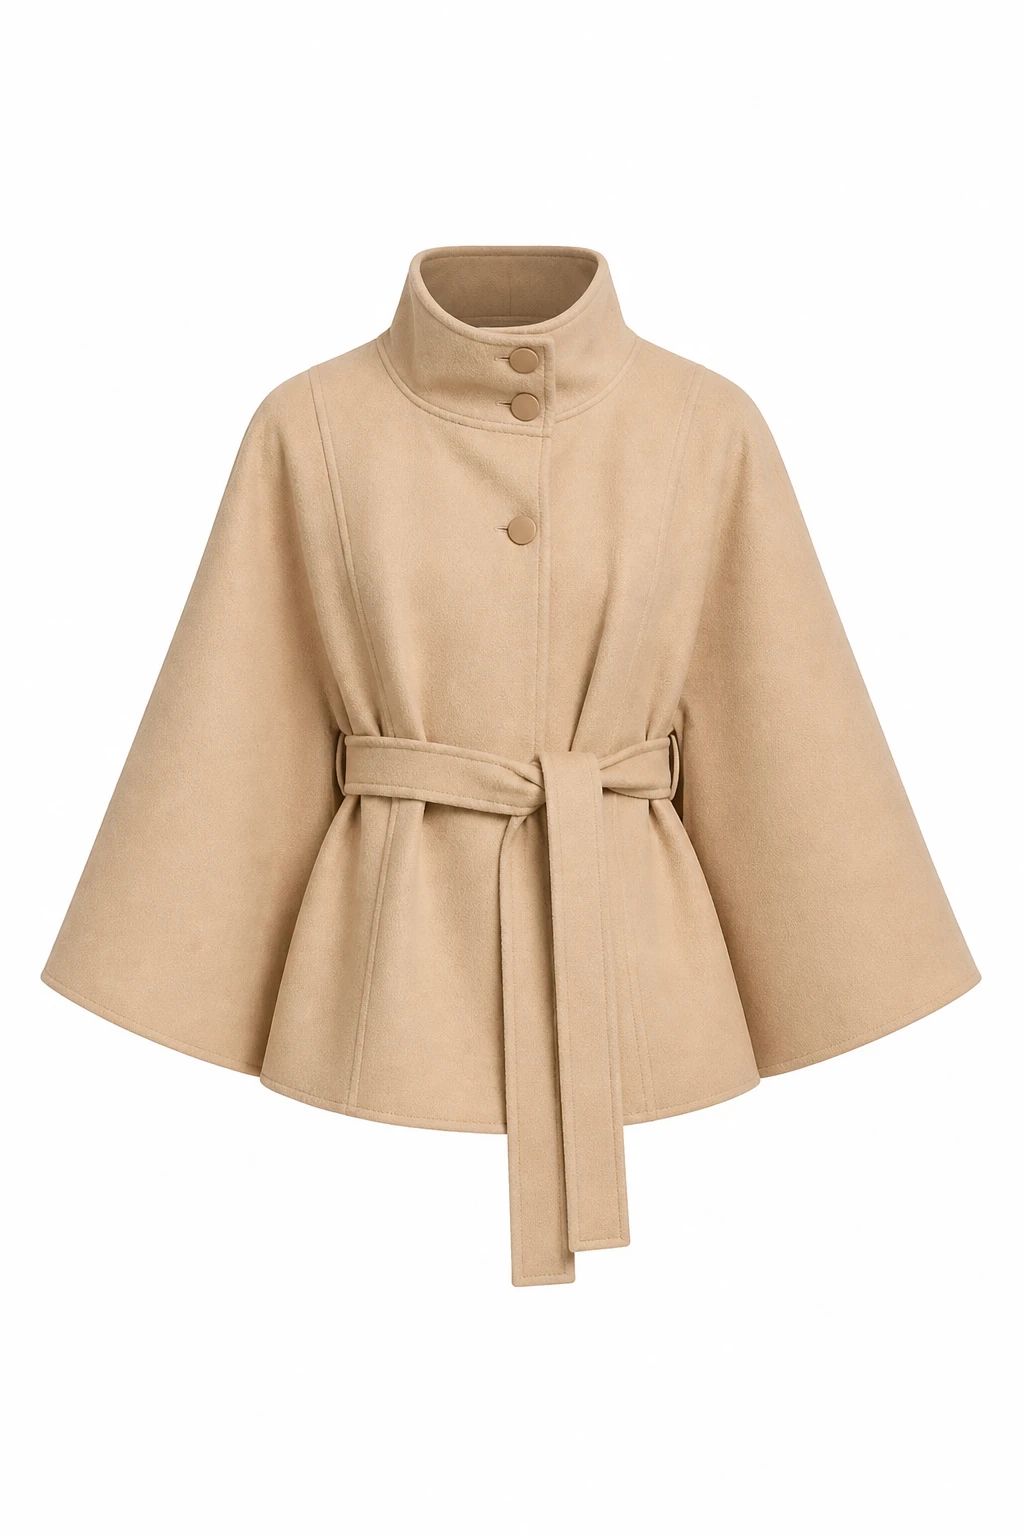
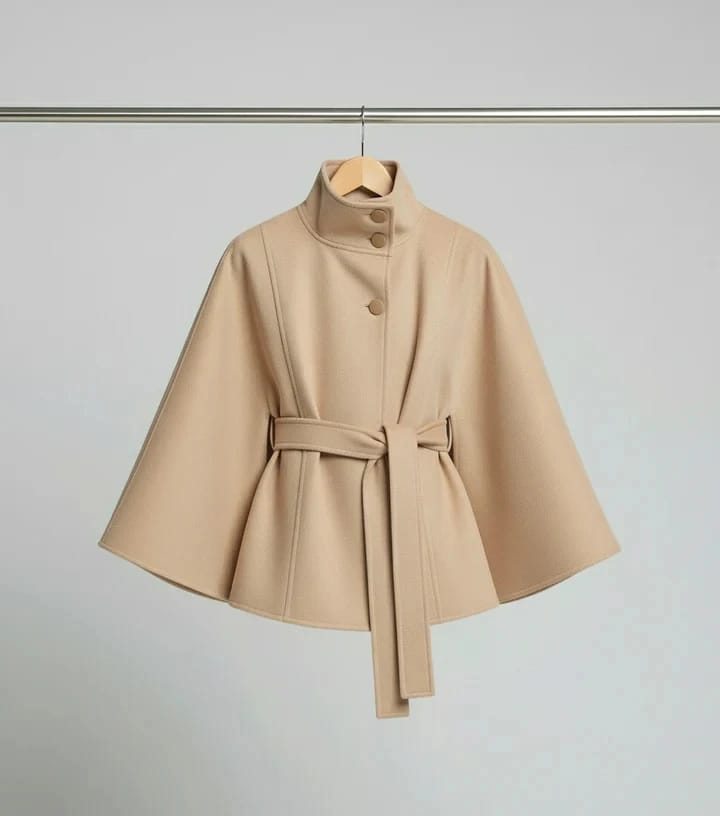
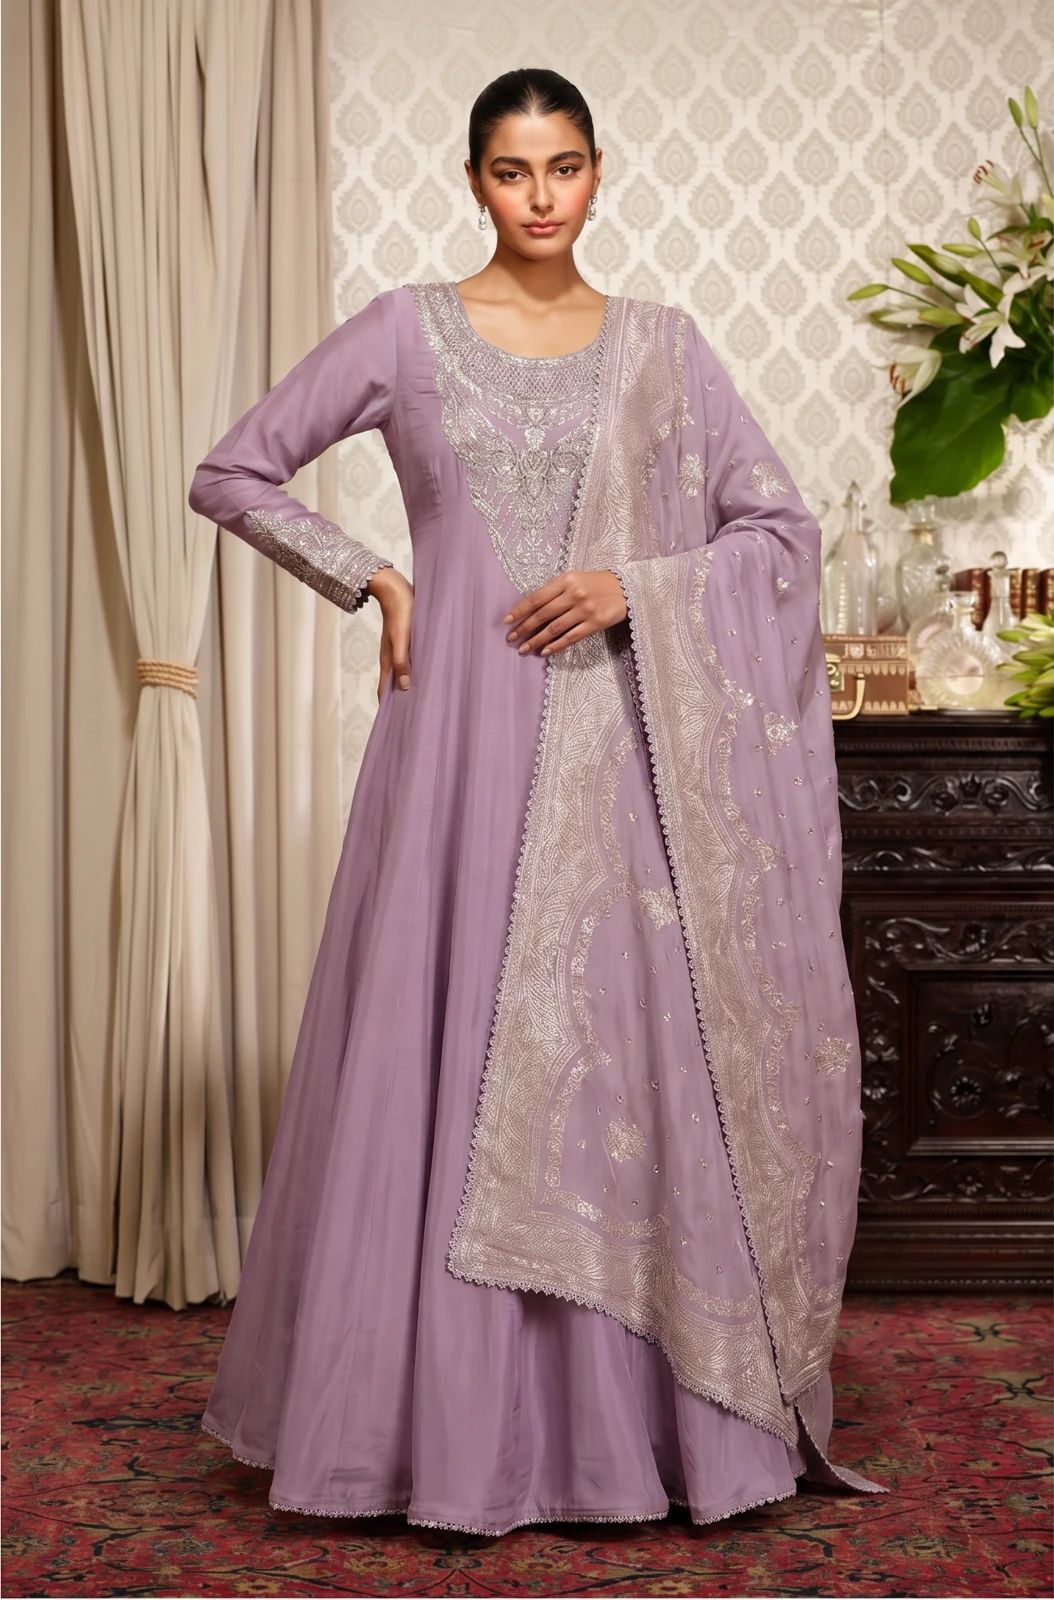
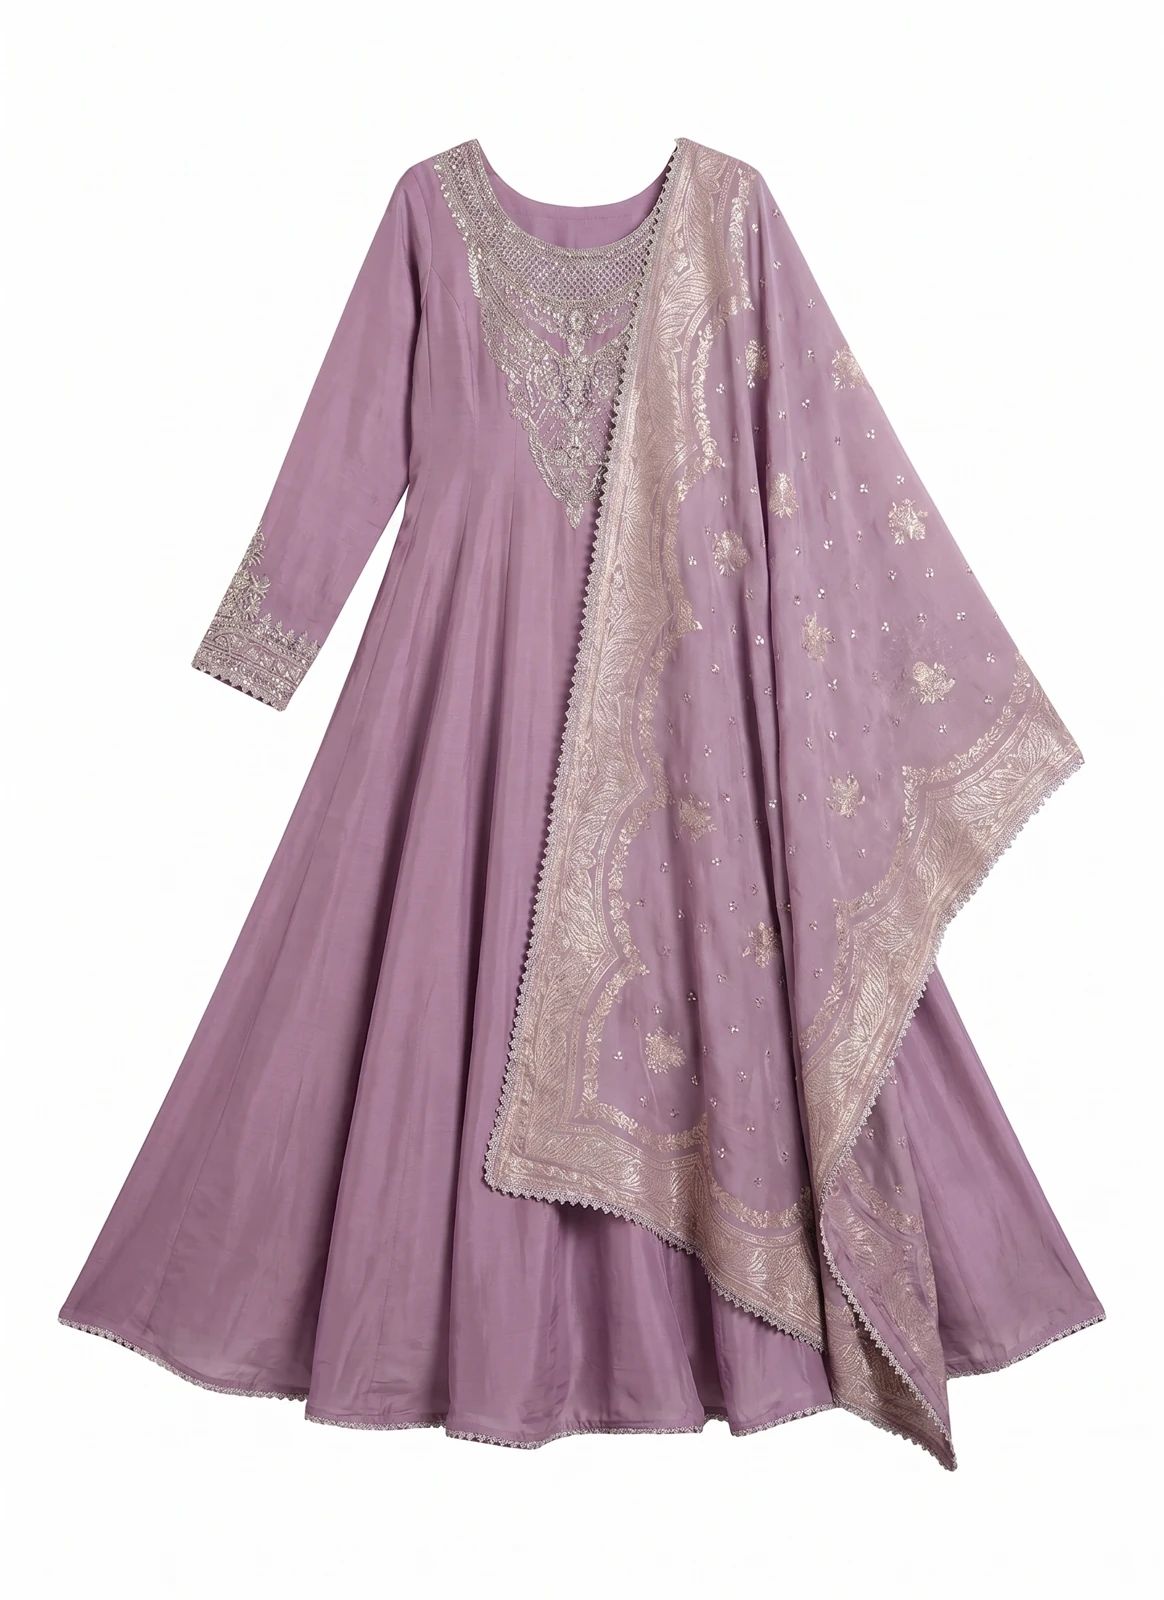
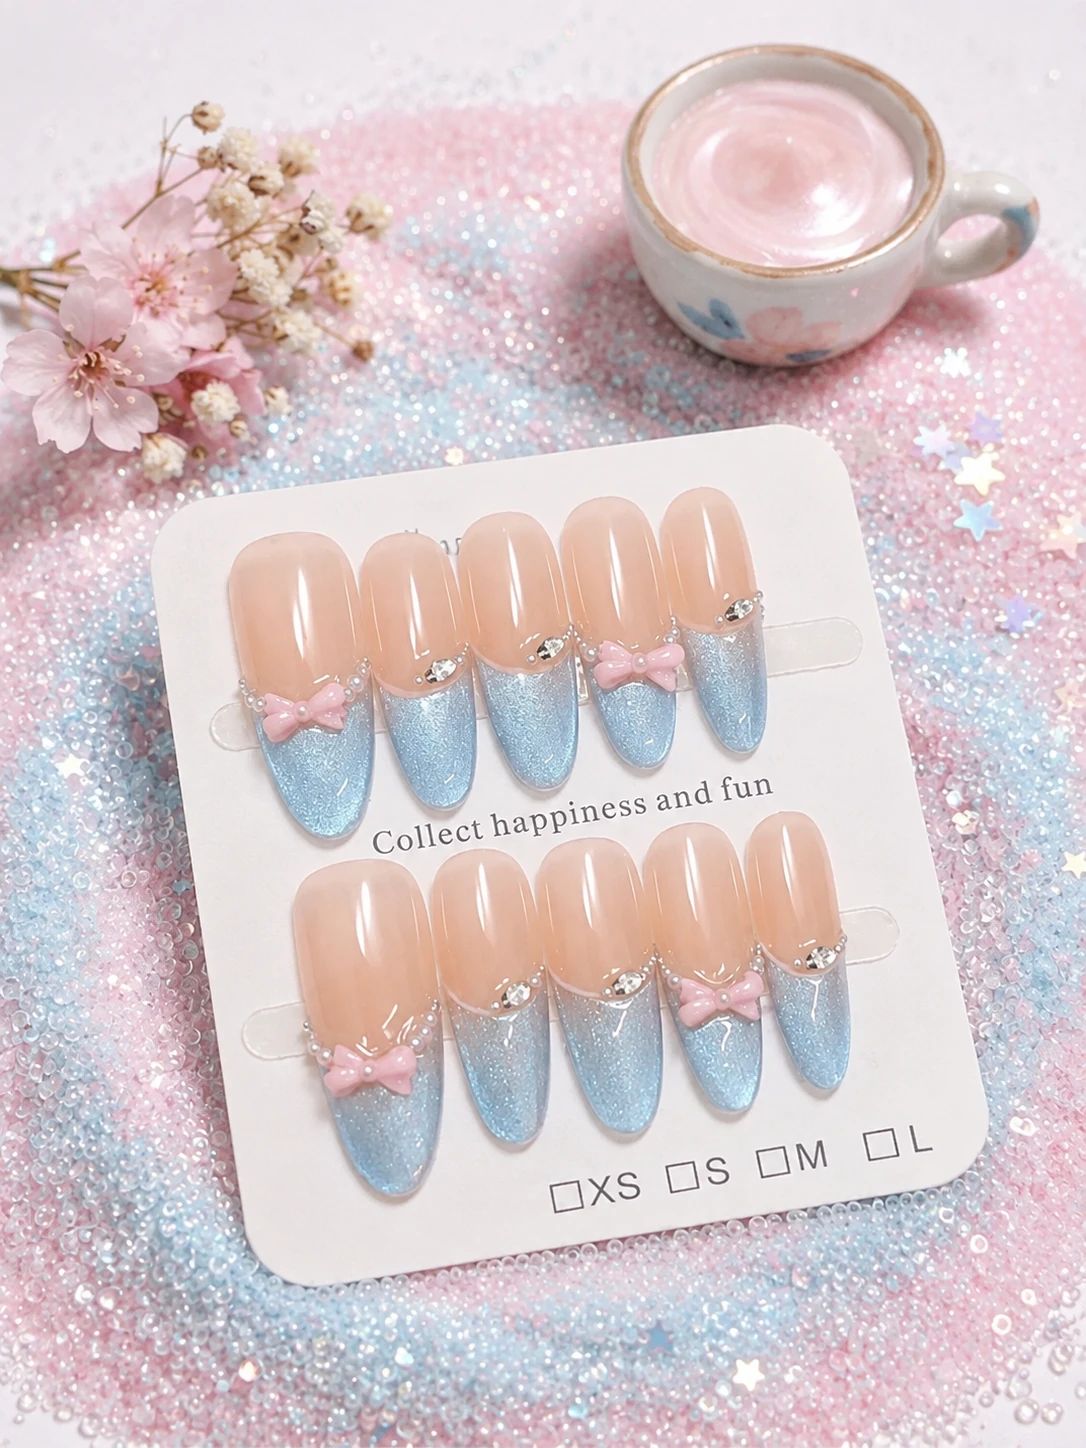
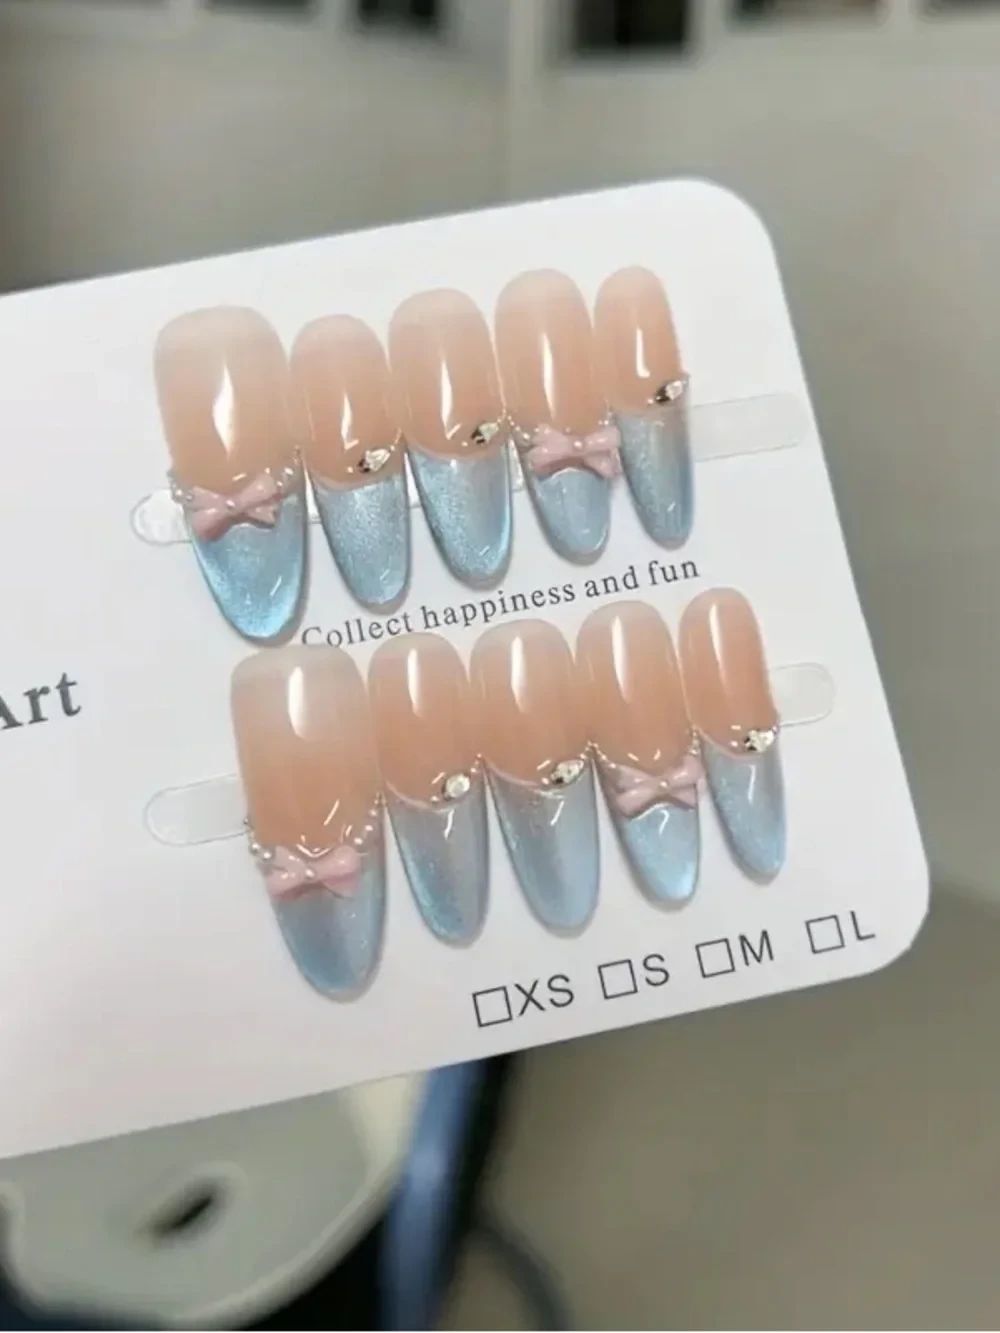
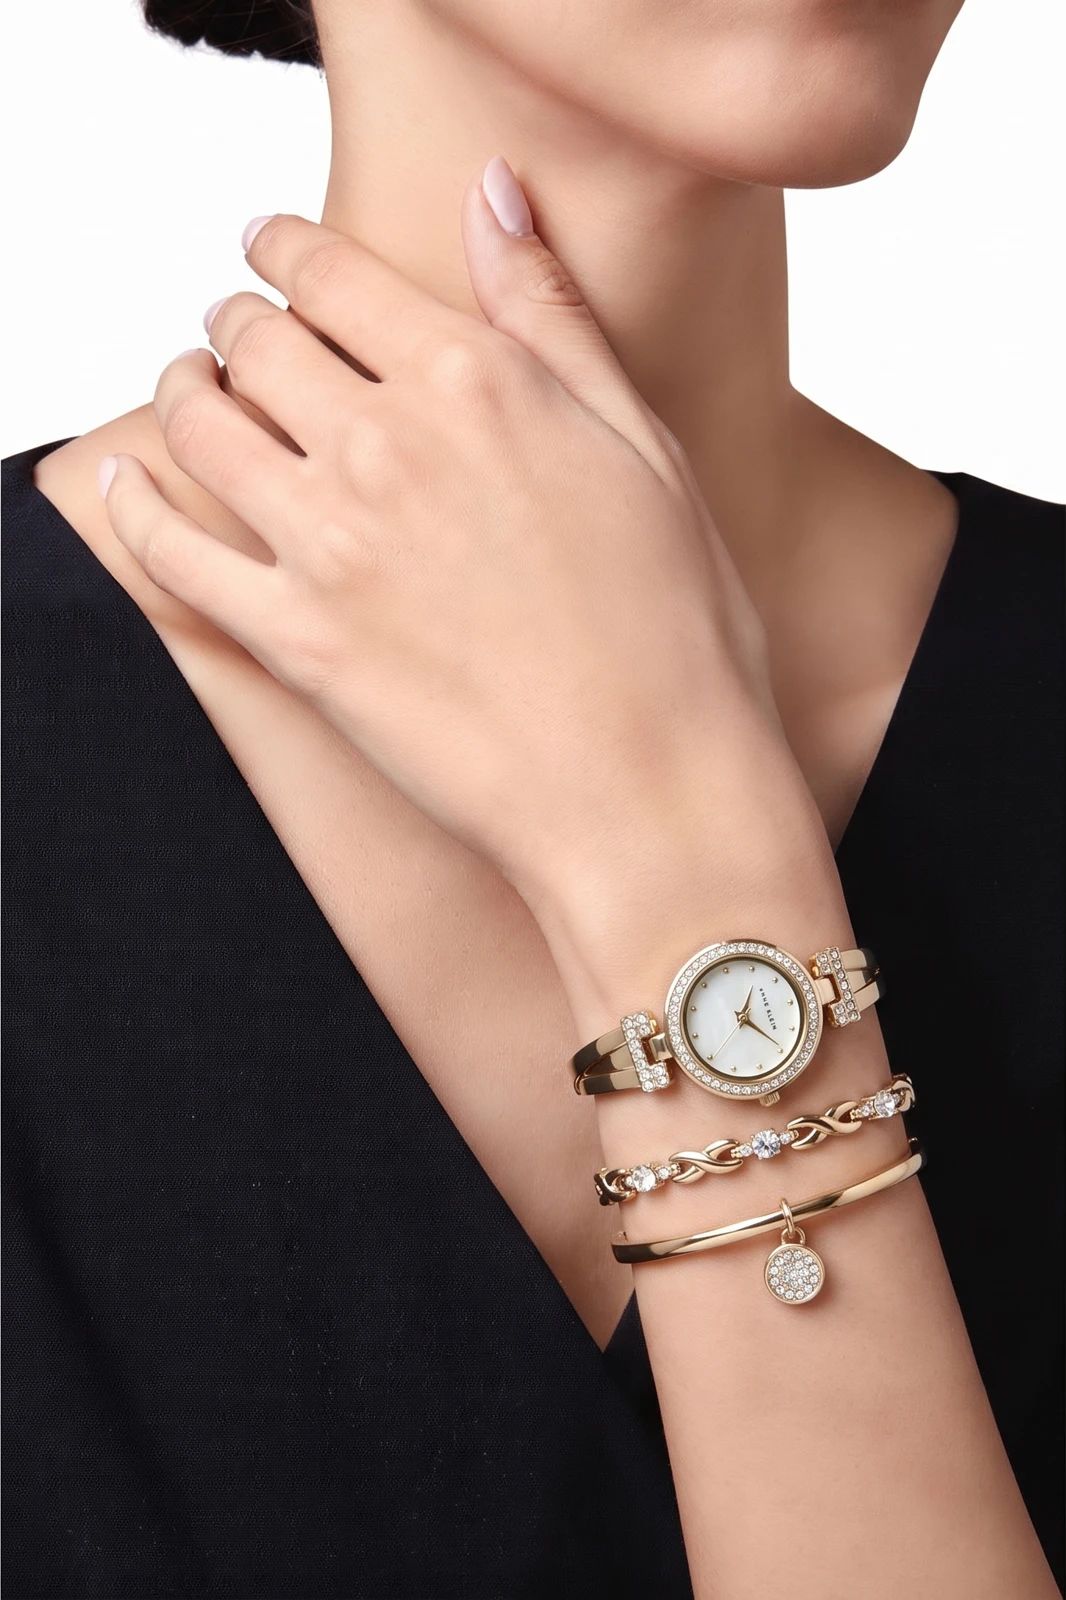
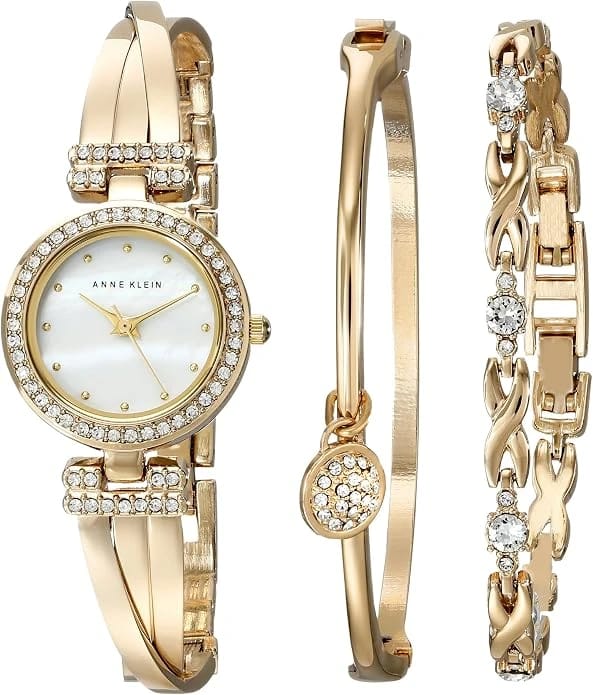
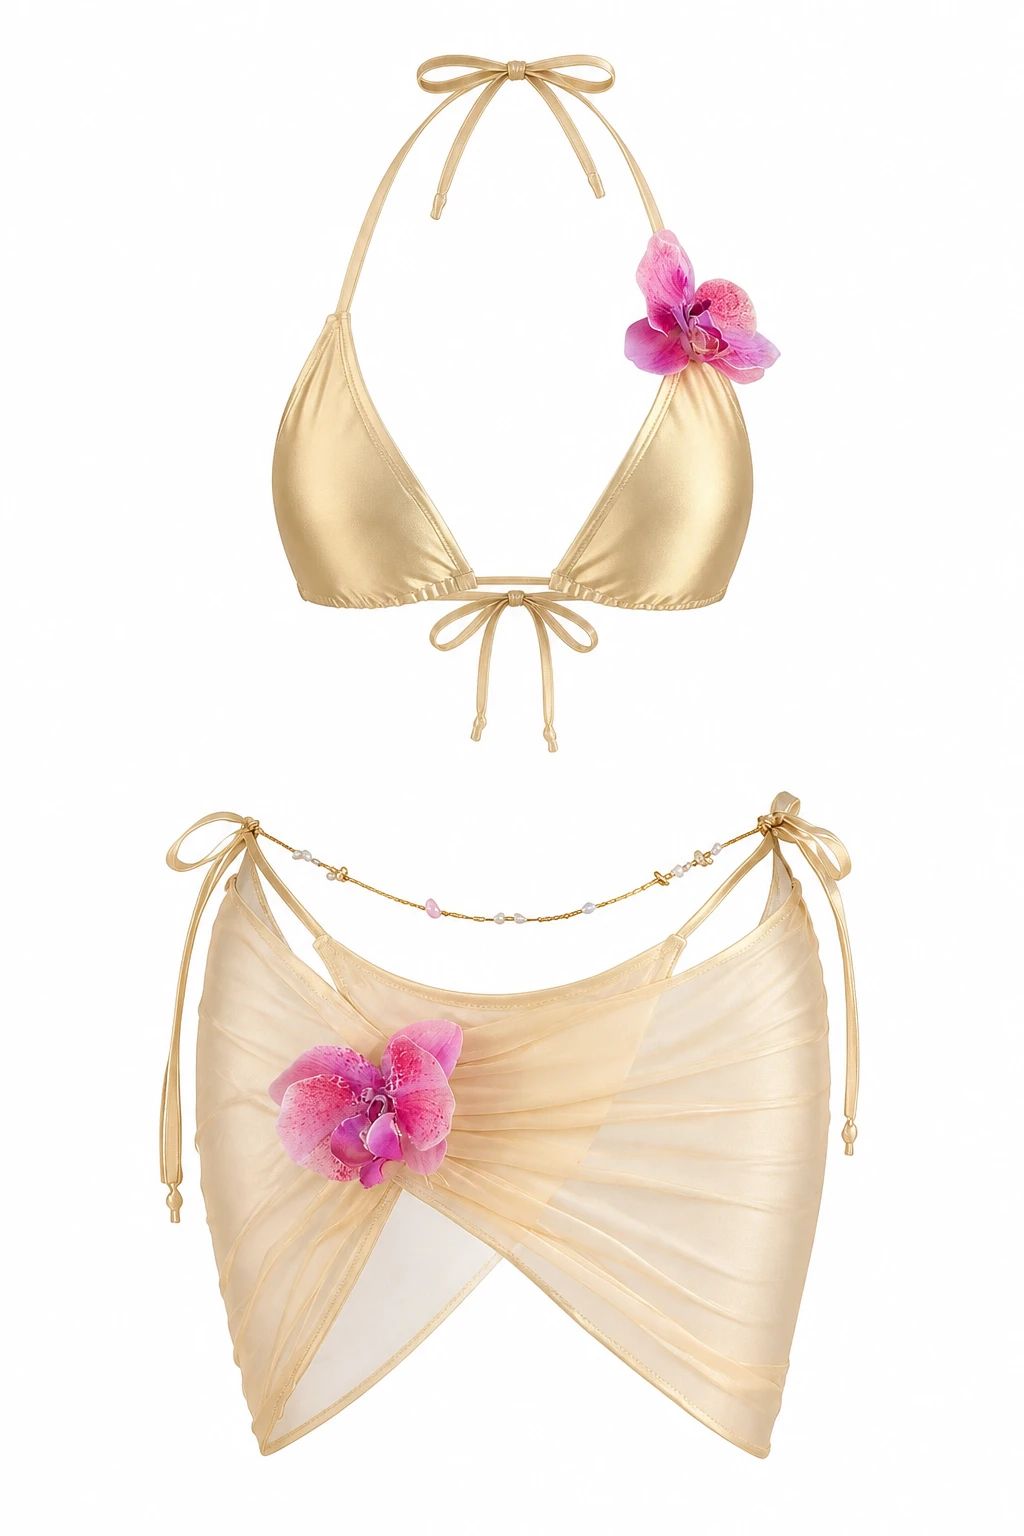
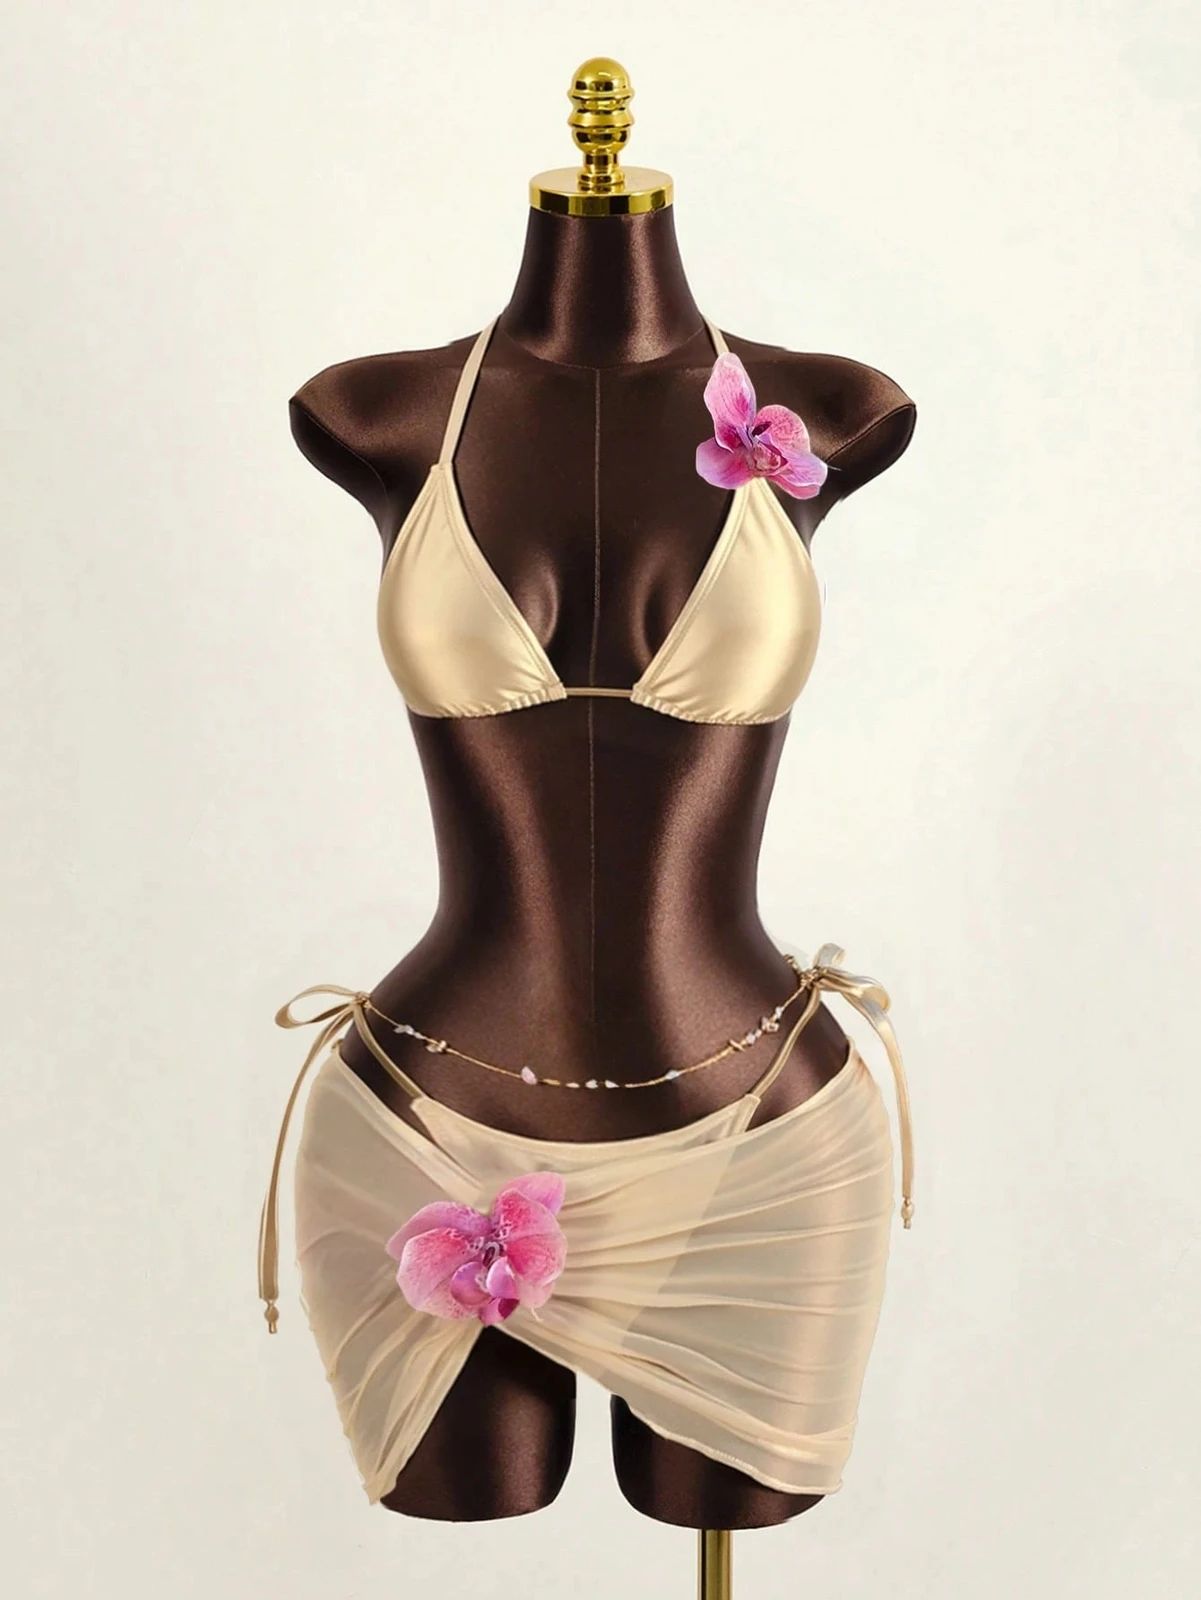
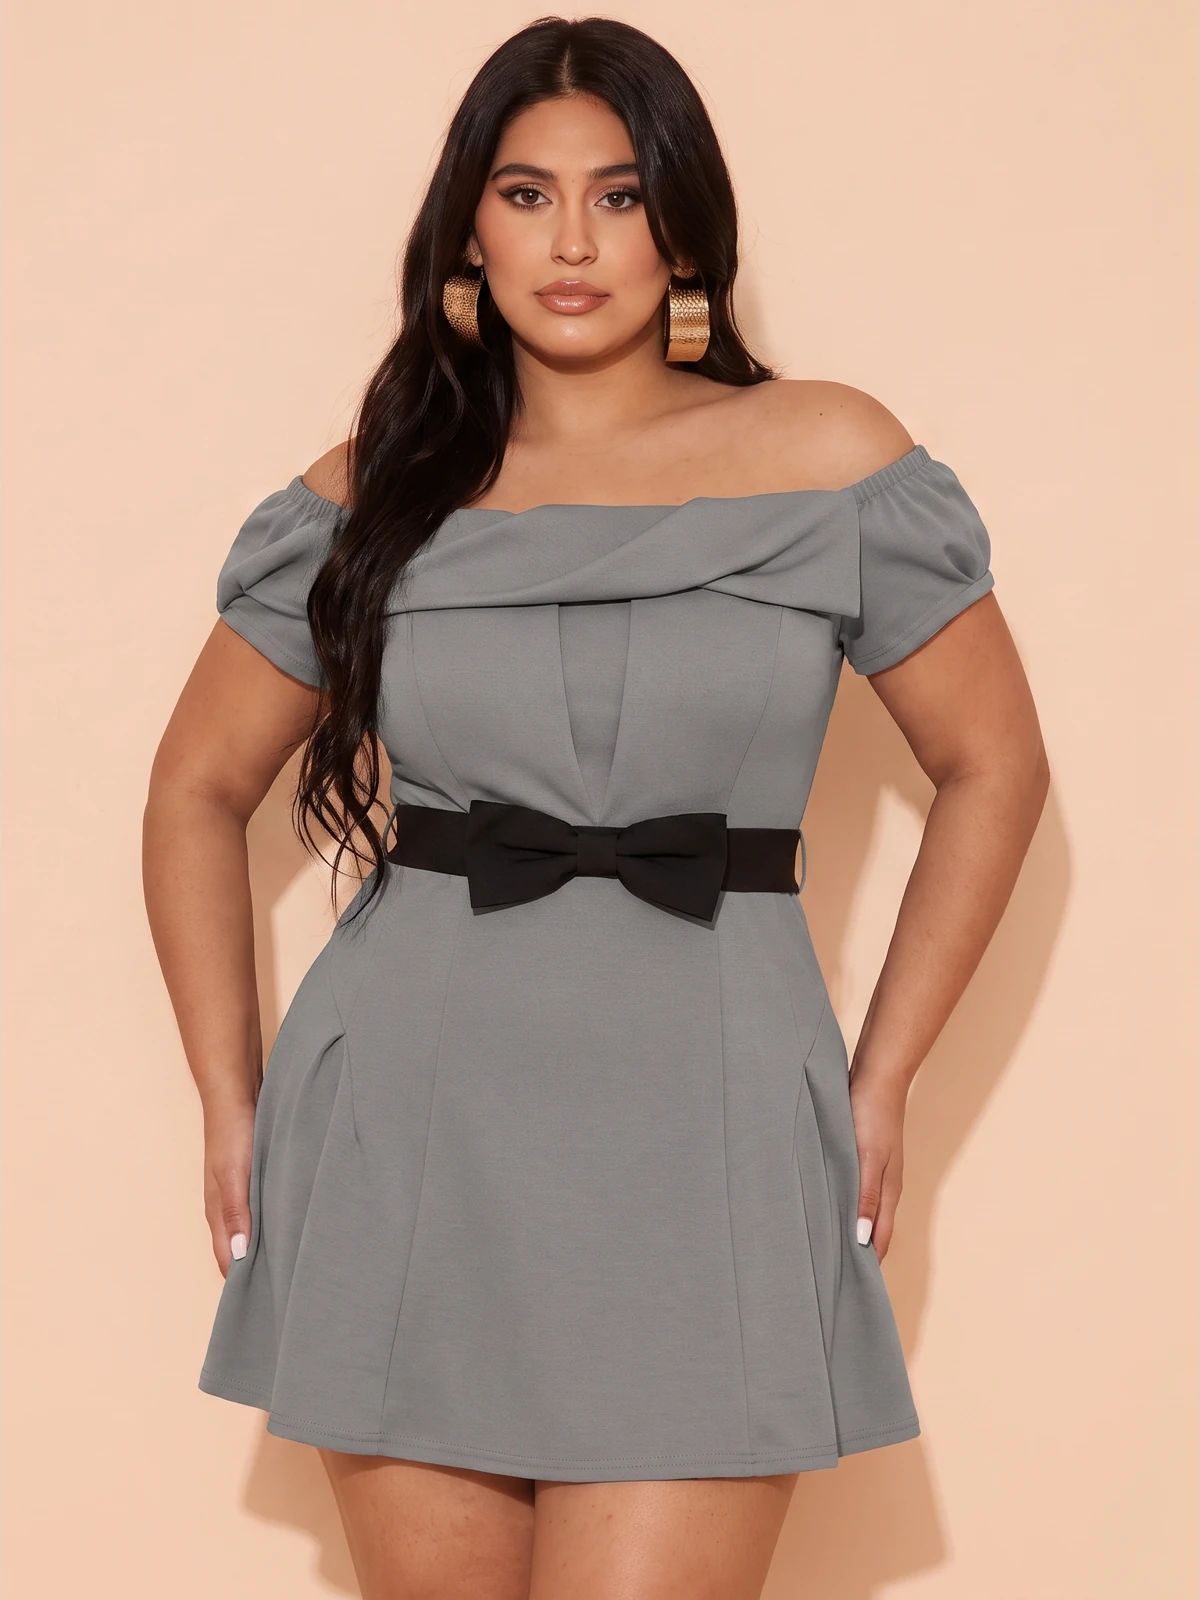
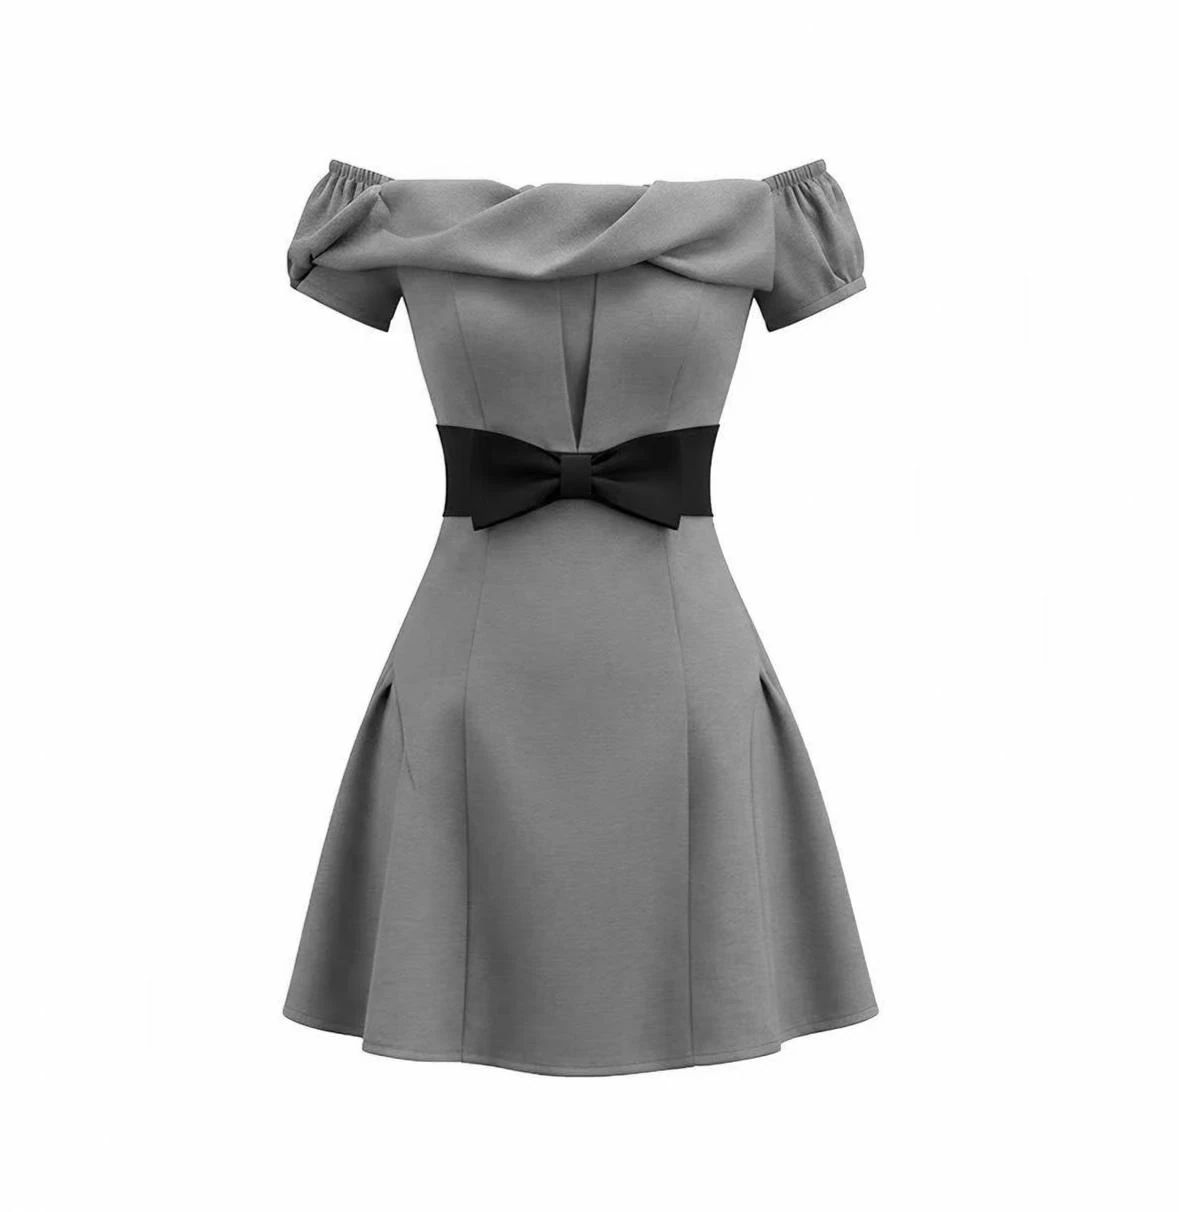
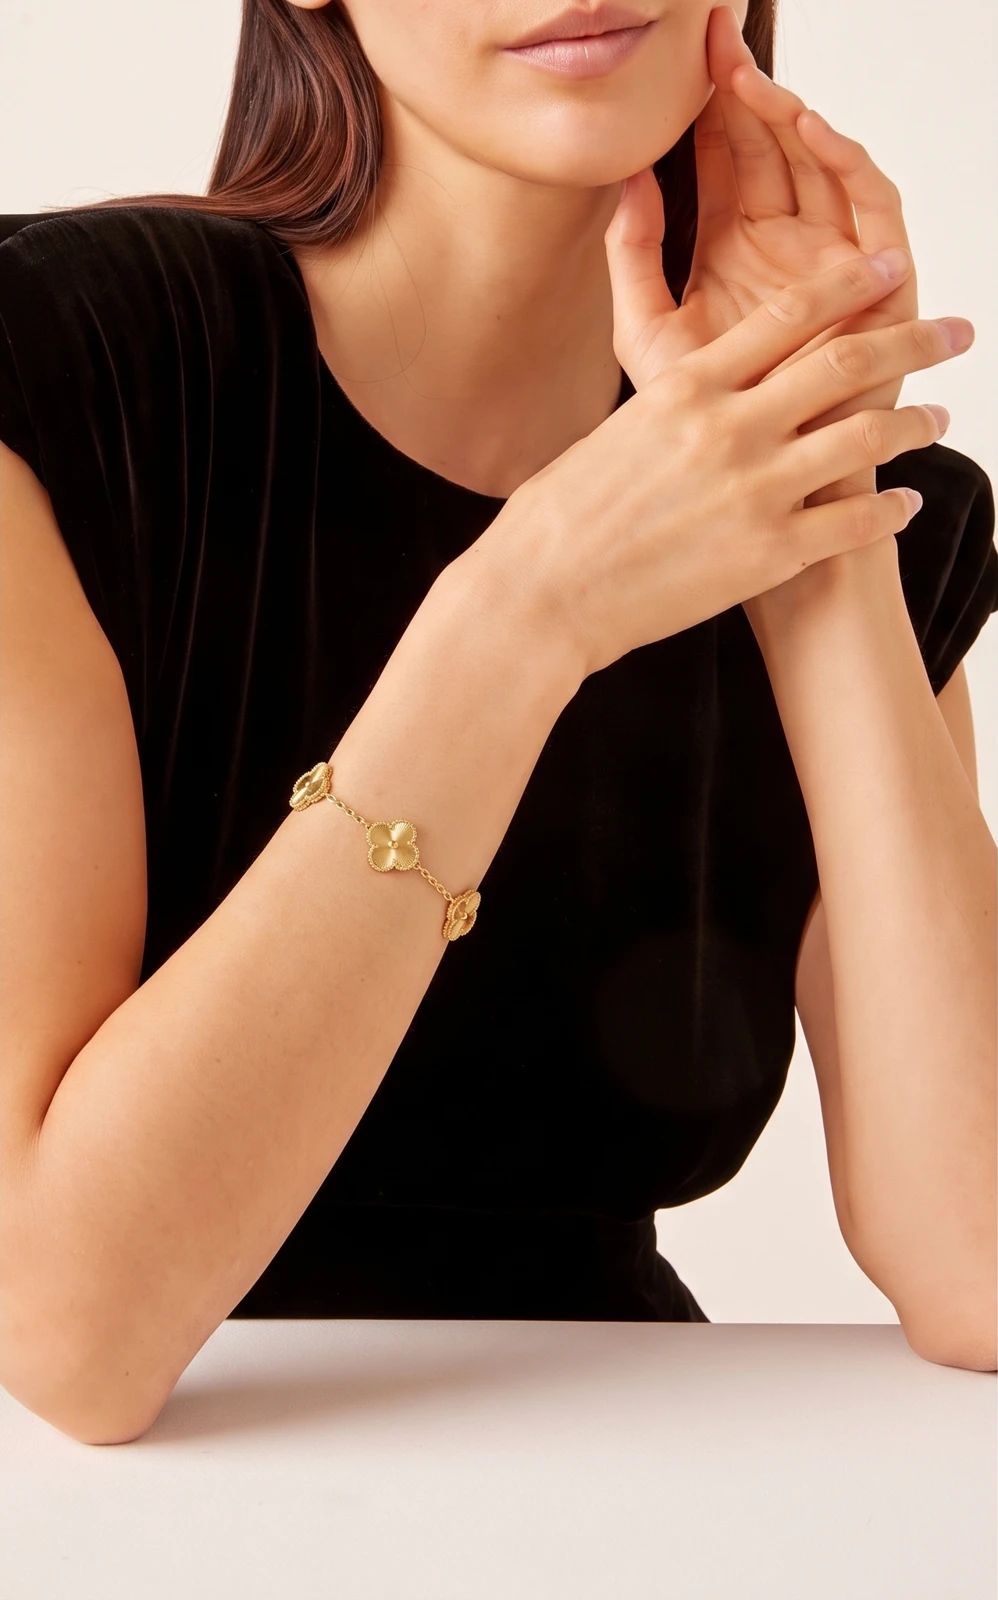
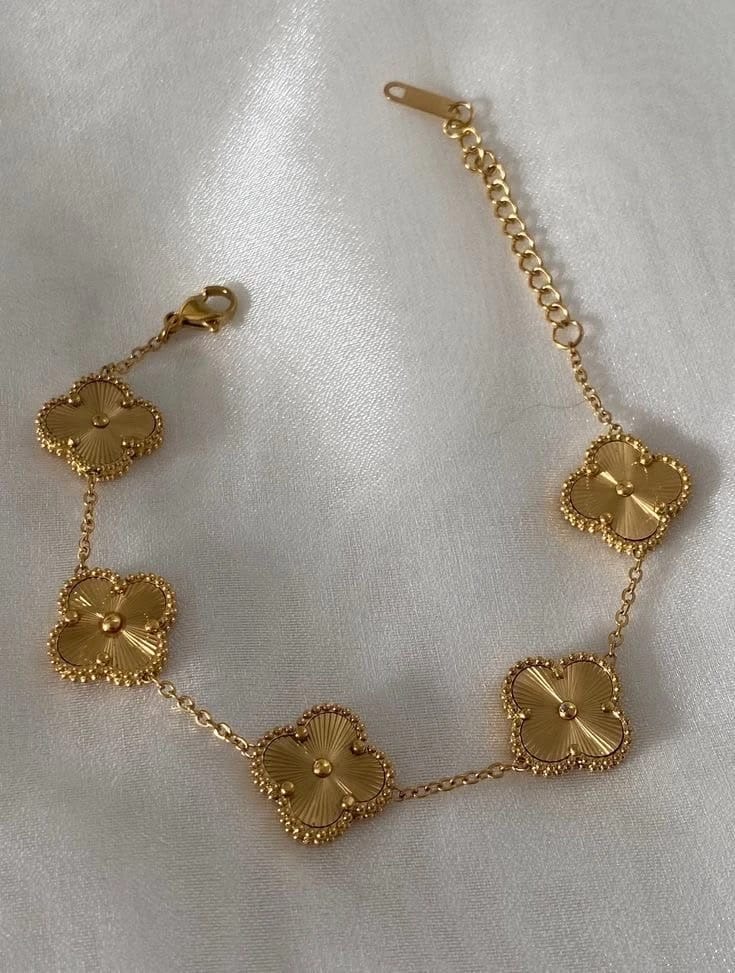
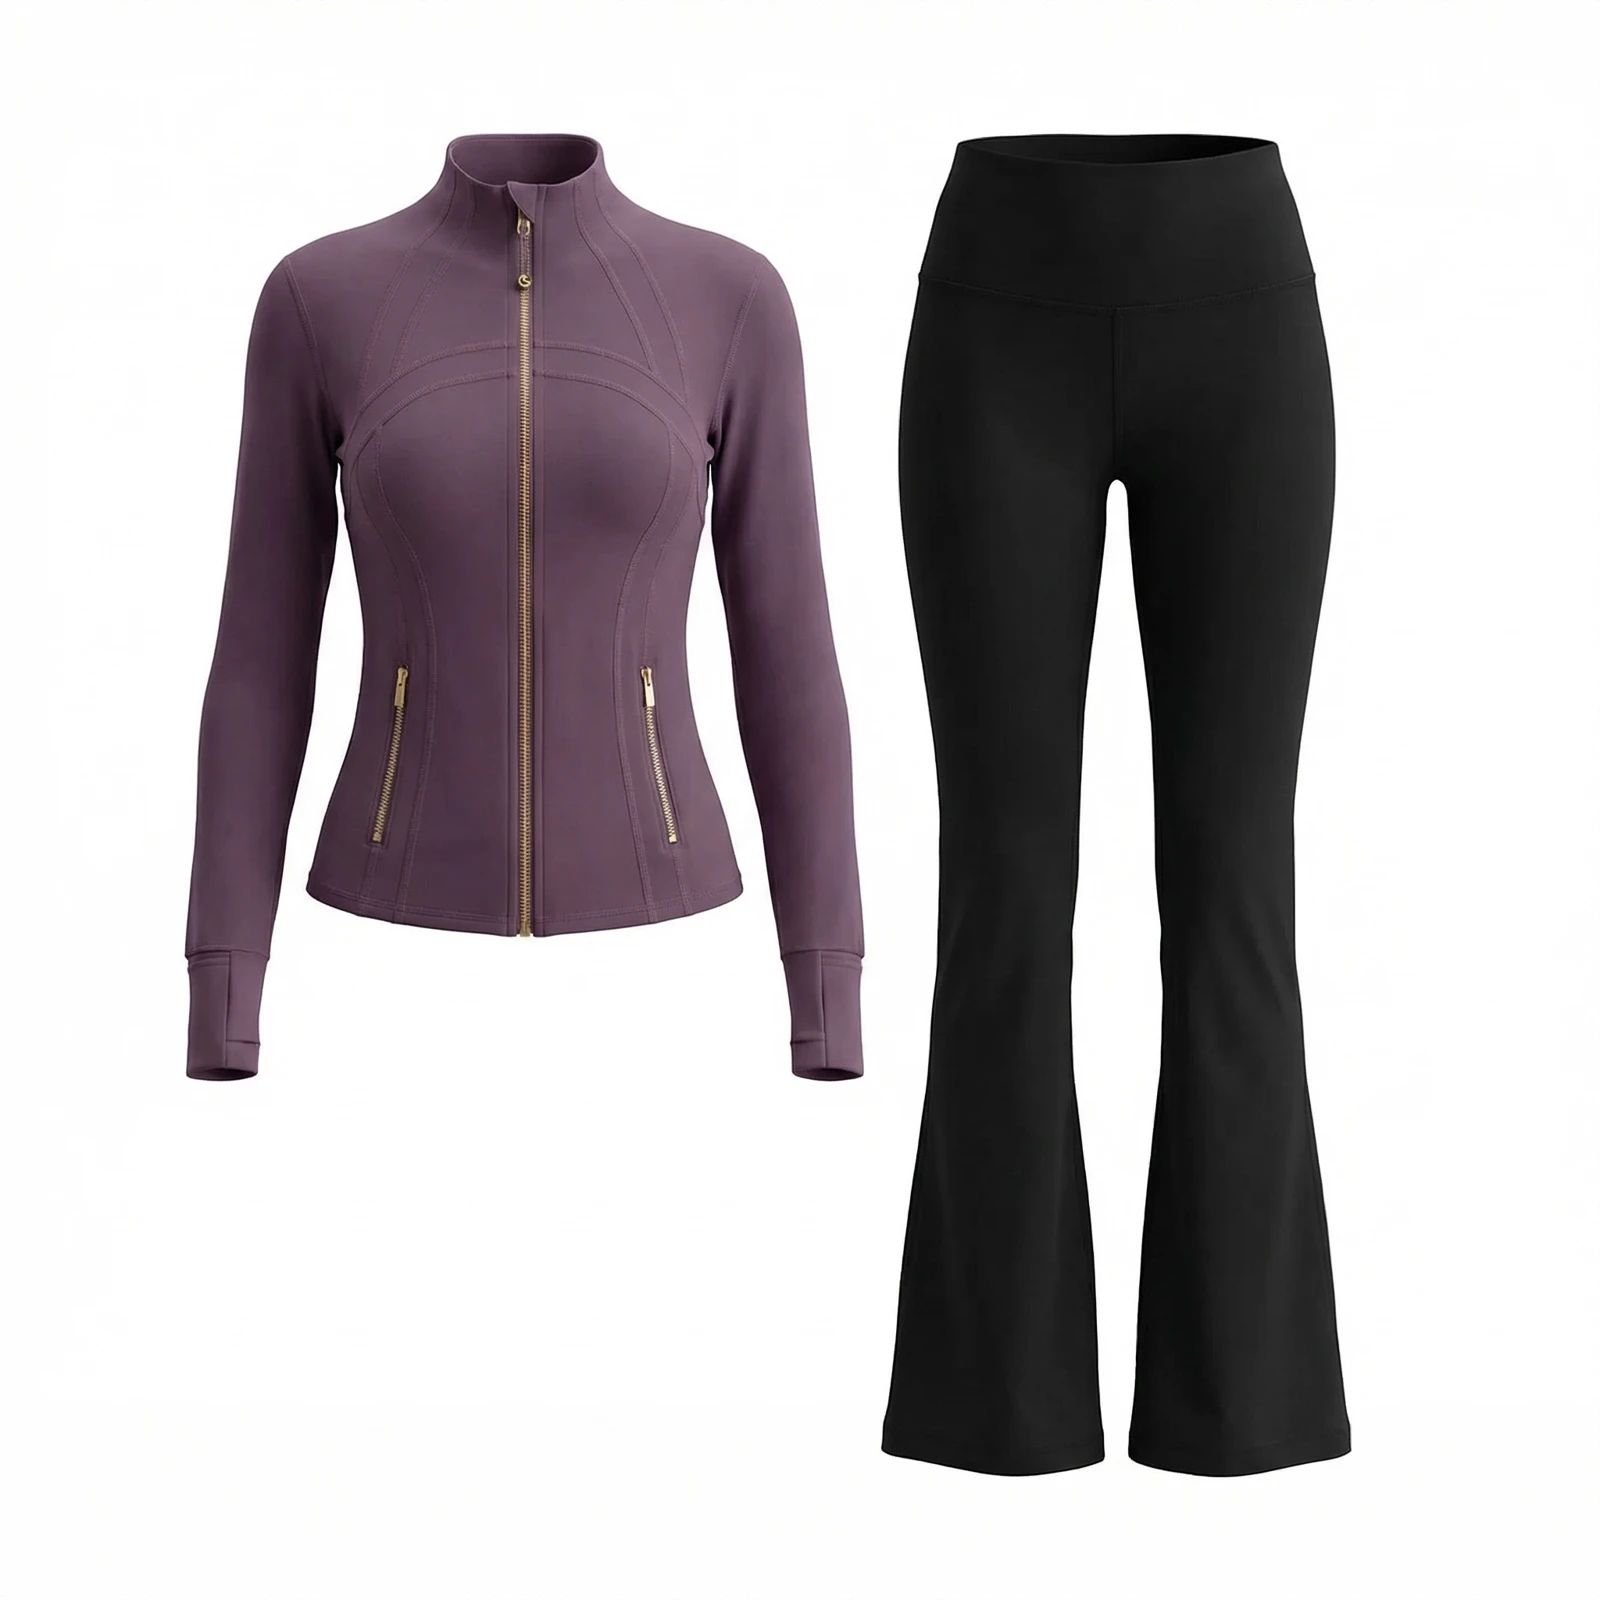
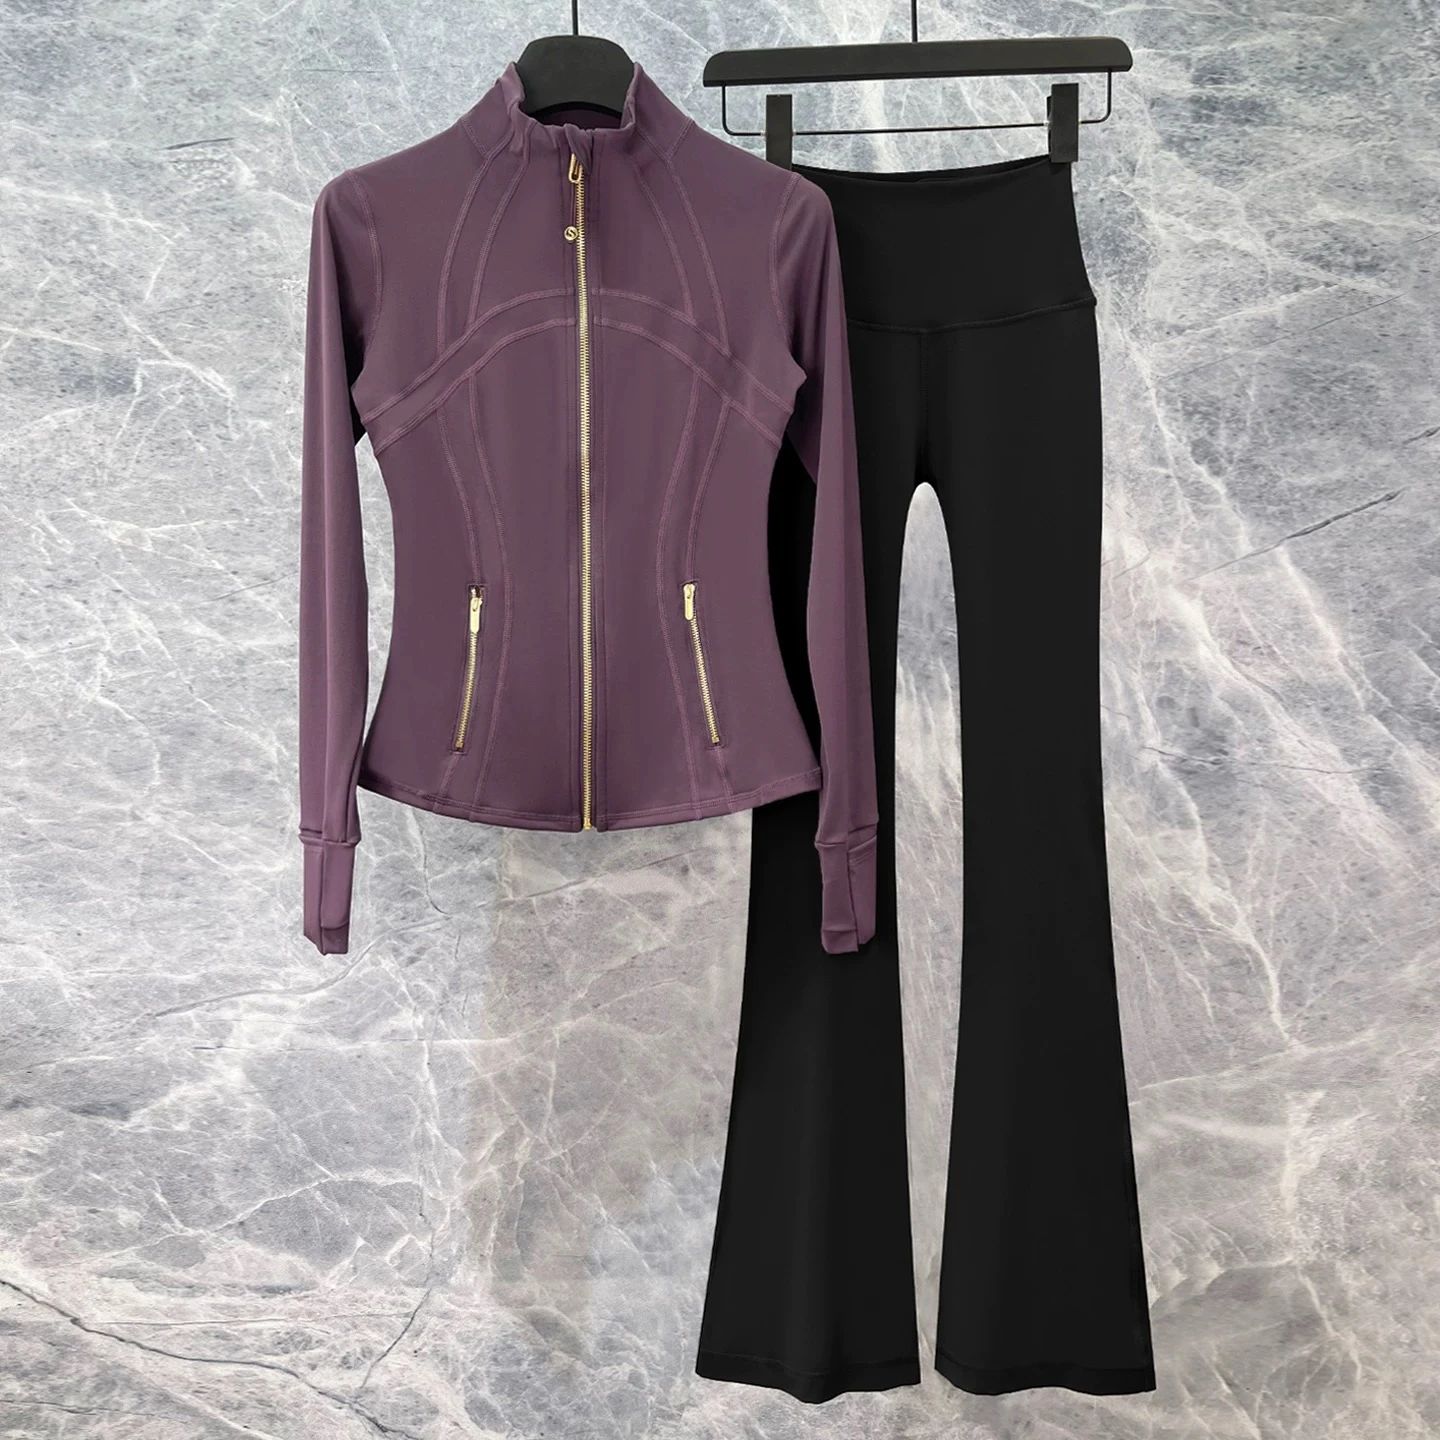
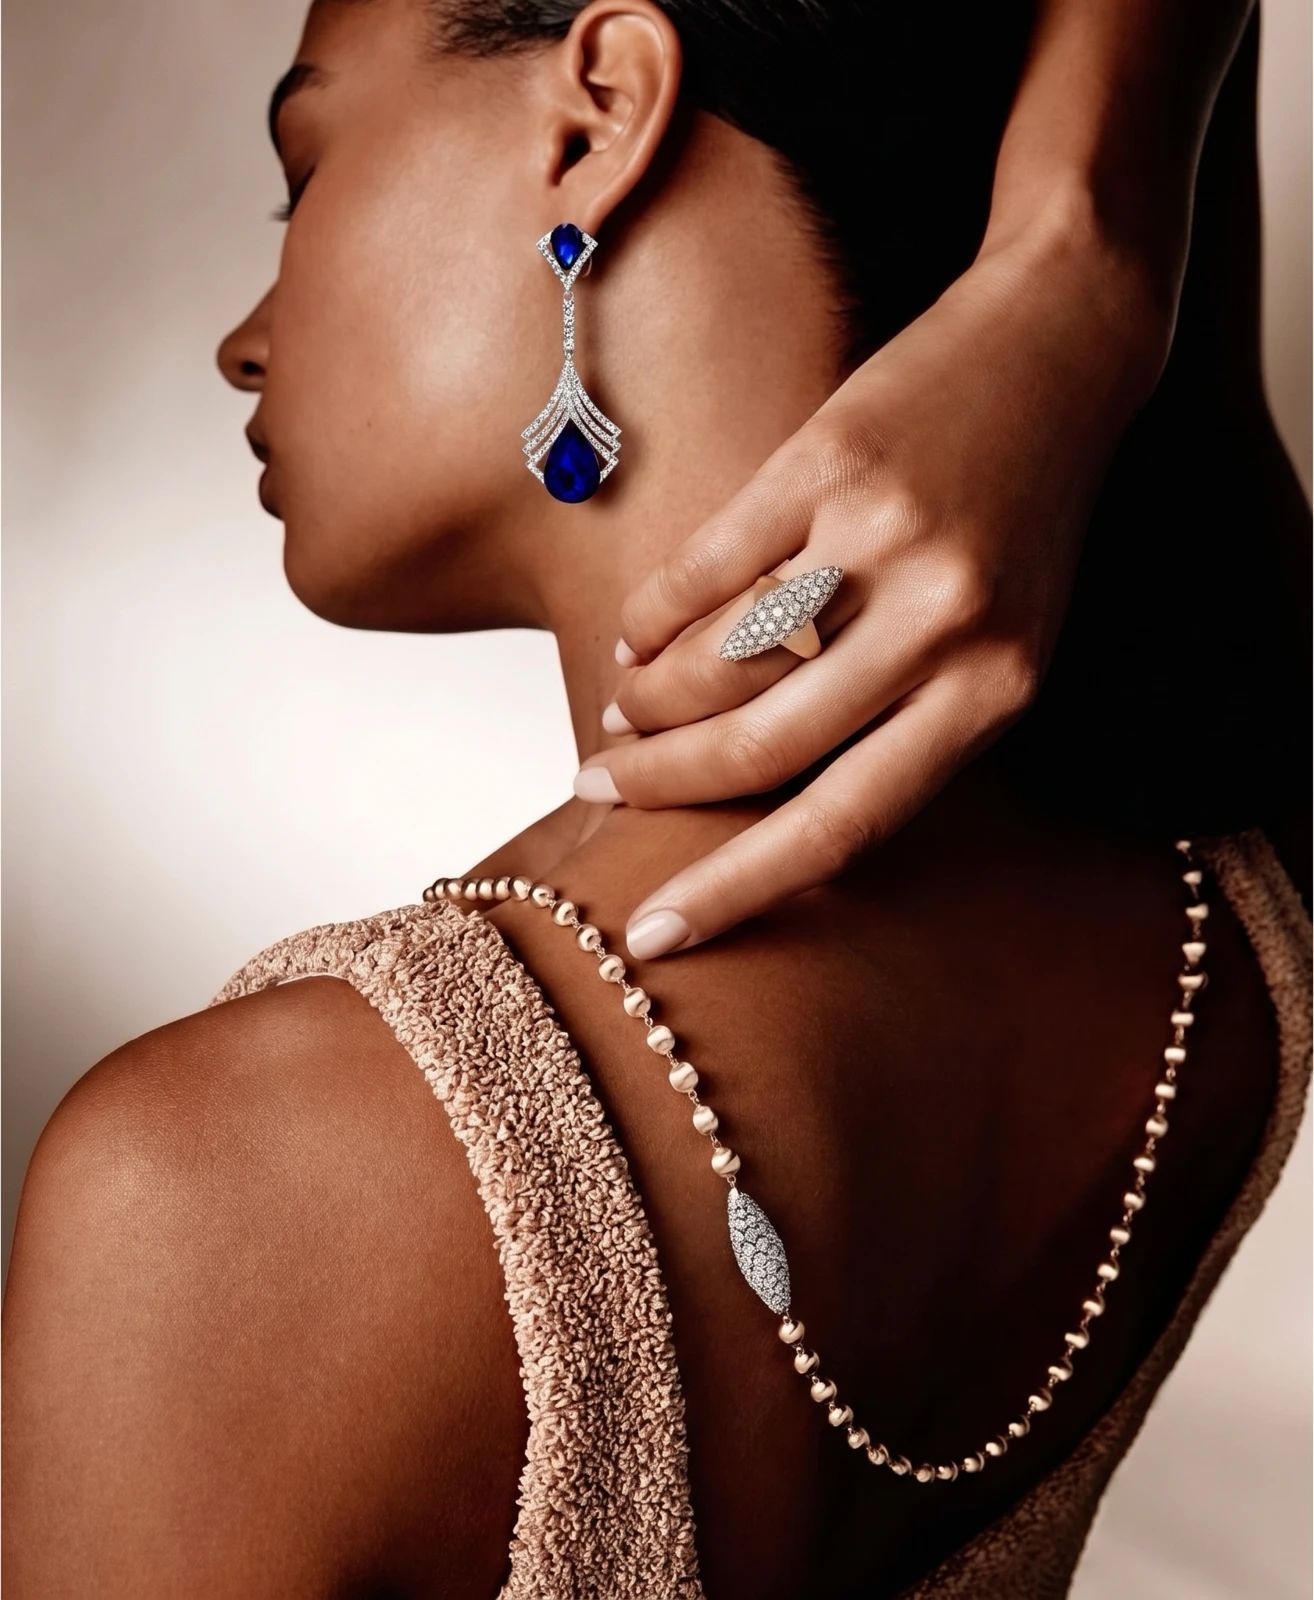
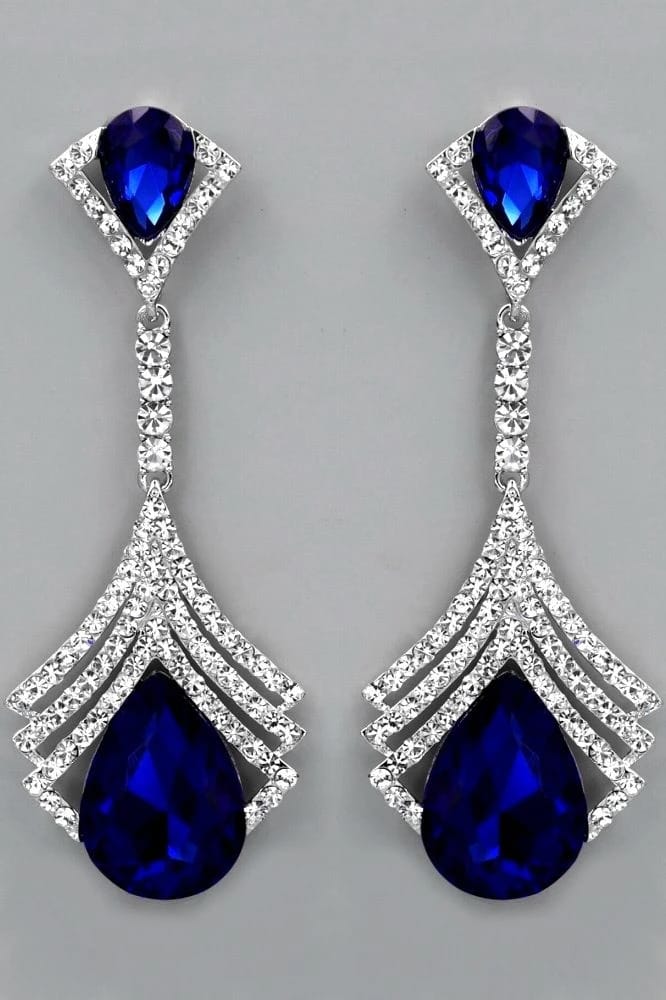
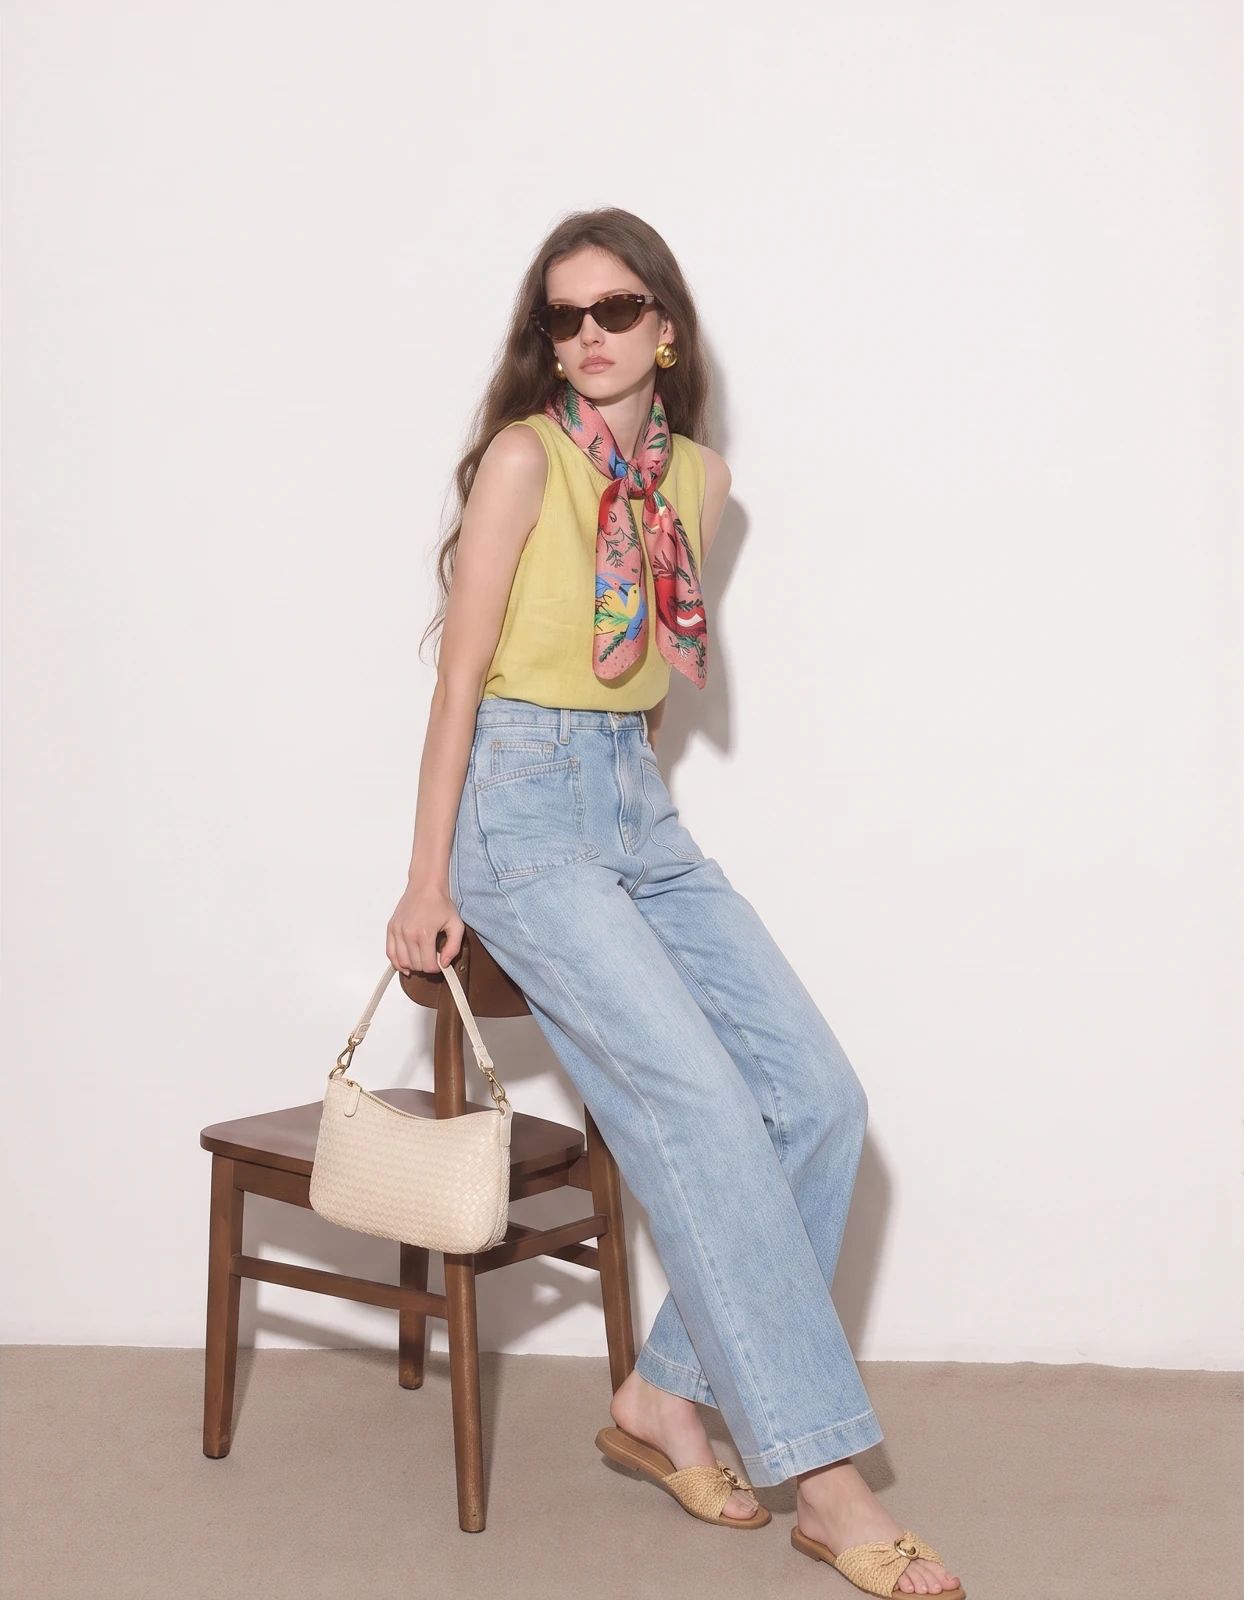
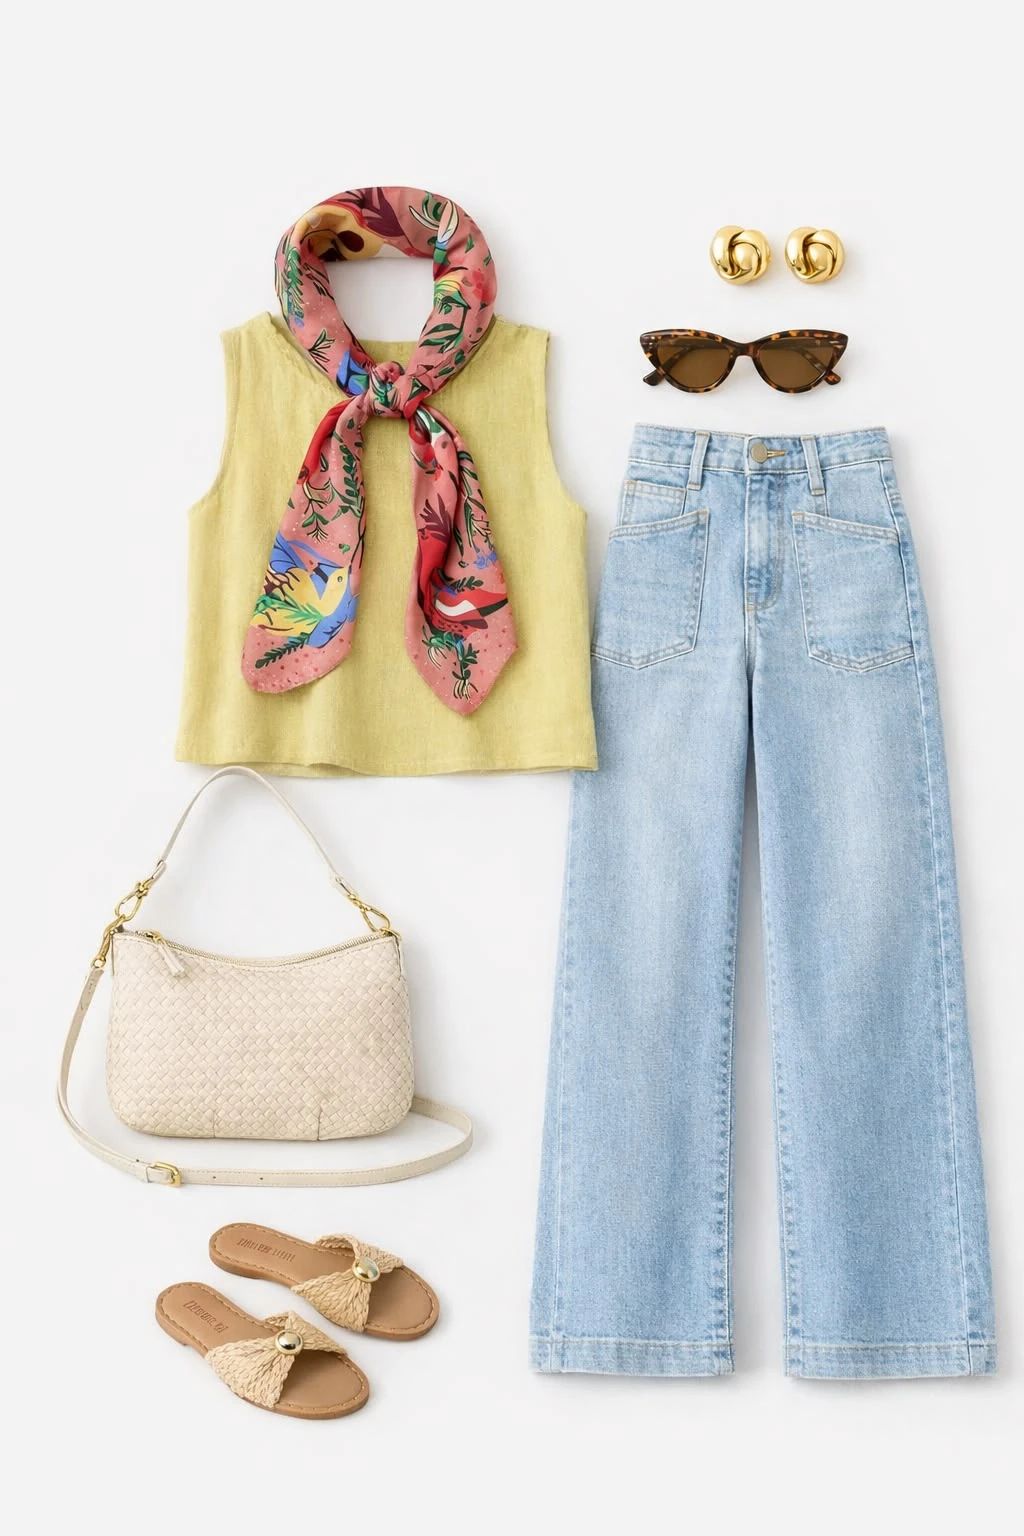
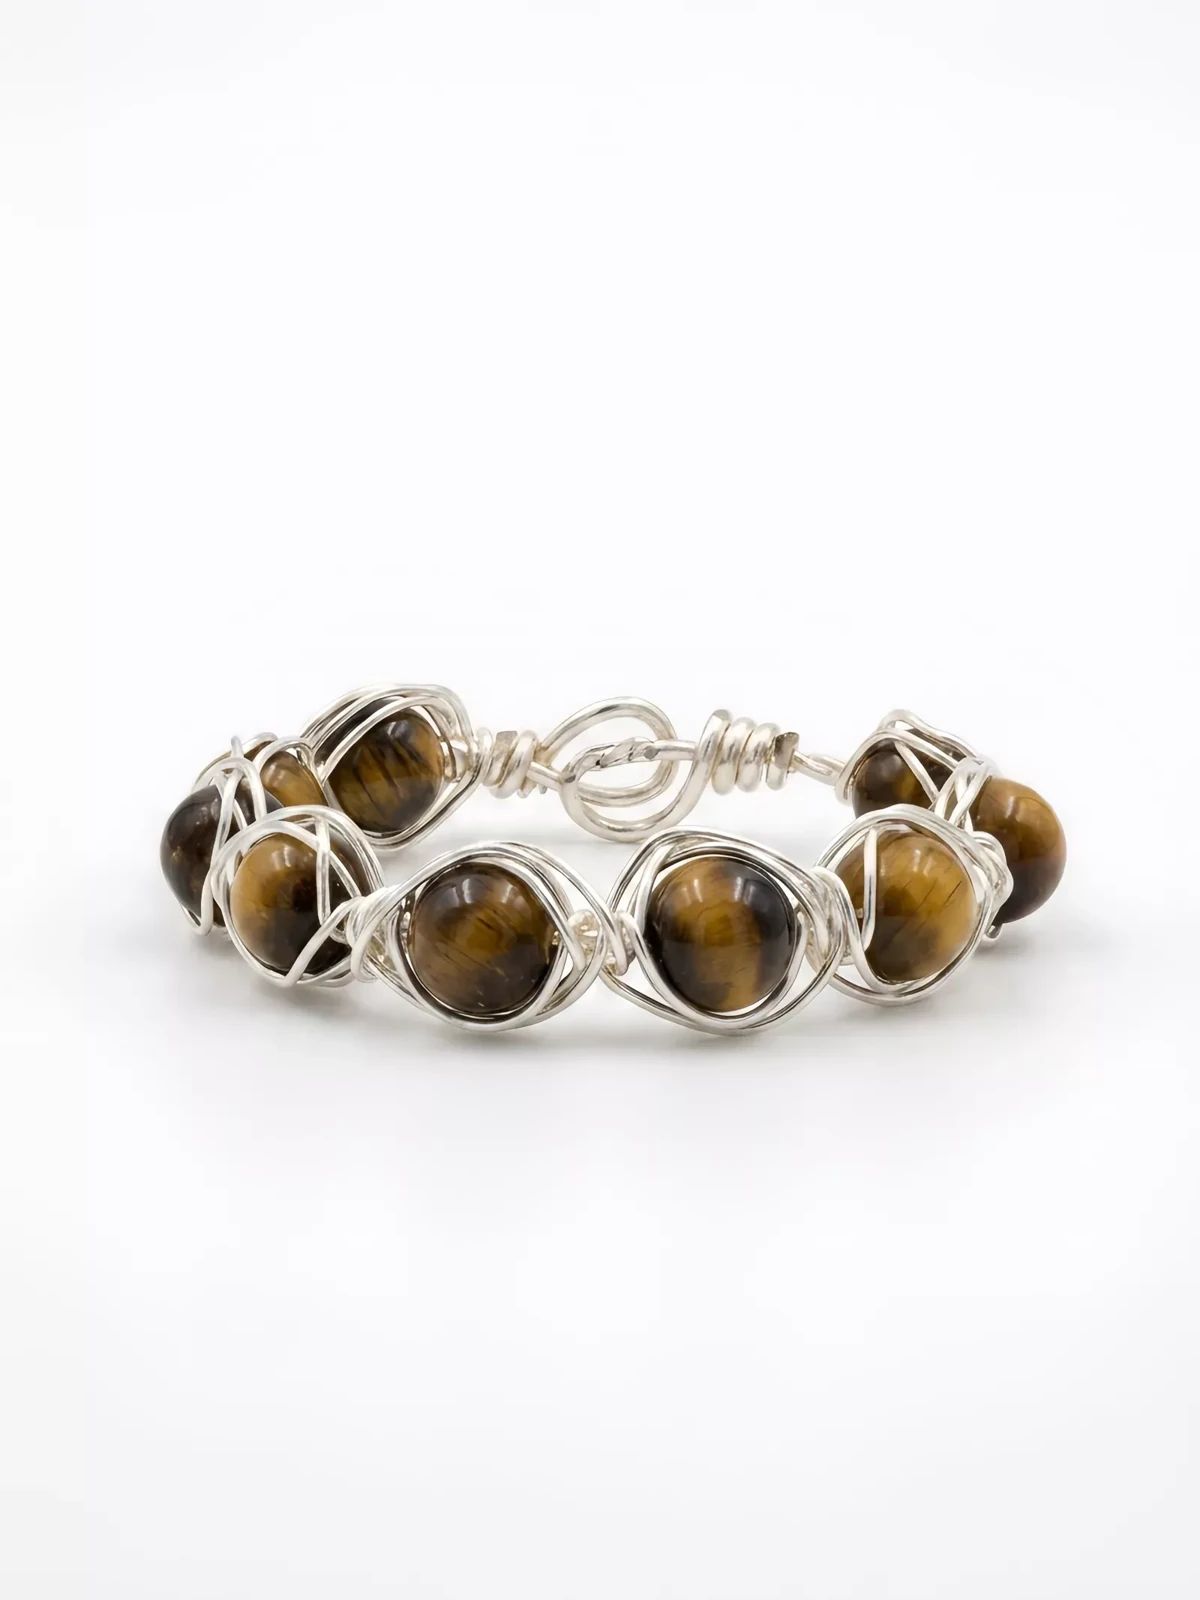
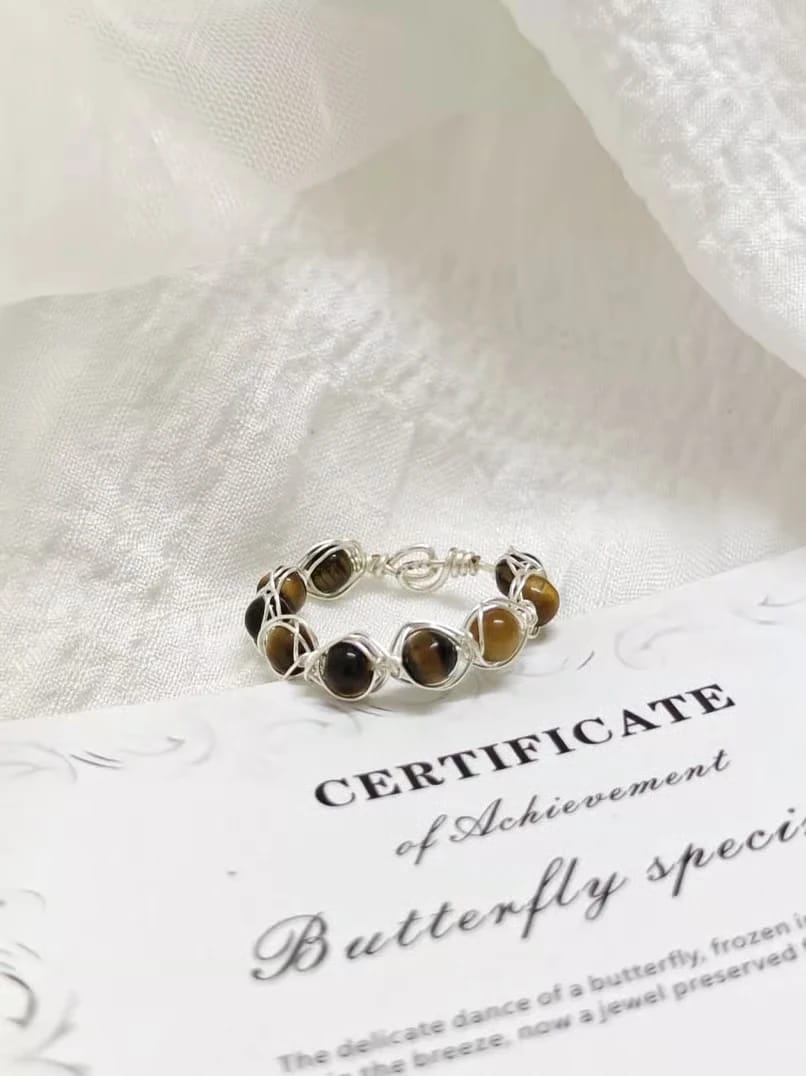
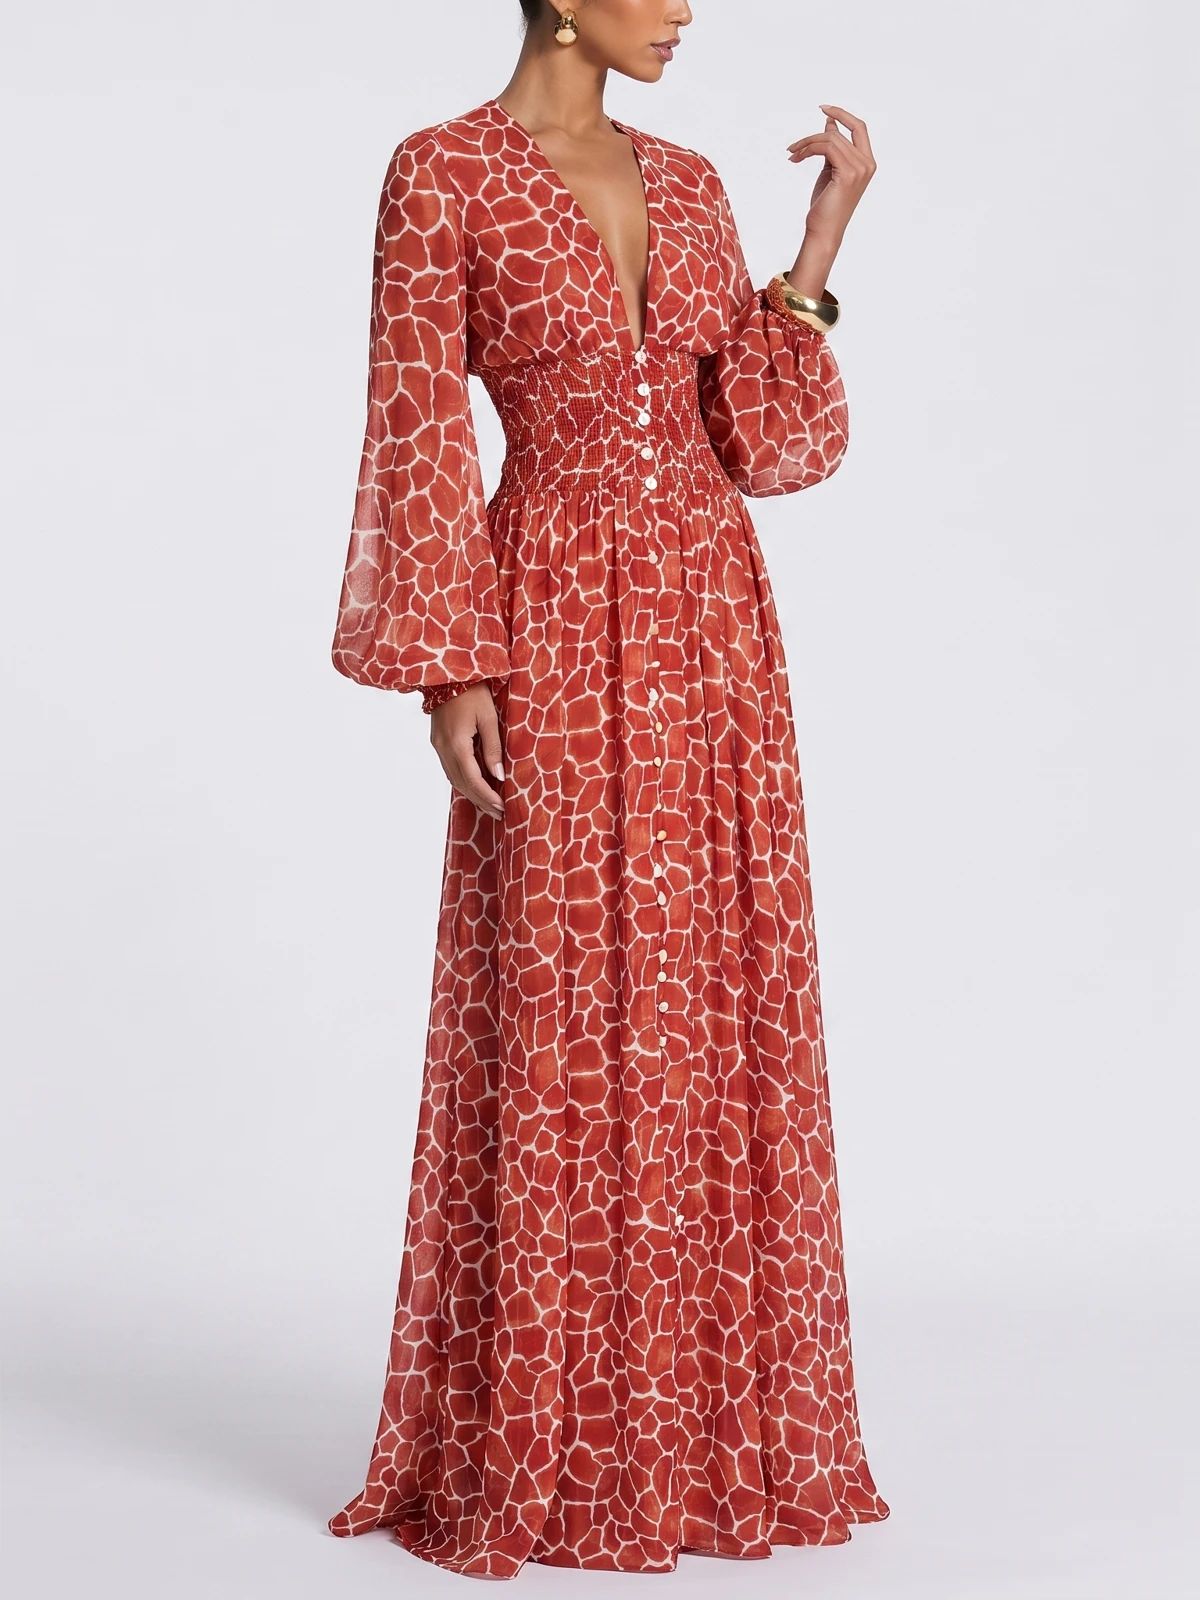
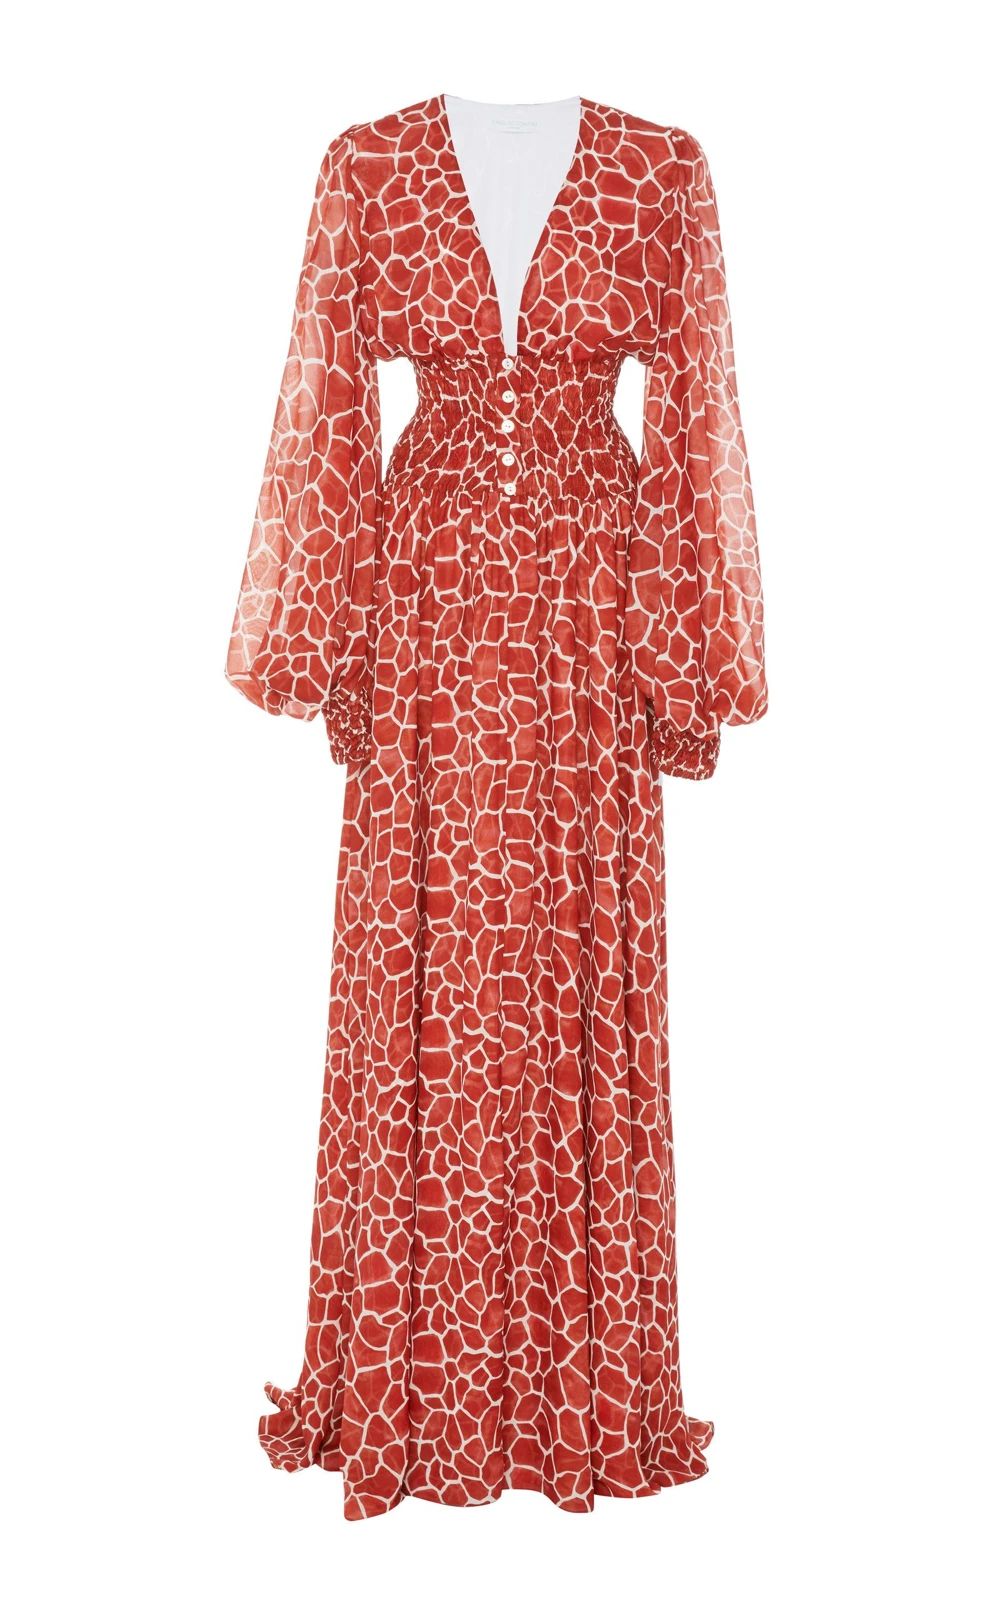
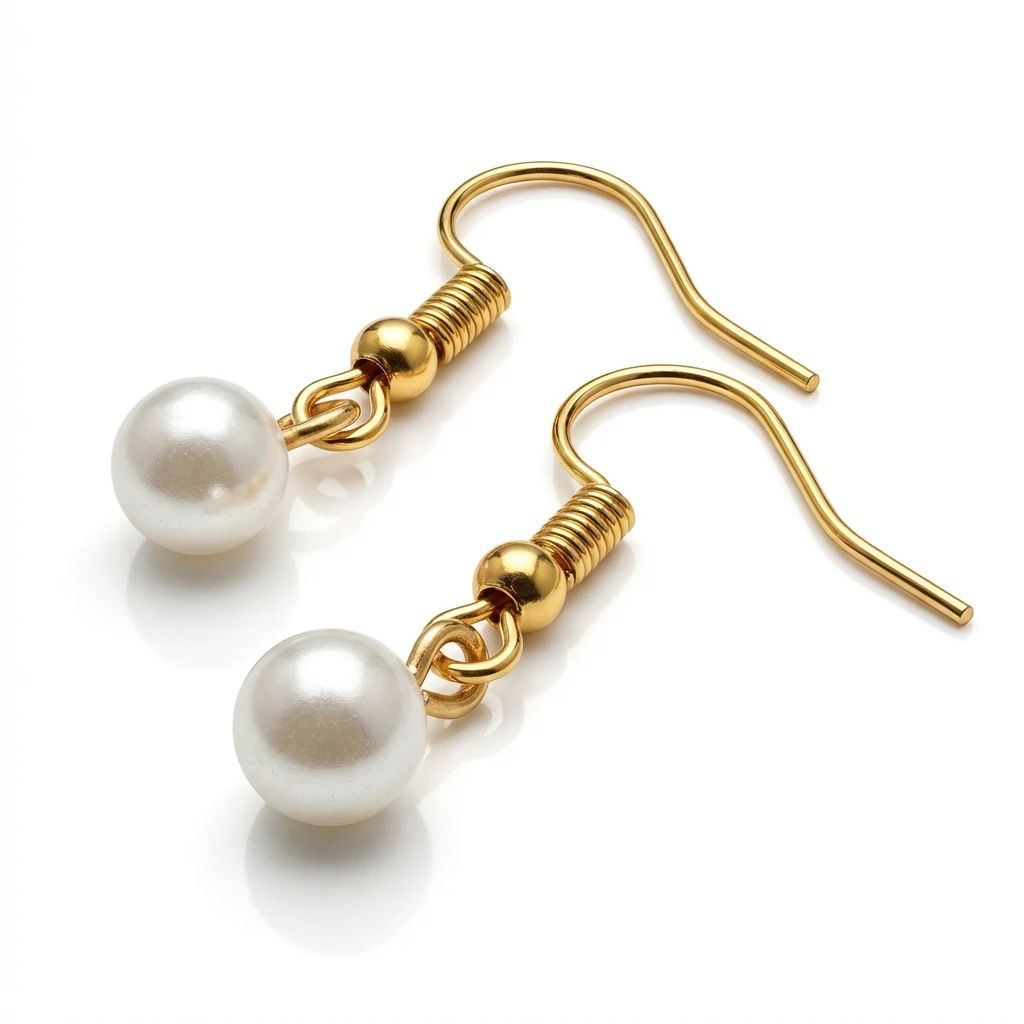
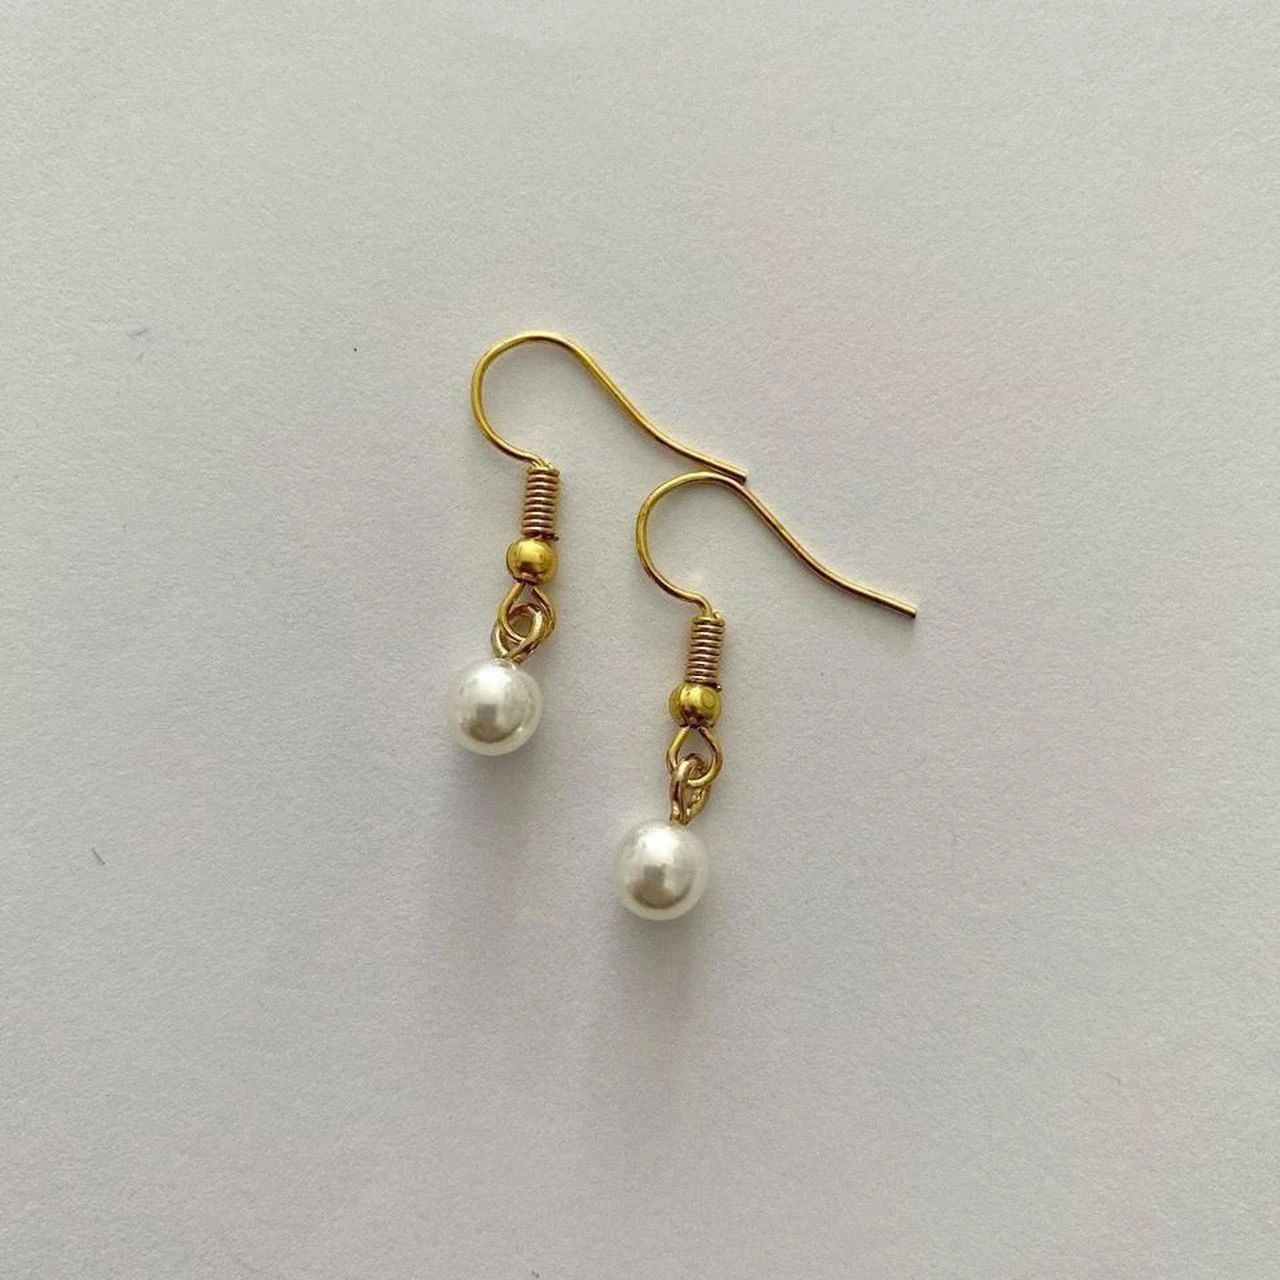
Choose another workflow or show all examples.
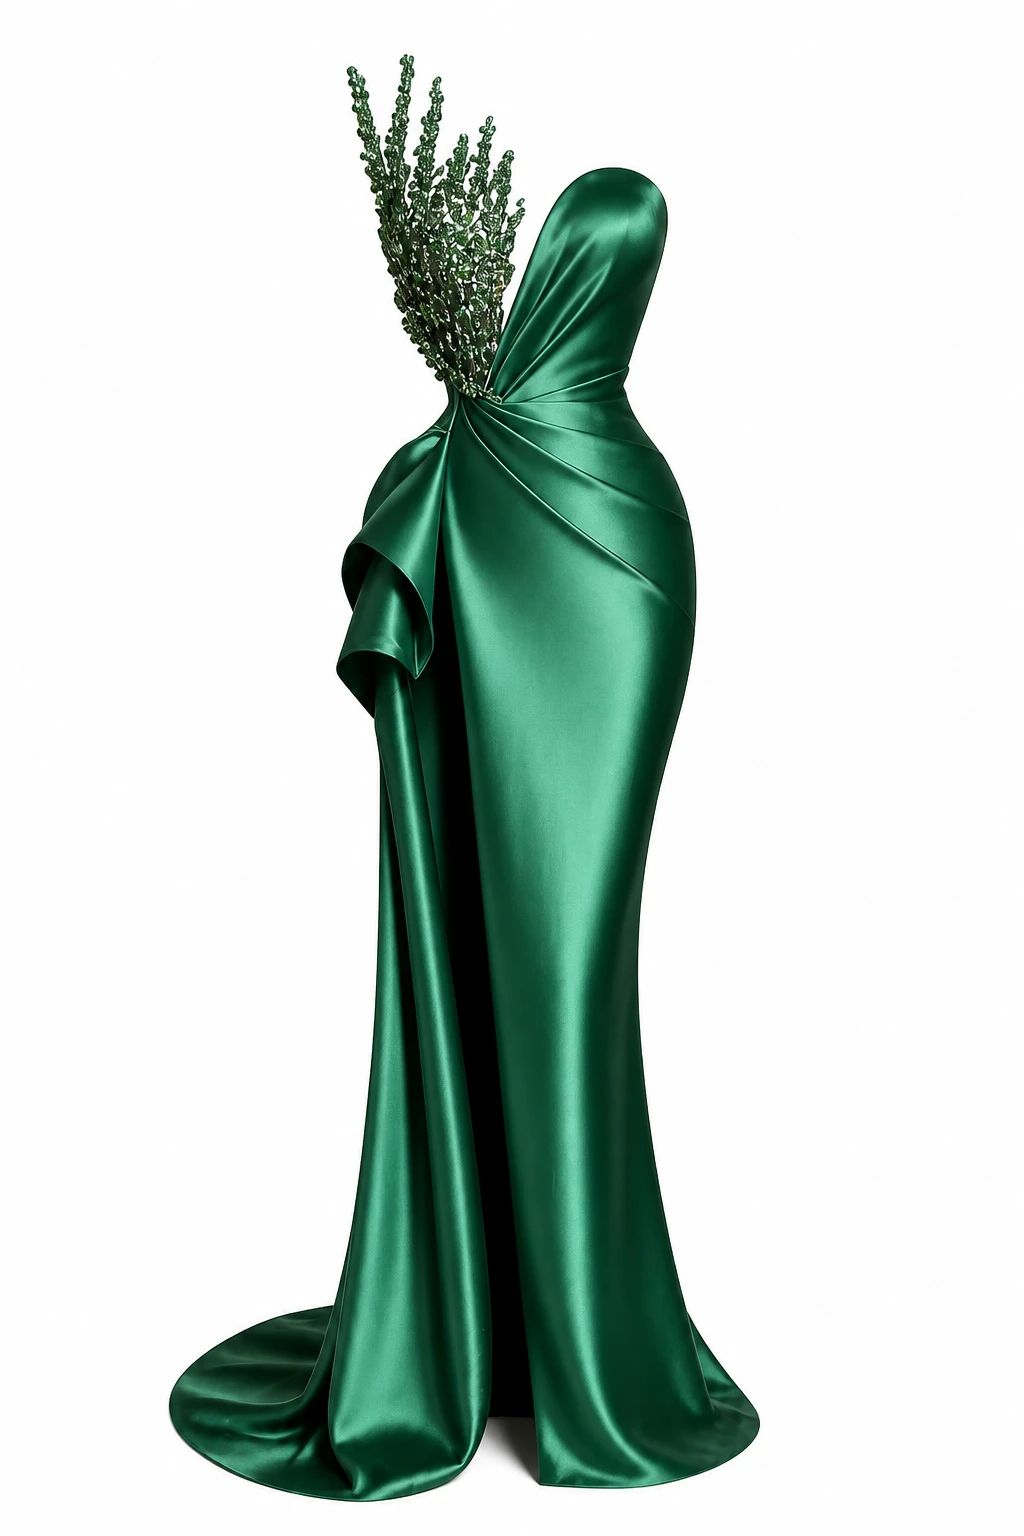
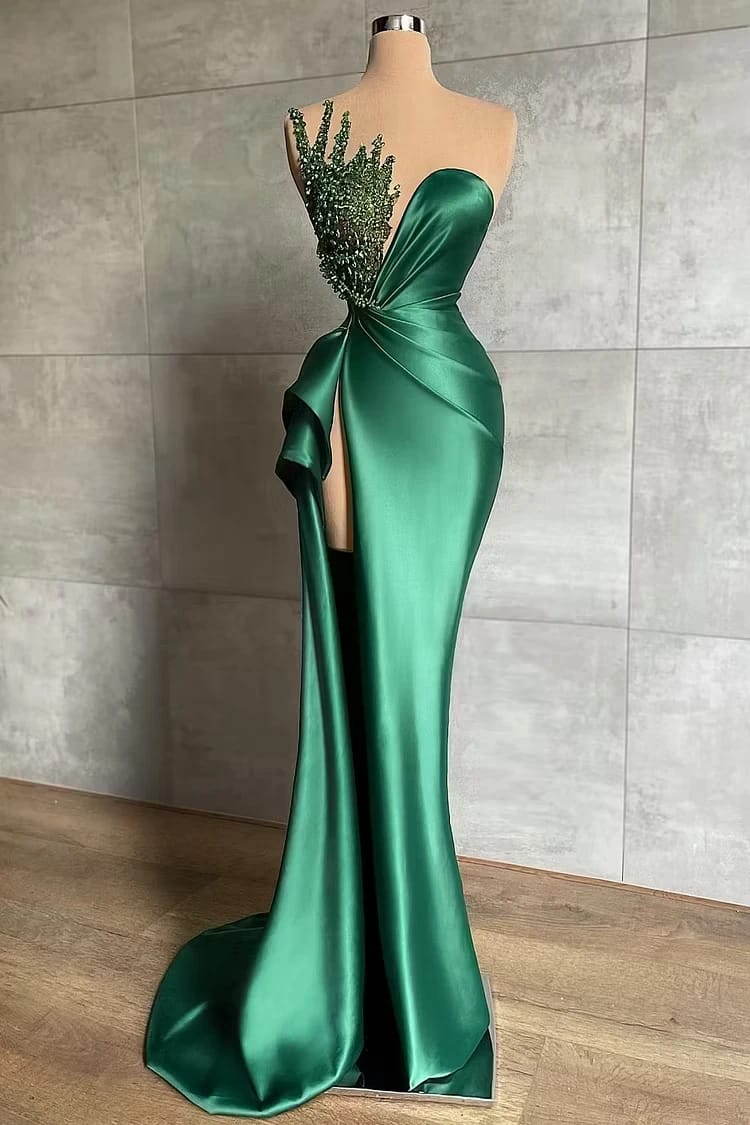
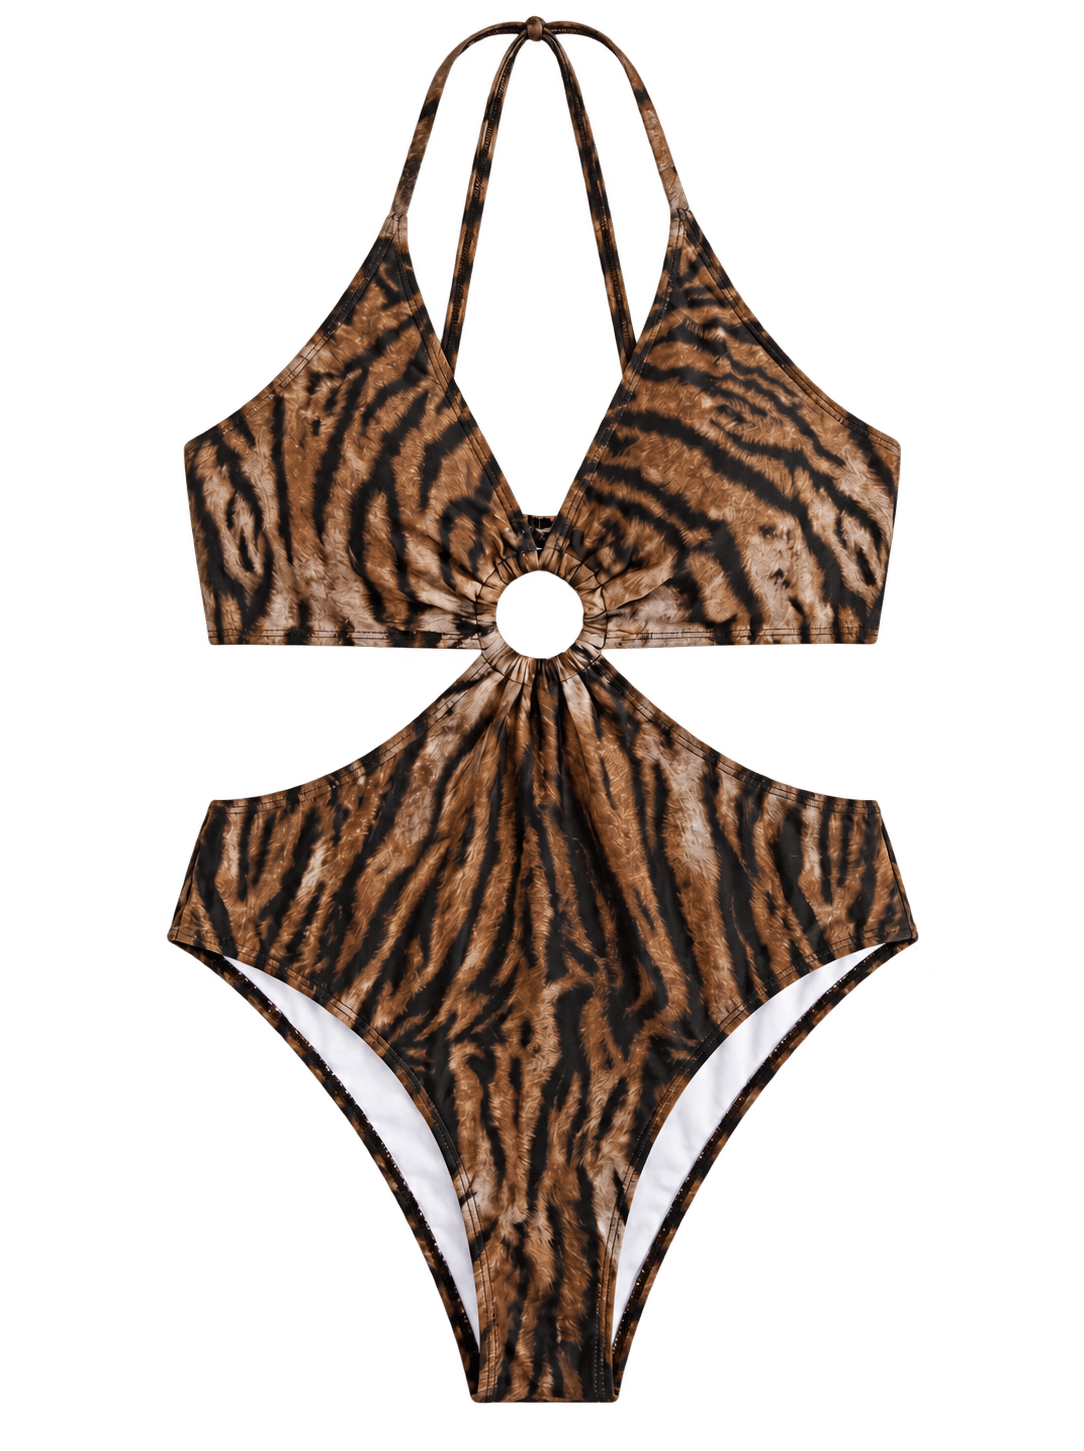
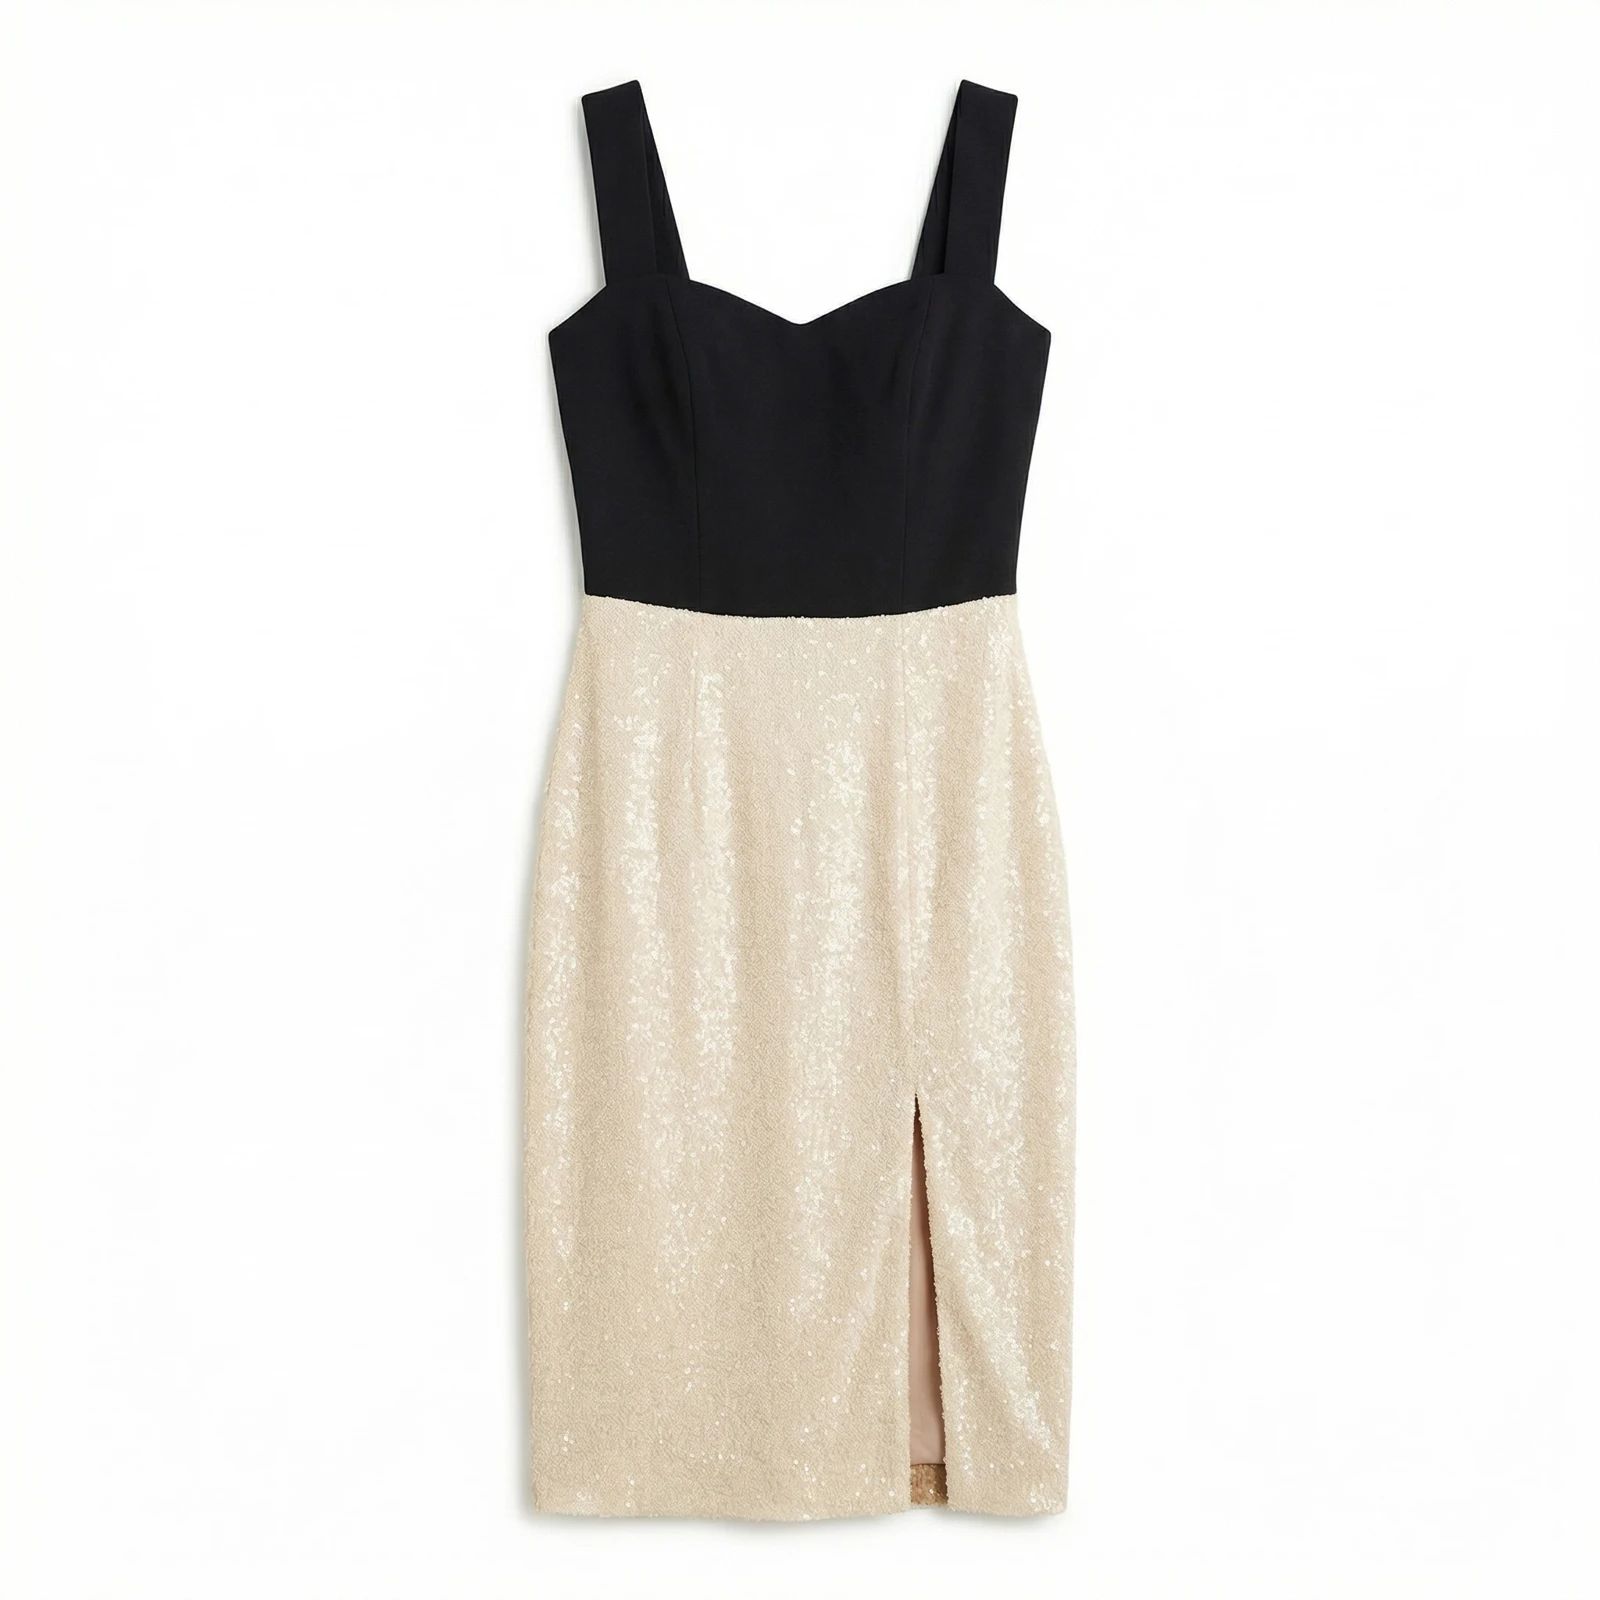
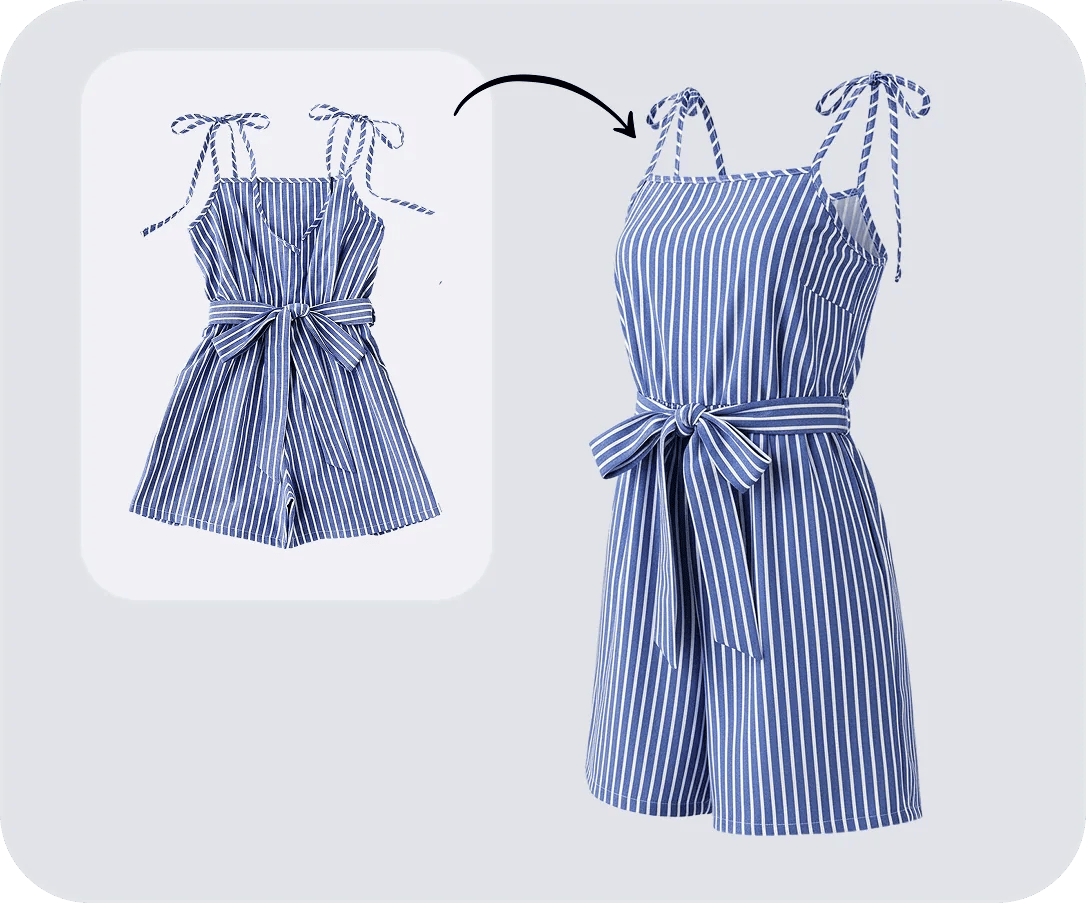
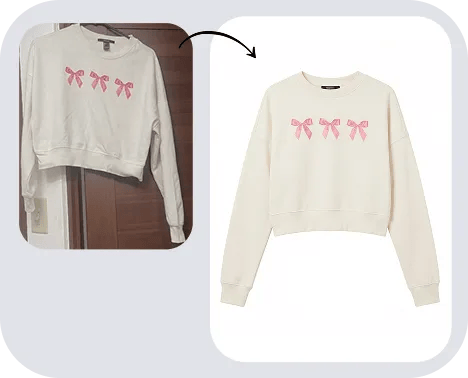
Create mannequin-free apparel photos with visible garment shape.
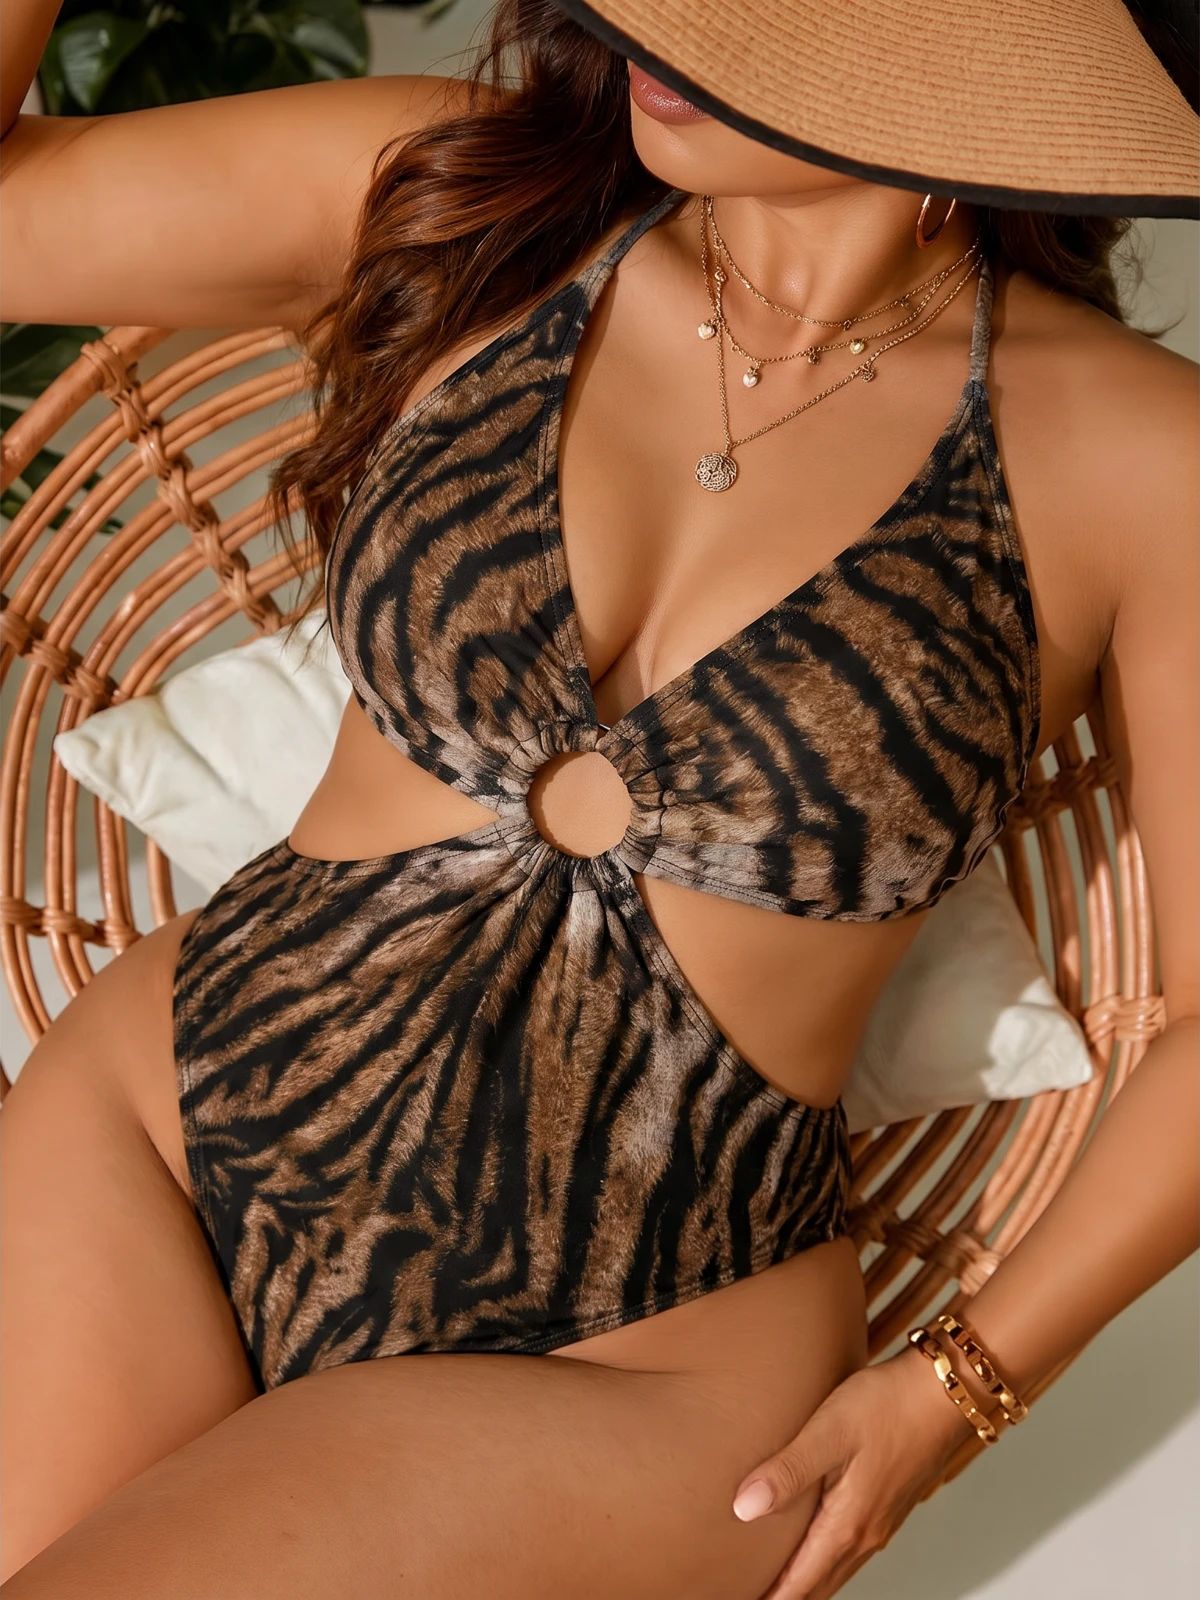
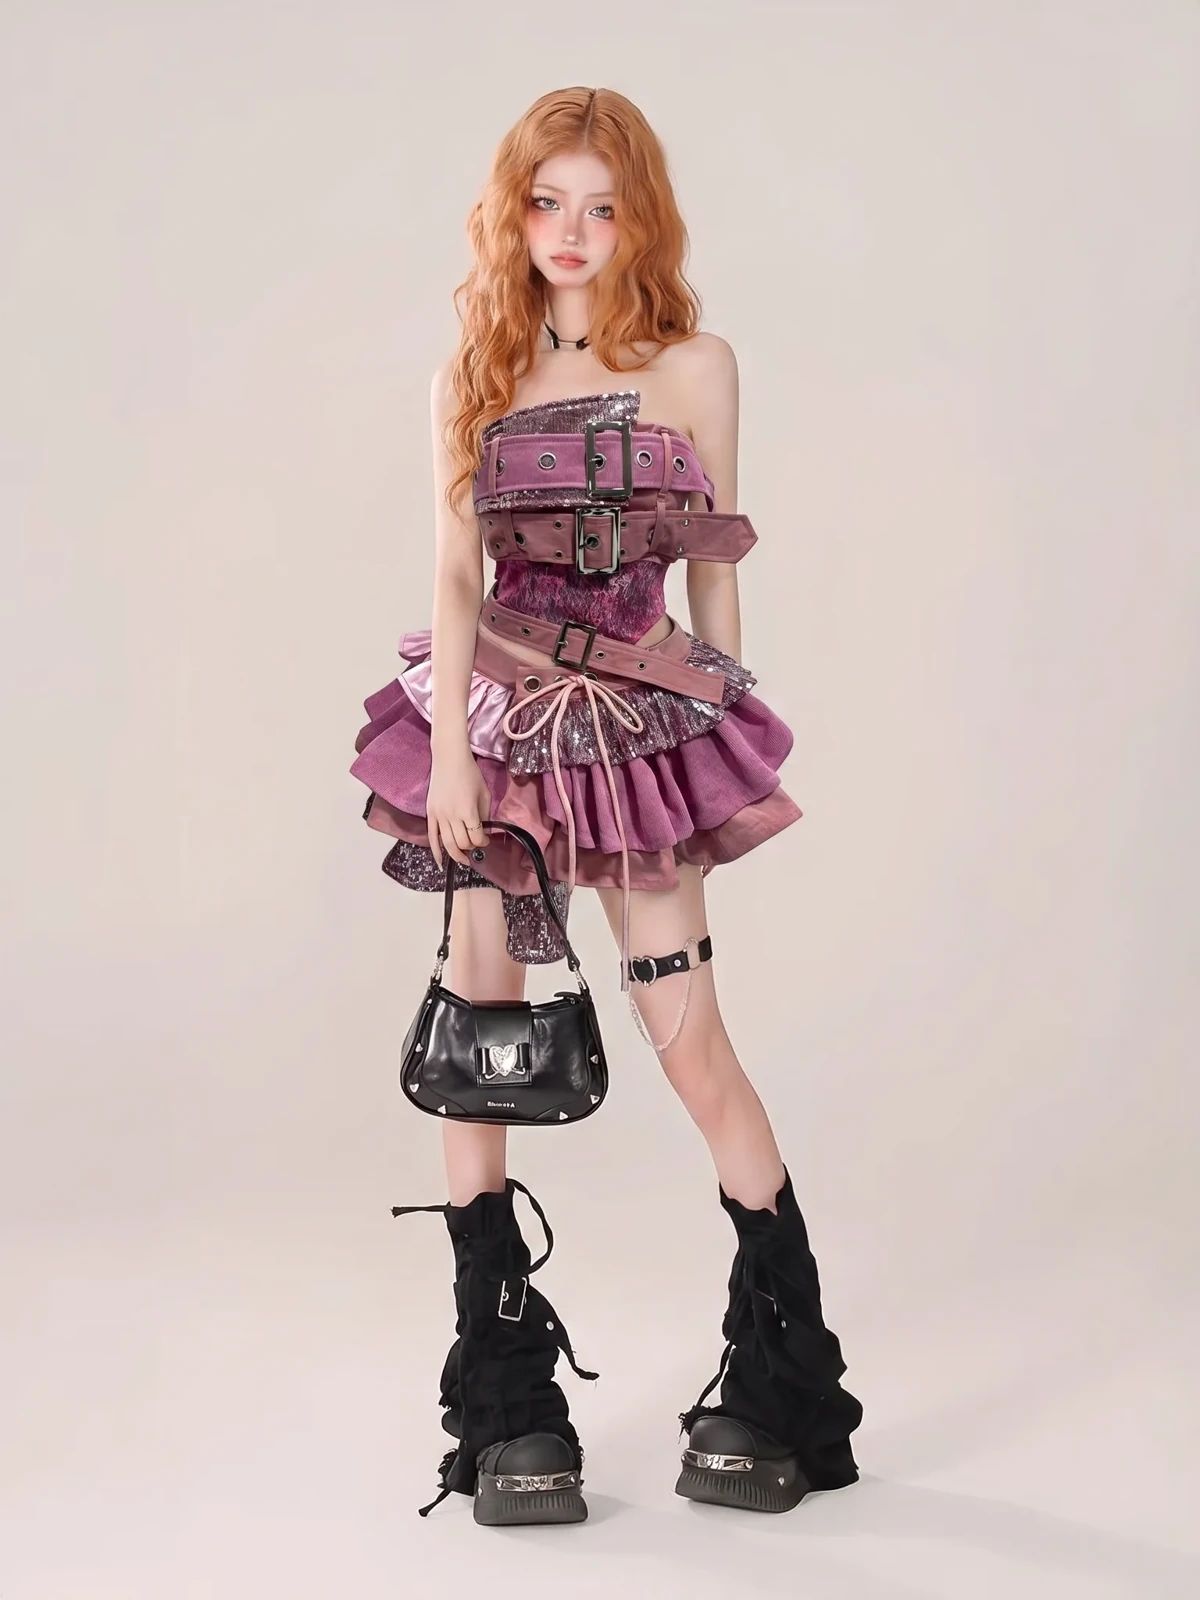
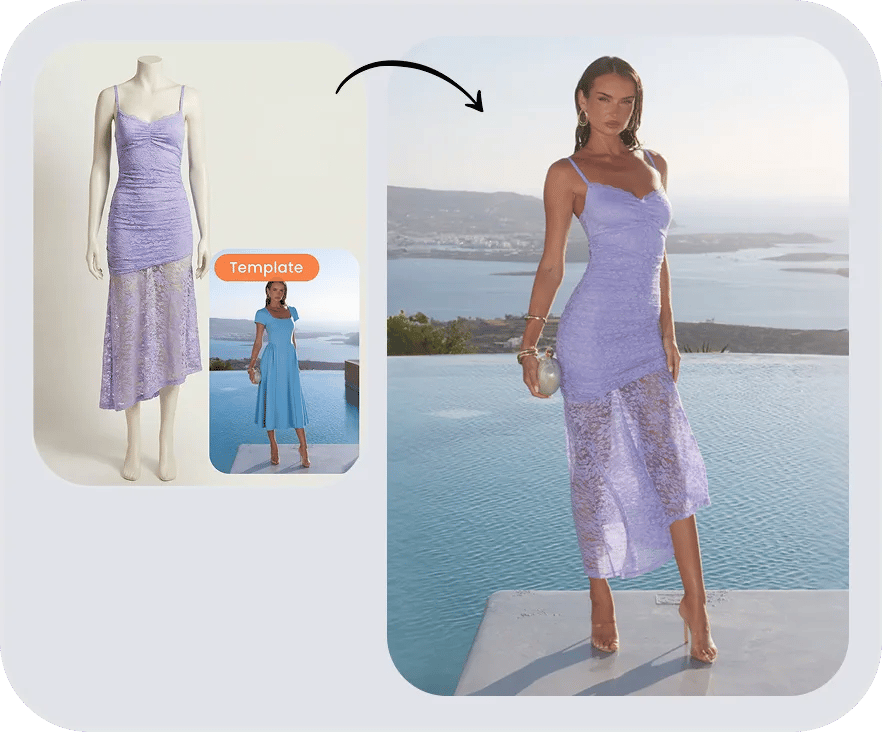
Show apparel and accessories on a fashion model.
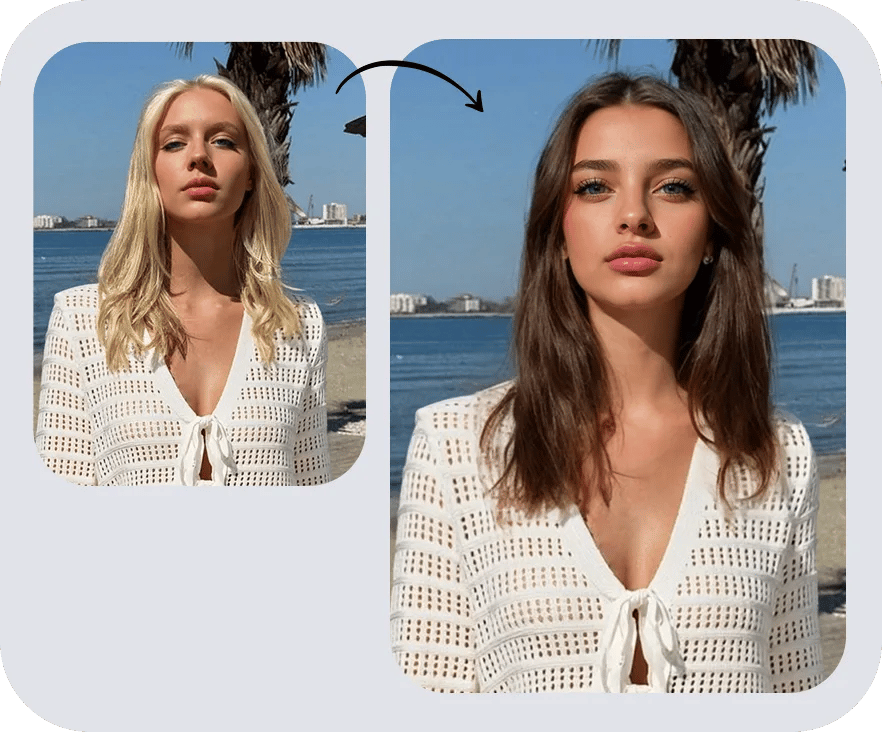
Change the face in a portrait or on-model photo.
Create overhead product photos for your apparel listings.
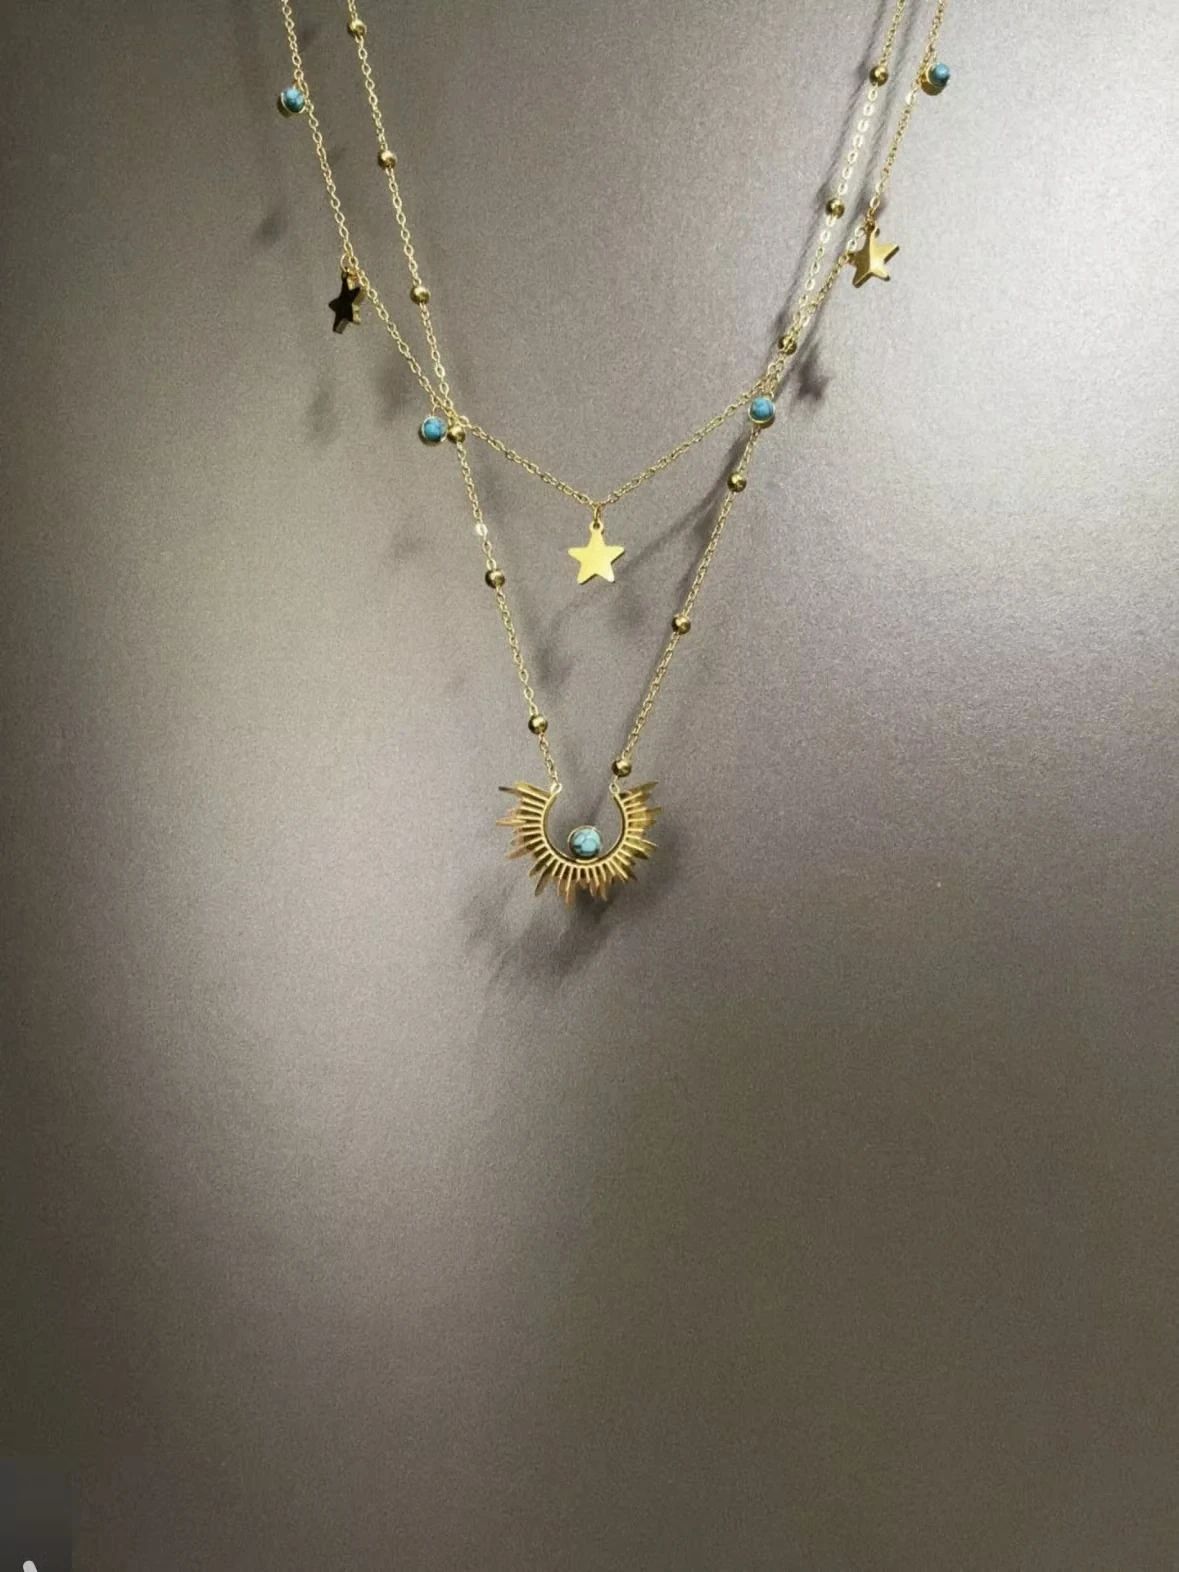
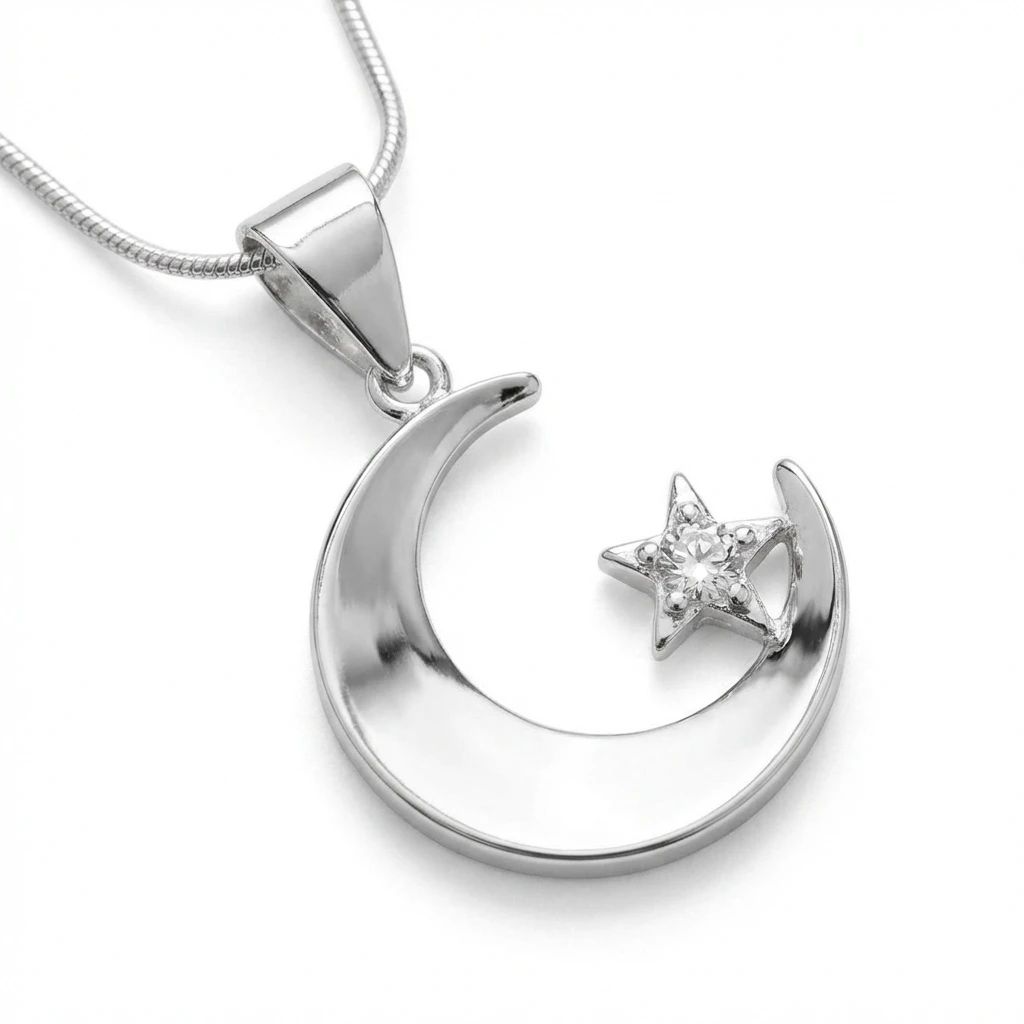
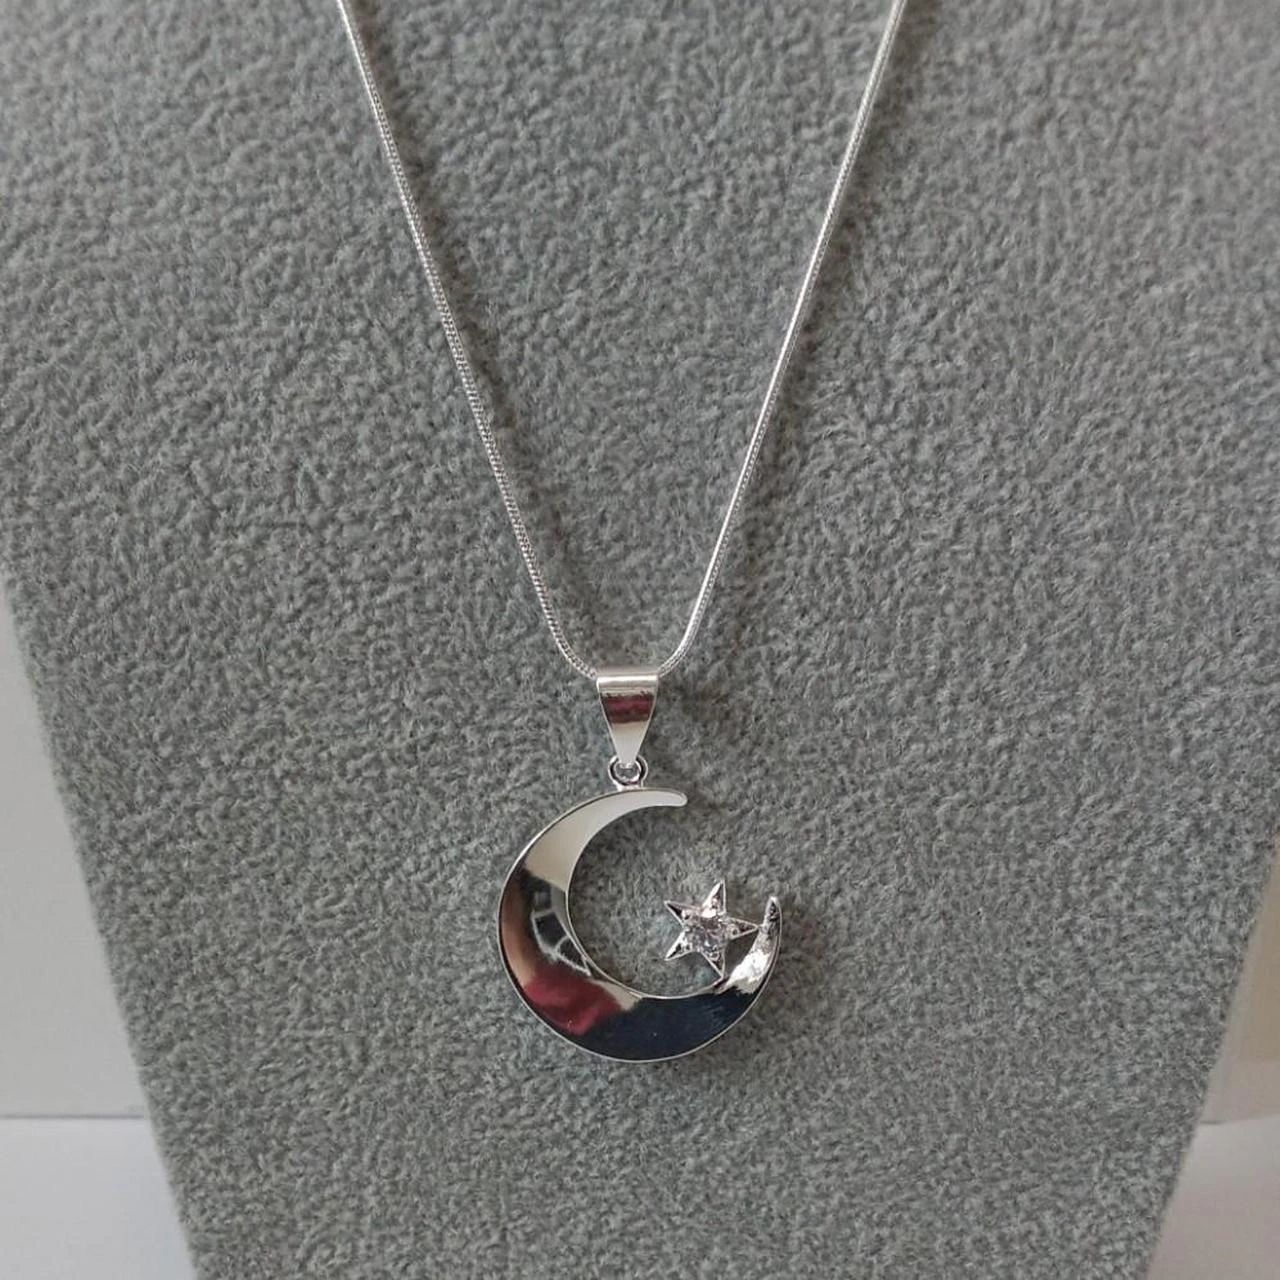
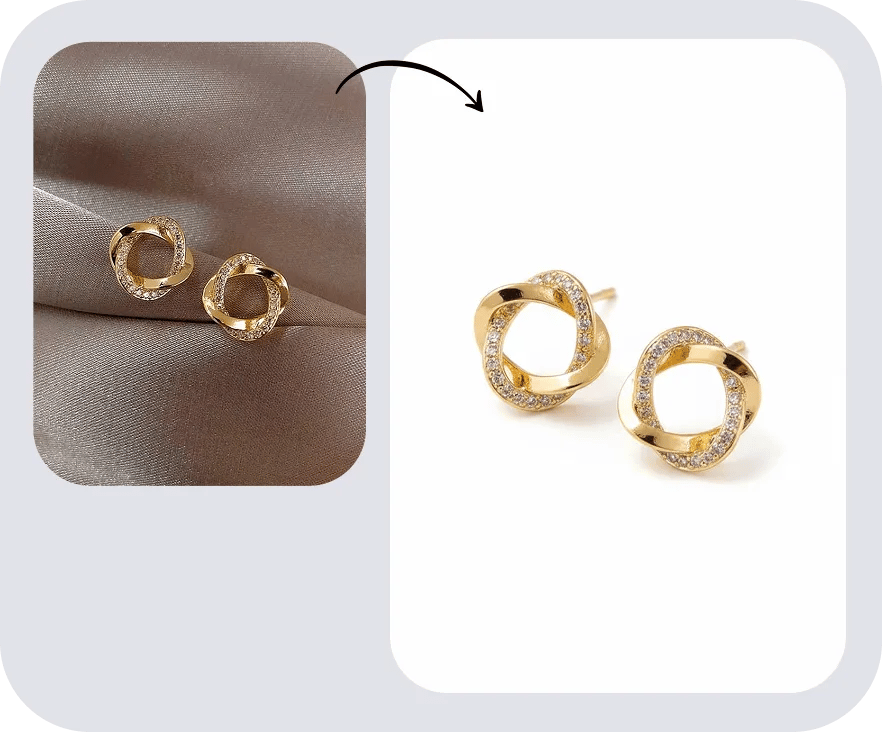
Refine jewelry photos and review fine product details.
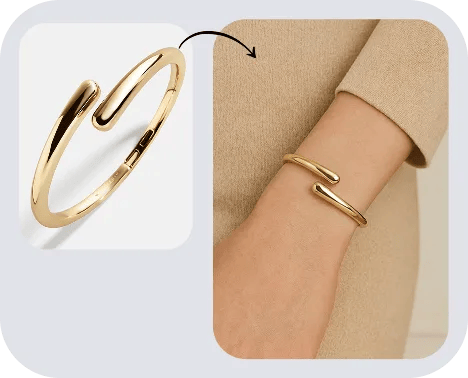
Present jewelry on a model for a wearing view.
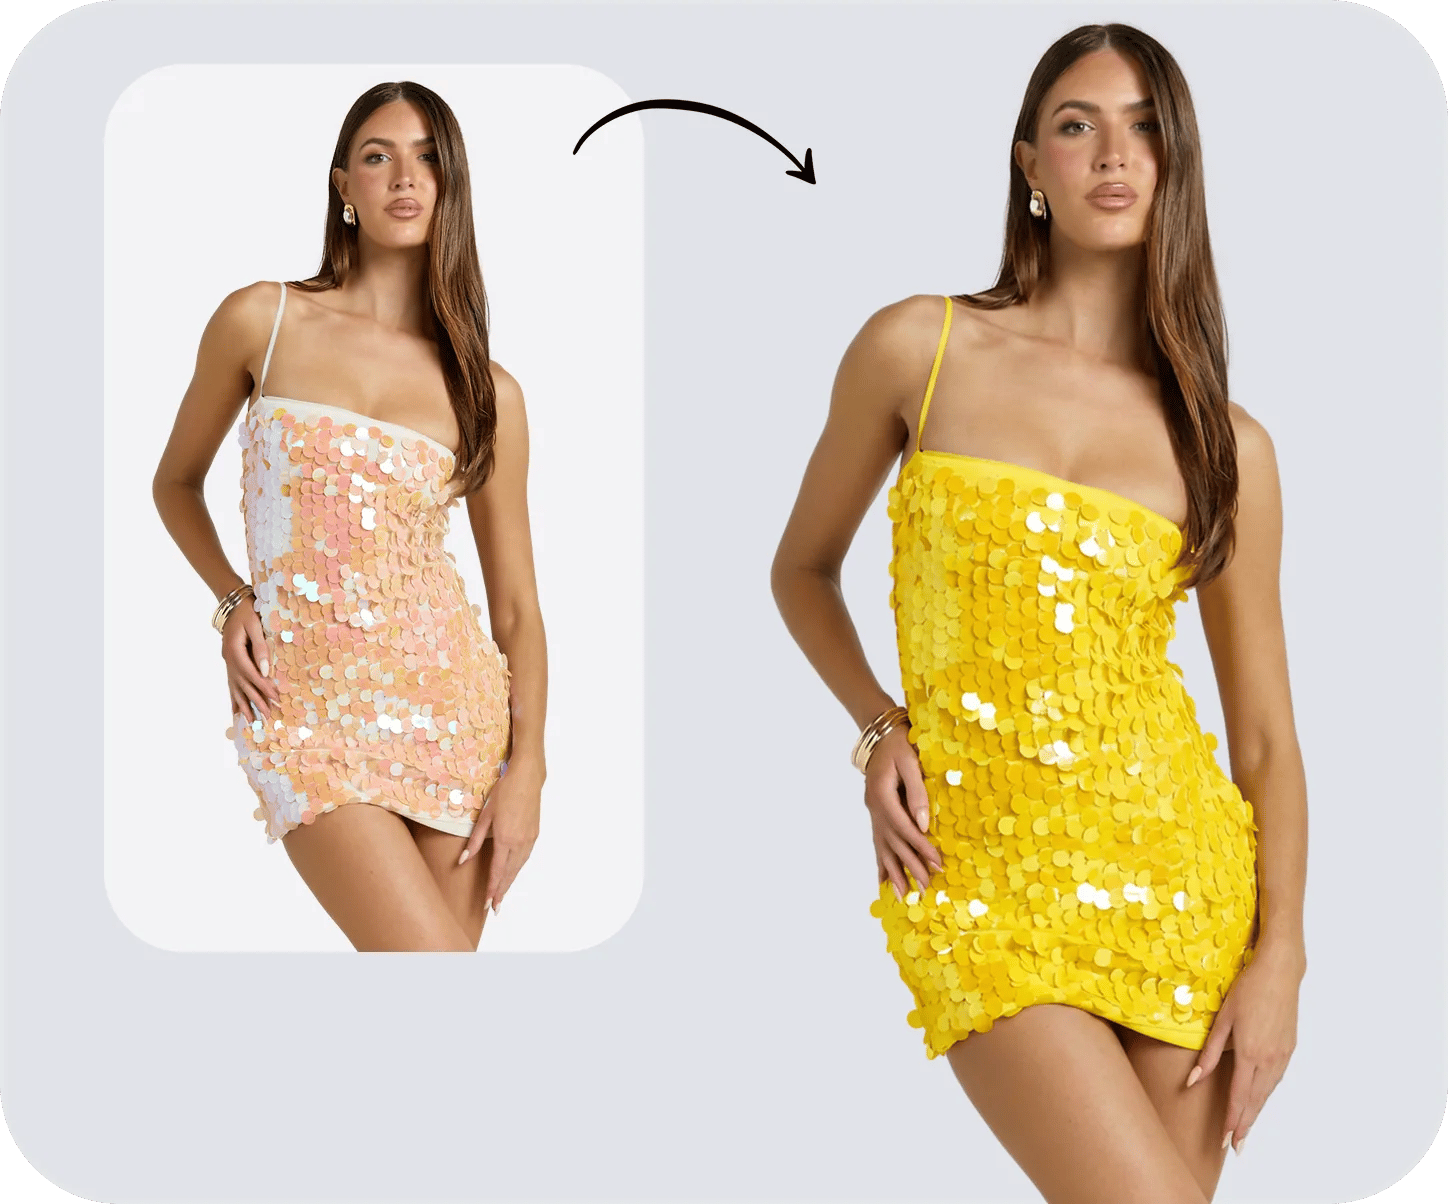
Explore product color variants from an existing photo.
Create a fashion video from a product photo.
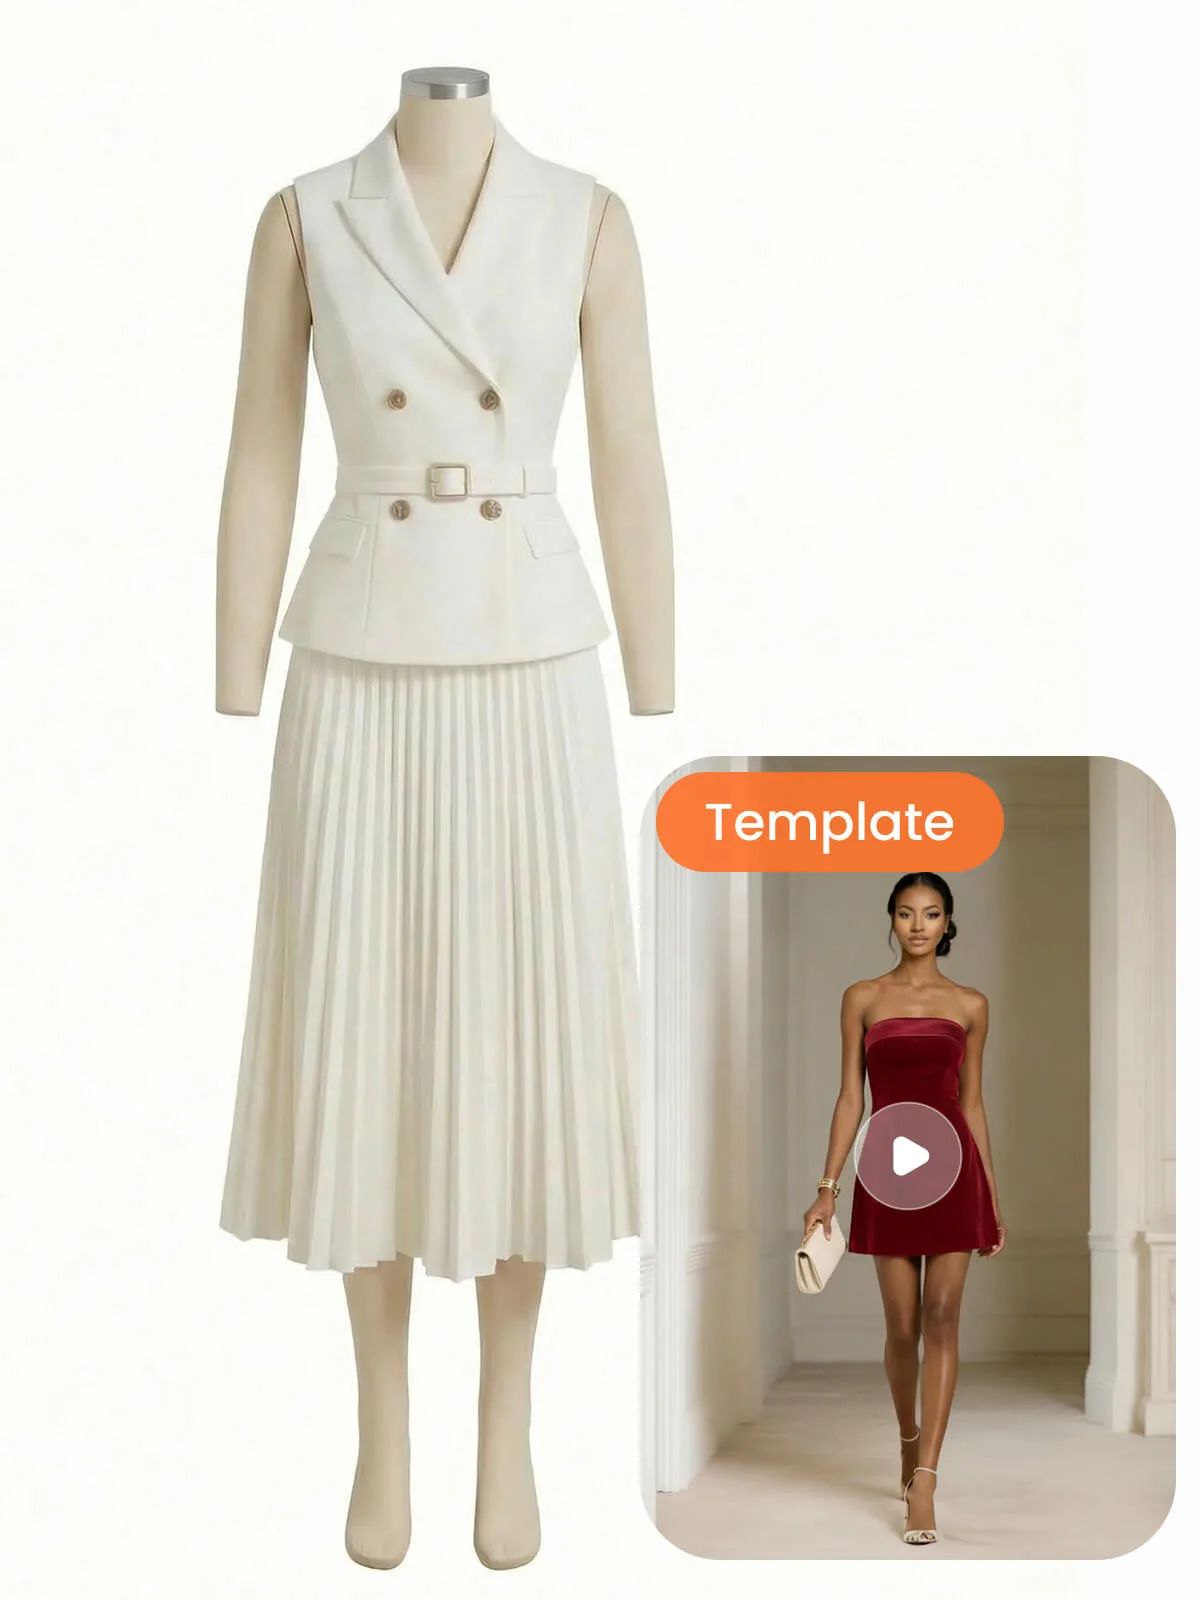
Turn a still product image into a video.
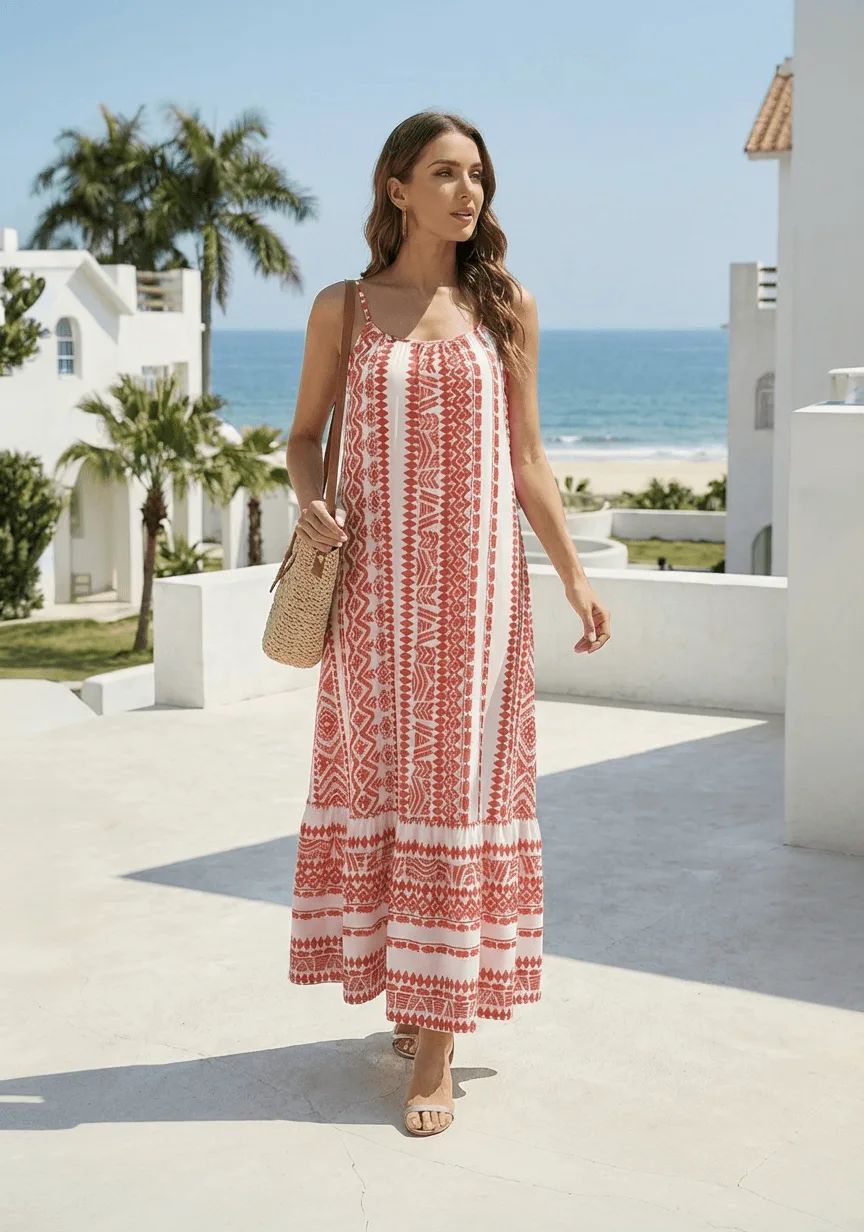
Smooth wrinkles in clothing photos before publishing.
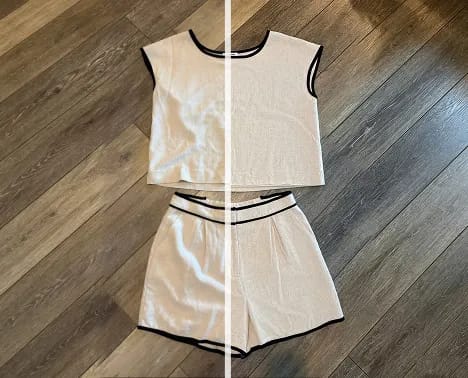
Create studio-style product photos and styled scenes.
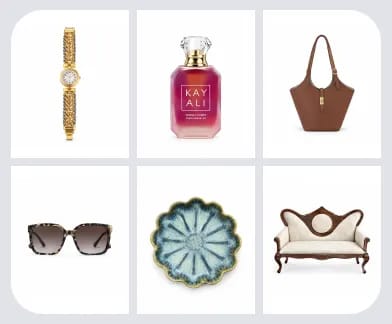
Process multiple product photos in one workflow.
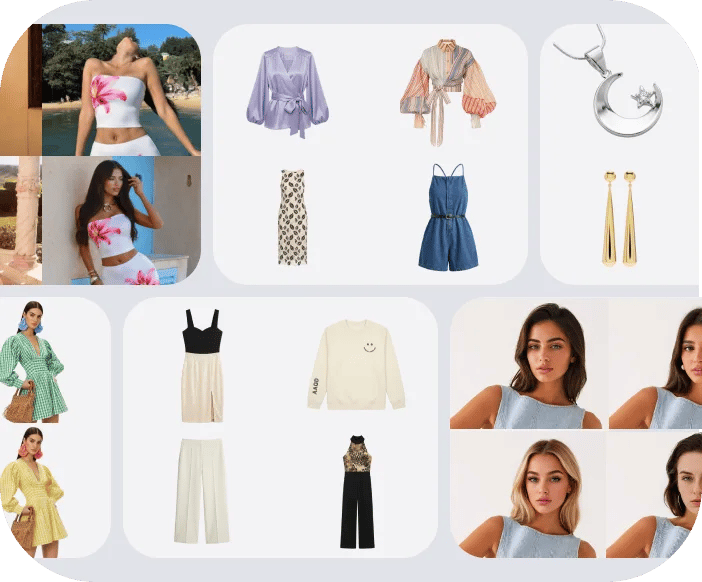
Use the examples as a starting point for choosing your next product-photo workflow.
Start with a clear phone photo or an existing product shot, then choose a workflow for the image you need. AI product photography can help you explore clean product presentations, on-model images and styled scenes. Keep the complete item visible in your source and compare the result with the real product before using it in a store.
Yes. The AI ghost mannequin workflow supports clear flat lay, hanger, dress-form and on-model garment photos. Show the full item, especially the neckline and sleeve openings, then choose the garment category. Review the result for lining, seams, pattern placement and proportions; a photo that hides construction details may need to be replaced.
Choose flat lay photography when you want an overhead, laid-out view of the garment. Choose ghost mannequin photography when you want a shaped product presentation without a visible model. Both can support apparel listings, but neither substitutes for checking the real garment’s construction or providing accurate measurements and fit information.
AI fashion model photography can start with a clear flat lay, hanger or ghost mannequin product photo. Choose a model template with a suitable pose, framing and background, then generate the on-model image. Compare the color, print, logo, neckline, sleeves and hem with your source; the generated wearing view does not establish real garment fit.
Use Studio Photography to choose an output size and optionally describe the presentation you want in Additional Information. A clean product shot and a styled scene serve different listing or marketing needs. Review the generated background, labels, materials and product shape, and check the image requirements of the store or marketplace before publishing.
Upload a complete jewelry photo and select a jewelry retouching template that matches the angle in your source. Hidden settings, clasps or stones cannot be reliably verified in a generated view. Inspect the metal finish, stone arrangement, edges and reflections against the real piece, and use a clearer photo if the result changes important details.
Open Jewelry Model, upload a clear photo of the whole piece, and choose an available model template or upload your own template. Select a view that keeps important details visible. After generation, check the jewelry’s appearance, placement and apparent scale; provide real dimensions separately rather than treating the generated view as proof of size.
The AI clothing wrinkle remover lets you choose the amount of wrinkle reduction. Use a clear garment photo and distinguish unwanted creases from intentional pleats, gathers and natural drape. Compare the result for texture, prints, seams, color and shape, then reduce the adjustment or try another source if design details have been flattened.
AI Color Change lets you select a target color and describe the areas to modify, including multiple target areas in one generation. Check the changed areas, lighting, texture and edges against your source. Before publishing a variant image, verify its color against the actual product; generation alone does not guarantee an exact color match.
Start with the existing portrait or on-model image in Face Swap and choose an available AI model face. This workflow is intended for a face change rather than a new garment presentation. Inspect facial edges, skin tone and lighting, and also compare the clothing, pose and background with the original before downloading.
Review the image against the real product and the rules of the marketplace where you will publish. Check color, shape, proportions, logos, materials and small details such as seams, stones or clasps. Replace images that introduce inaccurate product features, and provide any required measurements and factual product information separately.
The source photo and selected settings affect the result. Cropped edges, blur, hidden details, heavy folds or a template with an unsupported angle can make product accuracy harder to assess. Start with a clearer complete view, adjust the template or instructions, and generate another version; inspect the result rather than assuming every visible detail has been preserved.
Explore Snappyit’s photography tools or create product images on your phone.
All-in-one AI Product Photography






