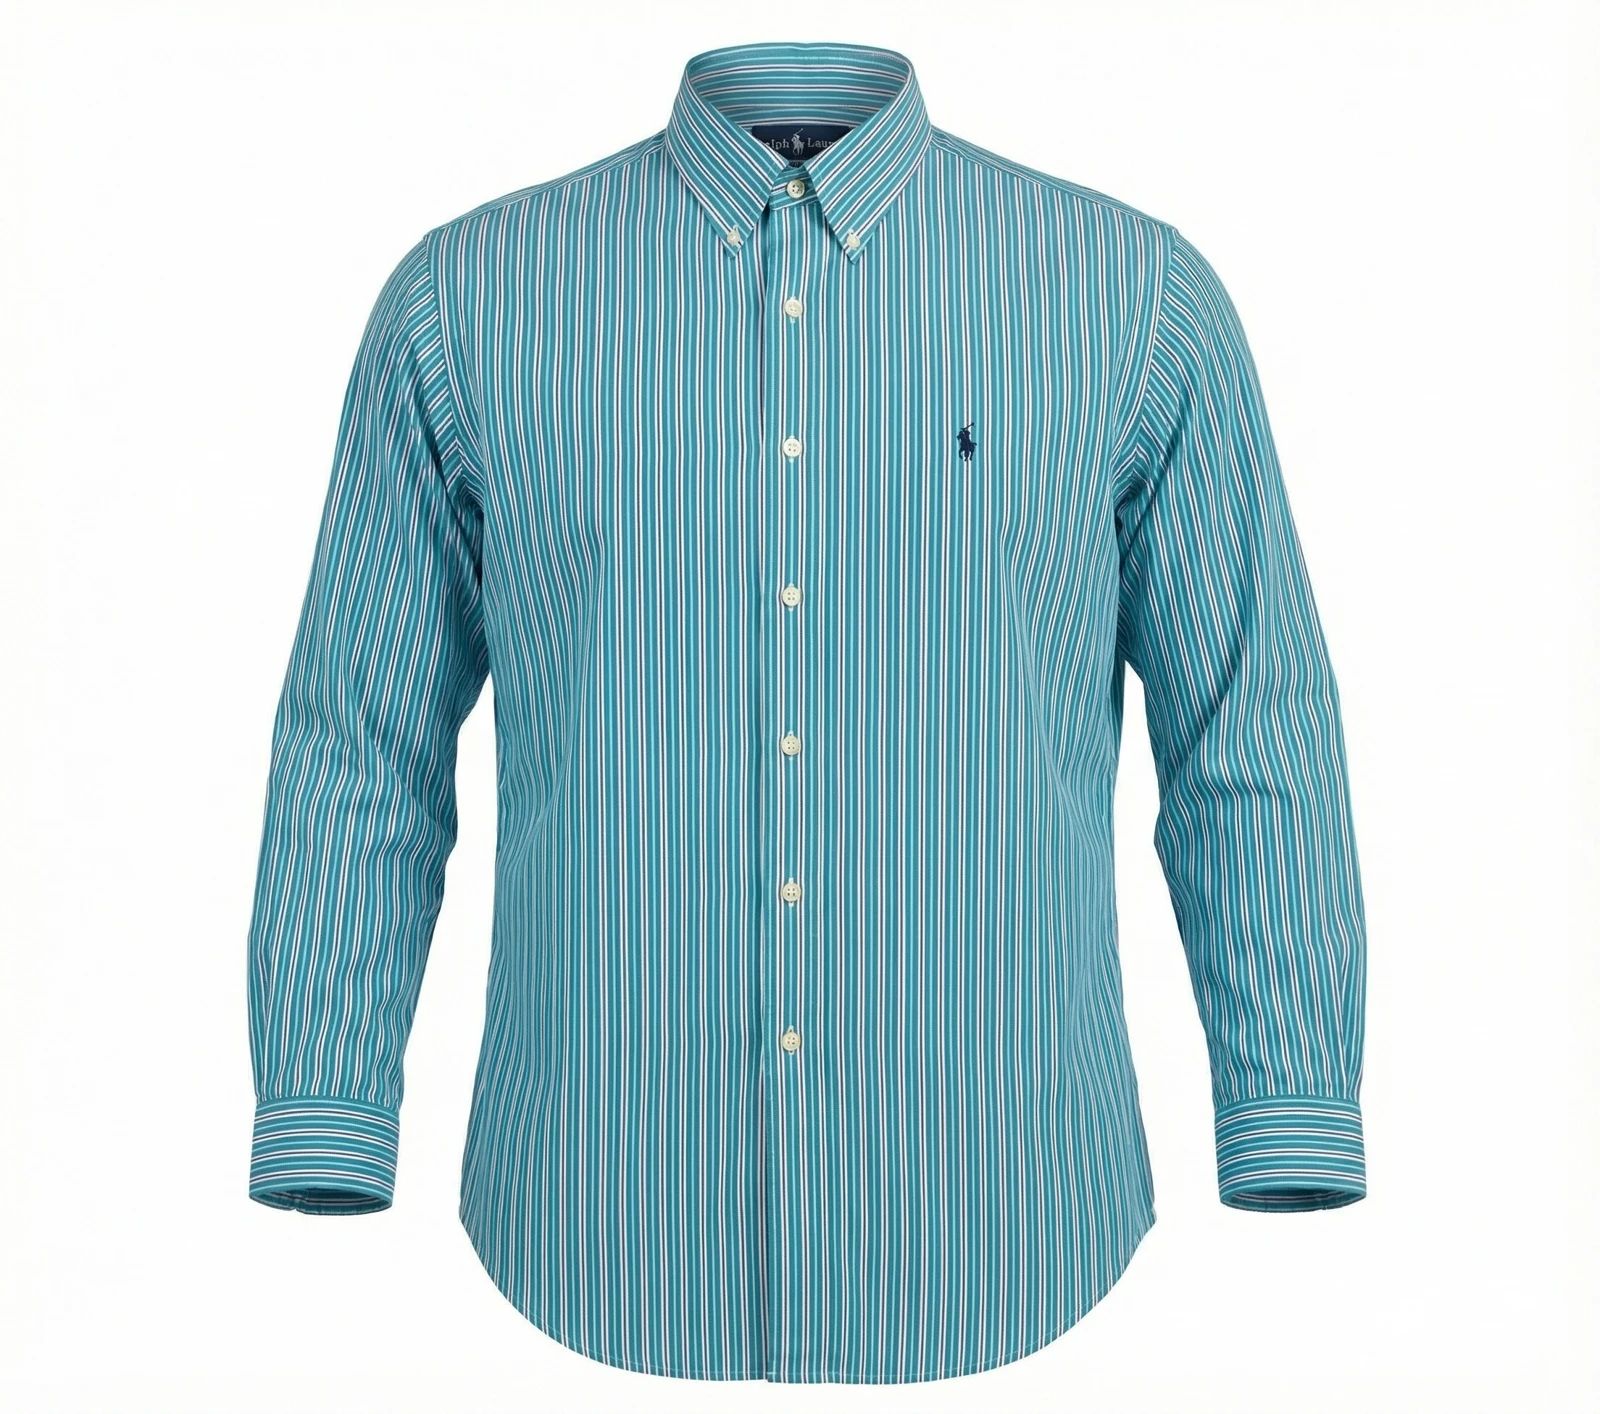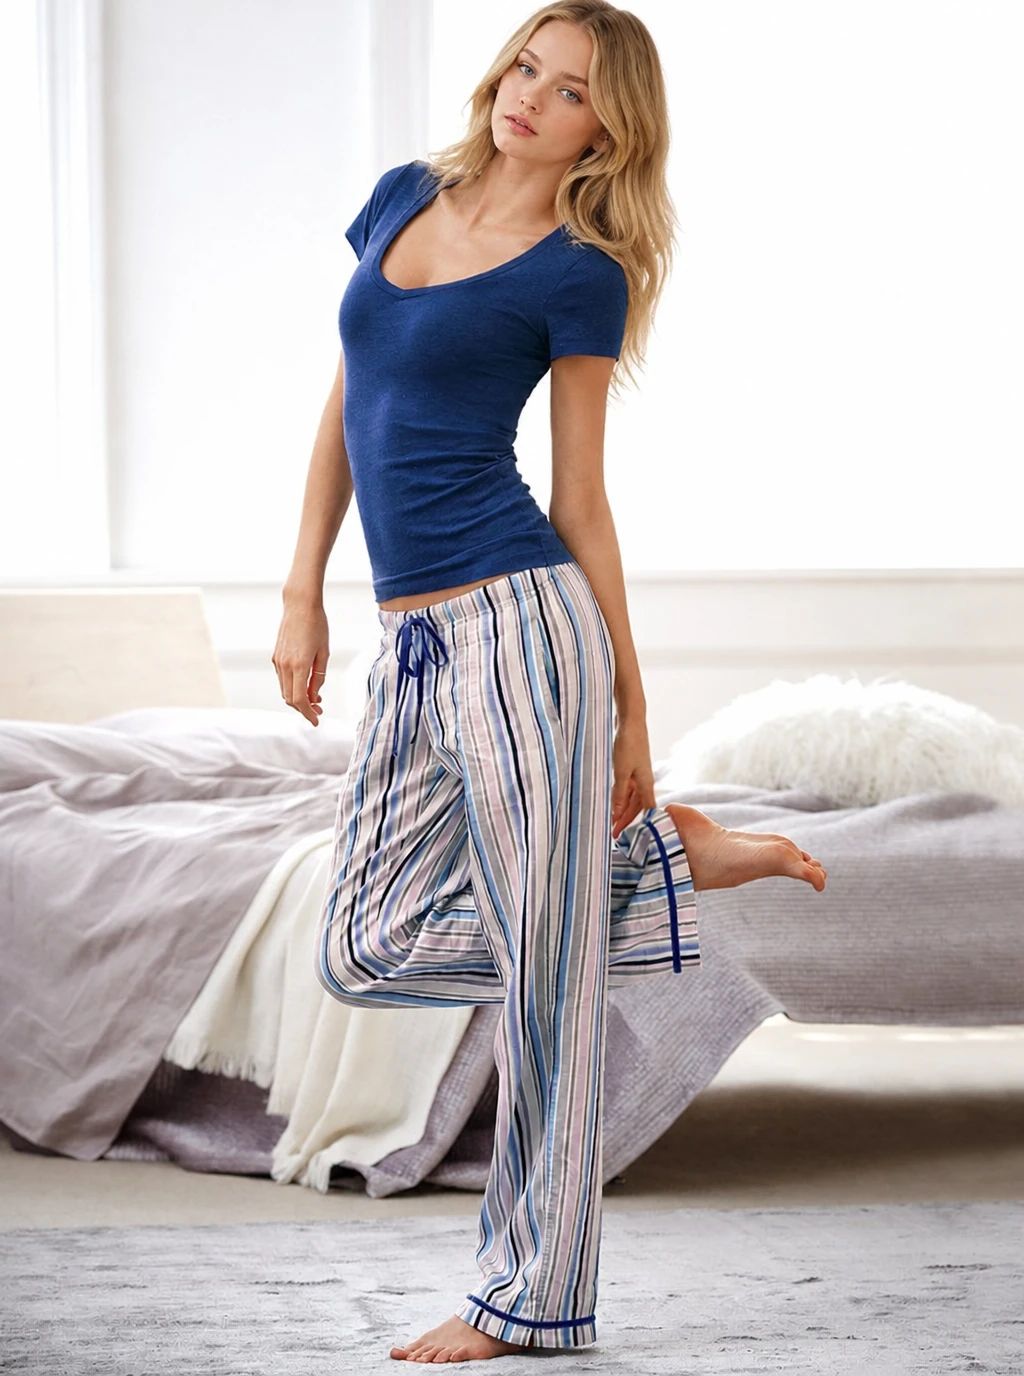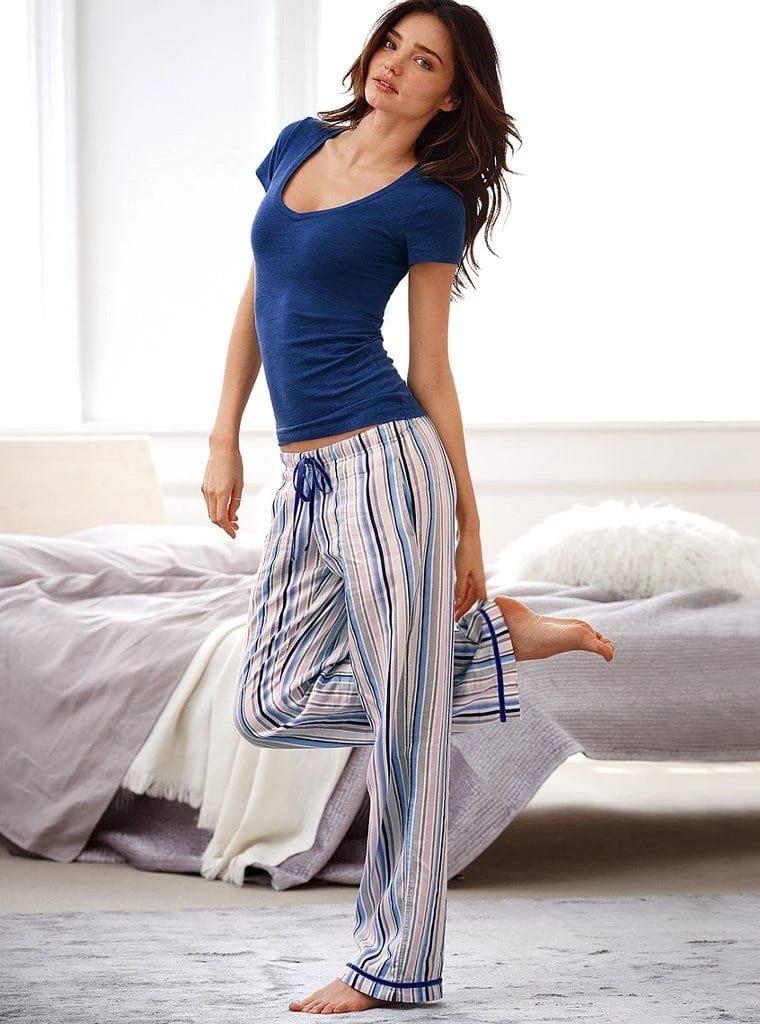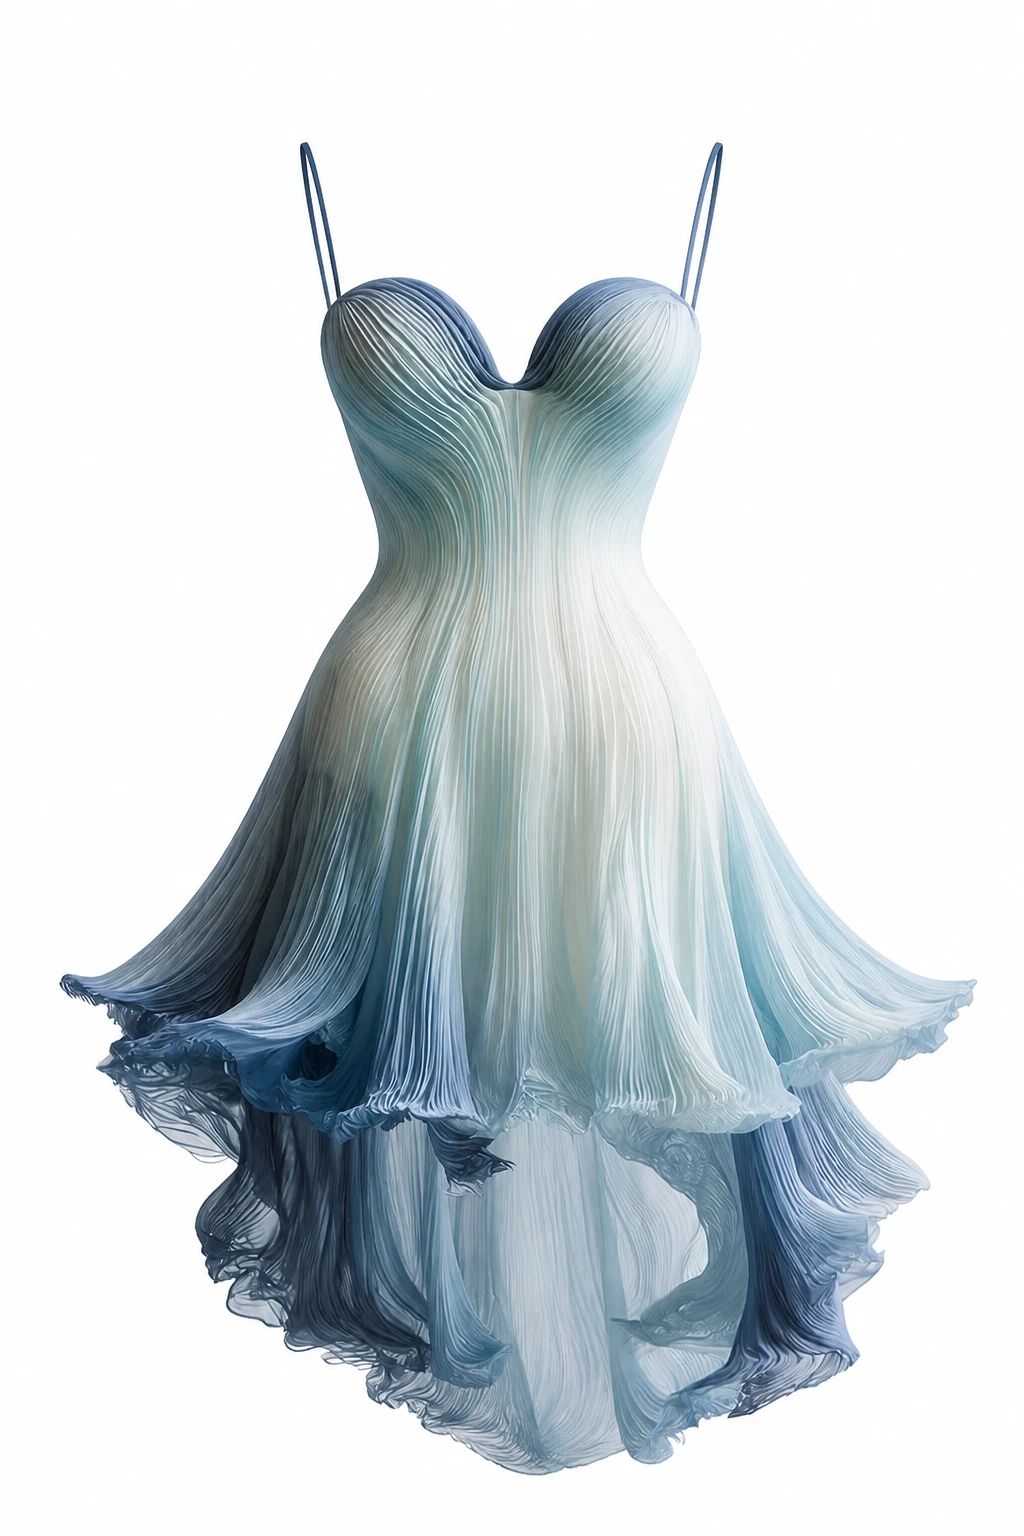
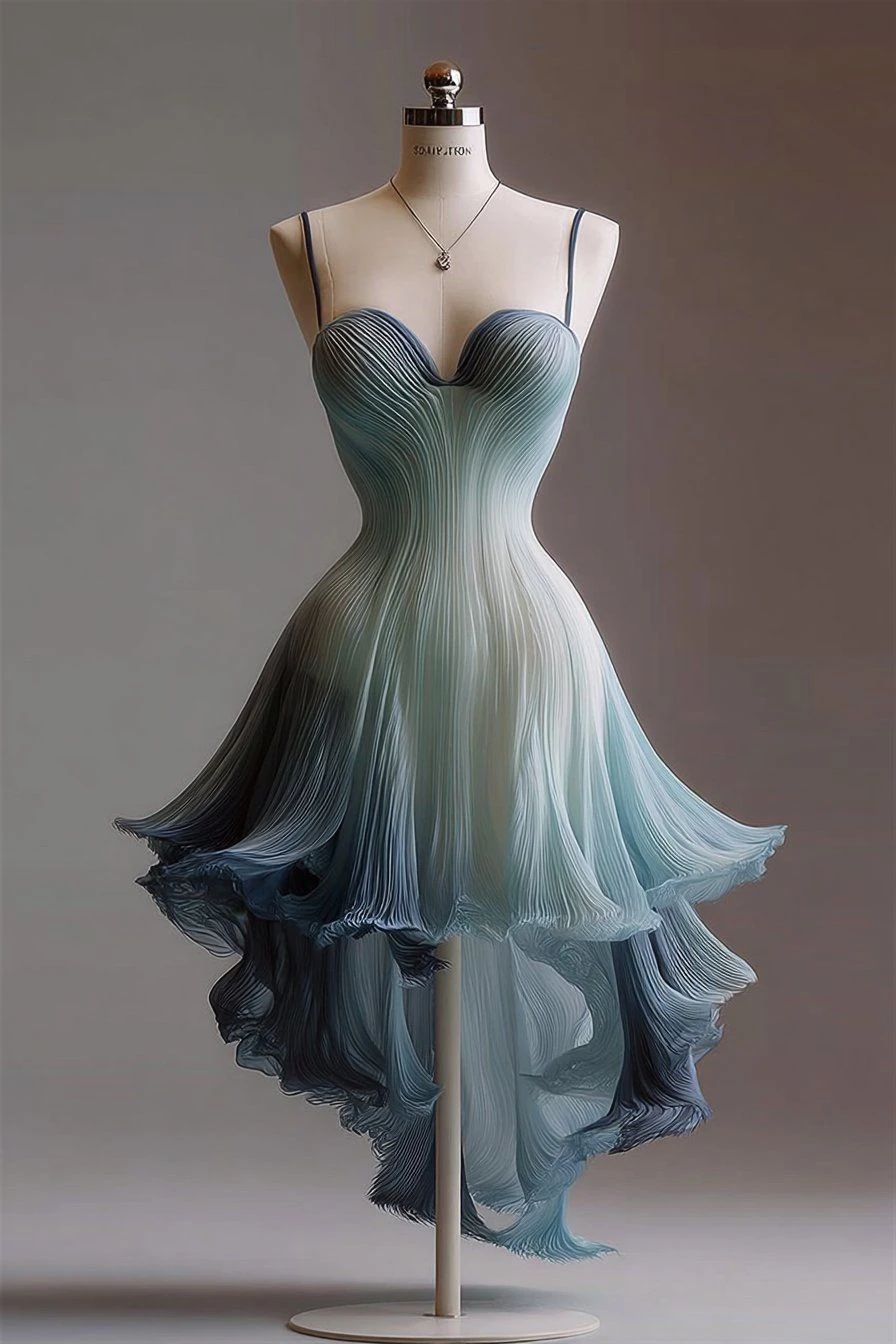


Teal Striped Shirt: Before and After
See shirt before-and-after photos with Fashion Model. Explore the workflow, find inspiration and create similar visuals with your own product.

OriginalSnappyit result
How to try Fashion Model workflow
01
Prepare your shirt photo
- Open the Fashion Model with your own shirt photo.
- Keep the striped shirt front, collar, sleeves and buttons visible.
02
Choose a model template and look
- Select a model template suited to your product and visual direction, or upload your own template where available.
- Consider pose, framing and background together.
- Choose a look that lets shoppers see the product clearly, then select Generate.
- For a result in the direction of this shirt example: Choose a pose that shows the front of the shirt so stripe alignment can be reviewed.
03
Review the shirt result
- Inspect stripe direction, collar, button line, sleeves and hem.
- Download when it accurately represents your item; adjust the source or settings and generate another version if important details differ.
Start with a photo you already have
Explore Snappyit’s photography tools or create product images on your phone.