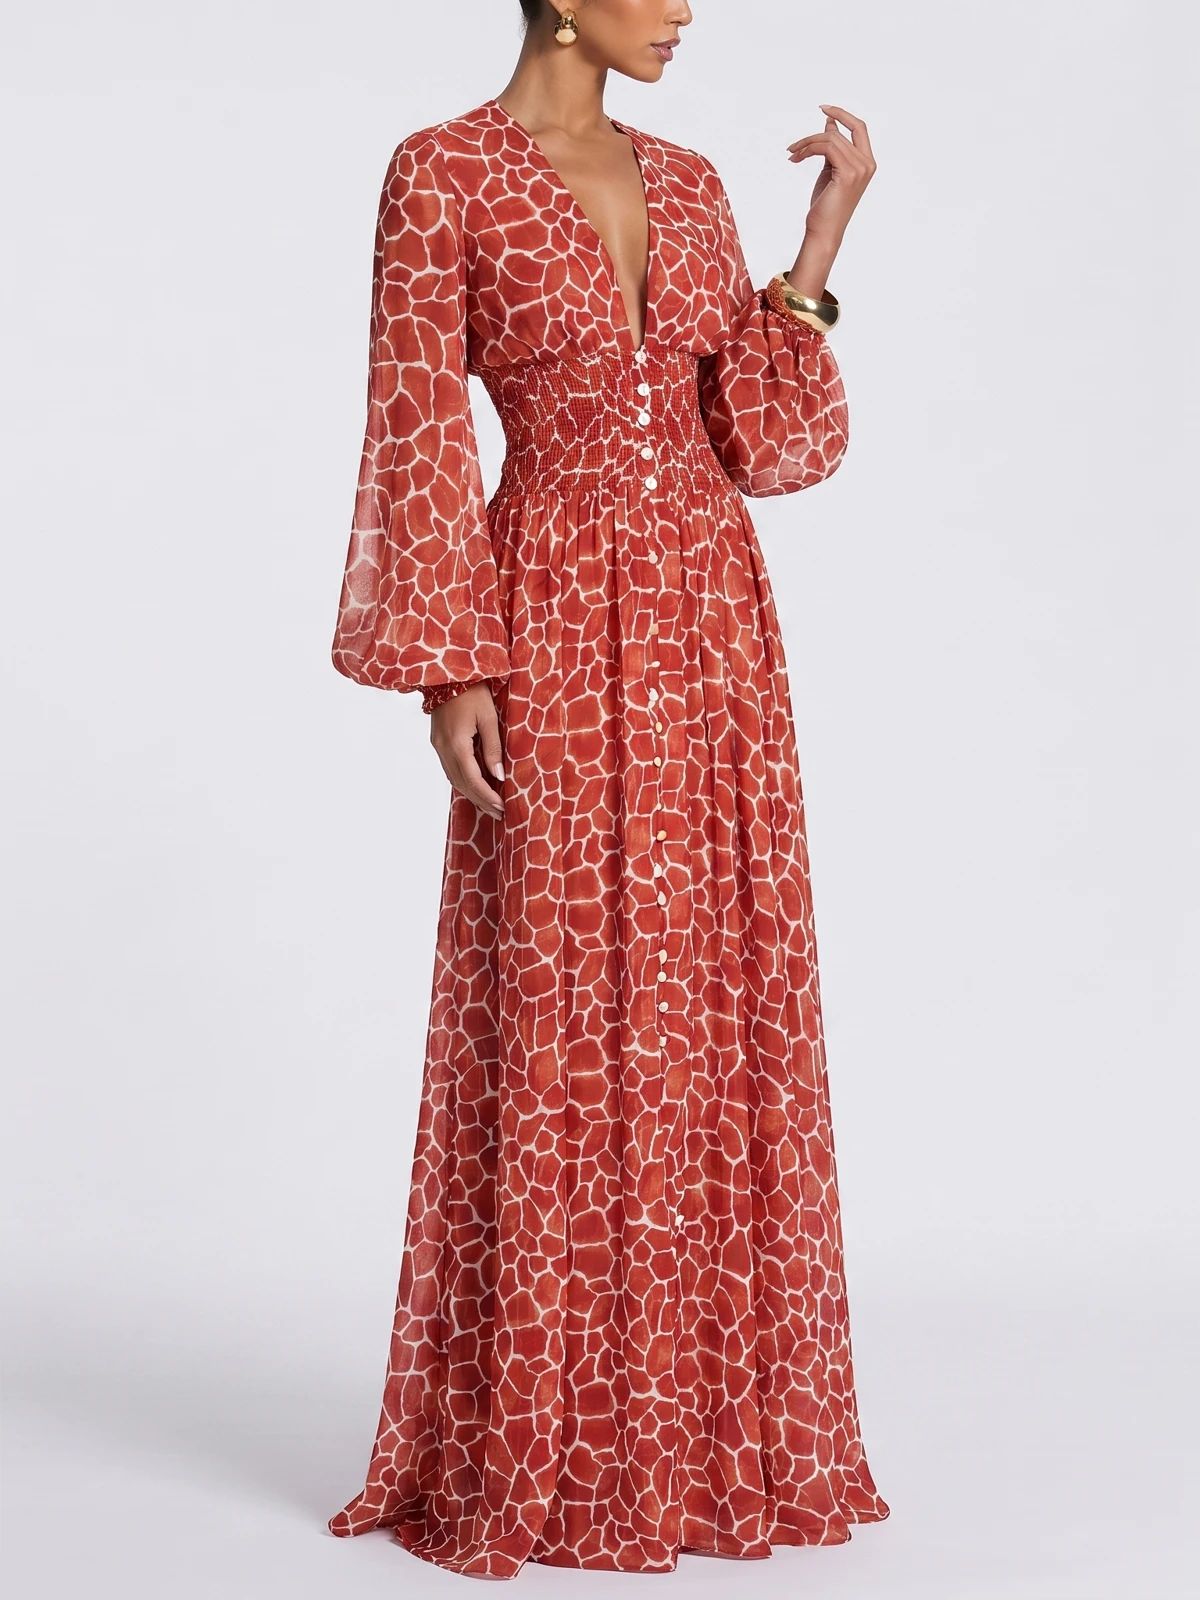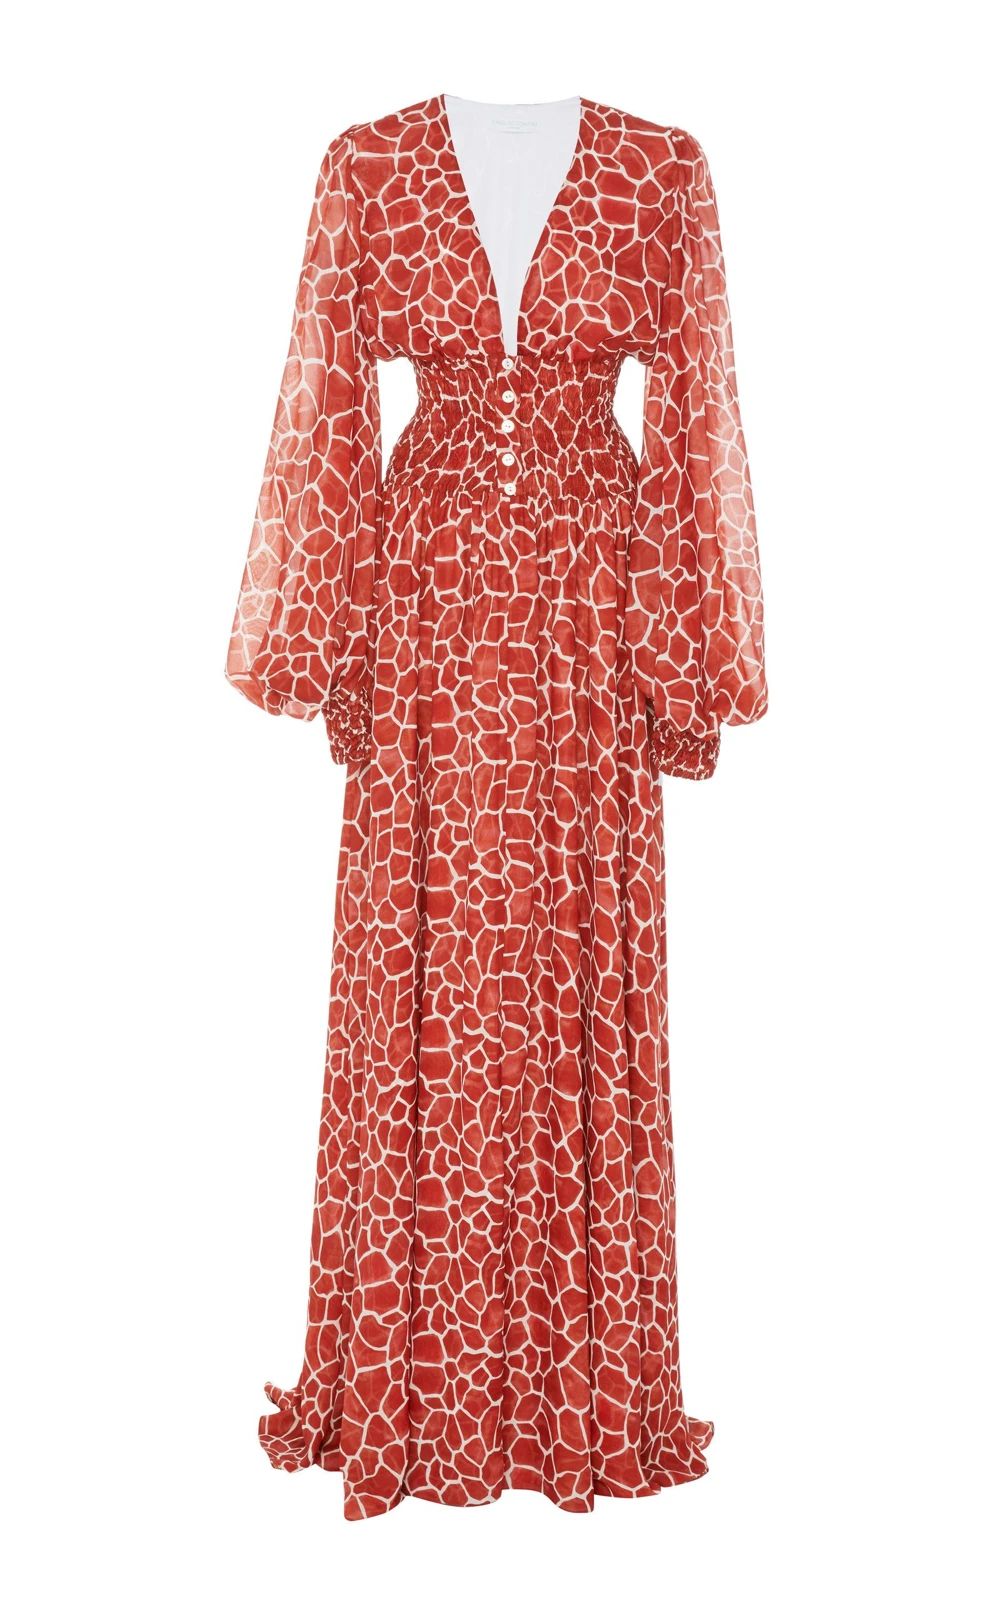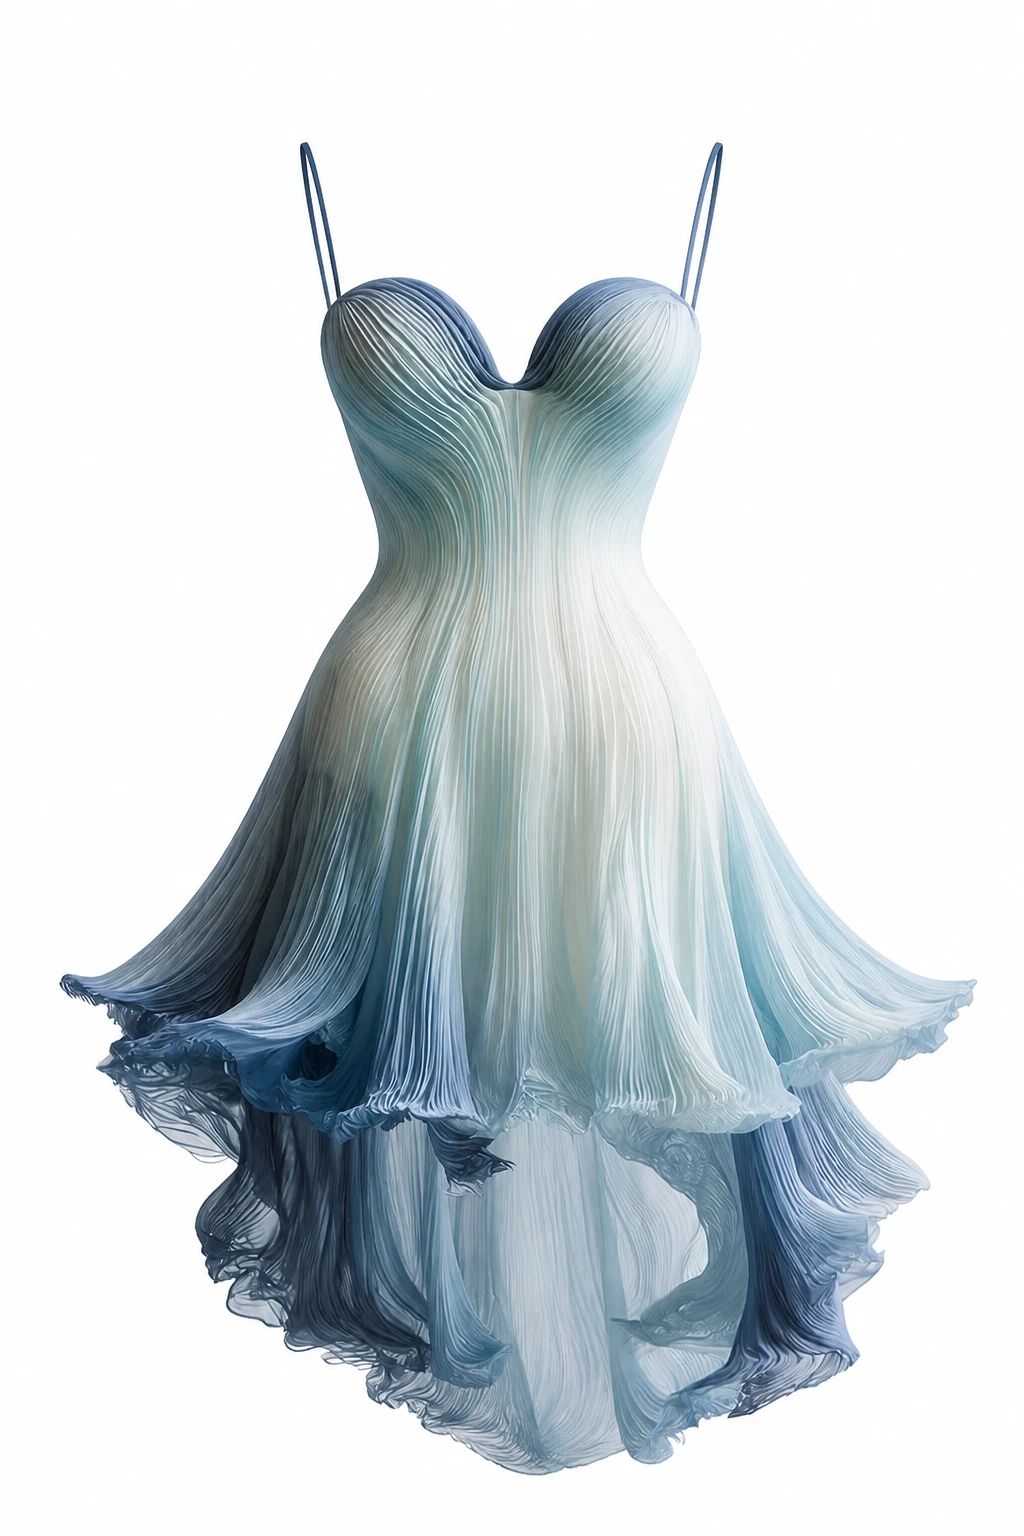
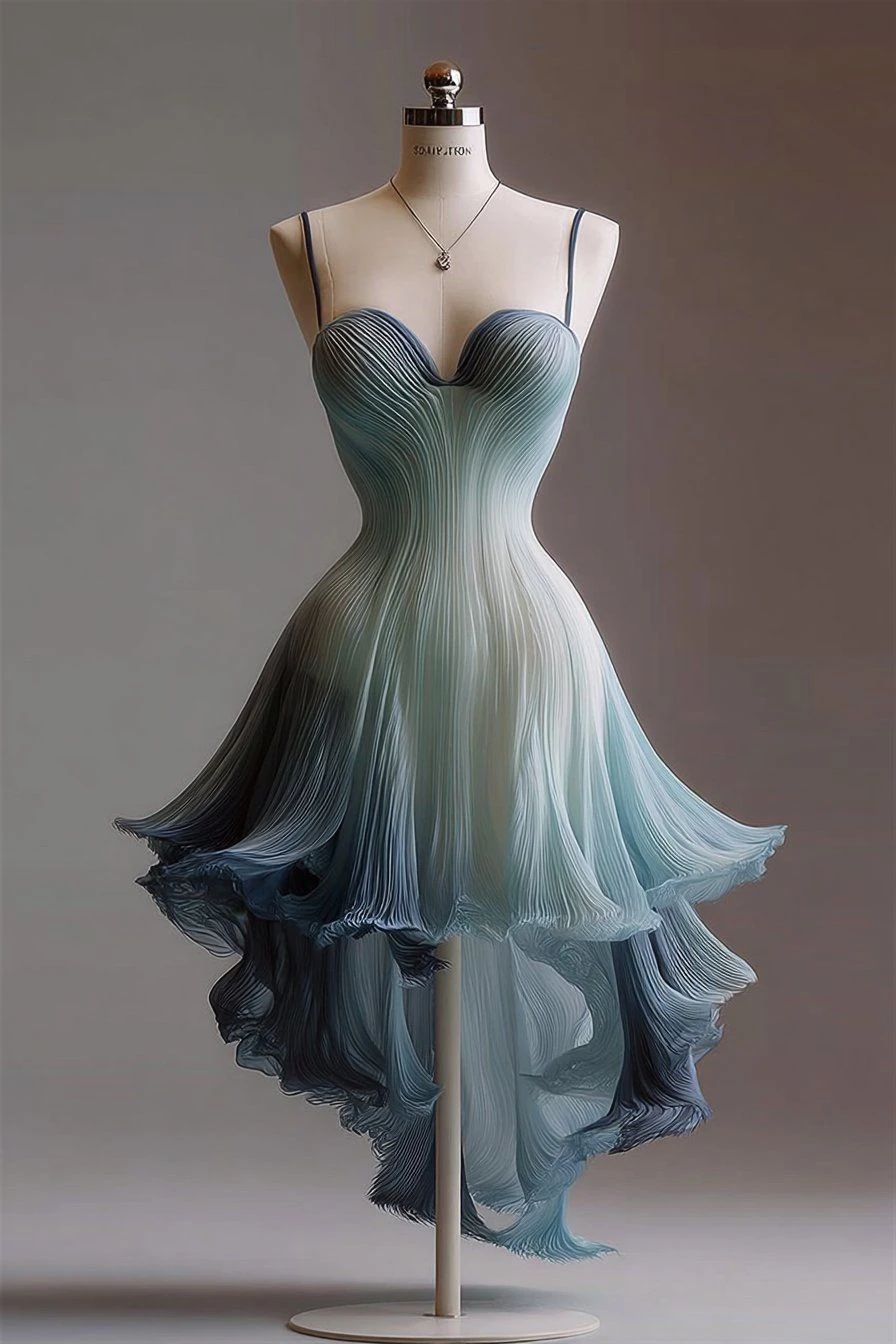


Explore Flat Lay & Ghost Mannequin examples
Flat Lay Photography example

Two-Tone Dress: Flat Lay Before and After

See dress before-and-after photos with Flat Lay Photography. Explore the workflow, find inspiration and create similar visuals with your own product.
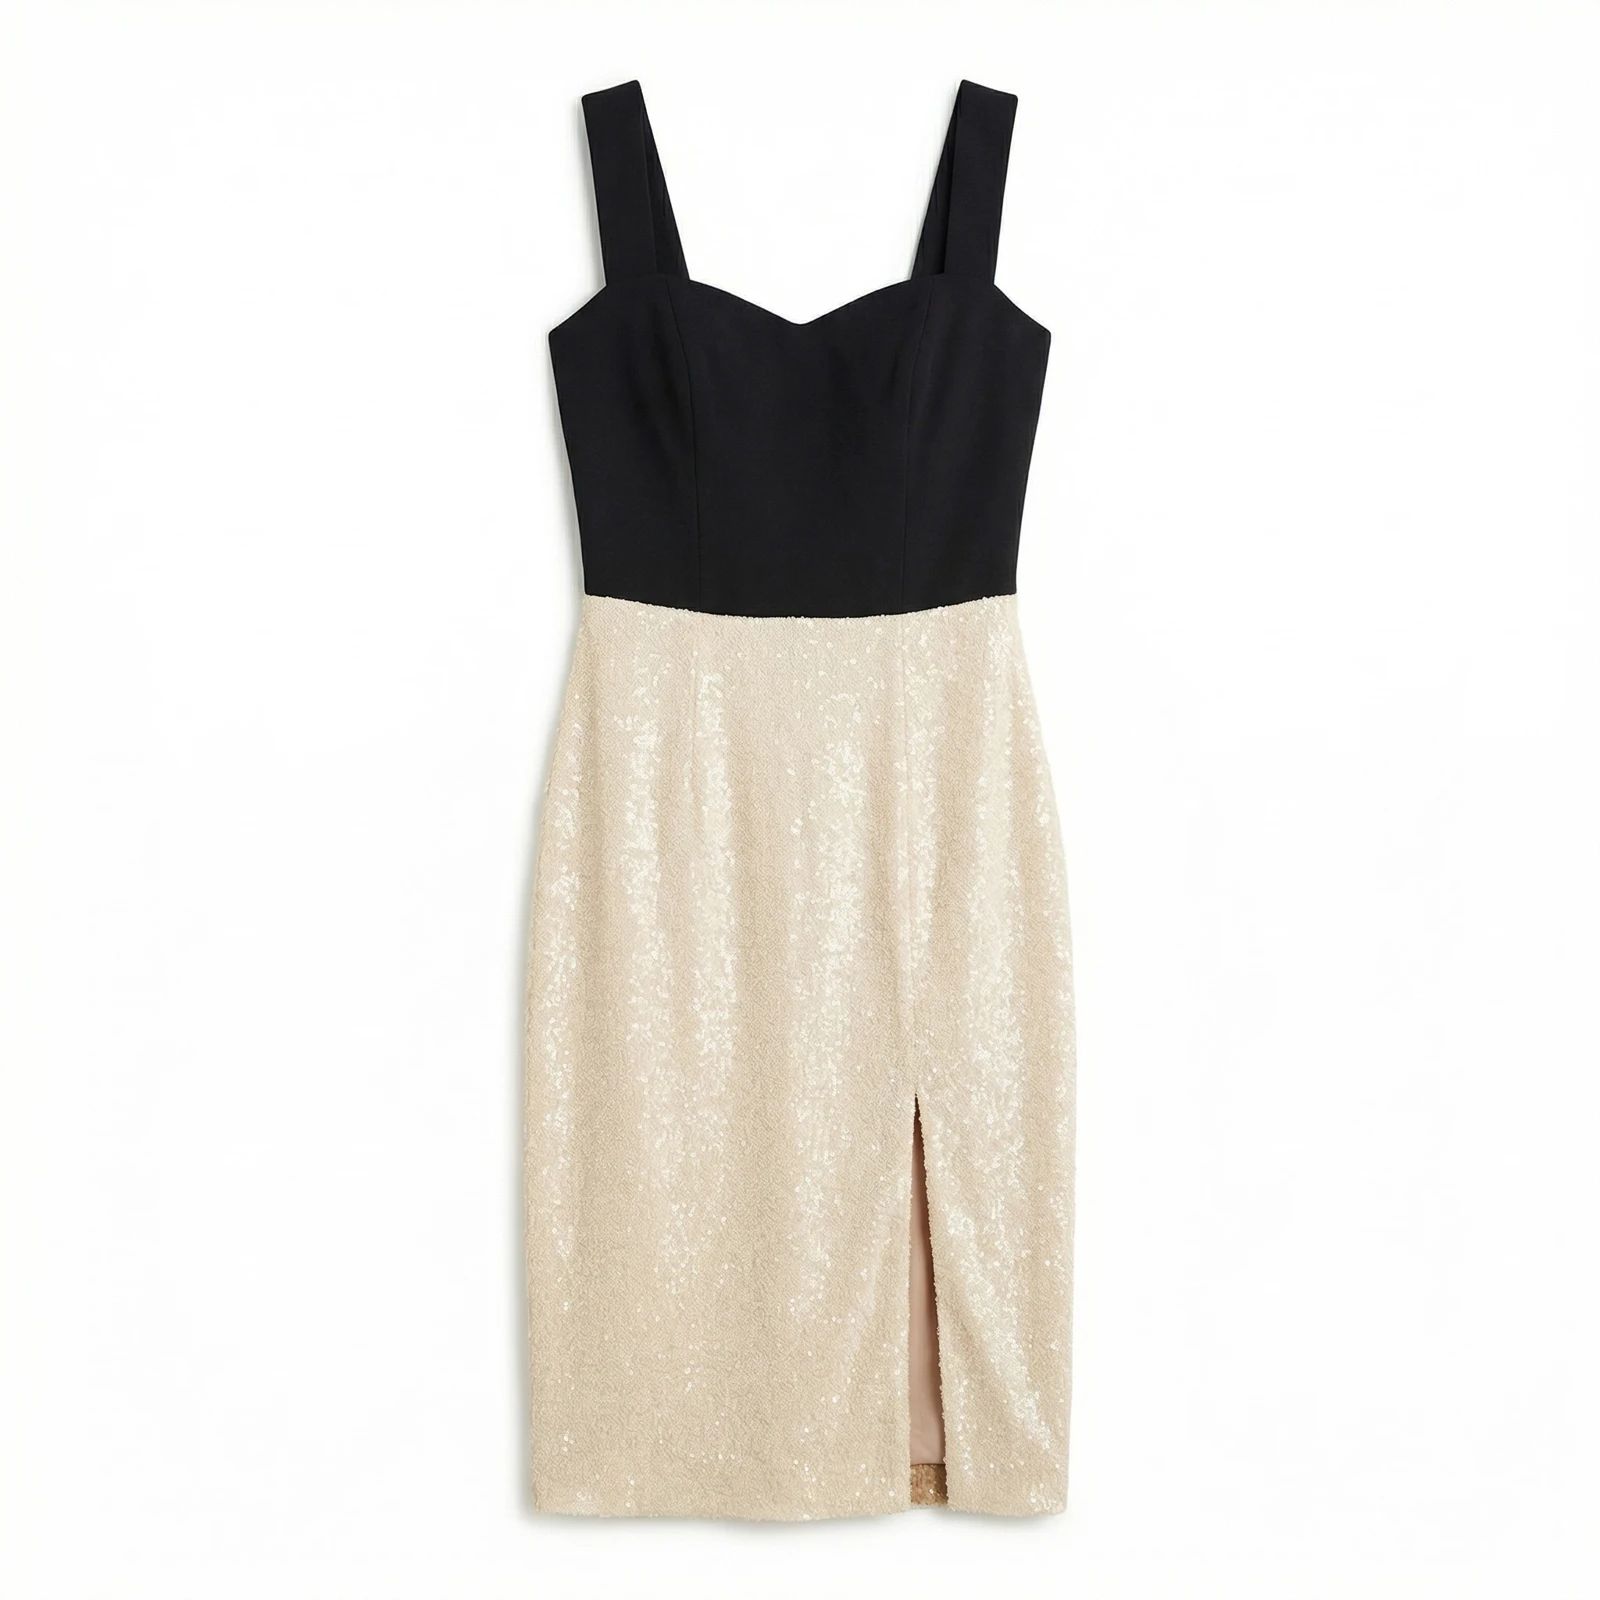
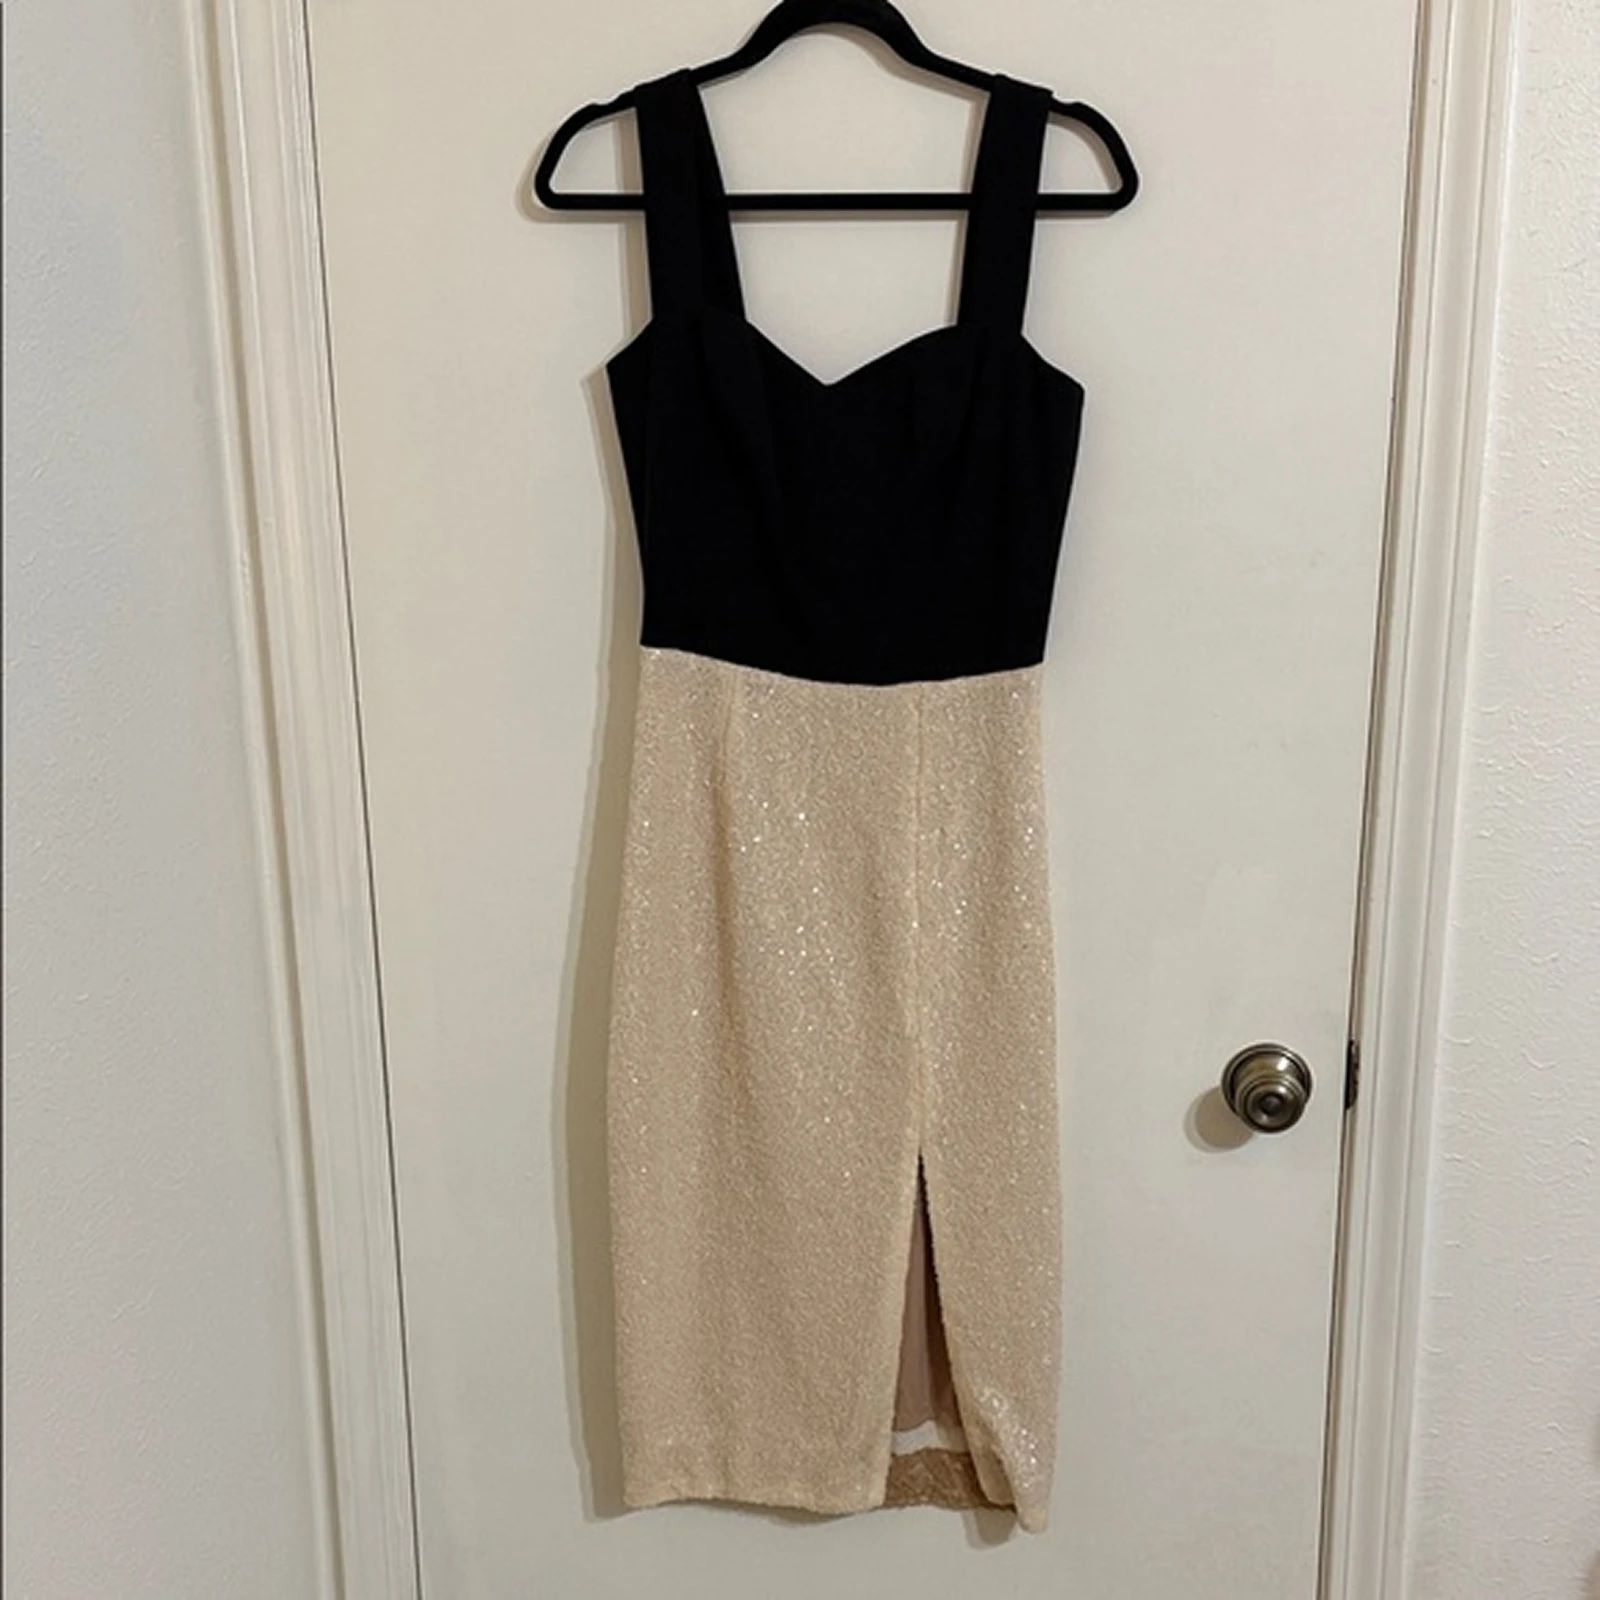
Black-and-champagne dress arranged flat against a white background Black sleeveless bodice and champagne pleated skirt displayed on a dress form OriginalSnappyit result

How to try Flat Lay Photography workflow

01

Prepare your dress photo

  • Open the Flat Lay Photography with your own dress photo.
  • Use a hanger photo with the neckline, sleeves and contrasting color panels fully visible.
02

Choose a category and describe the styling

  • Select the product category.
  • Add optional details about garment shape or styling to guide the flat lay result, then select Generate.
  • Use the example to identify the presentation you want rather than treating it as a saved preset.
  • For a result in the direction of this dress example: Choose the dress category and a laid-out arrangement that shows the color blocking clearly.
03

Review the dress result

  • Review panel boundaries, sleeve placement and the dress outline.
  • Download when it accurately represents your item; adjust the source or settings and generate another version if important details differ.

Start with a photo you already have

Explore Snappyit’s photography tools or create product images on your phone.

Example preview