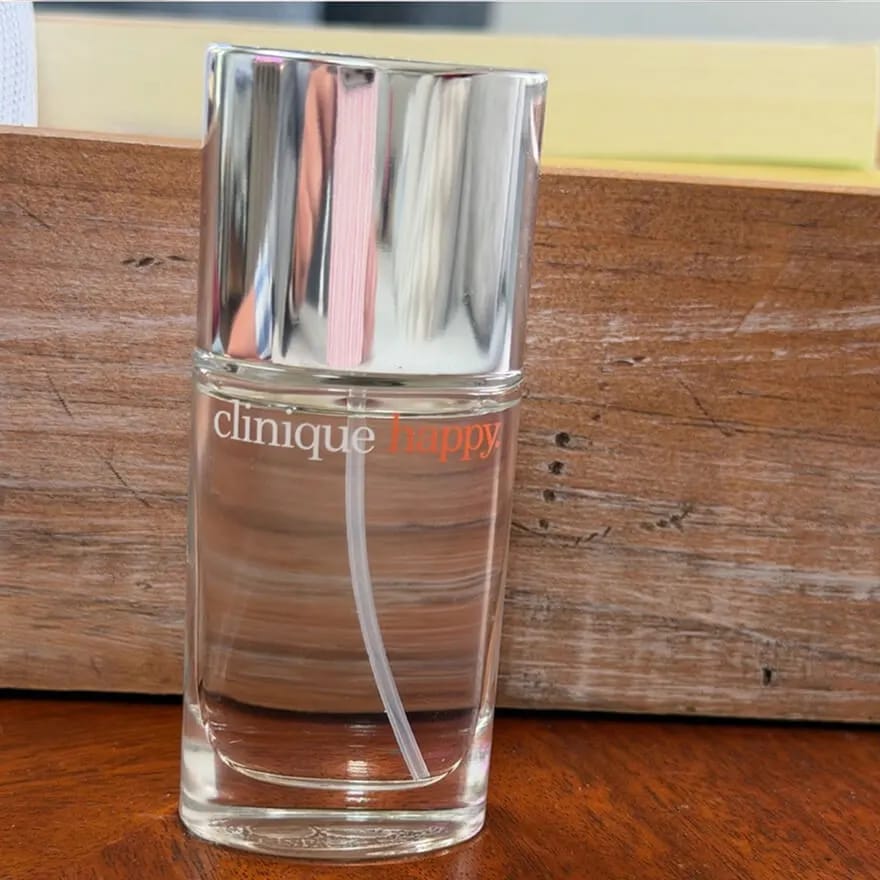


AI Perfume Product Photography: Before and After
See cosmetics before-and-after photos with Studio Photography. Explore the workflow, find inspiration and create similar visuals with your own product.
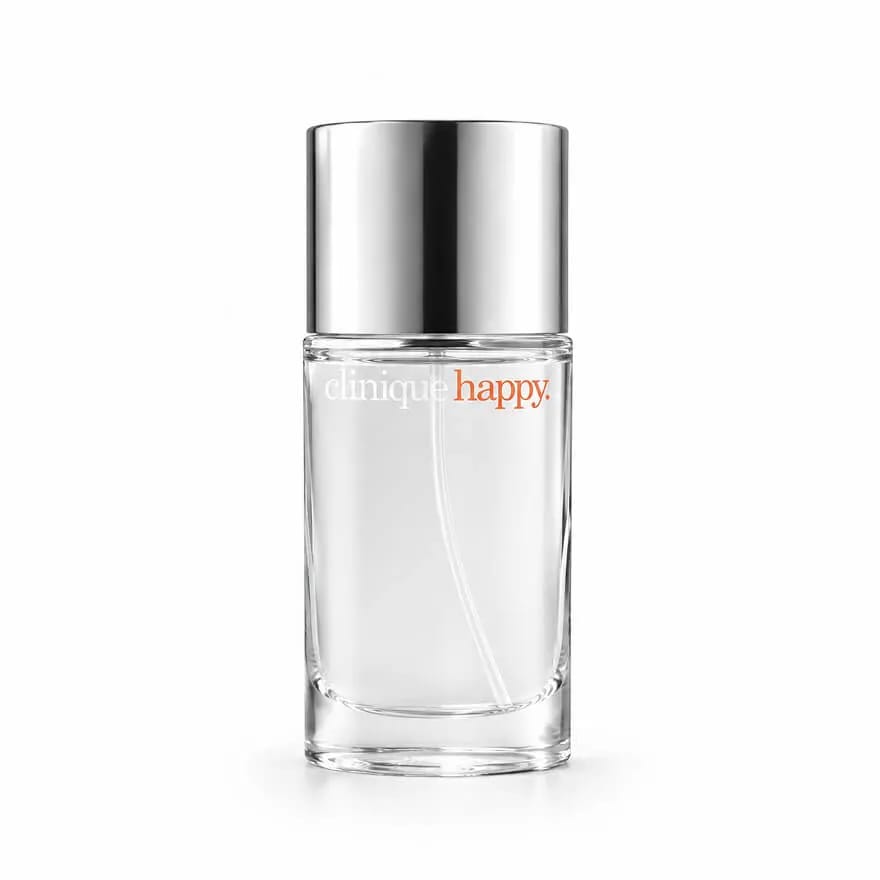
OriginalSnappyit result
How to try Studio Photography workflow
01
Prepare your perfume photo
- Open the Studio Photography with your own perfume photo.
- Photograph the bottle with its cap, label and packaging edges visible and readable.
02
Set the output size and studio direction
- Choose Output Size.
- Use the optional Additional Information field to describe the presentation you want, such as a clean product shot or a styled scene.
- Select Generate to create a studio-style image from your uploaded product photo.
- For a result in the direction of this perfume example: Describe a clean bottle presentation or a restrained studio scene that keeps the label in view.
03
Review the perfume result
- Compare bottle shape, cap, label text, logo and liquid appearance.
- Download when it accurately represents your item; adjust the source or settings and generate another version if important details differ.
Start with a photo you already have
Explore Snappyit’s photography tools or create product images on your phone.