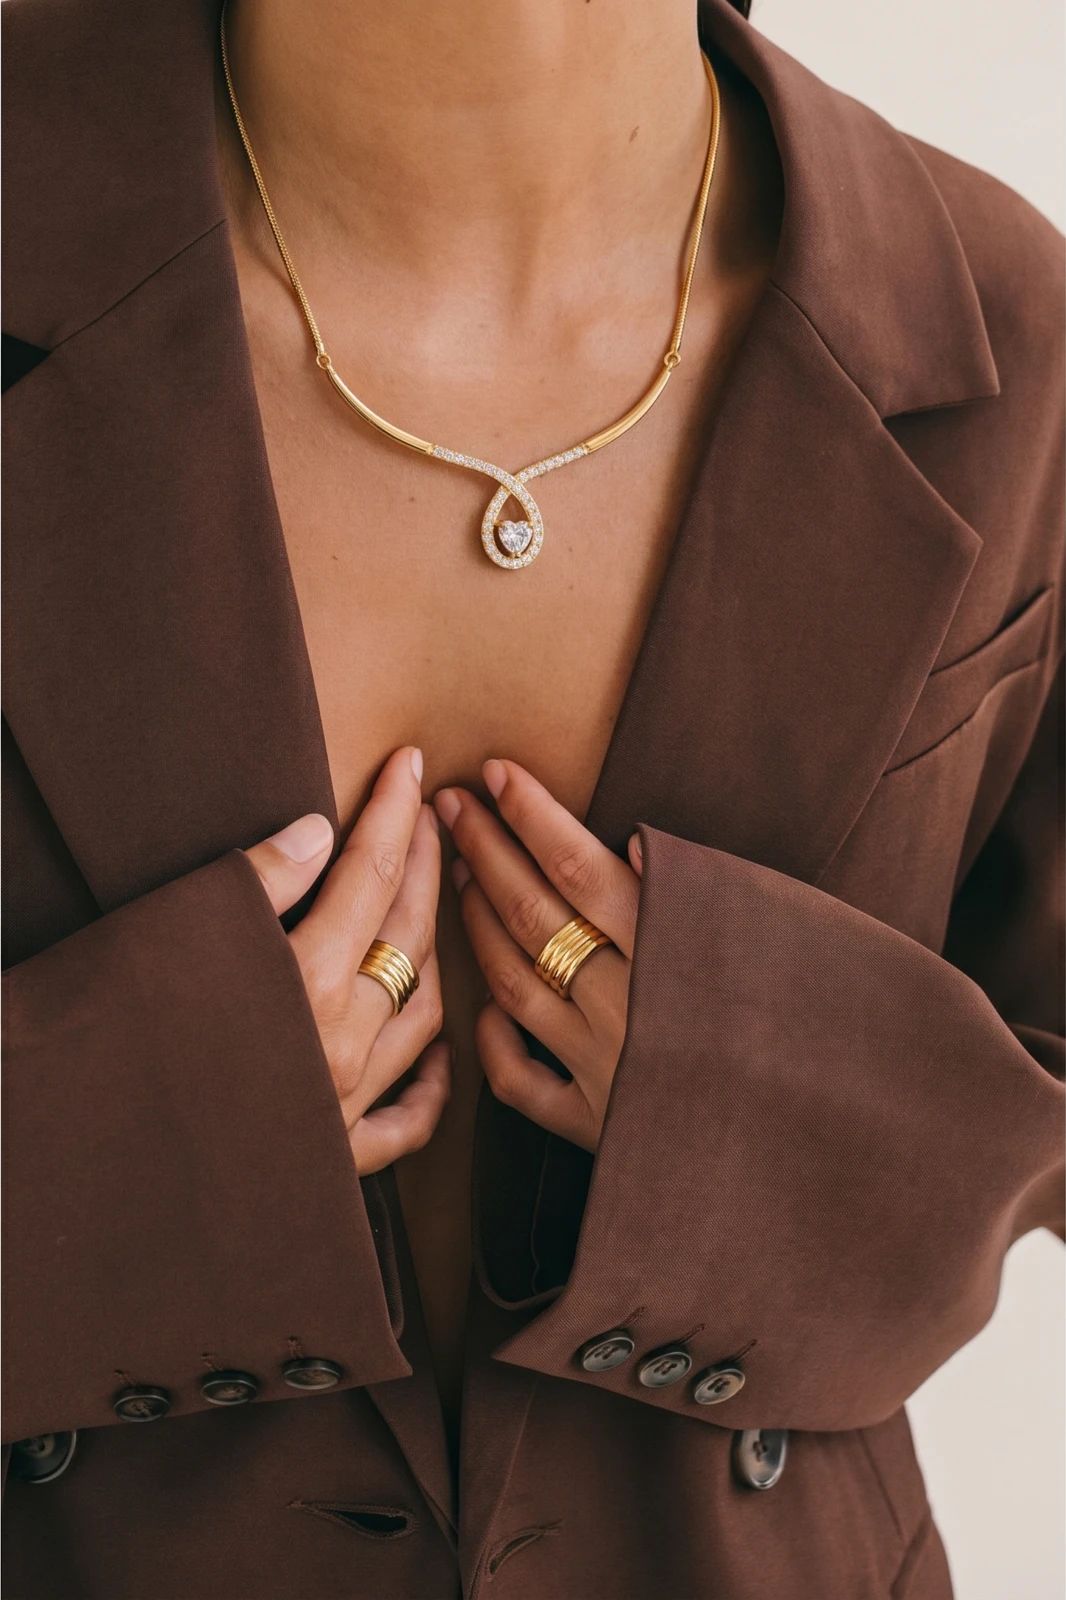
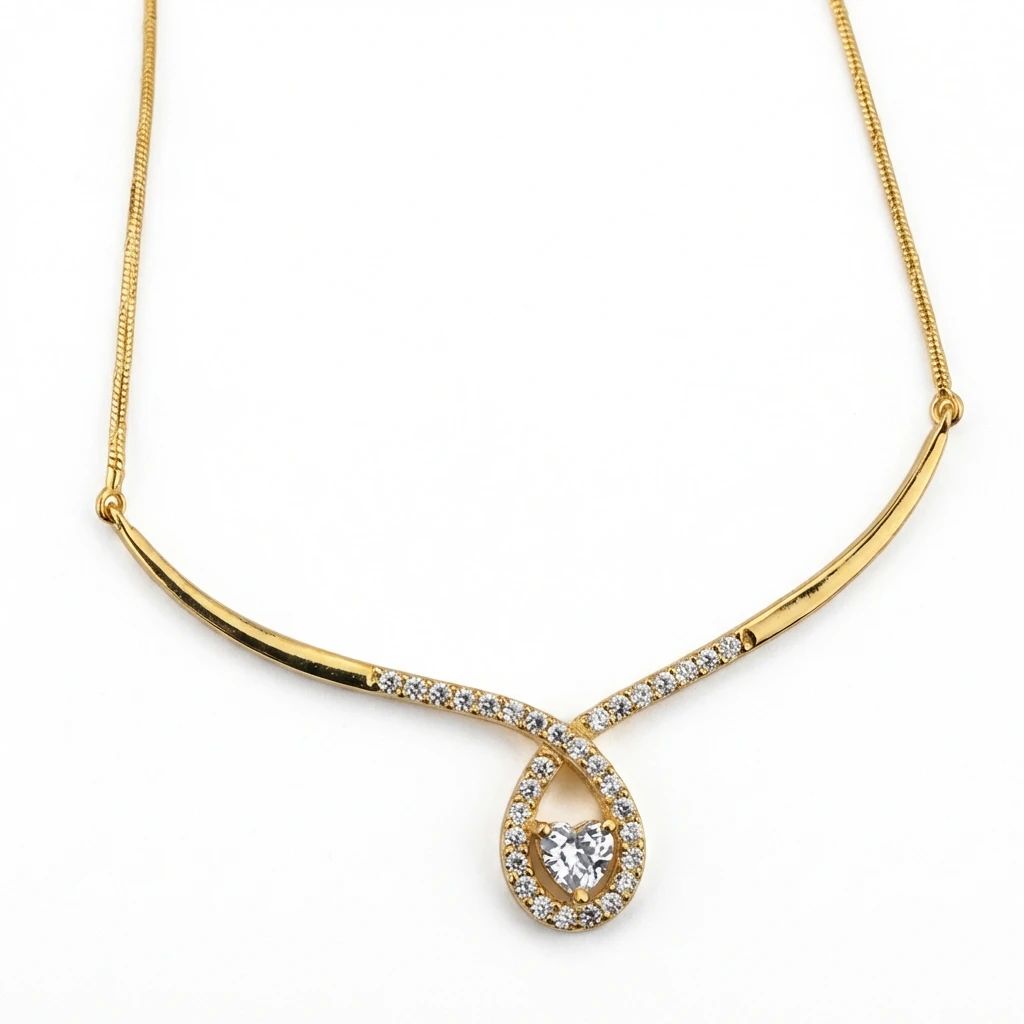


Necklaces — Jewelry Retouch Examples
See necklaces before-and-after examples with Jewelry Retouch. Compare inputs, results and practical tips, then create similar product visuals.
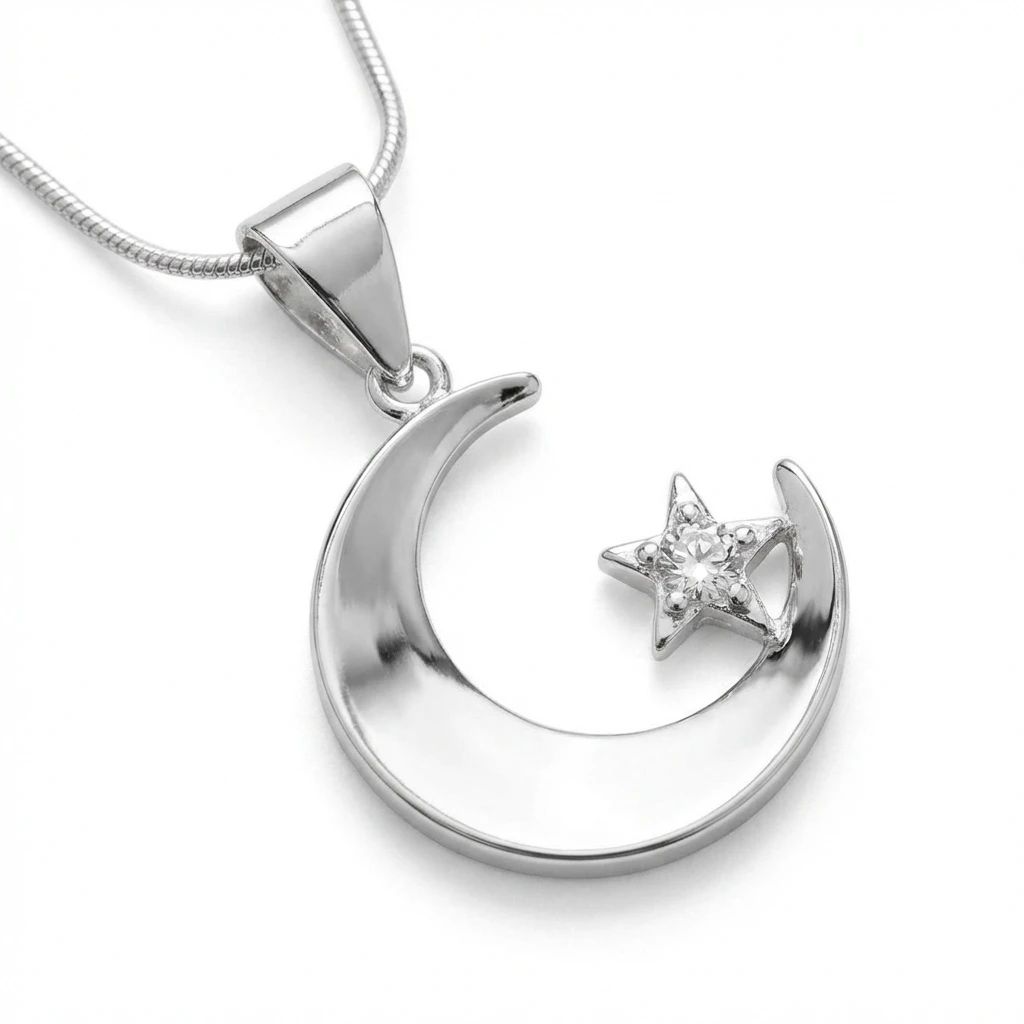
OriginalSnappyit result
How to try Jewelry Retouch workflow
01
Prepare your necklace photo
- Open the Jewelry Retouch with your own necklace photo.
- Show the pendant, chain and connecting details in a clear view with no cropped edges.
02
Choose a template with a matching angle
- Select a template that matches the angle shown in your source photo, then select Generate.
- A template that reveals an unseen part of the jewelry may lead to inaccurate details; choose a view supported by the original image.
- For a result in the direction of this necklace example: Match the template angle to the pendant view in the source rather than requesting an unseen side.
03
Review the necklace result
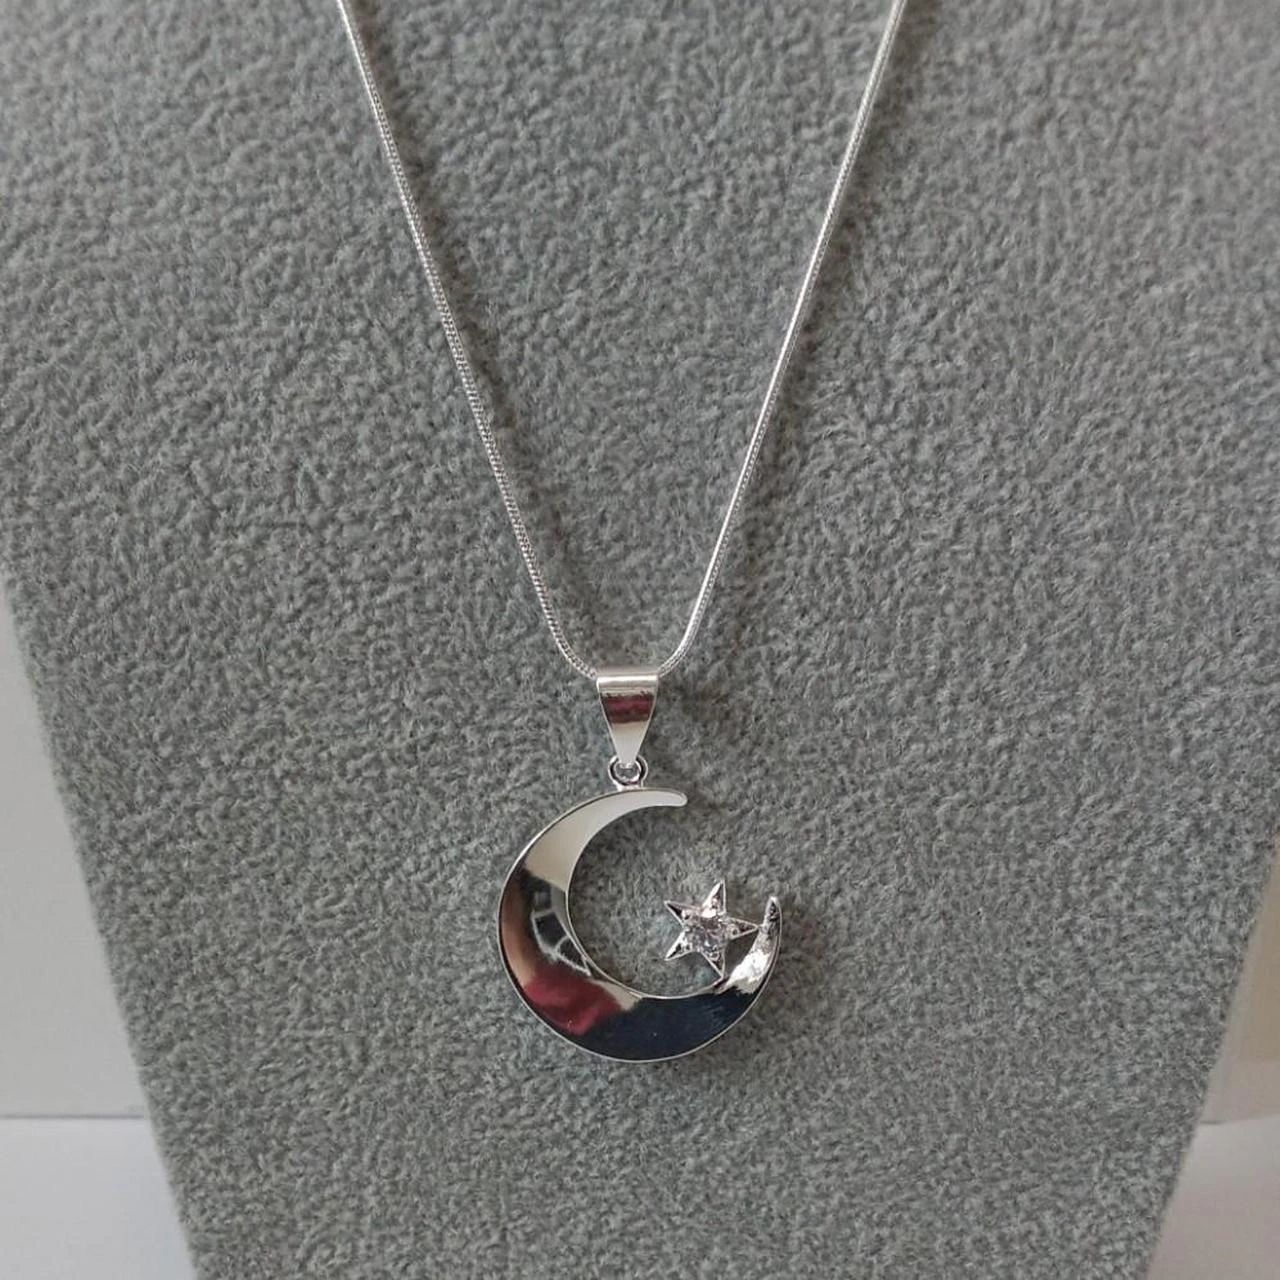
- Check the moon pendant outline, chain, metal finish and connecting details.
- Download when it accurately represents your item; adjust the source or settings and generate another version if important details differ.
01
Prepare your necklace photo
- Open the Jewelry Retouch with your own necklace photo.
- Show the pendant, chain and connecting details in a clear view with no cropped edges.
02
Choose a template with a matching angle
- Select a template that matches the angle shown in your source photo, then select Generate.
- A template that reveals an unseen part of the jewelry may lead to inaccurate details; choose a view supported by the original image.
- For a result in the direction of this necklace example: Match the template angle to the pendant view in the source rather than requesting an unseen side.
03
Review the necklace result
- Check the moon pendant outline, chain, metal finish and connecting details.
- Download when it accurately represents your item; adjust the source or settings and generate another version if important details differ.
01
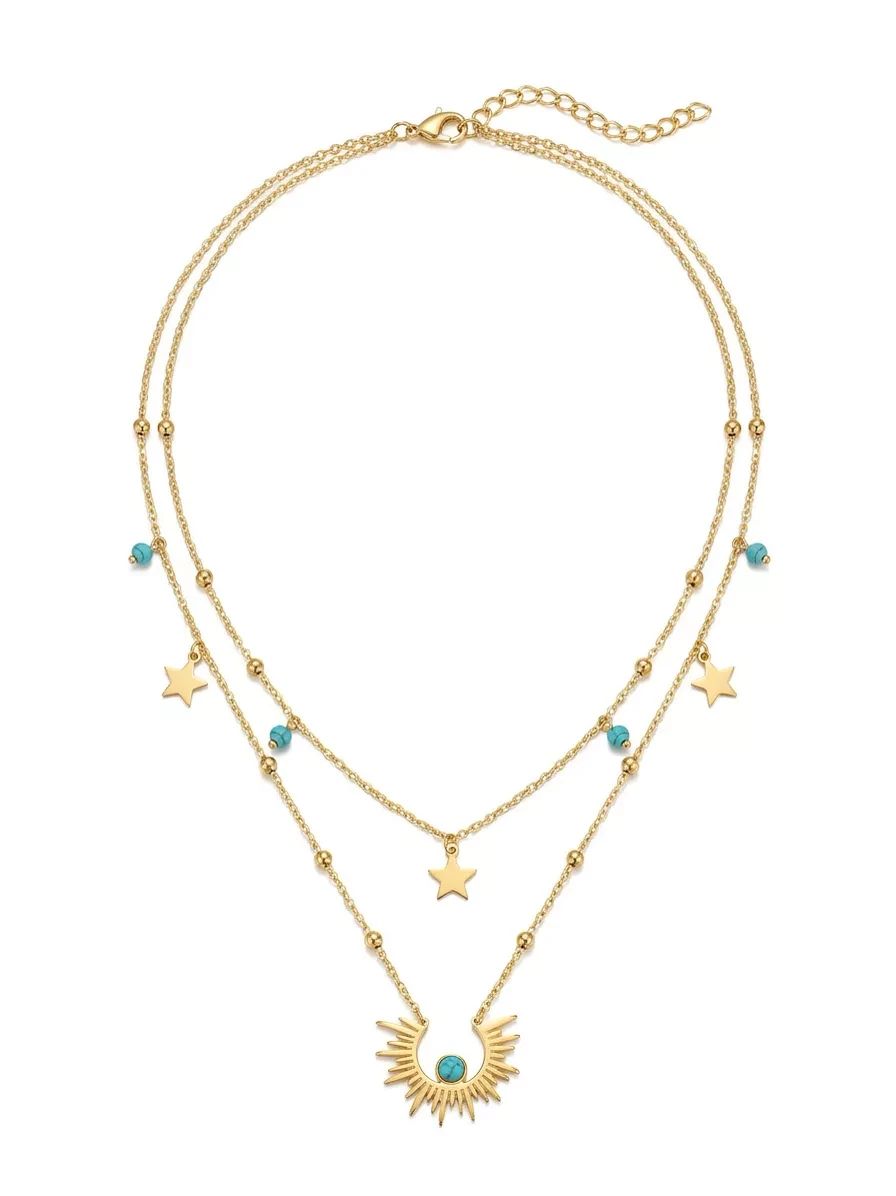
Prepare your layered necklace photo
- Open the Jewelry Retouch with your own jewelry image.
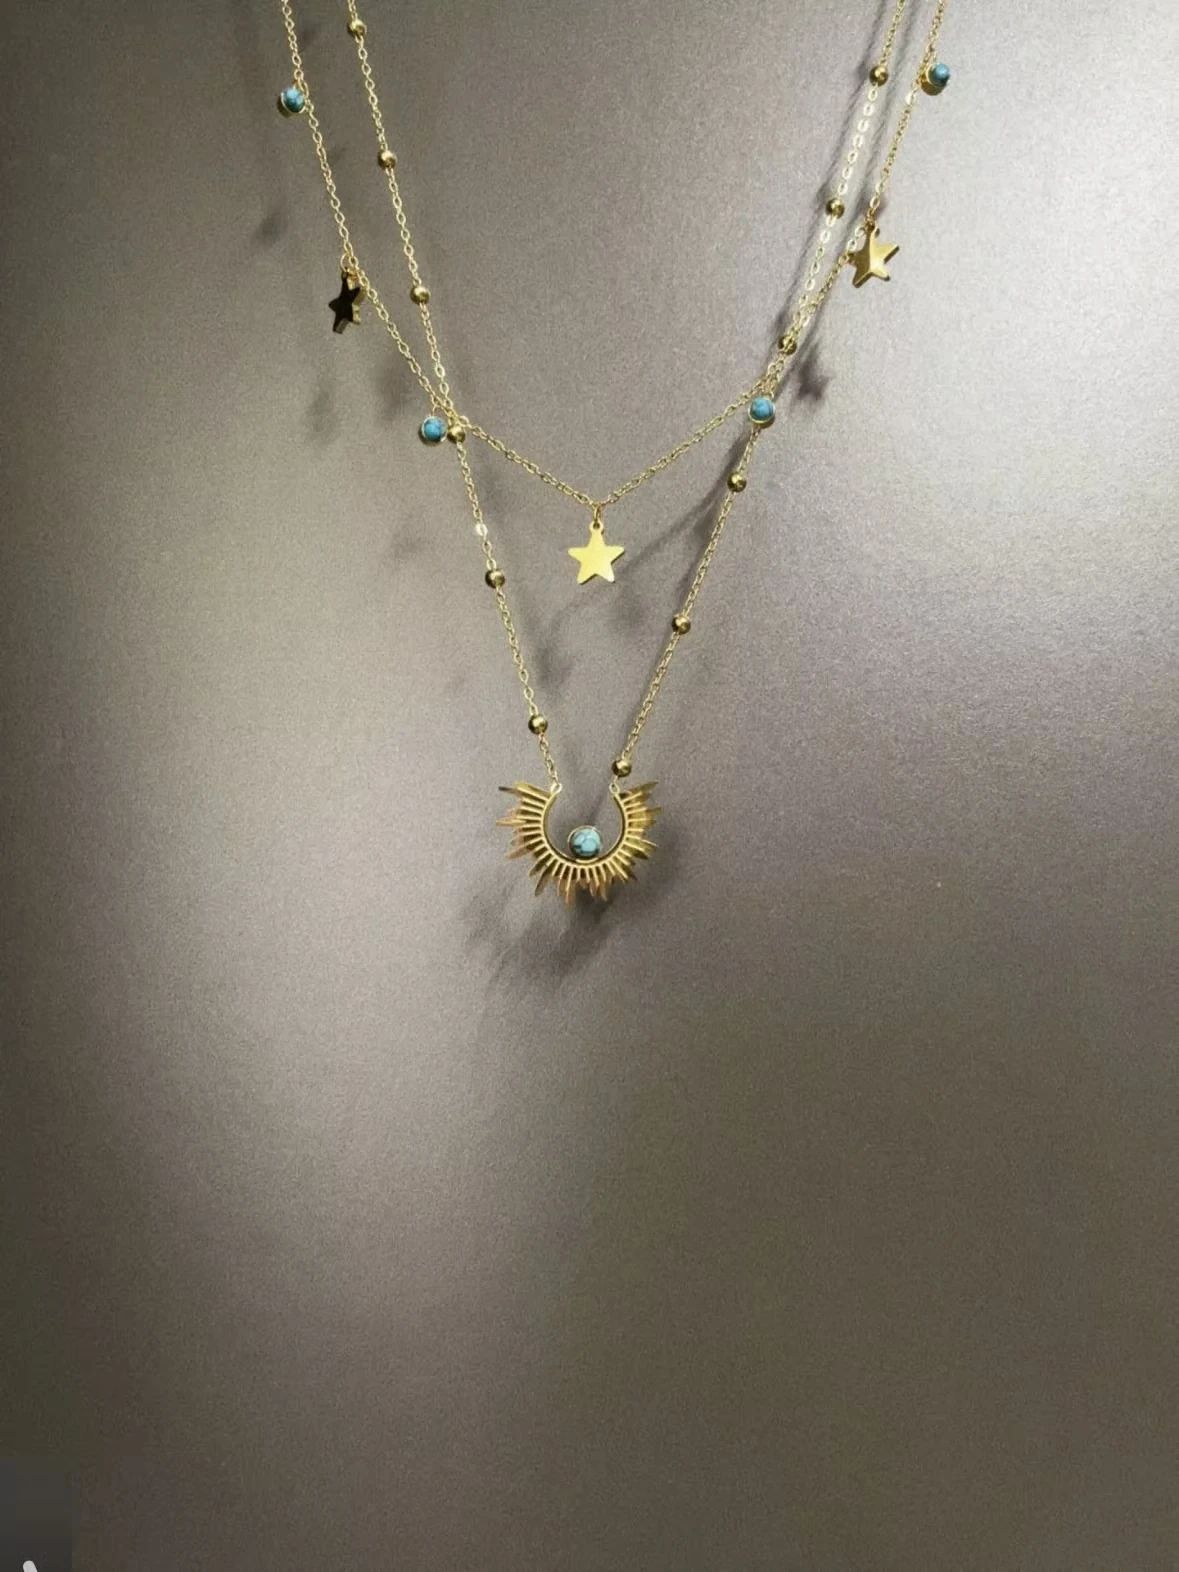
- Use a source that shows each chain layer, the small charms and the main pendant, with sufficient contrast against the jewelry bust.
- Keep the jewelry fully in frame and use even lighting to preserve details in reflective surfaces.
- The supplied source in this example shows the information that your own photo should provide; clearer edges and component details make it easier to assess the result.
02
Choose the product presentation
- Use the available controls in the tool to choose a suitable presentation.
- Create a clean product presentation that keeps the necklace layers distinct and leaves the pendant unobstructed.
- Consider crop, background and lighting together, keeping the jewelry itself as the main subject.
- Generate the image and compare the new presentation with the original; the gallery example provides a visual direction rather than a saved preset.
03
Review the layered necklace result
- Compare chain layers, charm positions, pendant shape and the connections between jewelry components.
- Inspect the original and result side by side at full size, including small links and reflective edges.
- Confirm that the generated presentation represents the actual product before downloading.
- If components are obscured or changed, adjust the source image or presentation and generate another version.
Start with a photo you already have
Explore Snappyit’s photography tools or create product images on your phone.