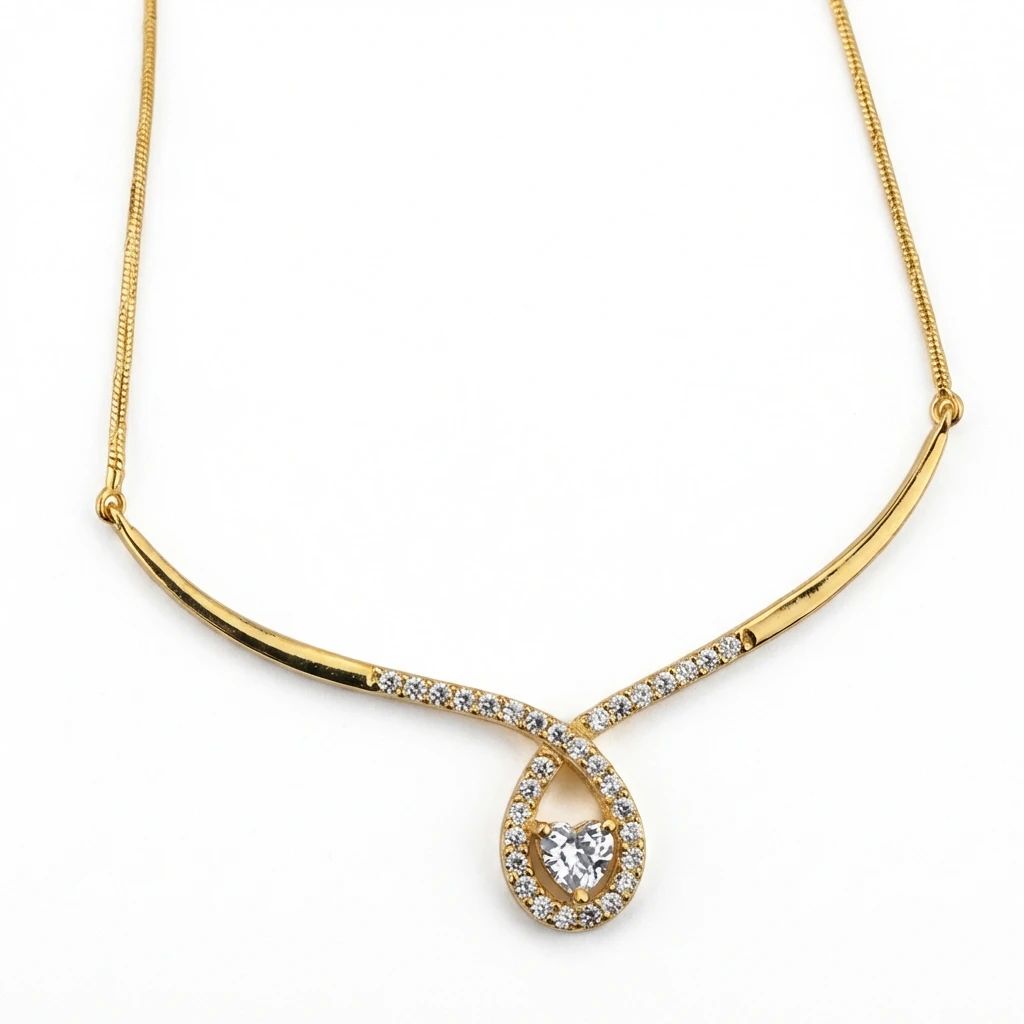


Portrait Face Swap: Before and After
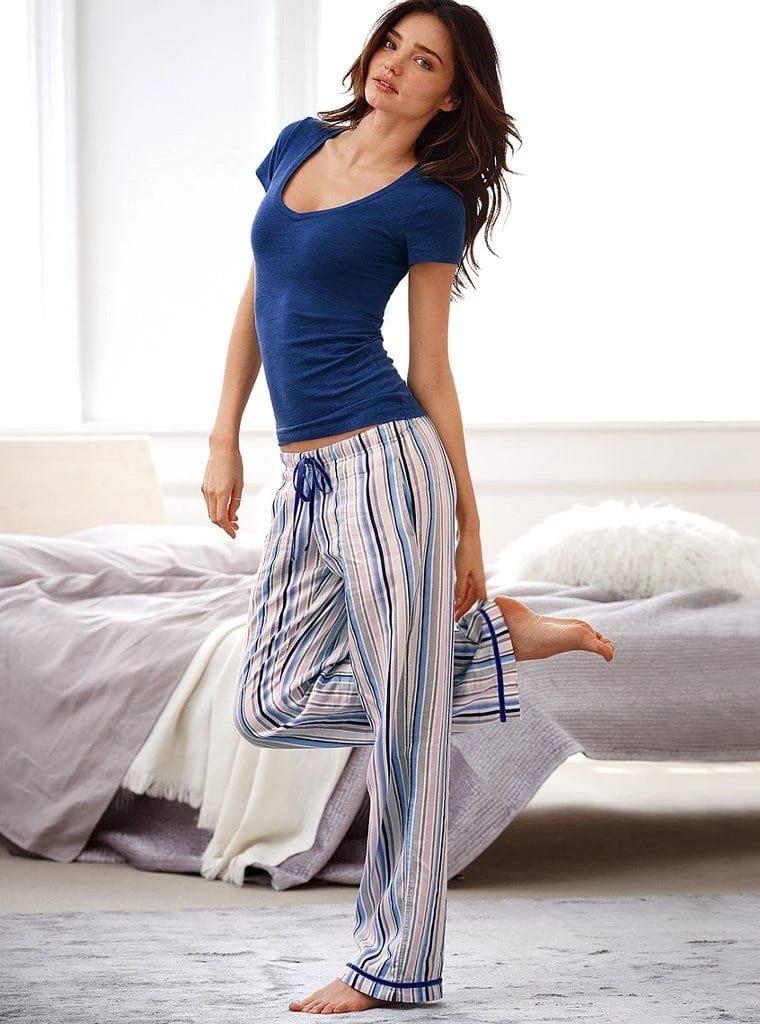
See portrait before-and-after photos with Face Swap. Explore the workflow, find inspiration and create similar visuals with your own product.
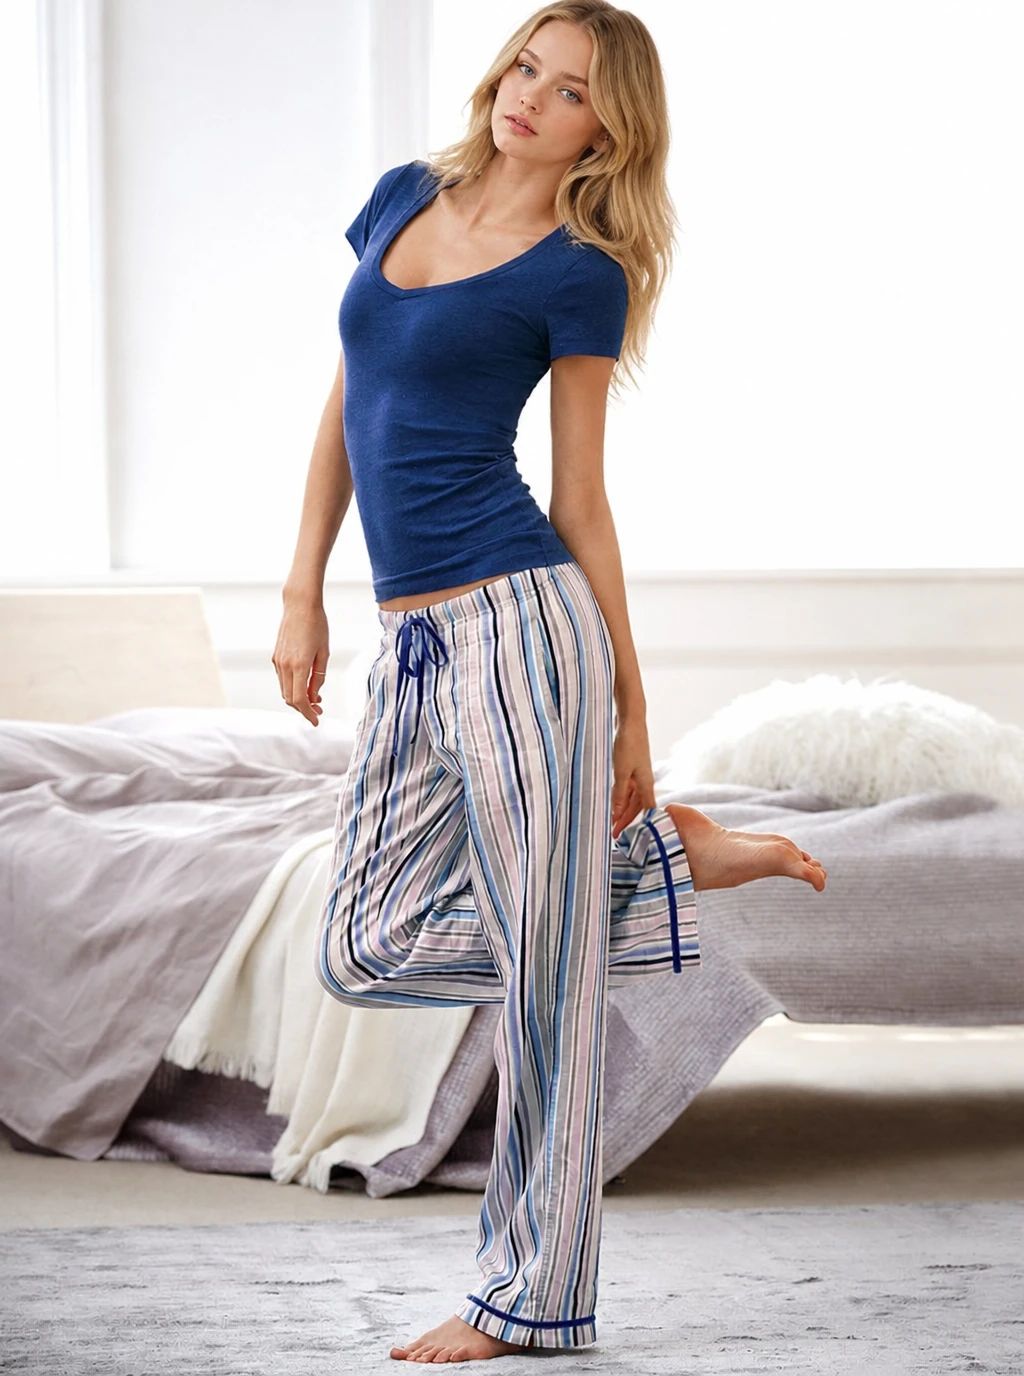
OriginalSnappyit result
How to try Face Swap workflow
01
Prepare your portrait photo
- Open the Face Swap with your own portrait photo.
- Start with the existing on-model portrait and keep the face, outfit and background visible.
02
Choose an AI model face
- Select a face from the available AI fashion model library that suits the visual direction of the image, then generate the result.
- Start from an existing on-model photo when you want to update the face rather than create a new garment presentation.
- For a result in the direction of this portrait example: Choose a replacement face suited to the portrait’s visual direction while keeping the existing outfit as the reference.
03
Review the portrait result
- Inspect face edges, skin tone and lighting, then compare the shirt, trousers, pose and background.
- Download when it accurately represents your item; adjust the source or settings and generate another version if important details differ.
Start with a photo you already have
Explore Snappyit’s photography tools or create product images on your phone.