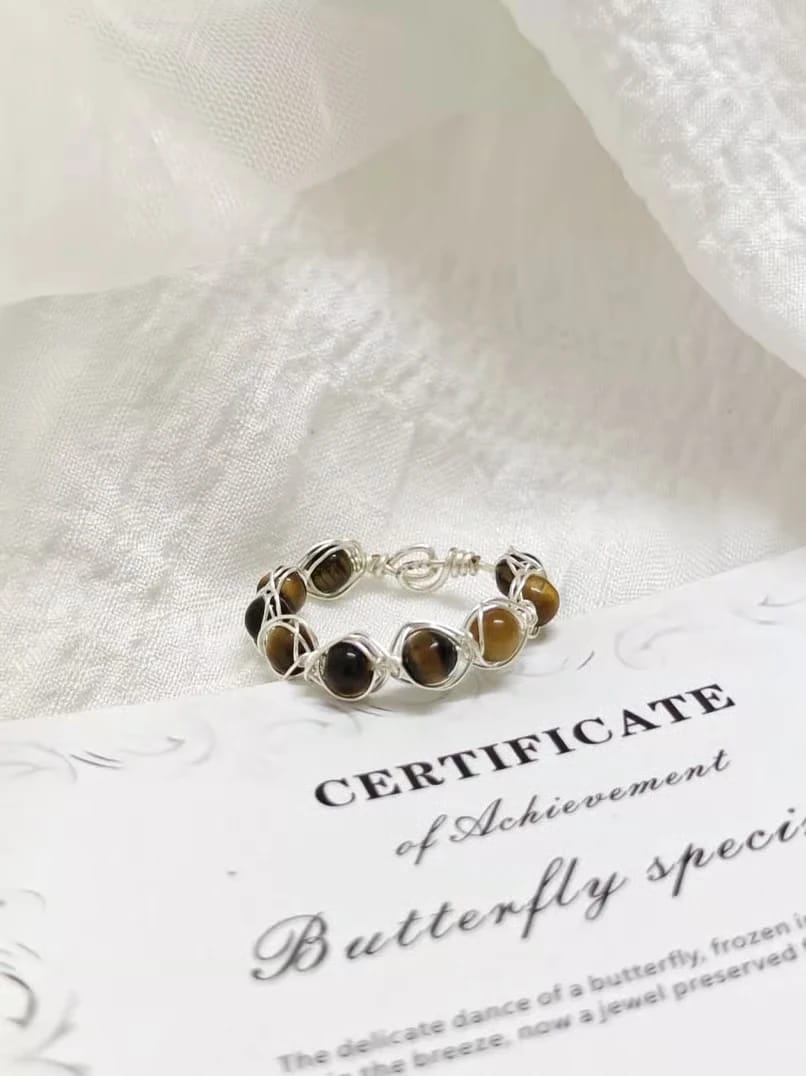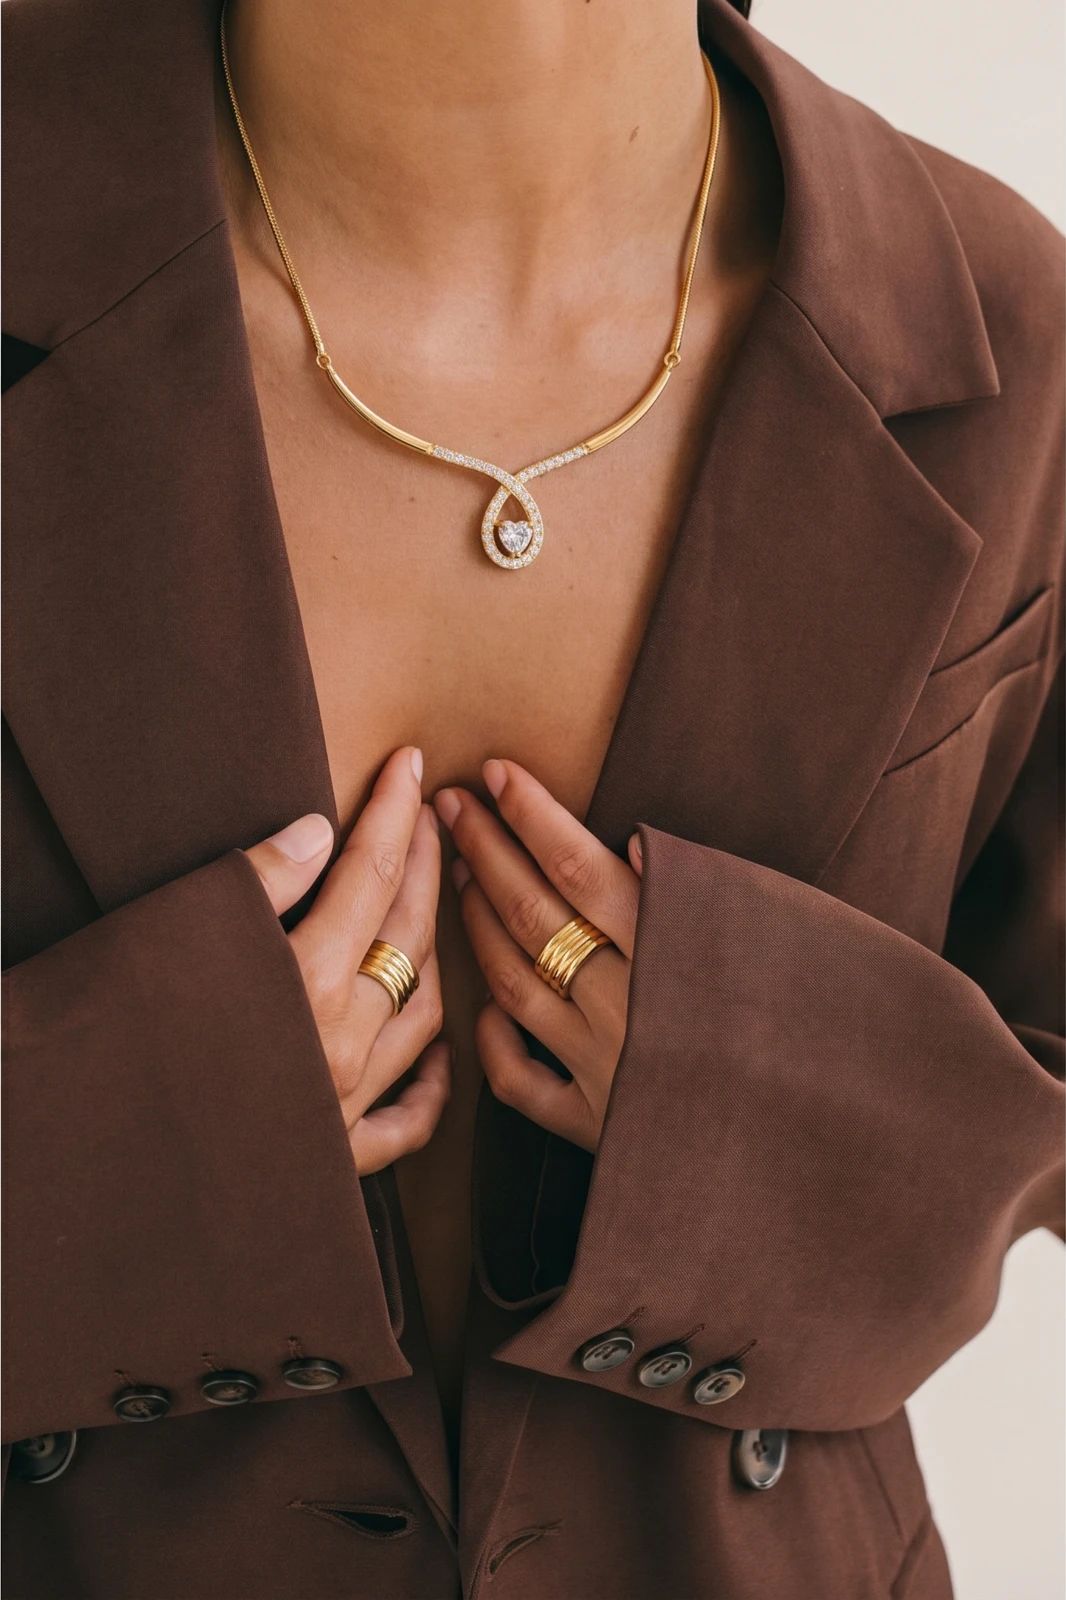
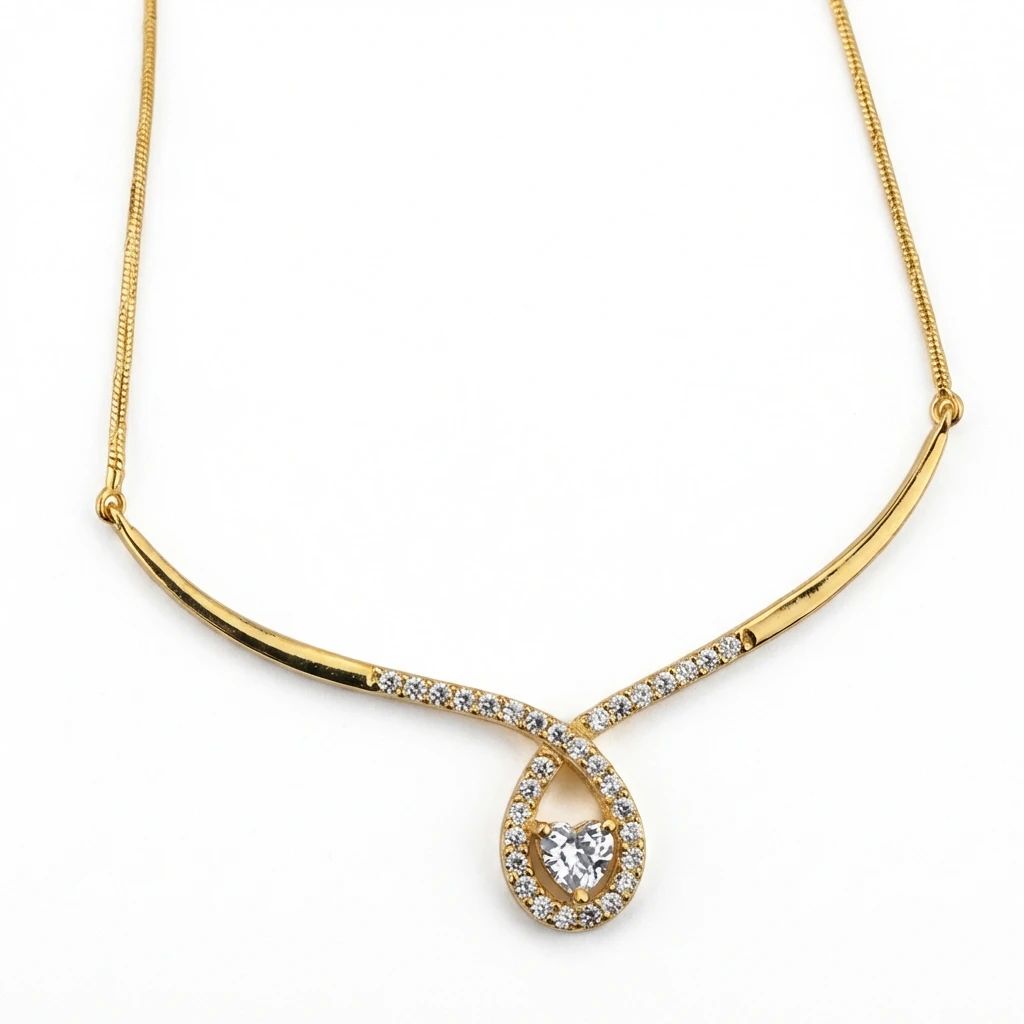


Gemstone Ring: Jewelry Retouch Before and After
See ring before-and-after photos with Jewelry Retouch. Explore the workflow, find inspiration and create similar visuals with your own product.
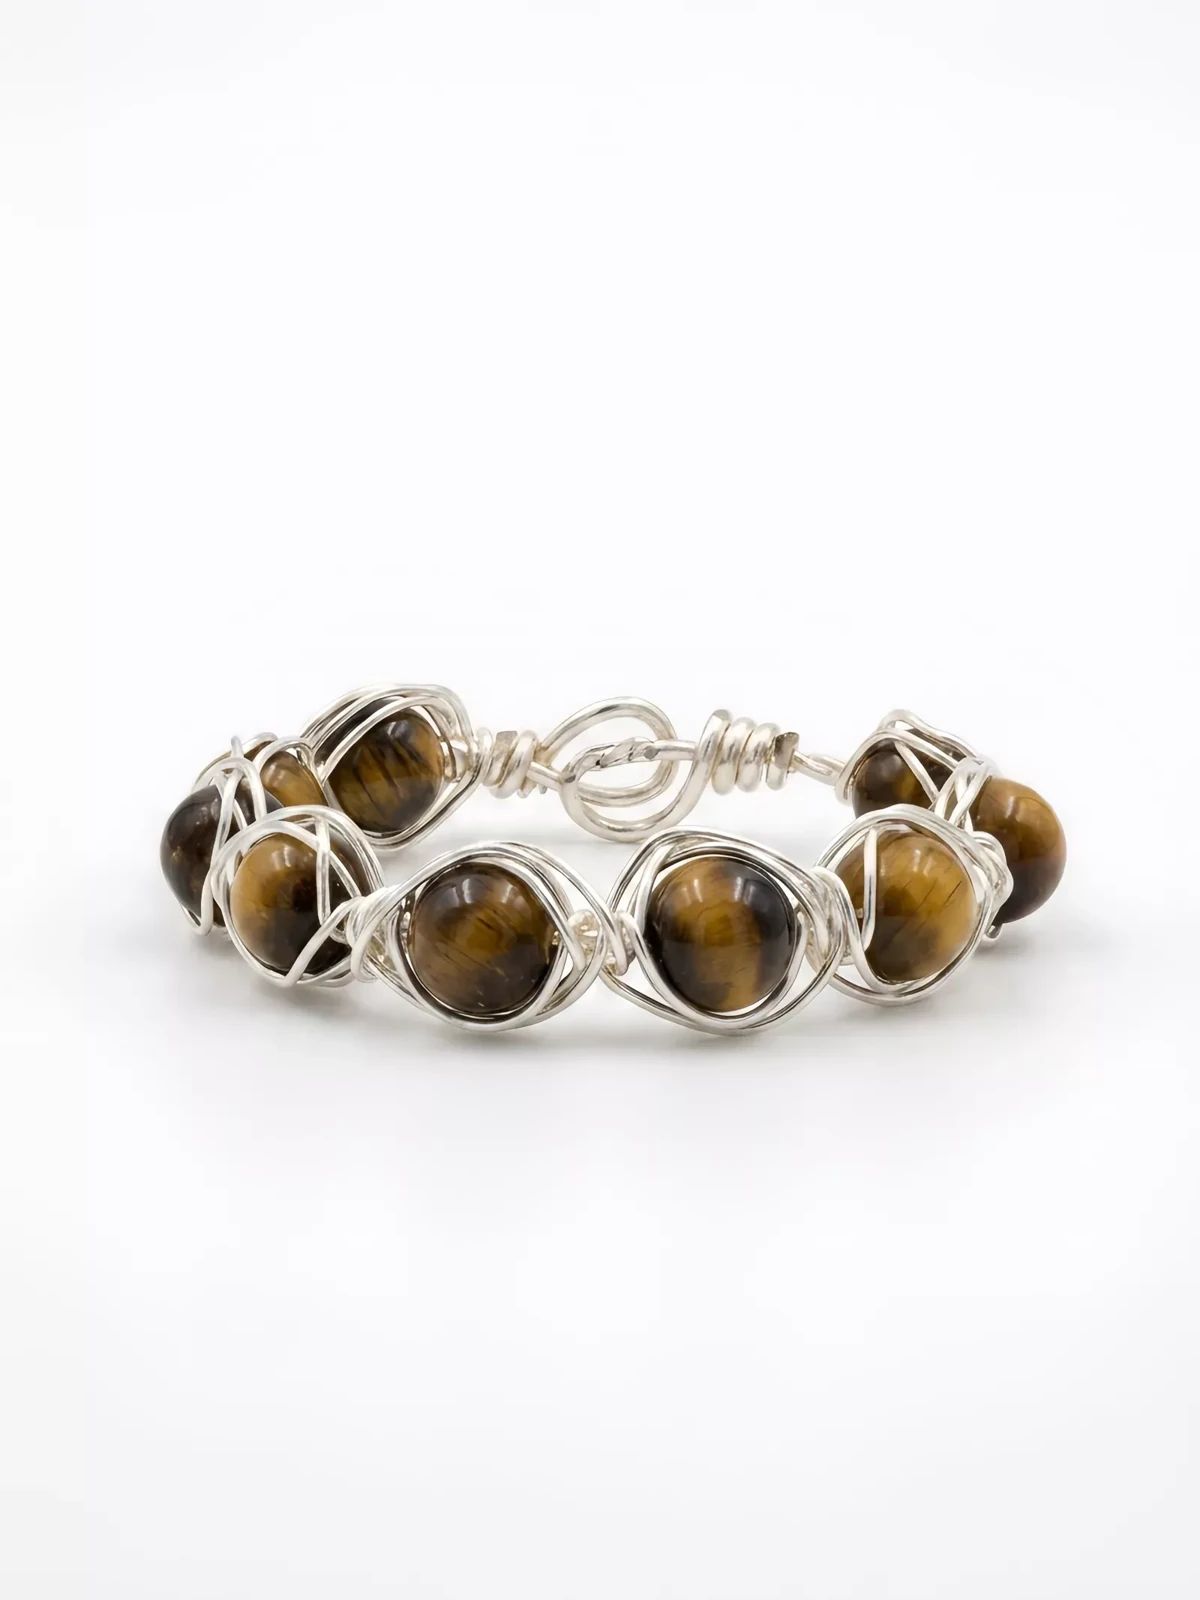
OriginalSnappyit result
How to try Jewelry Retouch workflow
01
Prepare your gemstone ring photo
- Open the Jewelry Retouch with your own jewelry image.
- Use a close-up source showing the full band and every visible stone.
- Avoid glare that hides the stone edges or metal settings.
- Keep the jewelry fully in frame and use even lighting to preserve details in reflective surfaces.
- The supplied source in this example shows the information that your own photo should provide; clearer edges and component details make it easier to assess the result.
02
Choose the product presentation
- Use the available controls in the tool to choose a suitable presentation.
- Aim for a clean white-background product view with restrained reflections and a readable ring outline.
- Consider crop, background and lighting together, keeping the jewelry itself as the main subject.
- Generate the image and compare the new presentation with the original; the gallery example provides a visual direction rather than a saved preset.
03
Review the gemstone ring result
- Compare the number and shape of stones, the setting edges and the band construction.
- Inspect the original and result side by side at full size, including small links and reflective edges.
- Confirm that the generated presentation represents the actual product before downloading.
- If components are obscured or changed, adjust the source image or presentation and generate another version.
Start with a photo you already have
Explore Snappyit’s photography tools or create product images on your phone.