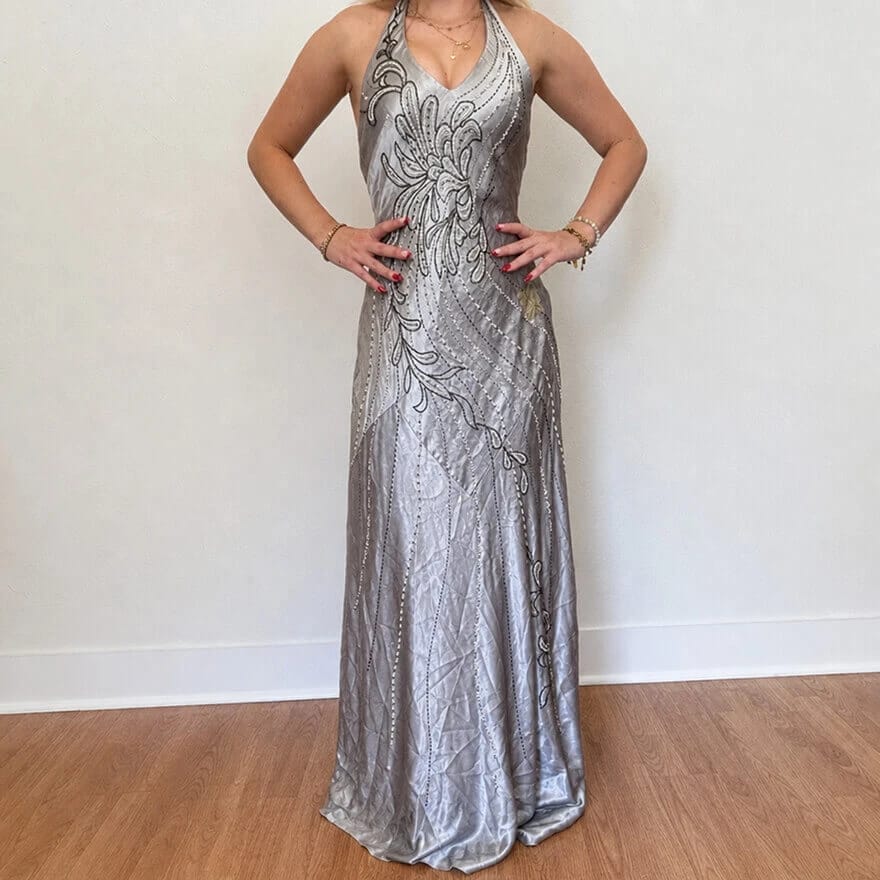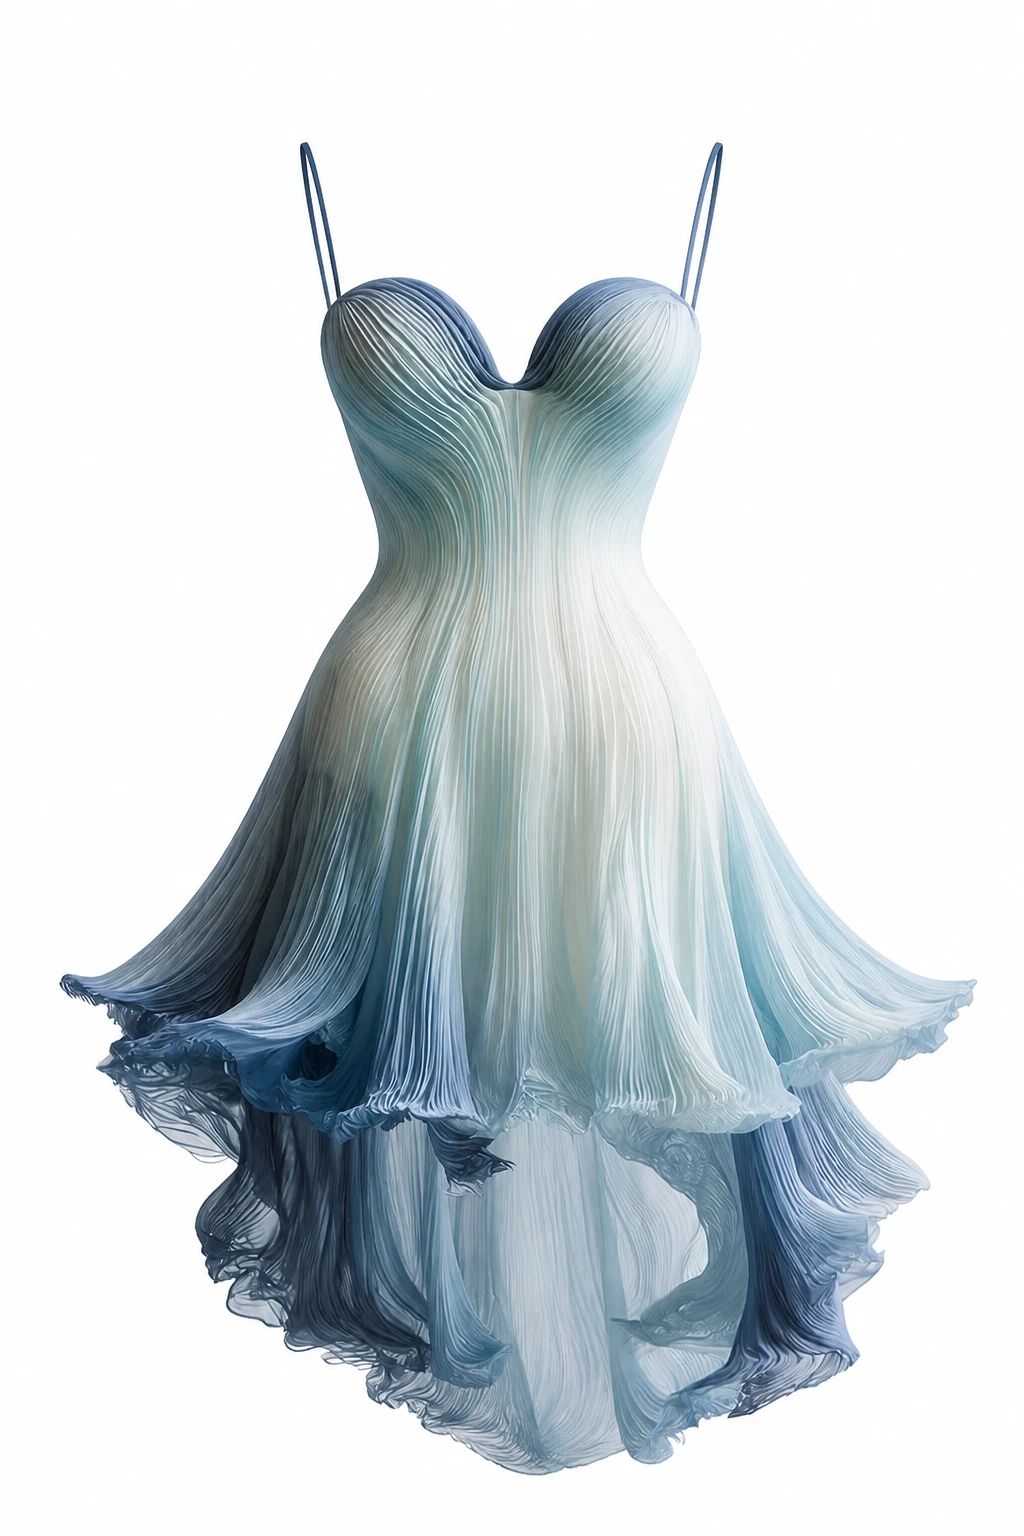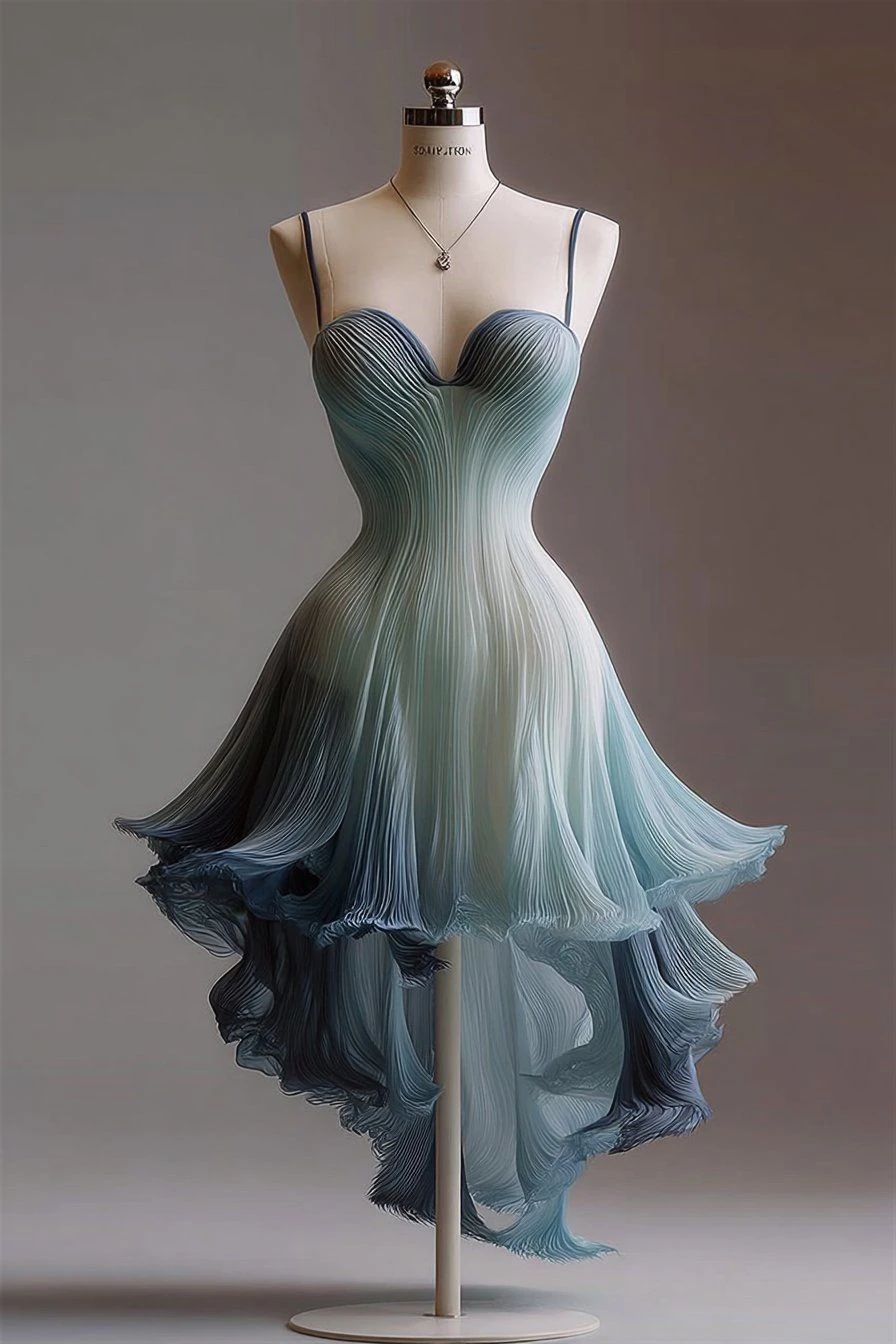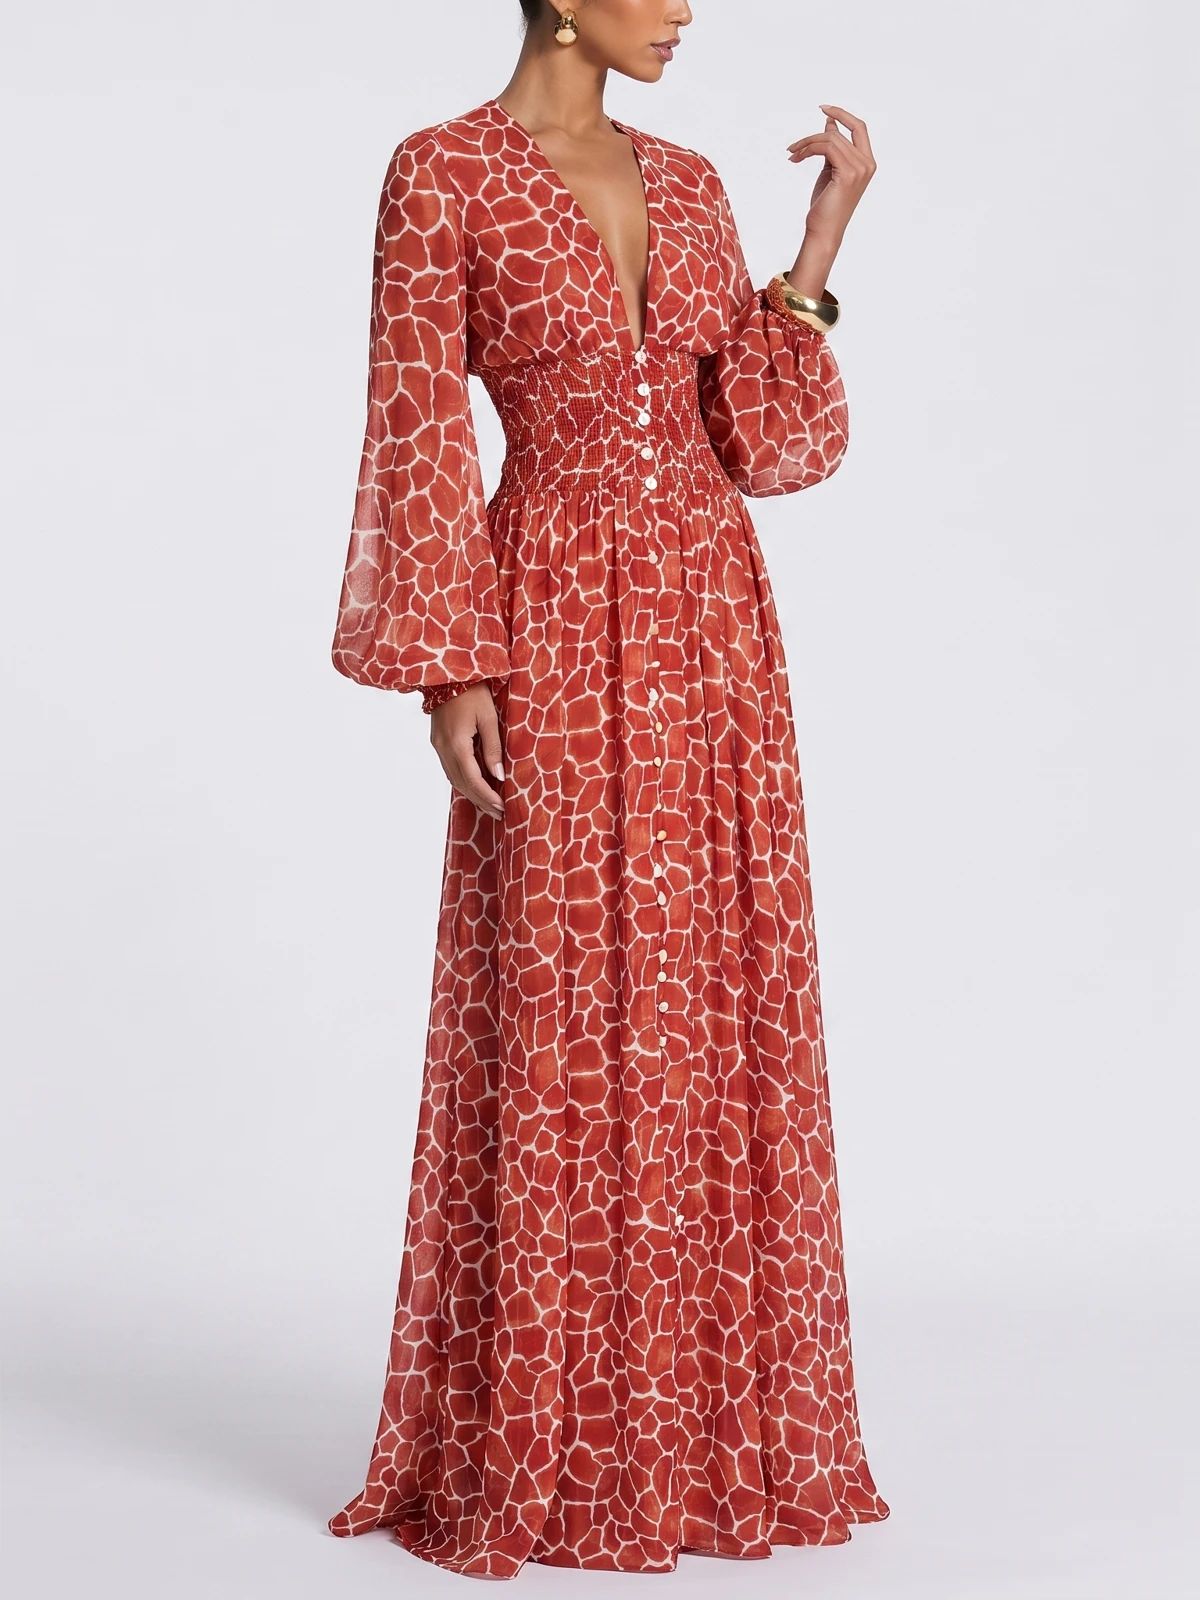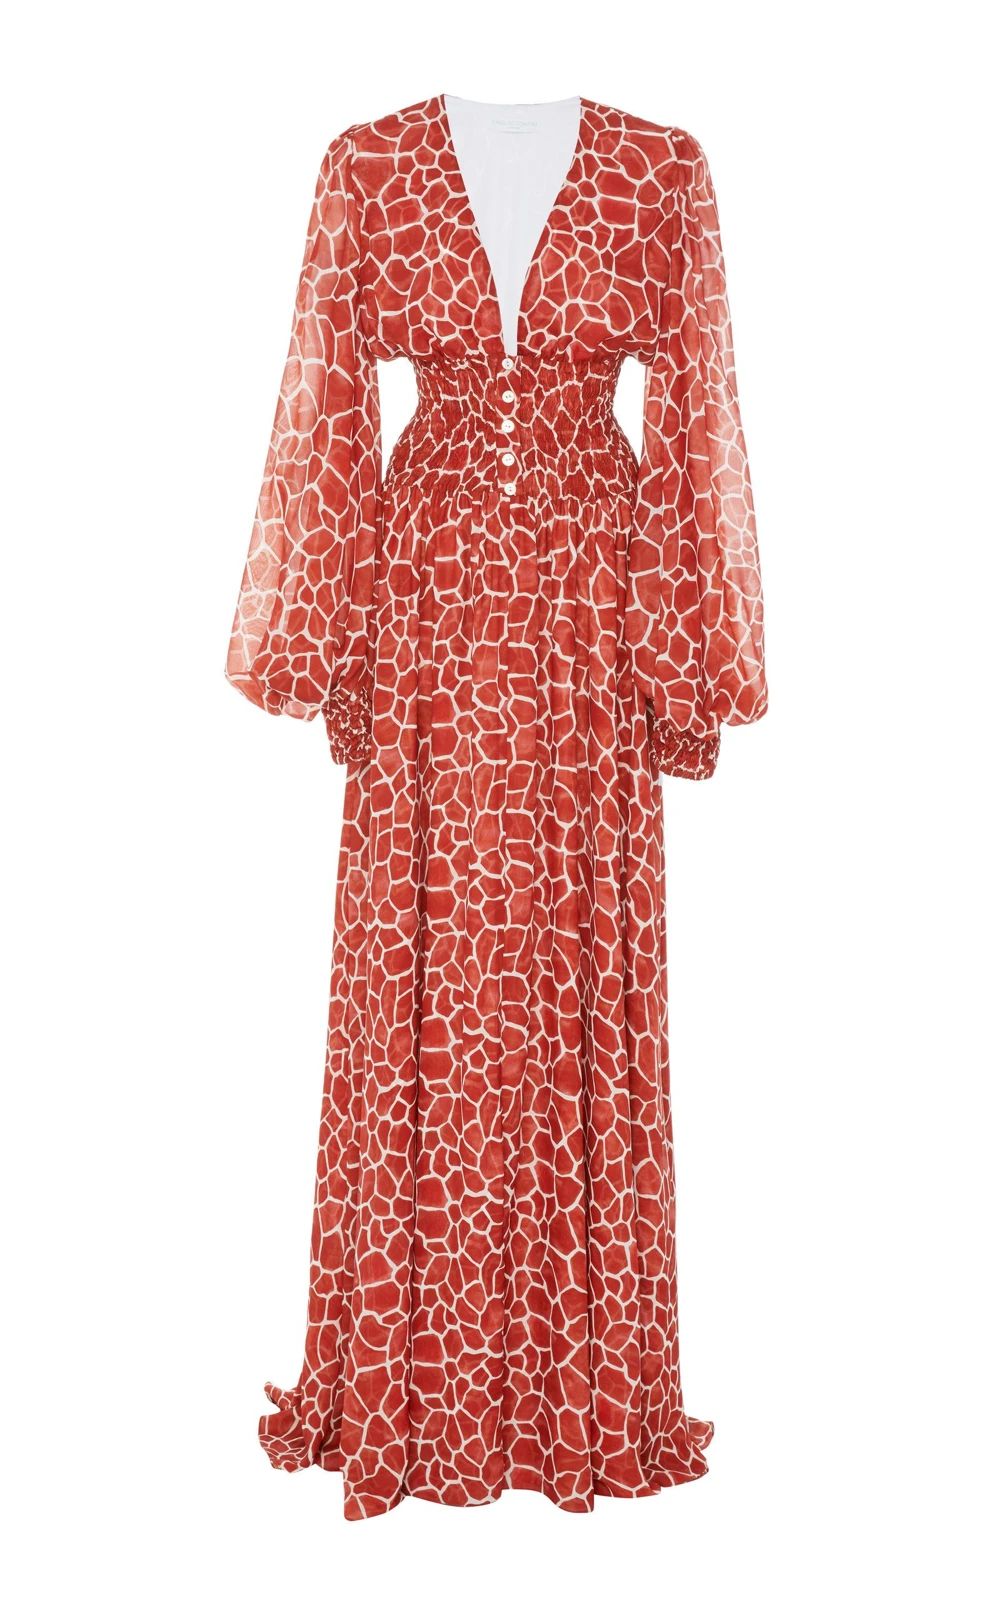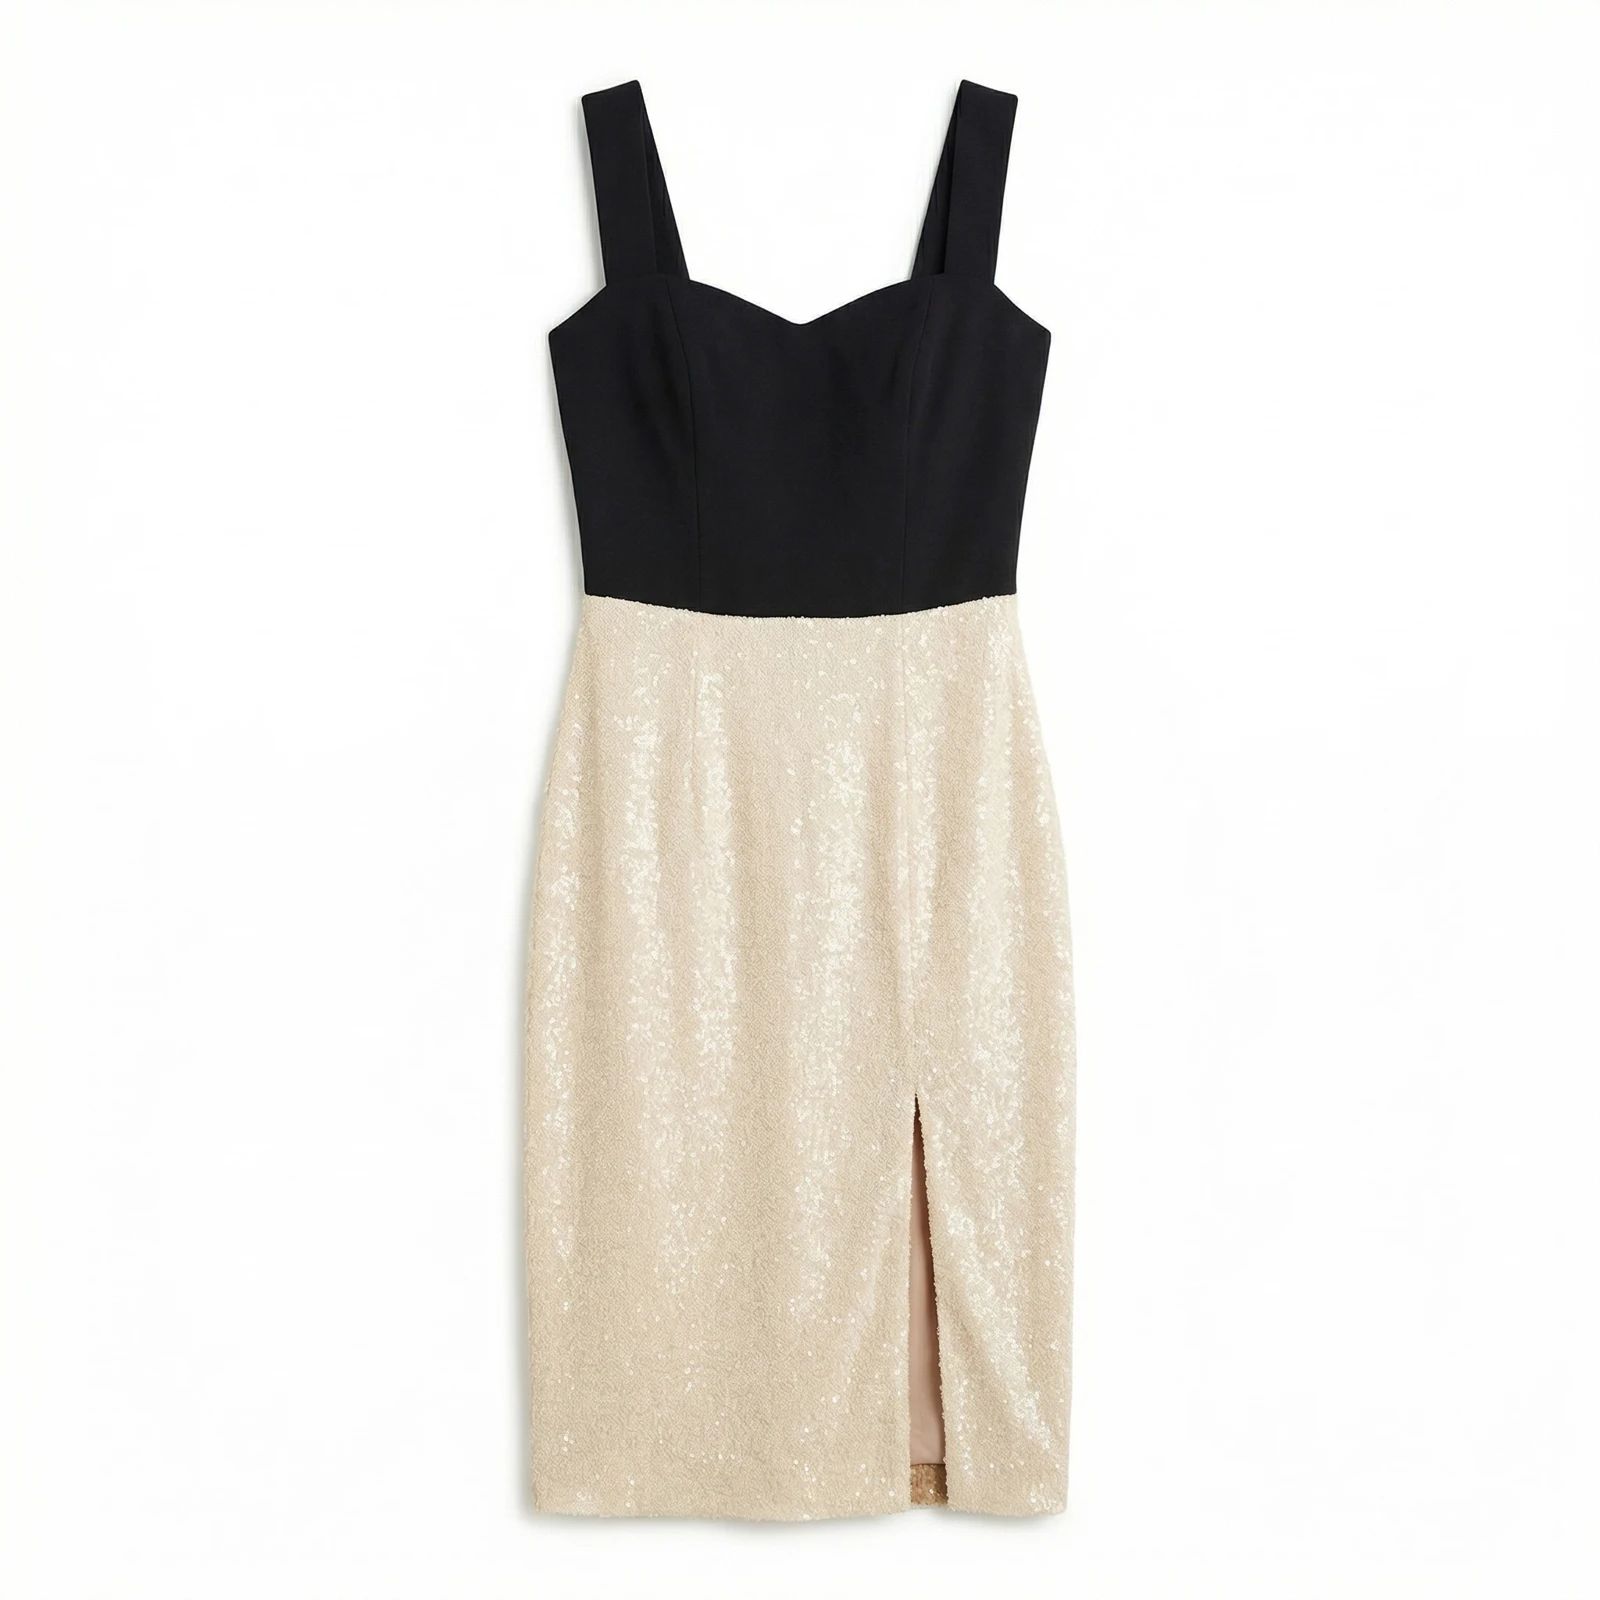
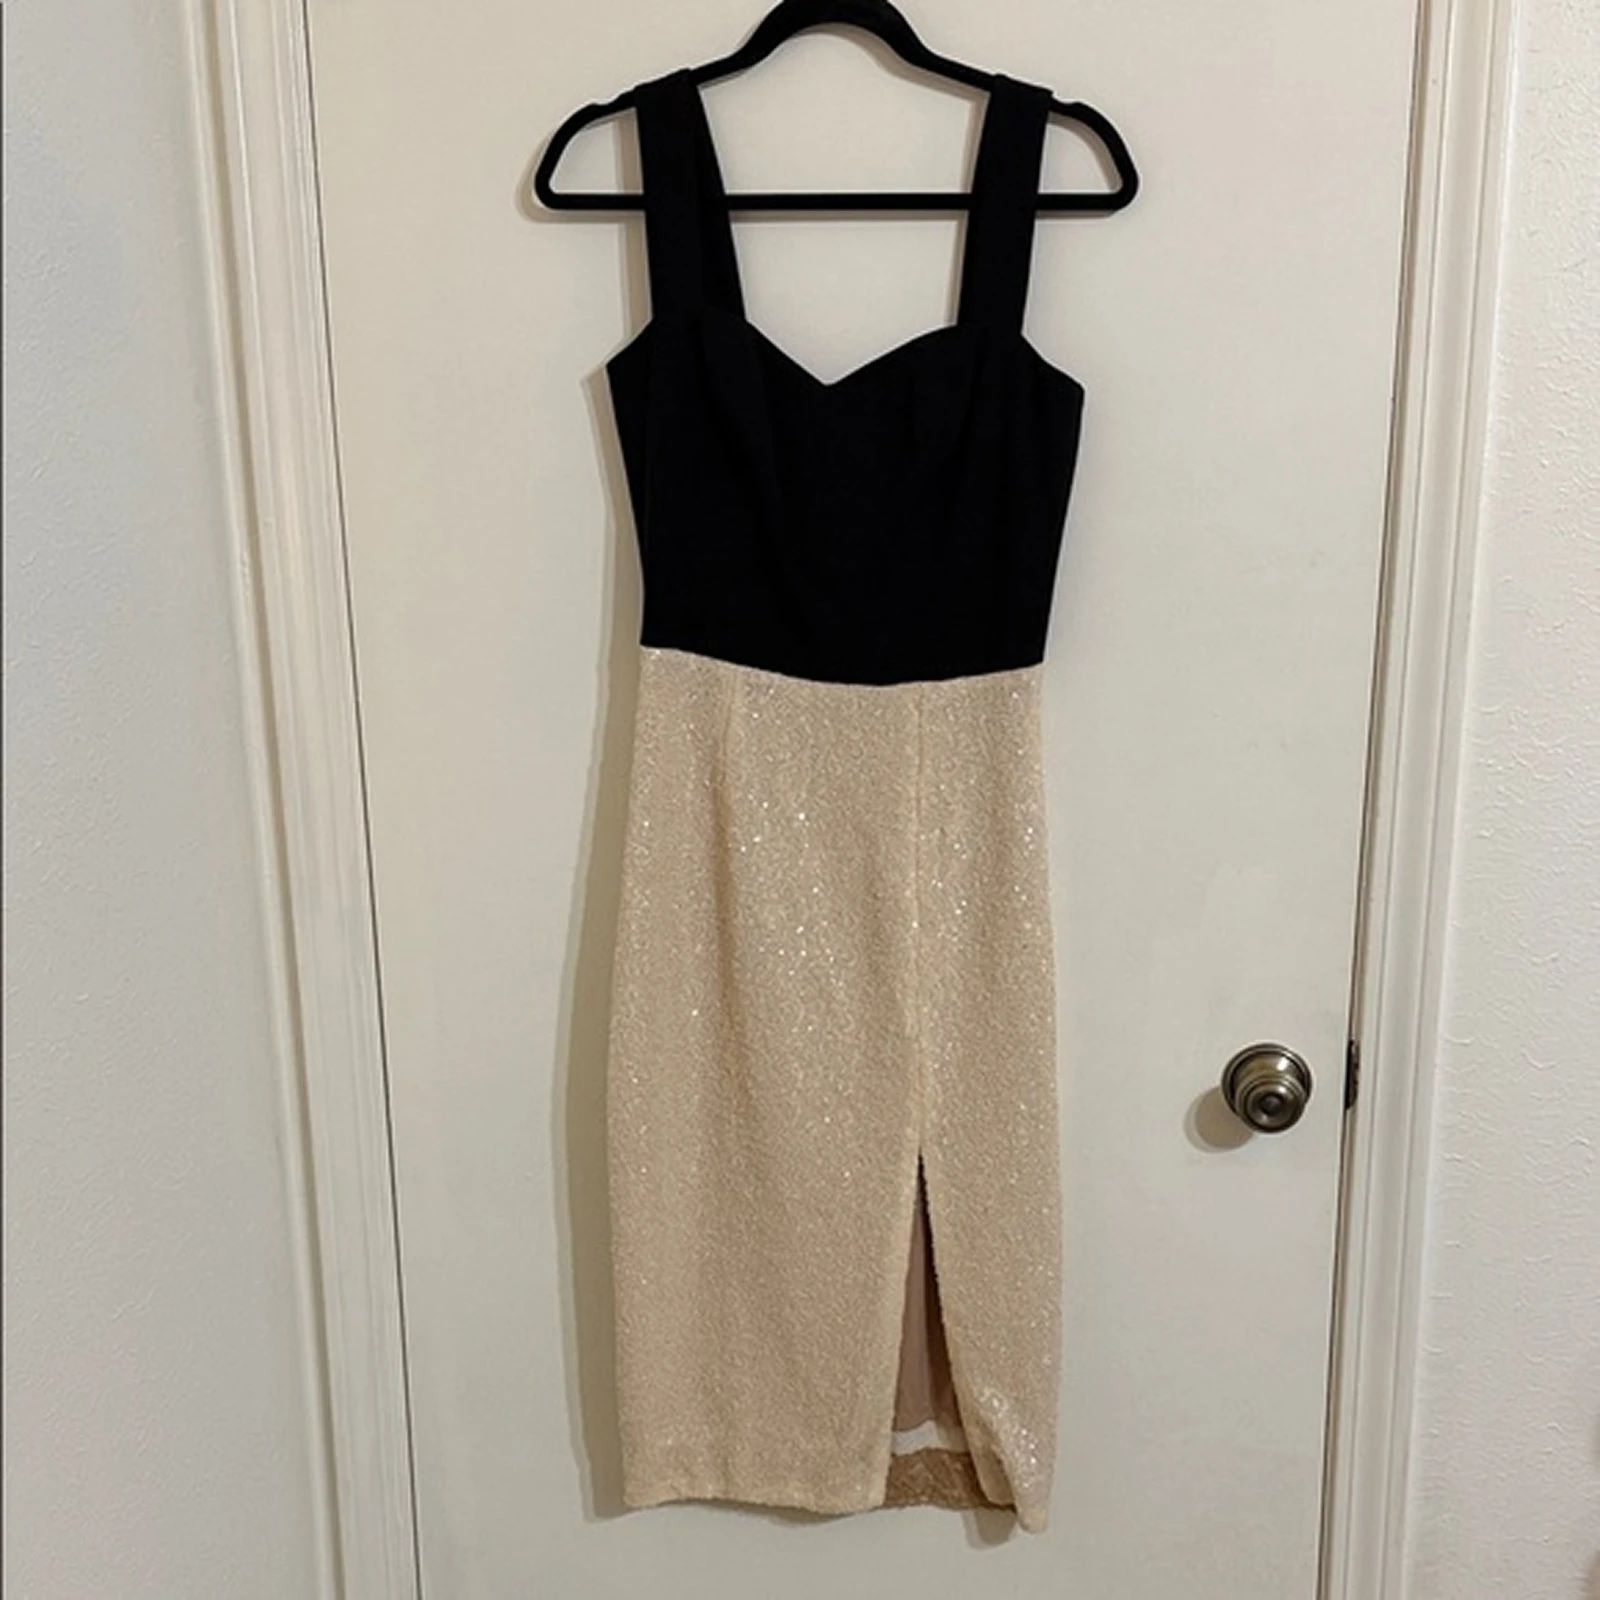


Silk Dress Wrinkle Removal: Before and After
See silk dress before-and-after photos with Remove Wrinkles. Explore the workflow, find inspiration and create similar visuals with your own product.
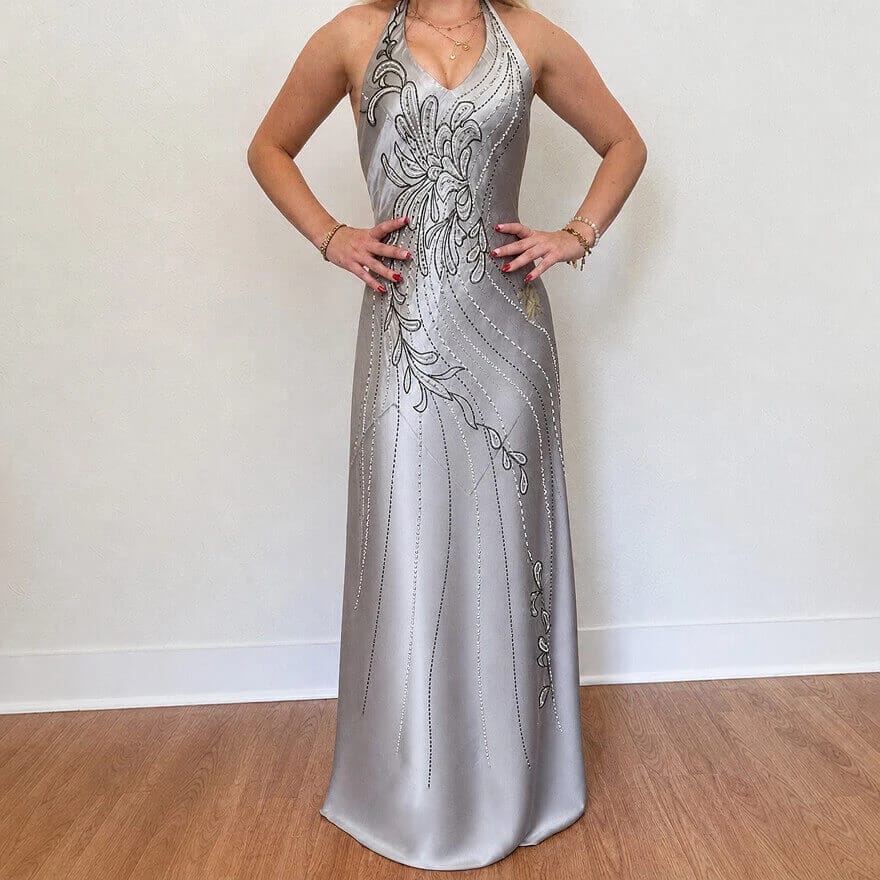
OriginalSnappyit result
How to try Remove Wrinkles workflow
01
Prepare your silk dress photo
- Open the Remove Wrinkles with your own silk dress photo.
- Upload the wrinkled dress photo with its drape, seams and fabric sheen visible.
02
Choose the wrinkle reduction level
- Select how much wrinkle reduction you want, then select Generate.
- Aim for a cleaner product photo while keeping natural drape and construction details visible; distinguish unwanted creases from intended pleats or gathers.
- For a result in the direction of this silk dress example: Use a conservative wrinkle reduction level so natural silk draping and intentional pleats remain visible.
03
Review the silk dress result
- Inspect the fabric sheen, intended folds, seams and full dress silhouette.
- Download when it accurately represents your item; adjust the source or settings and generate another version if important details differ.
Start with a photo you already have
Explore Snappyit’s photography tools or create product images on your phone.