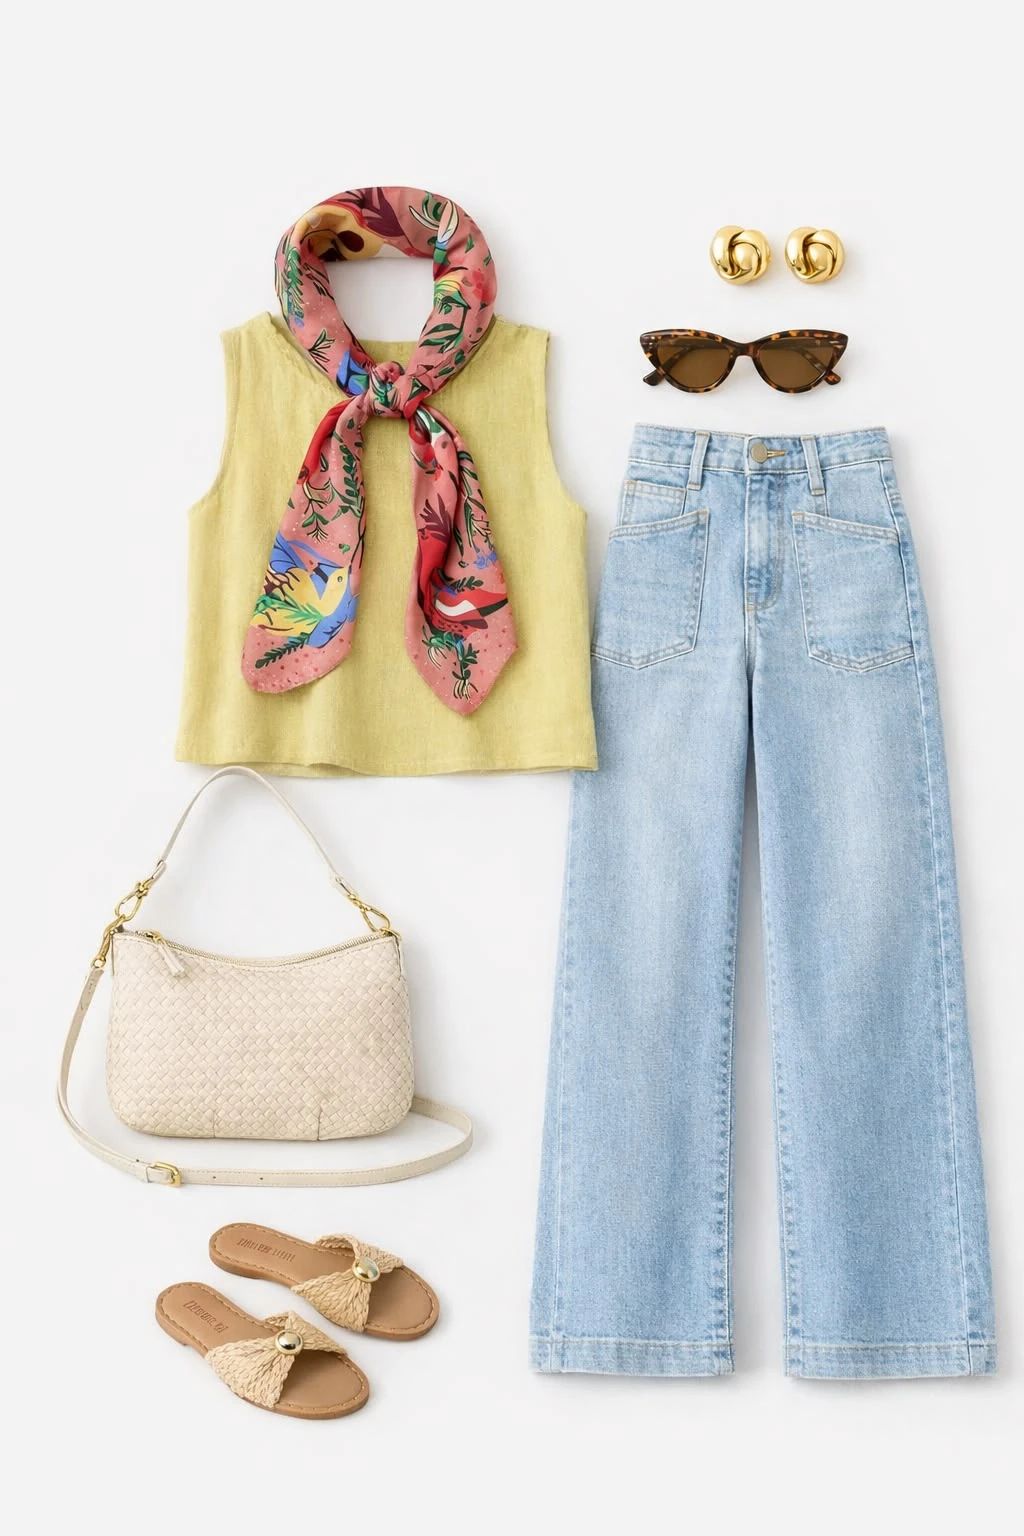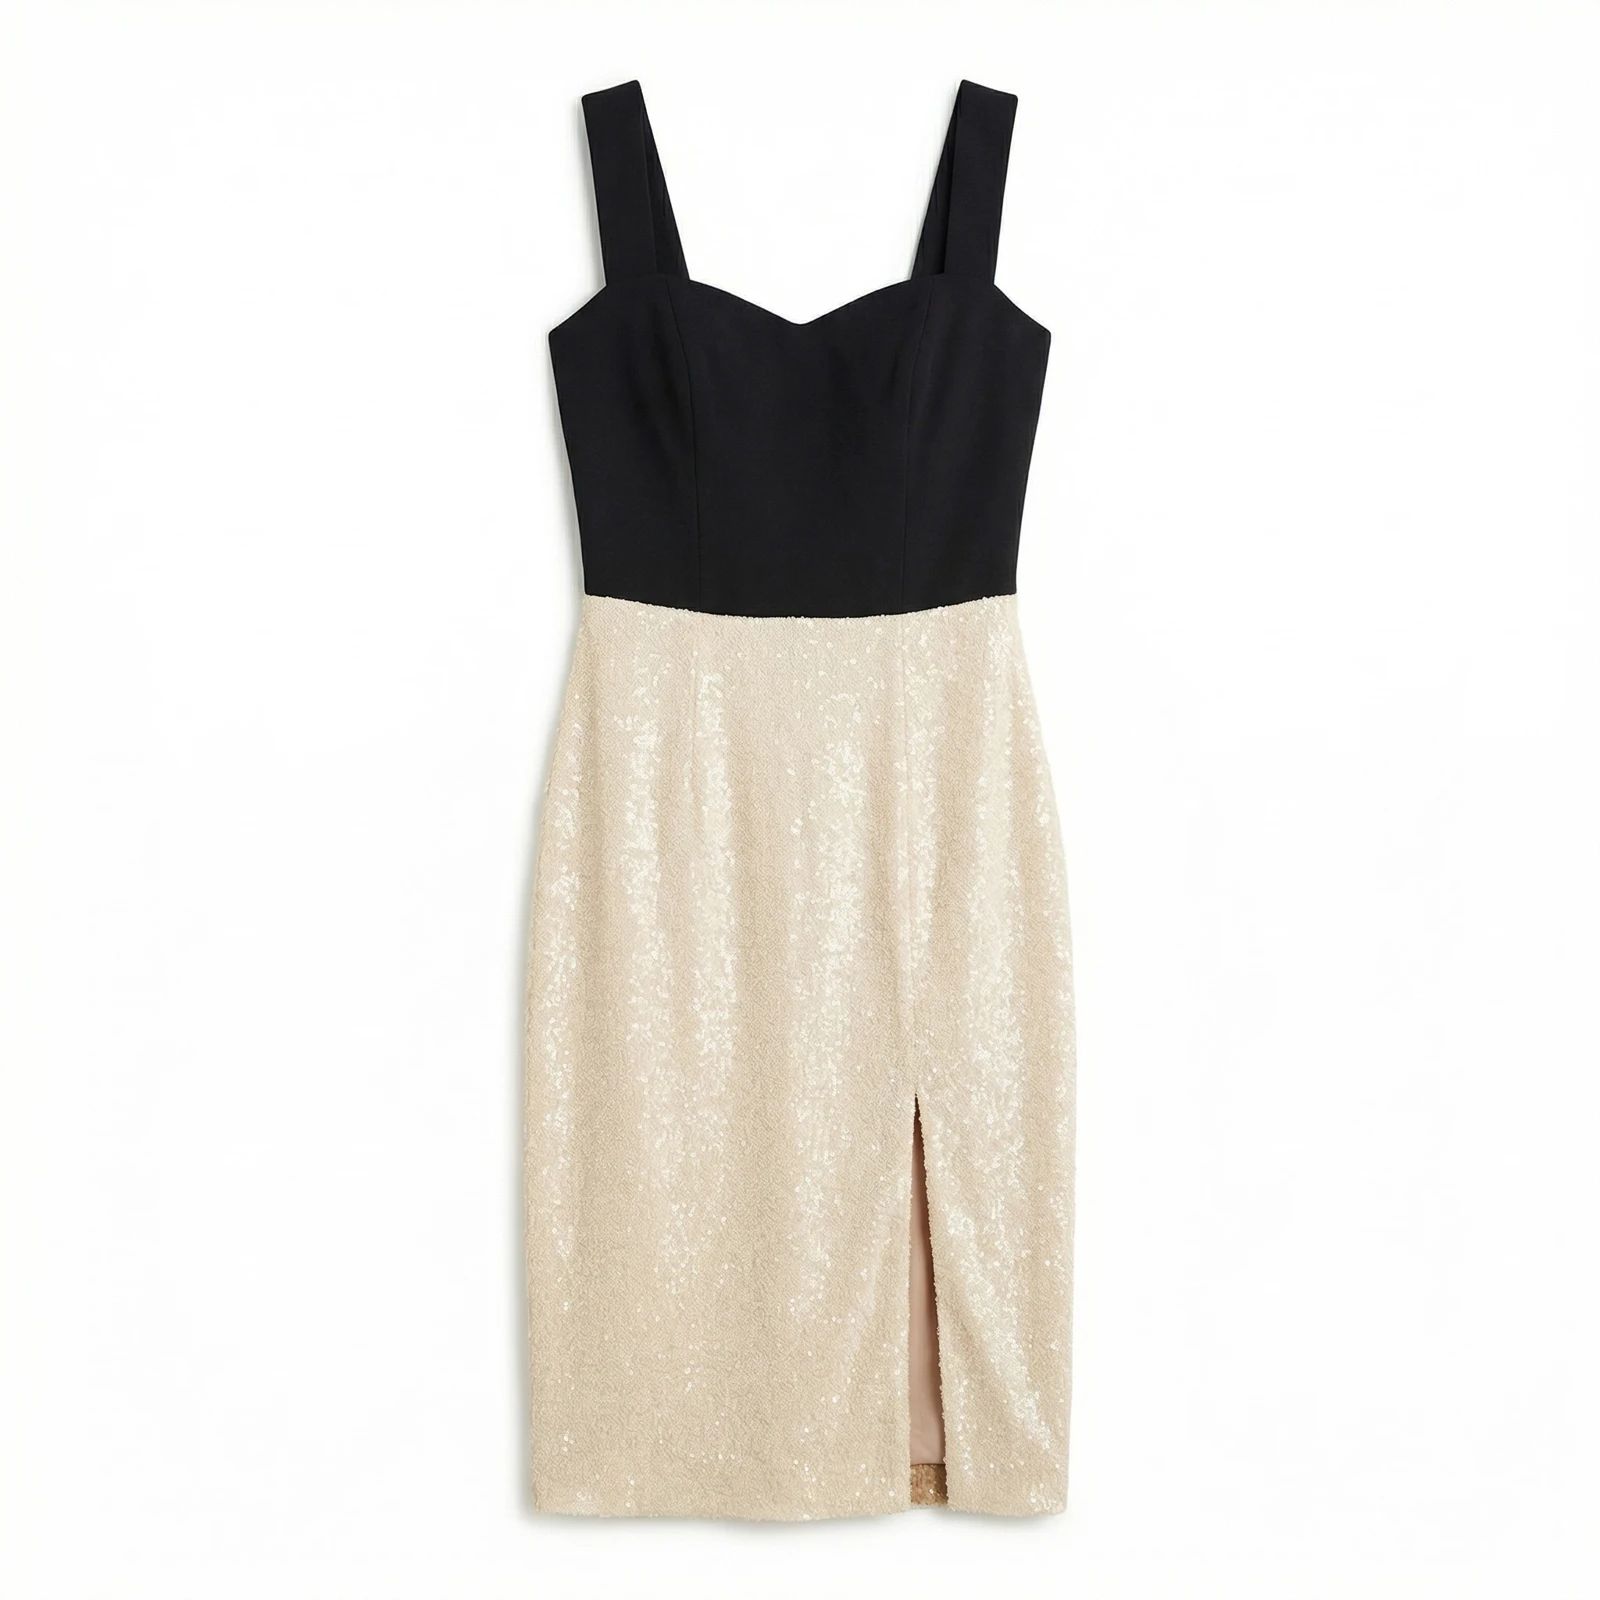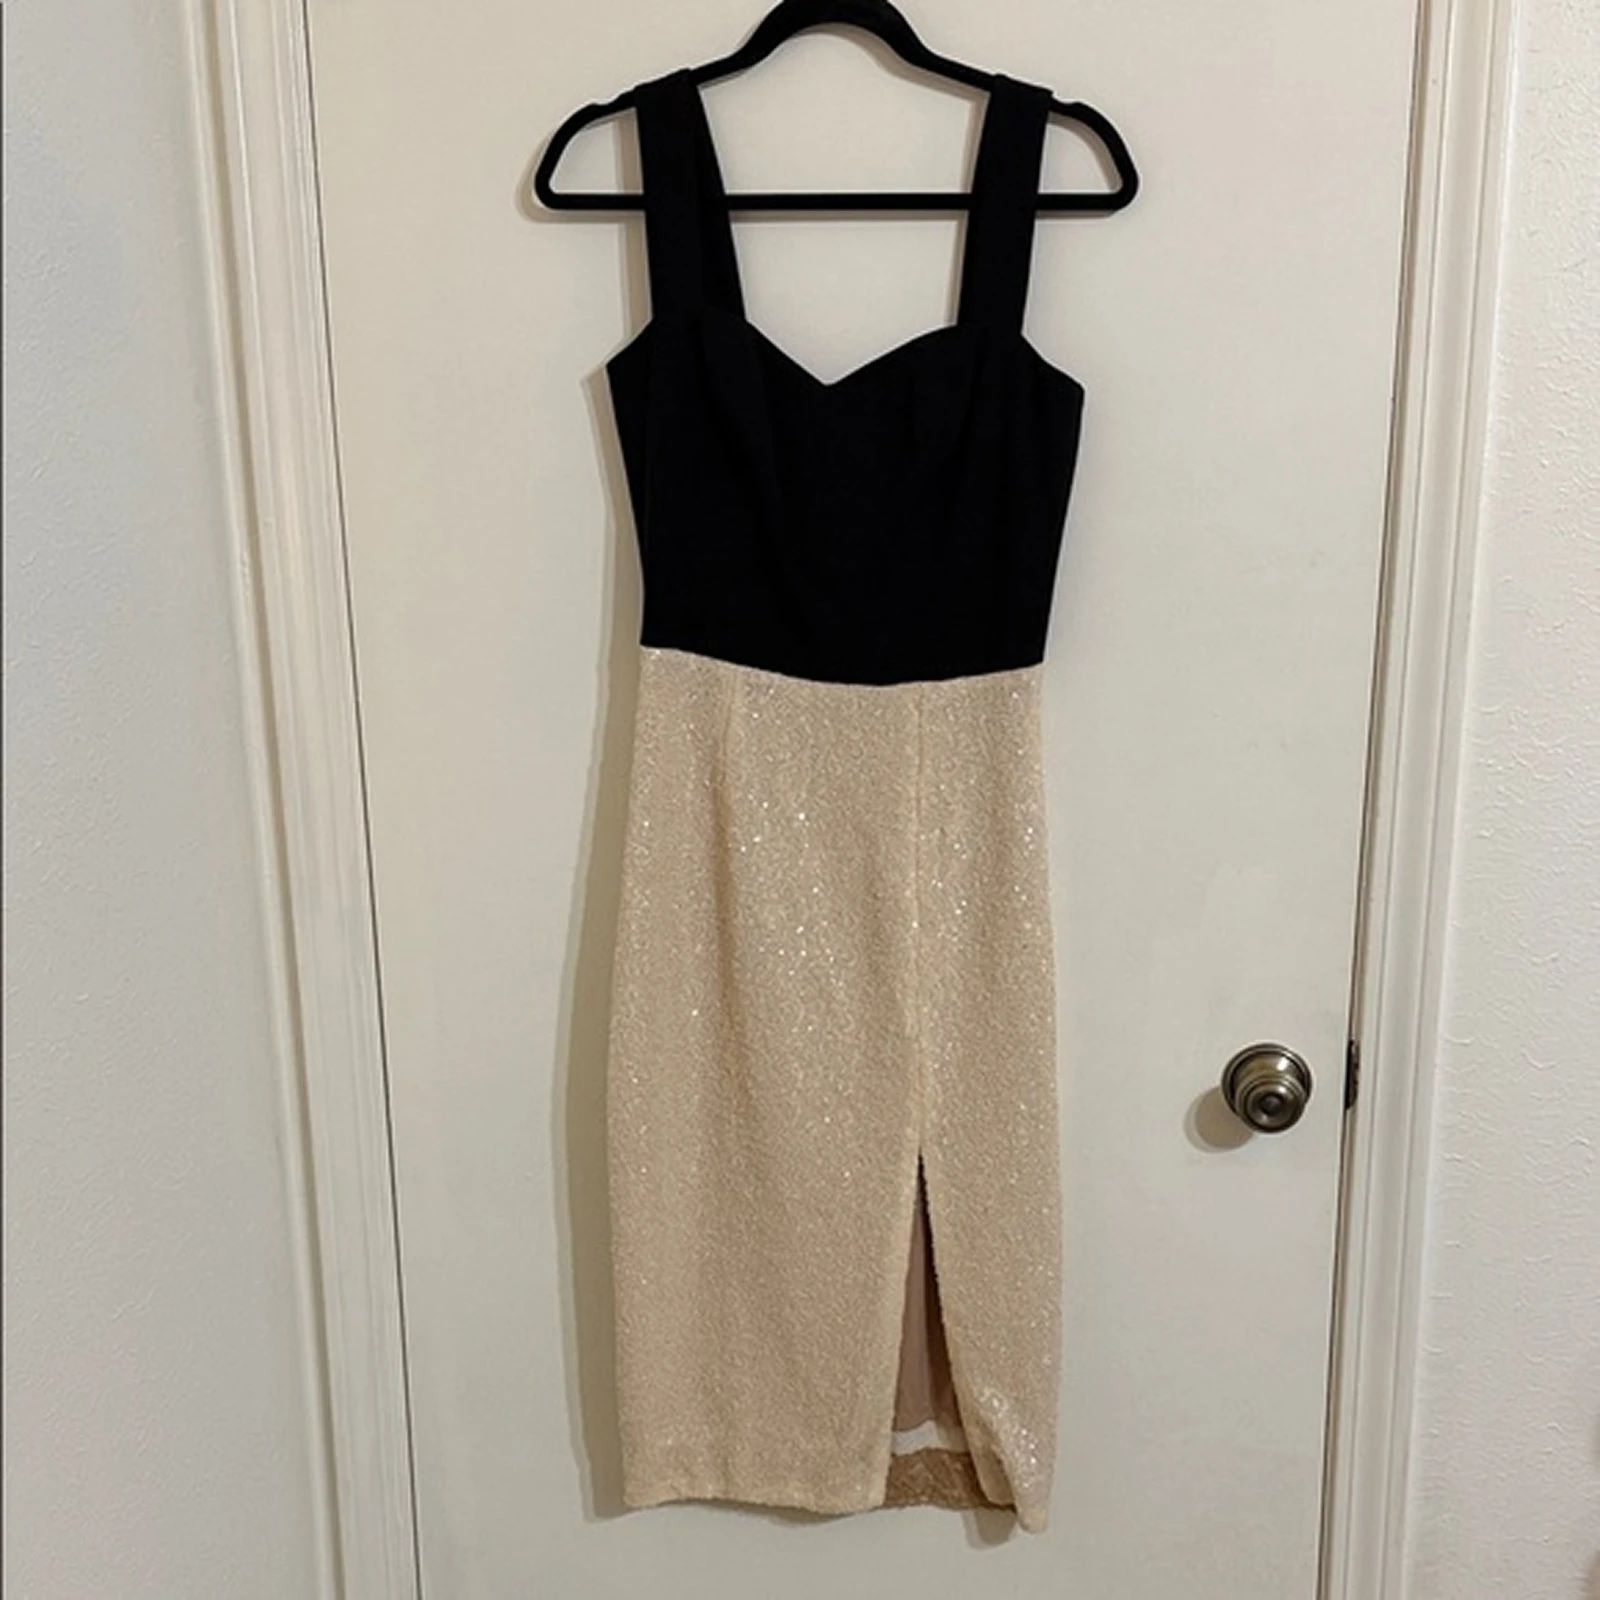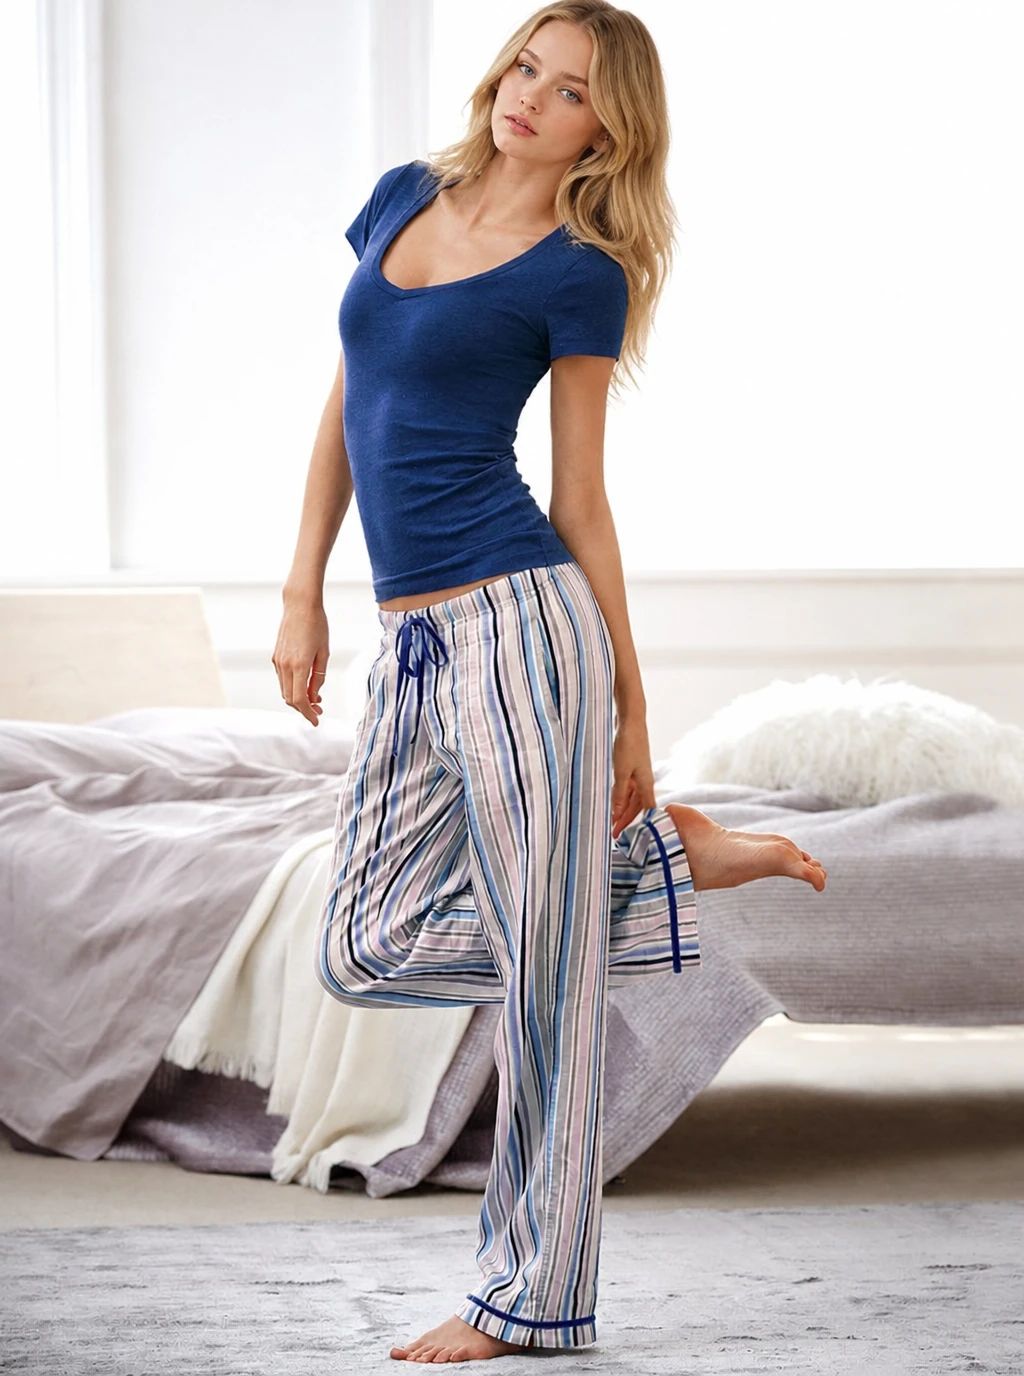


Handbag Styling on a Fashion Model: Before and After
See handbag before-and-after photos with Fashion Model. Explore the workflow, find inspiration and create similar visuals with your own product.
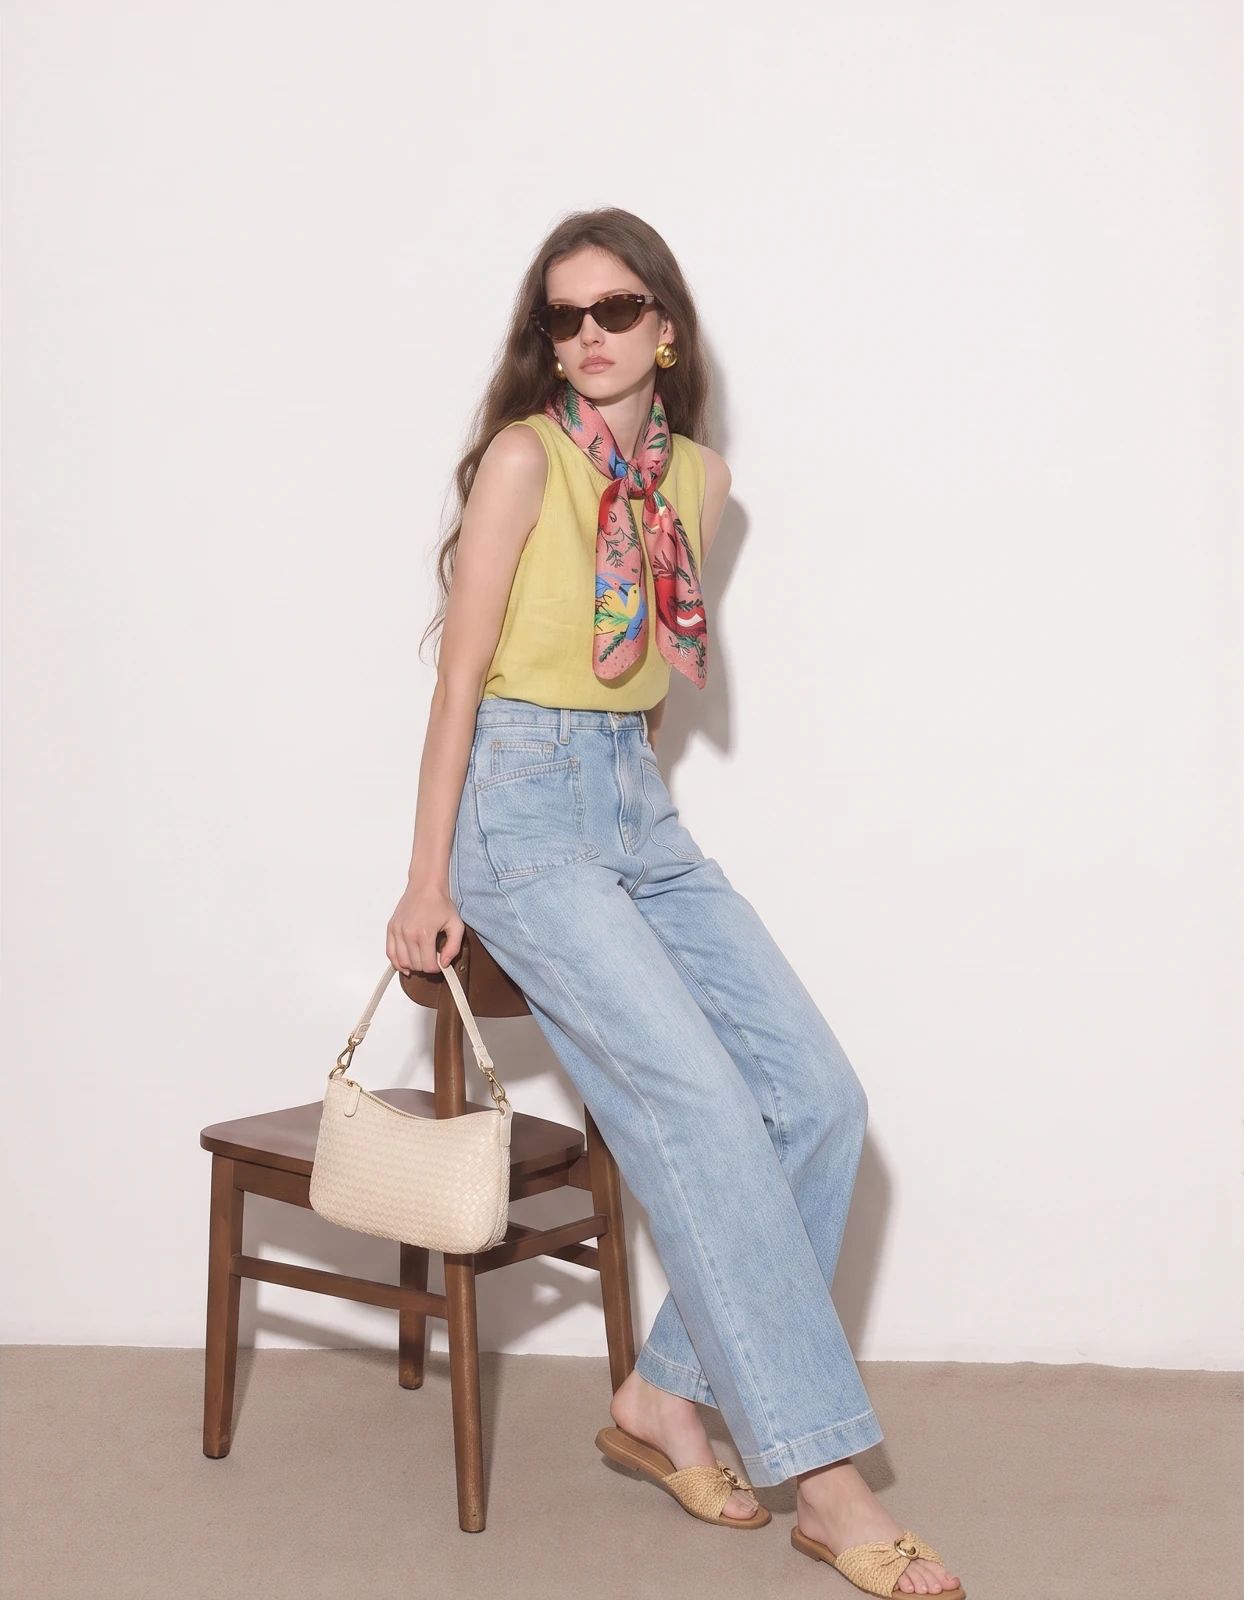
OriginalSnappyit result
How to try Fashion Model workflow
01
Prepare your handbag styling photo
- Open the Fashion Model with your own product image.
- Use a clear image of the bag and any outfit pieces you want represented; avoid overlapping the handles or bag opening.
- Keep the complete garment or accessory in frame and use even lighting so its construction is easy to read.
- The original in this example illustrates the product information your source should include; use your own item to create a similar direction.
02
Choose a model and styling direction
- Select a suitable model template, or upload your own template where the tool supports it.
- Choose a casual full-length pose with the handbag beside the model, keeping both the outfit and carrying position readable.
- Consider pose, background and framing together so the product stays visible.
- Generate the image, then compare the result with your source rather than assuming the styling alone represents the product accurately.
03
Review the handbag styling result
- Compare bag shape, handle length and carrying position, as well as the outfit pieces included in the source.
- Check the original and generated image side by side at full size.
- Inspect the product details that a shopper uses to identify the item, along with its proportions and placement on the model.
- Download a representative result, or adjust the input and model direction if the clothing or accessory changes.
Start with a photo you already have
Explore Snappyit’s photography tools or create product images on your phone.