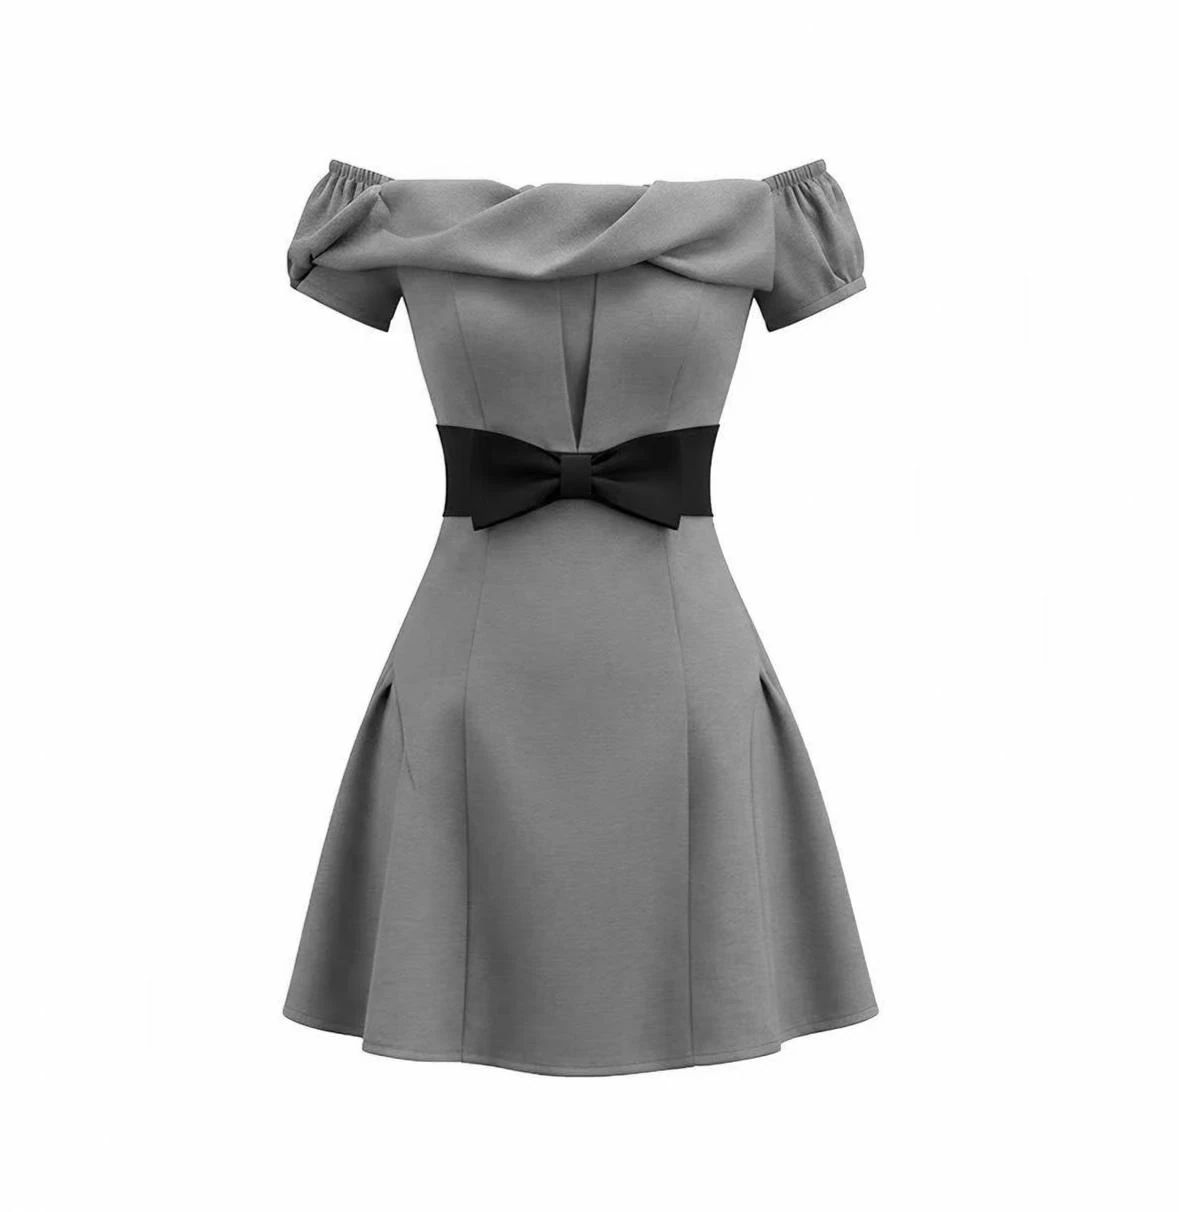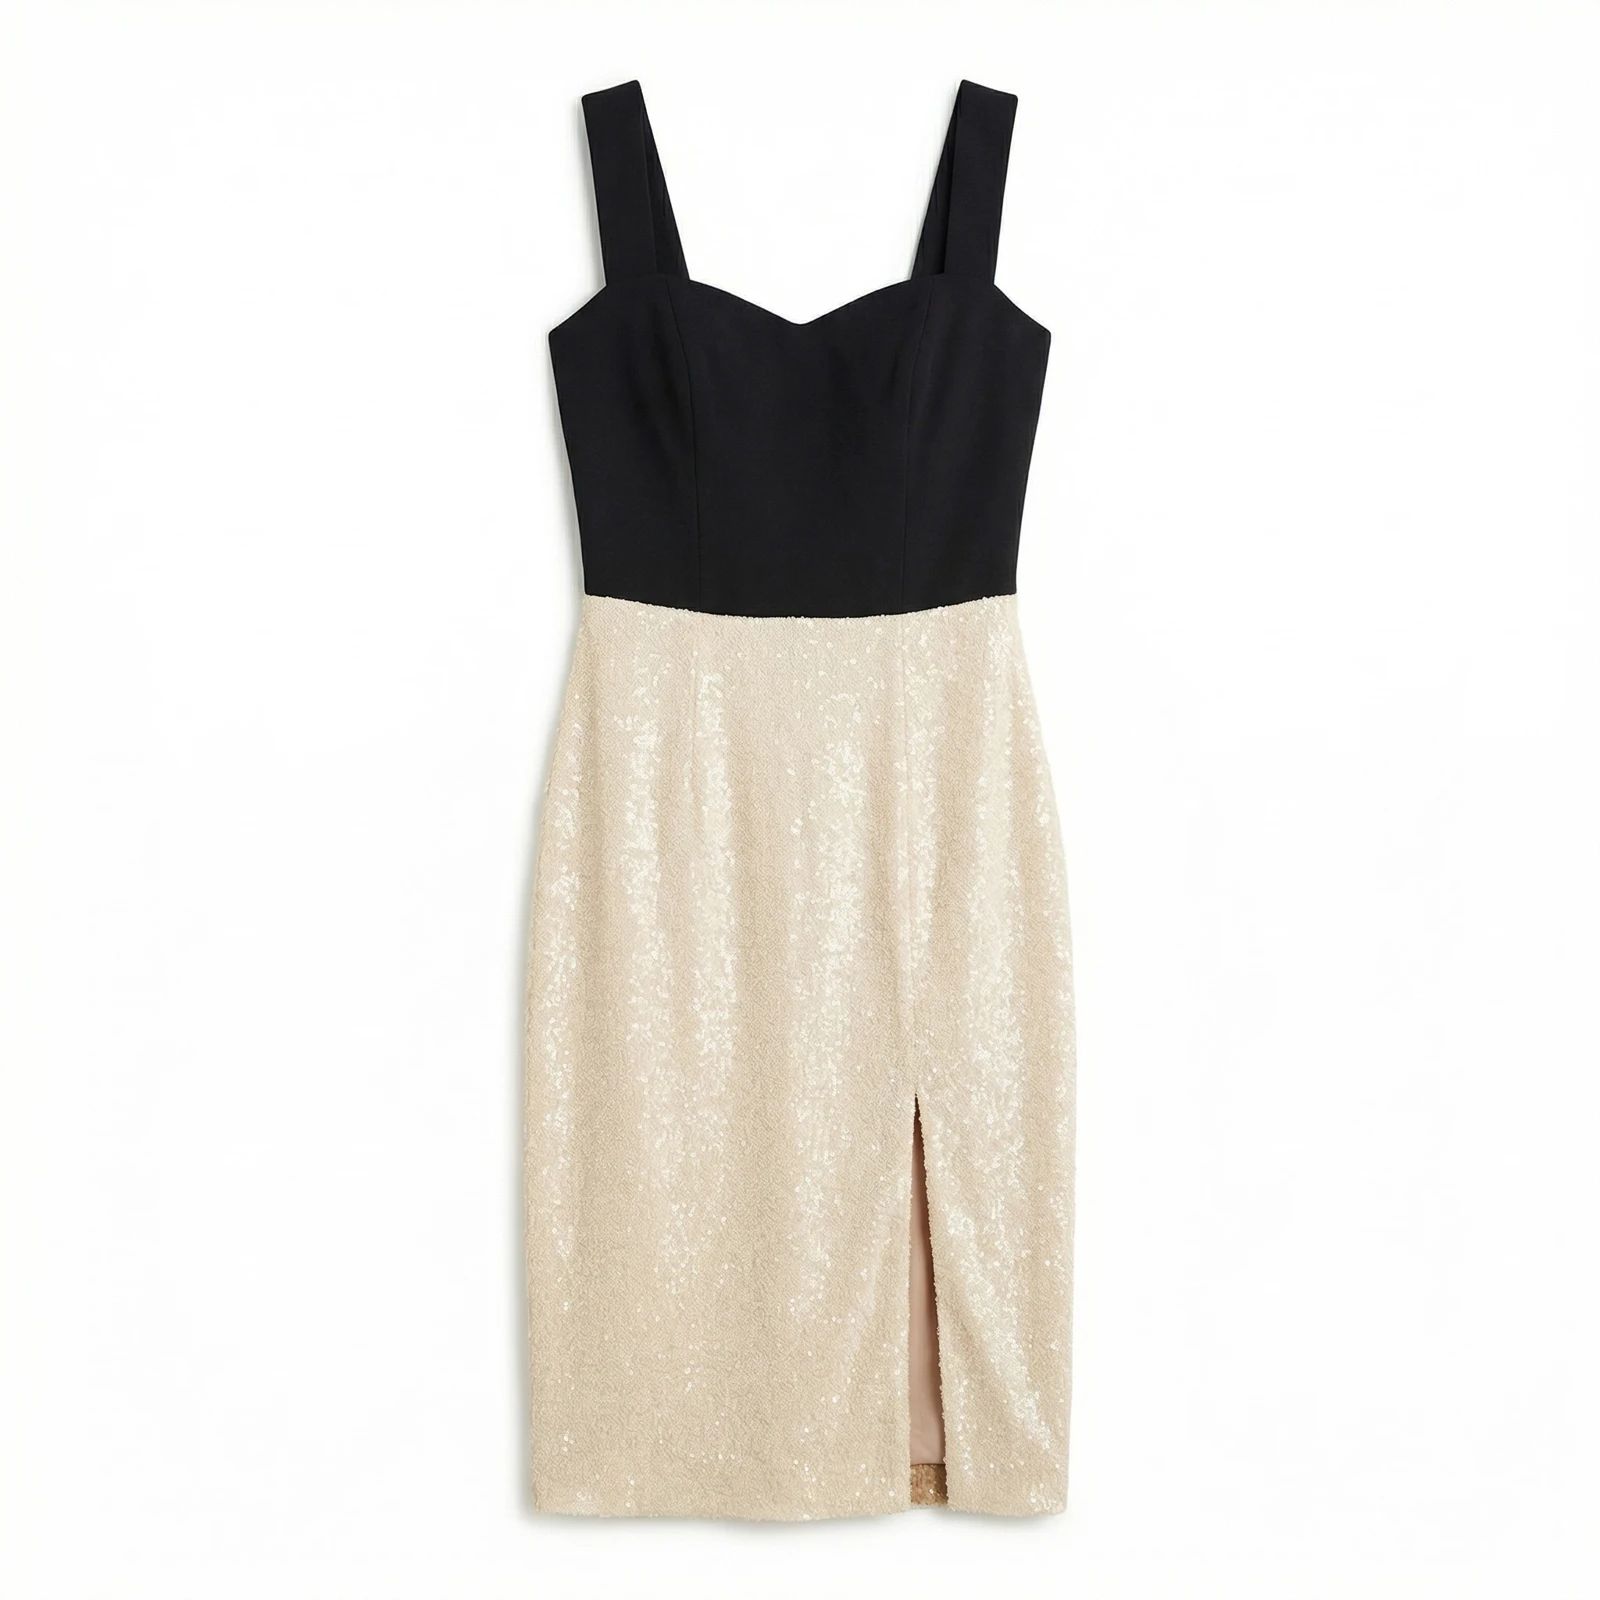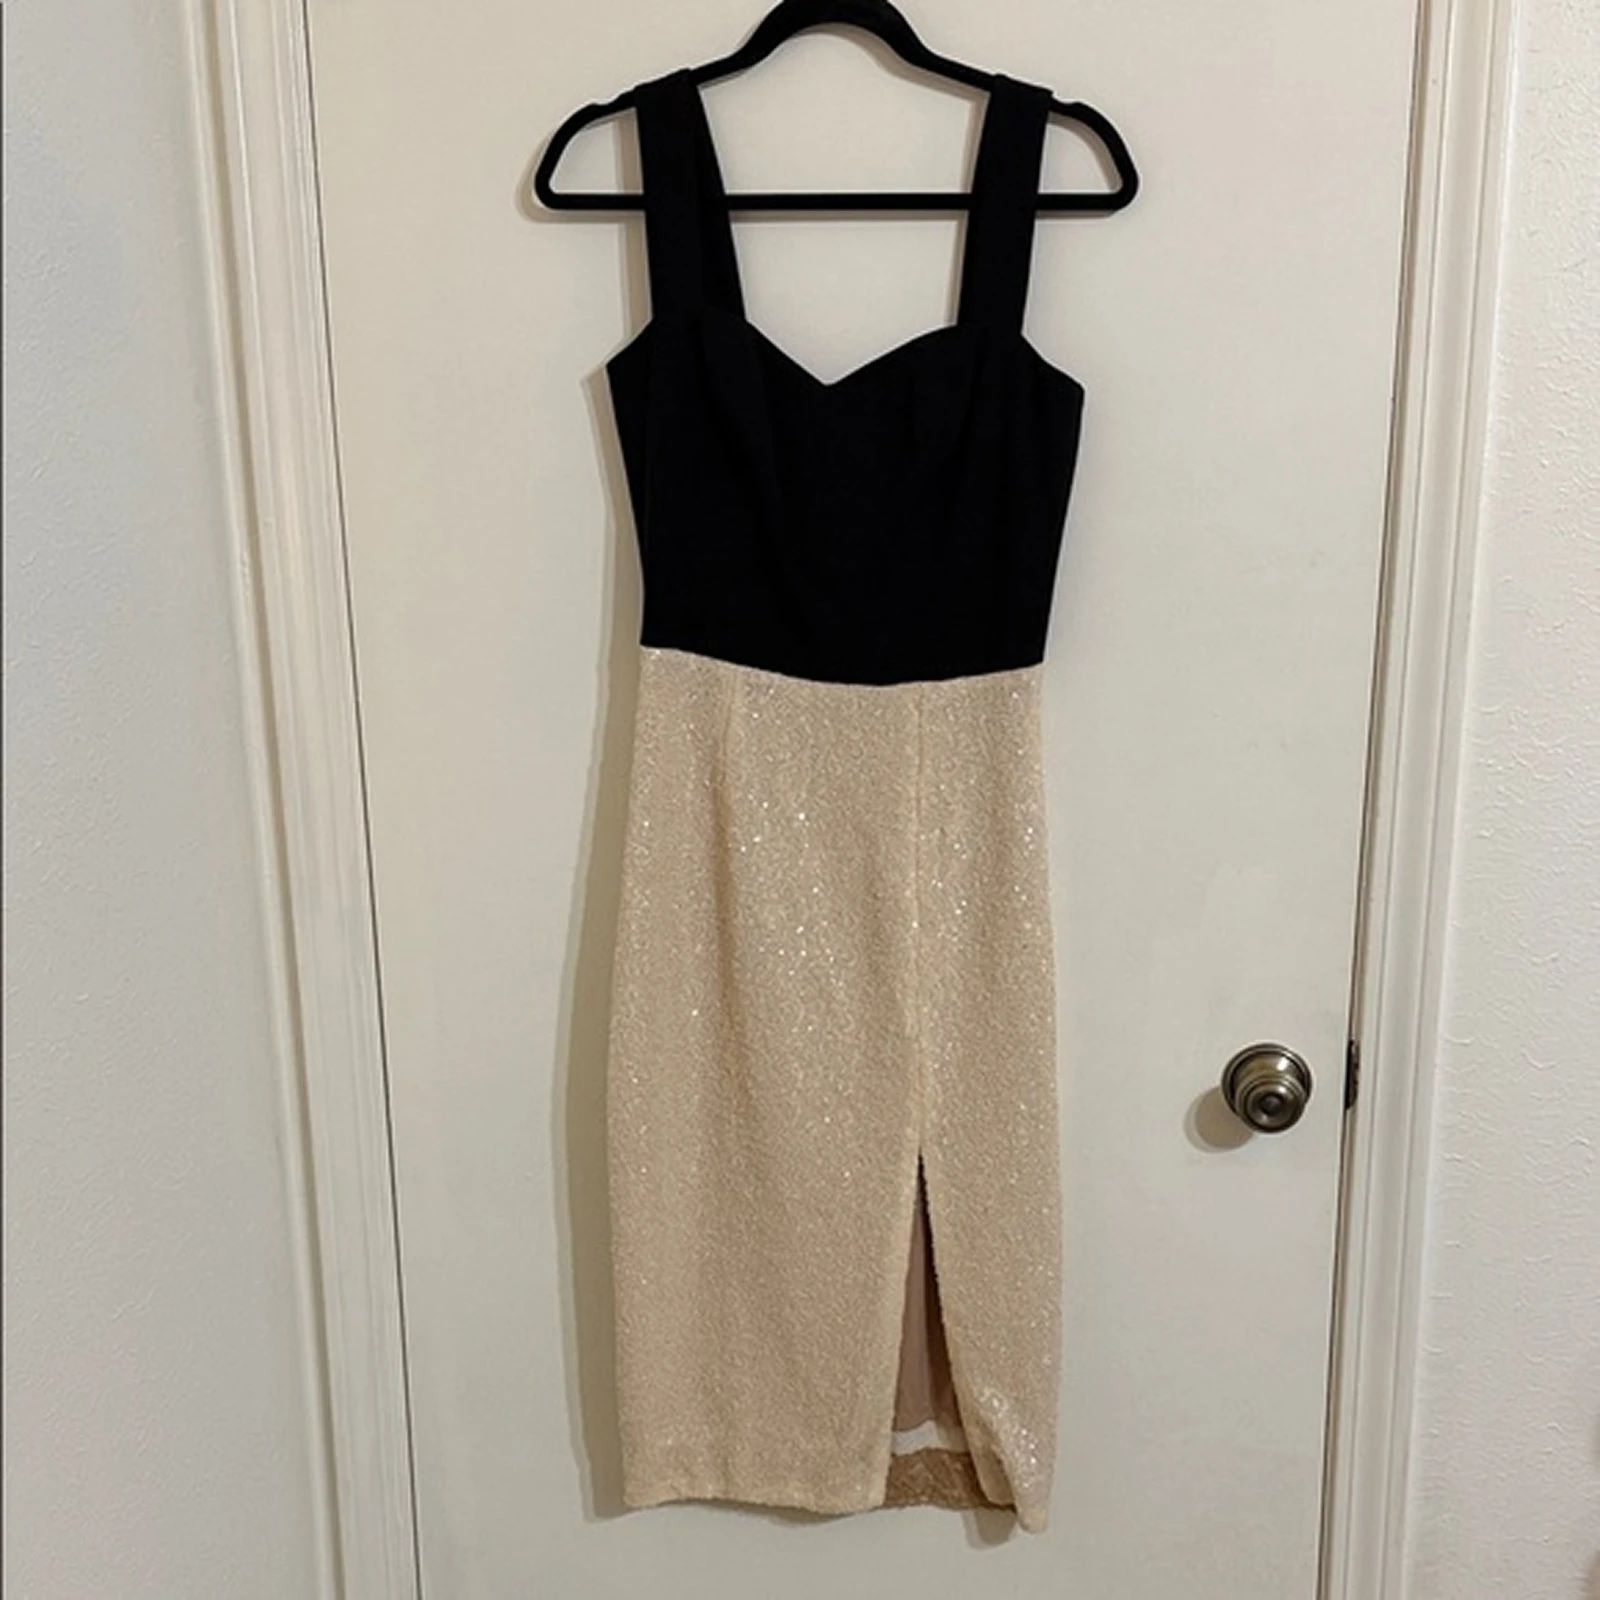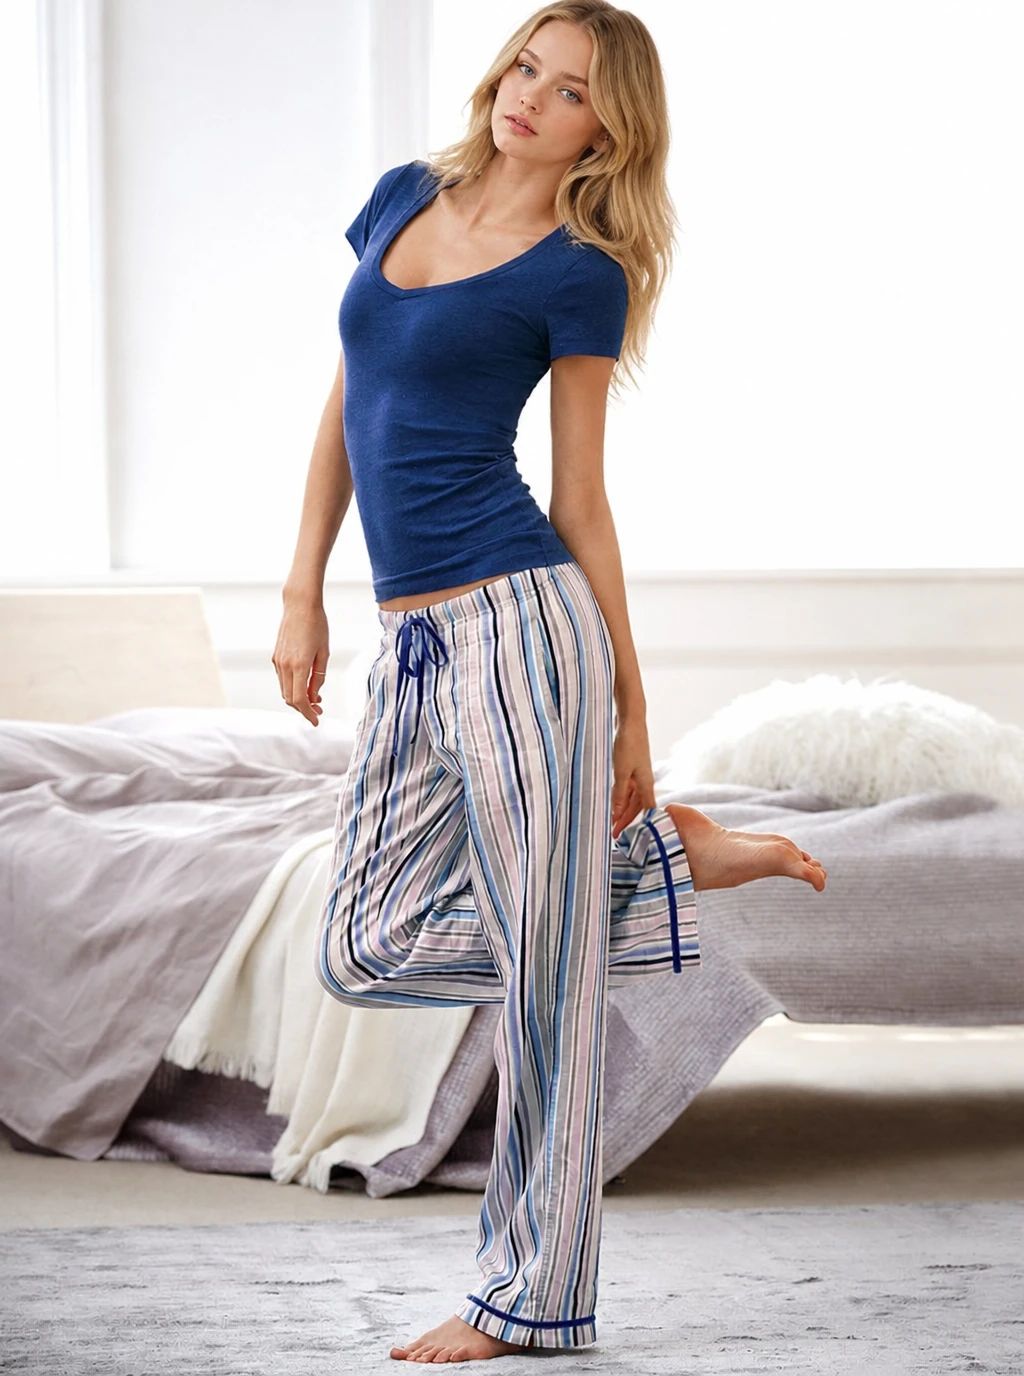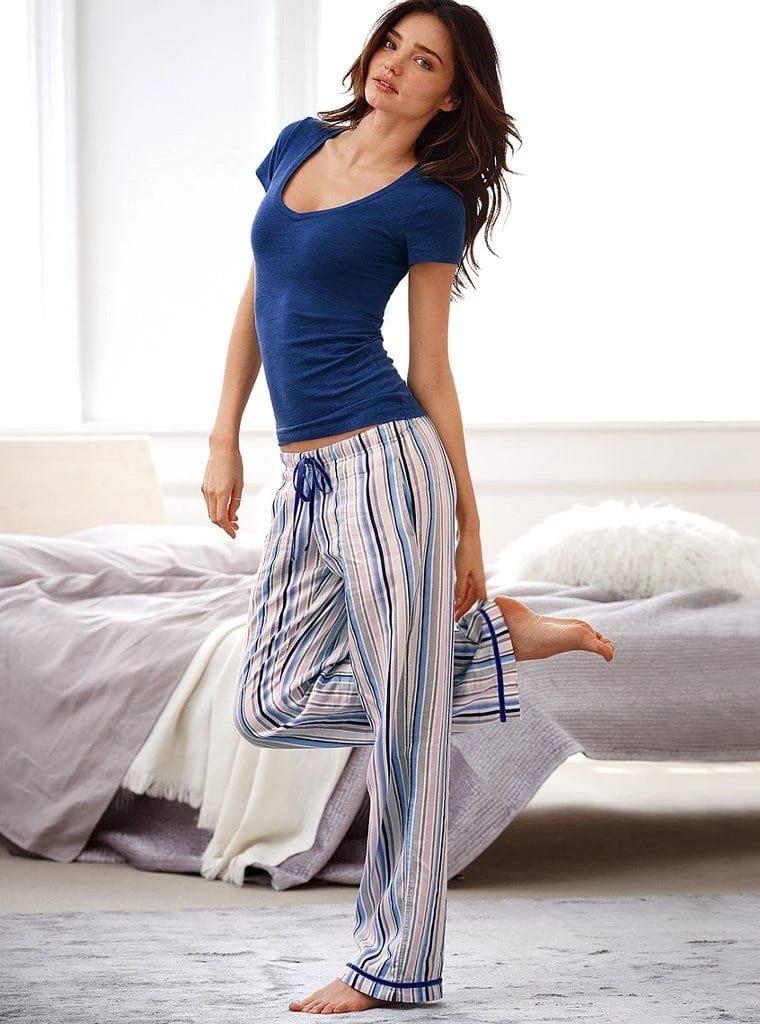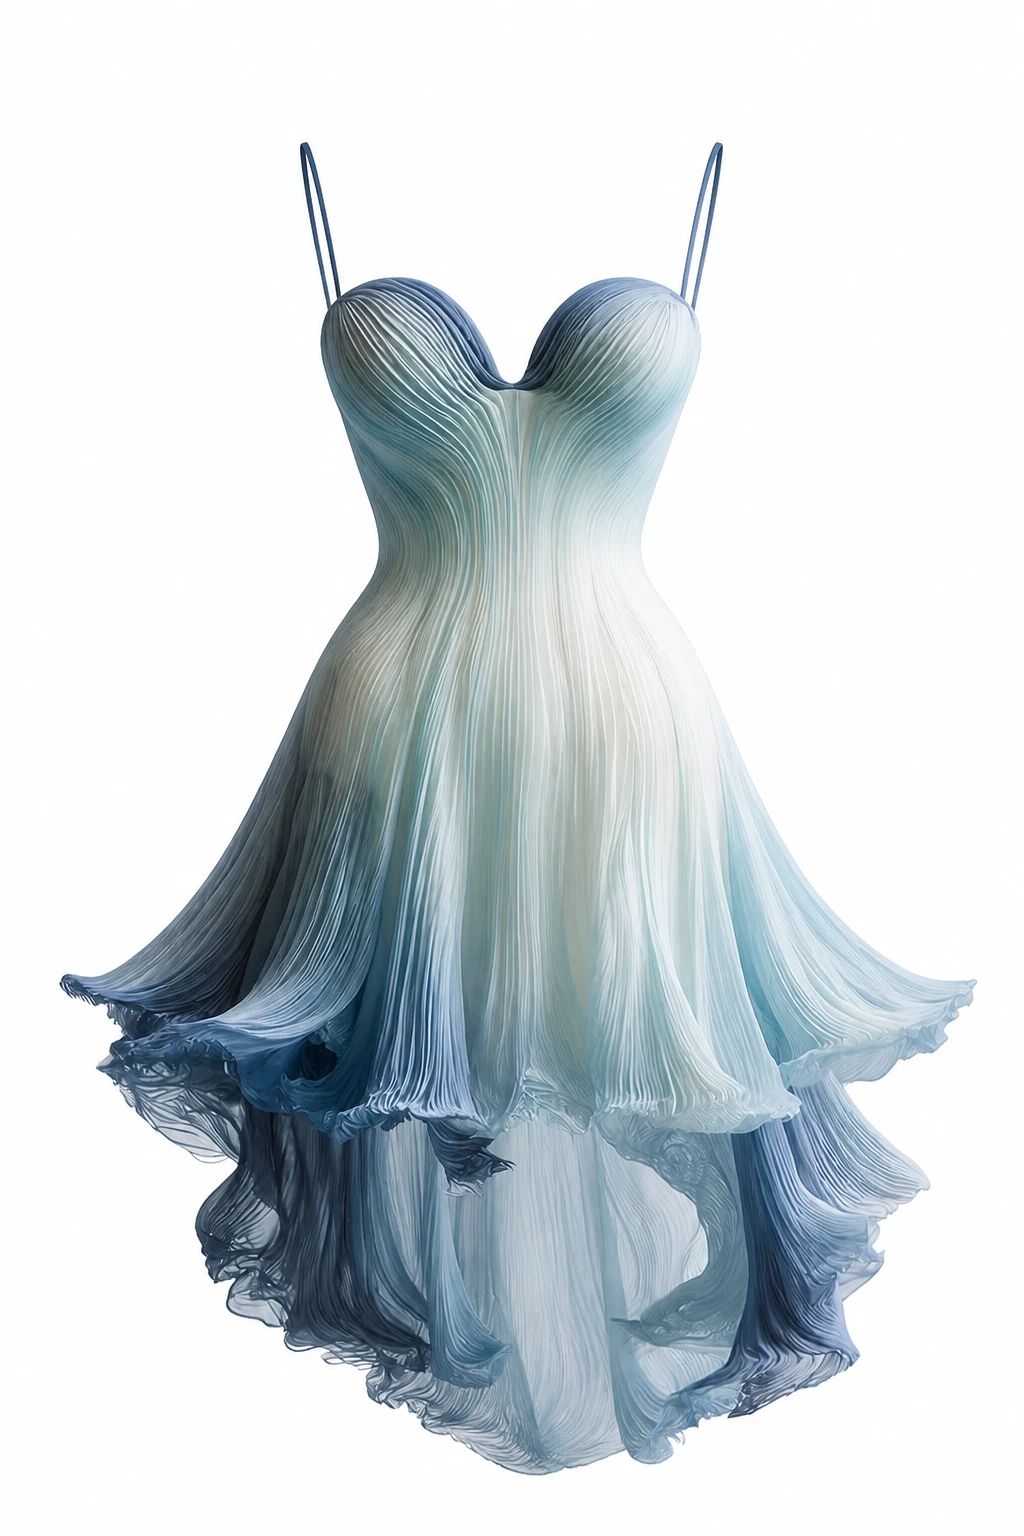
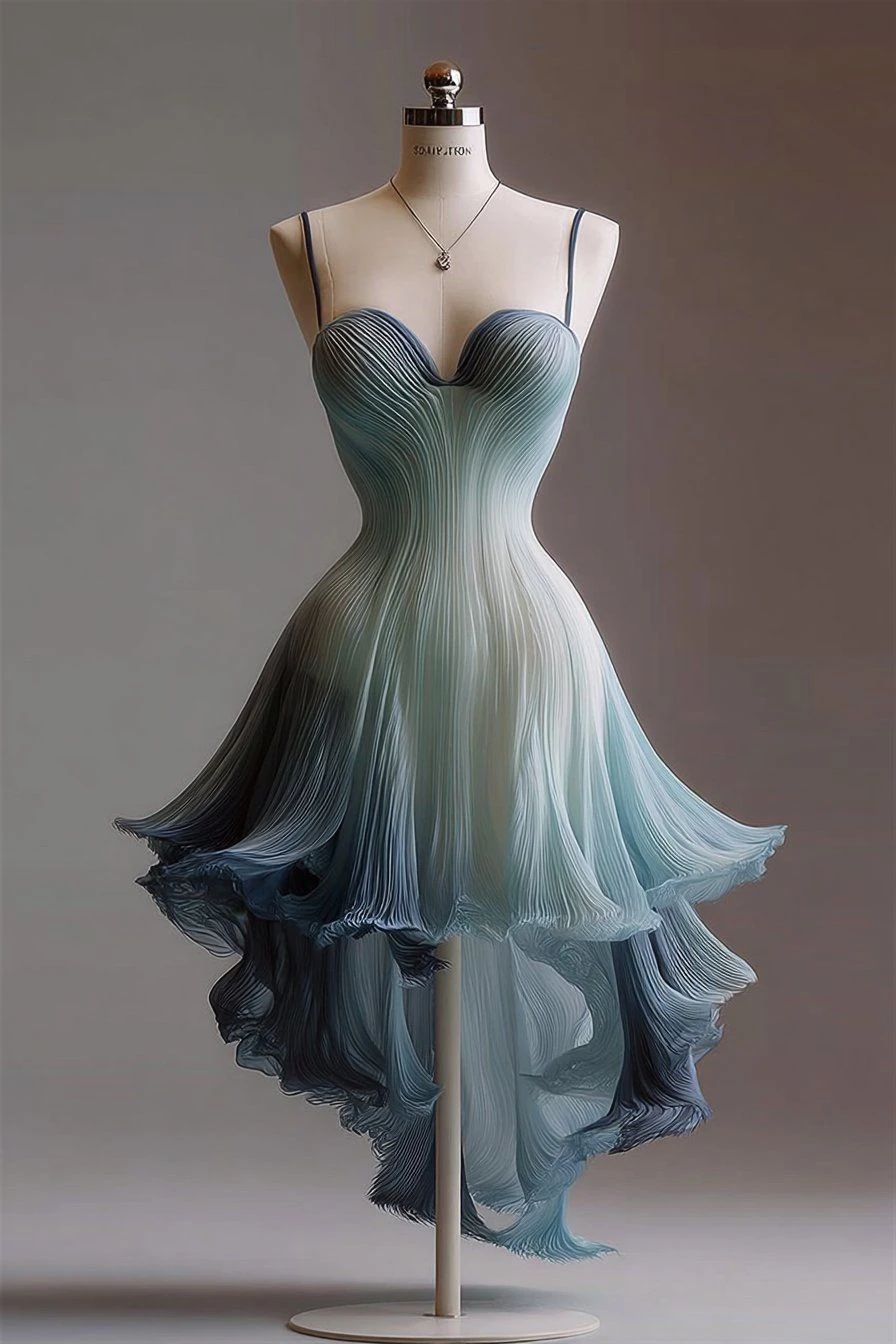


Dress on a Plus-Size AI Model: Before and After
See plus-size dress before-and-after photos with Fashion Model. Explore the workflow, find inspiration and create similar visuals with your own product.
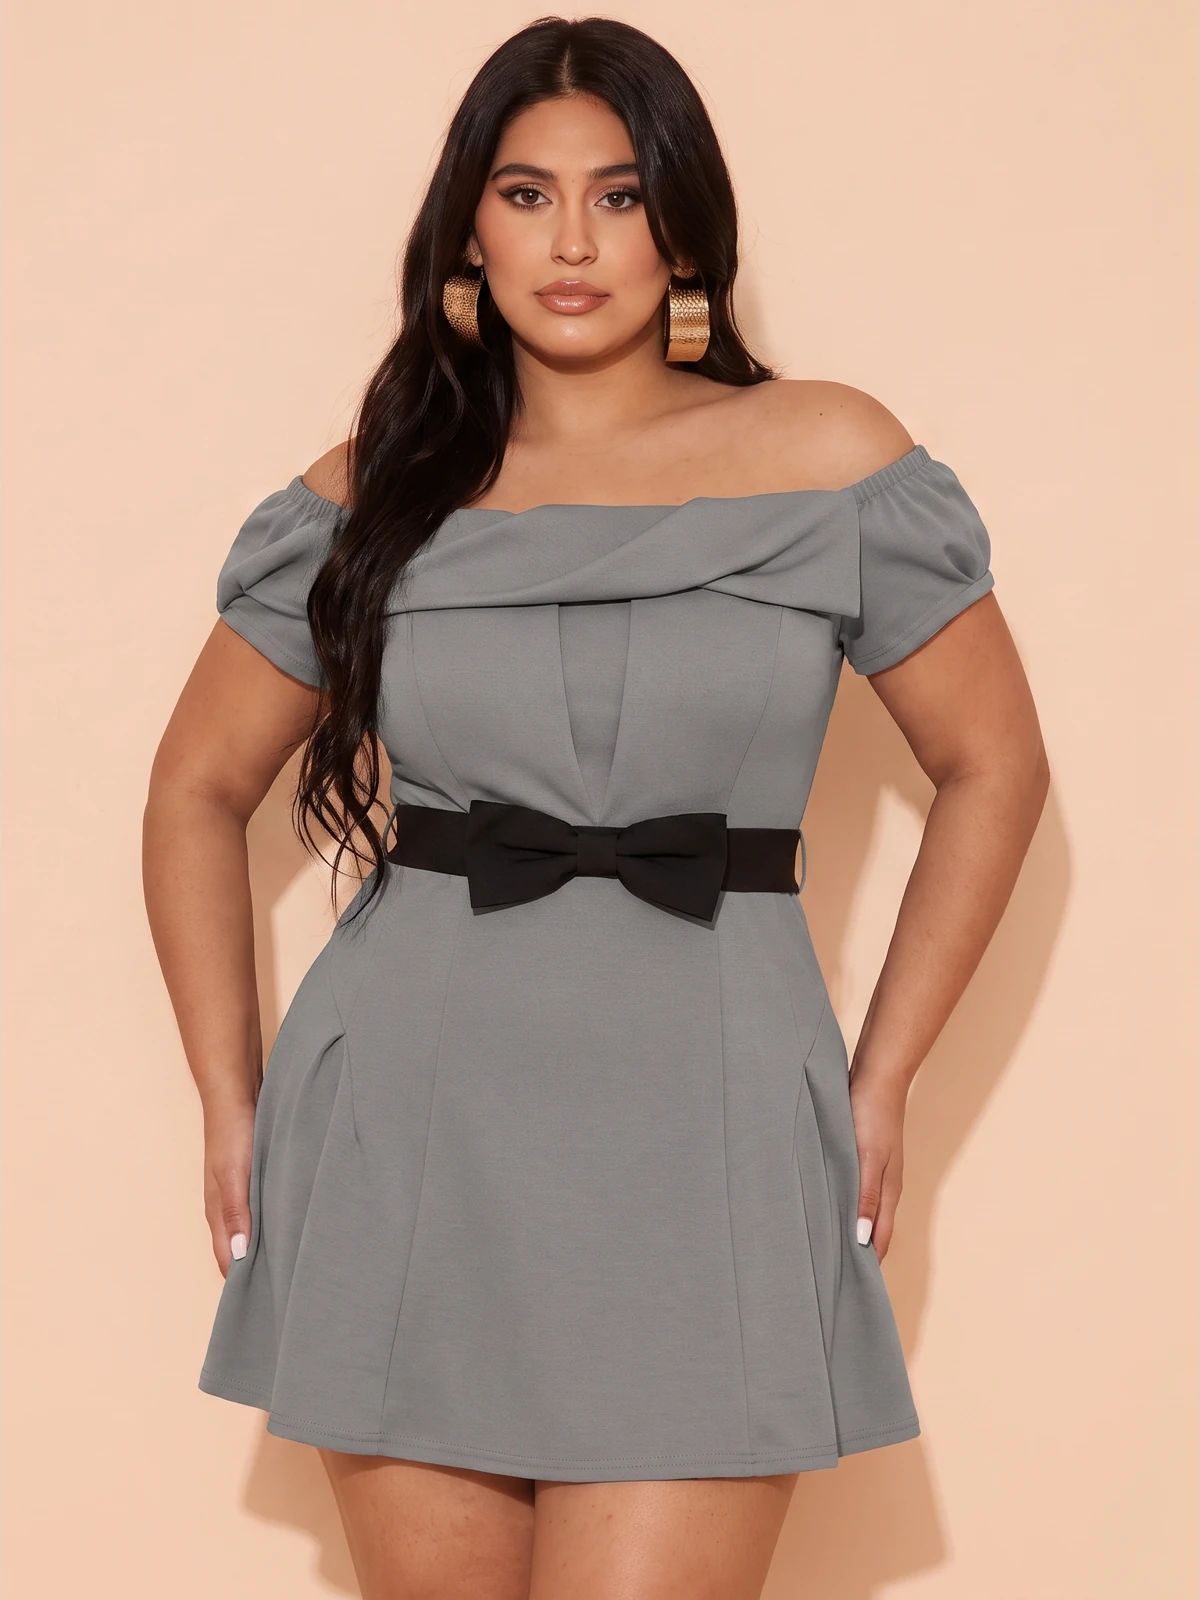
OriginalSnappyit result
How to try Fashion Model workflow
01
Prepare your plus-size dress photo
- Open the Fashion Model with your own product image.
- Use a complete dress photo with the neckline, sleeves, waist bow and hem visible, avoiding folds that obscure the construction.
- Keep the complete garment or accessory in frame and use even lighting so its construction is easy to read.
- The original in this example illustrates the product information your source should include; use your own item to create a similar direction.
02
Choose a model and styling direction
- Select a suitable model template, or upload your own template where the tool supports it.
- Choose a plus-size model template and a front-facing or lightly angled pose that shows the dress outline and waist detail.
- Consider pose, background and framing together so the product stays visible.
- Generate the image, then compare the result with your source rather than assuming the styling alone represents the product accurately.
03
Review the plus-size dress result
- Compare neckline, sleeves, waist bow and hem.
- Treat apparent fit as a visual presentation, not a sizing measurement.
- Check the original and generated image side by side at full size.
- Inspect the product details that a shopper uses to identify the item, along with its proportions and placement on the model.
- Download a representative result, or adjust the input and model direction if the clothing or accessory changes.
Start with a photo you already have
Explore Snappyit’s photography tools or create product images on your phone.