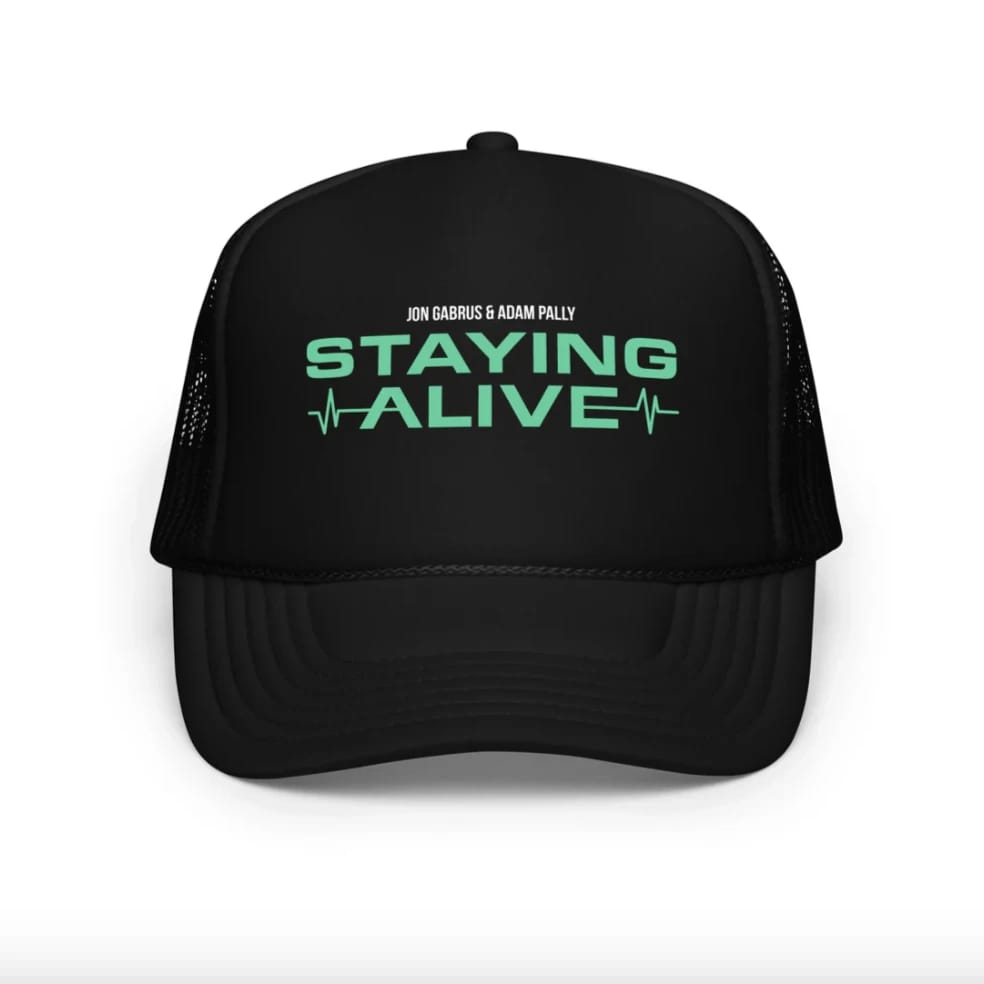


Press-On Nails: Studio Photography Before and After
See press-on nails before-and-after photos with Studio Photography. Explore the workflow, find inspiration and create similar visuals with your own product.
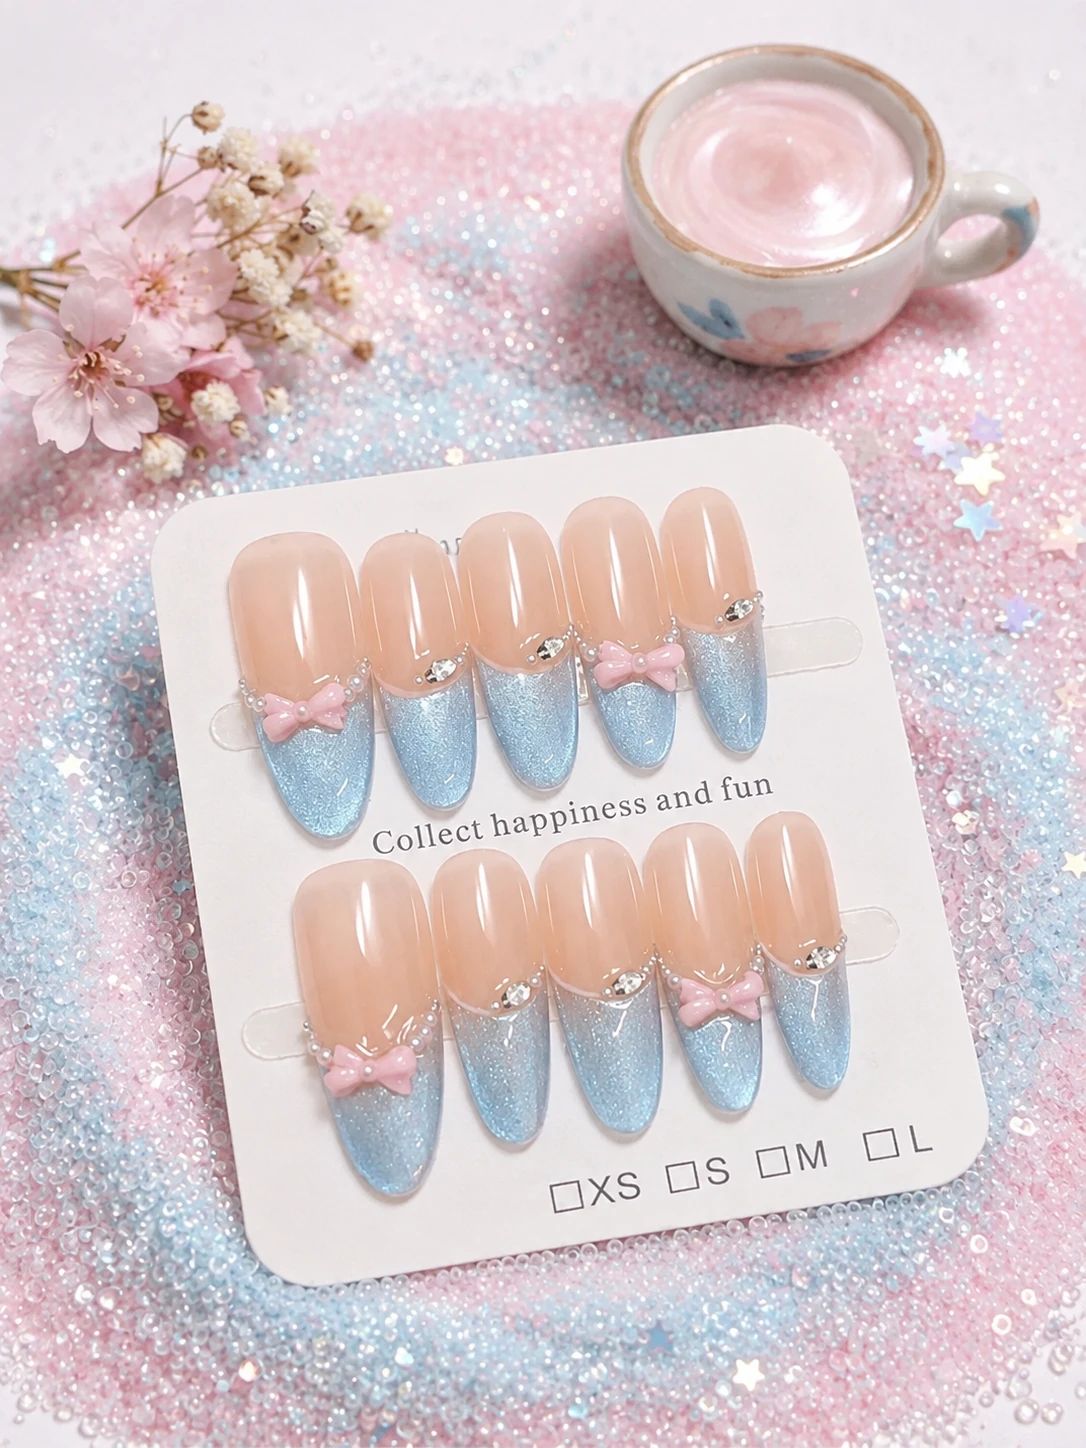
OriginalSnappyit result
How to try Studio Photography workflow
01
Prepare your press-on nails photo
- Open the Studio Photography with your own press-on nails photo.
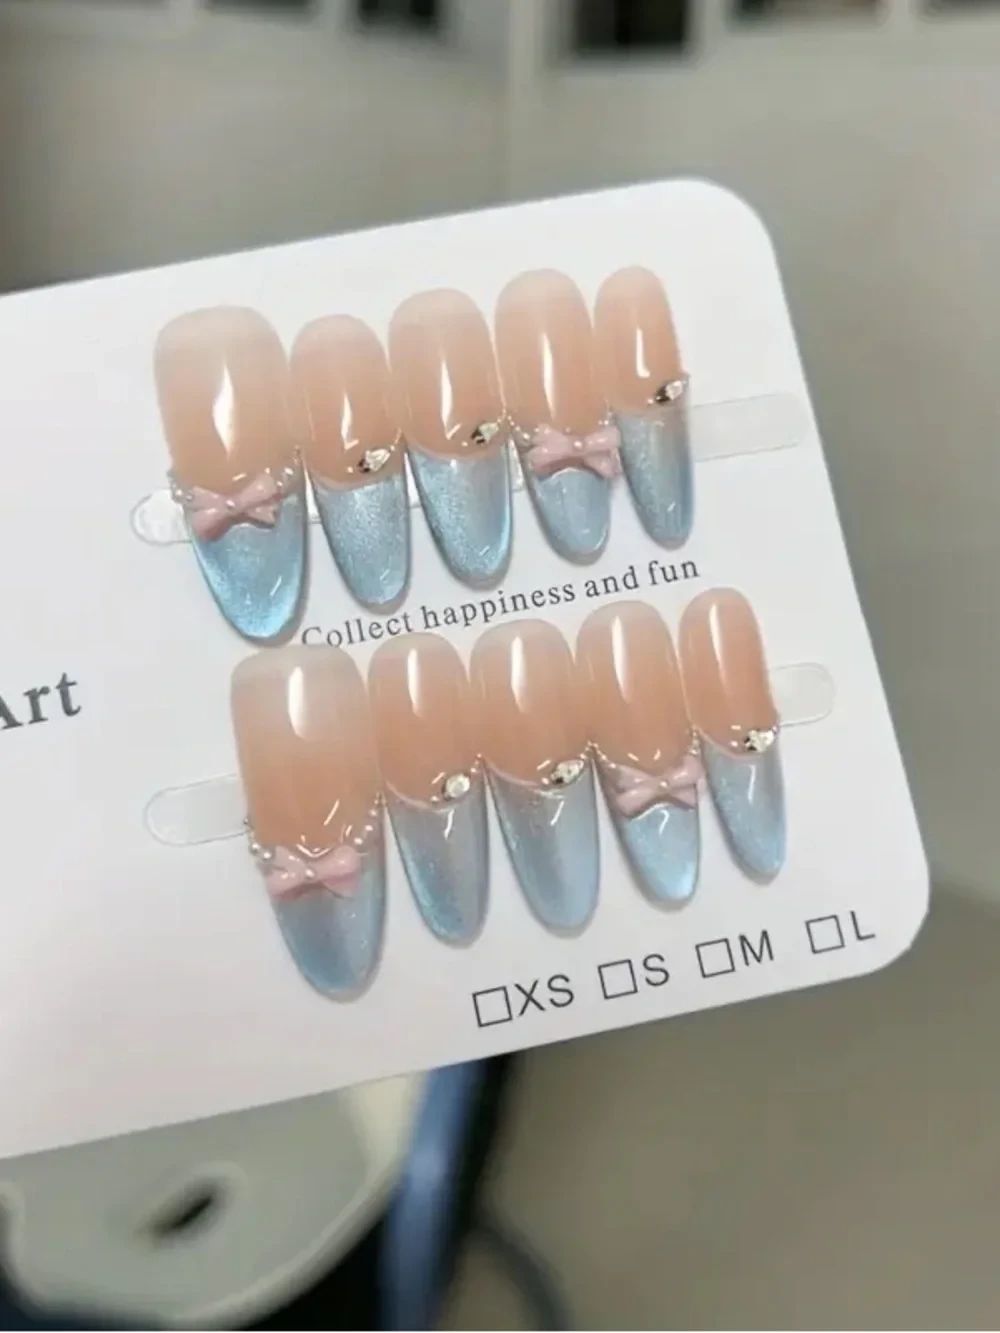
- Capture the entire nail display card, keeping each nail and bow detail visible.
02
Set the output size and studio direction
- Choose Output Size.
- Use the optional Additional Information field to describe the presentation you want, such as a clean product shot or a styled scene.
- Select Generate to create a studio-style image from your uploaded product photo.
- For a result in the direction of this press-on nails example: Describe a pastel display scene while keeping the card and nail arrangement as the main subject.
03
Review the press-on nails result
- Count the visible nails and compare their shape, colors, bow details and placement on the card.
- Download when it accurately represents your item; adjust the source or settings and generate another version if important details differ.
Start with a photo you already have
Explore Snappyit’s photography tools or create product images on your phone.