What You Need (One Phone Photo) and What You Get (a Full-Res Clean Cutout, Free)
To remove the background from clothing photos, you need exactly one input: a photo of the garment. Flat lay, hanger, mannequin, or on-model — all work, and a phone camera is plenty. Two shooting habits make the AI's job dramatically easier: even, indirect light so no harsh shadows hug the garment edge, and a background that contrasts with the garment — a white blouse on a dark floor, a black dress on a pale wall.
The output you should expect from a genuinely free workflow: a full-resolution PNG of the garment alone, transparent or on solid white, with edges clean enough to survive a marketplace zoom. Most "free" background removers quietly fail one of those tests. As of June 2026, here is the honest state of the popular free tiers (pricing changes often — verify on the live pricing pages):
| Tool (free tier, as of June 2026) | Free download? | Resolution on free | Manual edge brush? | Login required? |
|---|---|---|---|---|
| Snappyit free background remover | Yes, watermark-free | Full resolution, up to 4096 x 4096 | Yes — green keep / red remove | No |
| remove.bg | Preview only, account required | 0.25 MP (~625x400); full-res ~1 credit (~$1.99) | No manual refine brush | Yes, even for the preview |
| Clipping Magic | No — on-screen preview only | None free; full-res needs a paid subscription | Excellent, but paid | Yes, plus active subscription |
| Photoroom | Yes, until a monthly export limit | HD is Pro-only; free reportedly capped ~1500 px | Yes — erase/restore on free | Varies by feature |
| Canva | No — background remover is a Pro feature | Pro only | Pro only | Yes |
This guide uses Snappyit's free background remover for the walkthrough — full disclosure, it is our tool — because it is the only one in that table combining a free full-resolution export with a manual refinement brush, and clothing edges need both.
Step-by-Step: Remove a Clothing Background in the Free Tool
The whole flow takes under two minutes for a simple garment, maybe five for a lace-heavy one.
- Open the tool. Go to snappyit.ai/free-tool/background-remover. No account, no email, no credit card — the editor loads directly in your browser.
- Upload your photo. Drag and drop or click to browse. JPG, PNG, and WebP are accepted, up to 4096 x 4096 pixels. Upload the largest version you have; the export will match it.
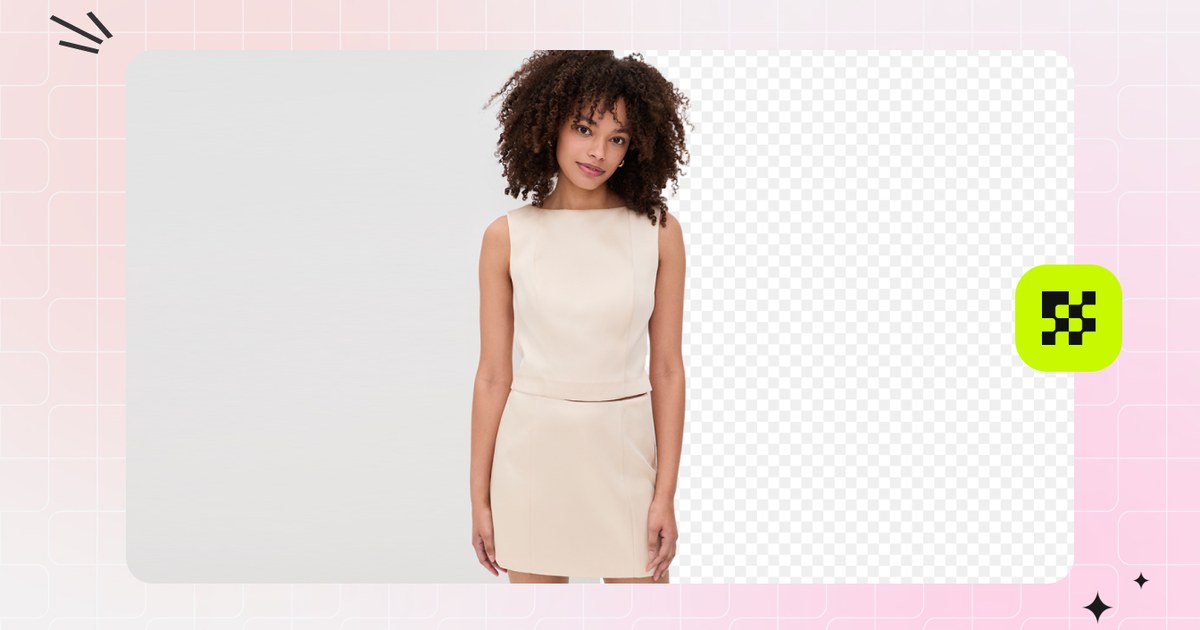
- Let the AI auto-cutout run. The model isolates the product subject and builds soft alpha edges — partial transparency at the boundary instead of a hard jagged line. For most garments this alone is listing-ready.
- Inspect at zoom. Scroll to zoom, hold
Shiftand drag (or pressH) to pan, and pressDto toggle the edge line. Check the usual suspects: hems, straps, armpit gaps, and anywhere the garment color resembled the background. - Refine with the brushes. Paint green to keep (restore garment the AI removed) and red to remove (delete background it kept). The cutout updates instantly with every stroke.
- Export. Download a full-resolution PNG with a transparent background, or solid white (or any custom color) if your channel demands it. No watermark either way.
Try it on a clothing photo — free, no signup
For basics — tees, jeans, knitwear with clean silhouettes — you can stop reading here. The rest of this guide is for the edges that make fashion sellers swear at one-click tools.
The 5 Hardest Clothing Edges — and How to Fix Each with the Brush
First, why these fail. Automatic removers use alpha matting: a model predicts per-pixel opacity, but it is trained to find one continuous boundary between subject and background. Clothing breaks that assumption constantly — lace has hundreds of interior holes, mesh is semi-transparent everywhere, fur and fringe are forests of thin strands. When the assumption breaks, the model averages everything into a mushy halo or makes a binary call that is wrong half the time. A keep/remove brush fixes this because you supply the judgment; the AI still handles the per-pixel edge softness.
1. Lace trim and lace panels
Why it fails: every hole in the lace should show background through it, but the matting model sees garment-colored thread surrounding each hole and usually keeps the background trapped inside — or, if it is aggressive, eats the scalloped edge entirely.
The fix: zoom to 200-300% on the lace edge. Use a small red brush (tap [ a few times) to punch out background trapped in the larger holes, and green to restore any scallops the AI clipped. Do not chase every pinhole — at listing display size, holes smaller than a few pixels read correctly anyway. Fix what you can see at 100% zoom and stop.
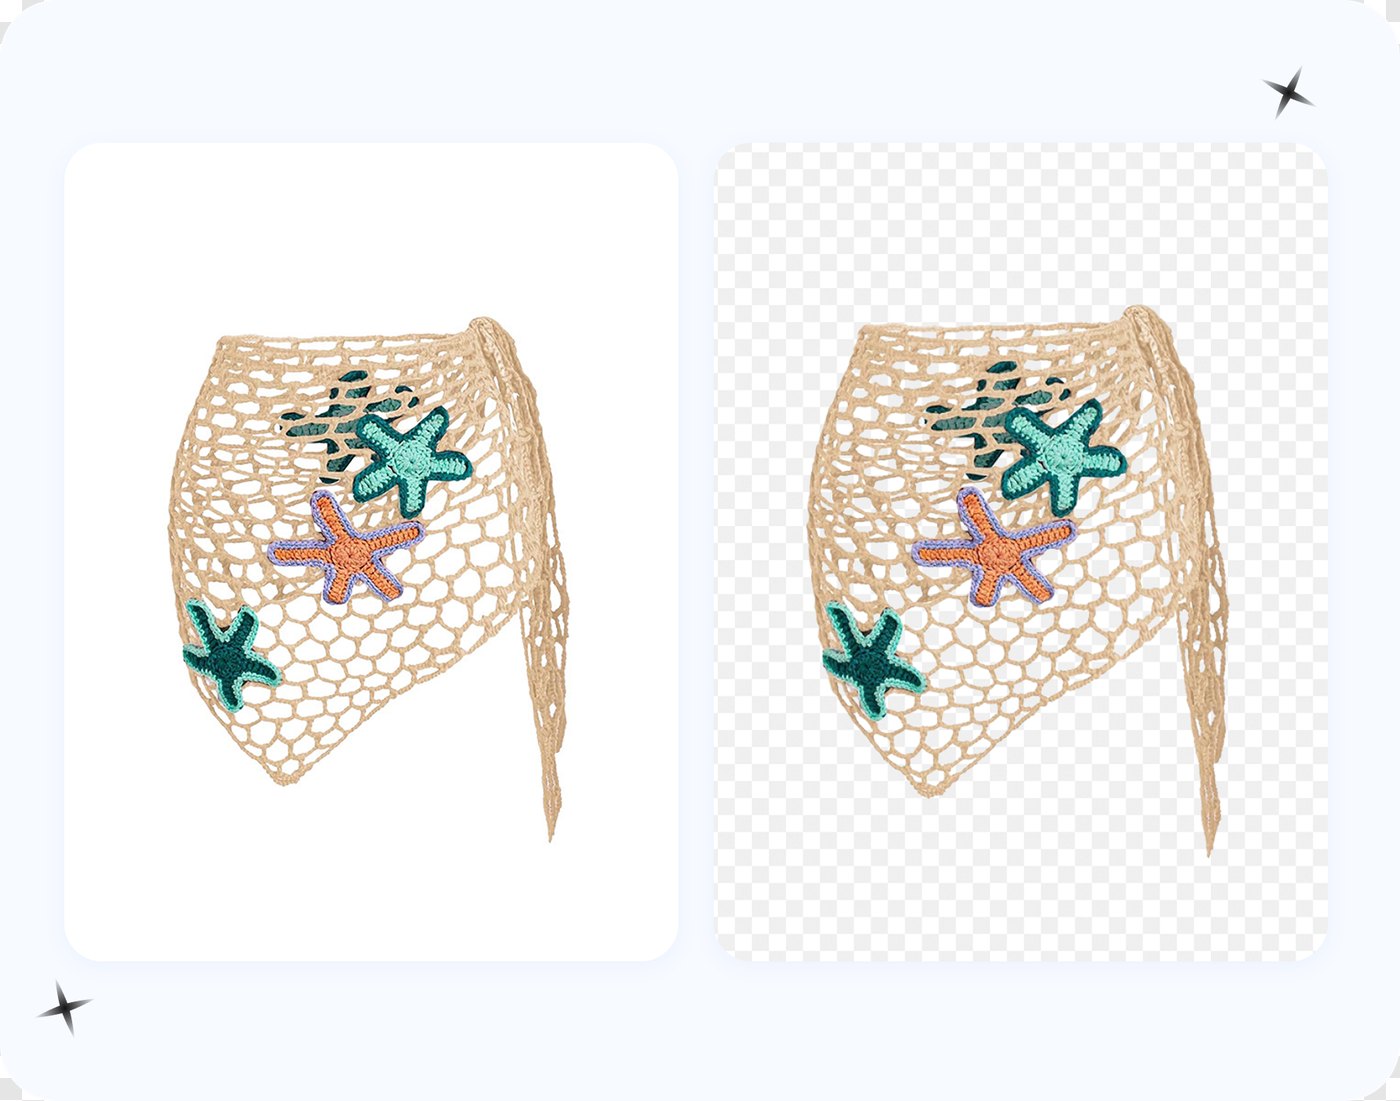
2. Sheer mesh
Why it fails: mesh is semi-transparent across its whole surface, not just at the edge. The model has to choose between treating the panel as solid garment (background ghosting through gets kept) or as background (your sleeve disappears). Both happen.
The fix: paint green across the entire mesh panel to declare it garment; the soft alpha edge handles the boundary. One honest caveat: a cutout cannot preserve true see-through behavior on a new background — the old background was part of what you saw through the mesh. Exporting onto white hides this completely, one more reason white exports are the marketplace standard for sheer garments.
3. Fur collar and shearling
Why it fails: hundreds of individual strands are below the resolution the matting model reasons at, so it averages them into a smooth, slightly transparent halo — the dreaded "wet cat" outline.
The fix: use a medium green brush and sweep outward from the collar in the direction the fur grows, restoring the strand zone the AI shaved off. Then toggle the edge line with D: you want the boundary running through the soft outer third of the fur, not hugging the dense base. A soft alpha fade at the strand tips looks natural; a hard crisp outline around fur is what screams bad Photoshop.
4. Fringe and tassels
Why it fails: regular hanging strands with background gaps between them get bridged into a solid slab, because the model prefers one continuous region over twenty thin ones.
The fix: the most mechanical of the five. Set a narrow red brush and stroke vertically between strands to reopen the gaps, flipping to green (tap Space) when a strand itself got eaten. The instant preview makes this fast — each stroke looks right immediately or you tap Z to undo. Budget two minutes for a fringed hem; it is the slowest case.
5. Flyaway hair on model shots
Why it fails: single hairs against a busy background are the classic alpha matting stress test. Against a clean wall, good models cope; against shelves or foliage, wisps vanish or drag background color along with them.
The fix: keep the hair mass with green and let the soft alpha handle the outer wisps. Individual flyaways crossing a busy zone are not worth saving — red-remove the strays. Buyers judge the garment, not the hairstyle; a clean head outline beats three rescued hairs and a smudge of leftover background.
Keyboard Shortcuts That Make Refinement Fast
Brush refinement is only fast if you never reach for a toolbar. The editor puts every brush control on the keyboard, so your left hand drives the tool while your right hand paints:
| Key | Action | When you use it |
|---|---|---|
Space |
Flip between green (keep) and red (remove) | Constantly — fringe and lace work alternates every few strokes |
[ / ] |
Decrease / increase brush size | Small for lace holes, large for mesh panels |
X |
Erase mode | Undo a brush stroke region without undoing everything |
H |
Move / pan tool | Repositioning while zoomed into an edge |
Z / Y |
Undo / redo | After any stroke that made things worse |
D |
Toggle the cutout edge line | Checking where the boundary actually runs on fur and hair |
Shift + drag |
Pan the canvas | Quick pans without leaving the brush |
| Scroll | Zoom in / out | Jumping between 100% sanity checks and 300% detail work |
A working rhythm: scroll to 250% at the worst edge, D to show the line, paint, Space to flip, paint, Shift-drag to the next section. With the shortcuts in muscle memory, a lace camisole that takes fifteen minutes of pen-tool work in a desktop editor takes about three.
Which Free Tools Survive a Lace Edge (an Honest Mini-Test)
We ran the same photo — a white lace-trim camisole on a wood floor, shot on a phone — through three tools, each marketed as a background remover for fashion product photos, on their free tiers. Qualitative results, as of June 2026; re-test with your own garment because models update often.
remove.bg has genuinely excellent automatic edge AI — it found most of the large lace holes unprompted. But the free tier is a 0.25 MP preview (roughly 625 x 400), you need an account even to download that, and there is no manual brush, so the holes it missed stay missed. Full resolution costs about $1.99 in pay-as-you-go credits. Fine engine, but as a free clothing workflow it is a dead end; we cover the options in our guide to remove.bg alternatives.
Photoroom produced a usable cutout with a couple of filled lace holes, and its free erase/restore brush let us fix them. Two catches: the free export is reportedly capped around 1500 px (HD is Pro-only), and Photoroom's own terms put free-plan output under a personal, non-commercial license — so listing use technically requires Pro, roughly $7.50-12.99 per month depending on billing.
Snappyit's free tool (ours, so weigh this accordingly) auto-cut the silhouette and the major holes, missed a handful of small ones near the strap, and the red brush cleared those in under a minute. Export was the full 3024 px phone resolution, transparent PNG, no login. For this specific job — free, full-res, lace — you can verify it yourself in two minutes.
Worth a footnote: Clipping Magic has arguably the best manual edge tools in the business (scalpel, hair tool, smart edges), but there is no free download at all — preview only until you subscribe — which removes it from a free test; here are the options if you want those manual tools without the subscription. Canva's background remover simply paywalls on the free plan. Other names — Pixelcut, Erase.bg, Adobe Express — vary month to month on caps and watermarks; check their current pricing pages before building a workflow on them.
Marketplace Export: White for Amazon, Etsy, and eBay; Transparent PNG for Shopify
The cutout is the hard part; the ending depends on where you sell.
Amazon requires main product images on a pure white background — RGB 255, 255, 255, not off-white — with the product filling roughly 85% of the frame, at least 1000 px on the longest side (1600 px or more recommended so zoom works), per Amazon's product image requirements (see also the technical file requirements). Choose the solid white export and you are compliant in one move. One apparel note: Amazon requires adult clothing main images on a live model, so clean cutouts typically serve as the secondary and detail images there.
Etsy recommends a clean, well-lit background, but there is one trap with transparency: Etsy renders a transparent PNG with the transparent area shown as black, so flatten your cutout onto white before upload (export the solid white version) — see Etsy's image requirements.
eBay recommends a white or plain background, at least 500 px on the longest side, with no borders, text, or artwork added to the photo — see eBay's guide to adding pictures. The same solid white export clears that bar.
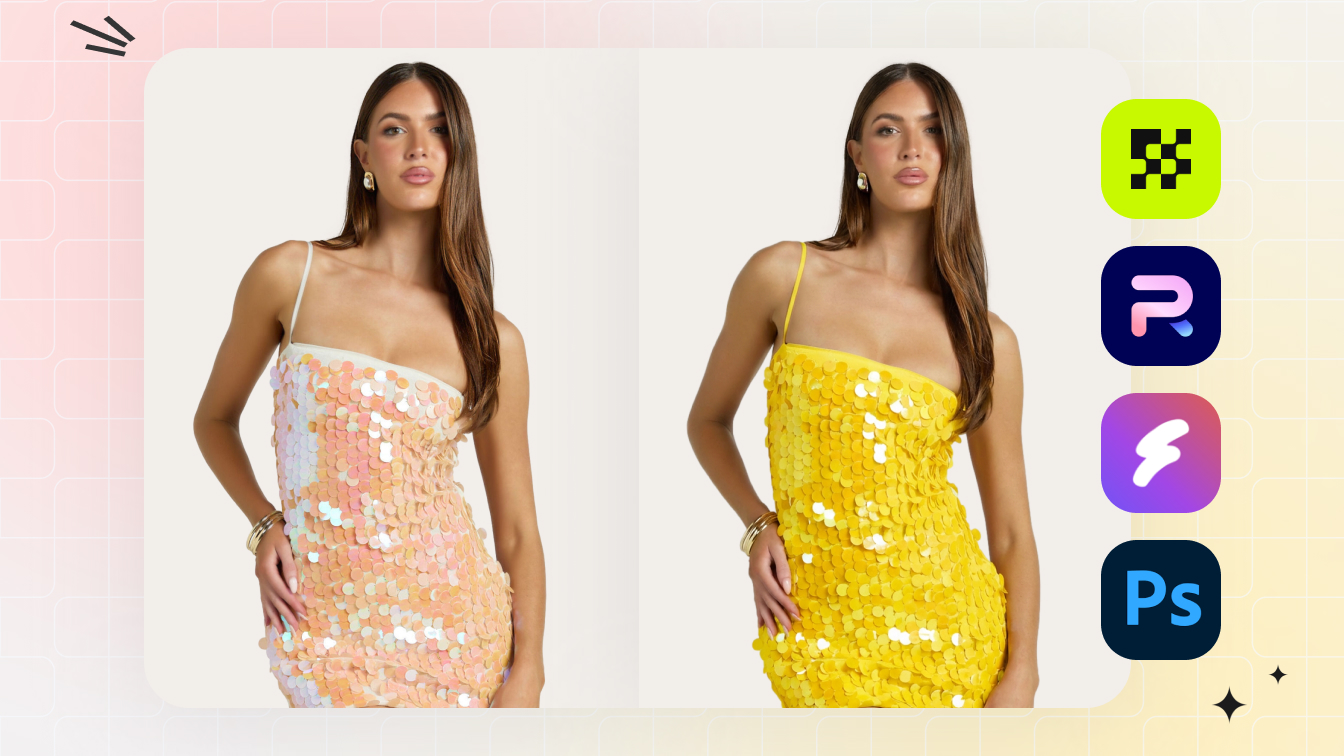
Shopify rewards the transparent PNG. Shopify themes render product images over their own background colors and cards, so a transparent master adapts to any theme refresh without re-editing — see Shopify's product media types. When a seasonal campaign calls for a color change, you recolor the backdrop, not the cutout — here is how to change the background color of a picture without redoing the mask.
The professional habit: keep the transparent PNG as your master and generate channel versions from it. Re-cutting a garment because you only saved a white JPEG is the most avoidable rework in fashion ecommerce — it makes our list of AI product photo errors that cost sellers sales. And if your listings also need on-model shots without hiring models, see our comparison of AI clothes changers for ecommerce sellers.
Frequently Asked Questions
How do I remove the background from clothing photos for free?
Upload your photo to Snappyit's free background remover, let the AI cut out the garment automatically, fix any tricky edges with the green keep and red remove brushes, and export a full-resolution PNG with a transparent or white background. The whole workflow is free, with no signup, no watermark, and no resolution cap.
Do I need to sign up or log in to use the free tool?
No. Snappyit's free tool runs in the browser with no account, no email, and no credit card. You upload, refine, and download in one session. By contrast, remove.bg requires an account even to download its small free preview, as of June 2026.
Why do background removers fail on lace and mesh?
One-click tools rely on alpha matting that estimates a single continuous edge around the subject. Lace and mesh contain hundreds of interior holes that should show the background through them, so the AI either fills the holes with leftover background or erases the threads entirely. Fixing that needs a manual brush, which most free tiers do not include.
How do I fix edges the AI got wrong?
Zoom in with the scroll wheel, then paint the green brush over garment the AI removed and the red brush over background it kept. The cutout updates instantly after every stroke. Press Space to flip between brushes, use the bracket keys to resize, and press D to toggle the edge line so you can see exactly where the cutout boundary sits.
Is the free export really full resolution?
Yes. The tool exports at the resolution of the file you uploaded, up to 4096 x 4096 pixels, as a PNG with a transparent or solid background. There is no preview-size cap, paid HD tier, or watermark.
What background does Amazon require for clothing photos?
Amazon requires a pure white background (RGB 255, 255, 255) for main product images, with the product filling roughly 85% of the frame and at least 1000 px on the longest side (1600 px or more recommended so zoom works). Export with a solid white background directly from the tool to meet this.
Should I use a transparent PNG or a white background for Shopify and Etsy?
Keep a transparent PNG as your master, since you can drop in any color later without re-cutting the garment. Shopify themes render it over their own backgrounds, so transparent works directly there. Etsy is the exception: it displays a transparent PNG with the transparent area as black, so flatten to a white background before uploading to Etsy. Export a white version from the same cutout whenever a channel, like Amazon, Etsy, or eBay, requires it.
What file types and sizes does the free tool accept?
JPG, PNG, and WebP files up to 4096 x 4096 pixels. A modern phone photo works fine; shoot in even light against a background that contrasts with the garment and the AI will have less to guess at.
Can I use the cutouts in commercial product listings?
Yes. Snappyit's free tool is built for ecommerce sellers, and the exported PNGs can be used in your listings and ads. If you compare tools, check licenses carefully: Photoroom's free plan is licensed for personal, non-commercial use under its own terms as of June 2026, so commercial listing use technically requires its paid plan.
Remove Your First Clothing Background Now
Grab the trickiest garment in your catalog — the lace trim or fur collar that made you give up on one-click tools — and run it through the workflow above. AI auto-cutout, a minute of green and red brushwork on the hard edges, full-resolution transparent or white PNG out the other side. No account, no watermark, no resolution cap.
Remove a clothing background free — full resolution, no signup