
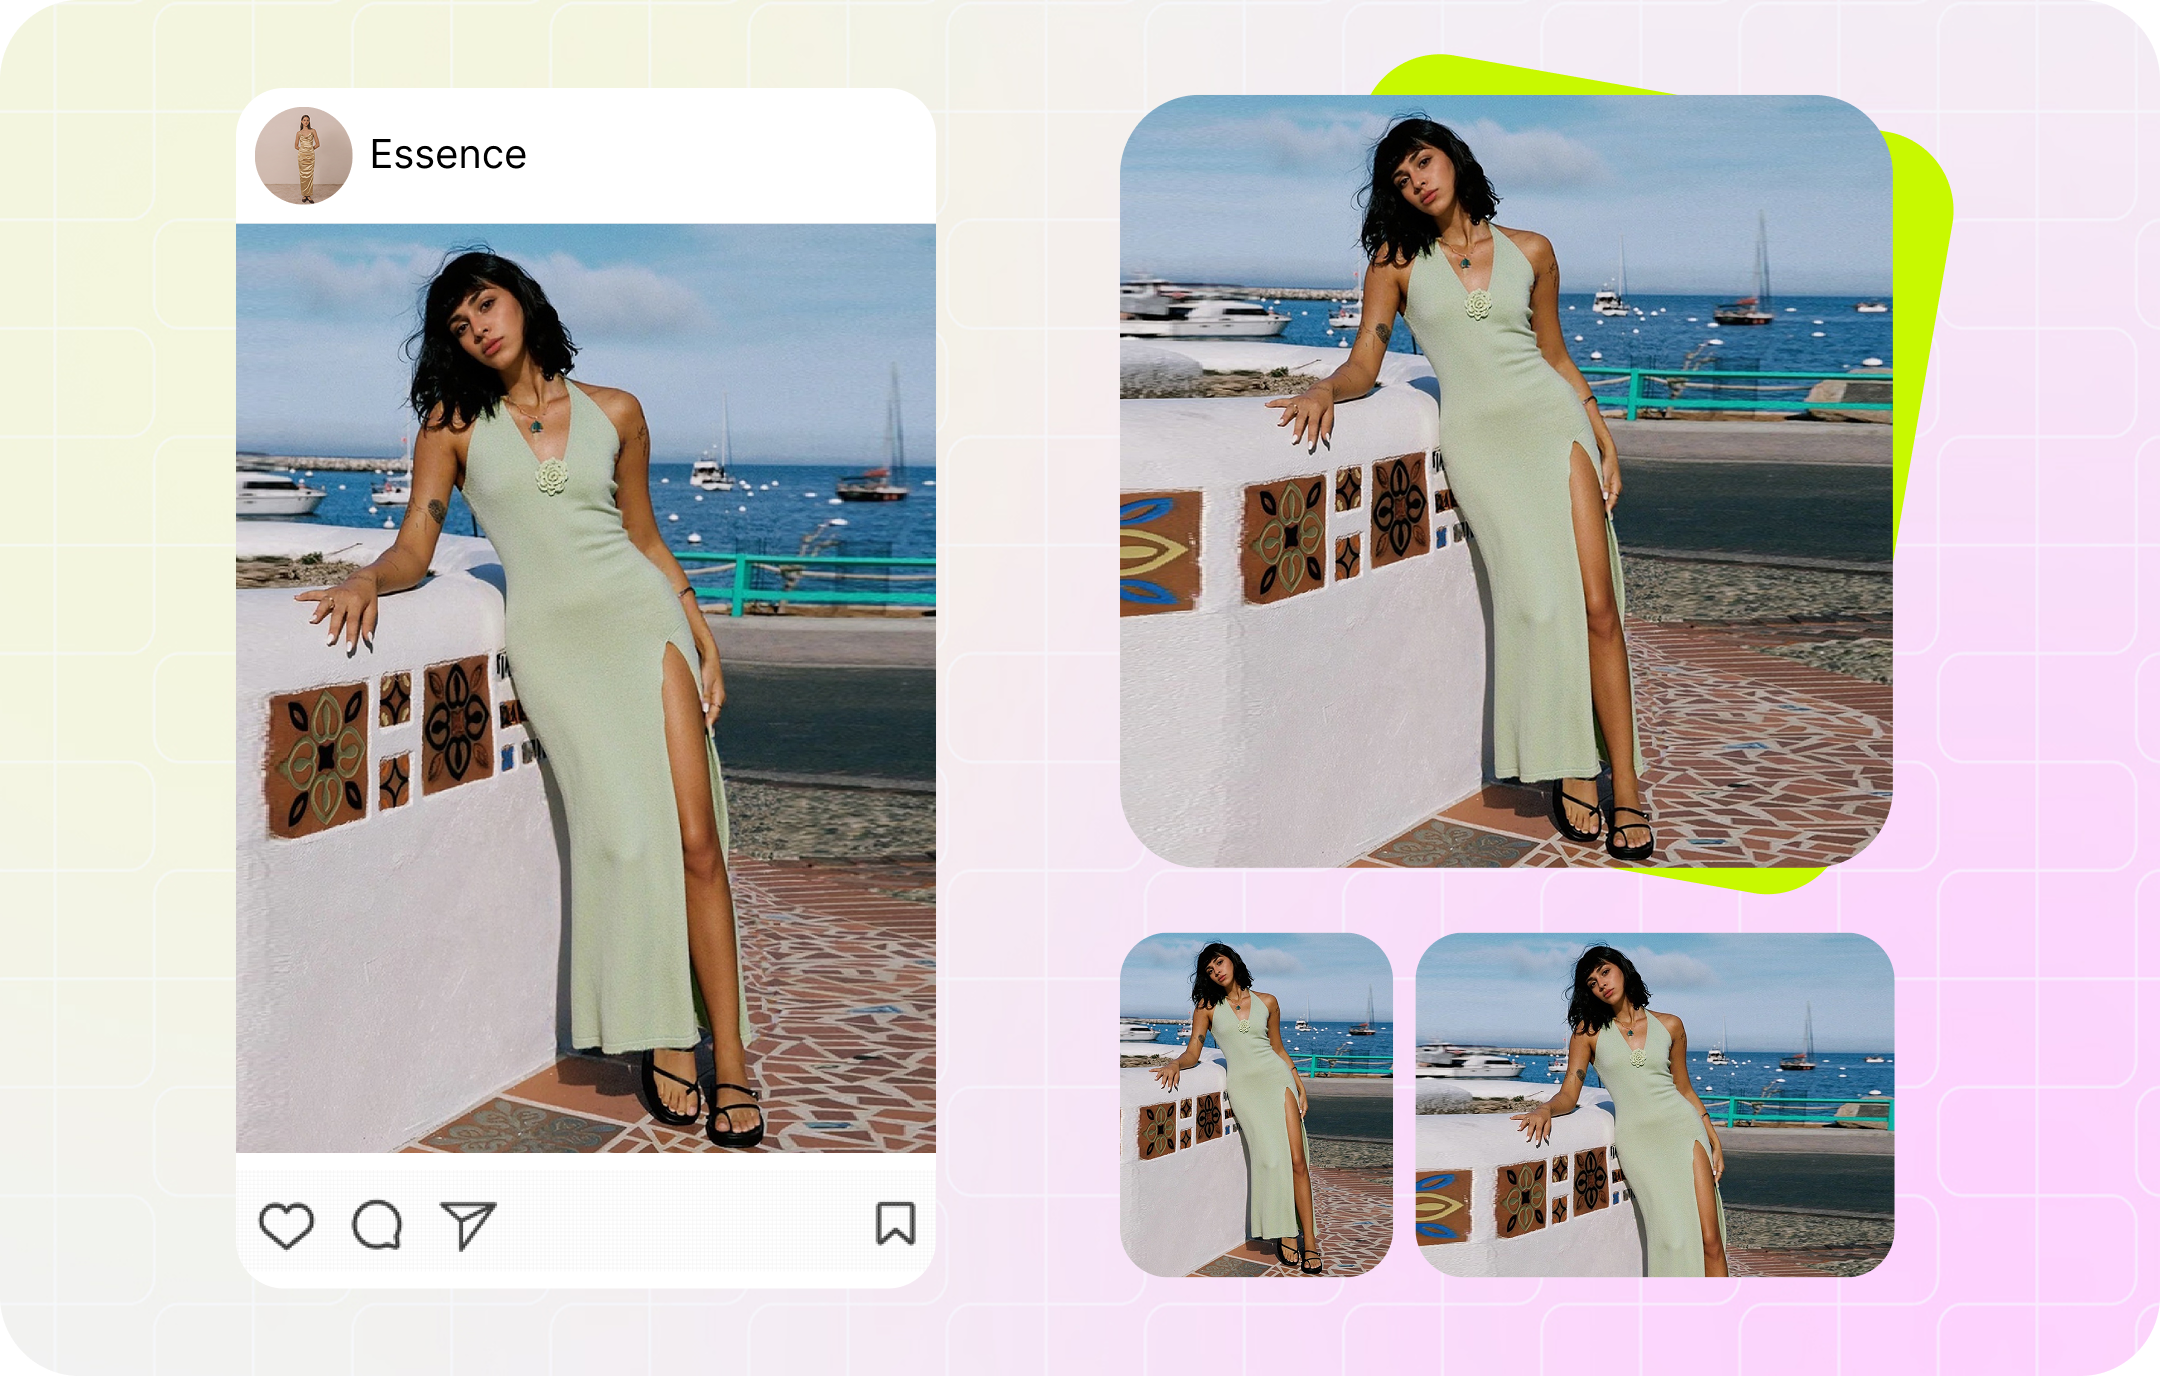

How to resize photos without losing quality
For the cleanest listing image, start with a catalog master that is at least as large as the required output, then reduce its dimensions with high-quality resampling.
- Use the largest, least-processed original. Avoid screenshots, social-media downloads, and old marketplace exports.
- Downsample when possible. A conventional resizer cannot restore authentic detail that is missing from a small supplier photo.
- Keep the product's proportions. Crop or pad to the destination's aspect ratio instead of stretching the SKU.
- Export once, then inspect. Check fine edges, fabric texture, labels, and logos at 100% and at the size shoppers will see.
Use each channel's current official specifications as the export target. For example, eBay currently requires at least 500 pixels on the longest side and recommends 1600 pixels (see eBay picture requirements), while Instagram accepts several aspect ratios rather than square posts only (see Instagram image-resolution guidance). Requirements can change, so verify them before a bulk catalog export. Compare current targets in the marketplace image size guide, then check the Amazon product image requirements when preparing that channel.
Why product photos look worse after resizing
Resizing, compression, and cropping solve different problems. Resizing changes pixel dimensions; compression changes file size; cropping changes the frame. Choosing the wrong operation can discard useful catalog detail without solving the actual upload issue.
Blurry listing images: resolution and detail loss
A small source looks soft when it is enlarged because a conventional resizer must estimate pixels the camera never captured. Heavy shrinking can also average away fabric weave, stitching, jewelry edges, or label text. Low-quality resampling may add jagged edges, blur, or ringing.
Blockiness and halos: compression loss
JPEG and lossy WebP deliberately discard image data. Aggressive settings can create blockiness, halos around hard edges, or banding in smooth backgrounds. Repeatedly opening and exporting the same lossy file can compound those artifacts; keep a master and create marketplace exports from it.
Distortion and post-upload softness
Forcing a portrait image into a square stretches the product and changes its proportions. Crop or pad instead. If the local export is sharp but the listing is not, the marketplace may have generated another size or recompressed the upload. Compare the master, local export, and uploaded image before changing your workflow.
Downsampling vs upscaling for product photos
Downsampling a catalog master
Downsampling makes an image smaller. A 4000 × 4000 source resized to 1200 × 1200 combines roughly eleven source pixels for each output pixel. Some fine detail is discarded, but a suitable resampling method can keep the result visually crisp at its intended display size.
Upscaling a small supplier image
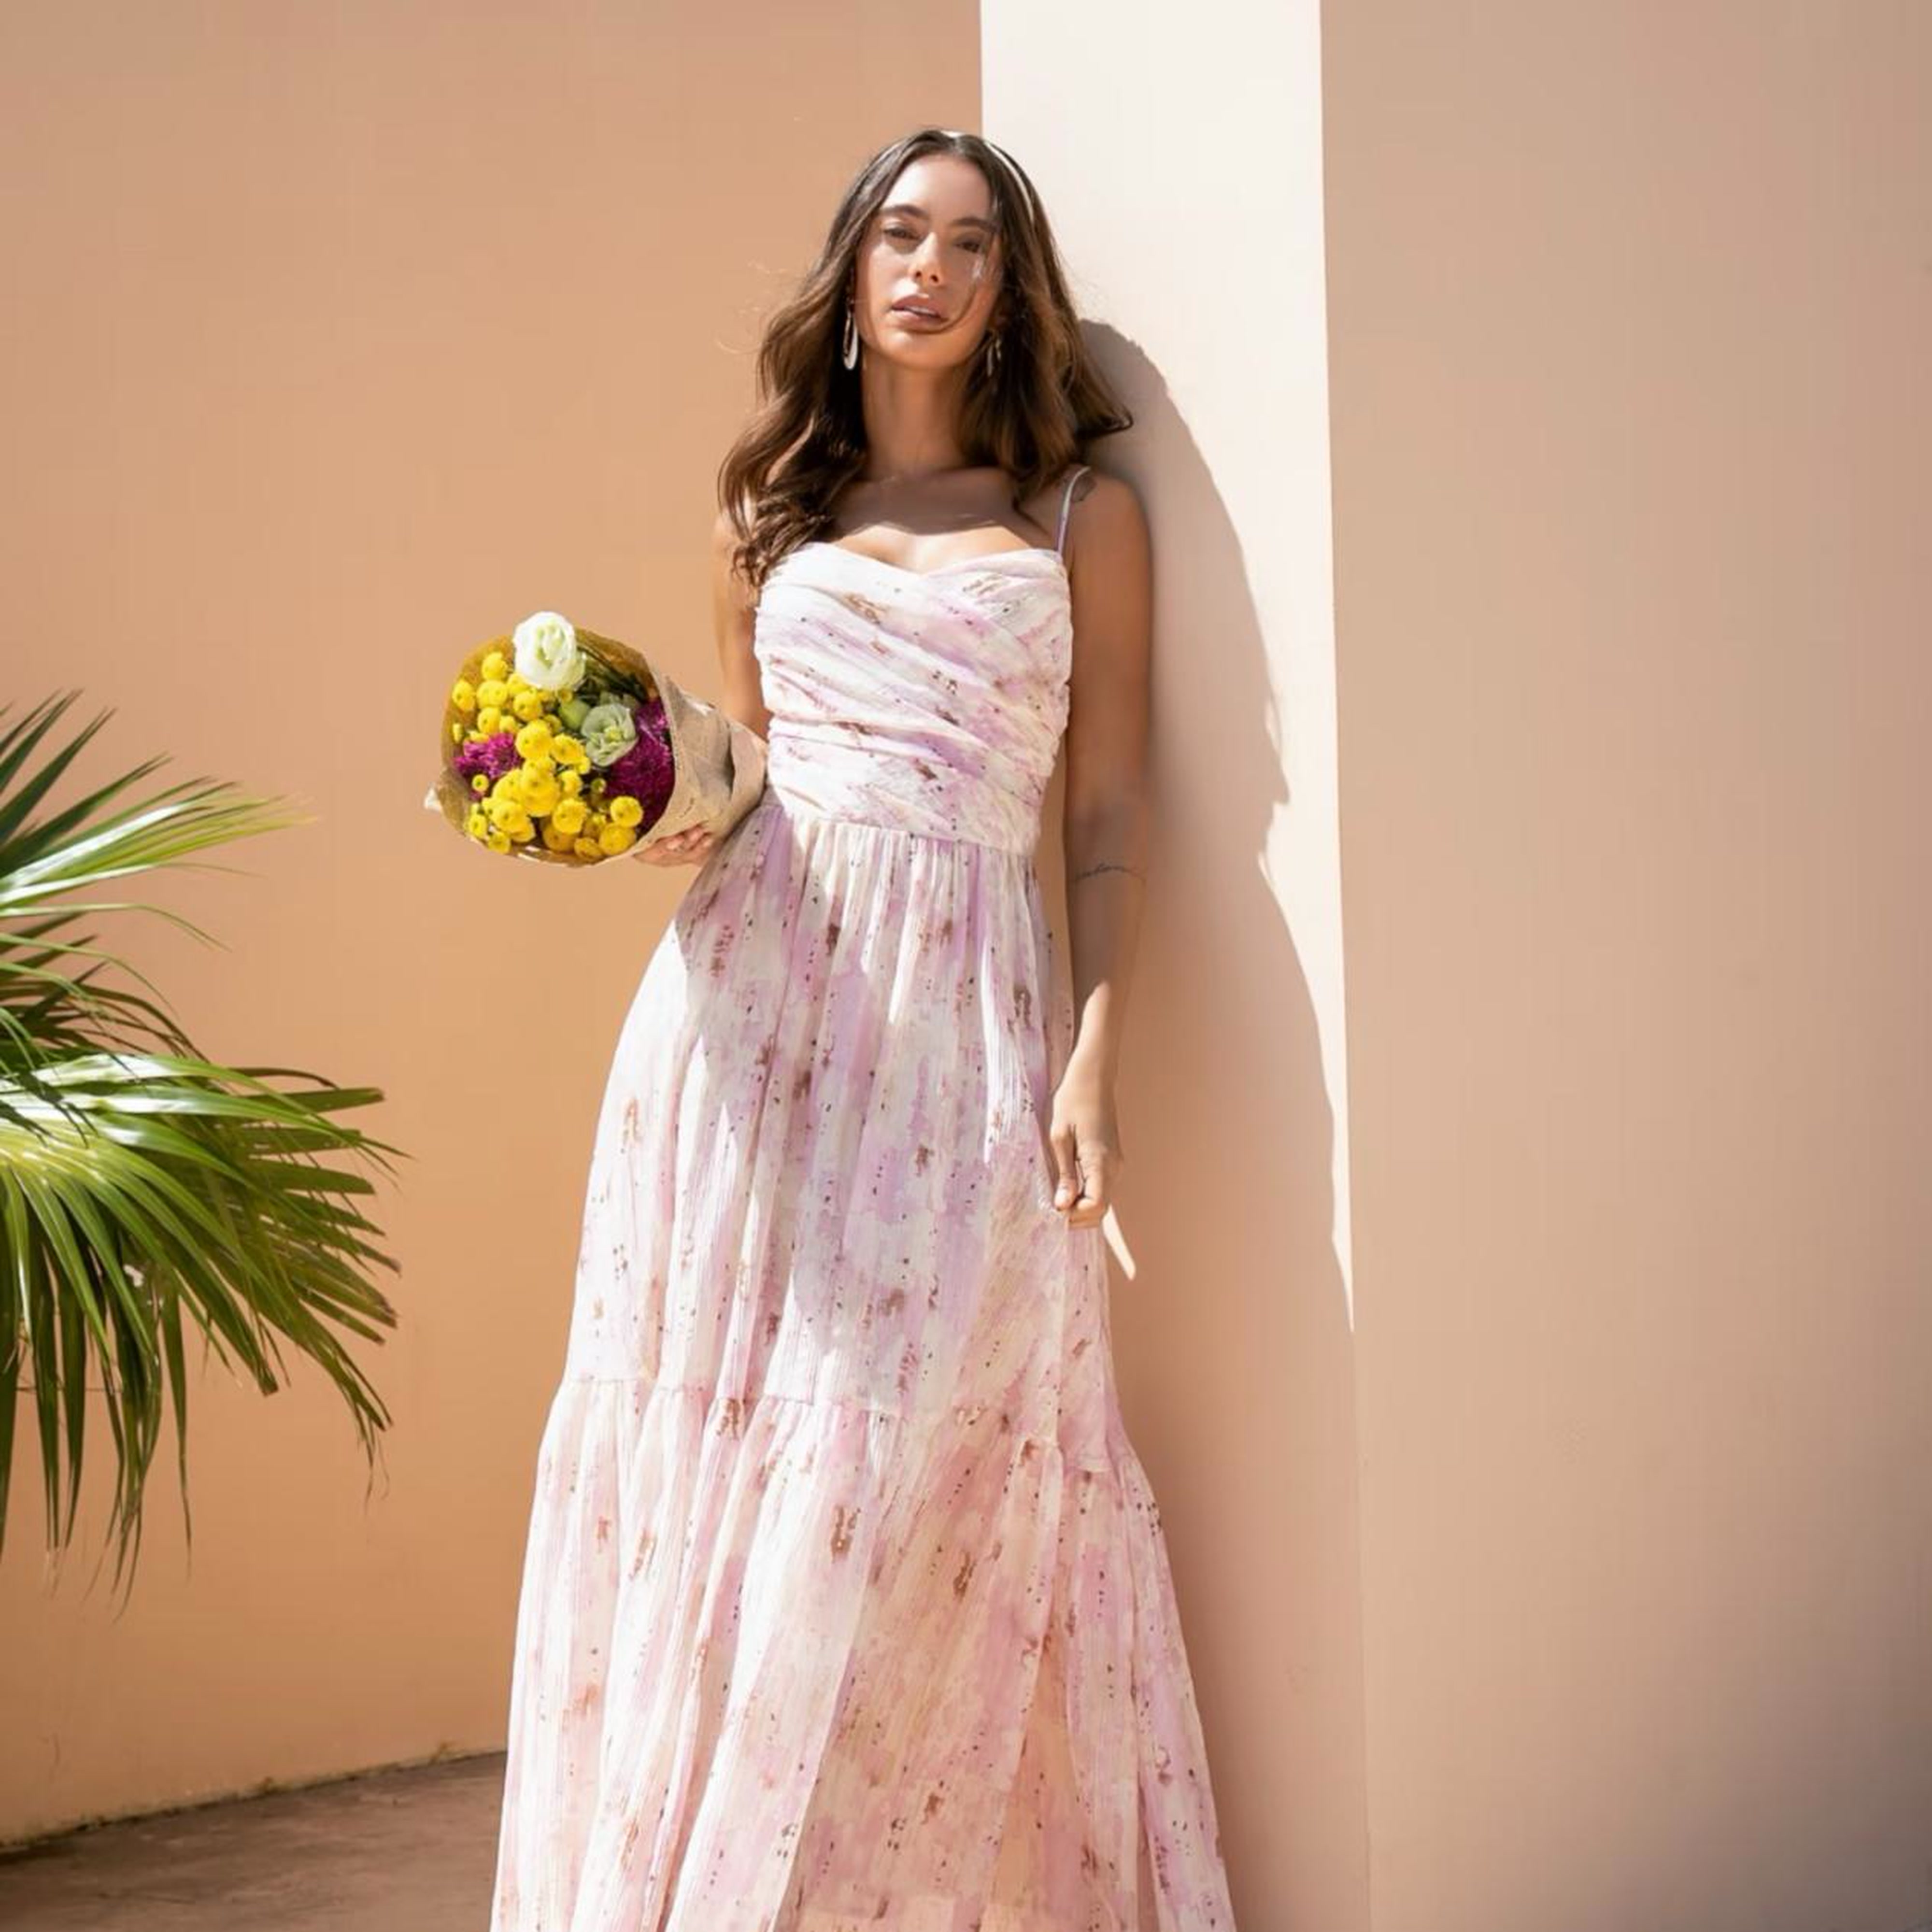
Upscaling makes an image larger. Moving from 600 × 600 to 1500 × 1500 requires new pixels. Conventional interpolation often looks soft or smeared. AI super-resolution can synthesize plausible texture, but the generated detail is not proof of what the camera captured (see the SRGAN research paper). For accuracy-sensitive products, use a larger master, re-export, or reshoot; see this guide to making product photos higher resolution when a larger source is unavailable.
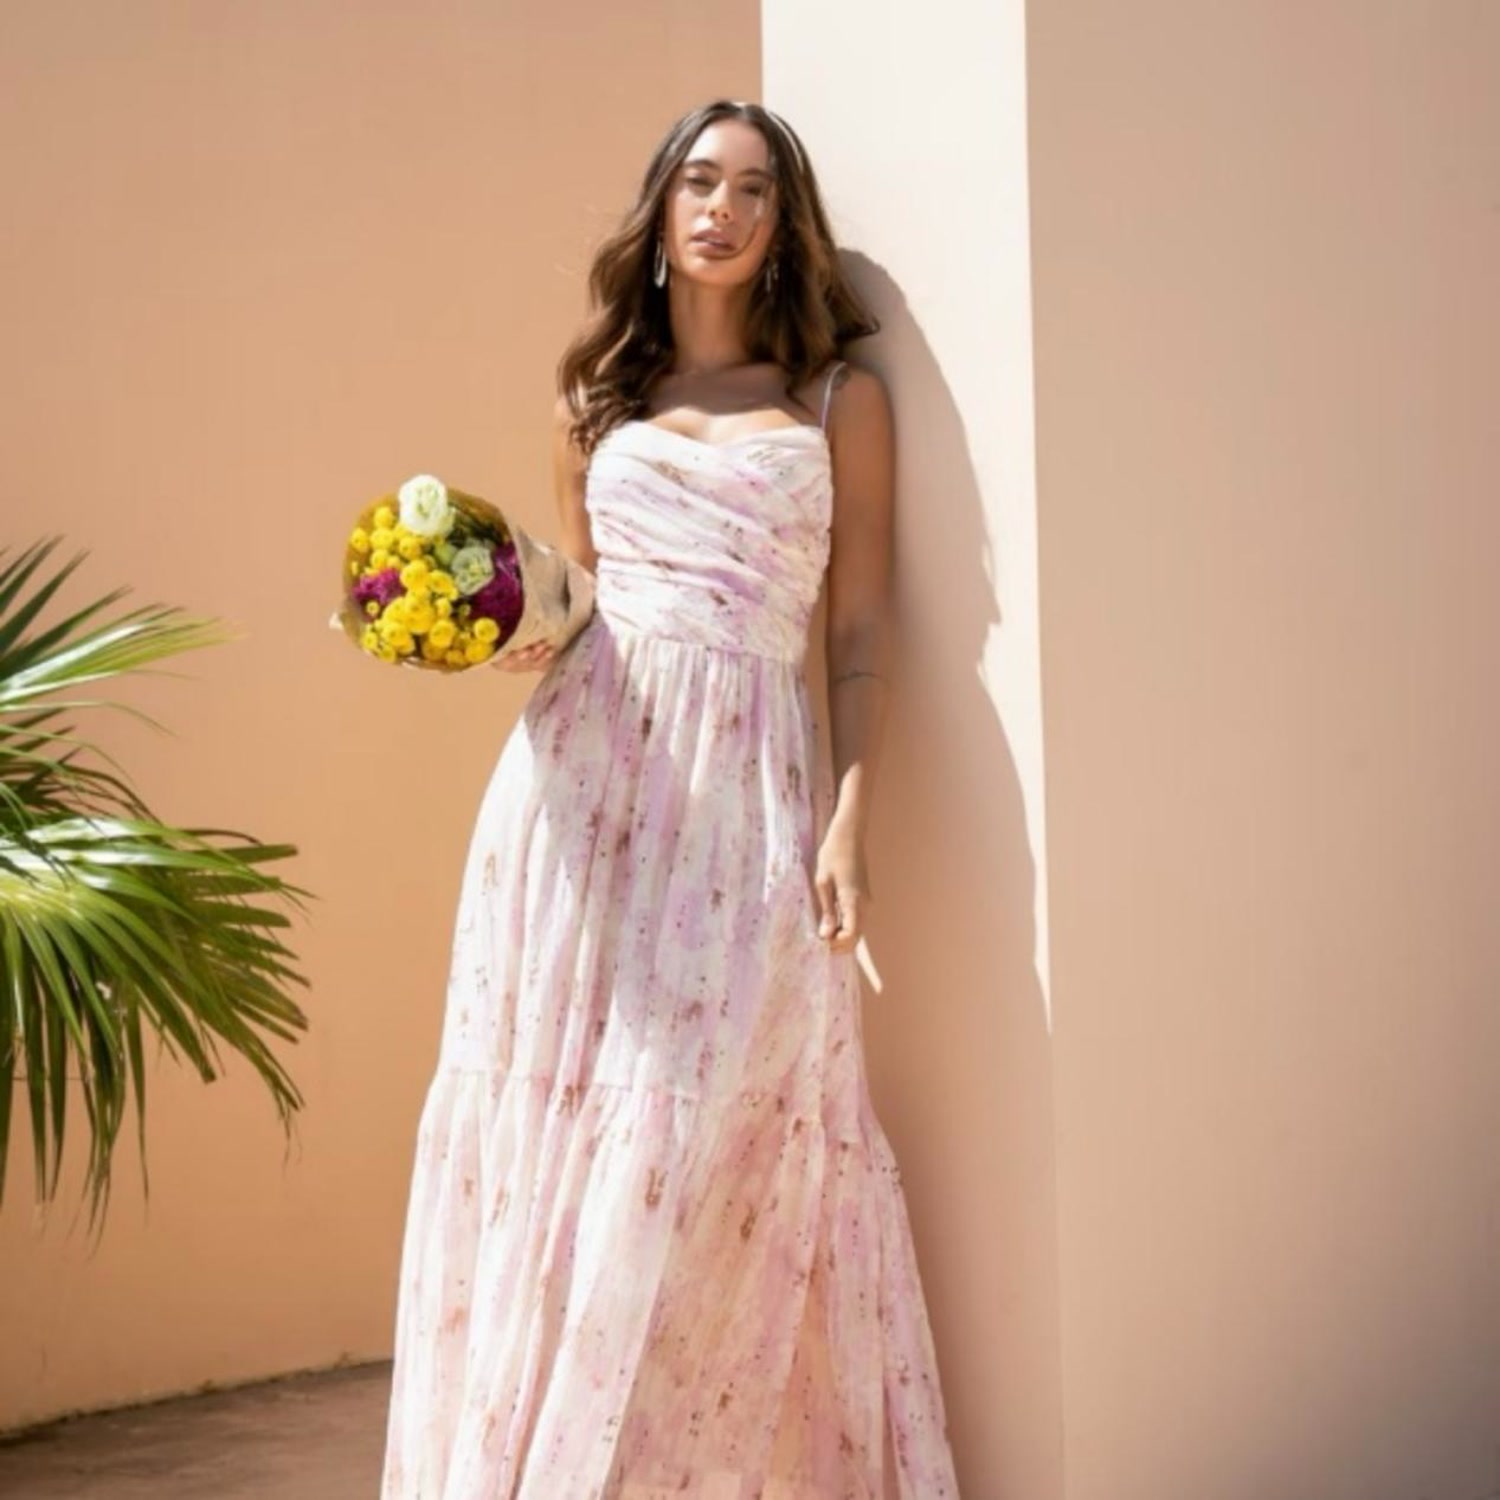
| Direction | What happens to pixels | Visual result | Safe? |
|---|---|---|---|
| Downsampling (shrink) | Many source pixels merged into one | Can stay visually crisp, but some fine detail is discarded | Usually safe when the target is smaller than the source |
| Same size (1:1) | Dimensions unchanged | Can match the source, but re-encoding may alter pixels or add compression loss | Usually safe when no lossy re-encode is applied |
| Upscaling (enlarge) | New pixels estimated by interpolation or generated by a model | Conventional resizing often looks softer; AI may add plausible detail | Use carefully — authentic captured detail is not recoverable |
Seller rule: resize downward whenever the catalog master is large enough. If you need a 1500px listing image, begin with a source at least 1500px on the corresponding side.
Interpolation and smoothing for sharp product images
A resizer must calculate a color for every output pixel. That process is called interpolation or resampling. Common methods include:
- Nearest-neighbor copies the closest source pixel. It suits pixel art, but continuous-tone product photos can show stair-step edges.
- Bilinear averages nearby pixels. It is smooth and fast, although it can look soft.
- Bicubic uses a wider neighborhood and often balances smooth gradients with edge detail in photographs.
- Lanczos can retain fine detail during downsampling, but results depend on the implementation and may show ringing near hard edges.
HTML canvas exposes imageSmoothingEnabled and imageSmoothingQuality. The value high is a quality hint, not a promise of one specific algorithm, so output can vary by browser engine (see MDN's canvas smoothing reference). Snappyit's current Image Resizer enables smoothing and requests the browser's high-quality mode.
JPEG, PNG or WebP: format and quality settings
Resizing changes pixel dimensions. Compression changes file size at those dimensions. Your export format determines which trade-offs are available.
| Format | Compression | Transparency | Best for | Watch out for |
|---|---|---|---|---|
| JPEG | Lossy | No | Photographs, product shots, anything with smooth gradients | Blocky artifacts and edge halos at low quality settings |
| PNG | Lossless | Yes | Logos, line art, screenshots, anything needing a transparent background | Often substantially larger than JPEG or lossy WebP for full-color photos |
| WebP | Lossy or lossless | Yes | Web delivery where you want a smaller file at comparable visual quality | Some legacy tools and workflows still lack support |
JPEG or lossy WebP is usually efficient for full-color listing photos. PNG or lossless WebP is a better fit for transparent cutouts, logos, line art, and screenshots. WebP may be smaller than JPEG at comparable visual quality, but the result depends on the image and encoder; compare real exports rather than quoting a fixed saving. See MDN's image format guide for format capabilities.
Choosing a JPEG or WebP quality setting
Quality scales are encoder-specific, so “90” is not identical across every tool or format. Treat 85–90 as an editorial starting range for photographic listing images, not a platform rule or guaranteed optimum.
- At 100%, zoom into the SKU silhouette, care-label lettering, repeated patterns, and smooth studio backdrop.
- Compare the file size with the marketplace's current limit.
- Lower quality gradually only when the file is larger than needed; keep the first clean export for comparison.
Because JPEG re-encoding is lossy, repeatedly exporting the same JPEG may add artifacts. Preserve the original or a lossless master and generate each channel export from that file.
Crop or pad product images without distortion
When a listing slot uses a different aspect ratio from the source, you have three choices. Only crop and pad preserve the product's proportions.
Stretch (avoid) forces the image into the target ratio and warps the product.

Stretching fills the frame but distorts proportions. Crop fills the target canvas and trims overflow. Use it when the SKU is centered and the outer margins are expendable.
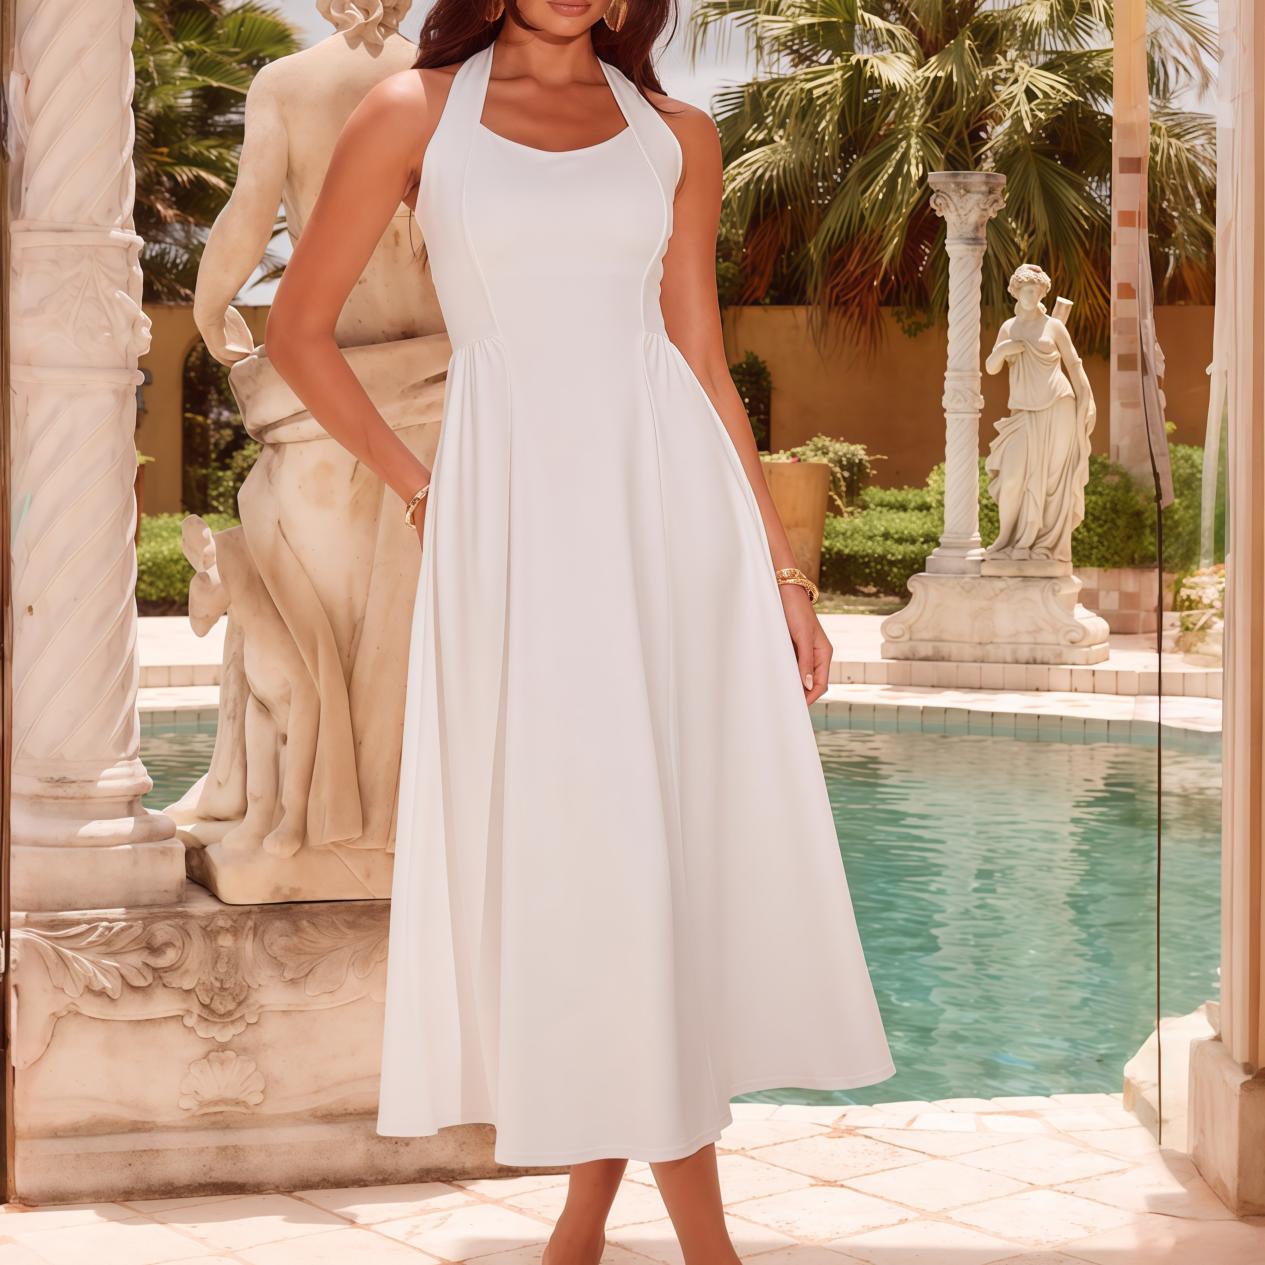
Cropping preserves proportions but trims the edges. Pad fits the entire image inside the canvas and fills the remaining area. It is useful when every part of the garment must remain visible. Amazon's MAIN product image guidance specifies a pure-white background, so verify that requirement before using a white pad (see Amazon product image requirements).
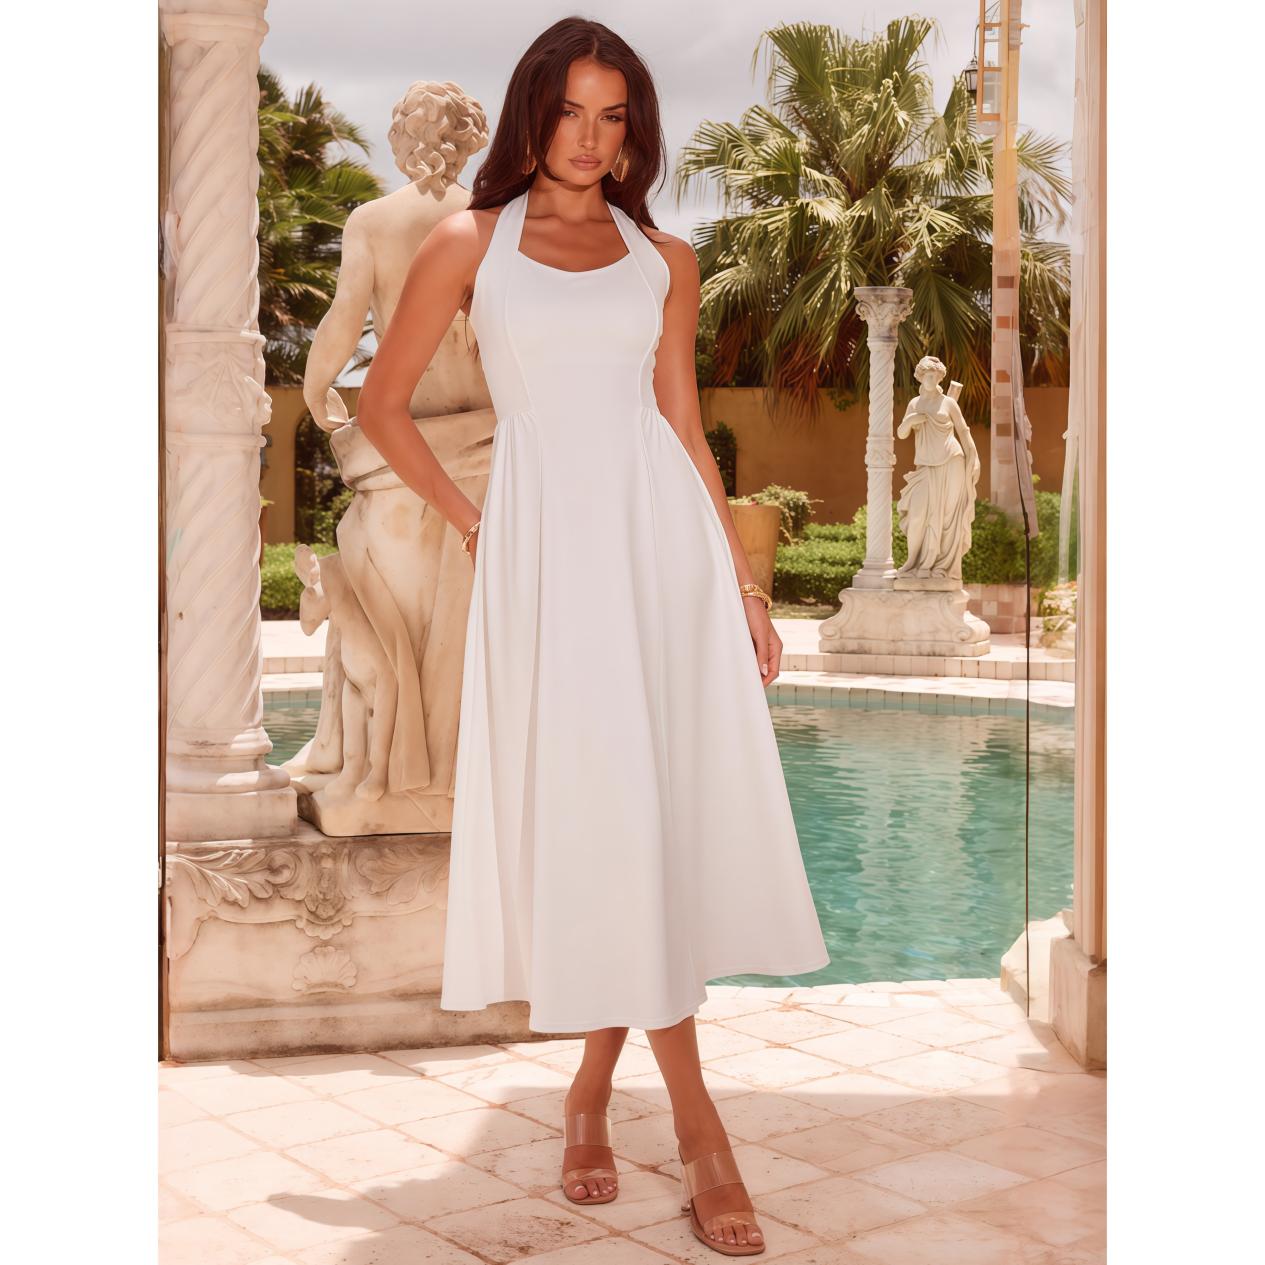
Padding keeps the entire image visible without distortion.
Marketplace product image resizing workflow
Use one catalog master to create separate channel exports. This keeps the source recoverable and prevents compression loss from accumulating across Amazon, Etsy, eBay, Shopify, and social versions.
Example: Snappyit Image Resizer. This walkthrough turns a 2217 × 2956 portrait master into a 2000 × 2000 square export with the Amazon · Etsy preset, without stretching the product.
- Protect the master. Keep the camera original, phone original, or highest-resolution approved studio file. Do not replace it with a resized export.
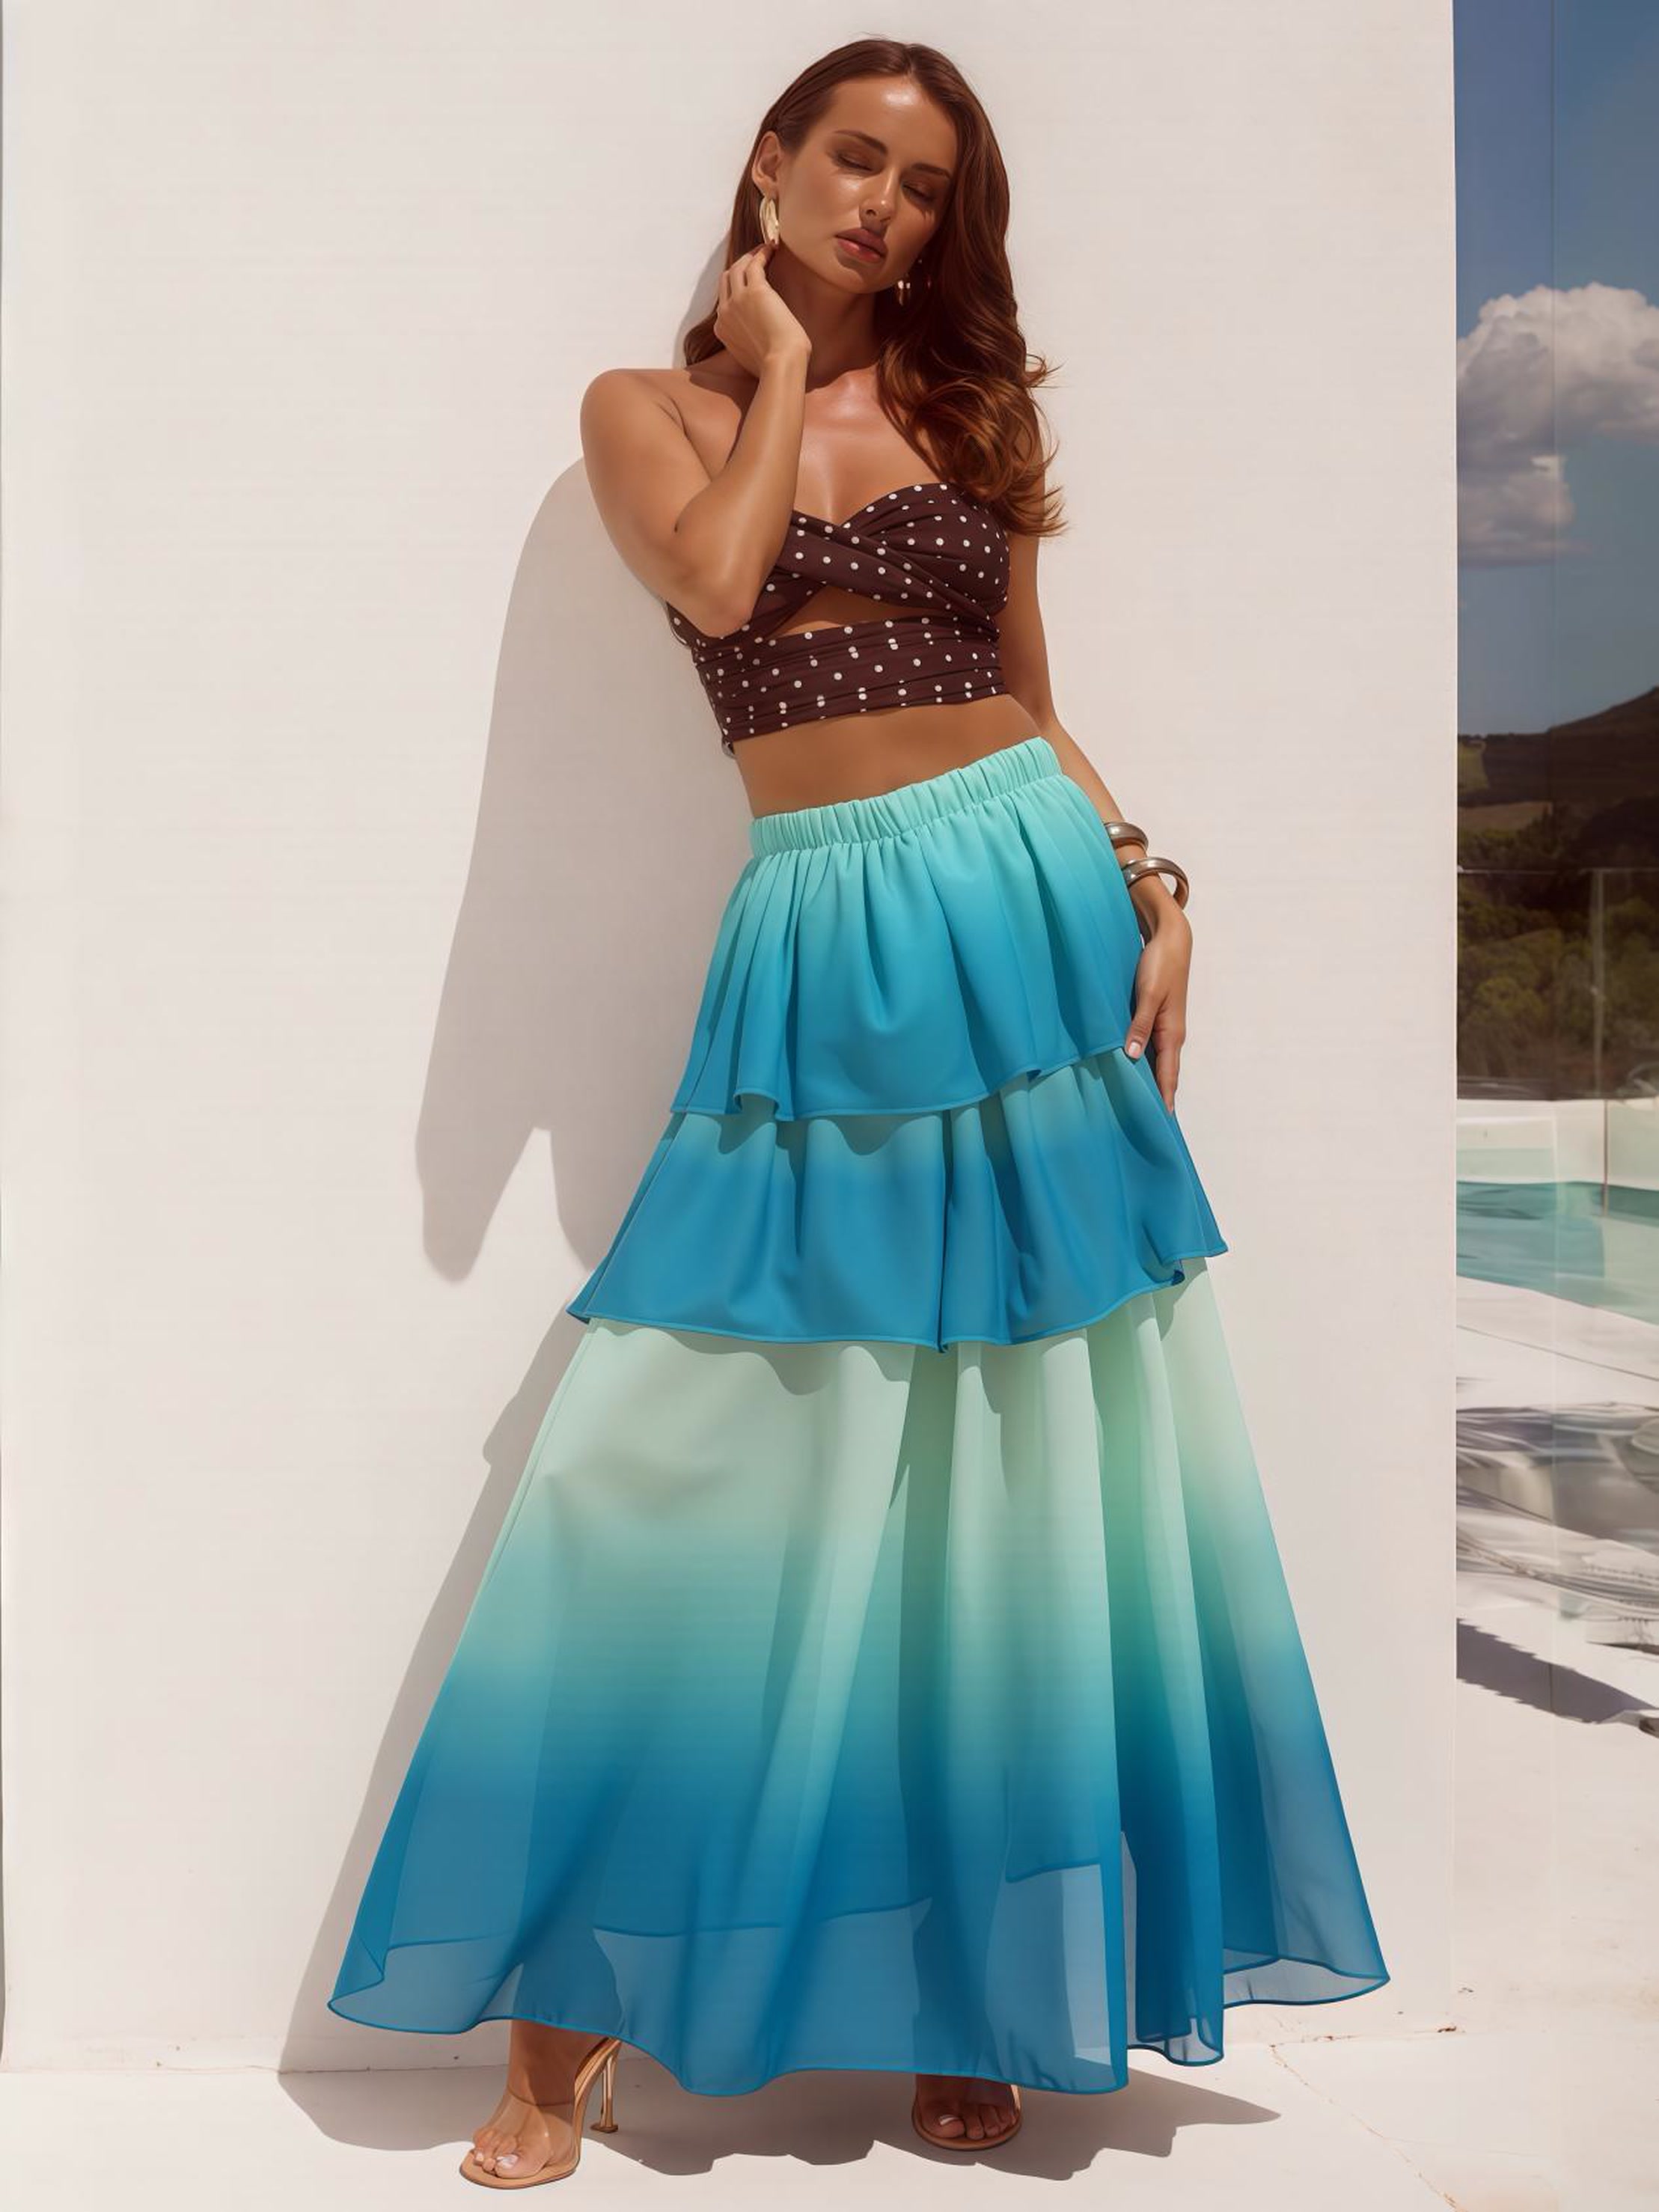
Catalog master · 2217 × 2956 px - Write down the channel brief. Record the required pixel size and shape, allowed background, accepted format, and upload limit before you resize a batch.
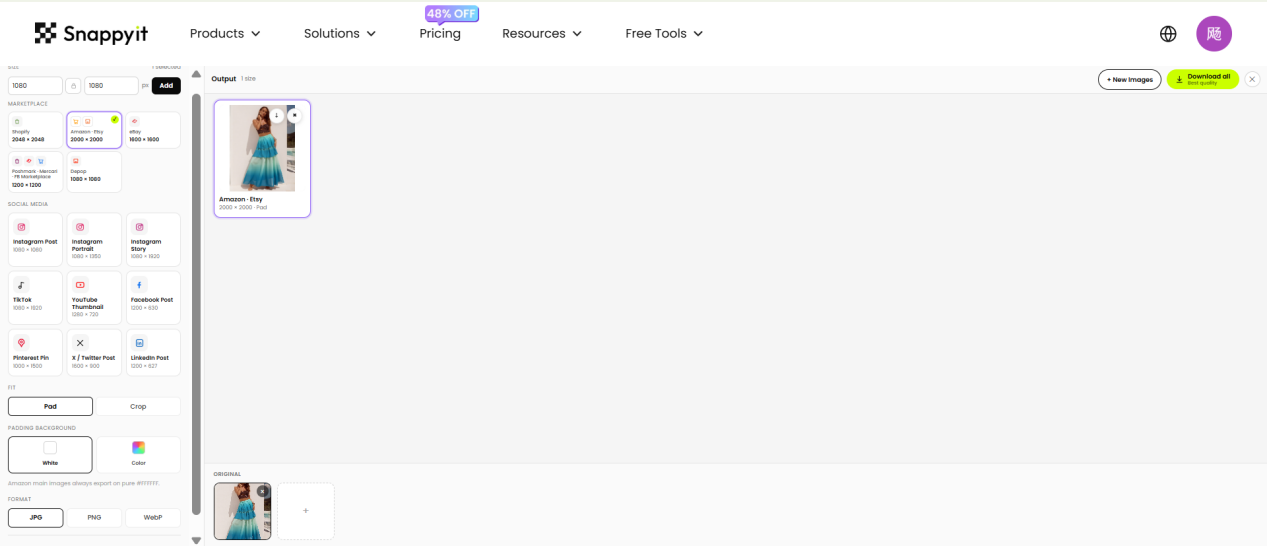
Preset selected · Amazon · Etsy · 2000 × 2000 px - Confirm that the master is large enough. Downsample when possible. If the fitted product image would need enlargement, find a larger source before processing the whole catalog.
- Choose crop or pad. Crop when margins can be removed; pad when the full product must remain visible. Never stretch.
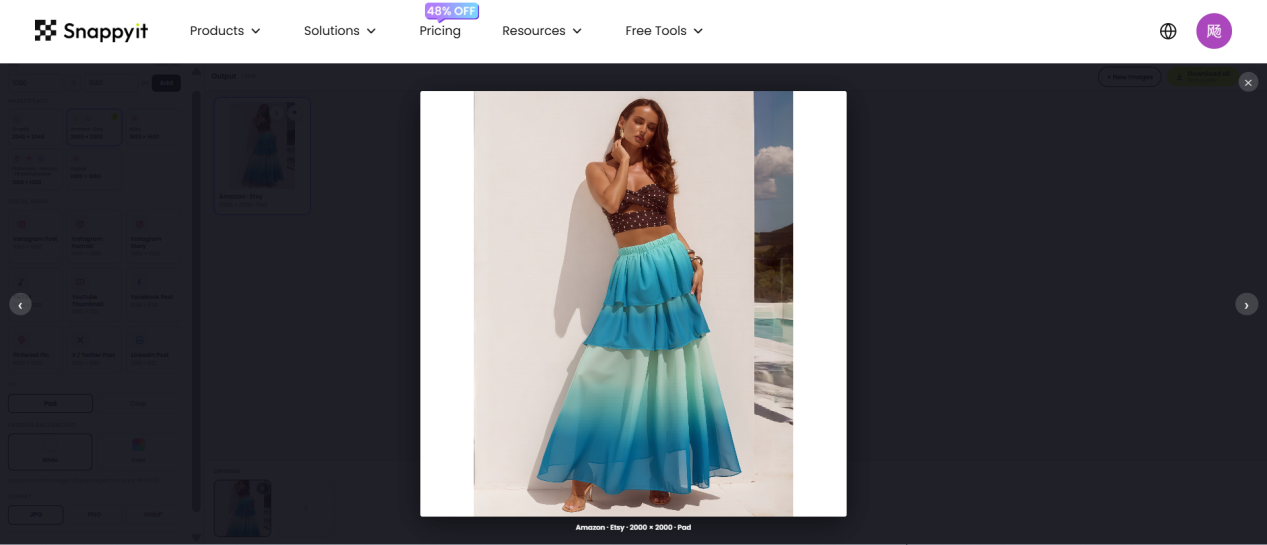
Padding preserves the full portrait inside the square canvas. - Choose the export. Use JPEG or lossy WebP for most photographs; use PNG or lossless WebP when transparency or hard-edged graphics matter.
- Run listing QA. Inspect the local file at 100% and at PDP size, then compare it with the uploaded version. Check silhouette edges, texture, small text, color, and background consistency.
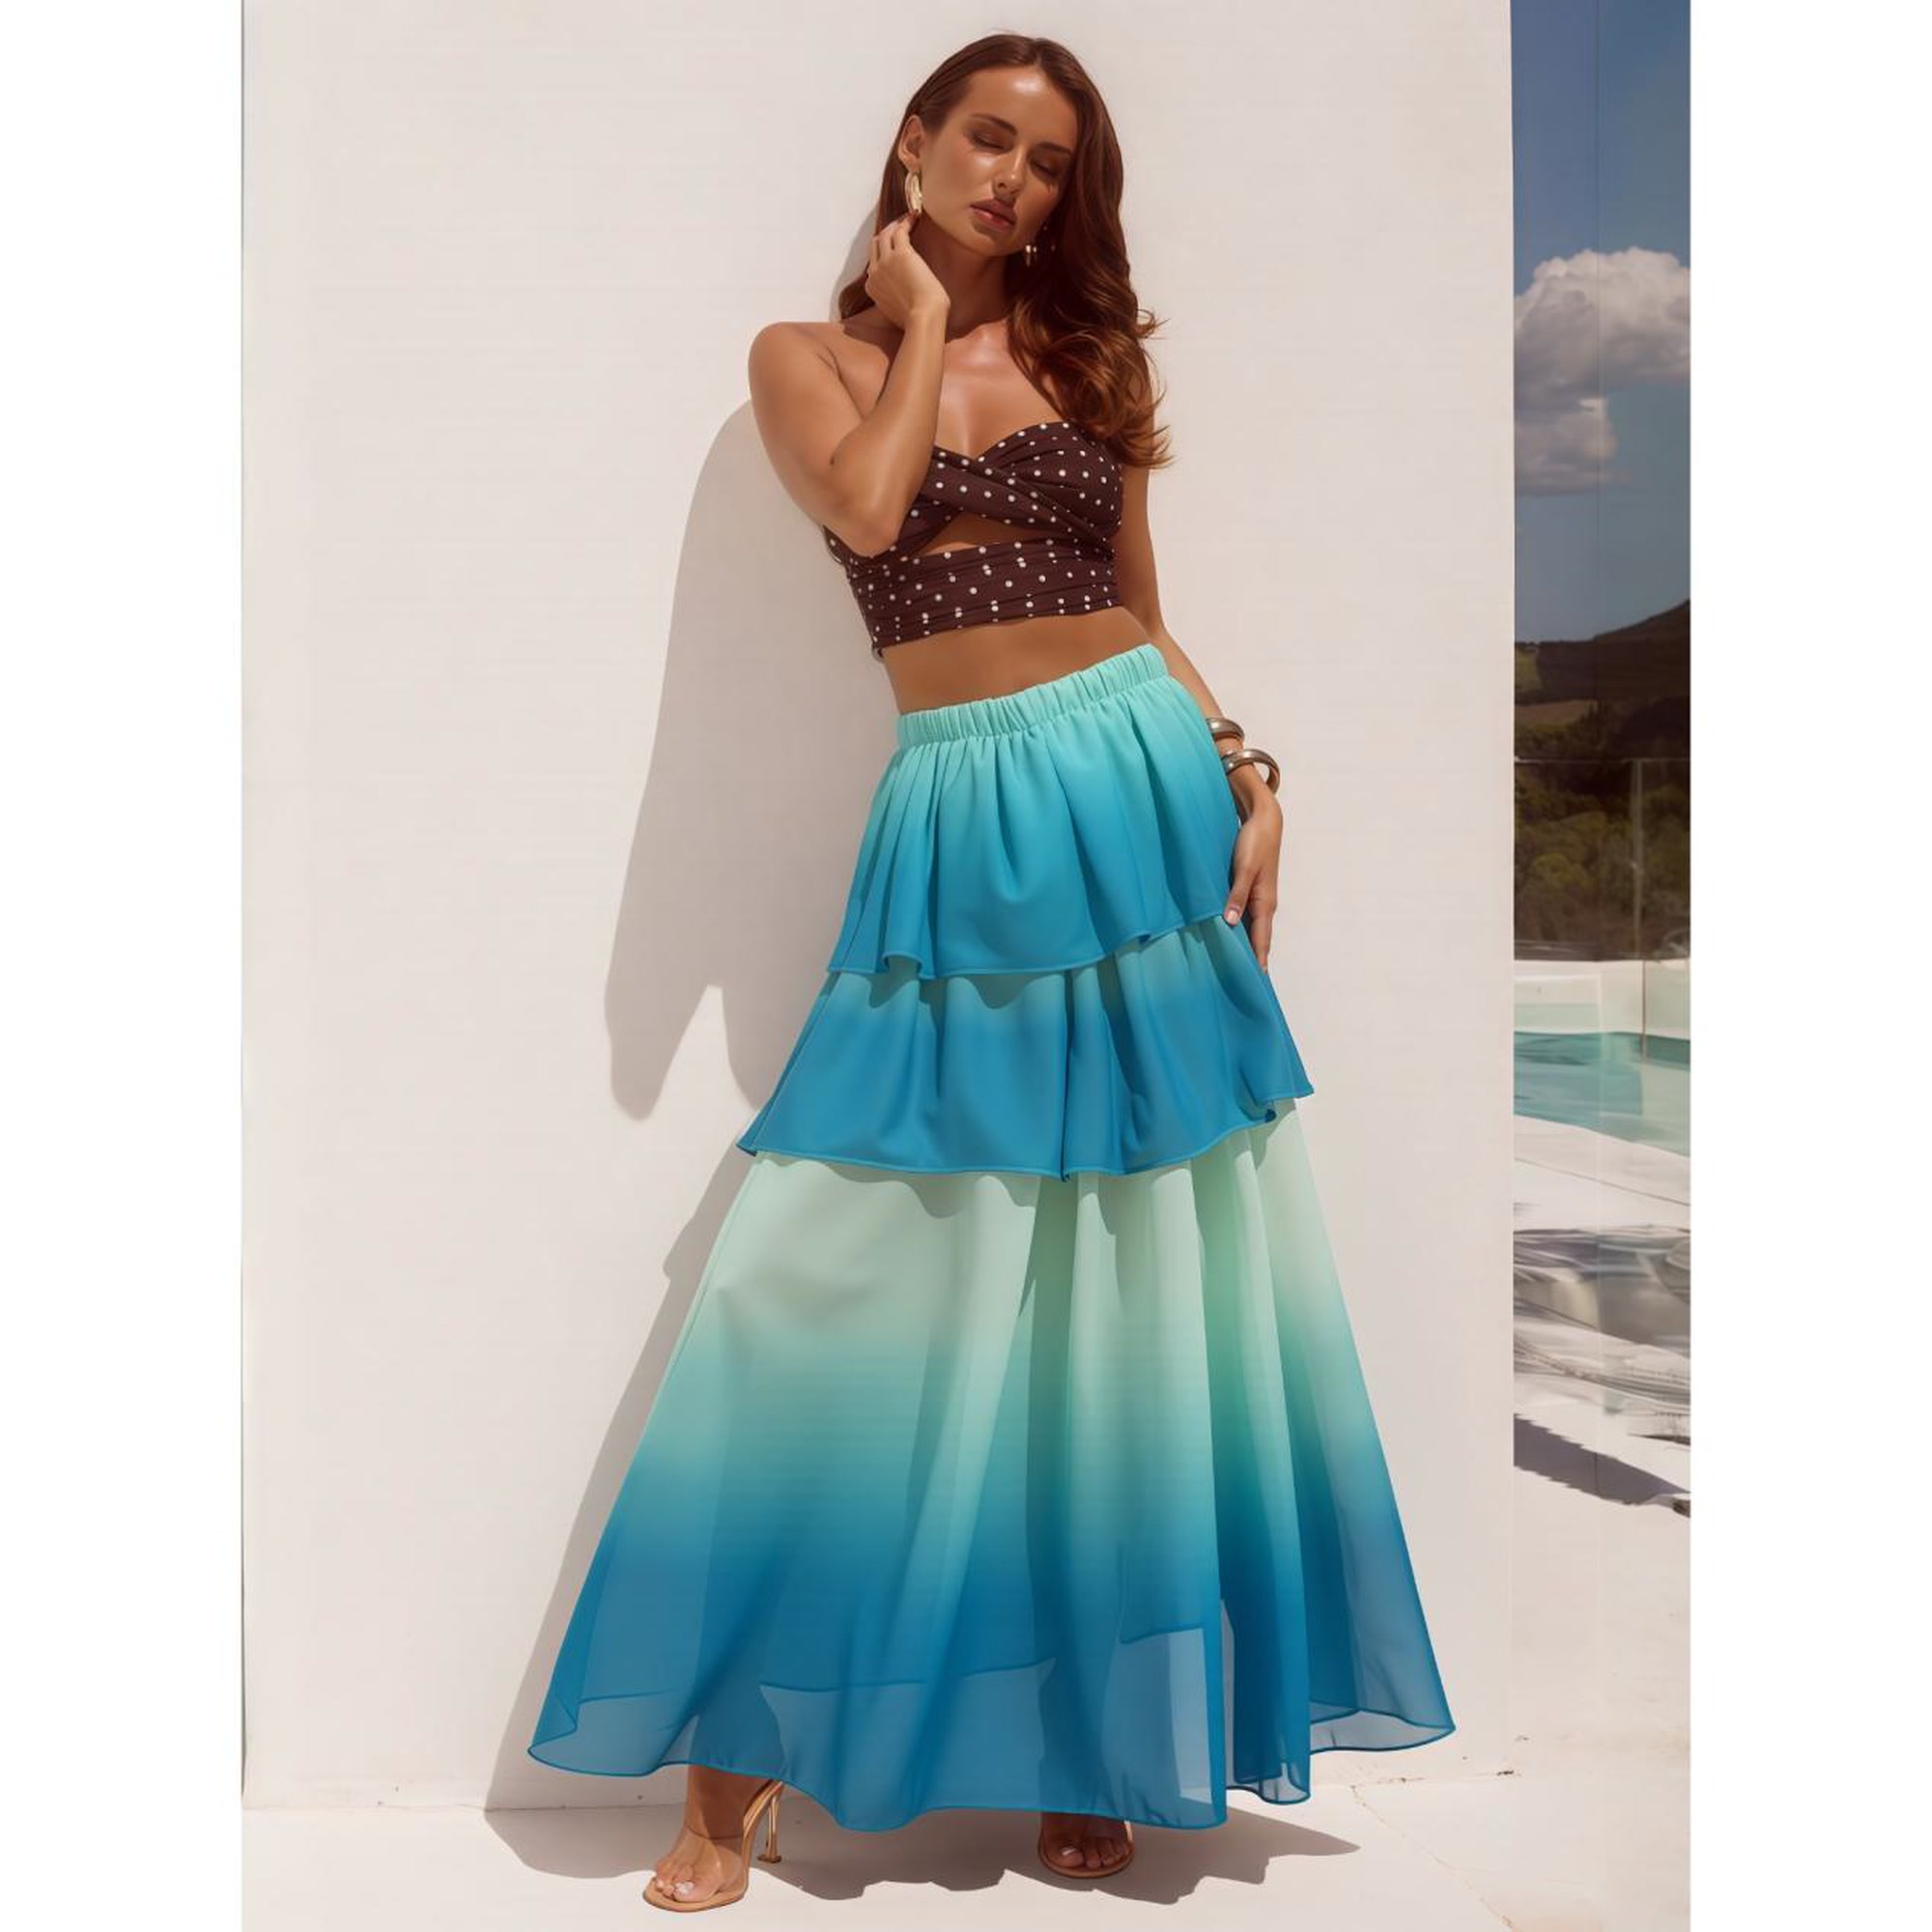
Final marketplace export · 2000 × 2000 px
If you are creating new catalog masters, build a consistent source set first with a controlled studio process or an AI product photography workflow, then make channel-specific exports from the approved largest version.
Resize product photos in your browser
Snappyit's free Image Resizer performs the resize and export in the browser, so selected product files do not need to be sent to an image-processing server. Add a catalog master, choose marketplace dimensions, select crop or pad, and download the result.
The current tool enables canvas smoothing and requests high-quality smoothing. That supports a clean downscale, but it cannot fix an undersized source, guarantee a marketplace's later processing, or recover authentic detail that was never captured.
Resize Without Losing Quality →
Frequently asked questions
How can I resize product photos without losing quality?
Start with the largest, least-processed catalog master available and create a separate export for each sales channel. Resize downward when possible, preserve the product's aspect ratio, and use crop or pad instead of stretch when the destination shape changes. Choose a suitable format and compression setting, then inspect the file at 100% and at its intended listing size before uploading it.
Why do product photos look blurry after resizing?
First identify where the blur appears. If the local export is already soft, the likely causes are an undersized source, crude resampling, aggressive compression, or repeated lossy exports. If the local file is sharp but the listing image is not, the marketplace probably generated another size or recompressed the upload; compare the master, local export, and live listing before changing settings.
Should I downsample or upscale a marketplace image?
Downsample when the catalog master is larger than the required marketplace image size. A careful downsample removes pixels but can remain crisp at the target display size. Upscale only when no larger source exists: conventional enlargement cannot recover authentic captured detail, while AI can synthesize plausible texture that still needs product-accuracy review. Re-export from the master or reshoot when exact labels, materials, or construction details matter.
Which format is best for resized listing images: JPEG, PNG or WebP?
Use JPEG for widely supported photographic listing exports, or WebP when the destination accepts it and a smaller web file is useful. Use PNG or lossless WebP for transparent cutouts, logos, line art, and interface screenshots. For product photos, JPEG or WebP quality around 85–90 is a practical testing point rather than a marketplace rule; inspect text, edges, texture, and gradients before approving a batch.
References
Official and technical sources cited in this guide:
- eBay, Adding pictures to your listings. Accessed August 21, 2026.
- Instagram Help Center, Image resolution of photos you share on Instagram. Accessed August 21, 2026.
- Amazon Seller Central, Product image requirements. Accessed August 21, 2026.
- MDN Web Docs,
CanvasRenderingContext2D.imageSmoothingQuality. Technical reference for browser smoothing controls. - MDN Web Docs, Image file type and format guide. Technical reference for JPEG, PNG, and WebP capabilities.
- Ledig et al., Photo-Realistic Single Image Super-Resolution Using a Generative Adversarial Network, CVPR 2017.