


 Sophia Ma
How Do You Animate a Picture?
To animate a picture with AI, upload a clear photo to an image-to-video tool and describe one main movement: what the subject does, how the camera moves, and which details should stay the same. Choose the available length and framing, generate a clip, then pause through it to check for changes. If the picture’s contents must stay exactly as photographed, use a pan and zoom instead.
The hard part is keeping the picture recognizable once it moves. A face can shift, a dress print can drift, or a bottle label can turn into unreadable marks. This guide walks through choosing a suitable image, directing a small action, and spotting those problems before you publish.
Key takeaways
- Start with a clear picture that leaves room for movement.
- Give each clip one main action.
- Name the details that must stay consistent.
- AI has to invent any side your picture does not show.
What Can Move When You Animate a Picture?
Three things can move: the subject, the camera, and the surroundings. AI can create new movement within a still image, while a conventional pan and zoom moves the view across the existing picture.
| What moves | How it is made | What can change |
|---|---|---|
| Subject | AI generates a blink, pose change, step, or other action. | Faces, hands, shapes, and product details may be redrawn. |
| Camera | AI creates a camera move, or an editor pans and zooms over the photo. | AI may invent perspective and hidden areas. A conventional pan and zoom changes only the crop and scale. |
| Surroundings | AI animates hair, water, or steam; a cinemagraph isolates a moving area from suitable footage. | AI may also alter nearby edges, reflections, and the background. |
A design app’s Animate button may simply fade, slide, or lift the whole photo onto a page. That makes the image element move; it does not make the person inside it blink or the water ripple.
Parallax separates parts of a scene into layers to suggest depth. A cinemagraph keeps most of a scene still while one area loops. For a broader method comparison, see ways to make a video from one image.
Choose a Picture That Animates Well
AI has to infer the next frame from the information in your picture. Clear edges, visible limbs, and an unobstructed subject give it a better starting point than blur, clipped details, or overlapping objects.
- Use the original file. Choose the clearest version you have, rather than a screenshot or an image compressed through several messaging apps. Avoid heavy filters that obscure texture or facial features.
- Match the crop to the action. A close portrait suits a blink or slight smile. A full-body photo leaves more room for a small weight shift. Do not ask someone whose feet are outside the picture to walk across the scene.
- Keep important details visible. Look for separated hands and arms. Avoid a bag, crossed arm, or loose hair covering the logo, fastening, or print you need to preserve.
- Plan the final framing early. Start with a vertical photo for a vertical post. Snappyit’s fashion Image to Video preserves the source aspect ratio, so a landscape upload is not a shortcut to a full-length vertical result.
- Stay within the visible angle. A front view does not describe a garment’s back, a hidden shoe sole, or the reverse of a package. Keep the movement near that view unless your chosen tool accepts additional reference images.
Pictures that need extra care
Group photos, intertwined fingers, small packaging text, glass, and reflective jewelry need closer review. A small error can change who is touching what, the wording on a label, or the number of stones in a ring. The official fashion upload guidance also recommends keeping the garment fully visible and avoiding complex hand positions or covered product details.
For an item with several important sides, use a real reference photo of each side when the tool supports it. If you cannot supply the missing view, choose an action that keeps it out of sight.
How to Animate a Picture with AI in 4 Steps
Use the workflow that matches the image you already have. The web example below follows an on-model fashion photo; other product photos take a different route.
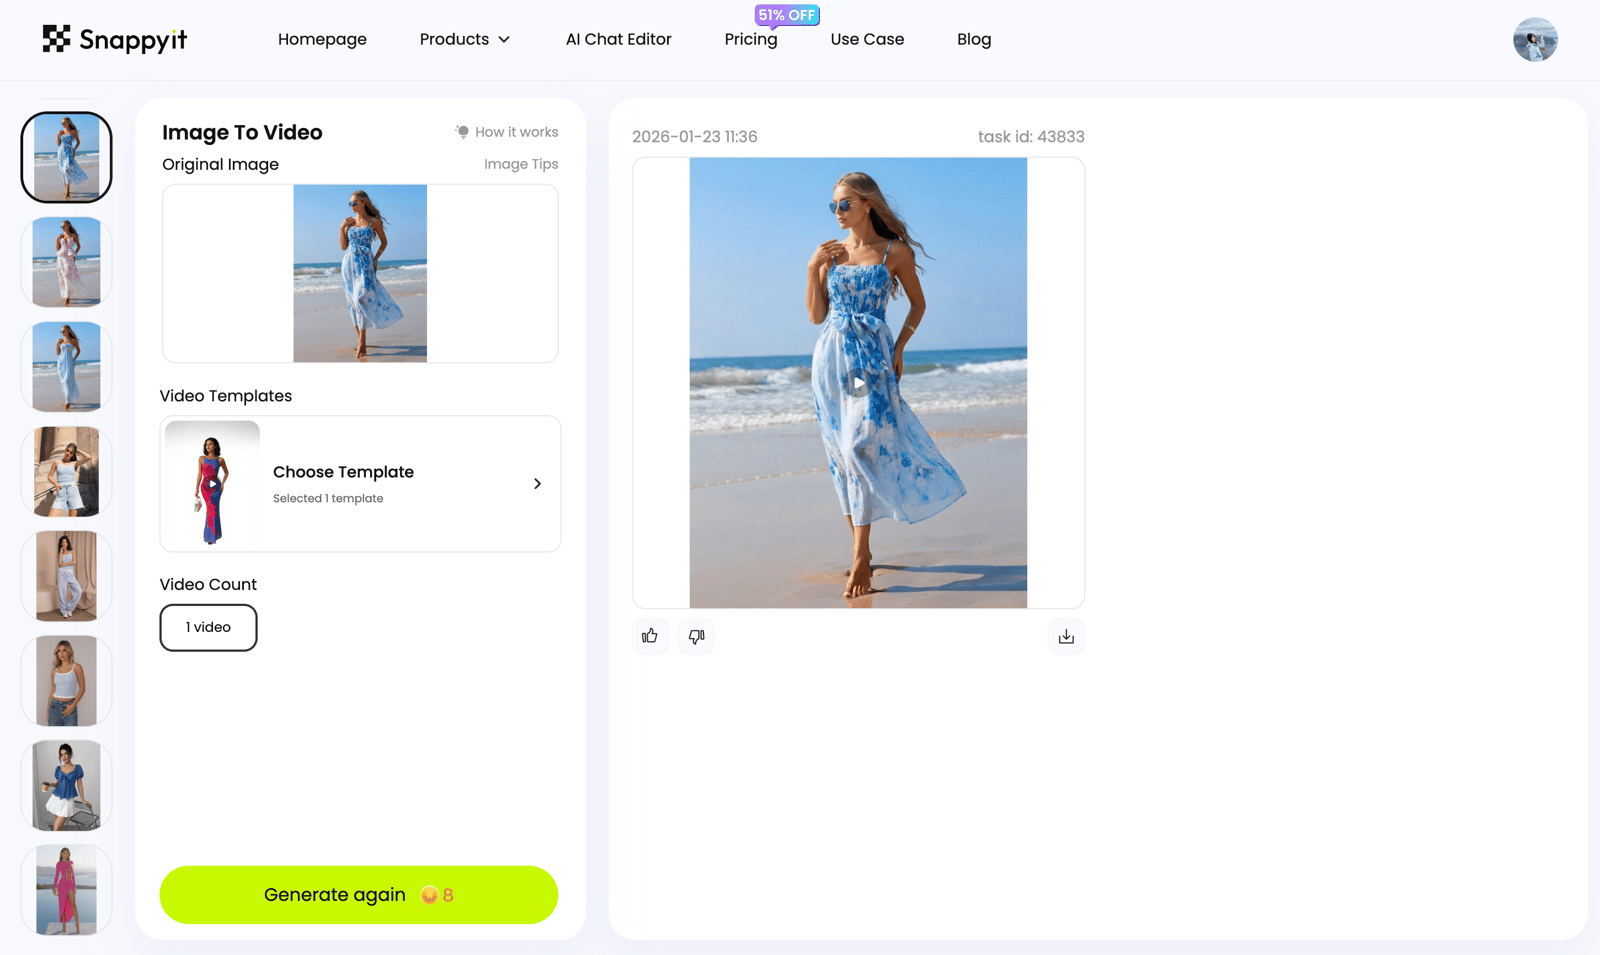
The interface images below come from existing Snappyit walkthroughs and show different examples. Available controls and credit amounts can change; use the values shown in your workspace.
1. Upload the picture to the right tool
If your photo already shows a model wearing the garment, open Snappyit Image to Video. Upload a full-body image with the garment clear and fully in frame. Before continuing, check that the upload has kept the neckline, hem, hands, and feet visible.
| Your starting picture | Use | Why |
|---|---|---|
| Model wearing your garment | Image to Video | Animate the model photo you have already approved. |
| Flat-lay or hanger photo of clothing | Fashion Video, or Fashion Model first | Make an on-model video from a template, or approve an on-model still before animating it. |
| Skincare, homeware, another product, or a non-fashion picture | Creative Studio | Choose a video model and direct the motion with your own prompt. |
Starting with a garment-only image is a different task from animating an existing model photo. The fashion video and image-to-video workflow comparison explains when to choose each route.
2. Pick a template or write a motion prompt
Video Template gives you a preset movement to start from. Choose it when an available motion fits your picture or when you want a similar approach across several garment photos. The public fashion page currently groups its examples under Full Outfit and Top Focus; choose from the templates actually available in your workspace.
Text to Motion lets you direct the action in words. Snappyit can suggest motion based on the uploaded model image; you can use, copy, or revise that suggestion. This is useful when you want the camera to hold still or the model to make one specific gesture.
Read a suggestion before running it. Remove any turn, hand movement, or camera move that hides the detail you need viewers to inspect. Start with a weight shift or another small action rather than a sequence of poses.
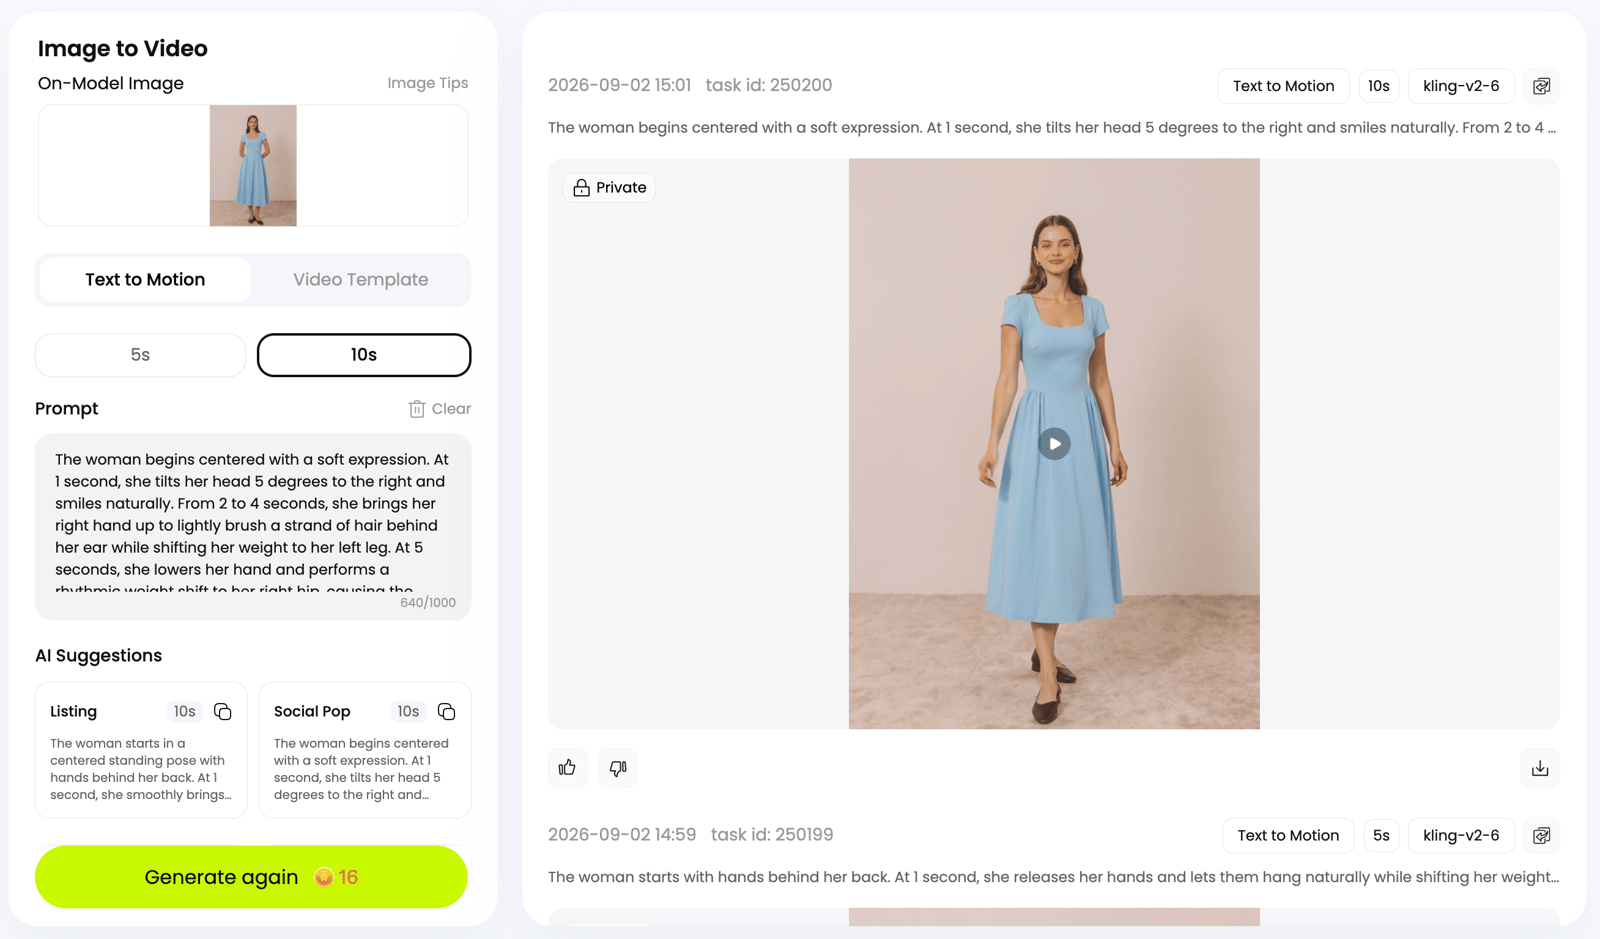
3. Set the length and generate
Select a length that gives the action enough time without adding unnecessary movement. For a first attempt, a short clip is easier to inspect than a long sequence. Duration, resolution, and aspect-ratio controls depend on the tool and model; use the options your interface offers.
For fashion Image to Video, plan around the source image’s aspect ratio. In Creative Studio, check the selected model’s supported ratios and reference inputs before generating. Neither workflow benefits from a camera move that cuts off the product halfway through.
Check the credit amount on the Generate button, then generate the clip. When comparing attempts, change one instruction at a time—such as removing a turn—so you can judge whether that change helped.
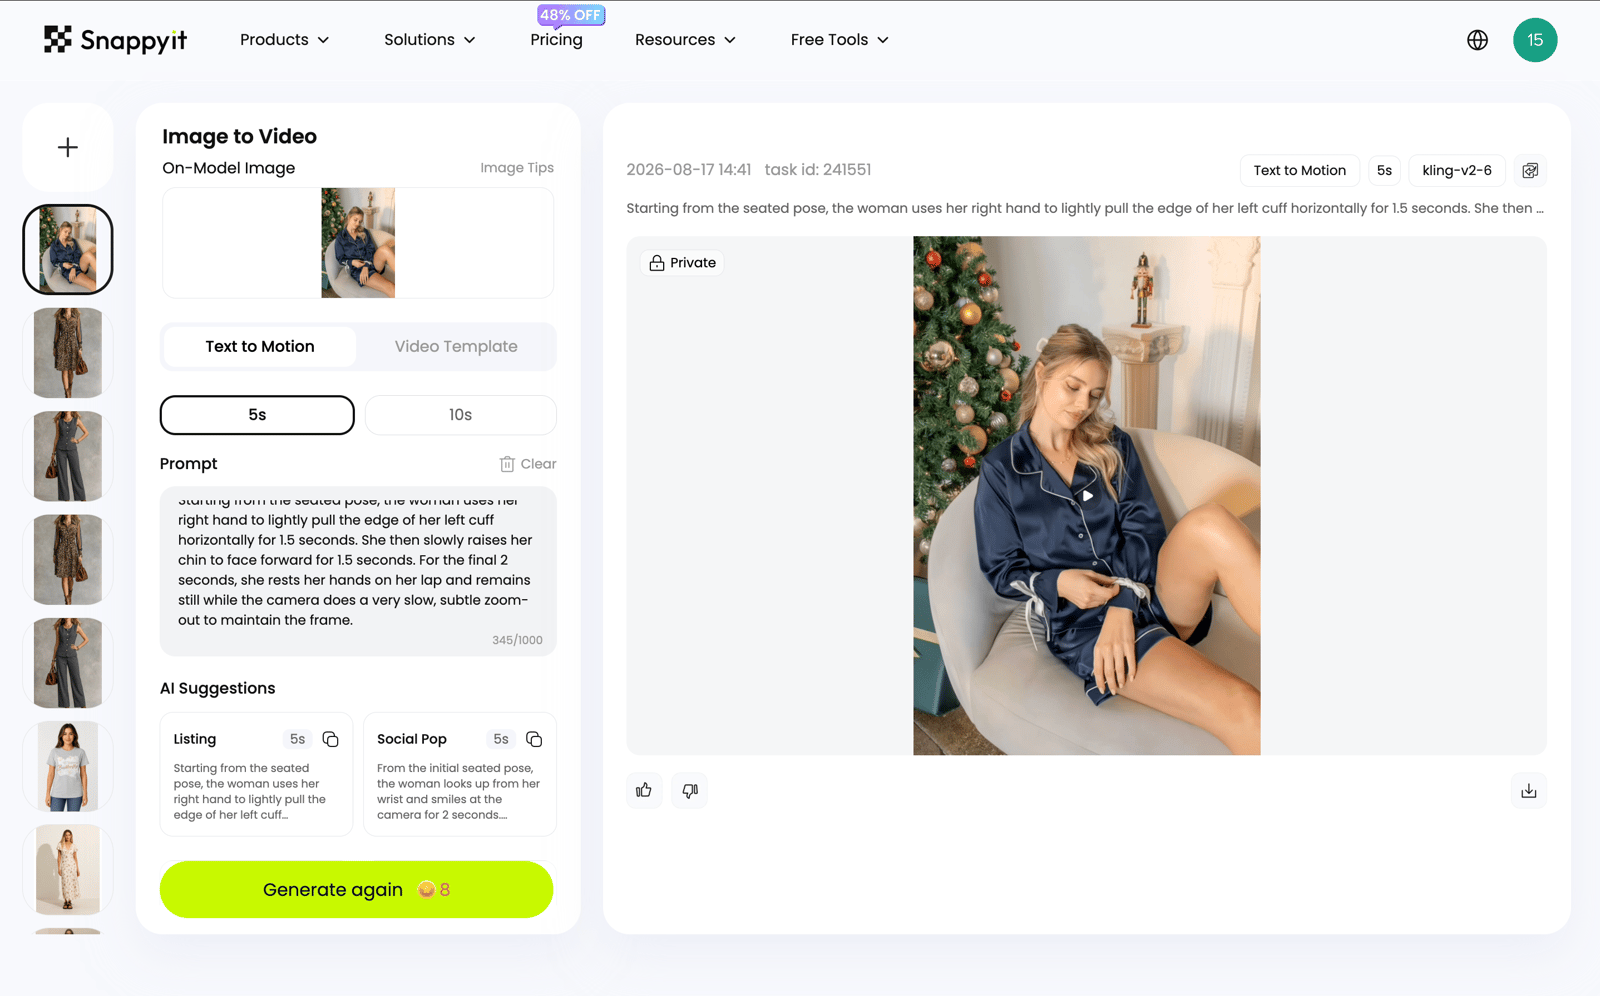
4. Review frame by frame, then export
Watch the whole clip, then pause around turns, hand movements, and changes in what overlaps. Compare the face, fingers, garment print, logo, neckline, hem length, and body proportions with the original. Check the middle and final frames as carefully as the opening.
If a detail drifts, reduce the movement or shorten the clip where supported, then generate again. A smooth-looking video can still show the wrong product. Download only the version that passes your detail checks.
For platform dimensions and the final upload checks, follow the separate export and upload guide.
How to Write a Motion Prompt That Keeps Your Picture Intact
The image already tells the model what is in the scene. Use the prompt to explain how it should move: the subject’s action, the camera, the pace, the details to preserve, and the final pose.
Subject action + Camera + Pacing + Lock list + Ending
A vague instruction leaves almost every motion choice open:
“Make this photo move.”
A more useful instruction limits the movement and names the details that matter:
“The model gently shifts her weight once and looks at the camera. Keep the camera fixed and the full dress in frame. Move slowly, then hold the final pose. Preserve the neckline, print, hem length, and color. No turn, no scene change, no added text.”
That prompt gives you something specific to evaluate. If the hem changes during a single weight shift, adding a walk and a camera orbit is unlikely to solve it.
Write timed beats for longer clips
When the selected model supports a longer clip, break the direction into simple beats. Keep the same scene and one main action throughout. For a 12-second seated-model clip, a starting prompt could be:
“0–3 seconds: hold the seated pose, facing the camera. 3–6 seconds: lift the chin slightly and give a small smile. 6–9 seconds: settle back into the starting pose. 9–12 seconds: hold still. Keep the camera fixed, hands resting on the lap, and the jacket’s collar, buttons, color, and proportions unchanged. No new objects or text.”
These timings express intent; they do not guarantee frame-accurate choreography. If the result rushes through the action, simplify the sequence instead of adding more instructions.
Say what must not change
A lock list names the visible details you will check afterward. For clothing, it might include the neckline, print placement, buttons, and hem. For a bottle, it might include the silhouette, cap, label placement, and color. Add “no extra people” or “no added text or logo” when relevant.
Preserving an existing logo and forbidding a new logo are different instructions. State both if needed. A lock list can guide generation, but it cannot guarantee exact preservation; if readable text or a precise mark keeps changing, use a conventional edit for that shot.
Motion Ideas for Different Kinds of Pictures
Choose what viewers should notice first, then pick a motion that keeps it visible. A slow push toward a bottle label serves a different purpose from rippling water behind a landscape.
| Picture type | Motion to try | What to check |
|---|---|---|
| Model wearing your garment | One weight shift; a small hand-to-hair gesture only if the hand is clearly visible | Hem length, print placement, fingers |
| Product on a plain background | Gentle push-in or a slow light sweep; avoid revealing an unseen side | Label text, silhouette, edges |
| Jewelry or accessories | Slow focus change or a slight tilt toward the light | Stone count, chain links, reflections |
| Portrait or selfie | One blink, a small smile, or a slight head turn | Identity, eyes, teeth |
| Scene or landscape | Cloud drift, water ripples, or rising steam with a fixed camera | Straight horizon, stable buildings, nearby edges |
The five prompts below are starting points to adapt to your own picture, rather than promises of a particular result.
Model photo
“The model makes one small weight shift, then holds the pose. Keep the camera fixed and the full outfit visible. Preserve the face, garment color, print, neckline, and hem length. No turn or added accessories.”
Product photo
“Slowly push the camera toward the bottle without changing the viewing angle. Keep the bottle still. Preserve its shape, cap, label placement, and existing lettering. End with the full bottle visible. No new text or objects.”
Jewelry or accessory photo
“Keep the ring stationary while focus moves gently from the band to the center stone. Preserve the number of stones, prongs, and band shape. Hold the final focus. No rotation, new stones, or background changes.”
Portrait or selfie
“The person blinks once and gives a slight closed-mouth smile, then holds still. Keep the camera fixed. Preserve facial proportions, hairstyle, clothing, and background. No head turn or additional people.”
Scene or landscape
“Keep the camera locked while small ripples move across the lake. Keep the shoreline, mountain outlines, buildings, and horizon fixed. Maintain the original light. No new objects or changes in viewpoint.”
Use images you have the right to animate. A talking photo with speech and lip sync needs a separate workflow from the subtle motion described here.
Why Animated Pictures Warp and How to Fix It
Warping often appears when a requested movement reveals information the source does not contain, or when several actions compete in the same shot. Start by reducing what the model has to invent.
| Problem | Possible cause | What to try |
|---|---|---|
| The face changes | A large head turn or expression change introduces an unfamiliar angle. | Use a blink or slight smile, reduce the turn, and shorten the action. |
| Extra or distorted fingers | Overlapping hands or a complex gesture leave the hand shape ambiguous. | Choose a clearer source with separated arms and hands; keep the hands still. |
| Logo, print, or small text drifts | Fine details are regenerated as the surface moves. | Reduce motion and name the details to preserve. Add new readable copy in an editor afterward; use pan and zoom if the original label must remain exact. |
| Garment length or proportions change | A camera move crops edges or changes the view of the body. | Lock the camera, keep the whole garment visible, and remove the turn. |
| The back is invented | Only a front-view reference was supplied. | Supply a real back-view reference in a model that accepts it, or keep the shot front-facing. |
| Flicker or jitter | The model struggles to keep edges and textures consistent across frames. | Reduce movement, simplify the scene, or try another available model. |
| Any redrawing is unacceptable | The task needs exact source-image preservation. | Use a conventional pan and zoom instead of generative movement. |
In Creative Studio, Kling 3.0 accepts a start and end frame. Kling O3 supports up to four reference photos, and Seedance 2.0 accepts mixed references within its file limits. Real front and back photos can provide information missing from a single view, but they do not guarantee that every frame between those views is accurate.
If packaging copy is the main problem, see why AI gets text wrong on products. Keep a clean source image and add promotional text after the motion is approved.
For product listings: use AI motion as supplementary imagery. It cannot establish a garment’s real drape, stretch, fit, or unseen construction. Keep real product photos and measurements available.
Can You Animate a Picture Without AI?
Yes. A video editor can move slowly across a still photo using a pan and zoom, often called the Ken Burns effect. You set a starting crop and an ending crop; the editor changes the view between them without generating new subject detail.
For a product image, begin with the whole item visible and end slightly closer to an important feature. Keep the move small enough that the source remains sharp and the item stays inside the frame. The person will not blink and the fabric will not sway, but the photographed content remains the source.
Follow the pan-and-zoom walkthrough for the editor steps.
Frequently Asked Questions
Can I animate a picture for free?
Some tools offer free credits or limited trials, with restrictions that vary by service. Snappyit offers free credits for new users. Check the current Pricing page and the credit amount on the Generate button before starting.
Can I animate an AI-generated image or a drawing?
Yes, if the chosen tool accepts that kind of image. An AI-generated on-model fashion photo can be used as the starting point for fashion Image to Video. For a drawing, illustration, or other non-fashion image, use Creative Studio and choose a suitable video model. Make sure you have the right to use the image.
Will the animation keep my picture exactly the same?
No. Generative image-to-video models create new frames, so faces, hands, text, and product details can change. Check the result against the source picture. Use a conventional pan and zoom when the photographed content must remain unchanged.
How long should an animated picture be?
Keep it short enough to complete one clear action. In Snappyit Creative Studio, supported video lengths vary by model within an overall range of 1 to 15 seconds. Fashion Image to Video has its own available durations. Check the selected tool’s controls rather than assuming every model supports the same length.
How do I animate a picture on my phone?
In the Snappyit app for iPhone or Android, open Image to Video, upload an on-model photo, and choose Prompt or Template. Review the available settings and credit amount, generate the clip, then check the details before saving.
Start with One Picture and One Small Movement
Choose a clear source, keep the first action small, and write down the details that must stay consistent. Then compare the generated frames with the original. If a turn or camera move changes the product, simplify it. If the shot needs exact detail throughout, a pan and zoom may be the better choice.
With an approved on-model image, animate a model photo. For skincare, homeware, or another product, animate a product photo with your own motion prompt.
More Resources
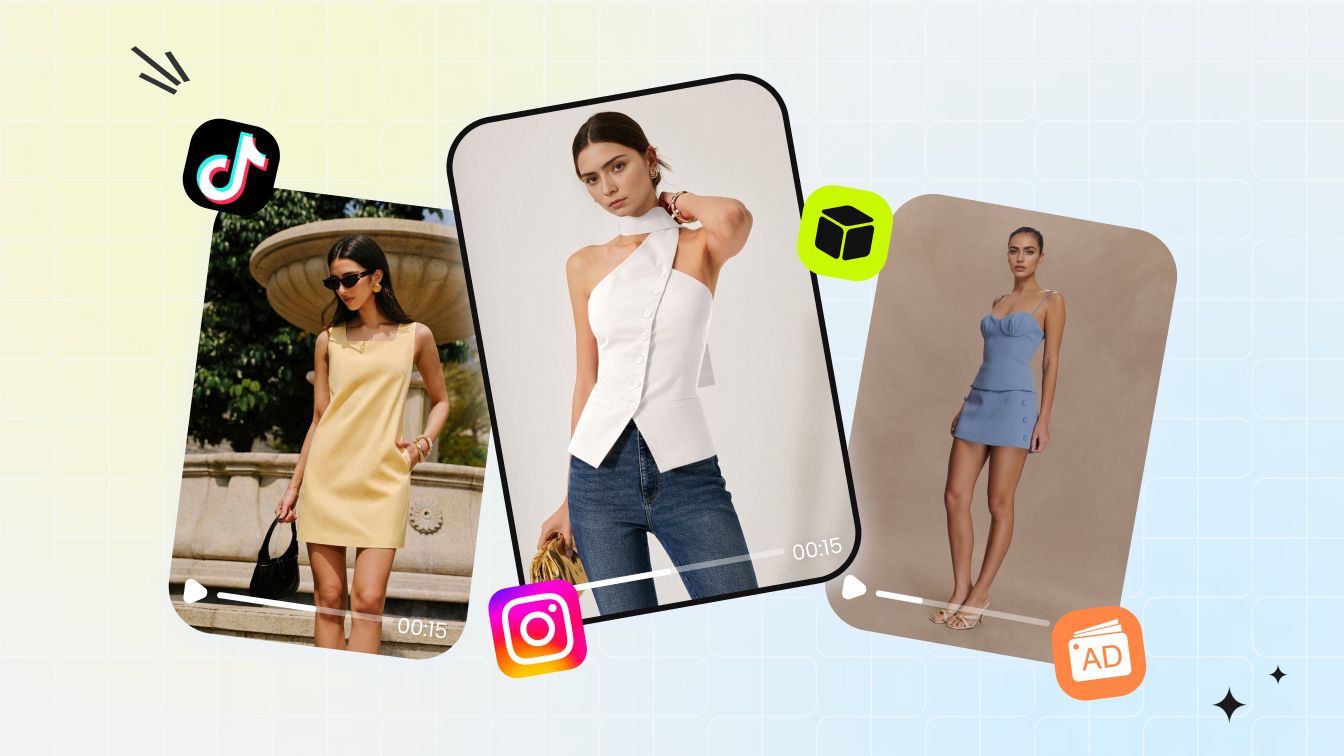 METHODS & EXPORTHow to Make a Video From a Single Image
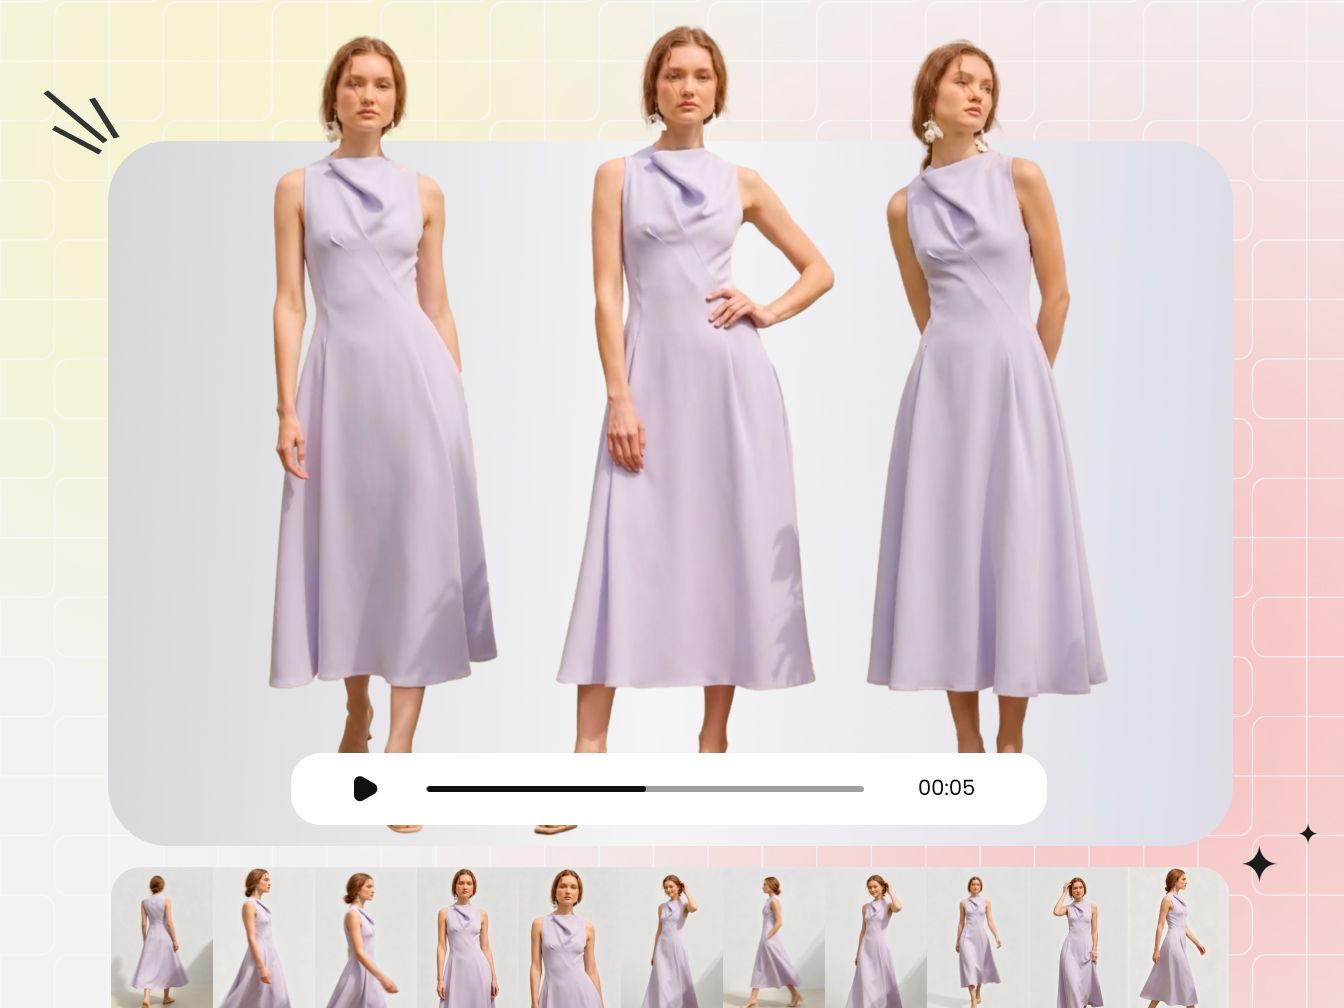 MOBILE WORKFLOWTurn Product Photos into AI Videos on Your Phone
 TOOL COMPARISONAI Image-to-Video Apps for Fashion Product Photos
References
- Snappyit Image to Video — source-image guidance, aspect-ratio behavior, and public fashion examples.
- Snappyit Creative Studio — video models, reference inputs, and supported duration ranges.
- How to Make a Video From a Single Image — Text to Motion, templates, pan and zoom, and export workflows.