


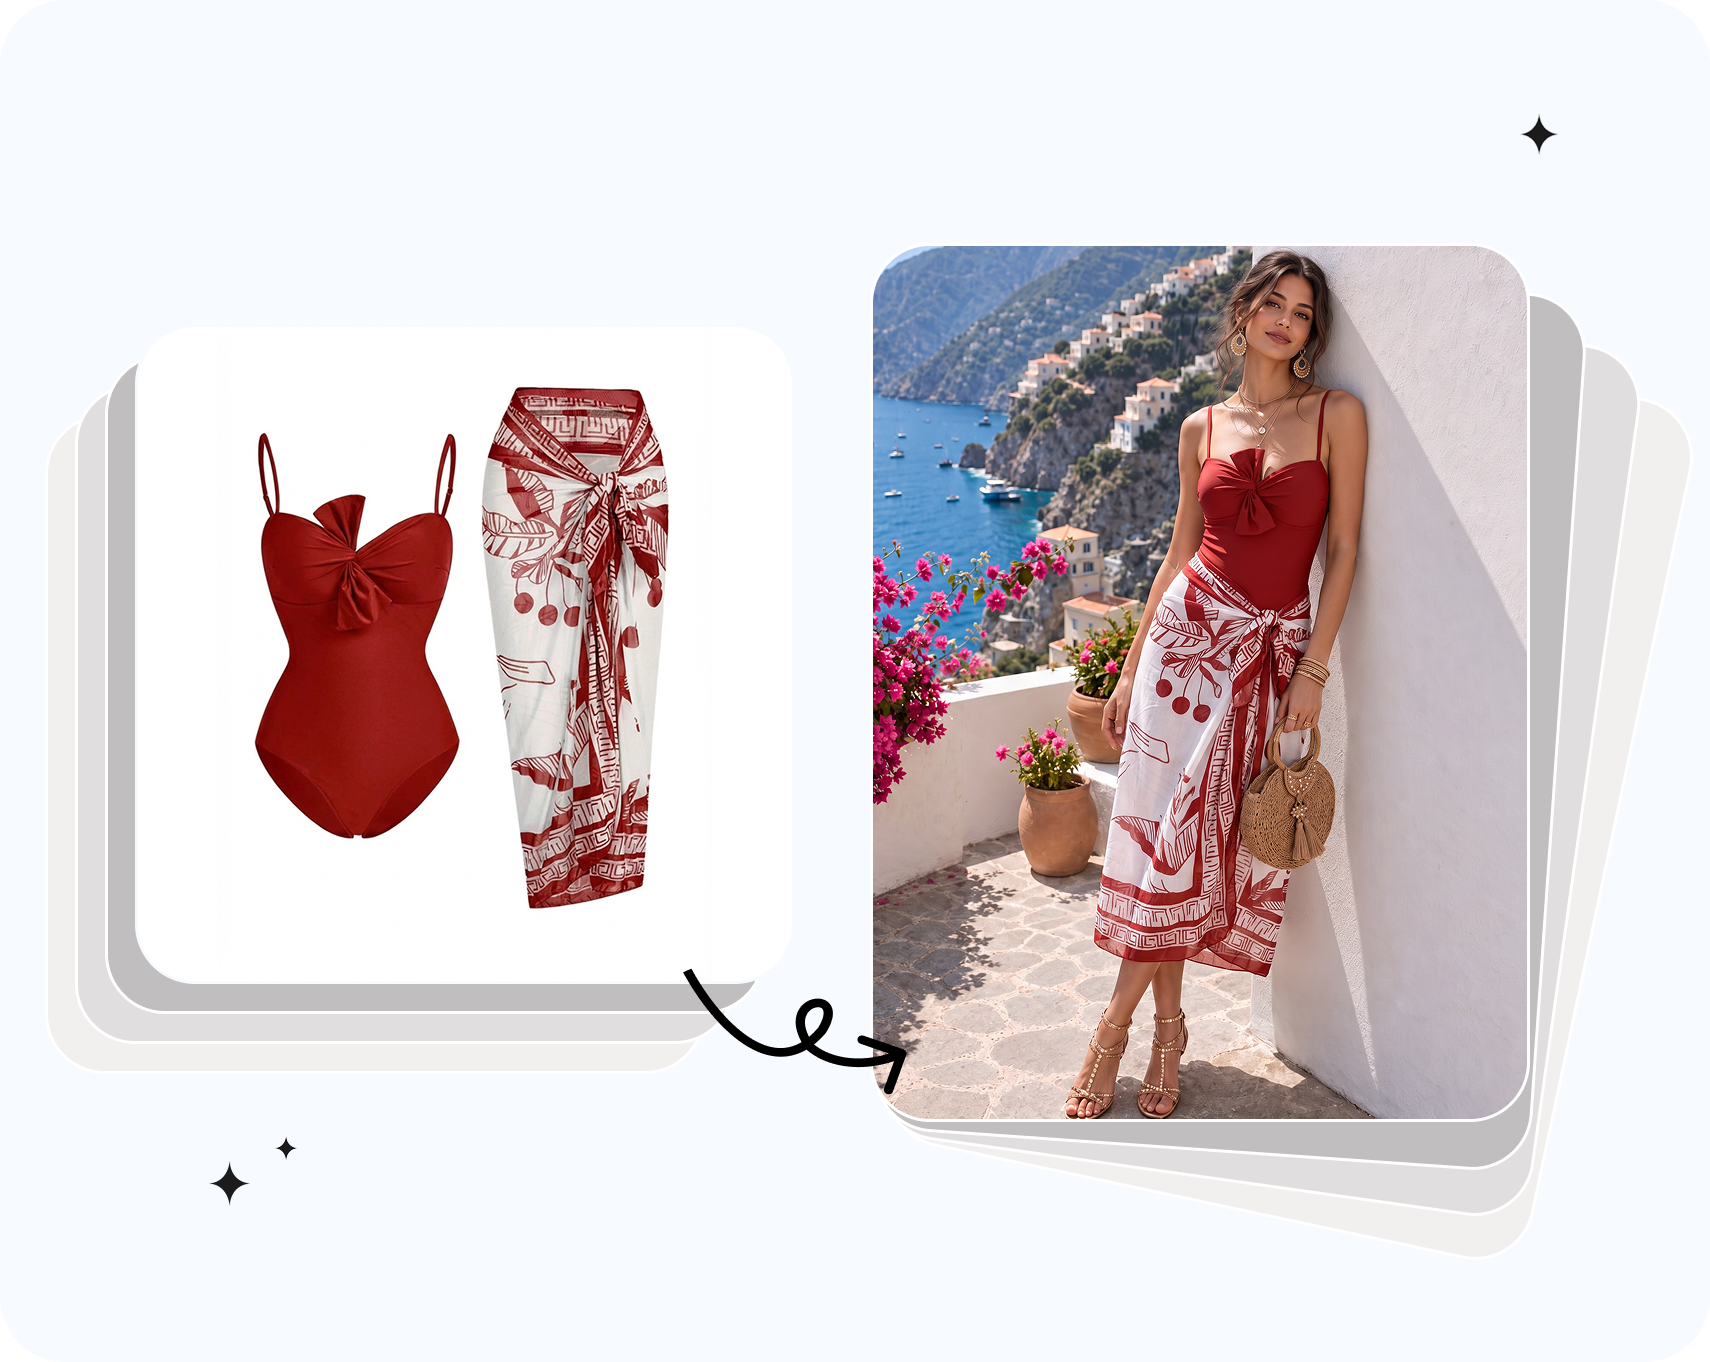

To use Nano Banana for product photography, upload a clear photo of the item, specify the details that must stay unchanged, and describe one change to the background, lighting or composition. Then compare the result with the real product before you publish it. A convincing scene is useful only if the item still matches what the customer will receive.
This guide covers model selection, a six-step editing workflow, a reusable prompt formula and six reference-based prompts to adapt to your own products. It also explains how to check labels, plan consistent image sets and prepare files for marketplaces. Use the illustrated examples to see how product, scene and packaging references can play different roles.
Key takeaways
- Start with a real product photo and a separate close-up of important text.
- Define what must stay unchanged before describing the new scene.
- Use photographs of each required angle; a generated view can invent hidden details.
- Check labels, color, shape, item count and added objects on every result.
- Keep AI provenance metadata when preparing images for Google Shopping.
What is Nano Banana, and which version should you use for product photos?
Nano Banana is Google's name for its Gemini image generation and editing models. Nano Banana 2 and Nano Banana Pro support editing from reference images, so you can work from a product photograph rather than inventing an item from a text description.
The names below identify the three versions discussed throughout this guide. They are not the entire current lineup: Google's API documentation also lists Nano Banana 2.1 and Nano Banana 2 Lite. Check the model name in your chosen tool before applying version-specific advice.
| Version | Google model | Introduced | Relevant capabilities |
|---|---|---|---|
| Nano Banana | Gemini 2.5 Flash Image | August 2025 | Image generation and editing; the original model in this group. |
| Nano Banana Pro | Gemini 3 Pro Image | November 20, 2025 | Detailed creative controls, text rendering and outputs up to 4K; Google announced support for up to 14 image inputs. |
| Nano Banana 2 | Gemini 3.1 Flash Image | February 26, 2026 | Reference-based editing, subject consistency and outputs up to 4K. |
These are model capabilities, not a promise that every app exposes the same controls. The launch details come from Google's Nano Banana Pro announcement and Nano Banana 2 announcement.
Which Nano Banana model is best for product photos?
For a background or lighting edit, start with the reference-capable model available in your tool. For packaging, detailed typography or a complex composition, Pro is worth comparing on the same inputs: Google positions it for precision and brand consistency. Neither option guarantees an exact label. Choose by inspecting your own products, rather than assuming a model name settles the result.
Where can you use Nano Banana for product photos?
You can access Nano Banana through the Gemini app, Google's developer tools and third-party creative tools. Choose the route that gives you the references, output settings and export options needed for the image.
| Route | Useful for | References and output | Provenance |
|---|---|---|---|
| Gemini app | Editing through a conversation | Model access and controls depend on the account and current app offering. | Google-generated images include SynthID; visible watermark rules can depend on the service and plan. |
| Google AI Studio, Gemini API or Vertex AI | Developer workflows and repeatable requests | Use the documentation for the exact model and service; Pro and Nano Banana 2 support up to 4K. | SynthID applies to generated images. Keep available content credentials with the export. |
| Snappyit Creative Studio | Prompt-based product editing on a canvas | Image models accept up to 10 reference photos; Nano Banana 2 and Pro support up to 4K. | Inspect the downloaded file and preserve AI provenance information through later edits. |
Google's Nano Banana 2 announcement describes SynthID alongside C2PA Content Credentials. These serve different roles from visible branding and from the IPTC metadata required by Merchant Center. A file that looks watermark-free still needs the metadata checks described in the platform section.
What you need before you start
- A sharp, evenly lit product photo. Include the full outline. Avoid clipped caps, deep shadows and reflections that cover the label.
- A real photo of every angle you need. A front view does not show the back, fastening or underside.
- A label or logo close-up. Photograph it square-on so the lettering is readable.
- An optional color or style reference. Keep style references separate from evidence of the product's actual appearance.
- A destination for the image. Decide whether it is a listing photo, a gallery image or an advertisement. Use this marketplace image size guide to plan the crop.
How to use Nano Banana for product photography, step by step
Build the edit around the real item. Use these six steps to keep the request specific and the result easy to review:
- Upload a product photo and a label close-up.
- State which product details must stay unchanged.
- Describe one scene or lighting change.
- Choose the aspect ratio and output resolution.
- Refine one element at a time.
- Check the result against the product.
Step 1: Upload a clean product photo and a label close-up
Give each reference a clear role. The main photo establishes the silhouette, color and camera view; the close-up makes the label easier to read. A third image can provide a scene style, but its product should not replace yours.
Image 1 shows the actual bottle. Image 2 is a close-up of its label. Use image 1 for the bottle shape, cap, proportions and color. Use image 2 to preserve the label design and wording.Step 2: Say what must not change
Name the details that identify the item: the cap, label position, seams, fasteners, stone setting or sole pattern. “Keep the product the same” leaves too much room for interpretation. For a bottle, a useful instruction is: “Keep the bottle shape, cap, label text and logo exactly as in the references.”
This is an instruction to the model, not a guarantee. Keep the original open for comparison.
Step 3: Describe one change: scene, light and camera
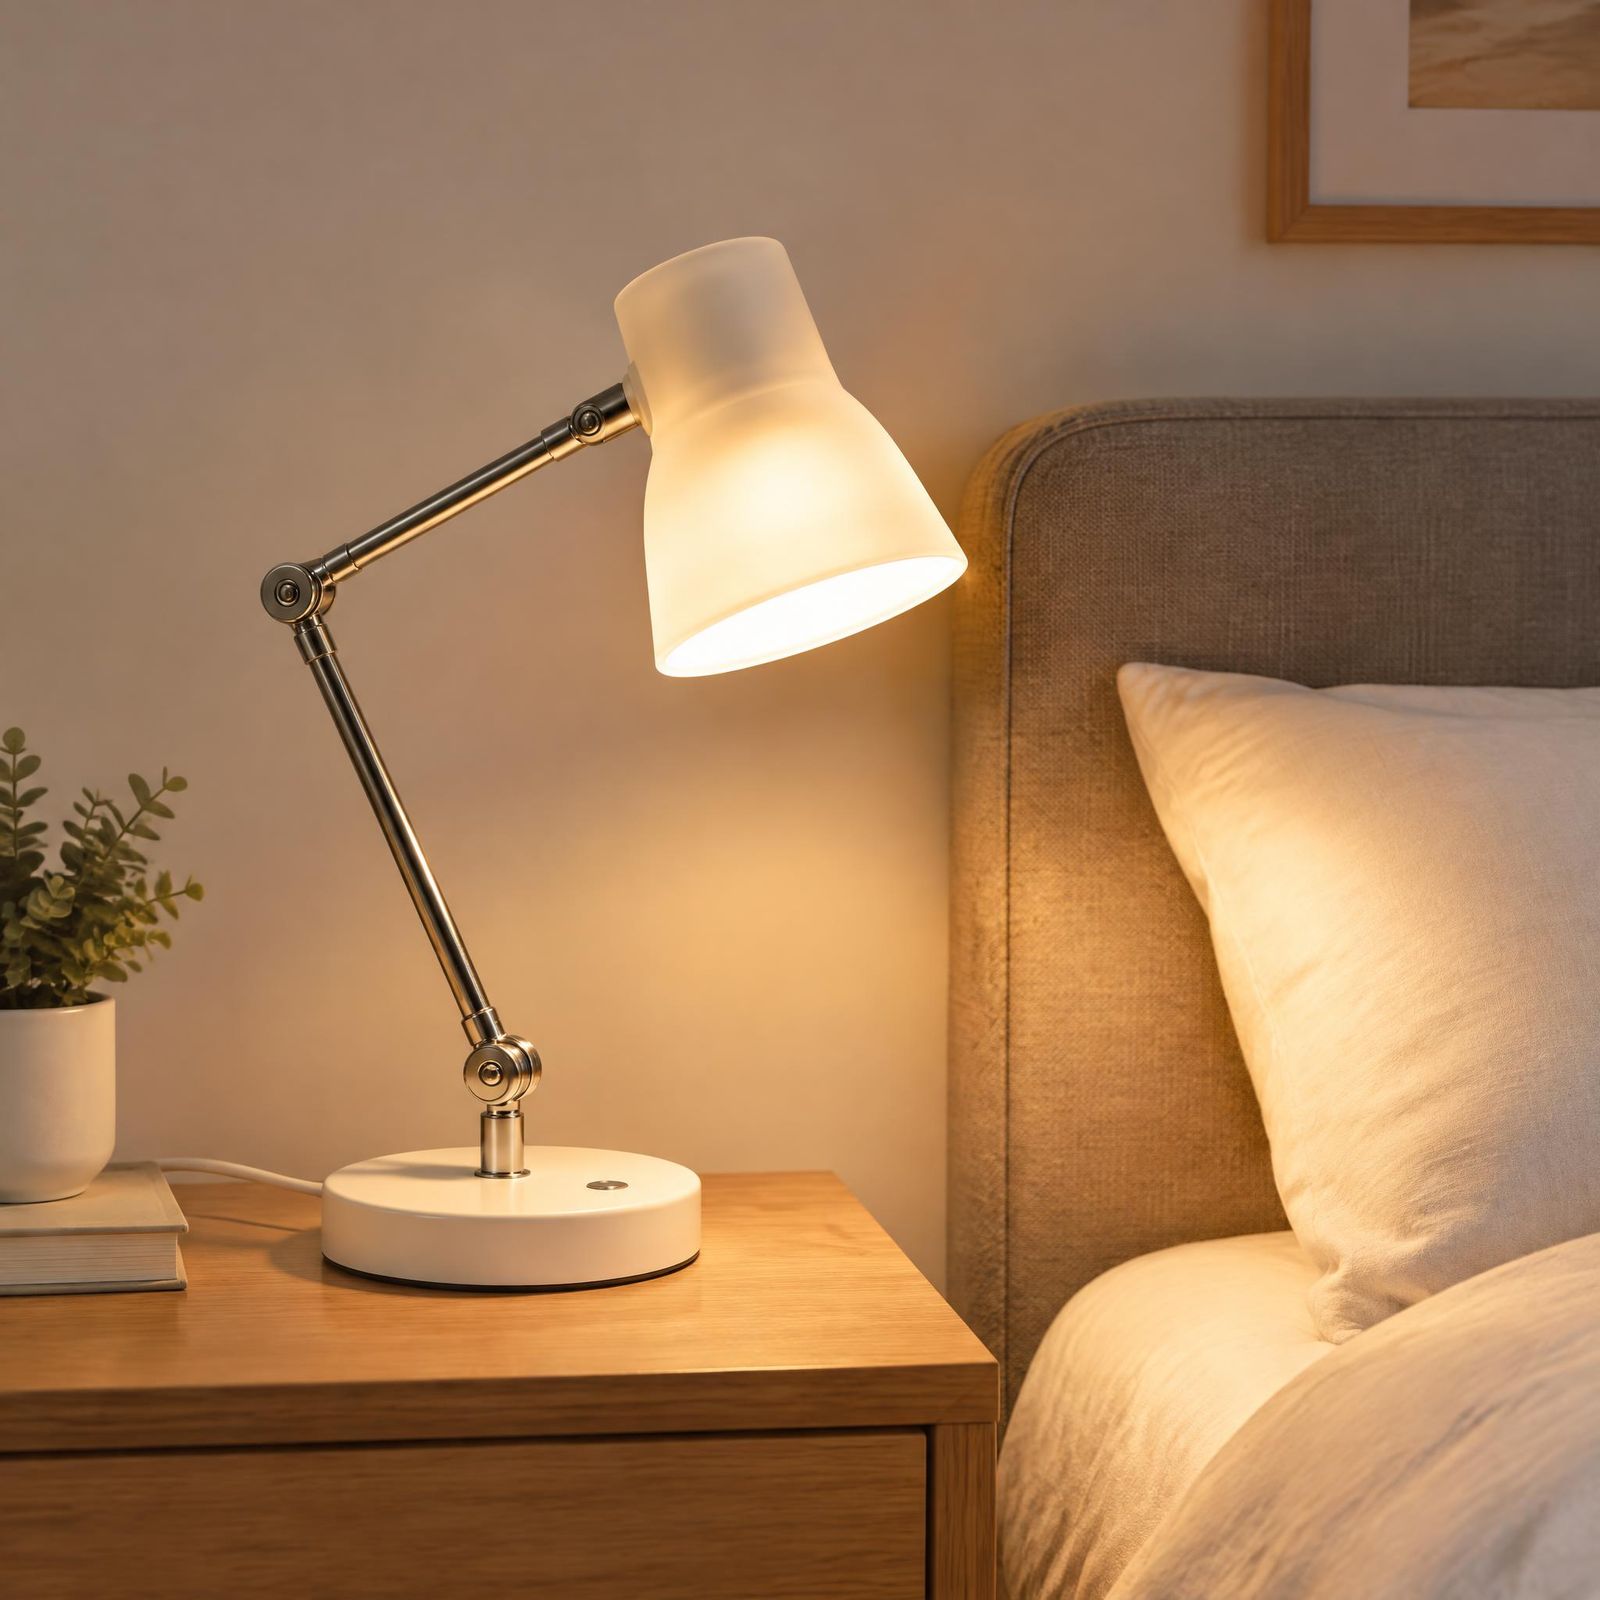
Start with a restrained scene. Describe the surface, background, light direction and camera view in complete sentences. For example: “Place the bottle upright on pale stone beside a bathroom window. Use soft light from the left and keep the front label in focus.”
Google's image prompting guide recommends describing a scene rather than listing disconnected keywords. Photographic terms help when they express a clear intention: a front-facing view preserves the label; a shallow depth of field softens the room behind it.
Step 4: Choose the aspect ratio and resolution
Choose the format in the tool's controls when available. A square crop may suit a listing, while a portrait composition may suit a social placement. Leave room for the full product and any later text overlay. These are composition choices, not universal platform requirements.
Select the output resolution separately. Writing “4K” in the prompt does not replace a resolution setting. If an approved image only needs enlargement, a product photo upscaler may be a simpler next step.
Step 5: Refine with follow-up edits, one change at a time
Ask for one adjustment, such as “Make the background warmer while keeping the bottle and its shadow unchanged.” Save each promising result before continuing. If a later version changes the item, return to the original references and restate the edit rather than building on the altered product.
Step 6: Check the result against the real product
Review at full size, then at the size customers will see. Use this checklist for every image:
- Text: read every visible word, number and unit.
- Color: compare the item with the reference under neutral viewing conditions.
- Shape: inspect proportions, edges, openings and construction details.
- Count: confirm the correct number of items and included accessories.
- Added objects: check for invented parts, props, reflections or unsupported claims.
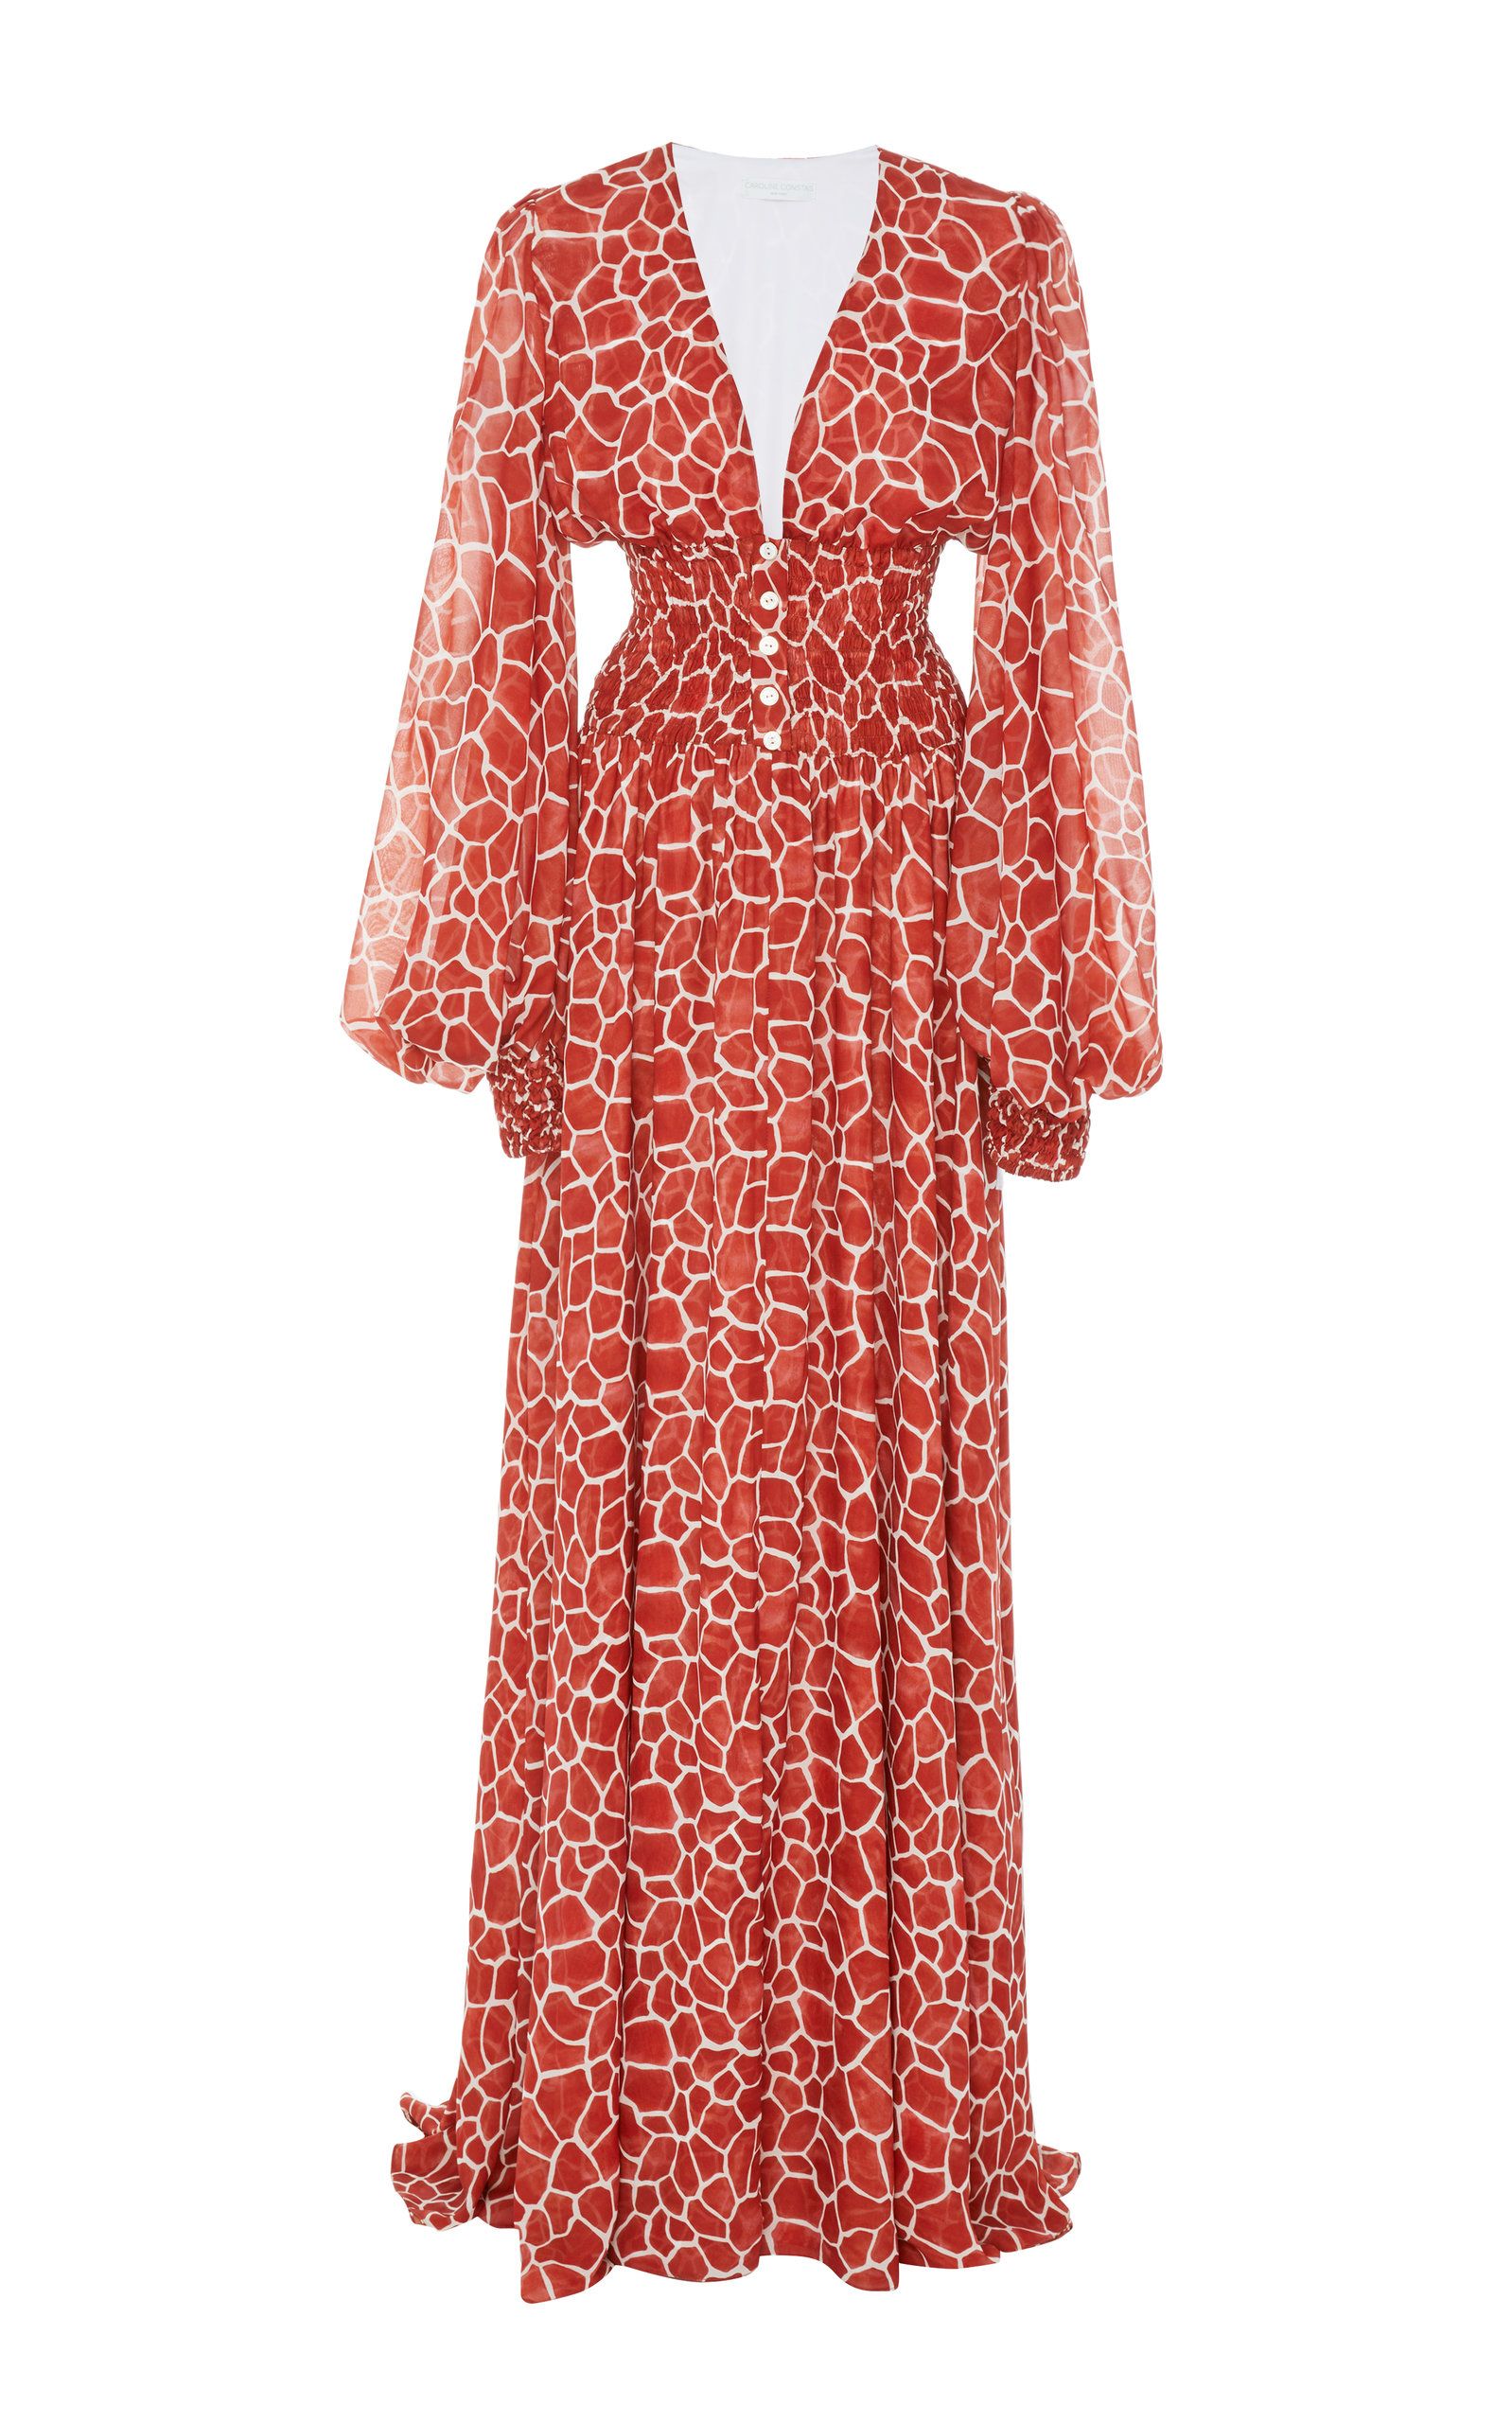
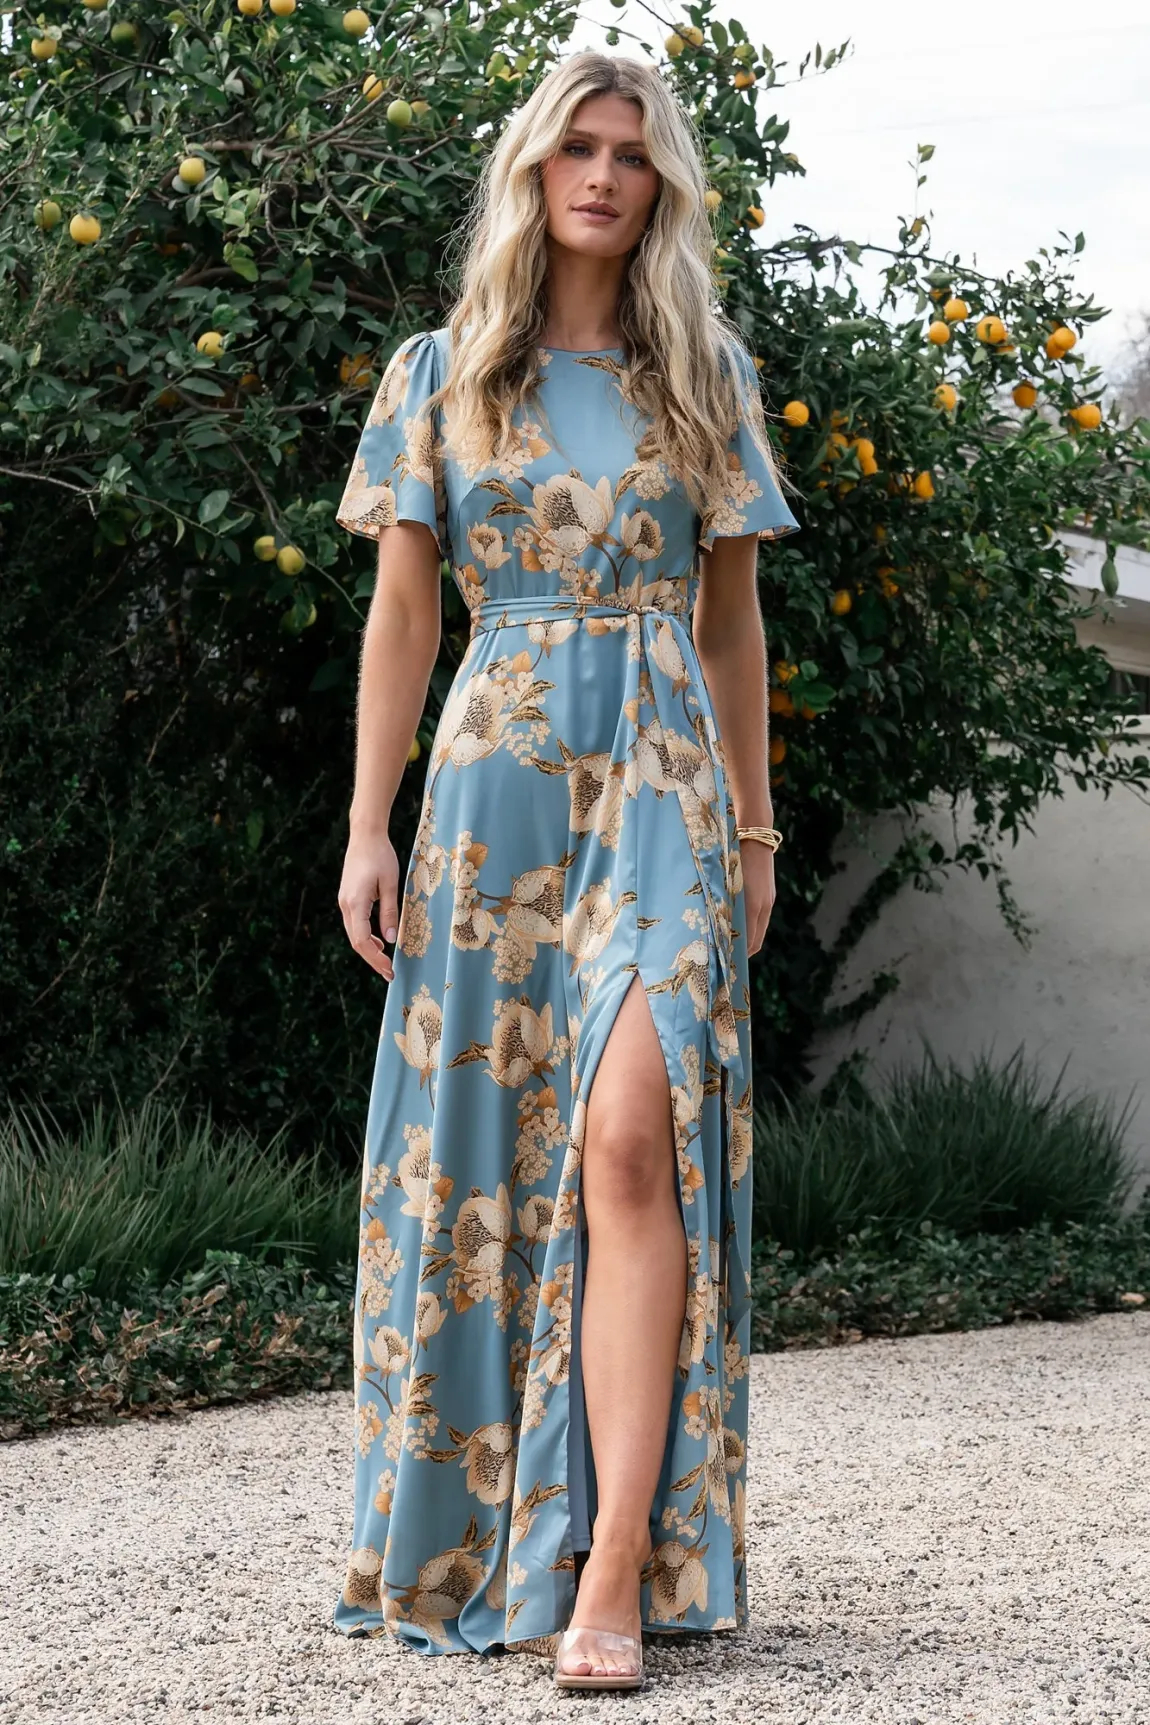
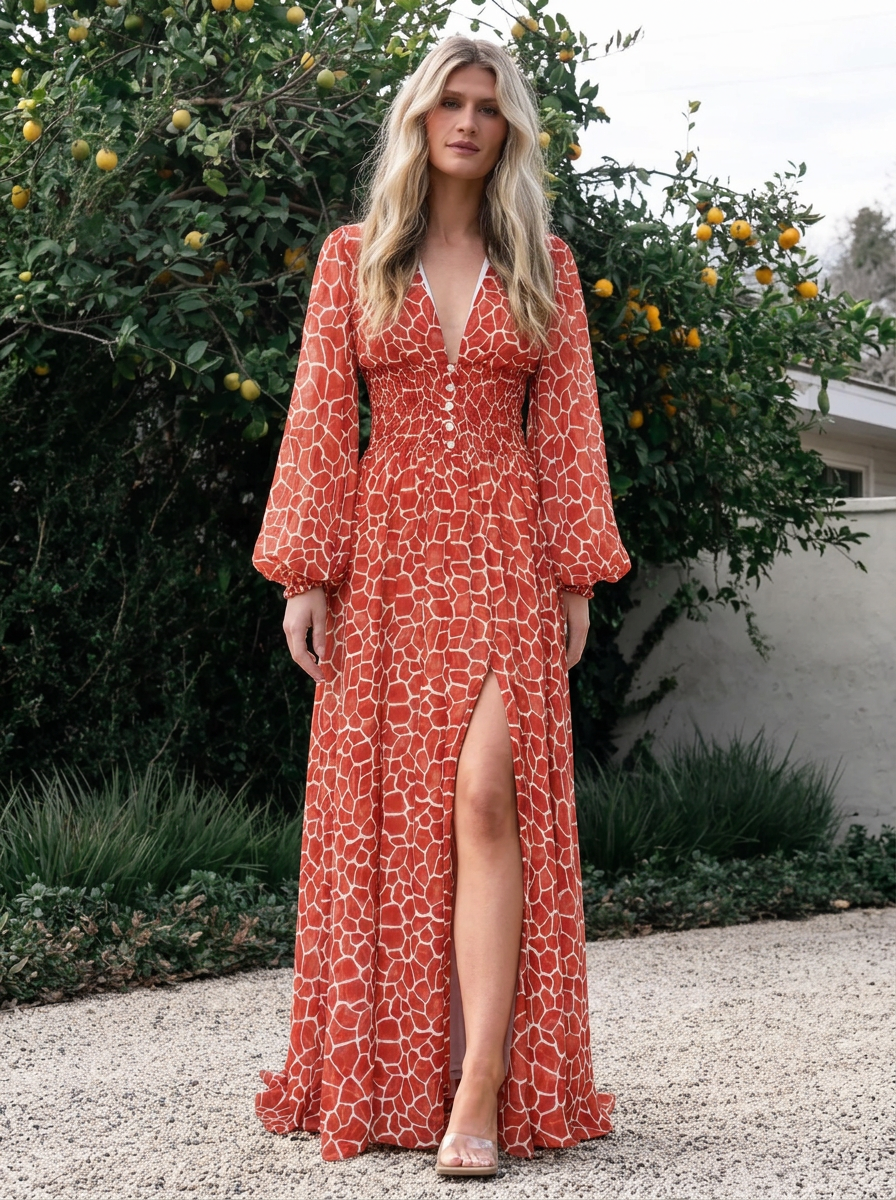
The Nano Banana prompt formula for product photos
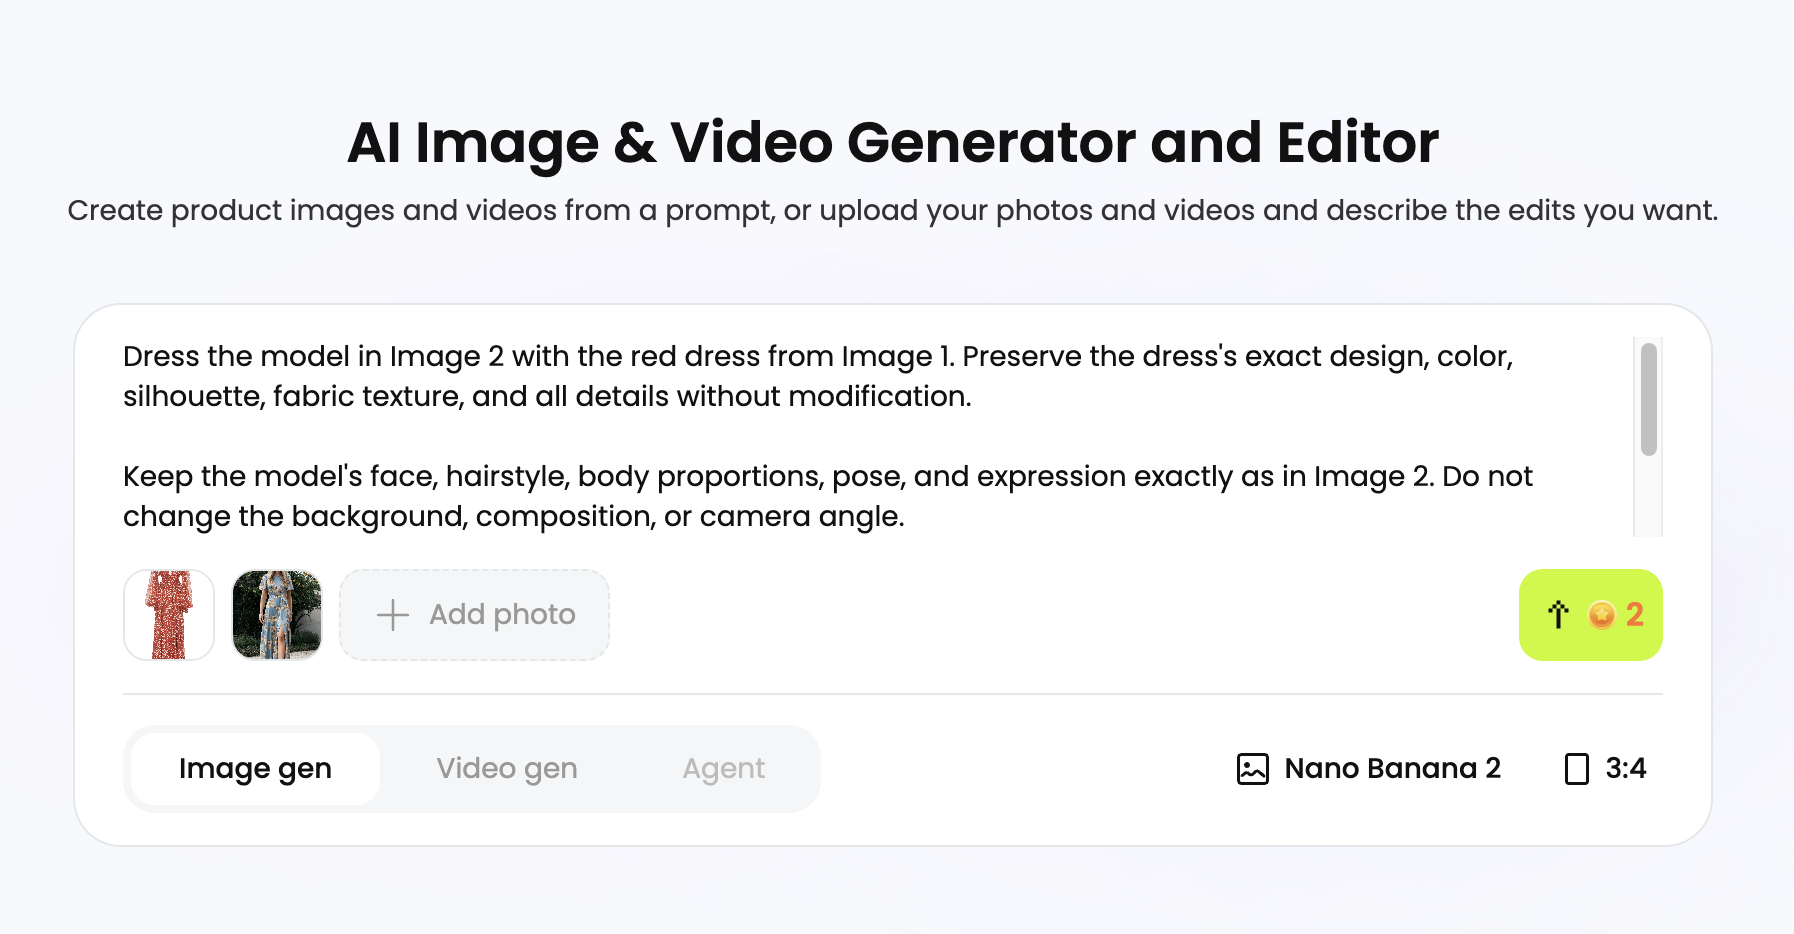
A useful product photo prompt covers five things: what to preserve, what to change, the scene, the light and camera, and the output format. Put the product constraints first.
Use image 1 as the product reference and image 2 as the label close-up.
Keep [shape, material, color, label wording, logo and construction details] unchanged.
Change only [background / surface / lighting].
Place the product [position] on [surface], with [specific props, if any].
Light it with [light source and direction]. Show it from [camera angle] with [focus].
Compose for [aspect ratio], leaving [space] for the intended placement.
Keep the scene limited to [the product and named objects].
A weak request might be: “Luxury skincare, beautiful, premium, realistic, 4K.” It gives a mood without defining the bottle or the composition.
A clearer request is: “Keep the bottle and label from the references unchanged. Place it upright on a matte ivory shelf against a warm gray wall. Use soft window light from the left, an eye-level camera and a sharp front label. Show only the bottle and its natural contact shadow.”
Describe the desired arrangement directly. “An empty shelf holding only the bottle” is more precise than a long list of unwanted objects. Add props only when they help explain the product; a crowded scene creates more details to inspect.
6 Nano Banana prompts for product photos
These six templates focus on reference-image roles and conversational editing. Adapt them to your product and use the controls to set the format. The examples illustrate the requested edits; check each result against its source.
1. White background listing photo
Keep the photographed view. Check the Amazon image requirements for the intended slot.
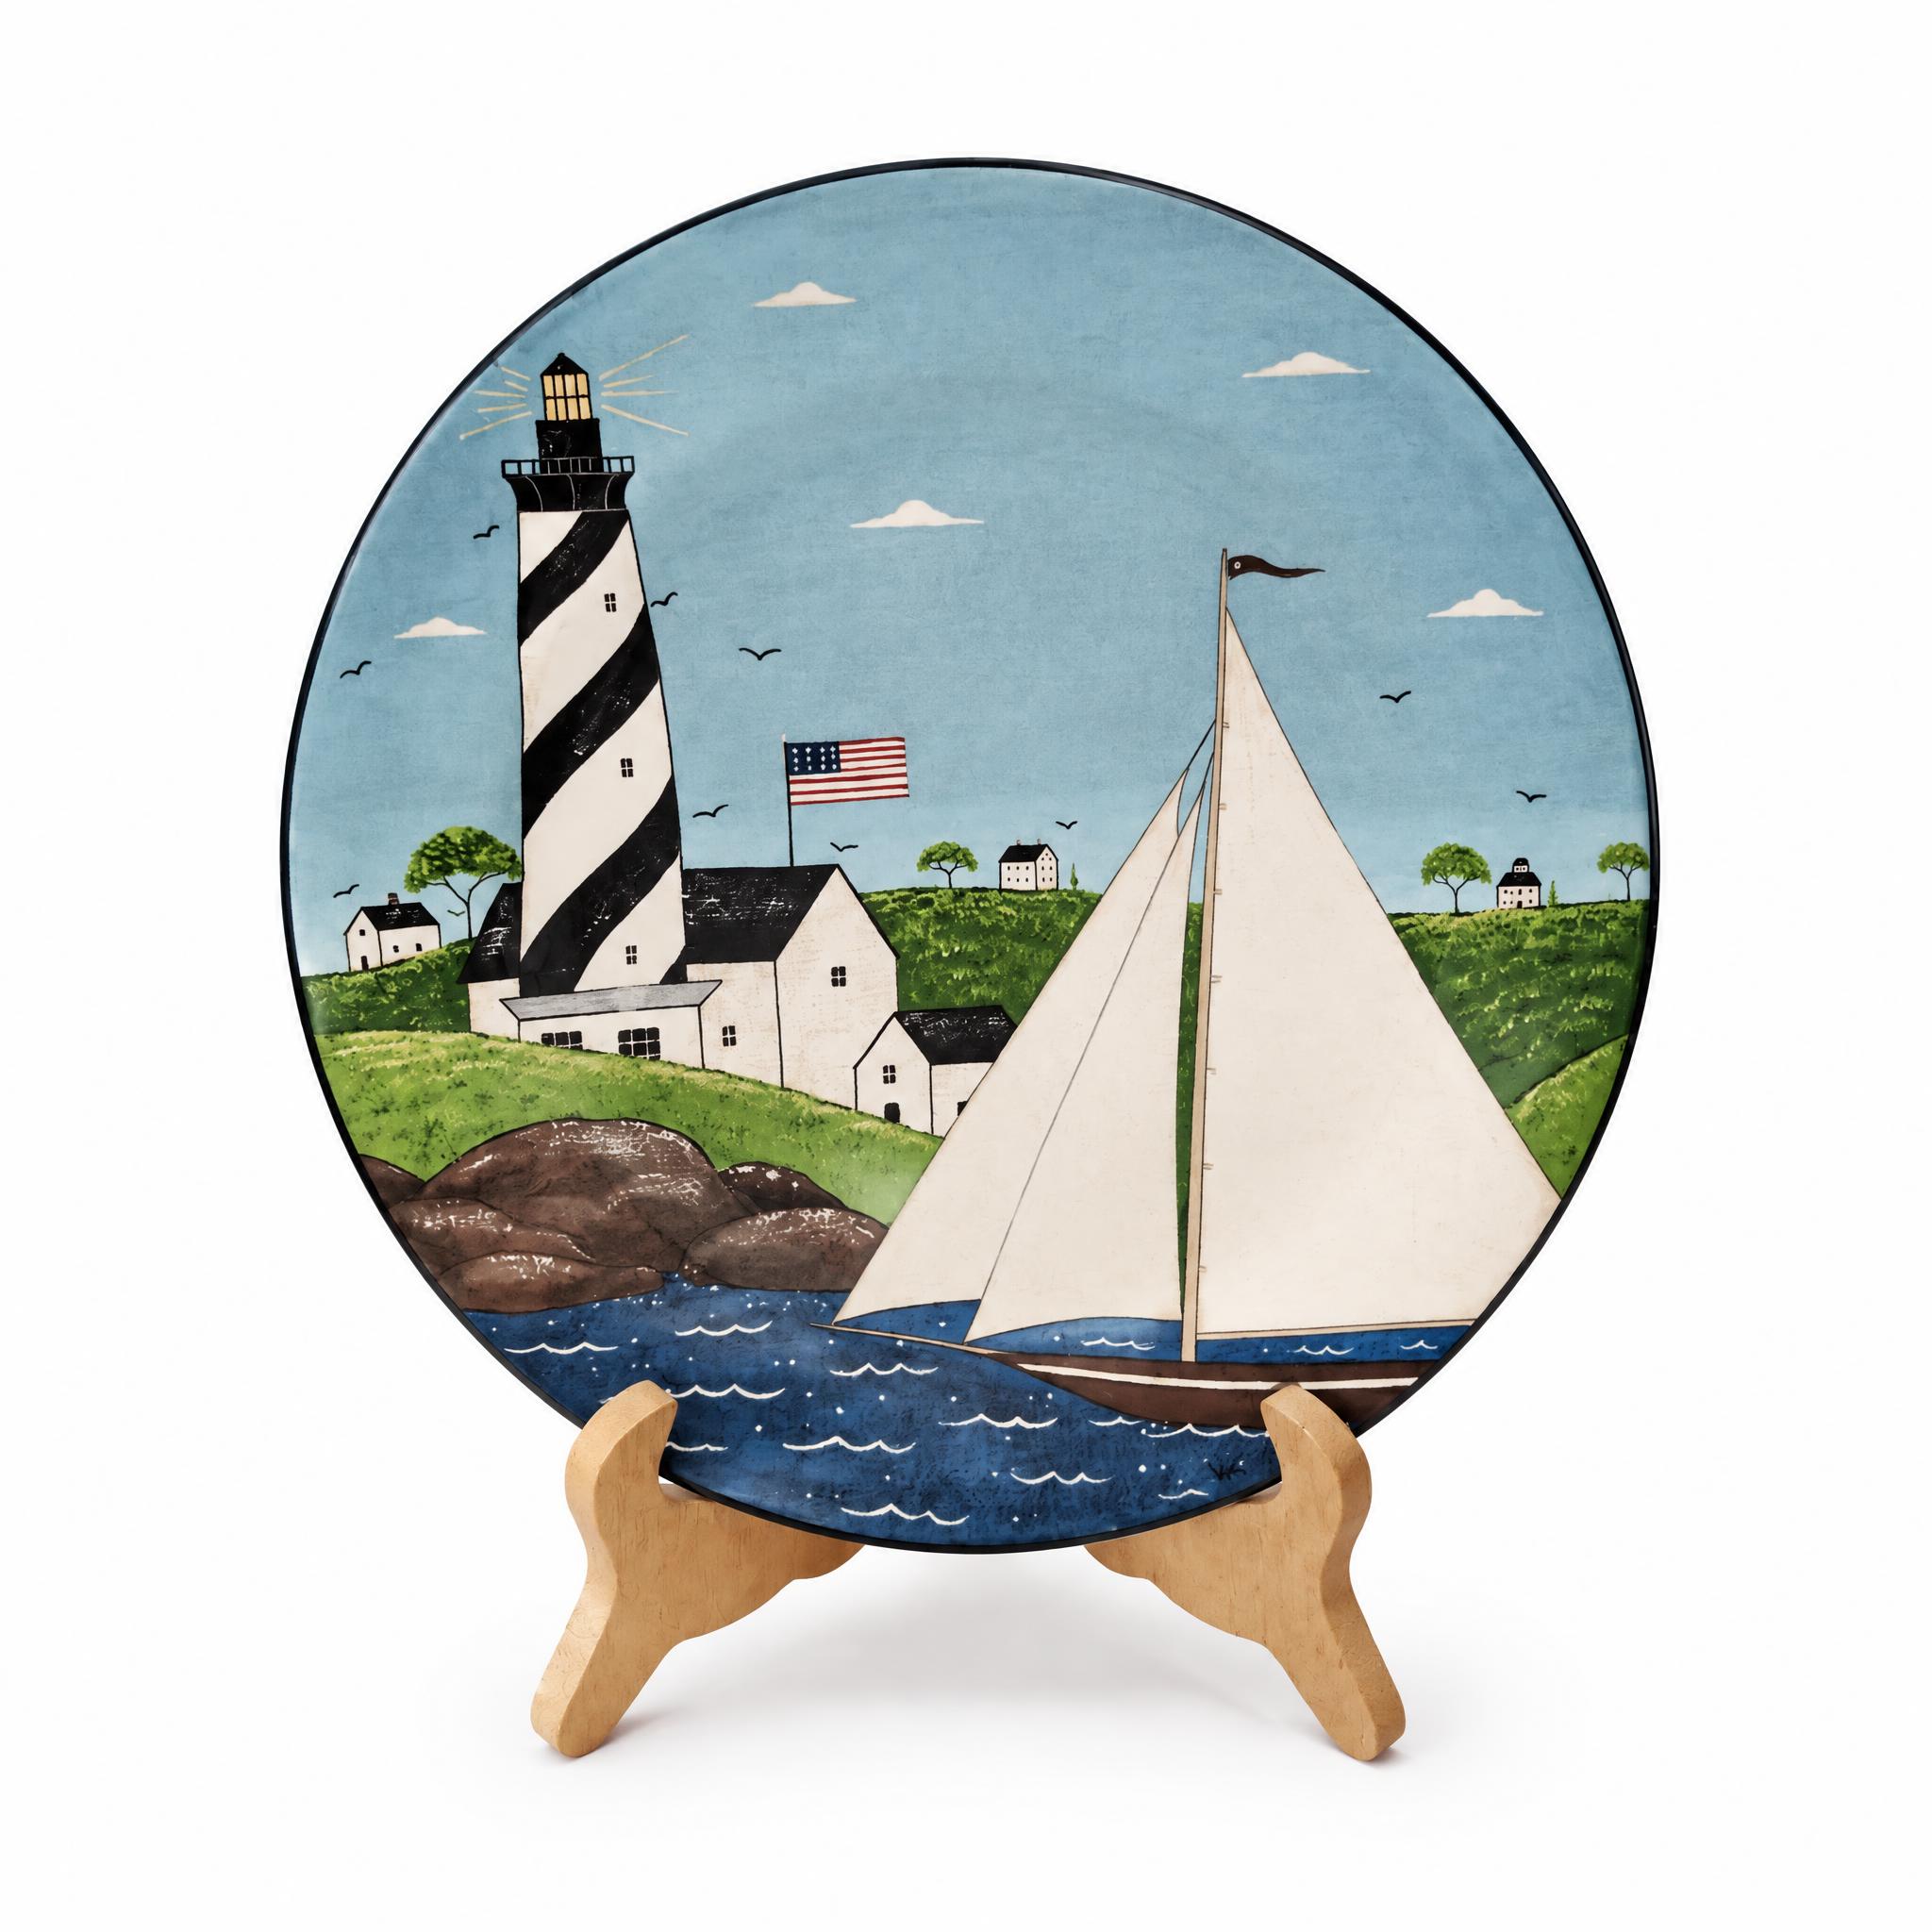
Use image 1 as the product source. Preserve the decorative plate's lighthouse and sailboat design, round rim, colors and wooden stand. Replace only the background with pure white. Keep the same front view, with the complete plate and stand inside the frame. Use even light and a subtle contact shadow.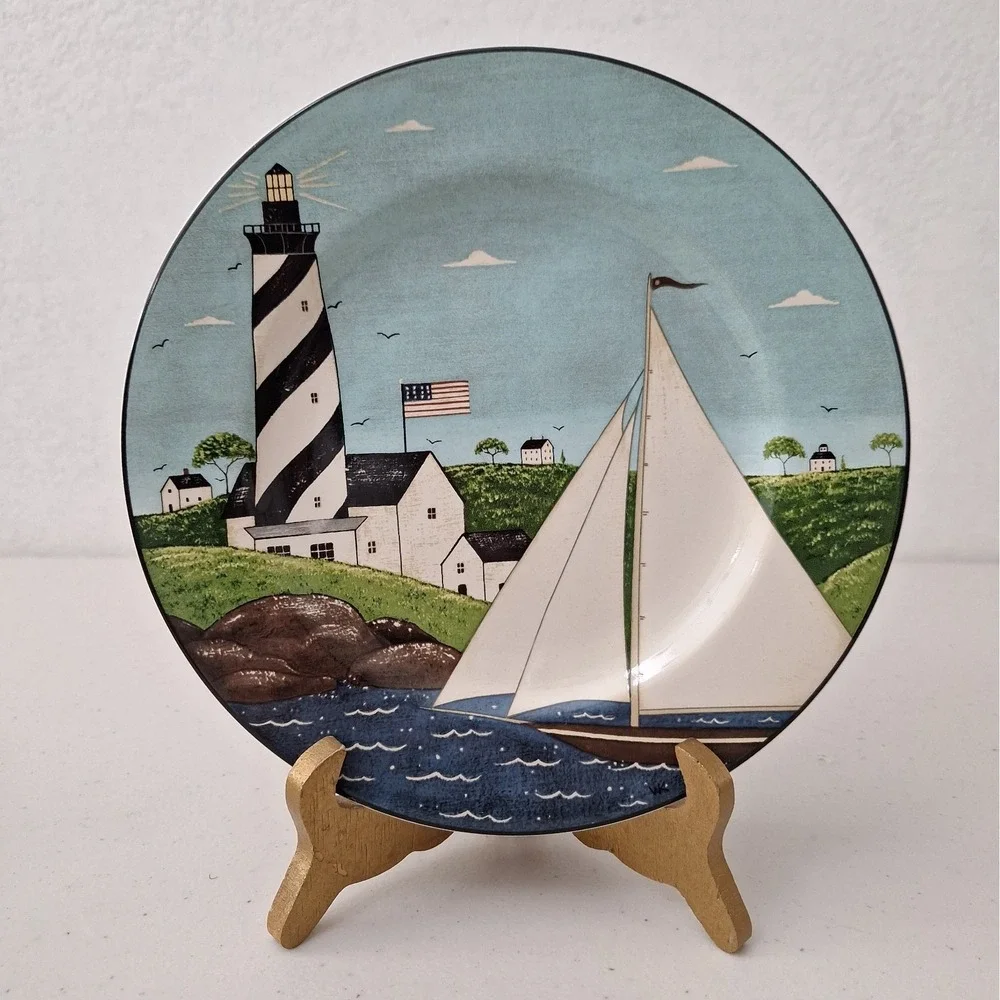
2. Lifestyle scene from one product photo
Start with one clear source, using these lifestyle scene ideas for context.
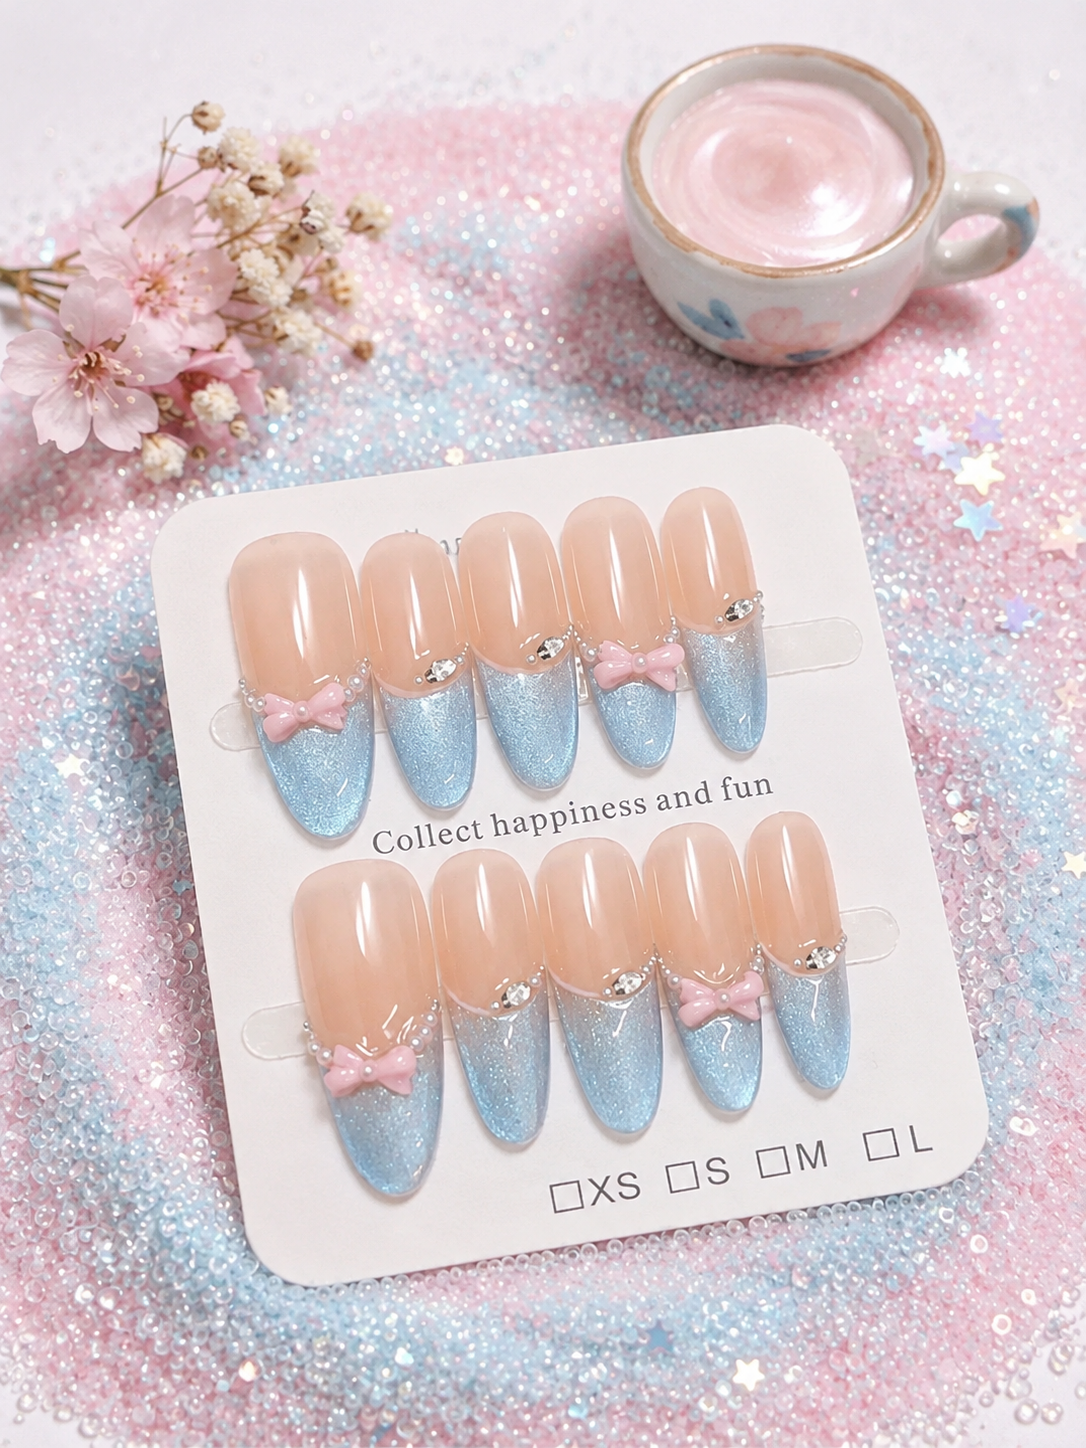
Use image 1 as the product reference. Preserve the two rows of press-on nails, their nude and blue colors, pink bows, rhinestones and display card wording. Place the card on a pastel pink and blue glitter surface beside delicate flowers and a cup of pink drink. Use soft light, an overhead view and a natural contact shadow. Keep the complete nail set visible.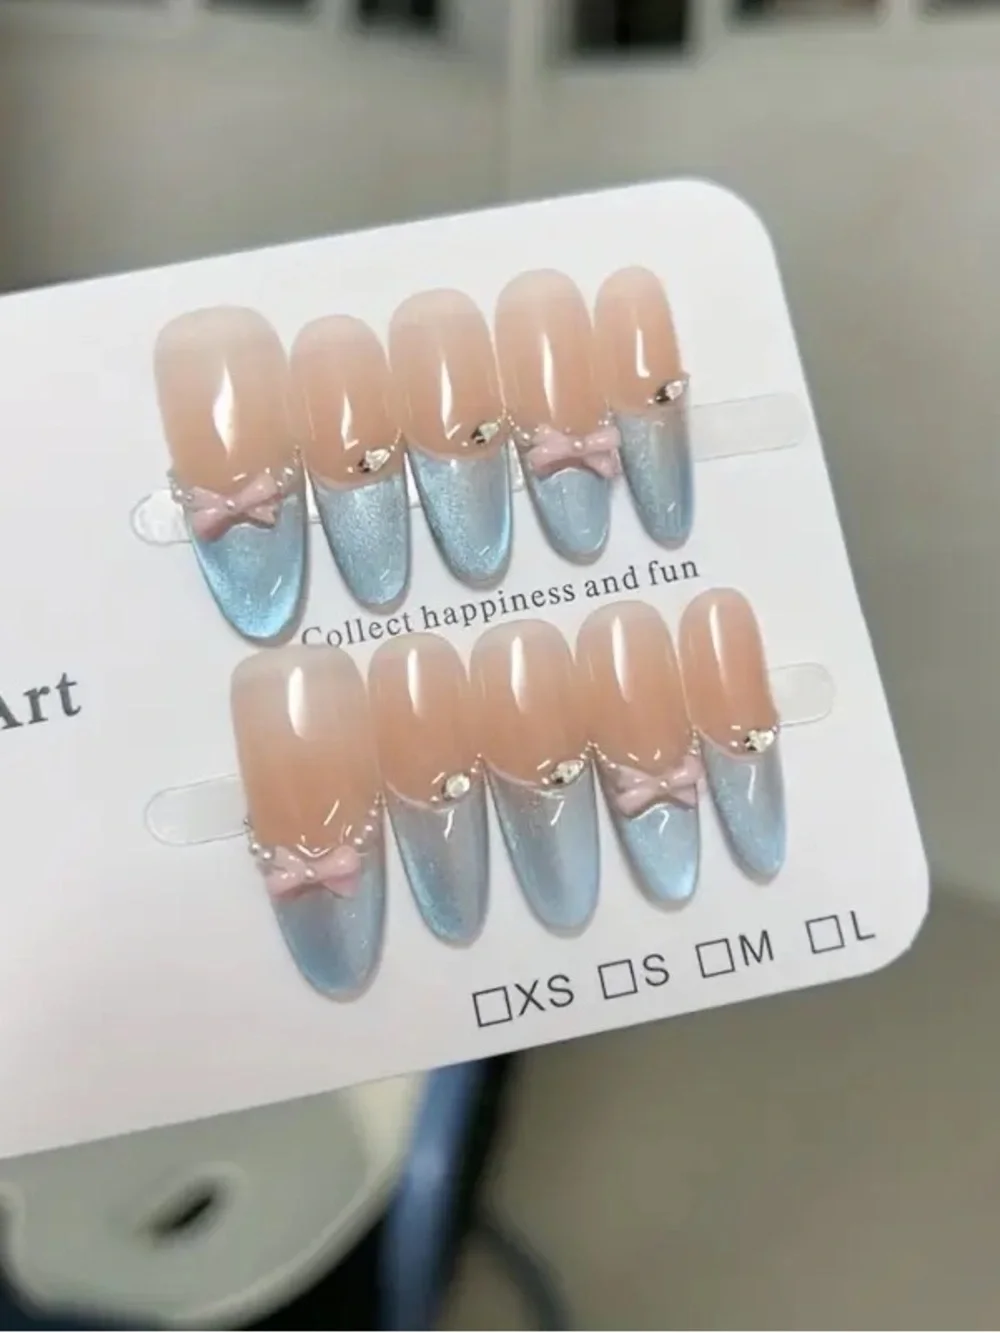
3. Label-aware edit with a packaging reference
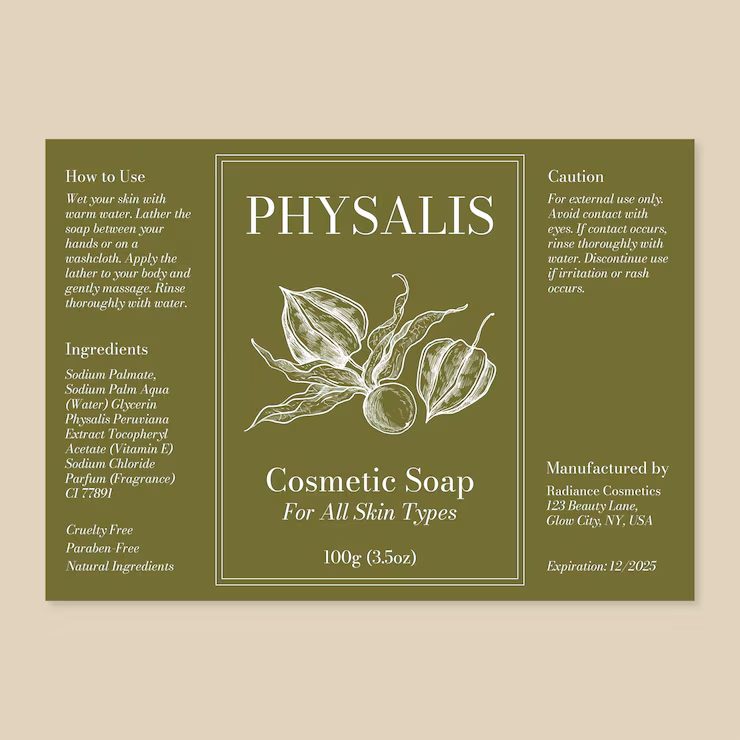
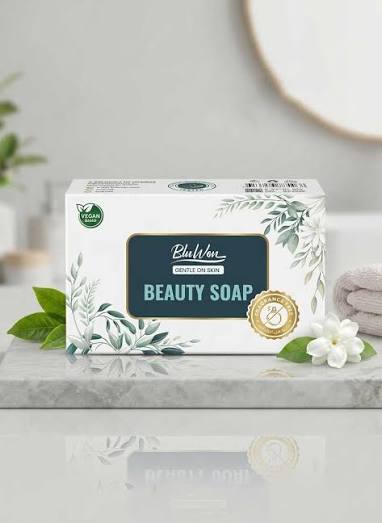
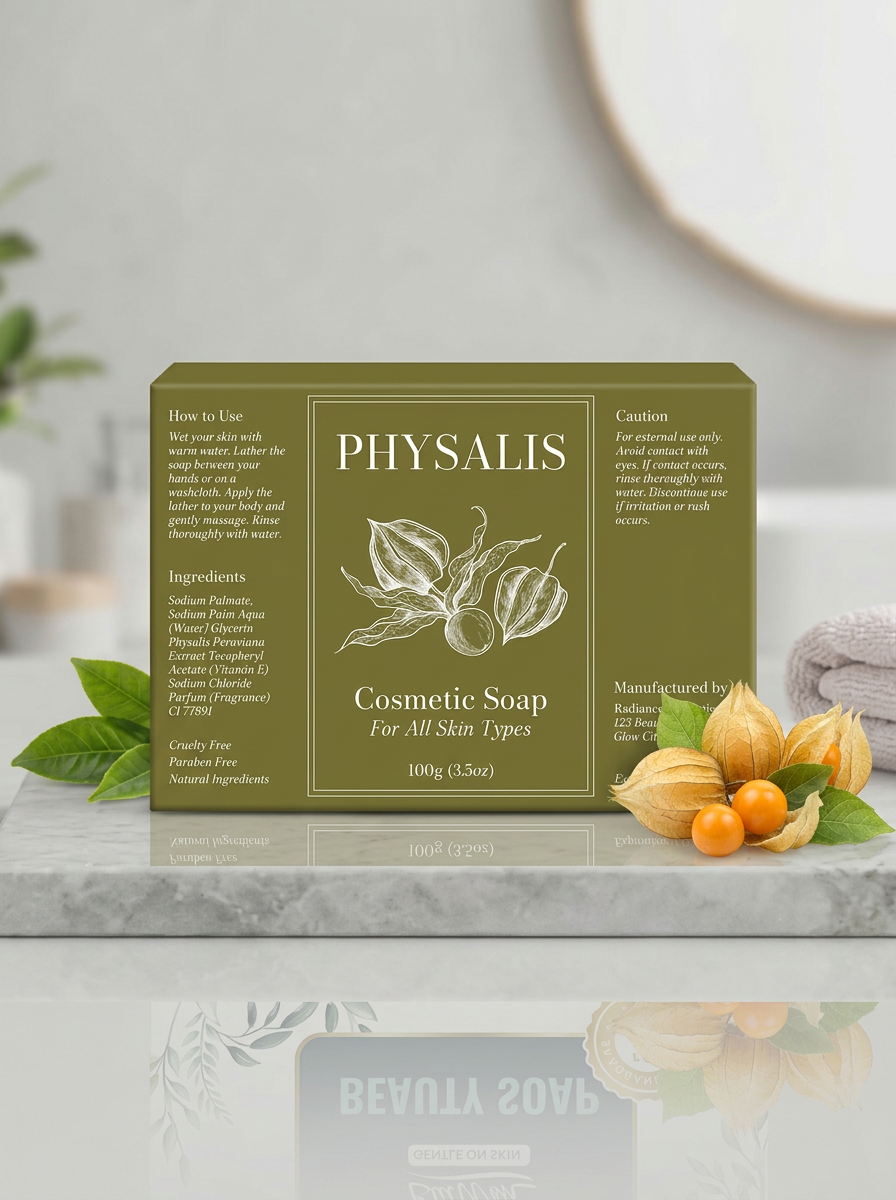
Assign each input a role to reduce product text errors. Here, the first reference supplies the bathroom scene and the second supplies the packaging artwork. Artwork can guide a mockup, but a real package photo is still needed to verify its physical dimensions.
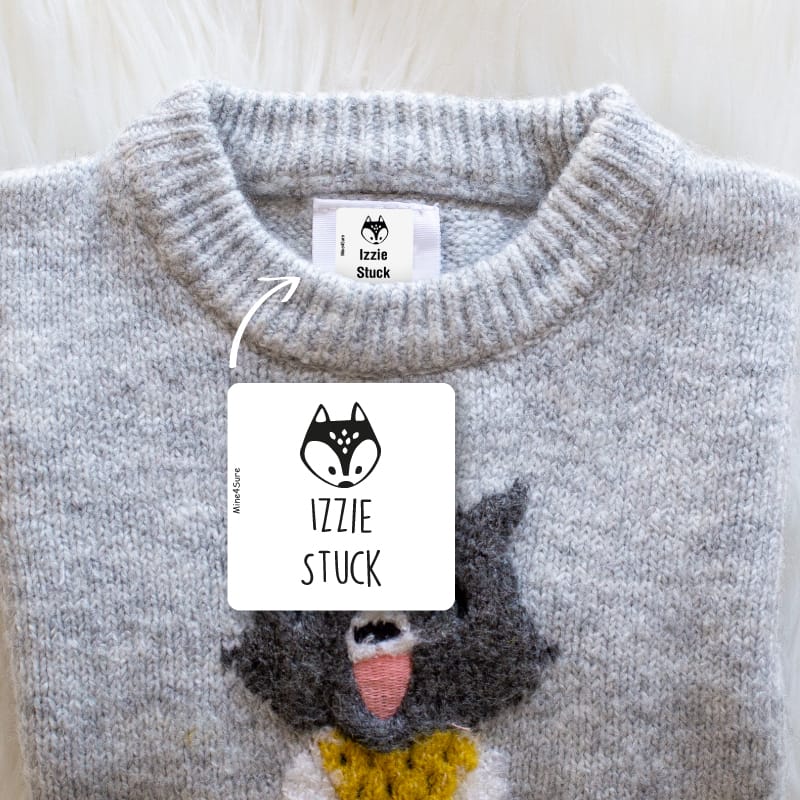
Use image 1 for the soap scene: its counter, composition, placement and lighting. Use image 2 for the PHYSALIS packaging design, olive green color, botanical graphics, typography and printed wording. Keep the front of the package readable. Check that reflections show the new package rather than the scene reference's original box.
4. Product plus a style reference
Borrow the lighting and palette while keeping the product source separate.
Image 1 is the setting spray product reference. Image 2 is a style reference only. Keep the spray bottle's green cap, cream body, shape, printed wording and proportions from image 1. Borrow image 2's oranges, basket, water splashes and warm sunlight for the scene. Keep the bottle label facing the camera and its original colors unchanged.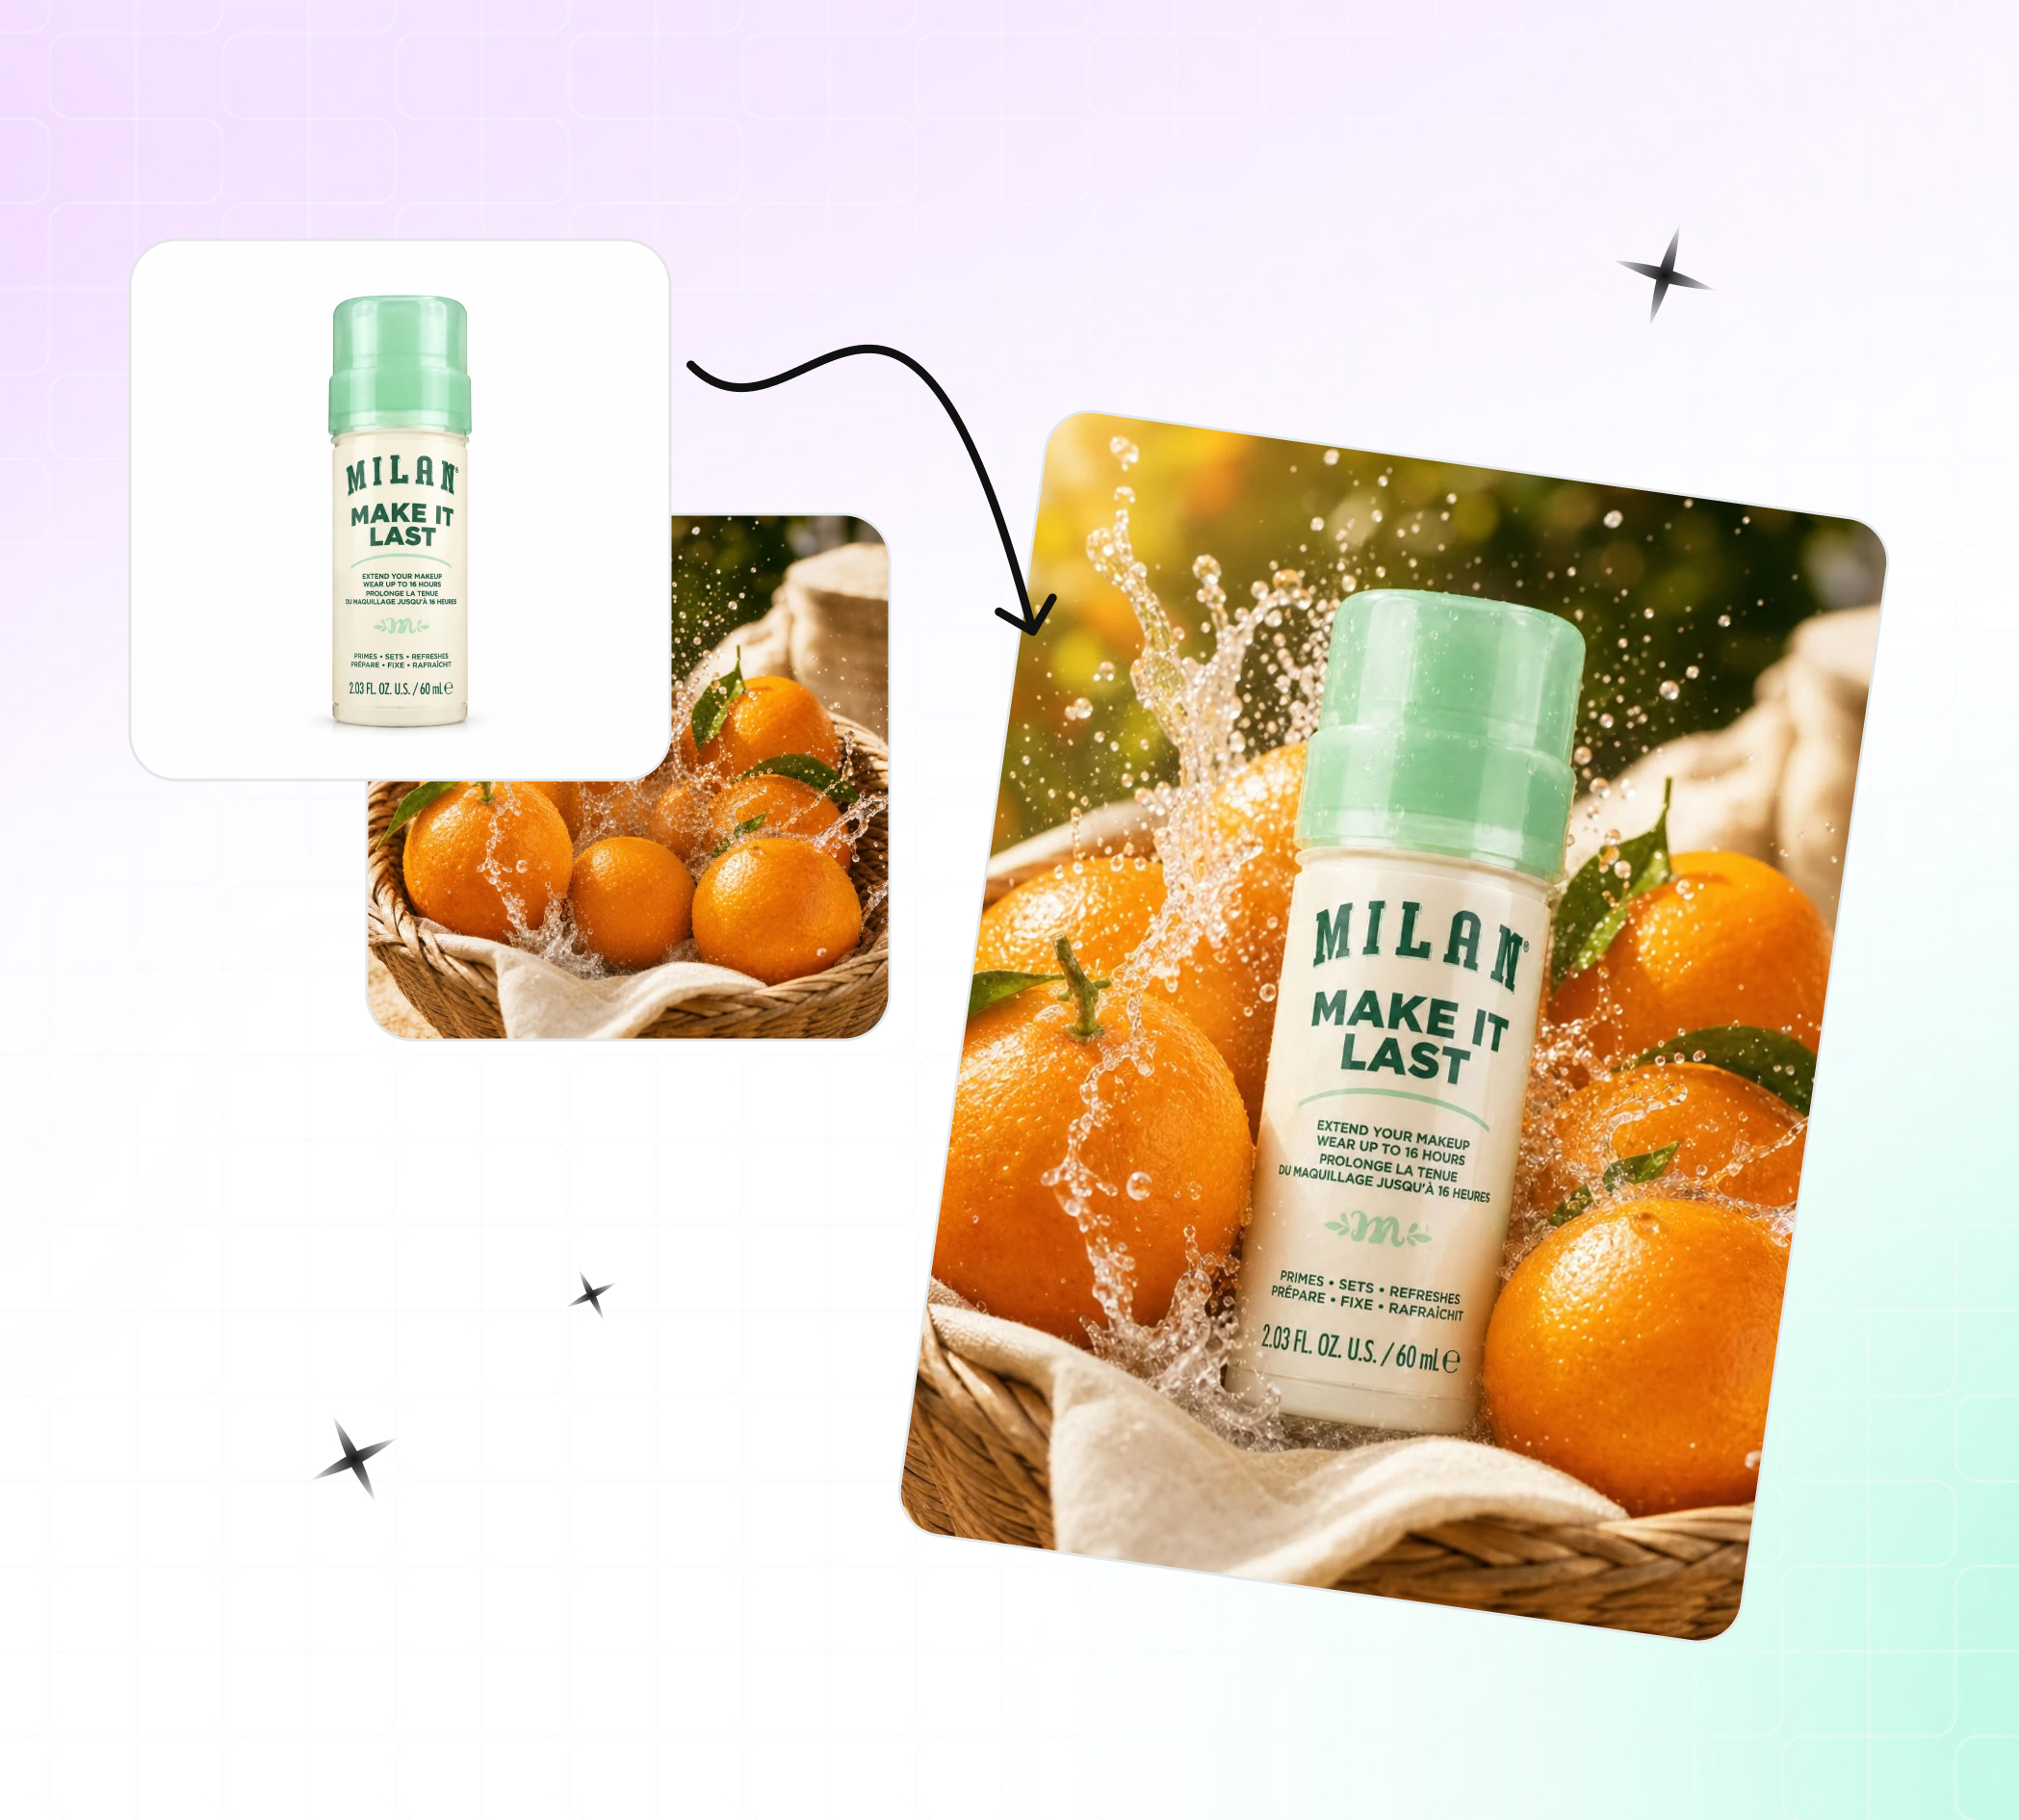
5. Follow-up edits in the same chat
Use this after an initial result passes the product checks.
In the current image, place the two bangles on a textured deep green surface with soft directional light. Preserve the gold bangle, the translucent green bangle's marbled pattern, their shapes and their overlapping arrangement. Keep the original uploaded jewelry photo as the source for all product details. Change only the scene and lighting.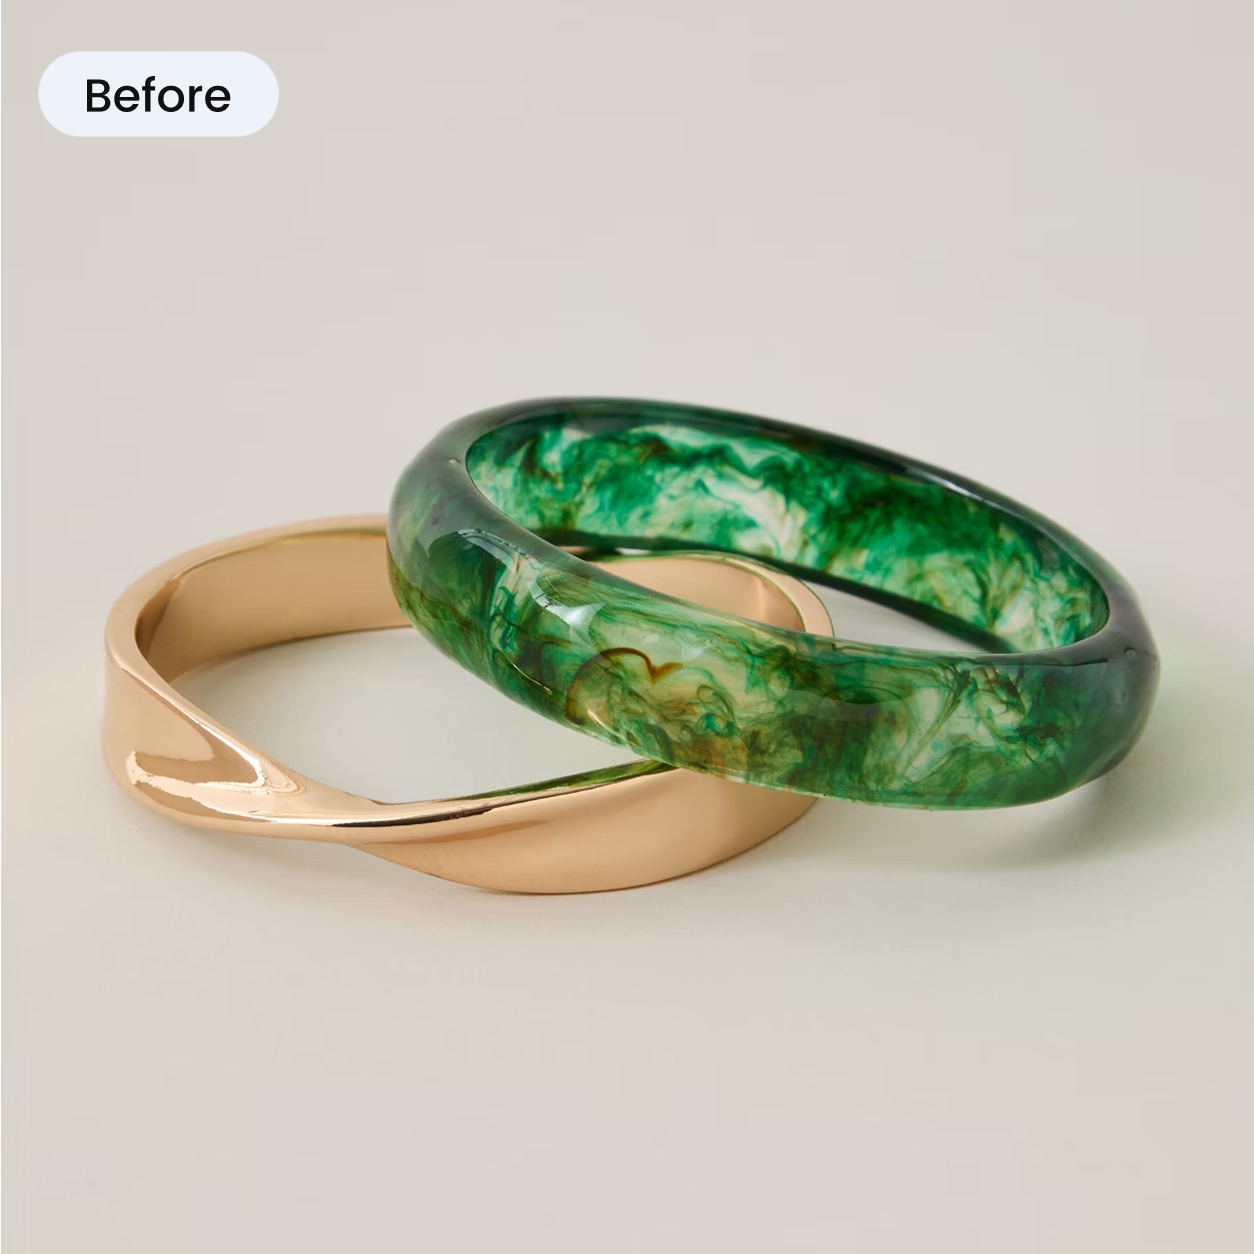
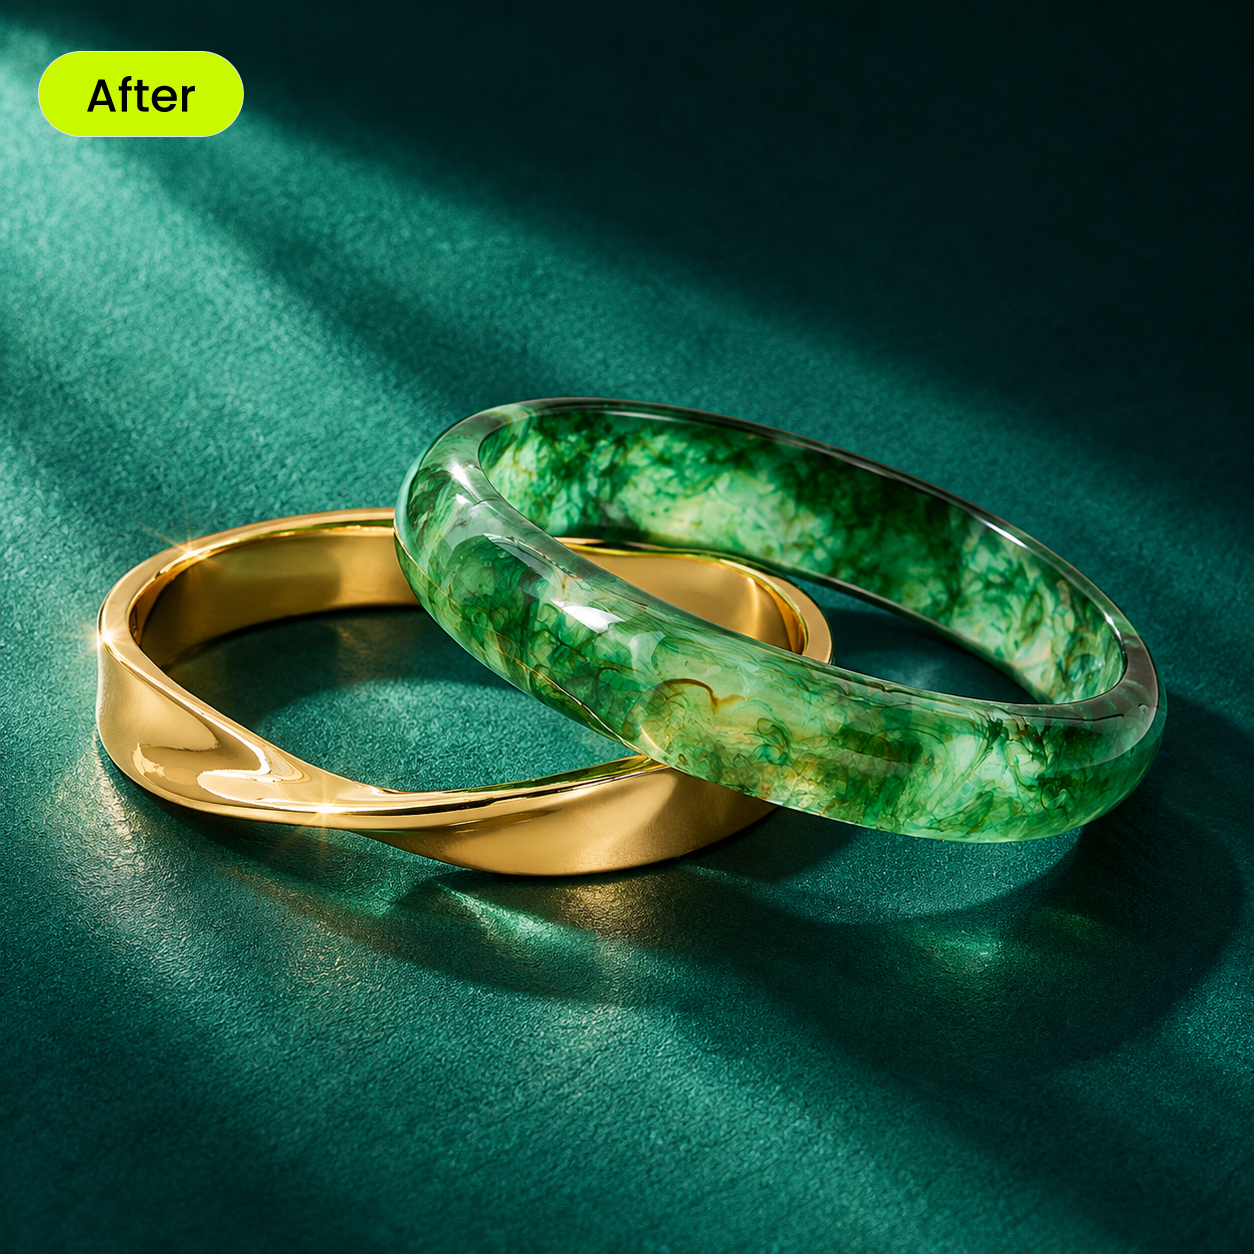
6. Consistent multi-angle set
Repeat the scene instructions for each real photographed angle. Use separate front and side photographs when preparing those views.
Image 1 is the real product photograph for this view. Image 2 is the approved scene reference. Preserve image 1's product details and camera angle. Match only image 2's pale gray surface, soft left-side lighting, shadow direction and product scale. Keep the same square framing.For category-specific variations, use the companion AI product photography prompt library. Keep those product briefs separate from the reference-handling examples here.
Common Nano Banana product photo problems and how to fix them
If a result fails a product check, identify the specific mismatch before editing again. Use the original references to decide what needs correcting, including small text and reflections that may carry over from the scene image.
The label is misspelled or rearranged
Small lettering may be redrawn rather than copied. Add a sharper label reference, identify its role and quote the exact wording. Compare Pro on the same inputs if text is the priority. If it still fails, retain the real label through conventional compositing rather than publishing an approximation.
The product looks too large or too small
The scene may lack reliable scale information. Use a real in-context photograph where scale matters, describe the item's actual dimensions and reduce distracting props. Check against that photograph; a written measurement does not prove the rendered size.
The color has shifted
Scene lighting can introduce a color cast. Use a neutral-light source photo and an actual variant or color reference, then ask to preserve the product color while changing only the background. Compare on a calibrated display where color accuracy matters.
The item seems to float, or extra objects appear
An unclear surface or composition can produce an unconvincing placement. Name the contact surface, specify a natural contact shadow and describe exactly which objects belong in the scene. Inspect the entire frame after the edit.
A later edit changes the product
Return to the original references and combine the approved instructions into a fresh request. Keep product preservation explicit and simplify the requested change.
Can you use Nano Banana product photos on Amazon, Shopify and Google Shopping?
AI-assisted images need to represent the actual item and meet the rules for their destination. A lifestyle gallery image, a marketplace main image and a social advertisement serve different purposes.
Amazon: prepare the main image for its specific slot
Use a clean, product-focused composition for the main image, and reserve lifestyle scenes and promotional layouts for placements where they are permitted. Review Amazon's current product image requirements and the rules for your category before uploading. An AI prompt cannot establish compliance, and generating a white background does not by itself make the image acceptable.
Shopify: separate product evidence from campaign styling
Keep clear views of the product alongside any styled gallery images. Do not let a generated prop imply that an accessory is included, or use an invented color variant as evidence of stock. Check how the crop appears in your store theme and how the image is used in connected sales channels.
Google Shopping: preserve AI metadata
Google Merchant Center requires images created with generative AI to carry the IPTC DigitalSourceType metadata identifying their AI origin, including trainedAlgorithmicMedia as specified in its guidance. Google also says not to strip existing source metadata from these files.
Keep an original export. After resizing, compressing or converting the delivery copy, inspect its embedded metadata again. Do not assume that a visible watermark, SynthID or C2PA credentials replace this requirement. Follow Google's AI-generated content guidance and metadata preservation requirements.
Commercial use also depends on the terms of the service you use and your rights to the uploaded material. Model access alone does not establish those rights.
When to use a different tool instead
Conversational editing suits a specific image and a clear creative change. Other jobs may benefit from a more constrained workflow.
- The same treatment across a large catalog: consider a batch product photo editor and keep a consistent review process across SKUs.
- A white background or scene without writing a prompt: try a dedicated product photography workspace.
- Exact packaging or construction details: use the real photograph, selective masking or conventional compositing where generative editing keeps altering the product.
- A moving product visual: use a video model with an approved image as its starting frame. See how to make a video from a single image, then inspect the product throughout the clip. For motion briefs, use the companion AI product video prompts.
Frequently asked questions
Is Nano Banana free to use for product photos?
Gemini app access and usage limits depend on your account and subscription, and Google can change them. Check the current image-generation allowance in the app. Developer services and third-party tools have their own billing and access rules.
Which Nano Banana model is best for product photography?
Choose a reference-capable model for scene and background edits. Pro is worth comparing for detailed packaging, text and complex compositions. Neither model guarantees product accuracy; compare the same references and inspect the result.
Can Nano Banana keep my logo and label text accurate?
A clear product photo and a separate label close-up give the model better references, but they do not guarantee an exact copy. Identify each reference's role and verify every visible letter, number and logo detail before publishing.
Can I use Nano Banana images commercially?
Check the terms of the service used to generate the image, your rights to the source material and the rules of the destination platform. Permission to generate an image does not establish every right needed for a commercial listing or advertisement.
Can Nano Banana turn a product photo into a video?
Nano Banana generates and edits images. To create a video, use a video model and provide an approved product image as a starting frame or reference. Inspect the resulting clip for changes to the product.
Build the scene around the product
Start with a reliable source photo, state what must stay unchanged and make one clear change at a time. Use real angle and label references wherever accuracy depends on details the main photo cannot show. Before uploading, compare the result with the item, check the destination's rules and preserve the required metadata.
You can try these prompts with Nano Banana 2 and Nano Banana Pro, then keep only the images that pass your product checks.
References
- Google: Introducing Nano Banana 2 — model identity, launch date, resolution and provenance.
- Google: Introducing Nano Banana Pro — model identity, launch date and reference image support.
- Gemini API: Image generation — current model lineup and prompting guidance.
- Gemini Apps: Generate and edit images and usage limits.
- Merchant Center: AI-generated content and preserving metadata tags.
- Amazon Seller Central: Product image requirements.